Adding a Transmission Temp Gauge
#1
So as some of you may know, I have been fighting transmission issues for some time now. After 160,000 miles on what its know as a “weak” transmission I decided it was time for a new one. I got my hands on a freshly rebuilt one with less than 30 miles on it that a friend of a friend had in a 99 Dakota.
I decided that with that going in it was a perfect chance to add a Trans Temp Gauge. I have thought about doing this for over a year so I could monitor the temp while towing down the road but never got around to it till recently.
Supplies:
Gauge
T-fitting
Two 3/8” compression fittings
I went with a Sunpro Temp Gauge for the install from Autozone. The T-fitting and the two 3/8” compression fittings came from the plumbing section at my local Lowe's. You can also buy a manifold kit made by Auto Meter that does the same thing for around $50 bucks but, I spent about $5 bucks one supplies at Lowe's … you get the point....
http://s1230.photobucket.com/user/old_school1/media/tempgauge_zps71c97d8a.jpg.html]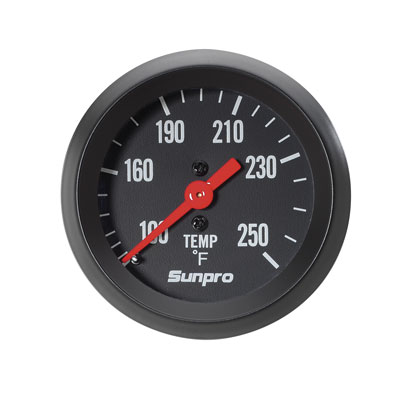 [/URL]
http://s1230.photobucket.com/user/old_school1/media/fittings_zpsb3e56fbf.jpg.html]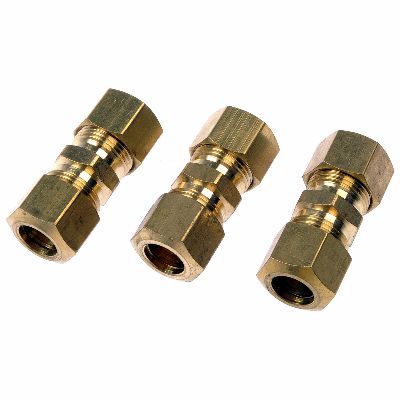 [/URL]
http://s1230.photobucket.com/user/old_school1/media/636660704028_zps1e78d304.jpg.html]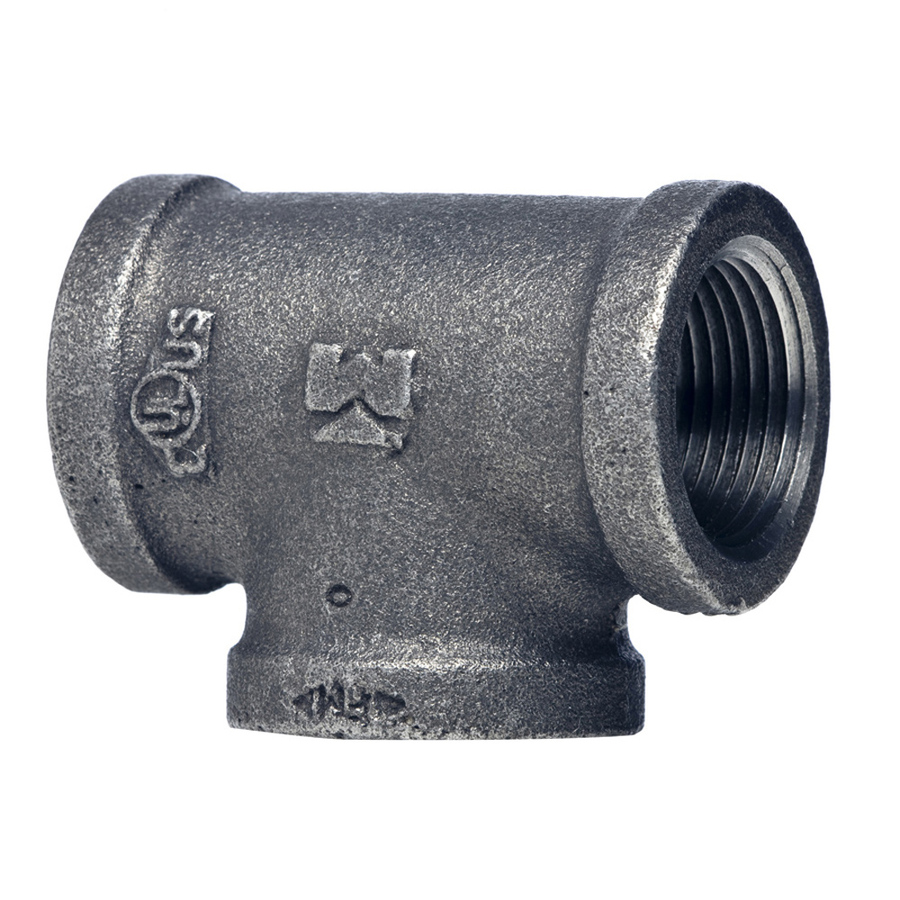 [/URL]
Installing Temp Probe:
After searching and reading several threads here I have found that there are all kinds of different places that people mount the temp probes. The most common 3 places where directly in the pan, in the test ports, or in the trans line to the cooler. I chose to install mine in the line to the cooler as it would be the most accurate since it is getting its reading just as it comes out of the transmission.
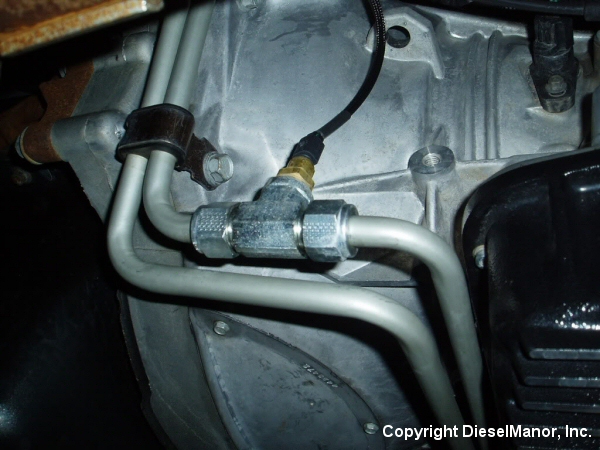
I installed my tee fitting on the line just above the starter so I could have easy access to it in case I need to get to it again for whatever reason. With a pipe cutter make you first cut to the line. Then measure how much space you need to get the tee to fit in the line and make your second cut. Make sure after your done cutting to clean off any burs or shavings there may be so they don't end up going down the line and end up in your transmission!!
Next, take your compression fittings and unscrew one end exposing the threads. That end will thread into the tee fitting where your probe will go. Do this on both sides of the tee. You should also wrap some teflon tape around the threads to insure no leaks.
After you have done that you are ready to install the tee onto the line. Slide the screw part of the compression fitting on both ends of the lines. Install the metal rings after that...
Then put both ends into the compression fitting and slide the screw up and thread it to the fitting till its tight. As you tighten the metal ring will crush making the compression to hold the lines. Keep making the screw tight till you can barely turn it or I feels tight.
Once you are done with that, you are now ready to screw in the probe. The kit comes with some adapters in it. You will need the 3/8 one to screw into the tee. Then the probe would screw into that after that gauge is mounted. Again teflon tape on the threads for insured on leaks.
This is a image of what you should have (or similar) when finished..
Mounting the Gauge:
Mounting the gauge is pretty simple... Mount it in a good location of your choice that makes it visible to see while you are driving but, does not block the view of the road. I purchased a universal piller pod mount from Autozone and modded it into my left front A-Piller. Once you choose your location, run the line though the firewall to your tee you installed and thread it in and make it snug.
Your Done!
I decided that with that going in it was a perfect chance to add a Trans Temp Gauge. I have thought about doing this for over a year so I could monitor the temp while towing down the road but never got around to it till recently.
Supplies:
Gauge
T-fitting
Two 3/8” compression fittings
I went with a Sunpro Temp Gauge for the install from Autozone. The T-fitting and the two 3/8” compression fittings came from the plumbing section at my local Lowe's. You can also buy a manifold kit made by Auto Meter that does the same thing for around $50 bucks but, I spent about $5 bucks one supplies at Lowe's … you get the point....
http://s1230.photobucket.com/user/old_school1/media/tempgauge_zps71c97d8a.jpg.html]
 [/URL]
http://s1230.photobucket.com/user/old_school1/media/fittings_zpsb3e56fbf.jpg.html]
 [/URL]
http://s1230.photobucket.com/user/old_school1/media/636660704028_zps1e78d304.jpg.html]
 [/URL]
Installing Temp Probe:
After searching and reading several threads here I have found that there are all kinds of different places that people mount the temp probes. The most common 3 places where directly in the pan, in the test ports, or in the trans line to the cooler. I chose to install mine in the line to the cooler as it would be the most accurate since it is getting its reading just as it comes out of the transmission.
I installed my tee fitting on the line just above the starter so I could have easy access to it in case I need to get to it again for whatever reason. With a pipe cutter make you first cut to the line. Then measure how much space you need to get the tee to fit in the line and make your second cut. Make sure after your done cutting to clean off any burs or shavings there may be so they don't end up going down the line and end up in your transmission!!
Next, take your compression fittings and unscrew one end exposing the threads. That end will thread into the tee fitting where your probe will go. Do this on both sides of the tee. You should also wrap some teflon tape around the threads to insure no leaks.
After you have done that you are ready to install the tee onto the line. Slide the screw part of the compression fitting on both ends of the lines. Install the metal rings after that...
Then put both ends into the compression fitting and slide the screw up and thread it to the fitting till its tight. As you tighten the metal ring will crush making the compression to hold the lines. Keep making the screw tight till you can barely turn it or I feels tight.
Once you are done with that, you are now ready to screw in the probe. The kit comes with some adapters in it. You will need the 3/8 one to screw into the tee. Then the probe would screw into that after that gauge is mounted. Again teflon tape on the threads for insured on leaks.
This is a image of what you should have (or similar) when finished..

Mounting the Gauge:
Mounting the gauge is pretty simple... Mount it in a good location of your choice that makes it visible to see while you are driving but, does not block the view of the road. I purchased a universal piller pod mount from Autozone and modded it into my left front A-Piller. Once you choose your location, run the line though the firewall to your tee you installed and thread it in and make it snug.
Your Done!
#3
I thought about doing it that way but i didn't have $140 to shell out for a transmission pan for one.I paid a total of $22 this way... Second, getting the reading from the pan is getting the temp of the fluid after it has been run though the cooler... while you may get a decent reading its not gonna be as accurate as getting it from the line as it comes out of the trans on its way to the cooler.
#5
I don't know either, most of the time your stir the pot and we prove you wrong. Then you either make a remark like above, leave for awhile or both... After awhile we are blessed with your presence again, while you try to stir the pot again, and then we prove you wrong again. 
This thread was posted to help someone who wants DIY it the cheapest way possible. That's what i did with this one. I'll agree there are several ways to do it, some more expensive than others but that's how i did it after doing alot of research. If you don't like how i did it or feel your way is superior than mine then to each there own but please stop the stupid crap and don't turn it into a pissing match.
This thread was posted to help someone who wants DIY it the cheapest way possible. That's what i did with this one. I'll agree there are several ways to do it, some more expensive than others but that's how i did it after doing alot of research. If you don't like how i did it or feel your way is superior than mine then to each there own but please stop the stupid crap and don't turn it into a pissing match.
#6
#7
Yeah, i don't know why i put it off so long too.... glad i could help. I also found out that Autozone sells the compression fittings as well. They come in a pack of 3 and are around $4. Part # 785-308. Once you get it all installed let me know what kinda temps you are getting.. I can't get a straight answer on the that anywhere on the web. I feel that there is no set temp that it should be running but a baseline temp. Searching the web i have seen threads that say its should be about 70F higher than the outside temp and others that say temps from 100 all the was to 210 is okay.. Perhaps Mastertech could chime in on this?
Last edited by Old_School; 06-14-2013 at 08:50 AM.
Trending Topics
#9
I just knew someone was gonna ask....... 
My first choice was to mound it in a single pillar pod but, i tried out the universal one and it looked retarded so i moved it down under the ash tray for now... Once i get a little more funds together i am gonna get a triple pillar pod that is made for our trucks. That should have a better outcome. Anyways here is you pic..
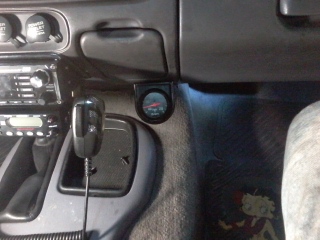
So far the last few days with the temps in the 70's it have been running in the 140-150ish range. The other week when we had the 80's and 90's i was showing temps in the 180's range.
My first choice was to mound it in a single pillar pod but, i tried out the universal one and it looked retarded so i moved it down under the ash tray for now... Once i get a little more funds together i am gonna get a triple pillar pod that is made for our trucks. That should have a better outcome. Anyways here is you pic..

So far the last few days with the temps in the 70's it have been running in the 140-150ish range. The other week when we had the 80's and 90's i was showing temps in the 180's range.


