When you click on links to various merchants on this site and make a purchase, this can result in this site earning a commission. Affiliate programs and affiliations include, but are not limited to, the eBay Partner Network.
I just had my truck painted because of heavy clear coat peeling on hood and roof. I had it painted back to the original color (Patriot Blue Pearl) with flake. Afterwards, I decided to upgrade the cabin (Ice Blue) and dash (blue) LED�s. Once I had the dash removed, I figured it was a good time to upgrade the original factory Infinity system with something that gave me Bluetooth option and a blue display to match rest of dash. May as well change out the speakers too since I�ve gone this far. I know there are other posts on this LED topic, but it was kind of tiresome to go through all those posts/comments and get a little info here and there and still not have all the info needed to complete the upgrade without having to do more research on replacement part numbers and possible problems. So here�s what I found. Hopefully, it will save somebody the torture I went through to complete the project.
Instrument Cluster :
There are (8) positions for twist in LED�s. (1) position is smaller than the other (7). Mine had no bulb installed in the smaller one and I�m not sure what it was for. I did not have the proper size LED at the time and did not install anything in that position. I could not see any visible difference after the display was illuminated. The (7) positions are as follows�. Rt blinker, Lf blinker, Fuel, Battery, Oil pressure, Temp and (1) LED for both the speedometer and Tachometer. The first LED�s I purchased had (5) SMD on the tip which only projected the light straight down. This did not light up the complete speedo/tach gauges because its such a wide span. I bought another set which had (5) SMD, but they are located around the diameter as well as tip which throws the light 360 degrees and solved the problem. The original bulbs with twist lock are #PC194. The bulb only is #194. You can use the original socket and just change the bulb, but I changed as a new set to eliminate problems. If LED�s do not light up after install, rotate 180 degrees because they are polarity sensitive. All of the individual lights for washer fluid, brake, check engine etc. are bulbs soldered to PCB and I did not change out.
I purchased the LED�s from superbrightleds.com
Twist Lock Socket = T3.25S-TW
12vac/10-30vdc, Blue, 360 beam = 194-BHP5
Climate Control :
There are (3) #PC74 bulbs with sockets that light up the display. The bulb only is #74. Once again the LED�s with SMD on tip only did not light up the full display. Changing them out to (5) SMD around the diameter illuminated the display completely. The LED may be slightly too long and requires the plastic plate sandwiched between the front and back cover to be modified by drilling open the holes so the LED can fit through. If I bought the smaller length LED this step could have been avoided. The (2) buttons for A/C and Defrost are bulbs soldered to PCB and I did not change out.
I purchased the LED�s from superbrightleds.com
10-16vdc, Blue, 360 beam = 74BHP3
*** I did not purchase the twist locks and installed LED�s into original bulb housings.
2WD/4WD Switch
This #161 bulb is soldered in and I did not change out.
Headlights/Fog Lights switch
There were (2) different size twist lock bulb positions on the PCB. Mine had only (1) bulb installed in the larger opening. I think the smaller opening is for bulb to illuminate the headlight symbol in bottom left corner of switch face plate when lights are on. Mine did not have the symbol and thus no bulb. This larger bulb with housing is obsolete by Dodge, but I�m sure you could find a replacement, but just not using Dodge PN which nobody could cross when I tried. My dimmer wheel was not working properly so I just bought a new switch. The new switch had (2) bulbs installed and had the headlight symbol which illuminated when head lights were on so that�s how I came to conclusion for smaller bulb function. I could not get either bulb out of new switch to change to LED and did not want to break so I left with installed green bulbs. Ticks me off I can�t make blue, but whatever.
I purchased the Switch from standardbrand.com
Switch/Commutator Interrupter = DS1013
Overhead Console
There are (3) twist locks that illuminate the buttons. I used blue incandescent up there instead of LED. The display is LCD and I don�t think there is an option to change out if you want a color other than the green.
I purchased the LED's from autolumination.com
Neowedge Type B, T4 � Blue = 79609-S5A-003 (10mm dia x 12mm)
Map Lights
There are (2) PC194 bulbs installed. The LED PC194 order info is same as above for instrument cluster. This is a very tight fit so use the shortest length possible.
Note� Be careful when removing/handling the console because the switch assemblies are garbage and can easily blow apart like it did on me. I was lucky to find all the small parts and reassemble or it would have been a problem since I�m sure you couldn�t buy the replacement switch.
Glovebox
There is (1) #PC194 bulb installed. The LED is PC194
Dome Light
There is (1) #578 bulb installed. The LED is 41MM-6SMD-5050
Liftgate Light
There is (1) #567 bulb installed. The LED is 567
License Plate Light
There is (1) #168 bulb installed. The LED is 168. You can also use a 194 LED in place of 168
Note� It is illegal in some states to have a colored light above your plate.
Stereo
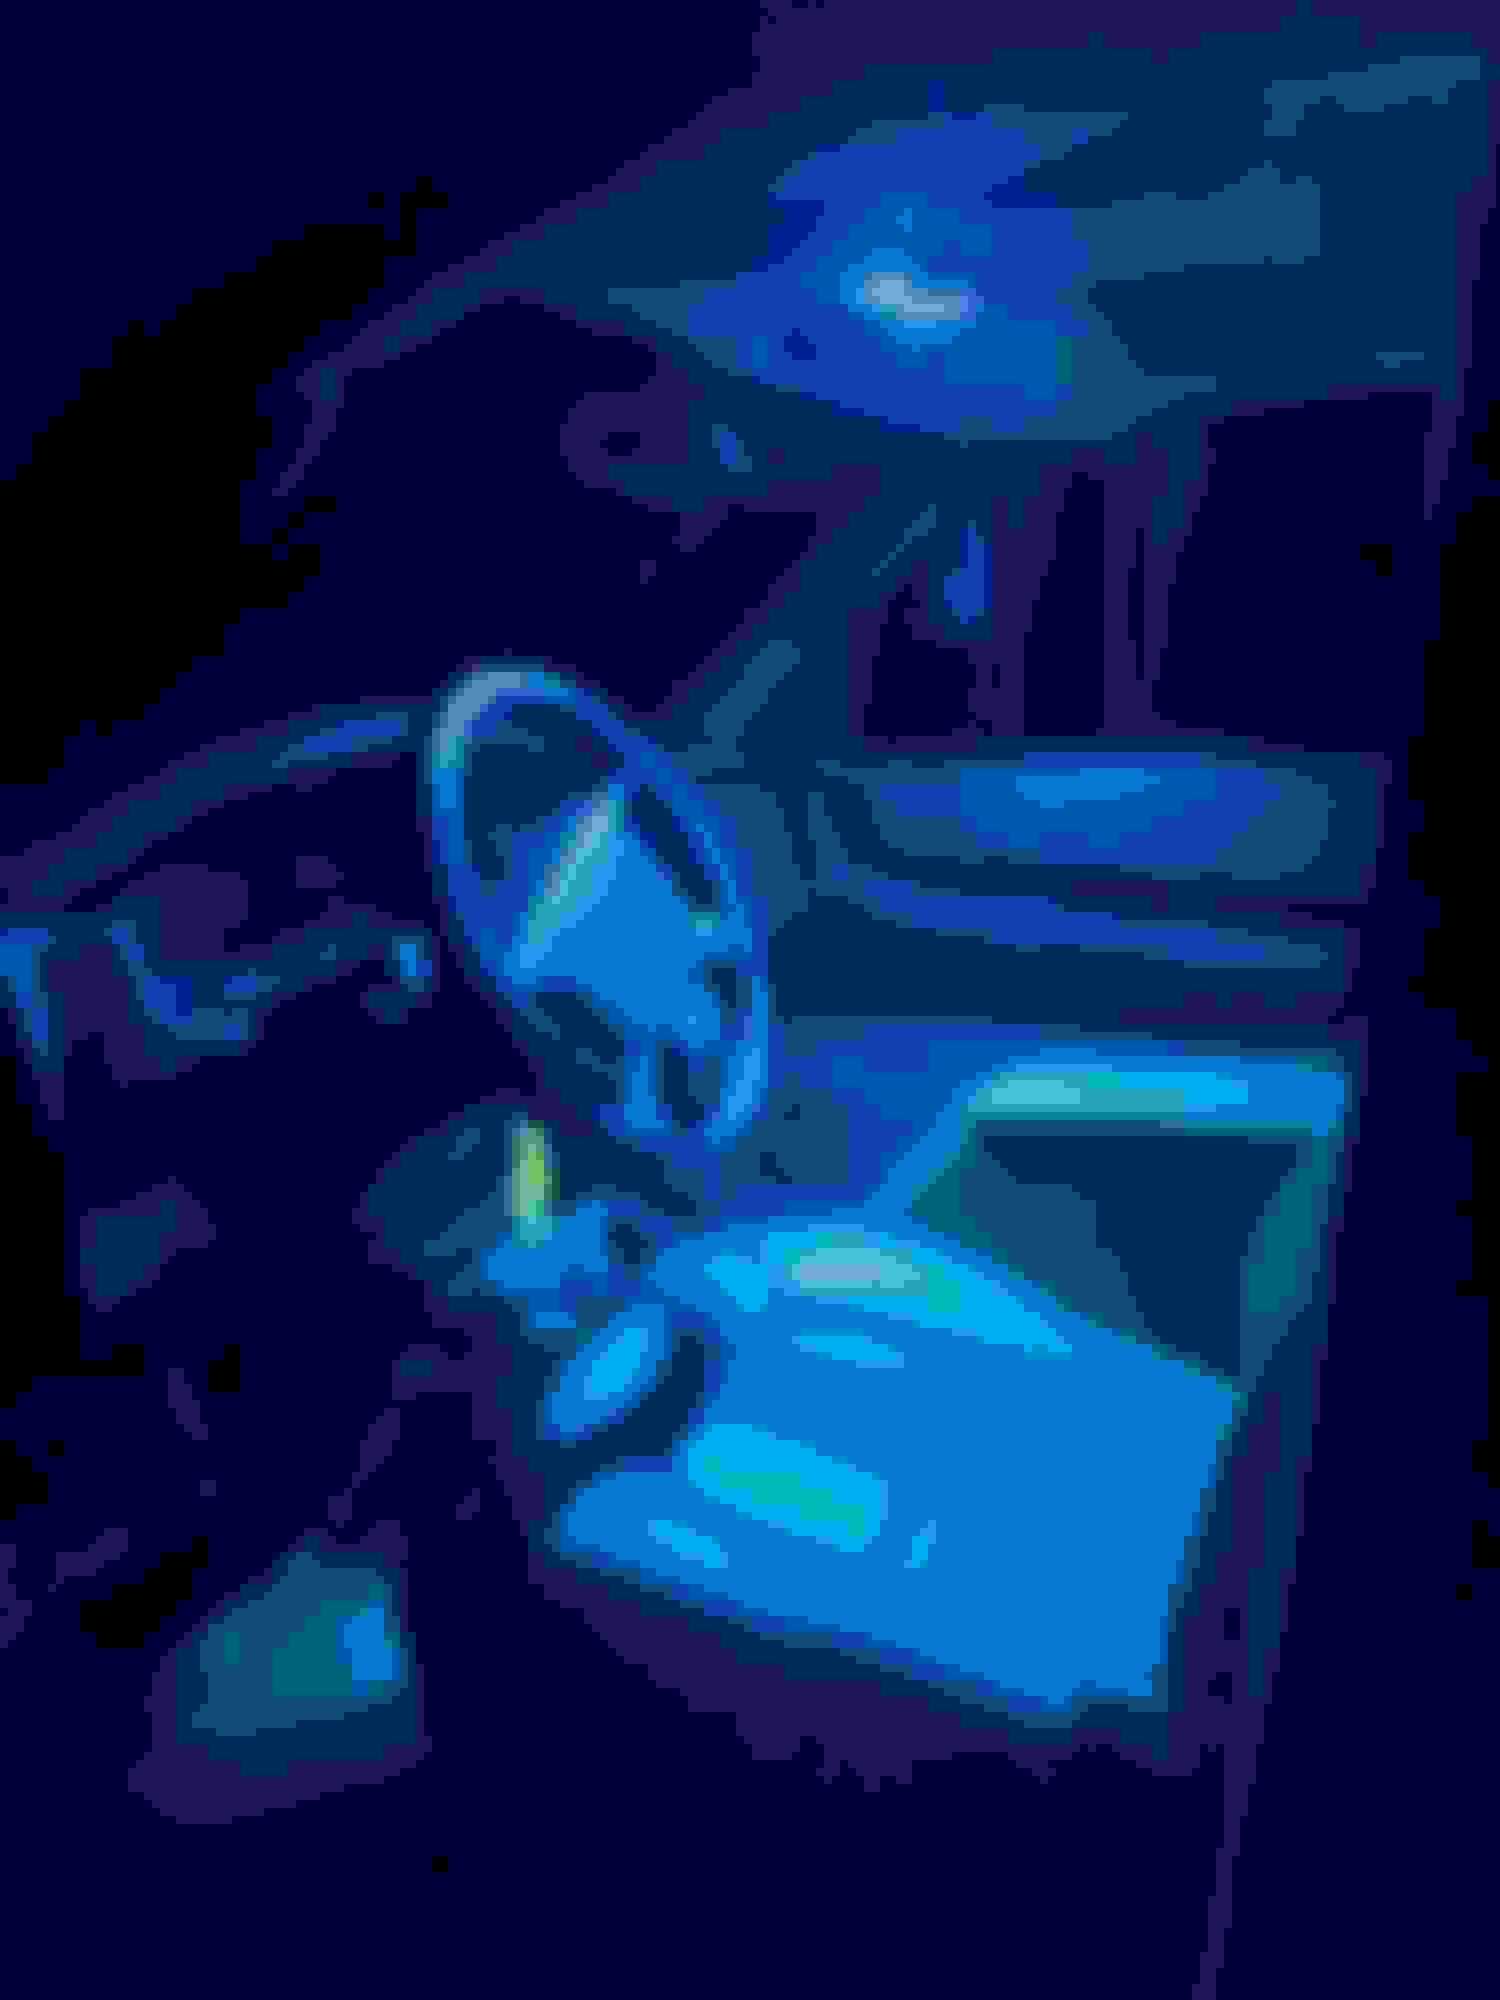
Installed a new Pioneer deck (Model SPH-10BT)
Set the display screen to blue and the dash and cabin conversion is complete.
Note� I will be doing a separate post on the stereo and speaker installation.
Last edited by Bleeding Blue; Jul 18, 2020 at 10:51 PM.