
ac removal
#1
 04-25-2007, 03:51 PM


Join Date: Mar 2007
Location:
Posts: 93
Likes: 0
Received 0 Likes
on
0 Posts
#2
04-25-2007, 04:52 PM
Champion
Join Date: Feb 2007
Location: Stockton, CA
Posts: 3,663
Likes: 0
Received 0 Likes
on
0 Posts
#3
04-25-2007, 05:00 PM
Captain
Join Date: Dec 2006
Location: Chattanooga, TN
Posts: 705
Likes: 0
Received 0 Likes
on
0 Posts
#4
04-25-2007, 08:18 PM
Join Date: Mar 2007
Location:
Posts: 93
Likes: 0
Received 0 Likes
on
0 Posts
#5
04-26-2007, 02:09 AM
Champion
Join Date: Feb 2007
Location: Stockton, CA
Posts: 3,663
Likes: 0
Received 0 Likes
on
0 Posts
#6
04-26-2007, 04:32 PM
Join Date: Mar 2007
Location:
Posts: 93
Likes: 0
Received 0 Likes
on
0 Posts
#7
04-26-2007, 06:26 PM

Trending Topics

#9
04-26-2007, 09:21 PM
Join Date: Mar 2007
Location:
Posts: 93
Likes: 0
Received 0 Likes
on
0 Posts
#10
04-26-2007, 09:25 PM

Grand Champion
Join Date: Nov 2005
Location: Charleston, SC
Posts: 6,258
Likes: 0
Received 0 Likes
on
0 Posts
This is a How-To from another forum....the only benefit is weight reduction becuase if you have the A/C off its not taking power from the engine anyways...
Items needed:
- Belt
- Haynes manual
- Serpentine belt removing tool (13mm)
- Various other tools
- Drain all freon from the system. I took mine to Goodyear Gemini and had them drain it for me since you aren’t supposed to let it in the atmosphere.
- Belt used is PN# 4668249AF (2001-2002 no option no ac acr belt)
Dealer price - $9.95 plus tax
I did some extra footwork to find out who else around here could get the belt as far as auto parts stores and this is what I discovered:
- Couldn’t find this belt or car listed as an order item or in stock item at Advance auto parts.
- Napa - $17.88 - PN# 25040440
- Auto Zone - $10.99 - PN# 445k4 (could be the same belt size you could get at AAP, but Id have to double check that)
- Goodyear Gatorback numbers: 4040440 PS no AC
4040420 PS no AC with UDP
- Jack the car up. (In my case, we had to dig a hole, drive the car over it and then lower the jack under it to lift the car. This is when having a super low car is a bad thing.)
- Remove serpentine belt and install new belt.
- Release air pressure on all the lines by loosening the caps.
- Unhook the AC hose in front of the car. It runs above and then under the radiator and attaches to the compressor on the right side.
- Compressor is right behind the radiator. 4 bolts hold it on. All of them use a 13mm socket. The bolts are pretty long, but you shouldn’t have an issue getting to them like I did. (My car was in a minor front end collision when I got it, unbeknownst to me when I got it. I didn’t discover till we went to remove the compressor that the bracket for the radiator was bent back, preventing us from getting to the last inside bolt on the compressor. Because of this the only way I can get to that bolt on mine is to remove the radiator. This is something I haven’t done yet, but I need to. All aspects of my AC system are out except for the compressor. You shouldn’t have this problem.)
- Unhook the rest of the lines from the compressor and the ones from the radiator and remove. Unplug connector on compressor and remove compressor.
- Unhook the AC lines at the firewall. I am going to make a block off plate to put over this area since I didn’t remove the block the lines hook into. That way, I can use it again if I ever put the AC back in. This will keep the dust and grime out of it. I’m sure there is a way to remove the block itself, but I did not look that part up. There is also a plug connector hooked back near the firewall, make sure you unplug that also.
- Unhook lines from both places on the drier/accumulator. The drier/accumulator should lift out of ‘grommet’ by windshield washer fluid bottle. It took a lot of figuring out and twisting to get the lines from the drier/accumulator to the fire wall out of the engine bay because of the motor mount and the strut bar. It may be easier to remove the strut bar, if your car has one.
- Remove the bottom section of lines from the drier/accumulator. These are a lot easier to remove than the upper lines.
- Make sure you tape off any places in the lines, firewall (where the block off plate is that I mentioned I was going to install), drier/accumulator, compressor, and hoses so that no air or dust gets inside them. This could cause a problem when the parts are used later if anything gets in them that shouldn’t be there.
**NOTE** This was done on a 2000-2001 Plymouth Neon. From what I have read 2003-2005 model neons have a slightly different set up with the drier/accumulator near the firewall and not by the left fender and washer fluid reservoir. 2000-2002 models use a drier/accumulator and 2003-2005 models use a condenser w/ orifice tube. That is the only difference I’ve read about the AC systems in the two “generations” of 2nd gens.
any questions...ask here or PM me
this was my first write up, so hopefully I made it understandable
Pictures:
function pointercursor(){document.body.style.cursor = "move";}function unpointercursor(){document.body.style.cursor=";}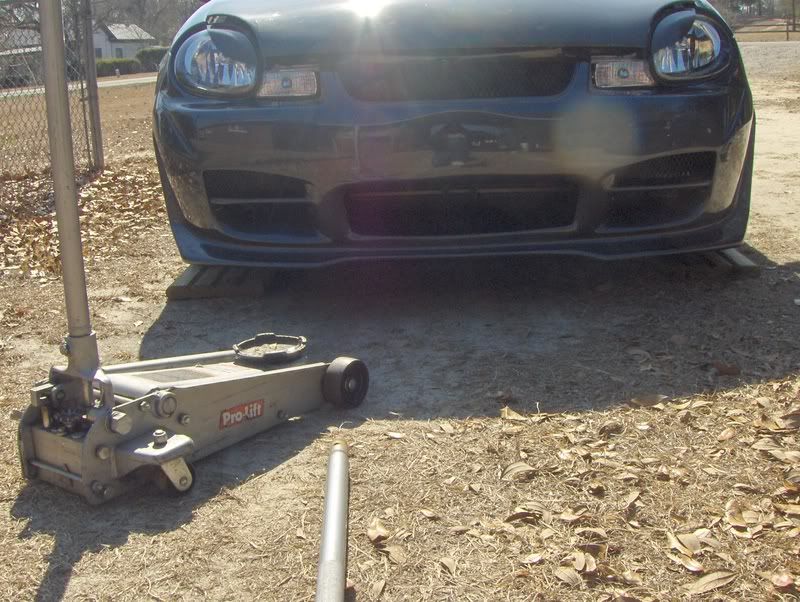
function pointercursor(){document.body.style.cursor = "move";}function unpointercursor(){document.body.style.cursor=";}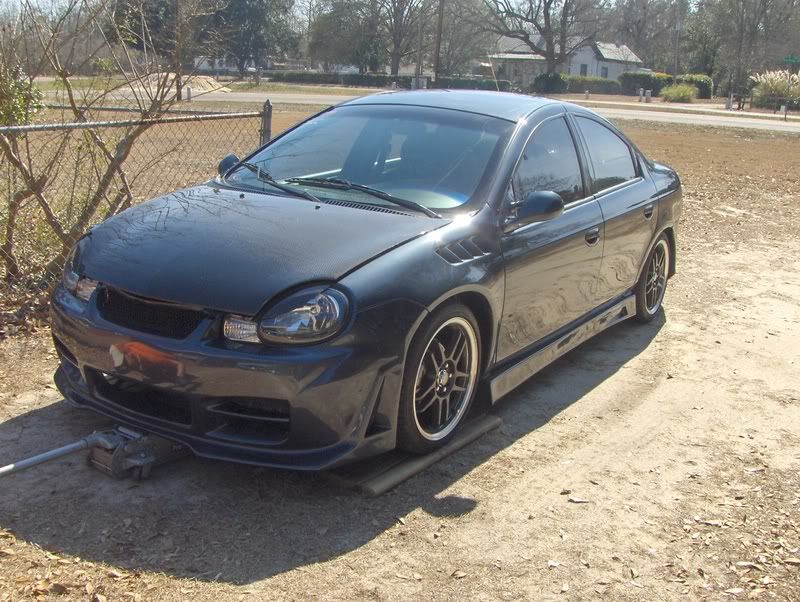
function pointercursor(){document.body.style.cursor = "move";}function unpointercursor(){document.body.style.cursor=";}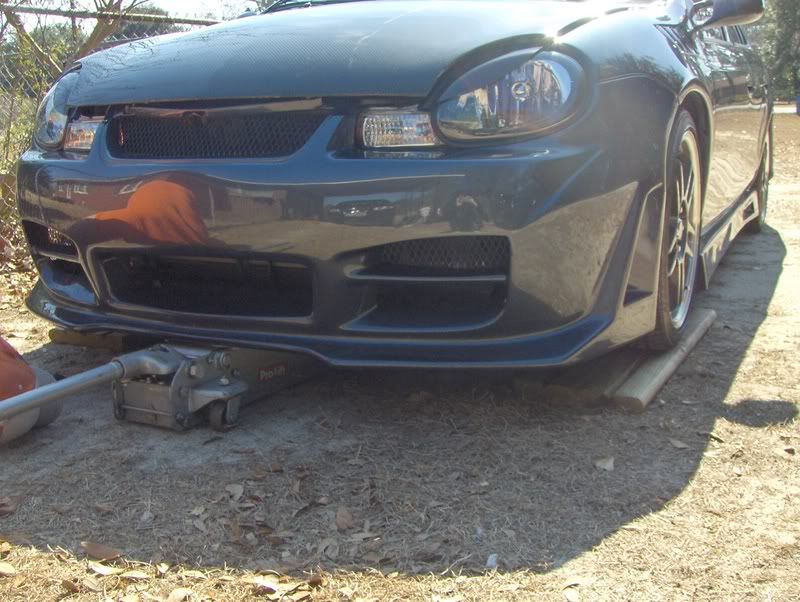
What it took to jack the car up
function pointercursor(){document.body.style.cursor = "move";}function unpointercursor(){document.body.style.cursor=";}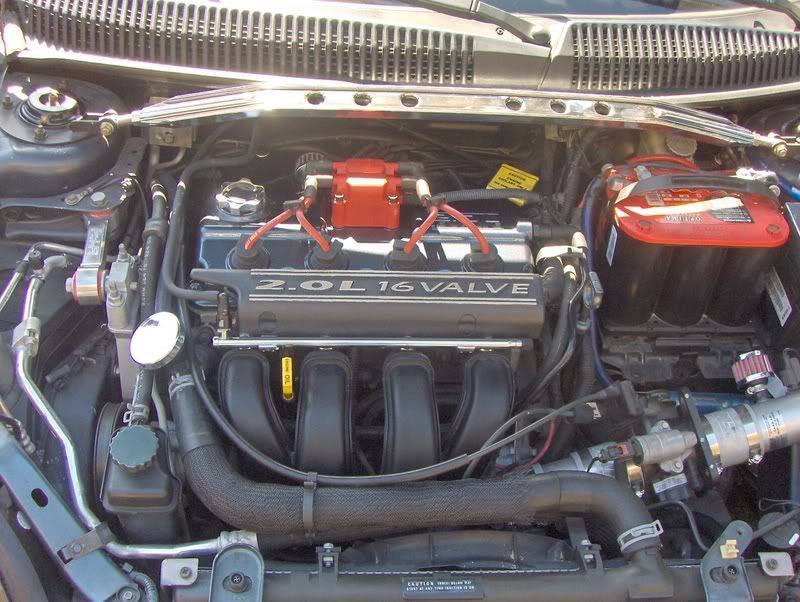
function pointercursor(){document.body.style.cursor = "move";}function unpointercursor(){document.body.style.cursor=";}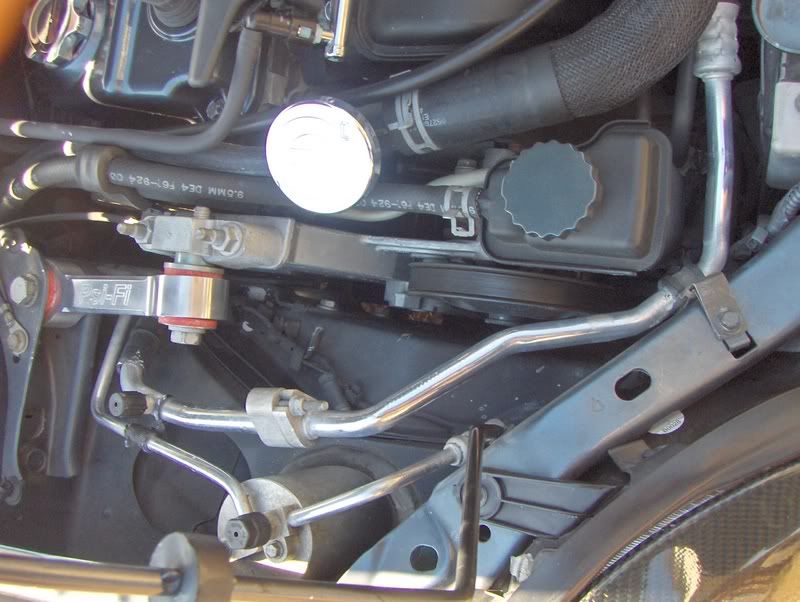
function pointercursor(){document.body.style.cursor = "move";}function unpointercursor(){document.body.style.cursor=";}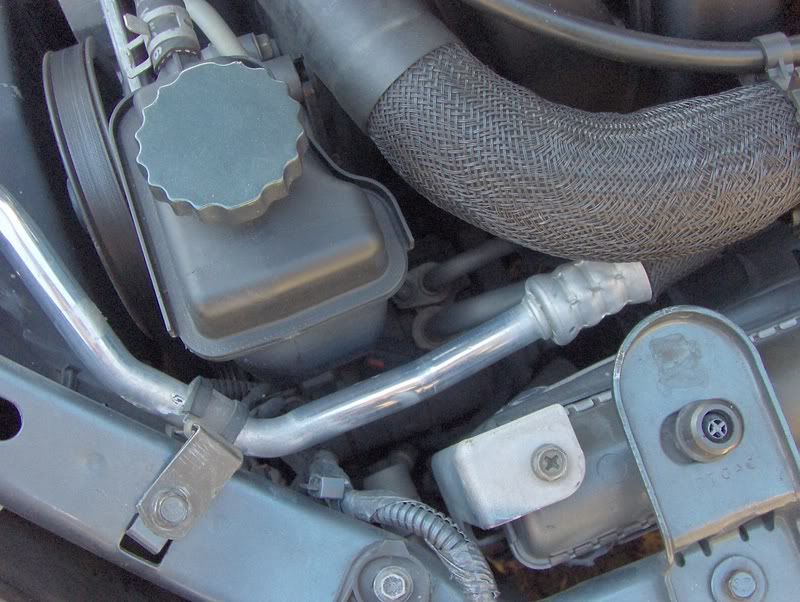
AFTER:
function pointercursor(){document.body.style.cursor = "move";}function unpointercursor(){document.body.style.cursor=";}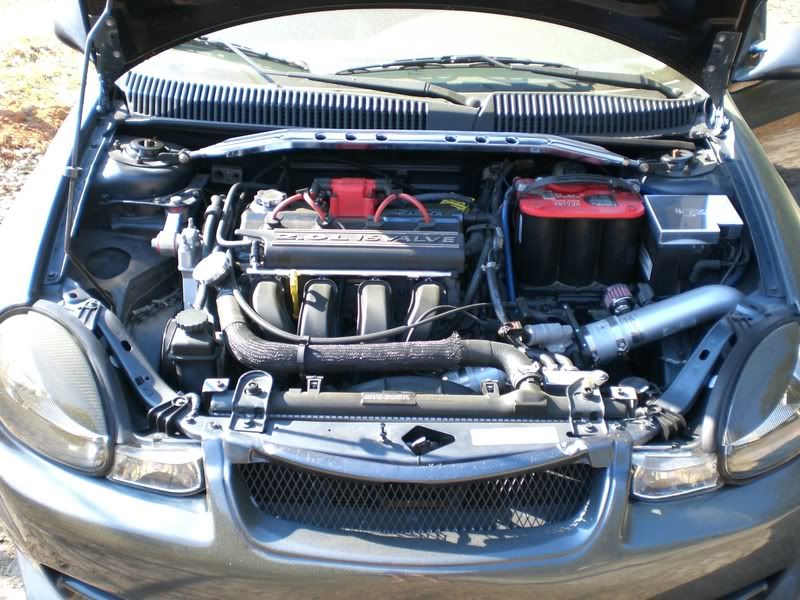
function pointercursor(){document.body.style.cursor = "move";}function unpointercursor(){document.body.style.cursor=";}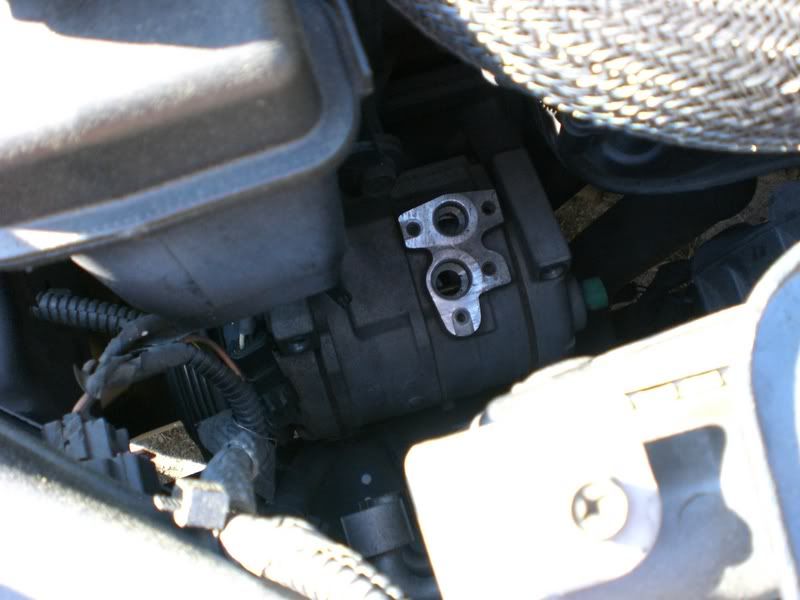
compressor
function pointercursor(){document.body.style.cursor = "move";}function unpointercursor(){document.body.style.cursor=";}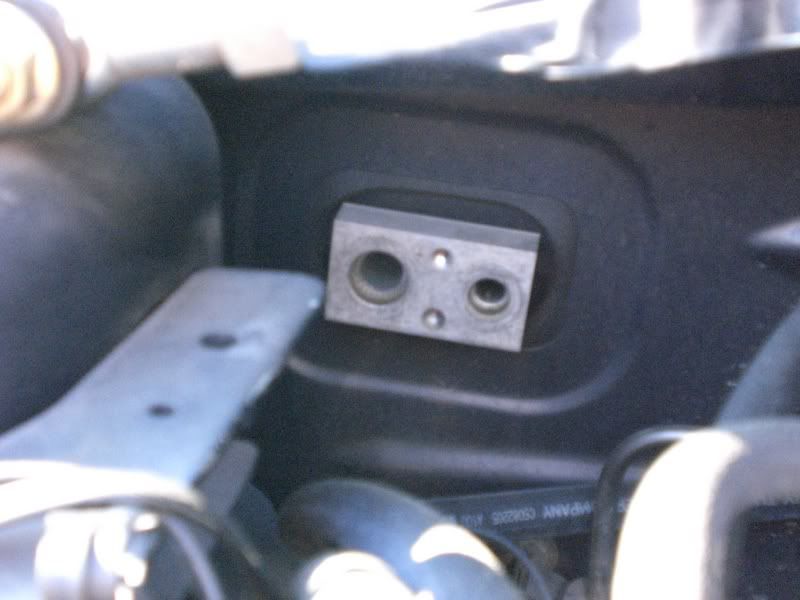
firewall
function pointercursor(){document.body.style.cursor = "move";}function unpointercursor(){document.body.style.cursor=";}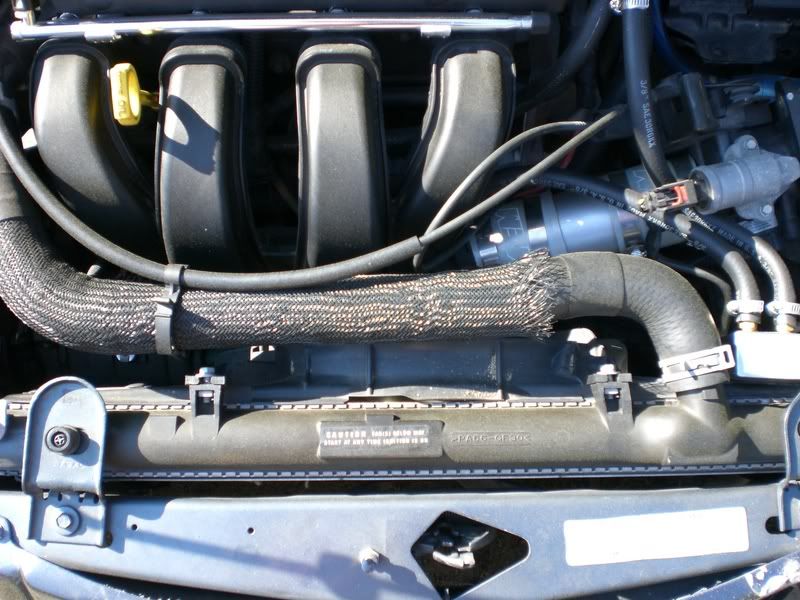
where upper hose was
function pointercursor(){document.body.style.cursor = "move";}function unpointercursor(){document.body.style.cursor=";}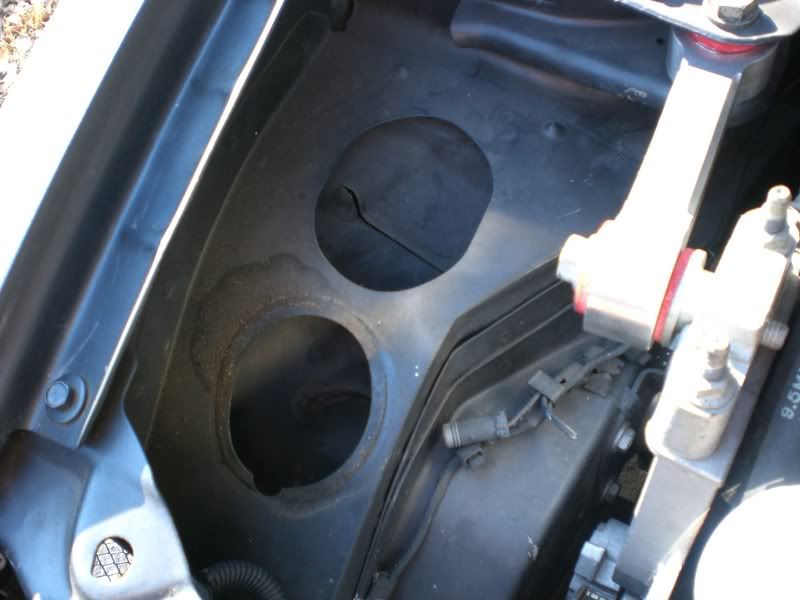
where accumulator was