

DIY - Front End Rebuild

Thread Starter
|
Grand Champion
Joined: Aug 2009
Posts: 5,971
Likes: 45
From: MAINE
Ok i have many pics from my front end build that i did. Well i said a while back i would do a DIY. Well here it is.
First things first. Jack up the front of the vehicle, and put some blocks behind rear wheels....i know we have RWD trucks, and when in park they wont move, but i like playing it safe.
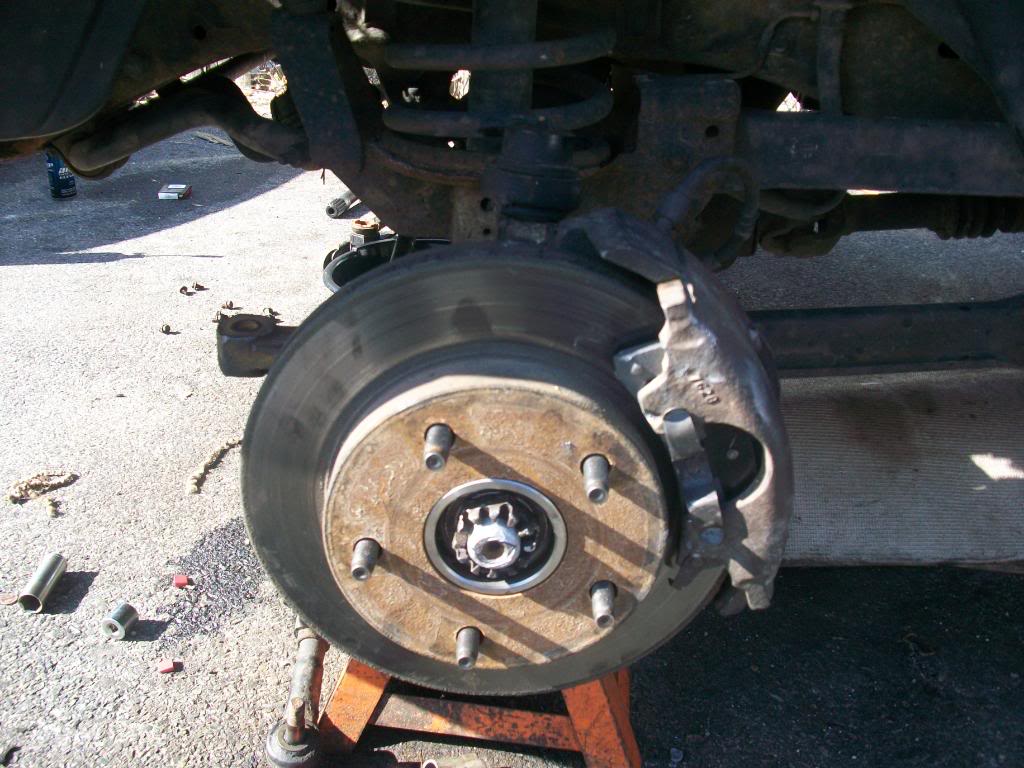
ok, now its time to remove brake calipers, and bracket, so you can get the rotor off. Once you have the rotor off, its time to disassemble the hub assembly. this will require you to turn the wheel back and forth.
There are three 12 point 14mm bolts that go in the back. You will need to turn the wheel to get to all of them.
This can be a very difficult part for those who dont have power tools. You need to get the Hub Nut off. Its a 1 11/16 socket. I broke my 1/2in breaker bar on this. I had to go buy a 3/4in breaker bar and an extra 2 feet of pipe so i could have leverage.
After you get the hub nut off, make sure you keep the washer and nut together.
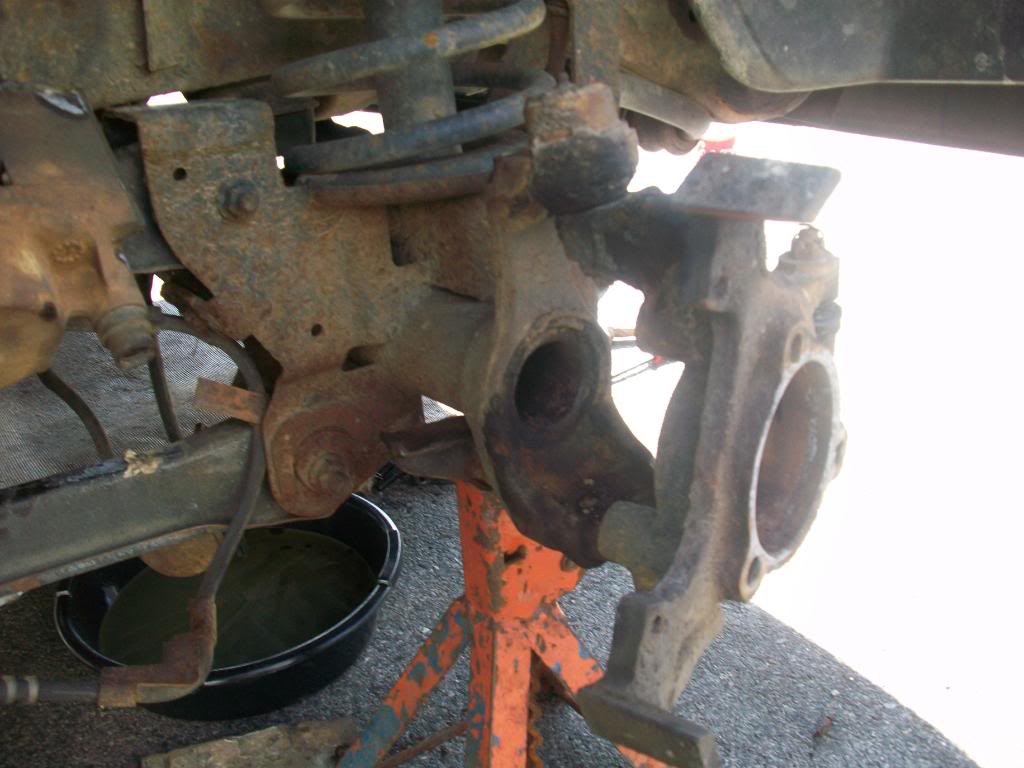
Now once they are off, its time to remove the Hub. It can be very hard and you may need to rent a slide hammer to get it off.
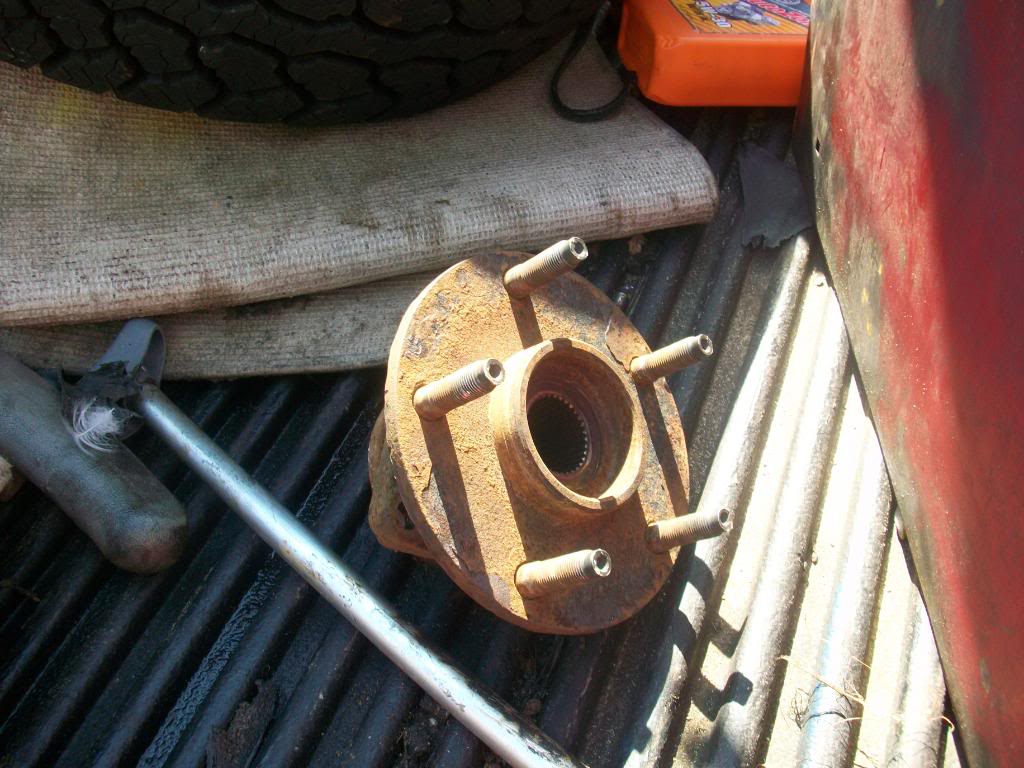
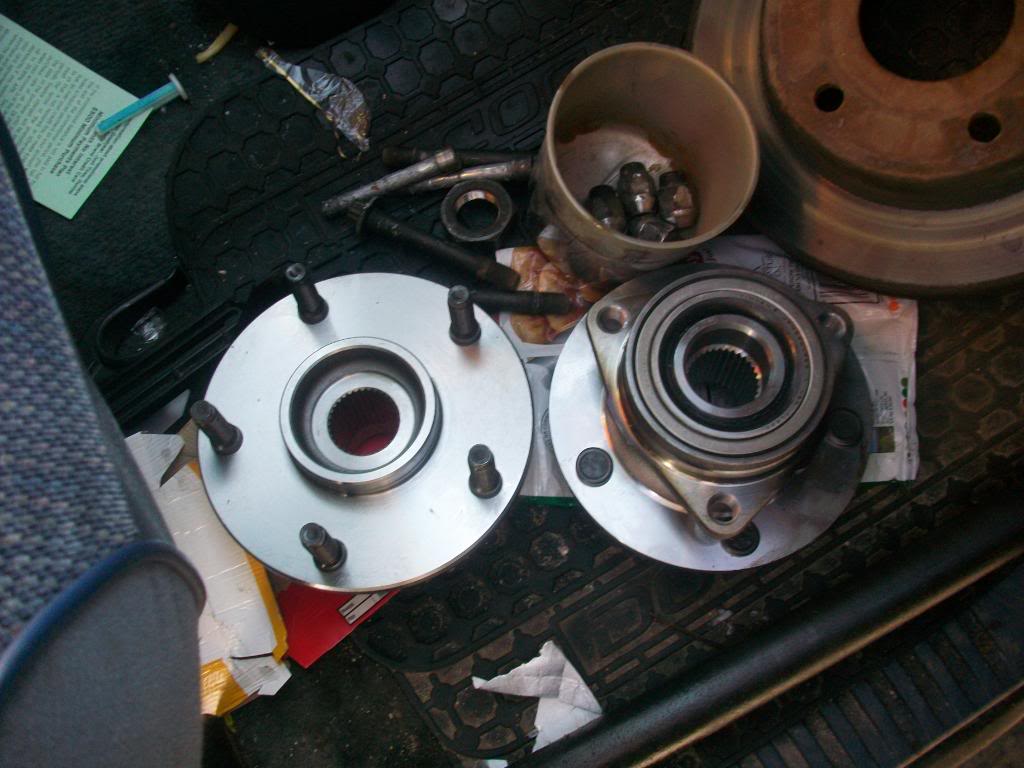
heres my old Hub assembly..
do the same to both sides.
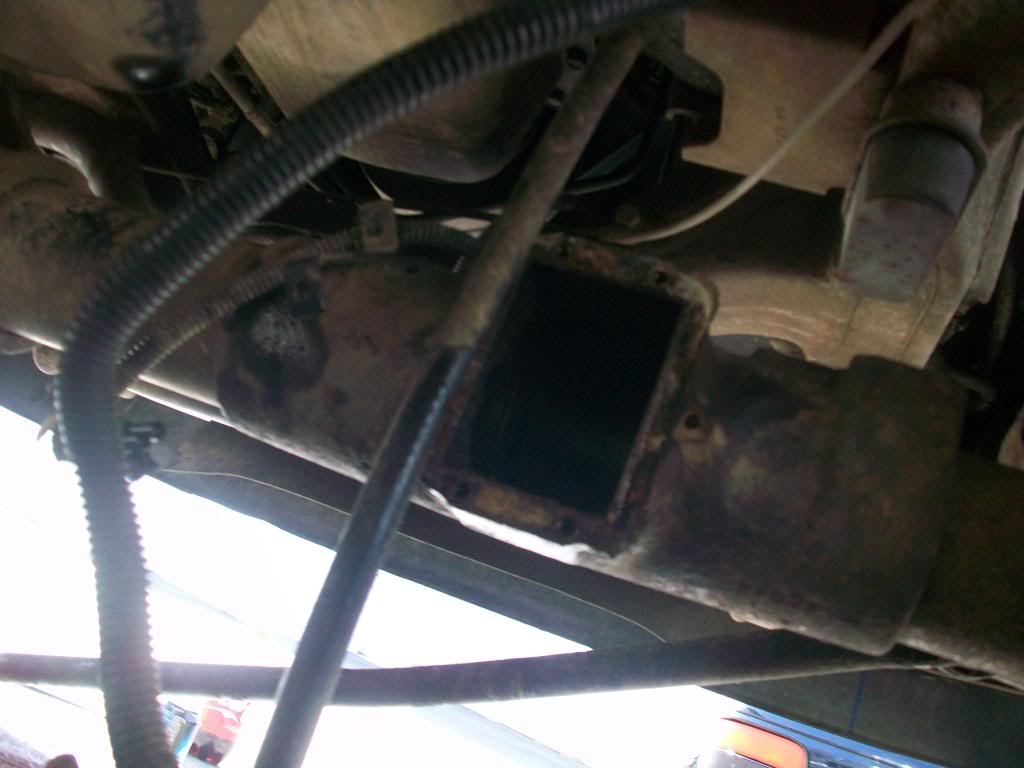
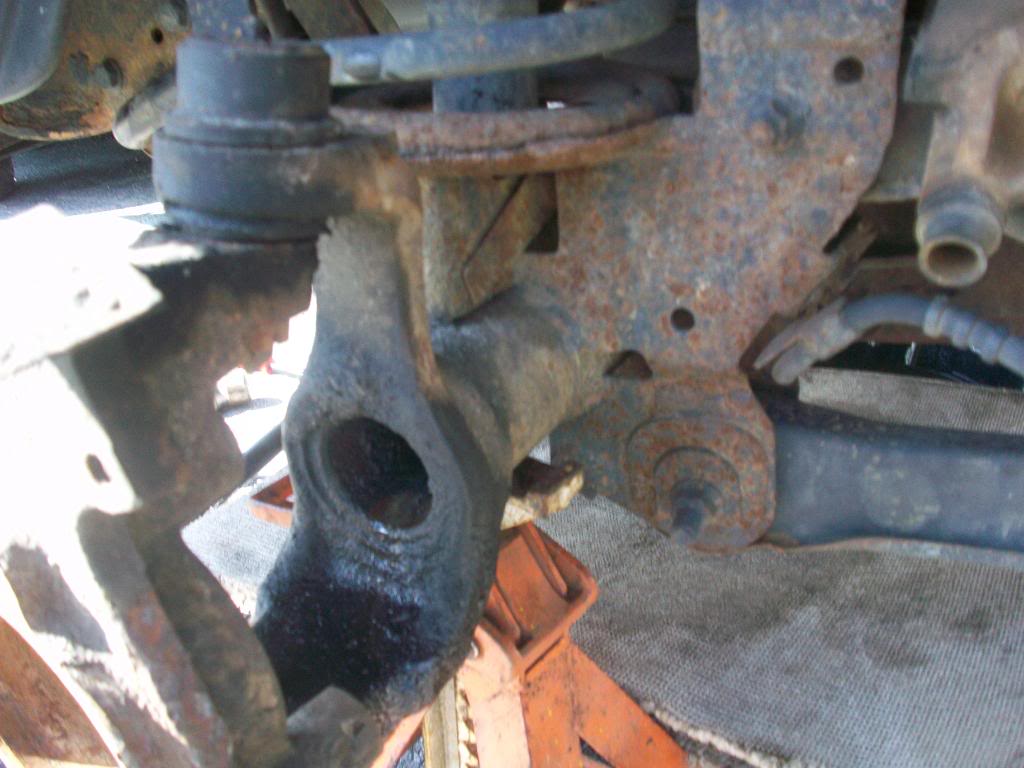
Now you must remove the CAD. This is located on the back side of the front axle on the passenger side. Its rectangular. if i remember correctly they are 13 mm bolts holding it on. Theres no need to unplug anything, just unbolt it from axle tube and put it out of the way.

The reason you need to do this is because if you are replacing the Drivers side axle seal, the carrier needs to be removed. We will get to that in a minute.
Now that you have the CAD out, pull out both axle shafts. Then go into the CAD housing and you will find another shaft slide it out, and make sure you have the collar as well.
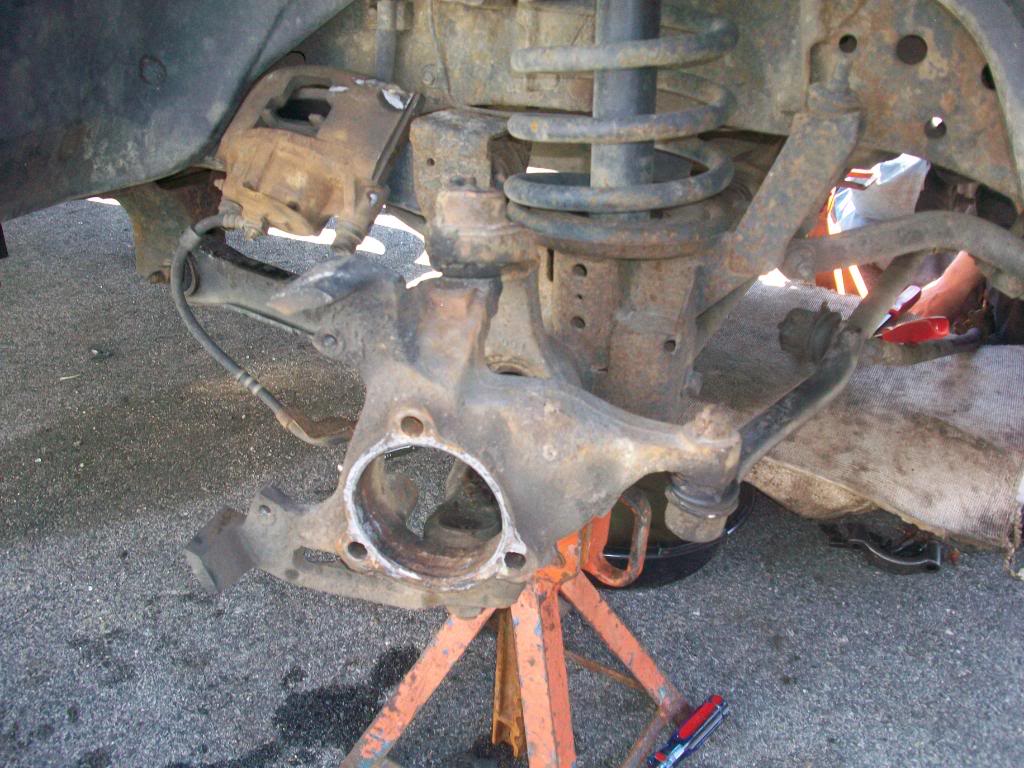
Now to take out the carrier. There are 12 12mm bolts holding it on. But first undo the tierod. Its a 3/4in socket i believe. and after you get the nut off, just hit the knuckle with a hammer and it will fall down. Now take off the diff cover.
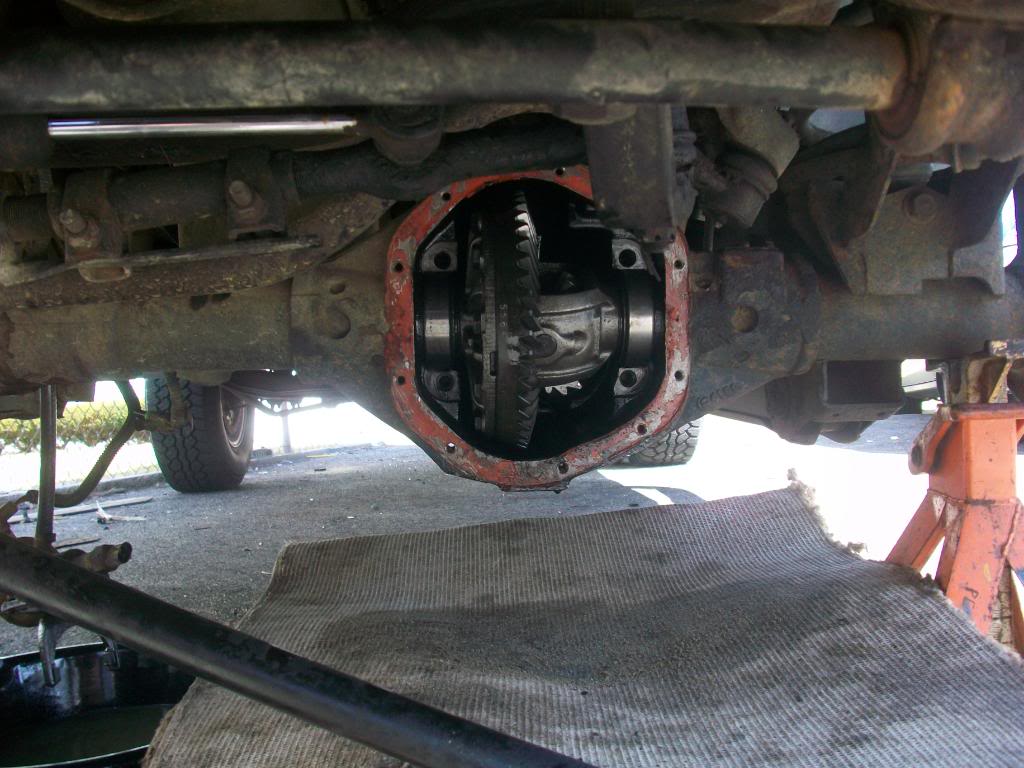
Now you need to take out the carrier. This can be a B!TCH. i had to use my 3/4 in breaker bar with a 3/4in socket and i got the 4 bolts free. they are torqued to around 80 ft lbs. so it can be difficult. BE SURE NOT TO STRIP THE BOLTS. It doesnt have a lot of bite when socket is on.
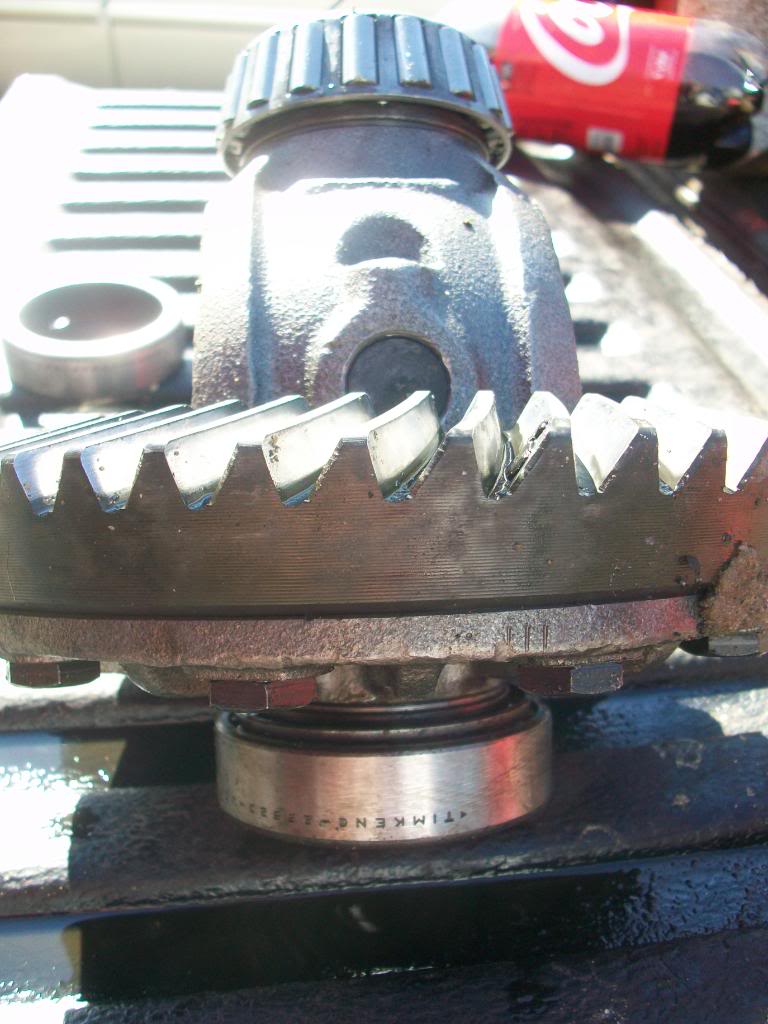
After you remove the bolts, take off the bearings races.
For the hard part. You need to pry the carrier out. Many people have had luck with a come along. I Used 2 pry bars and muscle and got it out.
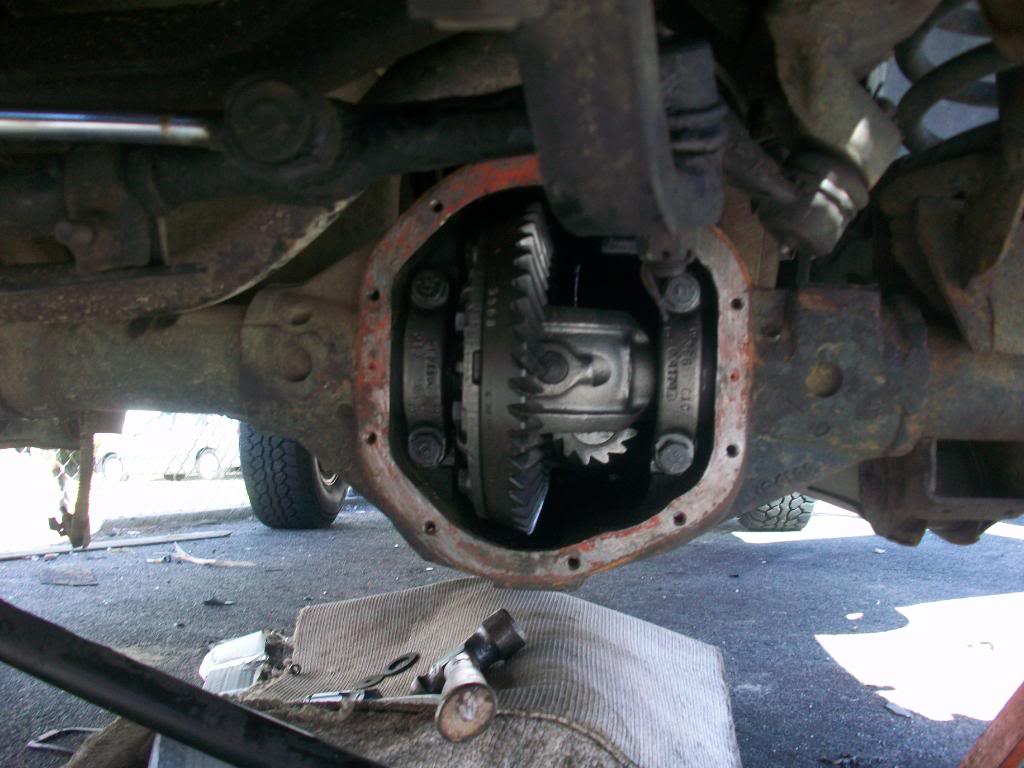
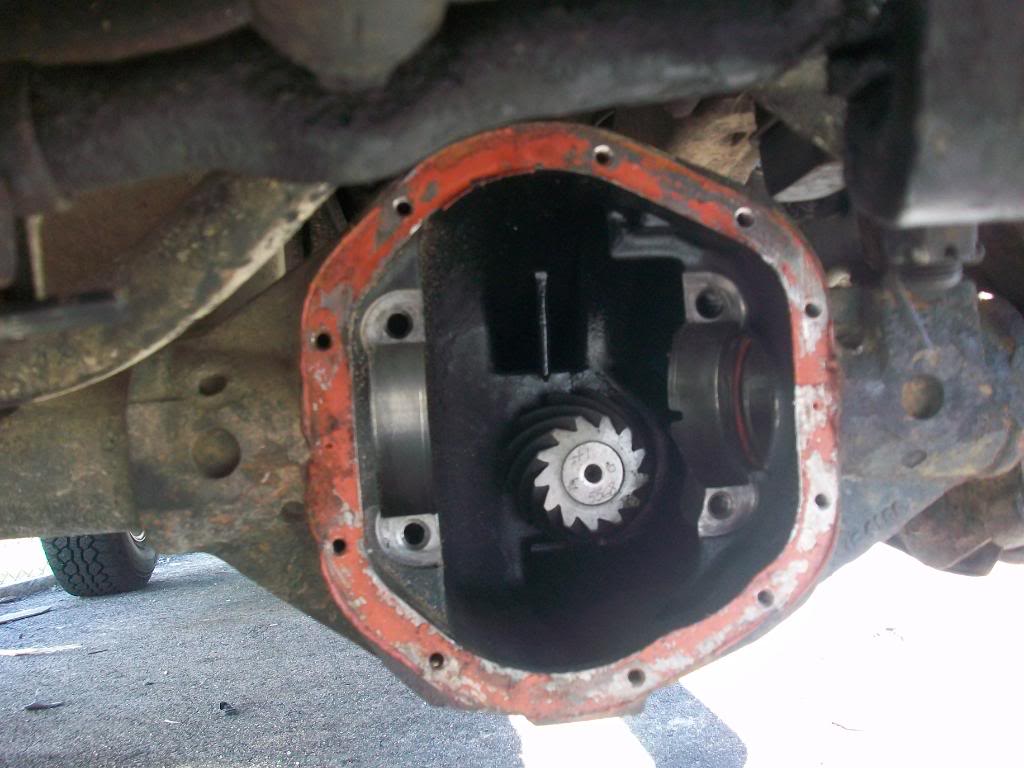

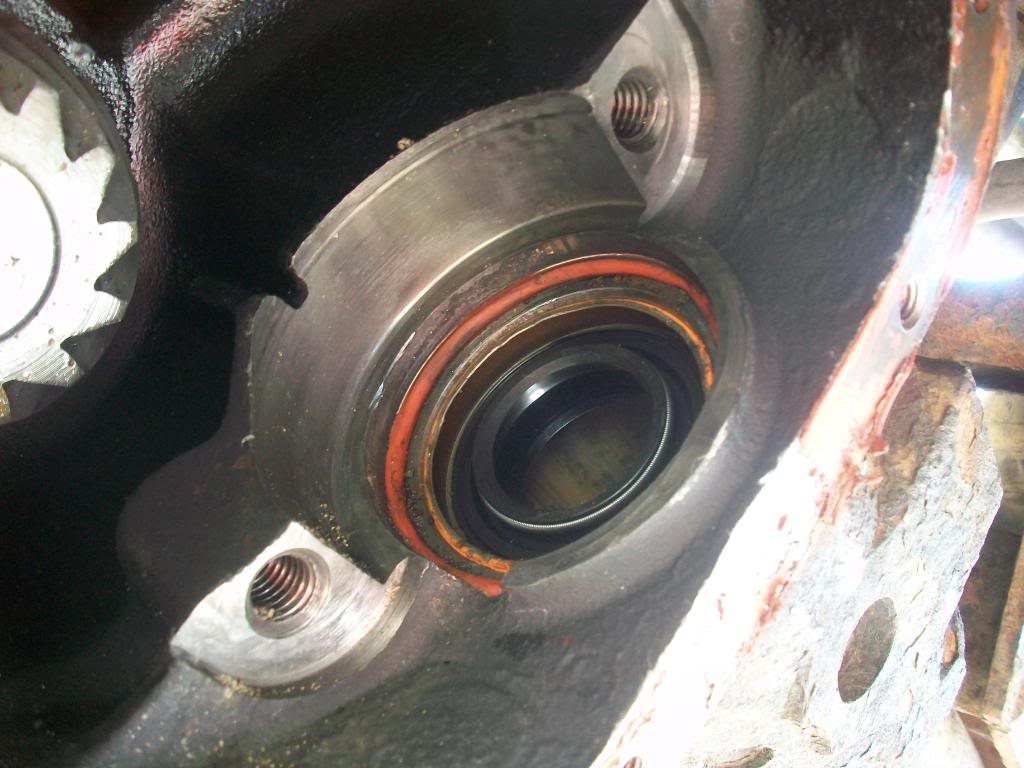
Now you will be able to see the drivers axle seal. use a broom end or something, and go through the axle tube, and knock the old seal into the pumpkin.
heres the old seal
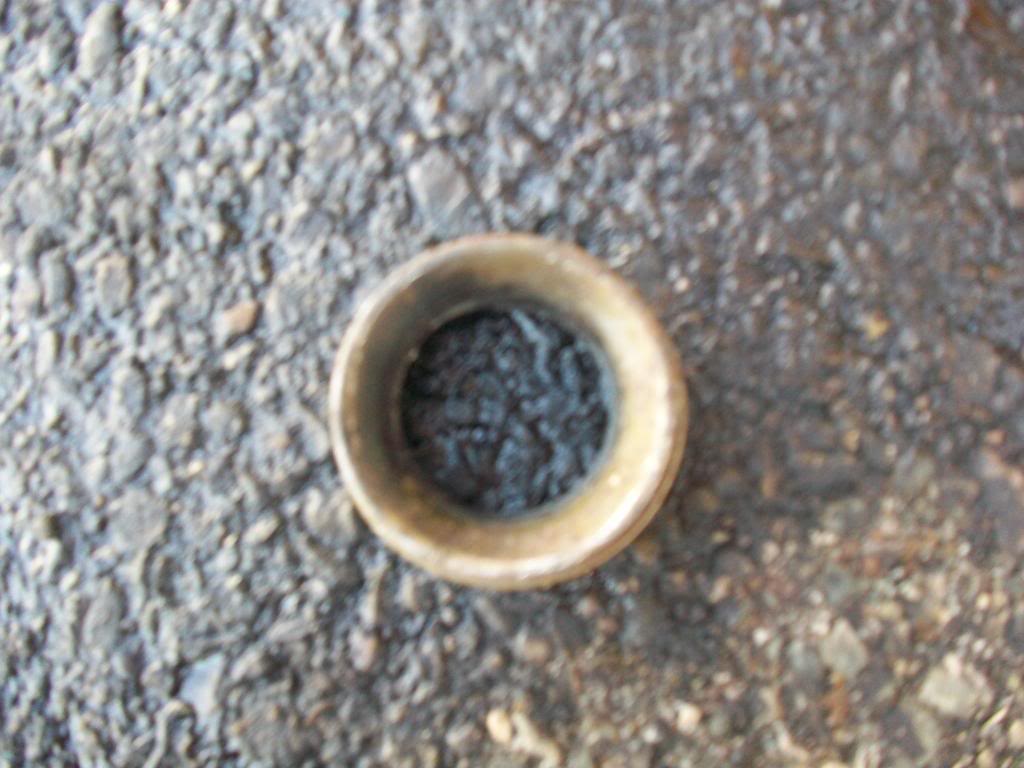
This seal is easy. I put gear oil around it, and put it in best i could. Then i took my 1 11/16 socket, put it on, and i was able to hammer it in through the pumpkin.
heres the new seal
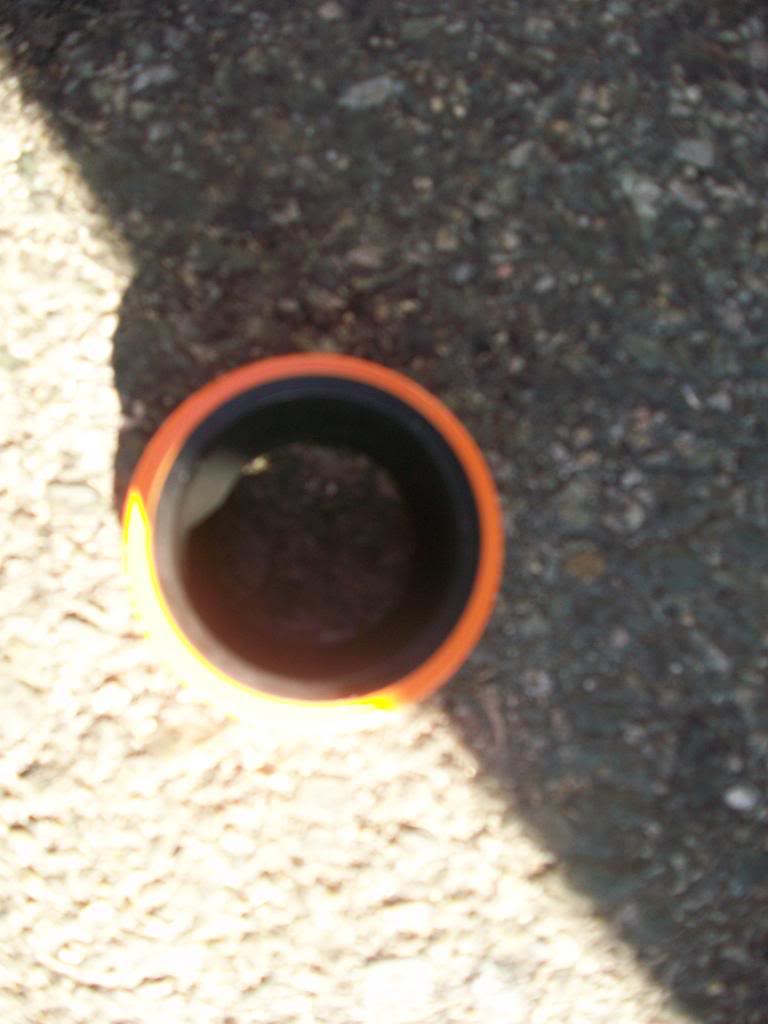
seal in truck
The pass. side seal is in the CAD, put your broom/rod or whatever and knock that seal into the CAD. This one is hard. You need to make your own custome slide hammer with threaded rod, washers and nuts. Took me about 10 seals to finally get it right. It needs to go in through the CAD, but theres no room to hit it, thats why you need the threaded rod.
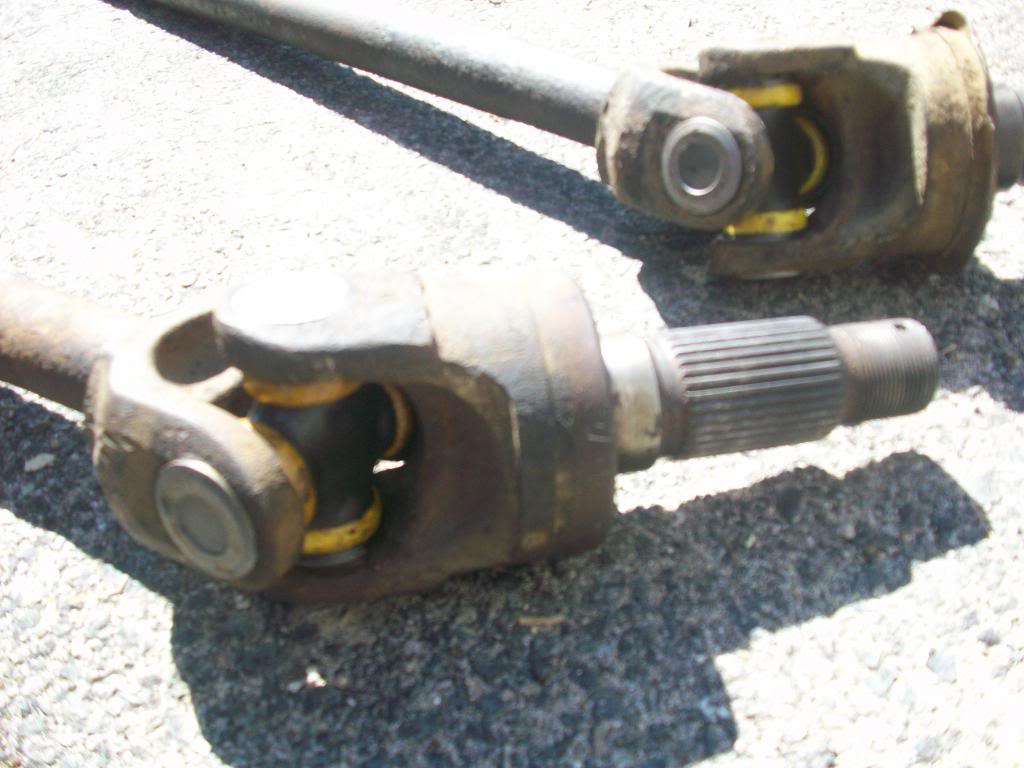
Now i did alot of extras when i had everything apart. I brought my axle shafts downto the local machine shop and they put new u-joints in. cost me around 30 bucks,

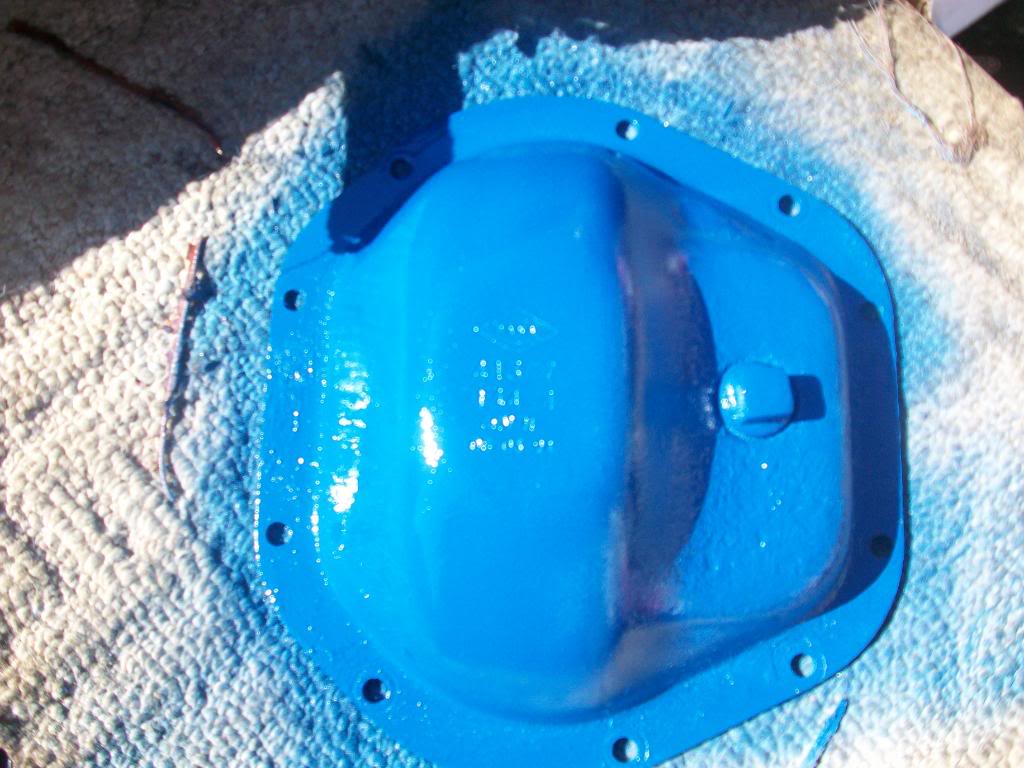
i also decided to paint the diff cover.

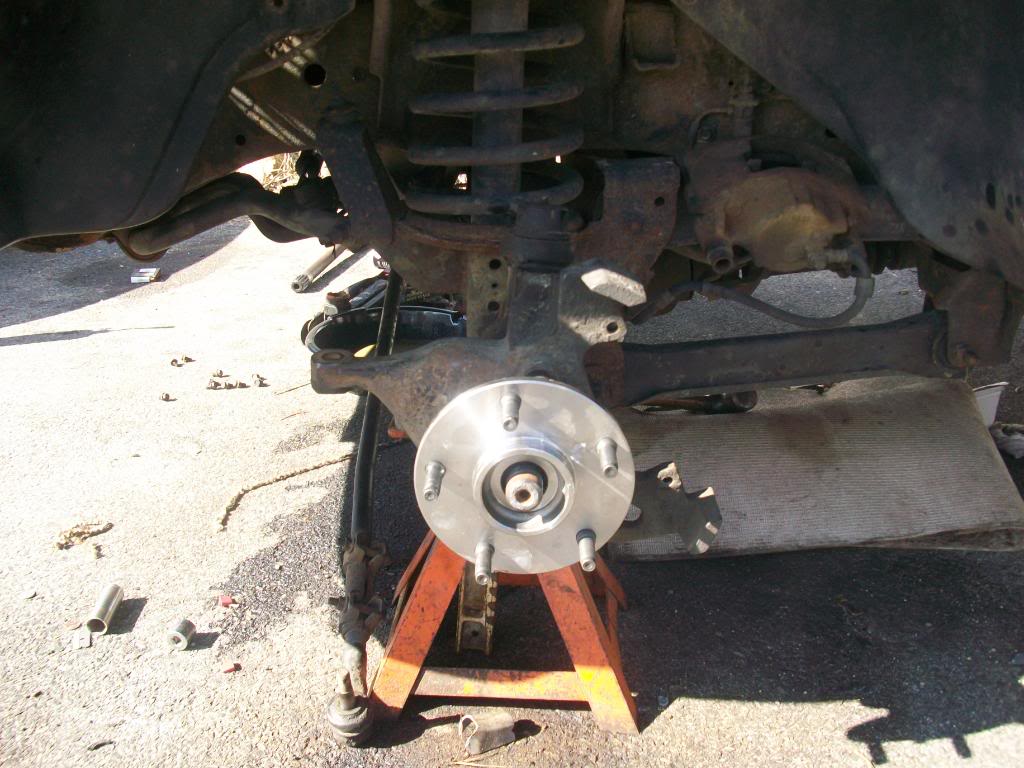
Also new hub assemblys.
Installation is opposite of removal. I hope this has has helped some of you in need of front end work. ANY questions please feel free to ask me. Ive ripped apart my front end like 8 times. I have it down.
And for fun heres some pics of it being put back together.
SORRY BUT SOME OF THE PICS ARE OUT OF ORDER
First things first. Jack up the front of the vehicle, and put some blocks behind rear wheels....i know we have RWD trucks, and when in park they wont move, but i like playing it safe.
ok, now its time to remove brake calipers, and bracket, so you can get the rotor off. Once you have the rotor off, its time to disassemble the hub assembly. this will require you to turn the wheel back and forth.
There are three 12 point 14mm bolts that go in the back. You will need to turn the wheel to get to all of them.
This can be a very difficult part for those who dont have power tools. You need to get the Hub Nut off. Its a 1 11/16 socket. I broke my 1/2in breaker bar on this. I had to go buy a 3/4in breaker bar and an extra 2 feet of pipe so i could have leverage.
After you get the hub nut off, make sure you keep the washer and nut together.
Now once they are off, its time to remove the Hub. It can be very hard and you may need to rent a slide hammer to get it off.
heres my old Hub assembly..
do the same to both sides.
Now you must remove the CAD. This is located on the back side of the front axle on the passenger side. Its rectangular. if i remember correctly they are 13 mm bolts holding it on. Theres no need to unplug anything, just unbolt it from axle tube and put it out of the way.
The reason you need to do this is because if you are replacing the Drivers side axle seal, the carrier needs to be removed. We will get to that in a minute.
Now that you have the CAD out, pull out both axle shafts. Then go into the CAD housing and you will find another shaft slide it out, and make sure you have the collar as well.
Now to take out the carrier. There are 12 12mm bolts holding it on. But first undo the tierod. Its a 3/4in socket i believe. and after you get the nut off, just hit the knuckle with a hammer and it will fall down. Now take off the diff cover.
Now you need to take out the carrier. This can be a B!TCH. i had to use my 3/4 in breaker bar with a 3/4in socket and i got the 4 bolts free. they are torqued to around 80 ft lbs. so it can be difficult. BE SURE NOT TO STRIP THE BOLTS. It doesnt have a lot of bite when socket is on.
After you remove the bolts, take off the bearings races.
For the hard part. You need to pry the carrier out. Many people have had luck with a come along. I Used 2 pry bars and muscle and got it out.
Now you will be able to see the drivers axle seal. use a broom end or something, and go through the axle tube, and knock the old seal into the pumpkin.
heres the old seal
This seal is easy. I put gear oil around it, and put it in best i could. Then i took my 1 11/16 socket, put it on, and i was able to hammer it in through the pumpkin.
heres the new seal
seal in truck
The pass. side seal is in the CAD, put your broom/rod or whatever and knock that seal into the CAD. This one is hard. You need to make your own custome slide hammer with threaded rod, washers and nuts. Took me about 10 seals to finally get it right. It needs to go in through the CAD, but theres no room to hit it, thats why you need the threaded rod.
Now i did alot of extras when i had everything apart. I brought my axle shafts downto the local machine shop and they put new u-joints in. cost me around 30 bucks,
i also decided to paint the diff cover.
Also new hub assemblys.
Installation is opposite of removal. I hope this has has helped some of you in need of front end work. ANY questions please feel free to ask me. Ive ripped apart my front end like 8 times. I have it down.
And for fun heres some pics of it being put back together.
SORRY BUT SOME OF THE PICS ARE OUT OF ORDER