

Edelbrock Open Element Air Cleaner Install

Thread Starter
|
Registered User
Joined: Apr 2017
Posts: 4
Likes: 0
From: Oregon
Well I finally installed my Edelbrock air cleaner the other day. I'm really stoked on how it turned out and since I got the idea from this forum I figured I would share how mine went. I don't intend on this to be a DIY just sharing my project and since when I was searching I found a lot of pics were broken so maybe it'll help answer some questions for other users on here.
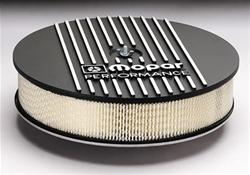
I decided to go with this kit since I wasn't really feeling the aftermarket intakes (especially the price) and the open element kit looks really clean. Originally I wanted to used the Mopar Performance kit since it looks really good and it matches their valve covers that I hope to get soon, but it is only a 12" air cleaner and this Edelbrock kit is a 14x3 filter. Plus this one is cheaper than the Mopar kit.
The whole install was pretty simple and I had some fun with it. To start I removed the stock system which opened up a lot of room on the passenger side, then I test fit the base to take some measurements. I did have to remove a bracket that is for the rubber mount for the stock air box which isn't needed anymore anyway, it went from the intake to the back side of the alternator mount. It did share a nut with a hold down for the A/C lines that run to the passenger side, leave that hold down on to support the lines and just reinstall the nut. With the bracket removed my drop base fit directly on the throttle body and didn't have to use the throttle body spacer I've heard others run (reused the stock gasket). I bent up my own "S Bolt" out of a 1/4x20 bolt (I believe that was the correct size). Using my vise, I put two nuts on the bolt and bent it with my hands to match the measurements I found for the hole in the throttle body and the hole in the top of the air cleaner. I installed the bolt in the throttle body with some blue loctite and a jam nut so it won't move when I remove the aircleaner down the road. Then just installed the filter and top hat using the Edelbrock supplied wing nut. I didn't put a breather on my right valve cover since I'm going to install a catch can, but you can find one at your parts store or online.
On to the pics!
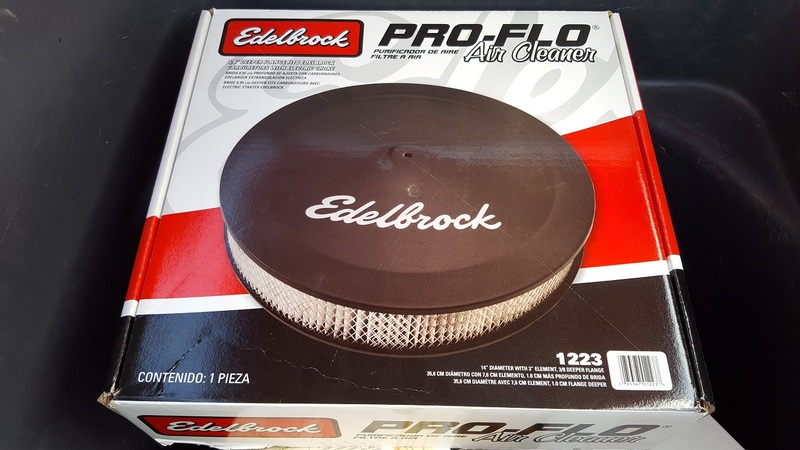
Here is the Edelbrock kit P/N1223:
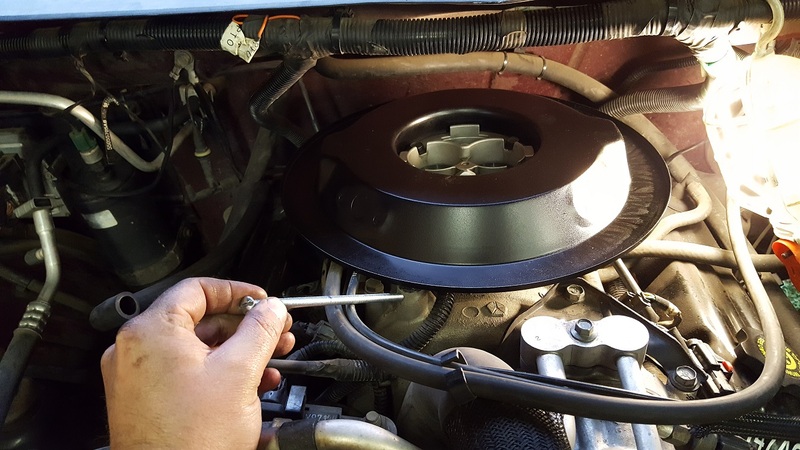
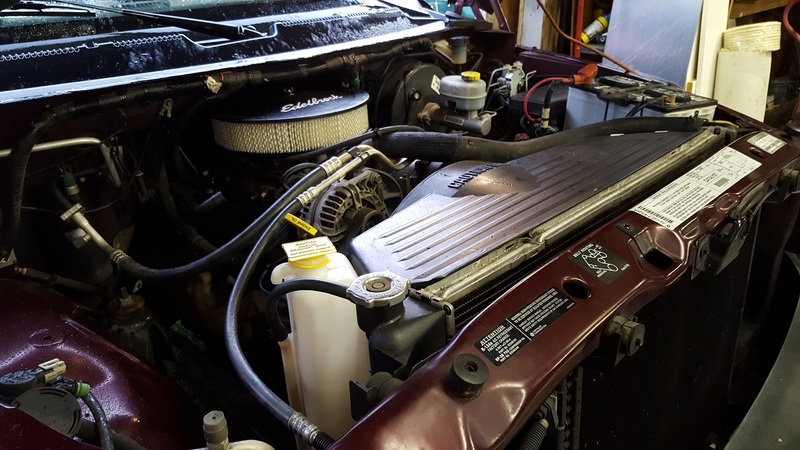
Test fitting the base, I'm pointing to the boss the bracket mounted to on the intake.
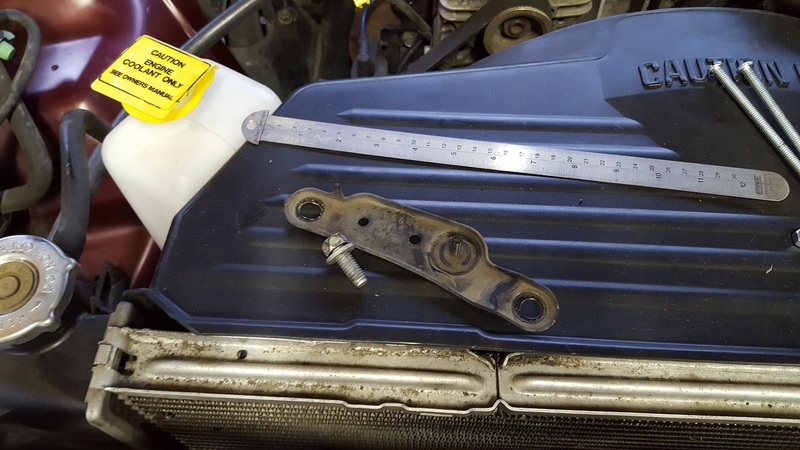
The bracket in question.
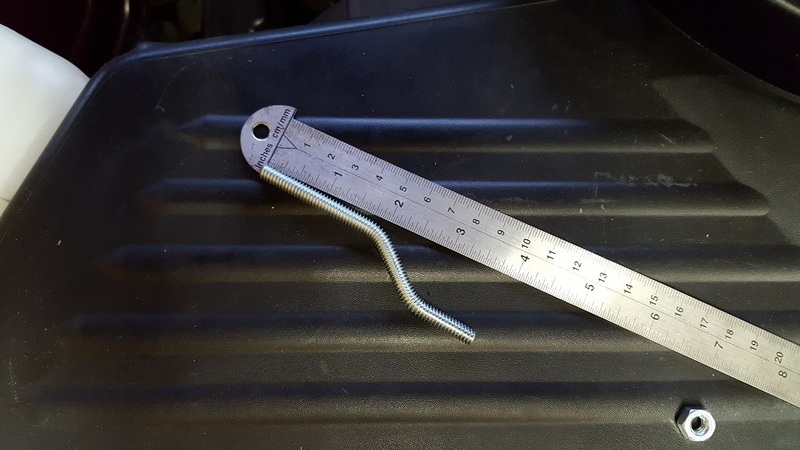
Here is the S bolt. I started with a 1/4x20 6" long bolt, gave it an offset which was about 3/4" and then cut it to size and filed it to make it pretty.
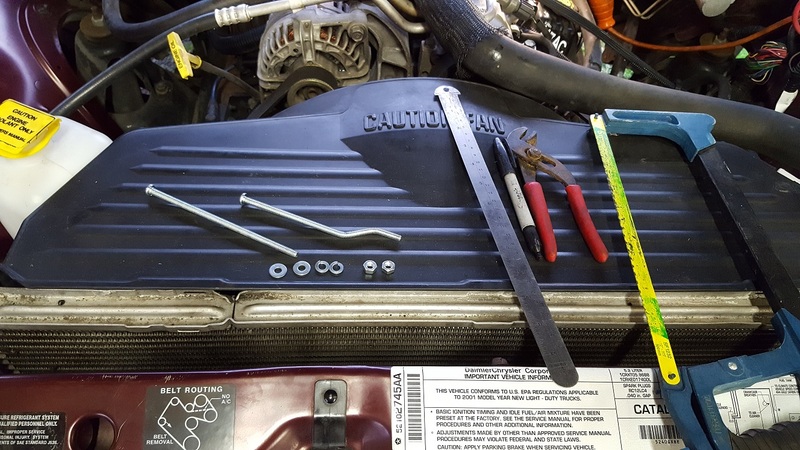
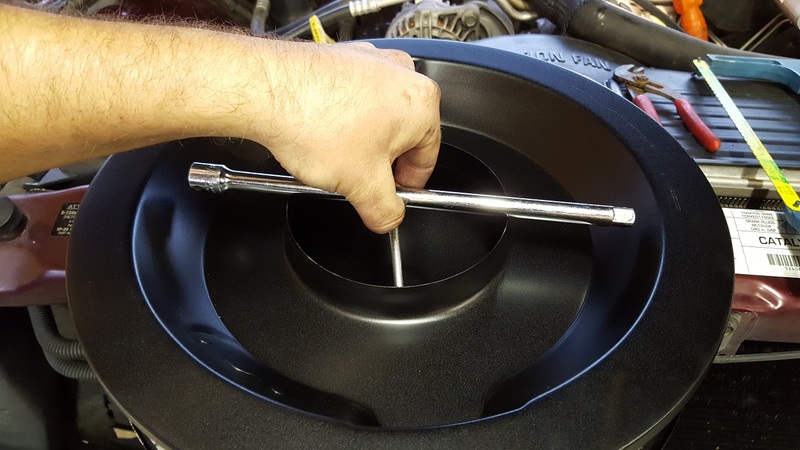
To figure out what length I needed to cut the bolt to, I took my spare bolt and with the air cleaner assembled (upside down) I put the bolt through the hole and used a socket extension to find the mating surface. Don't forget to add how much is screwed into the throttle body and enough for the wing nut on top.
Finished S Bolt. Mine was 3 3/4" long, but probably could be another 1/8" shorter as I have a couple threads sticking out of the top of my wing nut. Can't have that!
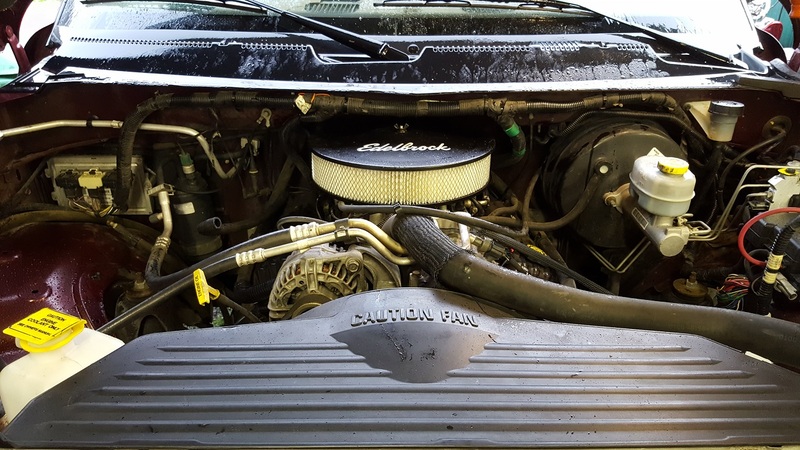
Installed the filter and top hat... Ooooh, so nice.
This is the Mopar filter kit. Doesn't it look good! I probably would have gone with this kit, but just didn't want to fork out the extra money for it.
So I would definitely recommend this project to anyone thinking about it. Overall it's pretty inexpensive, I had some fun doing the install, and I definitely noticed some low/mid range power and it sounds good too. It has bit of a howl at part throttle similar to most aftermarket filter/intake setups. I don't know of any MPG gains yet, but I'll get a few tanks through it and report back.
Thanks for looking
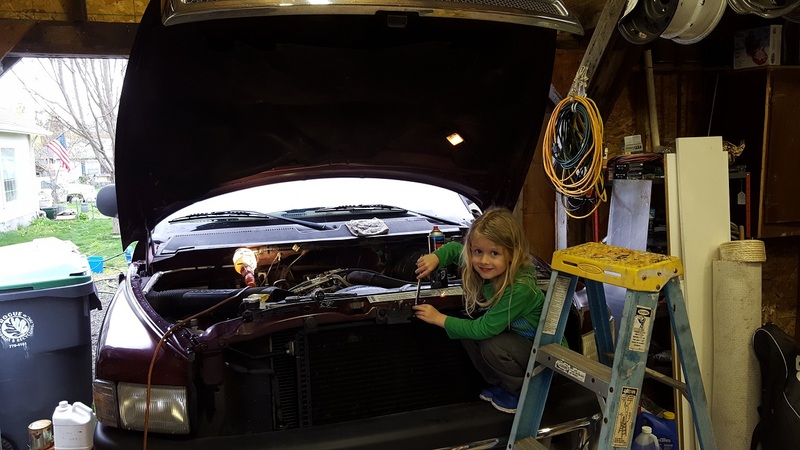
Here's my son helping out dad on the truck
I decided to go with this kit since I wasn't really feeling the aftermarket intakes (especially the price) and the open element kit looks really clean. Originally I wanted to used the Mopar Performance kit since it looks really good and it matches their valve covers that I hope to get soon, but it is only a 12" air cleaner and this Edelbrock kit is a 14x3 filter. Plus this one is cheaper than the Mopar kit.
The whole install was pretty simple and I had some fun with it. To start I removed the stock system which opened up a lot of room on the passenger side, then I test fit the base to take some measurements. I did have to remove a bracket that is for the rubber mount for the stock air box which isn't needed anymore anyway, it went from the intake to the back side of the alternator mount. It did share a nut with a hold down for the A/C lines that run to the passenger side, leave that hold down on to support the lines and just reinstall the nut. With the bracket removed my drop base fit directly on the throttle body and didn't have to use the throttle body spacer I've heard others run (reused the stock gasket). I bent up my own "S Bolt" out of a 1/4x20 bolt (I believe that was the correct size). Using my vise, I put two nuts on the bolt and bent it with my hands to match the measurements I found for the hole in the throttle body and the hole in the top of the air cleaner. I installed the bolt in the throttle body with some blue loctite and a jam nut so it won't move when I remove the aircleaner down the road. Then just installed the filter and top hat using the Edelbrock supplied wing nut. I didn't put a breather on my right valve cover since I'm going to install a catch can, but you can find one at your parts store or online.
On to the pics!
Here is the Edelbrock kit P/N1223:

Test fitting the base, I'm pointing to the boss the bracket mounted to on the intake.

The bracket in question.

Here is the S bolt. I started with a 1/4x20 6" long bolt, gave it an offset which was about 3/4" and then cut it to size and filed it to make it pretty.

To figure out what length I needed to cut the bolt to, I took my spare bolt and with the air cleaner assembled (upside down) I put the bolt through the hole and used a socket extension to find the mating surface. Don't forget to add how much is screwed into the throttle body and enough for the wing nut on top.

Finished S Bolt. Mine was 3 3/4" long, but probably could be another 1/8" shorter as I have a couple threads sticking out of the top of my wing nut. Can't have that!

Installed the filter and top hat... Ooooh, so nice.


This is the Mopar filter kit. Doesn't it look good! I probably would have gone with this kit, but just didn't want to fork out the extra money for it.

So I would definitely recommend this project to anyone thinking about it. Overall it's pretty inexpensive, I had some fun doing the install, and I definitely noticed some low/mid range power and it sounds good too. It has bit of a howl at part throttle similar to most aftermarket filter/intake setups. I don't know of any MPG gains yet, but I'll get a few tanks through it and report back.
Thanks for looking
Here's my son helping out dad on the truck
