

Official Beefy the Dodge build thread!!

Thread Starter
|
Veteran
Joined: Jul 2010
Posts: 263
Likes: 0
From: cocoa beach, fl
Well this is going to be it, i will post all of my build pics as well as progress pics and step by step. Here is the planned list of upgrades on the table for the next couple of weeks.
-6 inch custom fabbed suspension lift.
-37x12.50x17 tires.
-twin 16 inch electric fans, with custom fiberglass fan shroud.
-custom fiberglass dash top with twin guage cluster
-led instrument panel illumination.
-some custom grille and lighting work (havnt decided on exact design yet)
I run a full custom vehicle fabrication shop, so all work will be done there. as of right now i have made the dash cast, still need to make inserts for guages and plexiglass. and i have also installed the control module for the fans. if you want me to post those pics i will, just ask
today i just recieved my lift springs
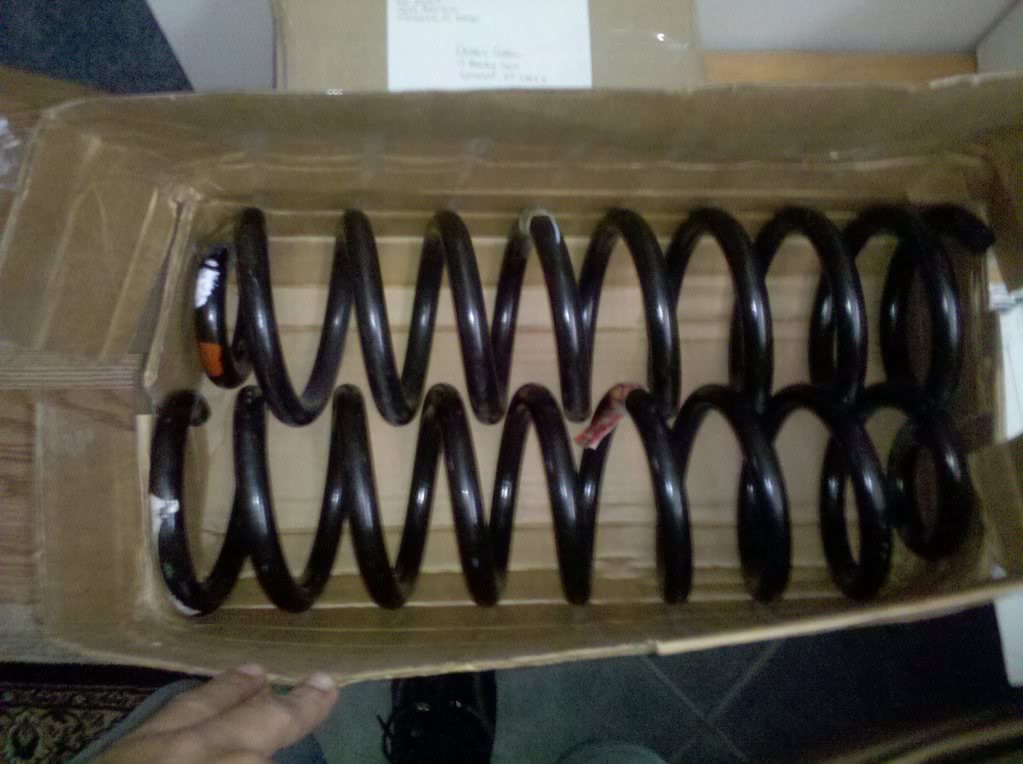
that will be my project for today, i am going to build a drop down bracket for the front lower control arms. once the front is up, i will do a shackle flip out back, and that should put me where i need to be. Stay tuned!!
-6 inch custom fabbed suspension lift.
-37x12.50x17 tires.
-twin 16 inch electric fans, with custom fiberglass fan shroud.
-custom fiberglass dash top with twin guage cluster
-led instrument panel illumination.
-some custom grille and lighting work (havnt decided on exact design yet)
I run a full custom vehicle fabrication shop, so all work will be done there. as of right now i have made the dash cast, still need to make inserts for guages and plexiglass. and i have also installed the control module for the fans. if you want me to post those pics i will, just ask
today i just recieved my lift springs
that will be my project for today, i am going to build a drop down bracket for the front lower control arms. once the front is up, i will do a shackle flip out back, and that should put me where i need to be. Stay tuned!!

Thread Starter
|
Veteran
Joined: Jul 2010
Posts: 263
Likes: 0
From: cocoa beach, fl
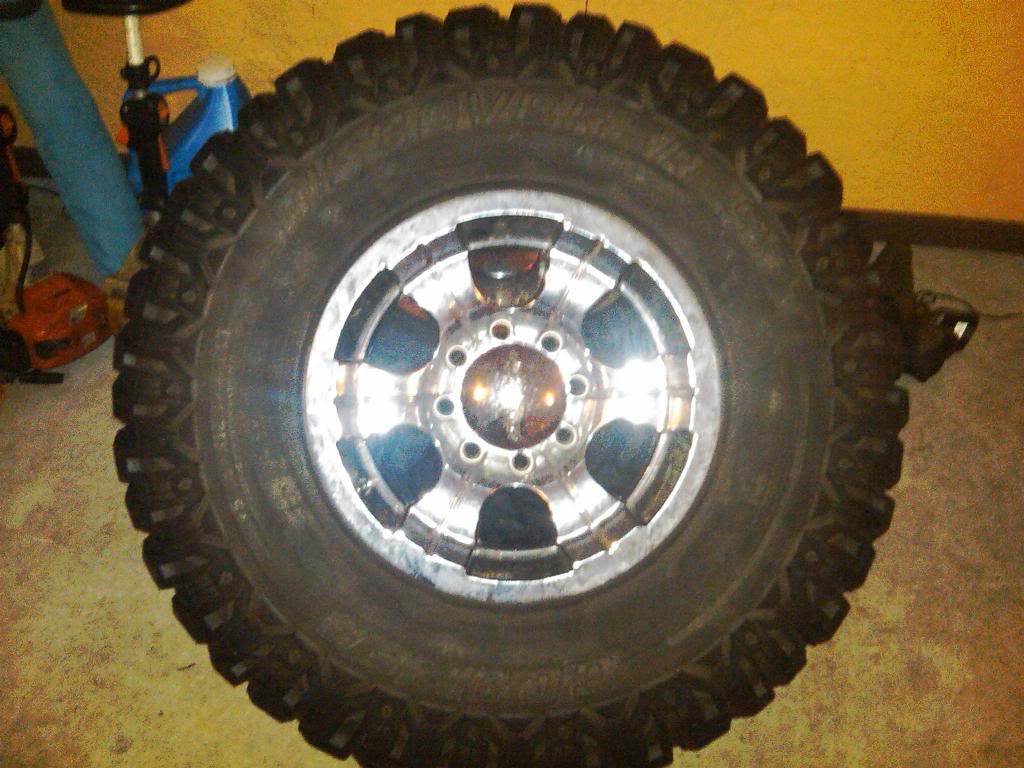
meant to post up a couple more pics for you before i head back to the shop, came home for a long lunch because i knew the ups guy was coming!!
so here is a front shot of the wheel and tire, plus a shot of them stacked up in the garage, two tire are at about 95% and the other two are about 35-40% chek em out!

i had also mocked them up before i lifted, here are those shots.


ok, enuough computer and ac, i got work to do!! i will take lots of pics, i have a good camera phone. lol. will update tonight.
so here is a front shot of the wheel and tire, plus a shot of them stacked up in the garage, two tire are at about 95% and the other two are about 35-40% chek em out!
i had also mocked them up before i lifted, here are those shots.
ok, enuough computer and ac, i got work to do!! i will take lots of pics, i have a good camera phone. lol. will update tonight.
Thread Starter
|
Veteran
Joined: Jul 2010
Posts: 263
Likes: 0
From: cocoa beach, fl
ok there was a whole bunch of forward movement this evening, and i took a **** load of pics. this is going to be a long post lmao. lemme know if its overkill. i took my new springs down to the shop to see what i was getting myself into. sk8er read through this and your will know exactly what i am going to do.
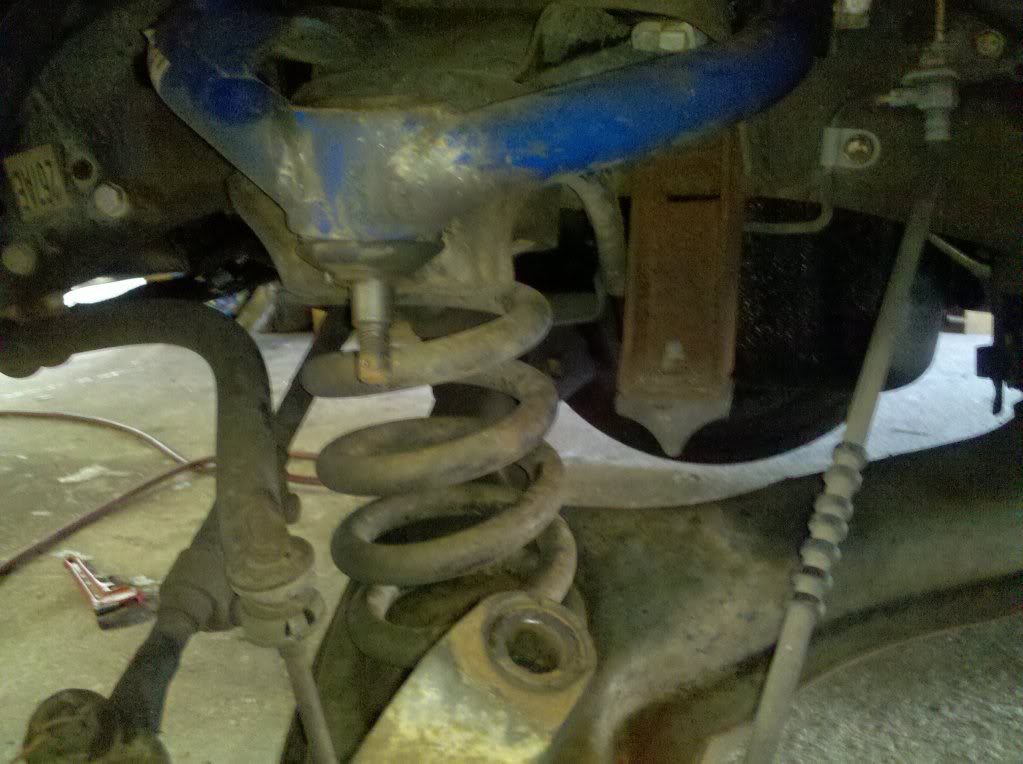
i have a lift but choose not to use it when i am pulling out coils, just feels safer to me. lol. but anyways this is the suspension as it starts, i dont know the history of the upper control arms on this truck, fabtech swears they never made them, but yet here they are, who knows.
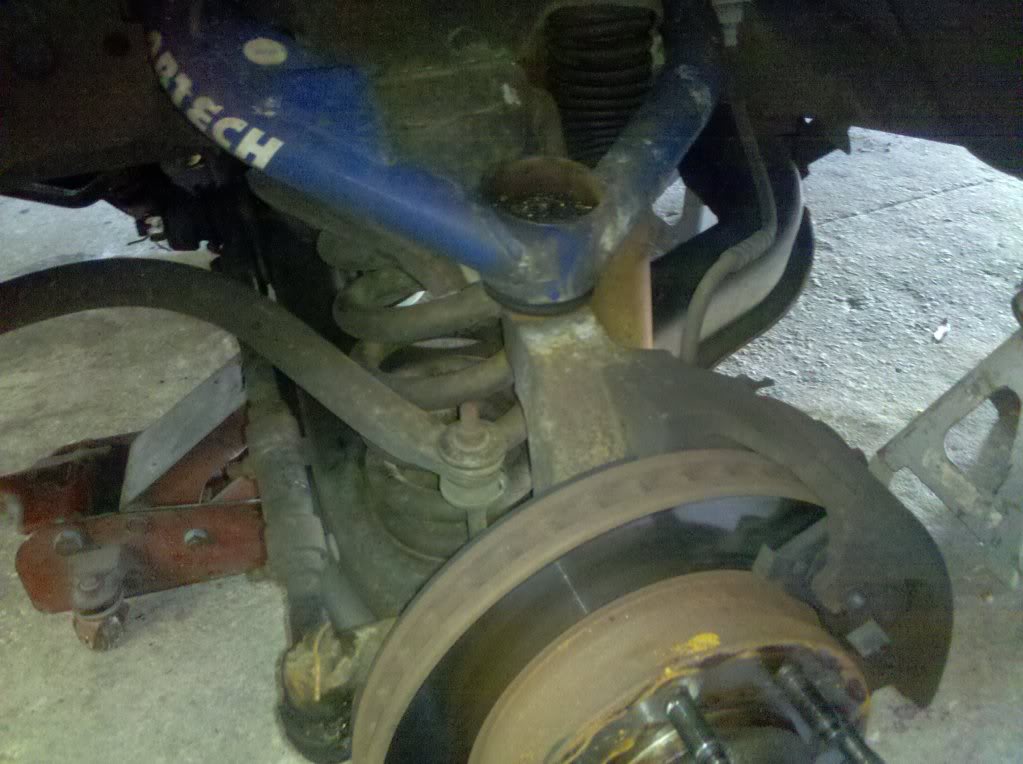
knew the shocks were both shot and i was going to need longer ones, so out they come. stud was all rusty and just spinning, so i got creative

once that was out i realized that in a previous life they were actually prettty nice shocks, def need new ones but i will worry about that once im sitting high.

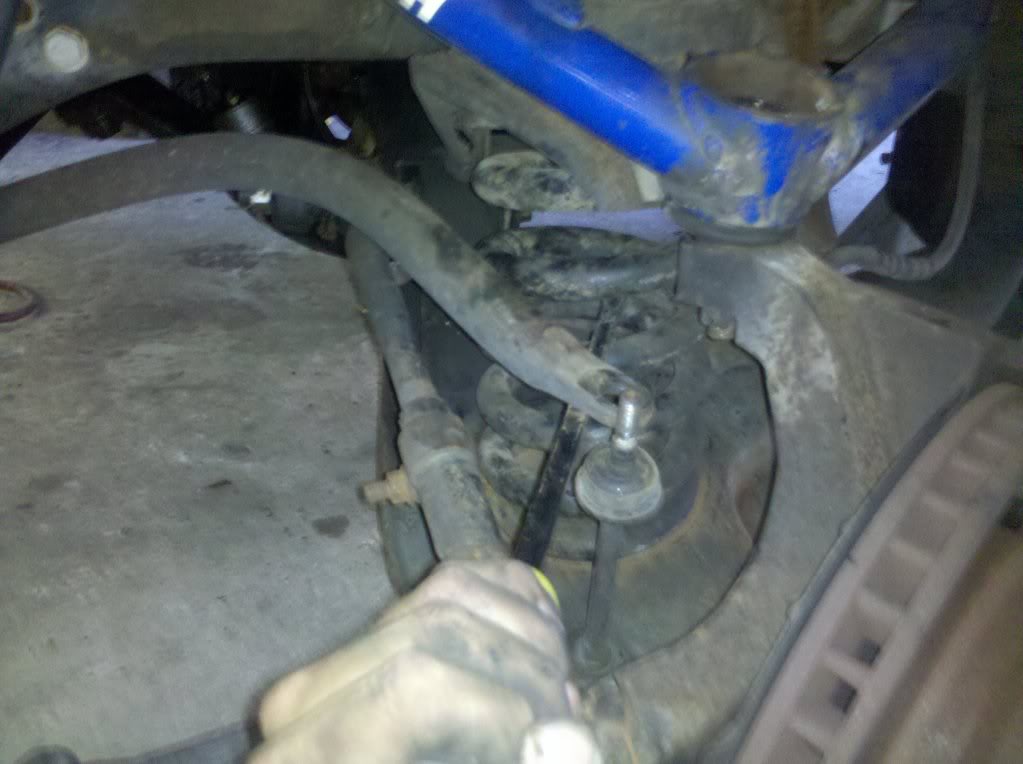
i have done suspension work on tons of vehicles but this is my first ram, so without really looking i out of habit removed the nut off of the lower ball joint
first the cotter pin

then the castle nut itself
only to realie that the spindles will not come off because the lower control arm is above it, ****. lmao gotta take off the upper ball joint to drop the whole unit. figured i would post the mistake pics just to help everyone else pay attention to what you are doing! lmao
buzzed off the upper ball joint castle nut and the sway bar linkage, (btw throughout this whole proccess i have jack stands holding the truck up at the frame, and a floor jack under the lower control arm. this is very important because if you break the spindle free the coil will throw the lower control arm down and that spring can shoot out of there and really hurt you.
upper ball joint free and the spindle loose
after SLOWLY lowering the floor jack i pulled the coil out

anyone need a leveling bushing? i wont very shortly
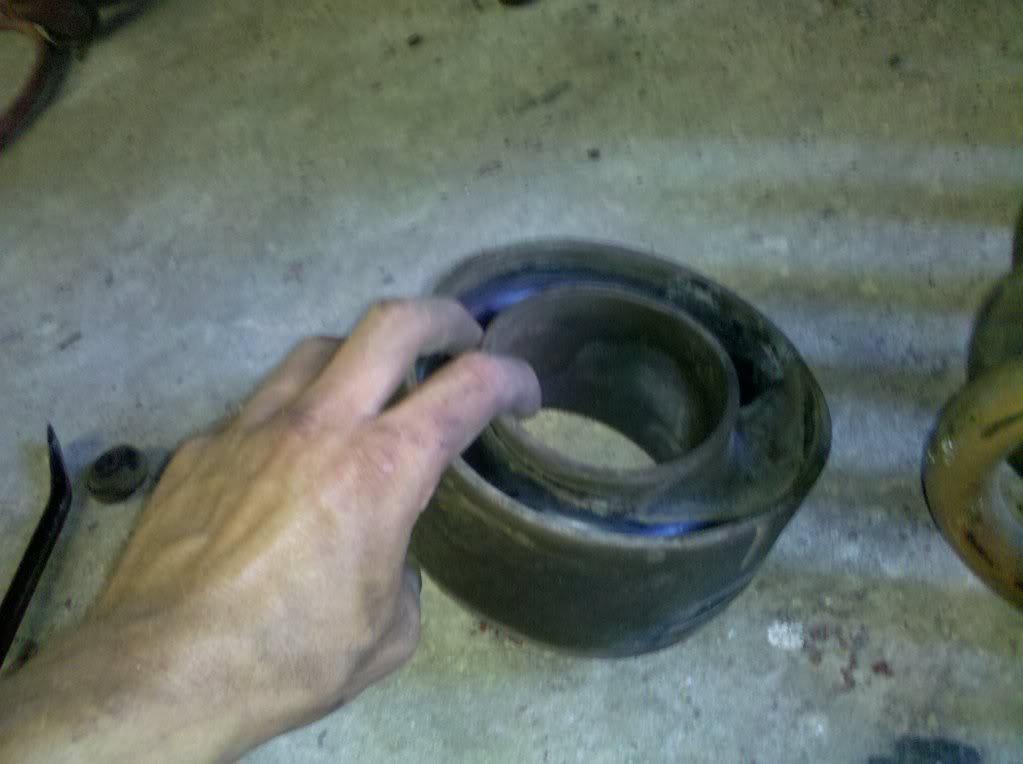
nice spring comparison

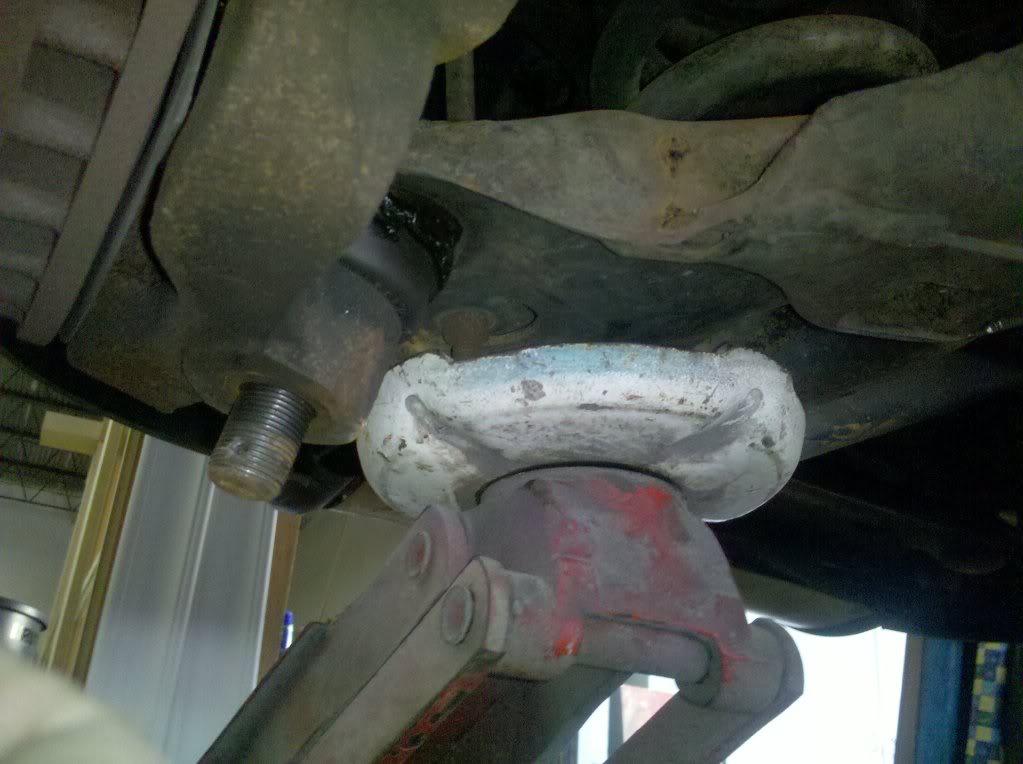
this is where things went awry, i was now able to take a real close look at the upper control arm mounting and travel, as well as the upper coil bucket. i realized that the coil bucket has already been cut and the upper control arm will not clear the way i need to for this kind of lift

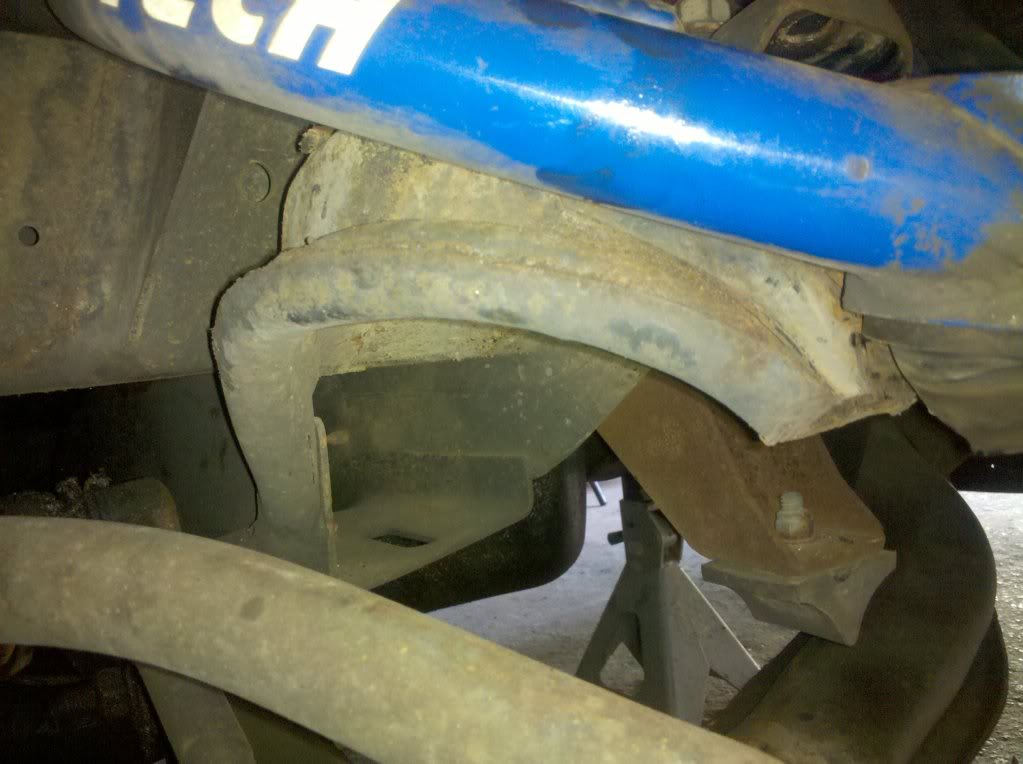
that is not the end of that story though. i have a plan! i feel it is the safest and most efficient way to do the lift that i am planning. i am going to fabricate a new much narrower upper coil bucket in basically the factory location. i will then fab a new upper control am mount below the coil bucket and cut the droop stop off of the control arm. this new upper control arm mount will basically be at the bottom of the frame (about 4.5 inches down.
this will make the new coils run completely through the upper control arm. i am going to make a 4.5 inch lower control arm drop. then install the long superduty springs.
there is a couple of details such as steering and sway bars that i will get into when i actually install the new lift components.
so i could see that all that was not happening tonight so i put her back together,
here is a good tip tho.. always put your sway bar back on before your upper control arm! lmao other wise its a pita
so as i walked back to the front of the truck i noticed a problem...
that is a light bar with no lights... and i was feeling like doing something so... i got to digging in the toolboxes.
i am going to make a new post now cause this one is already way to long. lmao
i have a lift but choose not to use it when i am pulling out coils, just feels safer to me. lol. but anyways this is the suspension as it starts, i dont know the history of the upper control arms on this truck, fabtech swears they never made them, but yet here they are, who knows.
knew the shocks were both shot and i was going to need longer ones, so out they come. stud was all rusty and just spinning, so i got creative
once that was out i realized that in a previous life they were actually prettty nice shocks, def need new ones but i will worry about that once im sitting high.
i have done suspension work on tons of vehicles but this is my first ram, so without really looking i out of habit removed the nut off of the lower ball joint
first the cotter pin
then the castle nut itself
only to realie that the spindles will not come off because the lower control arm is above it, ****. lmao gotta take off the upper ball joint to drop the whole unit. figured i would post the mistake pics just to help everyone else pay attention to what you are doing! lmao
buzzed off the upper ball joint castle nut and the sway bar linkage, (btw throughout this whole proccess i have jack stands holding the truck up at the frame, and a floor jack under the lower control arm. this is very important because if you break the spindle free the coil will throw the lower control arm down and that spring can shoot out of there and really hurt you.
upper ball joint free and the spindle loose
after SLOWLY lowering the floor jack i pulled the coil out
anyone need a leveling bushing? i wont very shortly
nice spring comparison
this is where things went awry, i was now able to take a real close look at the upper control arm mounting and travel, as well as the upper coil bucket. i realized that the coil bucket has already been cut and the upper control arm will not clear the way i need to for this kind of lift
that is not the end of that story though. i have a plan! i feel it is the safest and most efficient way to do the lift that i am planning. i am going to fabricate a new much narrower upper coil bucket in basically the factory location. i will then fab a new upper control am mount below the coil bucket and cut the droop stop off of the control arm. this new upper control arm mount will basically be at the bottom of the frame (about 4.5 inches down.
this will make the new coils run completely through the upper control arm. i am going to make a 4.5 inch lower control arm drop. then install the long superduty springs.
there is a couple of details such as steering and sway bars that i will get into when i actually install the new lift components.
so i could see that all that was not happening tonight so i put her back together,
here is a good tip tho.. always put your sway bar back on before your upper control arm! lmao other wise its a pita
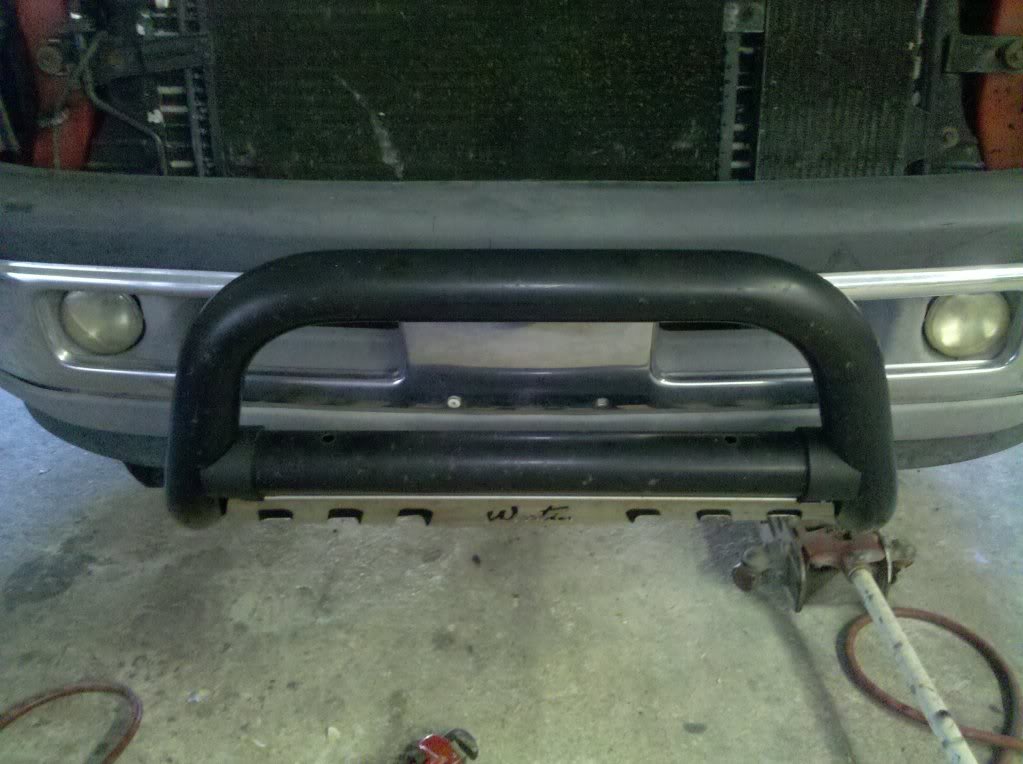
so as i walked back to the front of the truck i noticed a problem...
that is a light bar with no lights... and i was feeling like doing something so... i got to digging in the toolboxes.
i am going to make a new post now cause this one is already way to long. lmao
Trending Topics
Thread Starter
|
Veteran
Joined: Jul 2010
Posts: 263
Likes: 0
From: cocoa beach, fl
now for the real progress of the evening after being bothered by my naked light bar.. lmao
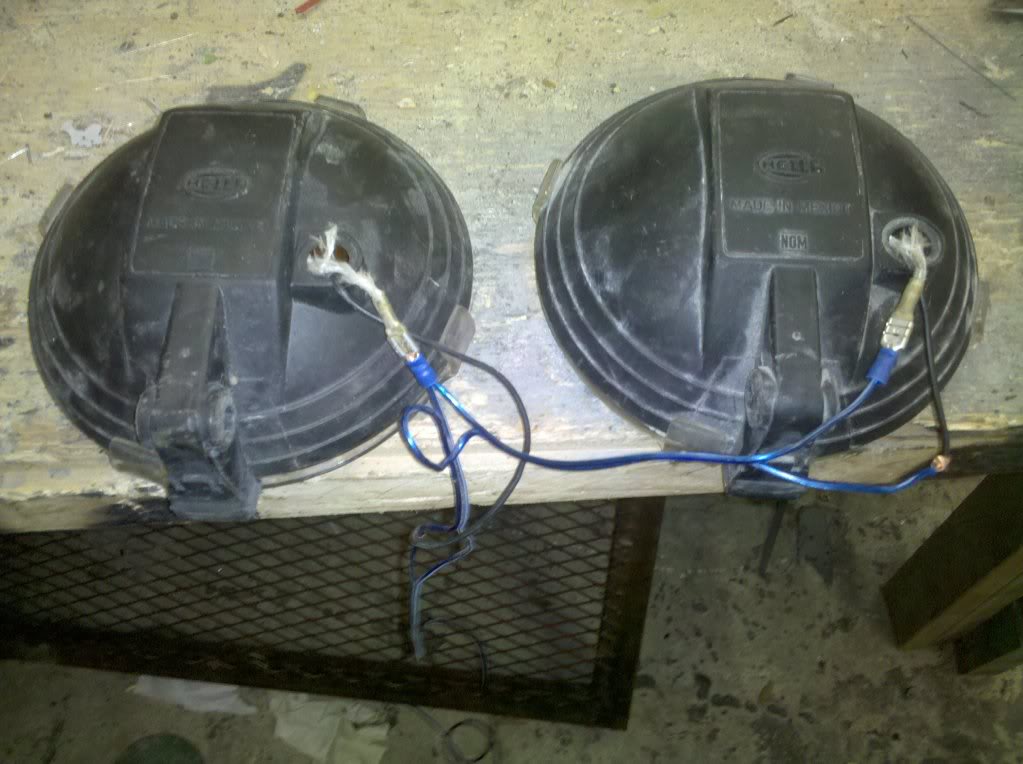
i found these in the bottom of one of my toolboxes!!
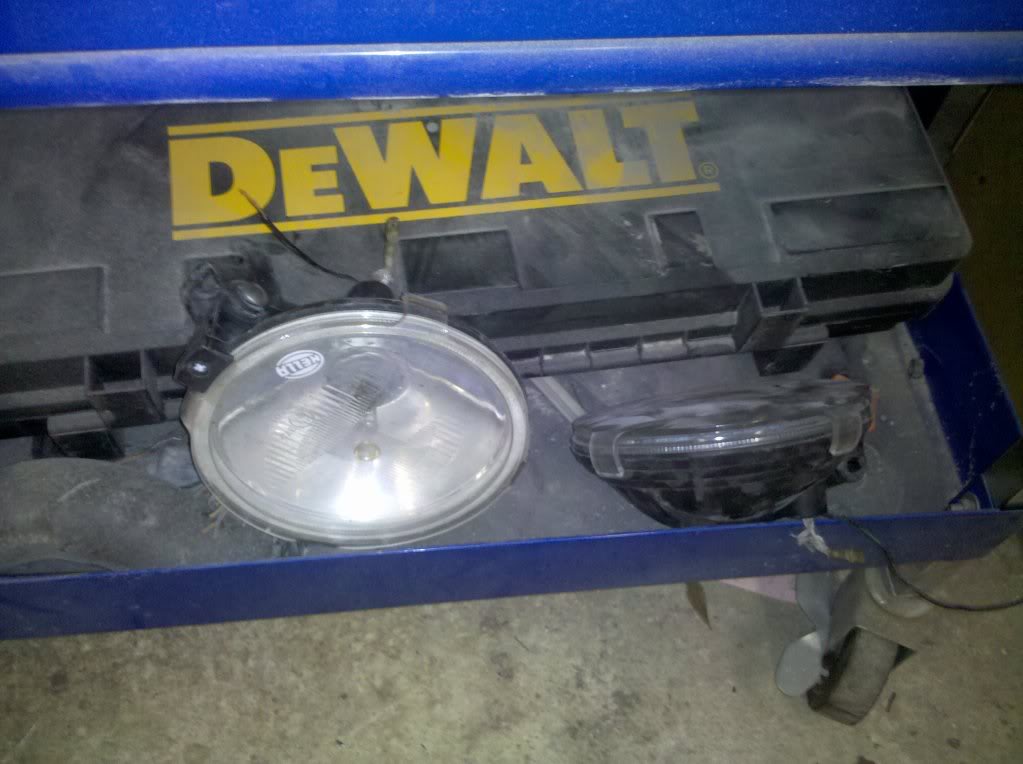
had all but forgotten about them, and after a quick bench test they work. so now we have a good quick evening project.
i knew i wanted to mount them right next to each other because i have other planes for the holes in the bumper where the factory fog lights are.
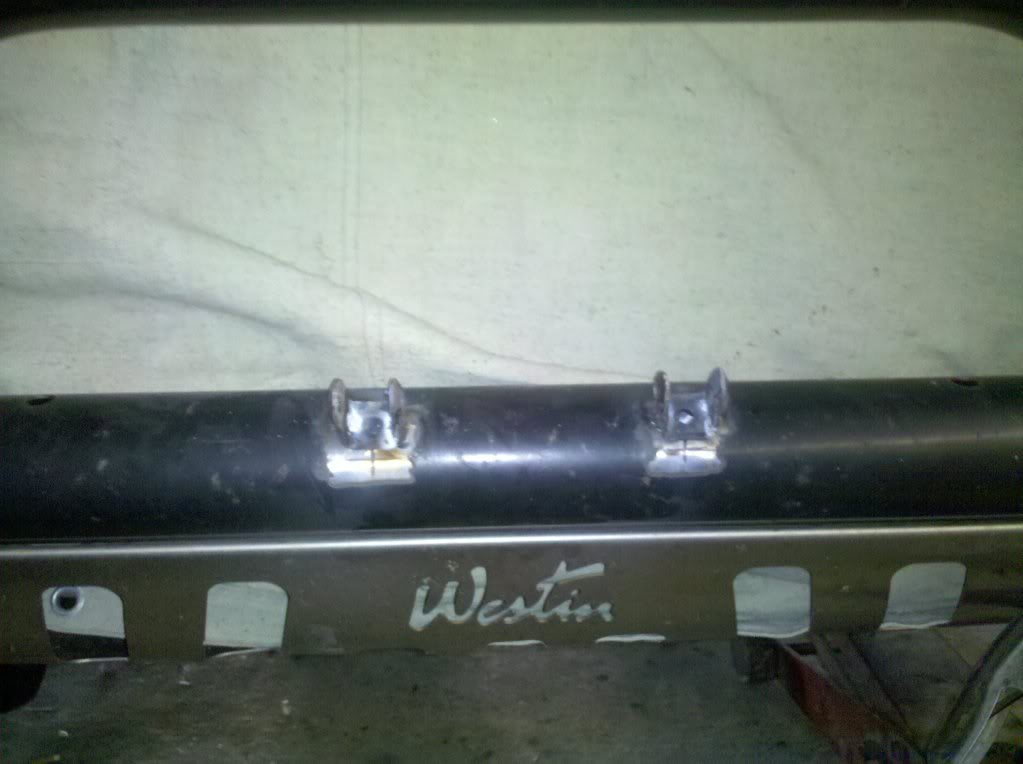
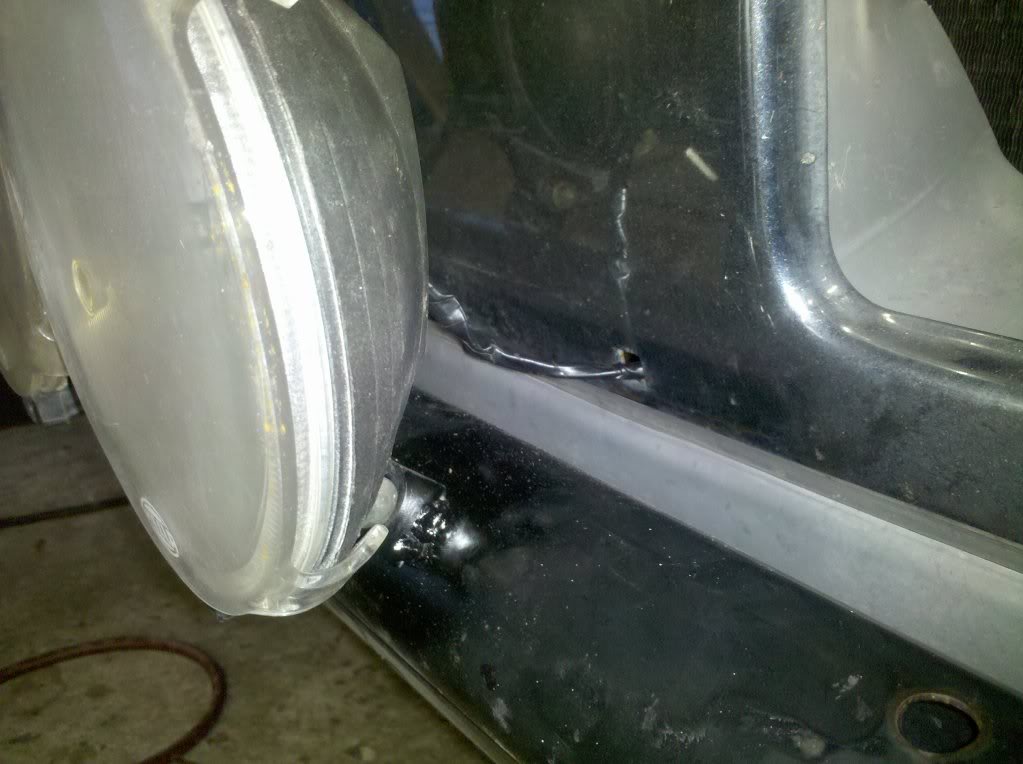
and i am a welder, i dont like to use drills and bolts and what not. so first step was measure for the mount locations and take the finish down to bare metal.
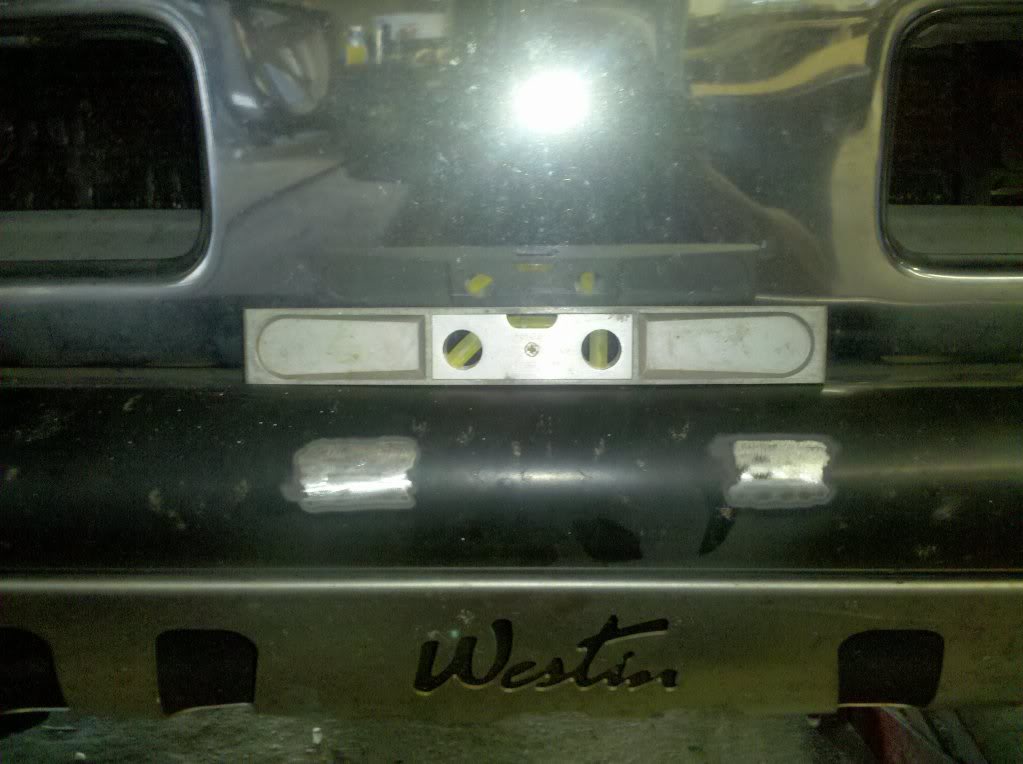
next and probably most important step is to cover the front end of truck with welding blanket. if not you will end up with lil rusty bumps all over the front of your truck... ugh
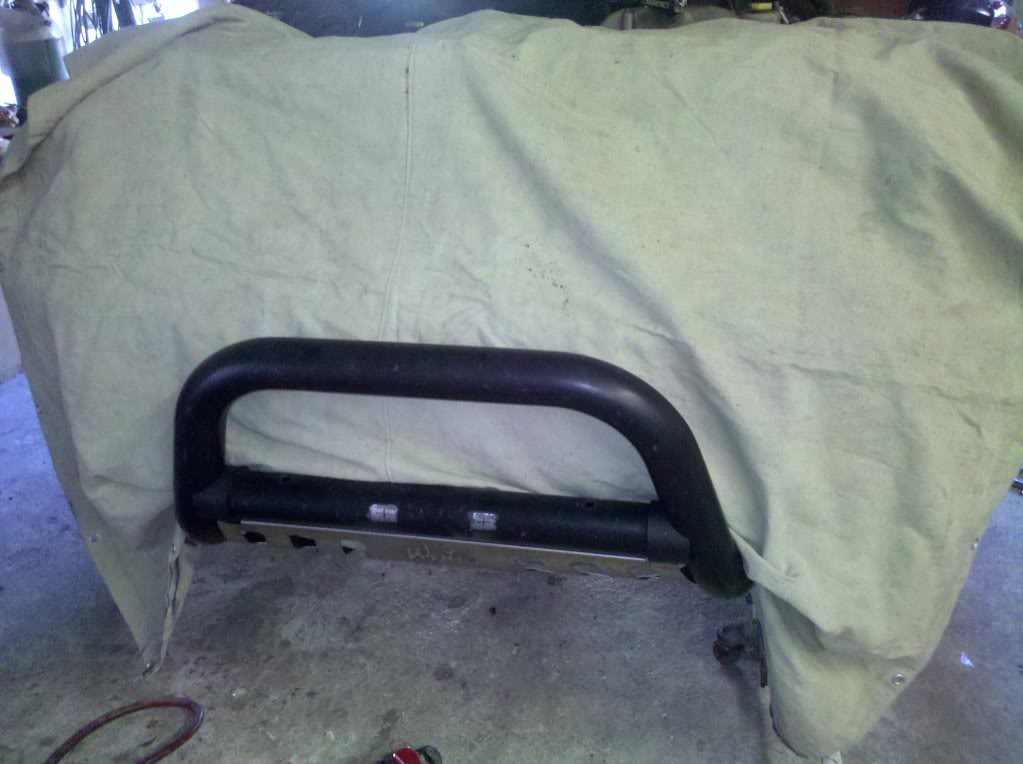
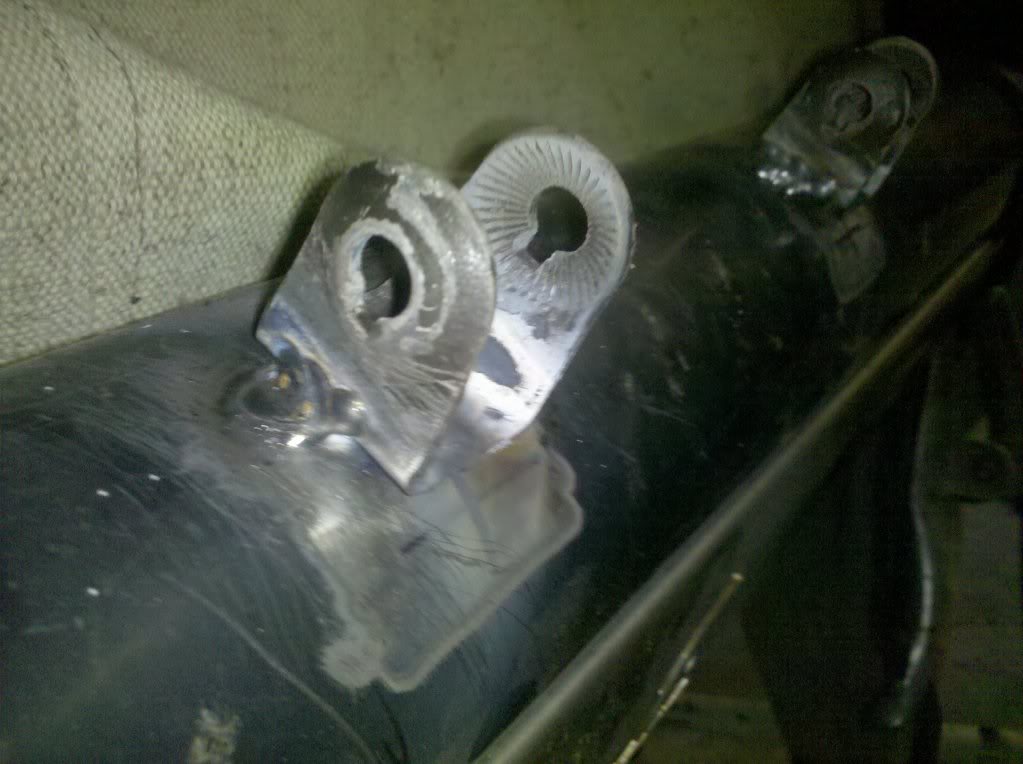
after carefull measuring and using a level to verify they would be square, i used what i call a super tack weld. for non structural aesthetic welds like this, i like the removability of a tack weld so i use a long tack weld so i can remove in the future if neccesary, but wont break off like a normal tack weld. works great.
now while that cools so i cant paint it i head over to pre wire the lights in series
now that i have them all wired up i install them into the freshly painted brackets using one of my favorite tools, the ratchet wrench! lol. they get a workout in my shop.
i popped out one of the plugs from where the liscense plate bolts to and it was perfect for running the wires through the bumper.
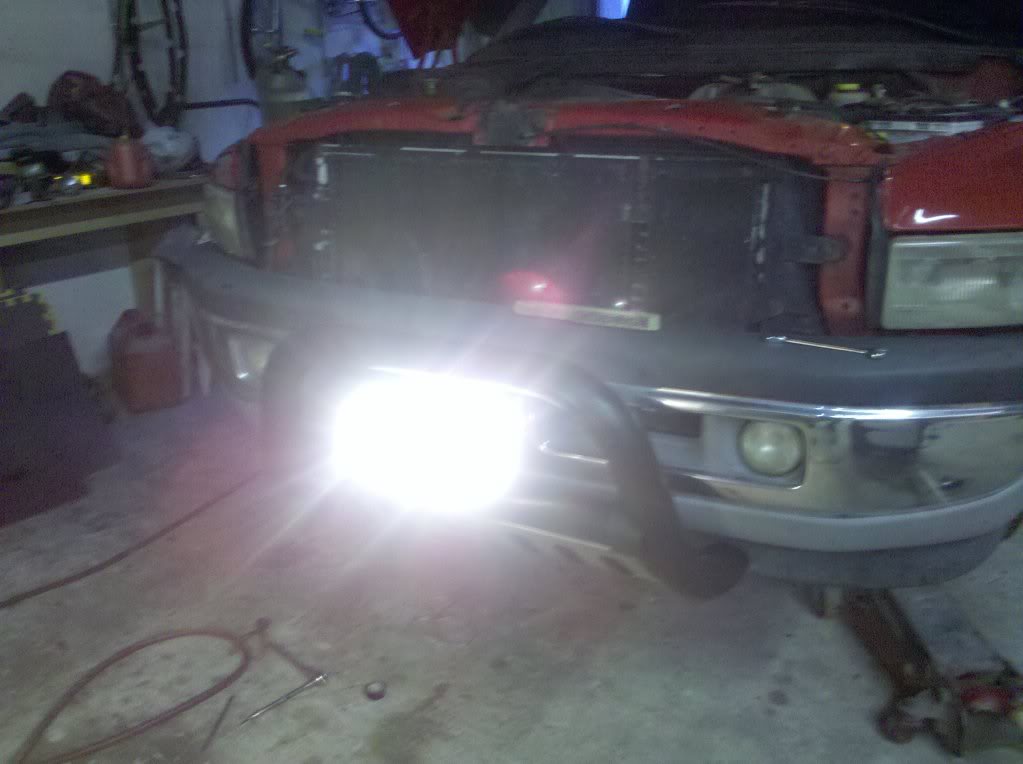
and since i had already installed a swith previously, i was able to just plug in the wires and...
let there be light!!
nice pic in the dusk here, first with the new lights off (and yes i know one of the fog lights is out)
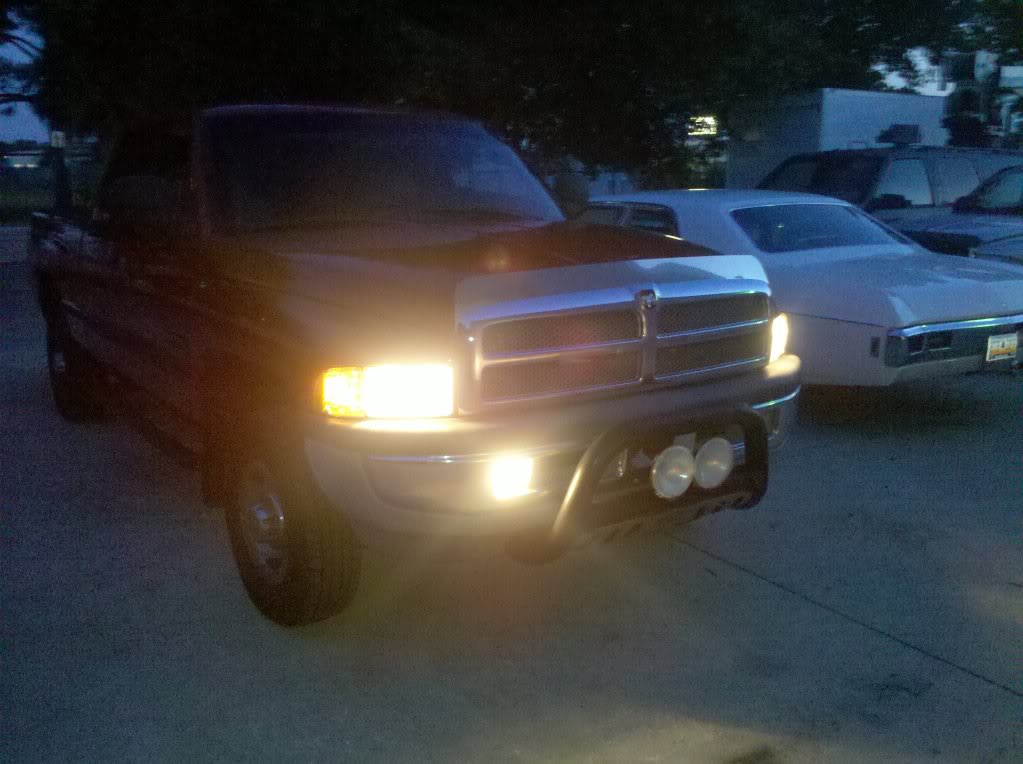
and now with them on

well this was nice nice lil free project, always the best kind! i am happy with it, and makes me feel very productive after that suspension deal. lol.
i found these in the bottom of one of my toolboxes!!
had all but forgotten about them, and after a quick bench test they work. so now we have a good quick evening project.
i knew i wanted to mount them right next to each other because i have other planes for the holes in the bumper where the factory fog lights are.
and i am a welder, i dont like to use drills and bolts and what not. so first step was measure for the mount locations and take the finish down to bare metal.
next and probably most important step is to cover the front end of truck with welding blanket. if not you will end up with lil rusty bumps all over the front of your truck... ugh
after carefull measuring and using a level to verify they would be square, i used what i call a super tack weld. for non structural aesthetic welds like this, i like the removability of a tack weld so i use a long tack weld so i can remove in the future if neccesary, but wont break off like a normal tack weld. works great.
now while that cools so i cant paint it i head over to pre wire the lights in series
now that i have them all wired up i install them into the freshly painted brackets using one of my favorite tools, the ratchet wrench! lol. they get a workout in my shop.
i popped out one of the plugs from where the liscense plate bolts to and it was perfect for running the wires through the bumper.
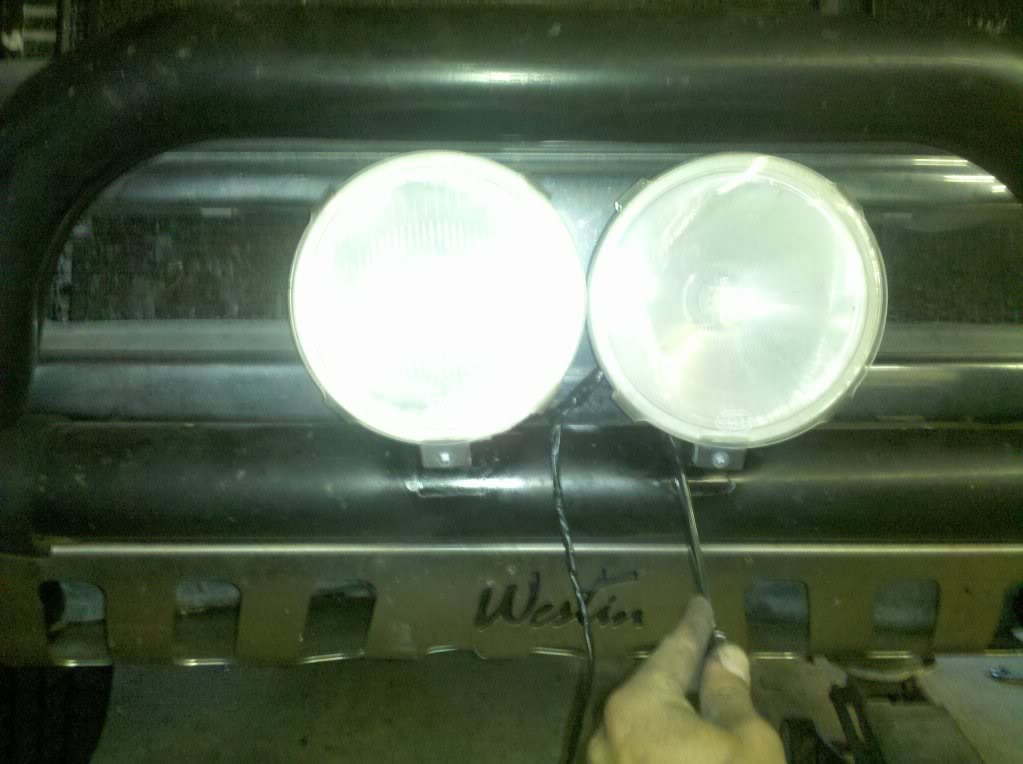
and since i had already installed a swith previously, i was able to just plug in the wires and...
let there be light!!
nice pic in the dusk here, first with the new lights off (and yes i know one of the fog lights is out)
and now with them on
well this was nice nice lil free project, always the best kind! i am happy with it, and makes me feel very productive after that suspension deal. lol.