


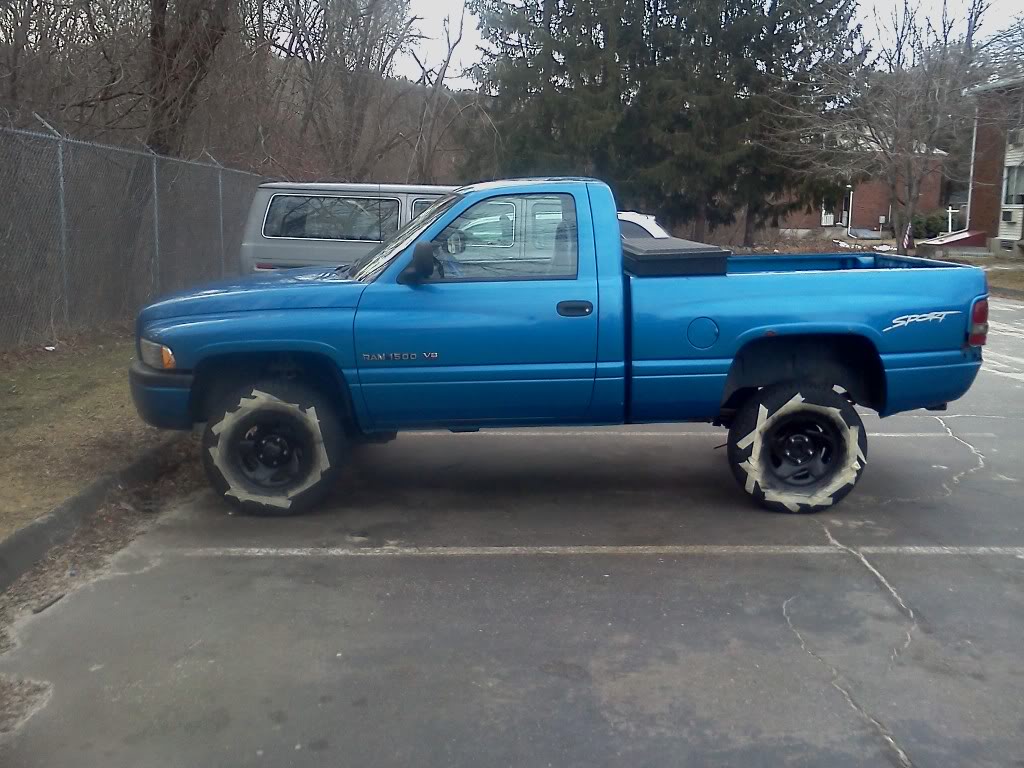

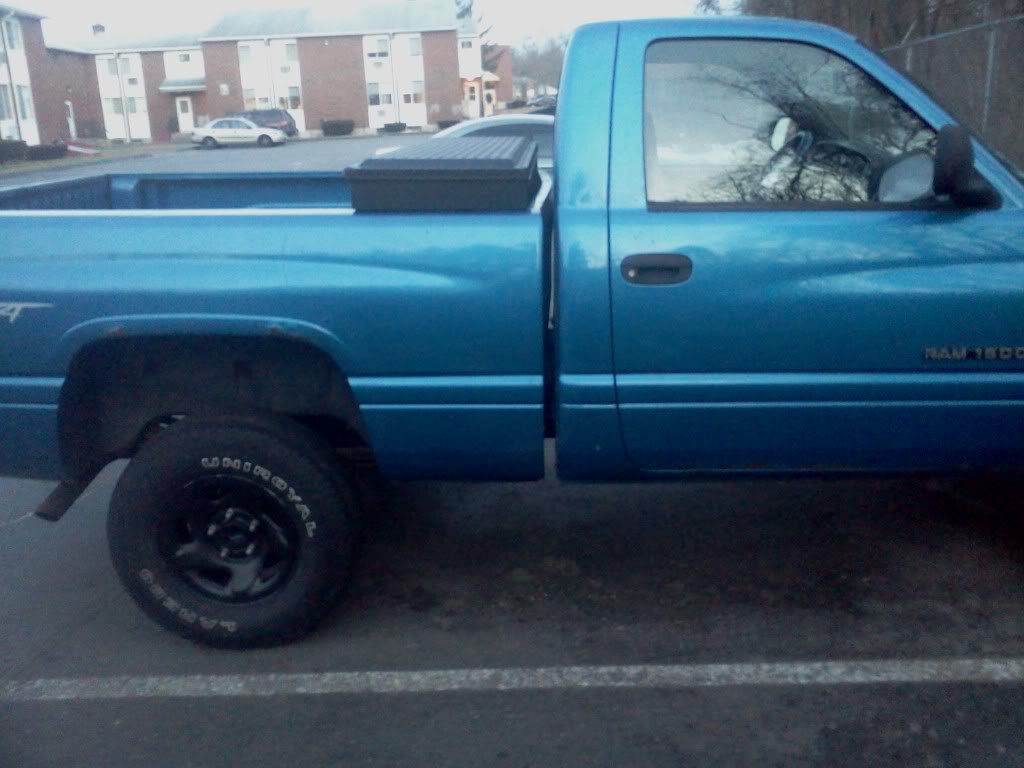
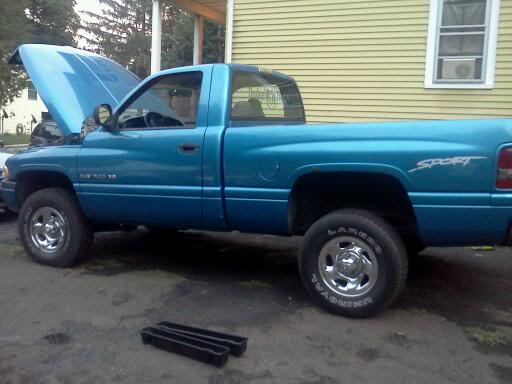

now that i see these pictures on there the before and after look so different because on the before the truck was waxed and it was sumer sunshine. on the after its dirty and january in new england not too mention 5 in the evening
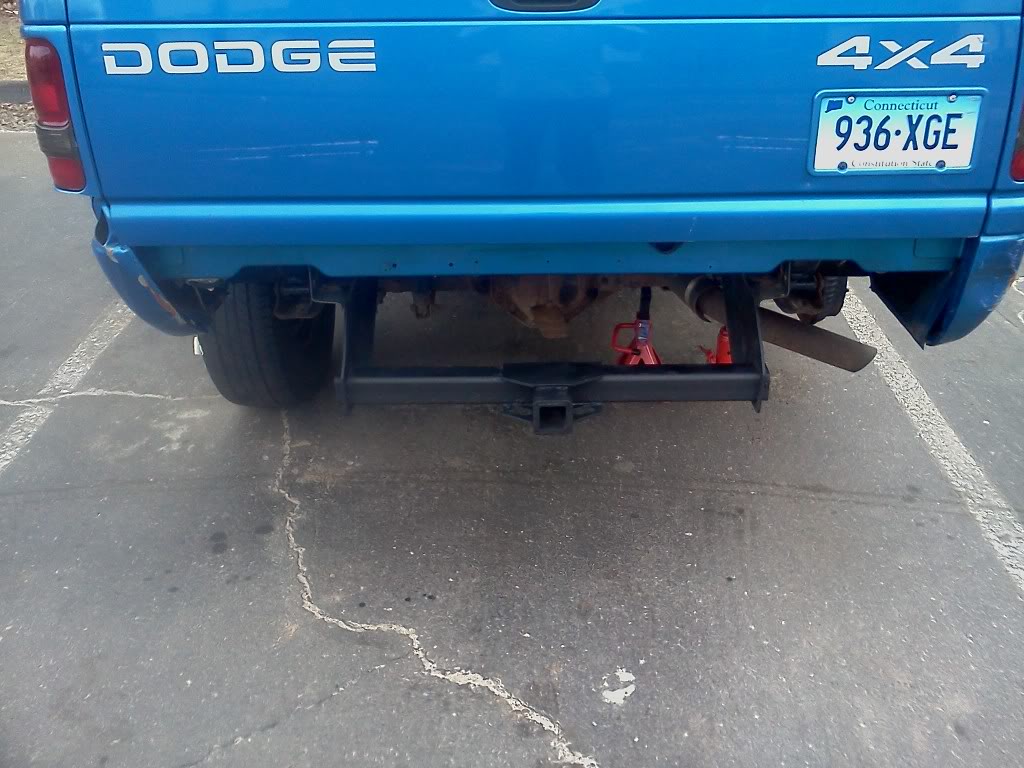
EDIT: i got a new light from the guy who rear ended me. I used bottle jacks today and jack stands. However tomorrow im going to take me wife's jack and put it sideways inbetween the bed and the hitch andpush/ straighten that corner out. my flipping tail gate wont open because its blocked on that corner from being bent in. ( the bottle jacks wouldnt cut it because of the flow of the hydraulic fluid in them)
EDIT: i got a new light from the guy who rear ended me. I used bottle jacks today and jack stands. However tomorrow im going to take me wife's jack and put it sideways inbetween the bed and the hitch andpush/ straighten that corner out. my flipping tail gate wont open because its blocked on that corner from being bent in. ( the bottle jacks wouldnt cut it because of the flow of the hydraulic fluid in them)
Legend
That bottom corner is pretty hard to pull back out due to shape and curve. May help to drill out the spot welds on the 6" wide brace to bottom of fender. I cut mune off and welded new panel piece in. But cutting that brace will make it easier, and when you pull the brace outward, you can drill it and bolt back together.

Registered User
Quote:

My only critique is that you used masking tape instead of a deck of cards.
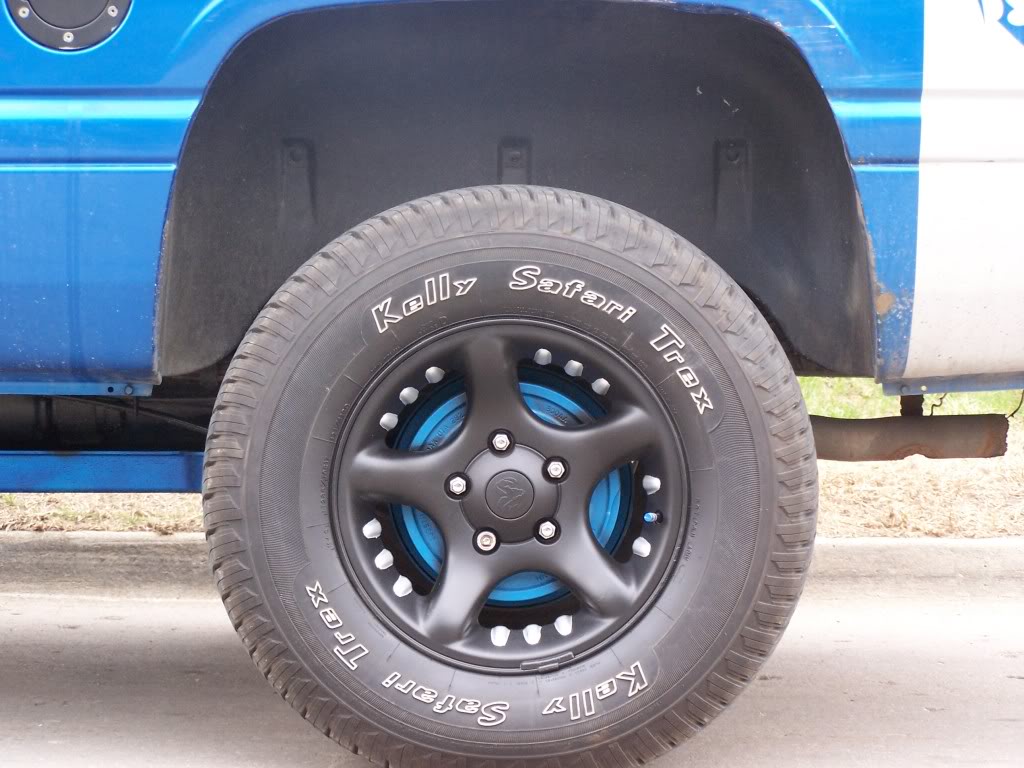
......a quick tip for the next time you paint wheels. Wipe the tire with some form of "tire shine" first and the paint simply won't stick to the tire. That way you don't need tape or cards, just spray away!Originally Posted by Wh1t3NuKle
Nicely done BigBlue! I'm a fan of black wheels. My only critique is that you used masking tape instead of a deck of cards.
Quote:
Ill certainly give that a try. Before I did it I took it to the car wash and also shine each one after taking it off the truck. Before painting....Originally Posted by Xtremjeepn
......a quick tip for the next time you paint wheels. Wipe the tire with some form of "tire shine" first and the paint simply won't stick to the tire. That way you don't need tape or cards, just spray away!
Quote:
My only critique is that you used masking tape instead of a deck of cards.
You can really use cards? Never imagined, the masking tape was cheaper than painters tapeOriginally Posted by Wh1t3NuKle
Nicely done BigBlue! I'm a fan of black wheels. My only critique is that you used masking tape instead of a deck of cards.
Champion
Quote:
While I never need to paint mine, that is a good tip.Originally Posted by Xtremjeepn
......a quick tip for the next time you paint wheels. Wipe the tire with some form of "tire shine" first and the paint simply won't stick to the tire. That way you don't need tape or cards, just spray away!
Quote:
Yeah, I thought you maybe saw the guy's post here that did that. It just looked cool. lolOriginally Posted by BigBlue83
You can really use cards? Never imagined, the masking tape was cheaper than painters tape
Professional
nice, blue trucks and black rims look good. I used the cards before, but with plasti dip there really is no need. I did tape my rims though