

DIY Threads

Thread Starter
|
Professional
Joined: Sep 2012
Posts: 231
Likes: 0
From: Wade NC
How do I post a DIY thread. I did a rear diff fluid and gasket change, took detailed step by step pics. Just to find out I'm not allowed to post a thread in the DIY area.
This forum is very great, huge knowledge base. I would like to add to it. The only other rear diff fluid change thread didn't have pics. Thought I could do my part by adding to this forum only to be disappointed.
This forum is very great, huge knowledge base. I would like to add to it. The only other rear diff fluid change thread didn't have pics. Thought I could do my part by adding to this forum only to be disappointed.
Last edited by Halojm; Sep 30, 2012 at 07:32 PM.

Legend
Joined: Jul 2011
Posts: 8,259
Likes: 4
From: Austin, TX
...and make sure you provide suitable thread title. Someone will move it there!
Thanks for taking the time to take the photos and do the write up!
Thread Starter
|
Professional
Joined: Sep 2012
Posts: 231
Likes: 0
From: Wade NC
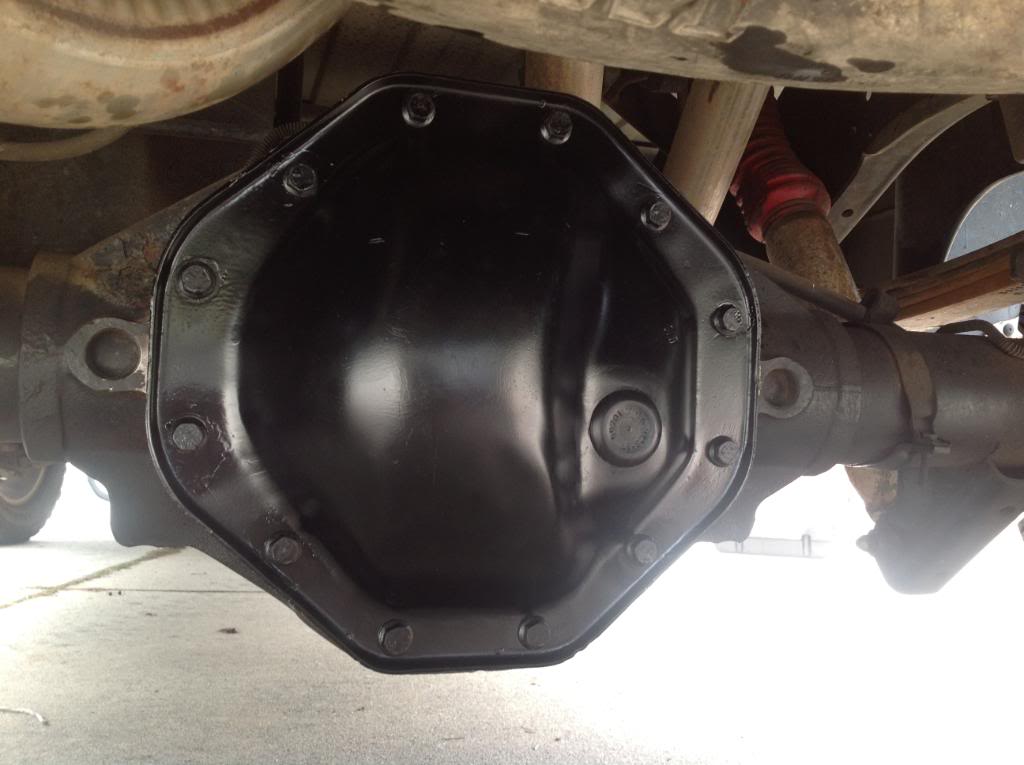
Today, I will be looking at changing the rear differential fluid and gasket on an 9.25 rear end. I tend to take my time and completely clean all parts befor reasseble. 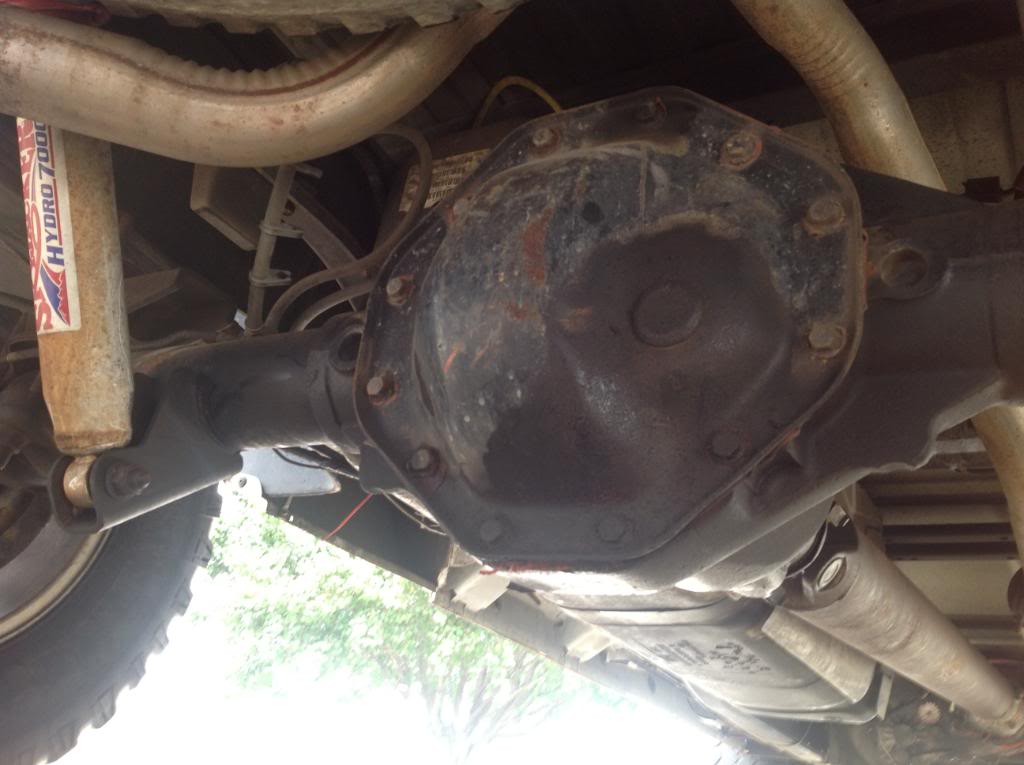
Remove all rear cover bolts except the top 2. Mine used a 1/2 inch socket
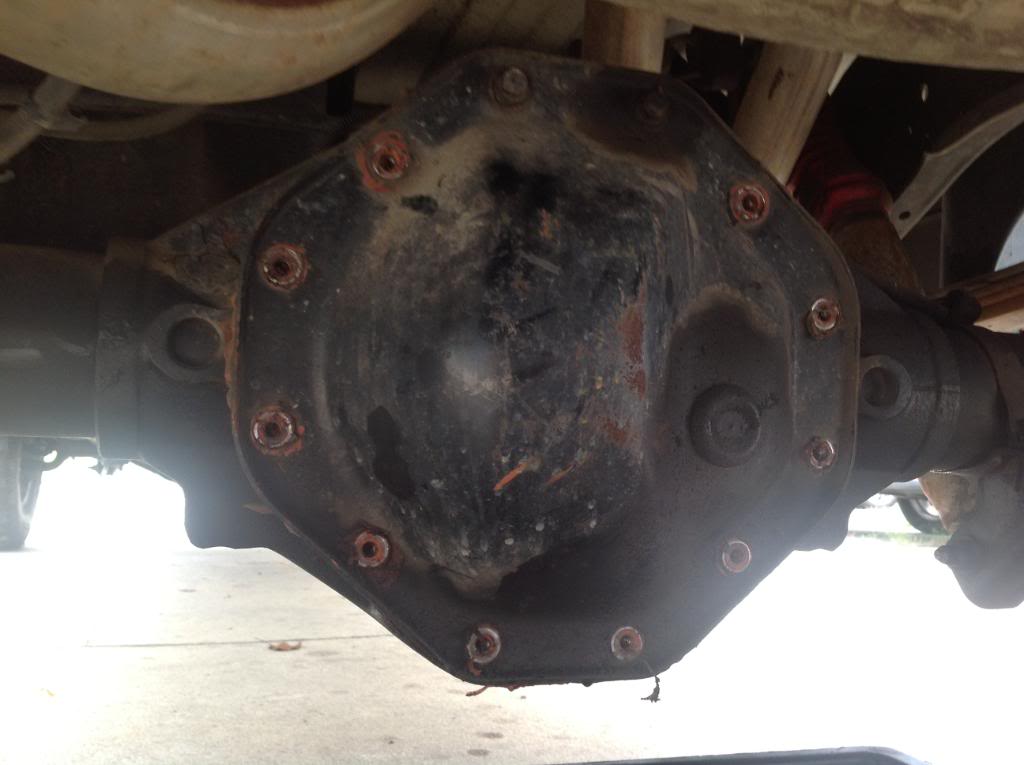
losen the top two bolts and with a catch pan under the cover, pry the bottom of the cover off. A large flat head screwdriver works well.

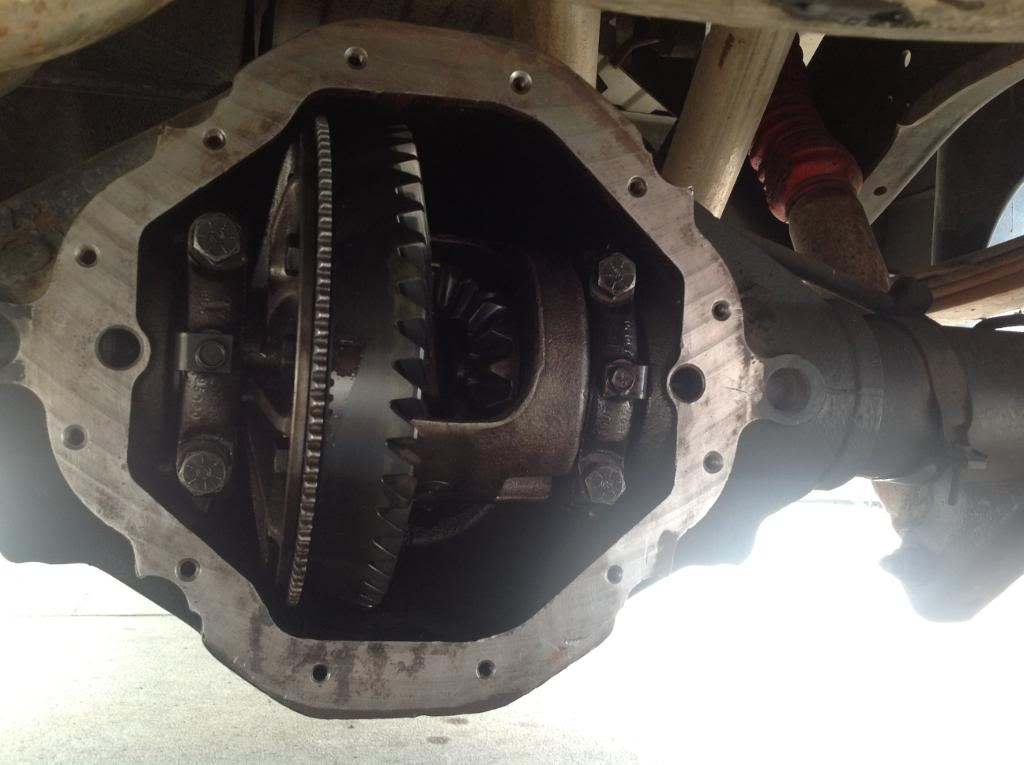
When all fluid has drained remove the top two bolts and remove the cover. While the cover is off is a great time to inspect the Ring, Pinion and Carrier for wear or dammage. Also clean out the bottom of the housing of any debris, a lint free rag works well.
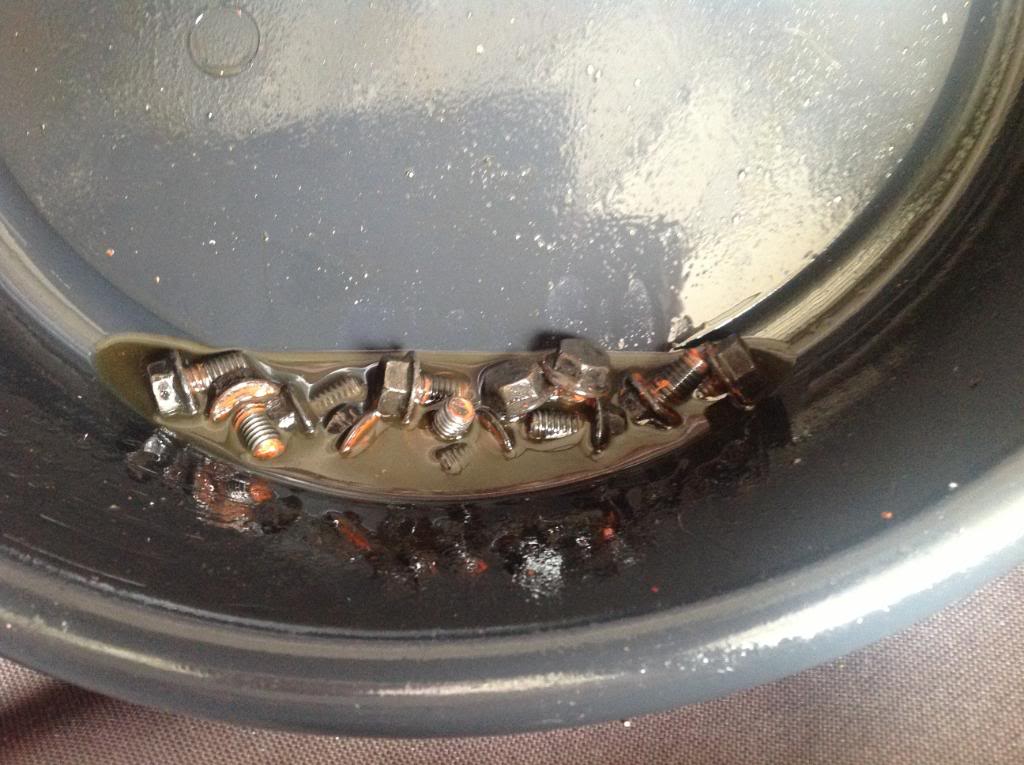
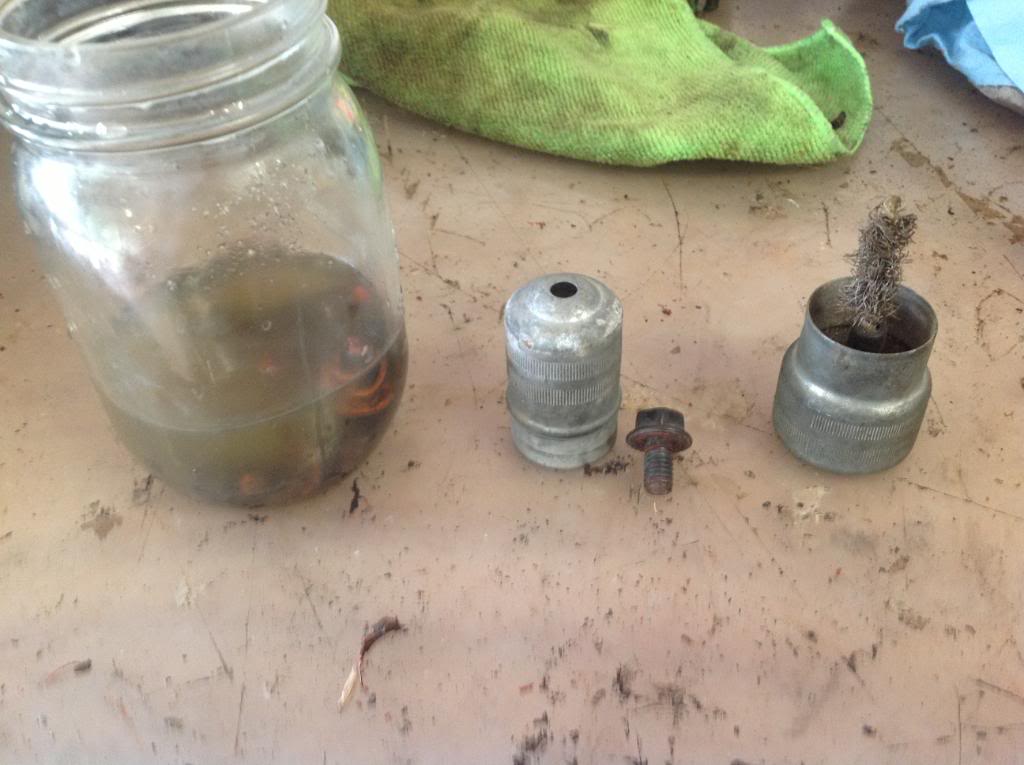
Before we begin cleaning off the old sealant, I like to soak all the bolts in solvent.
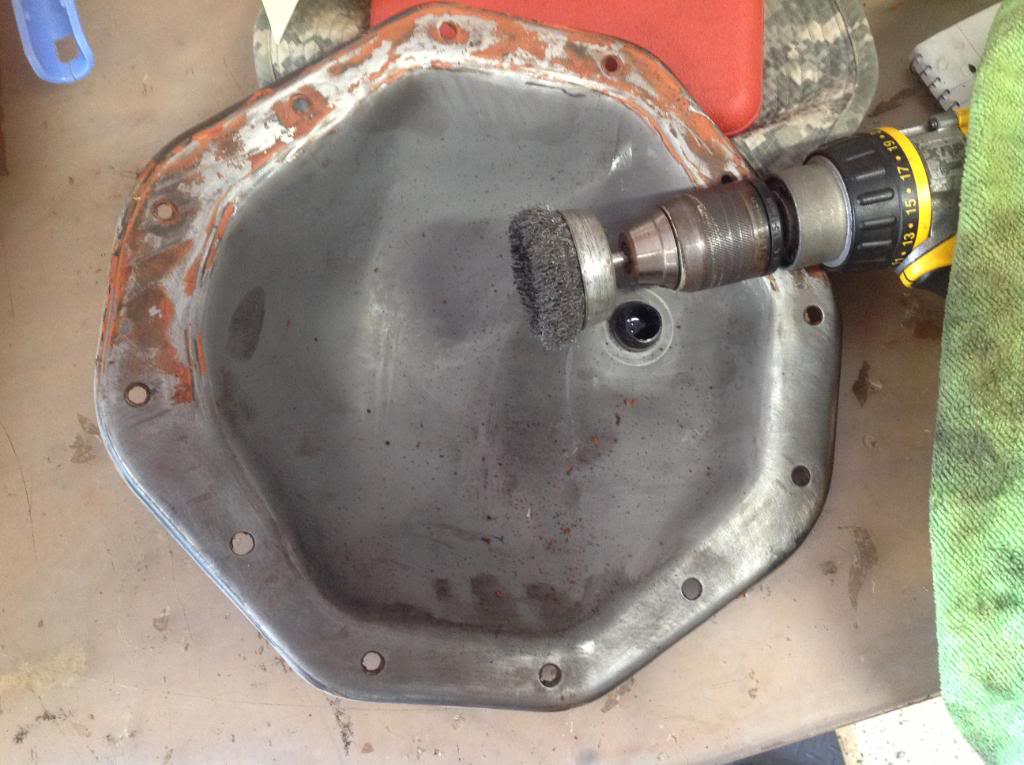
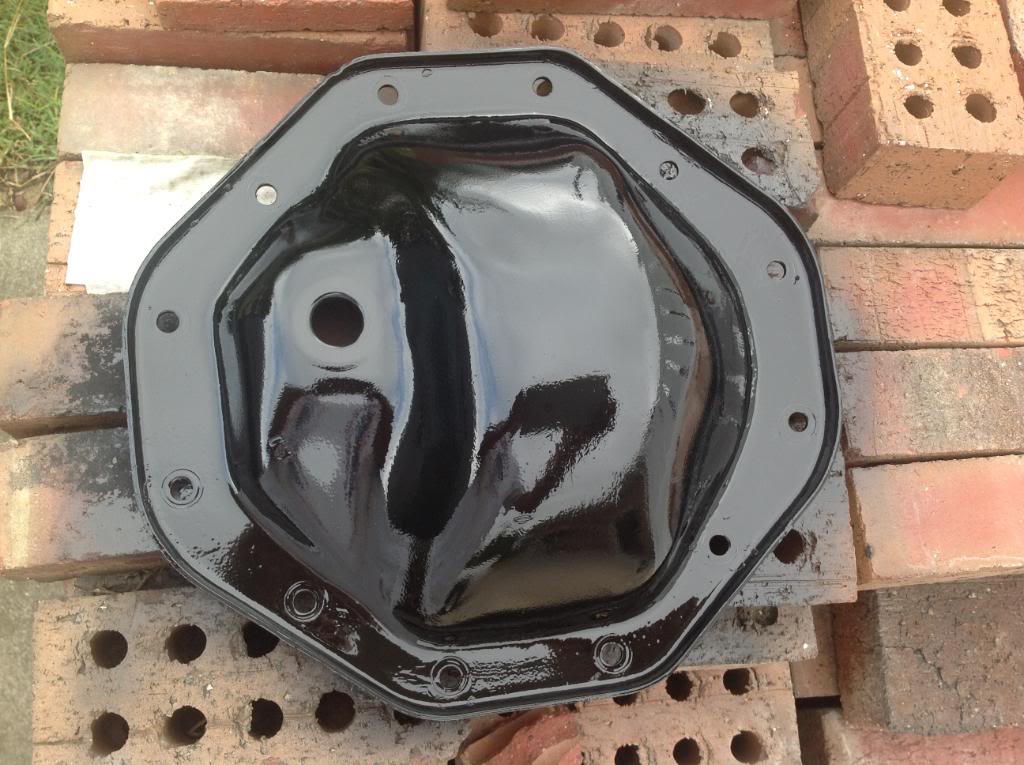
Clean off all old RTV sealant and gasket from the cover. The wire wheel drill attachment works great. It is also great to clean up any rust on the front side of the cover, when preping for paint. I use brake cleaner to clean off any crud on the housing. Any solvent can be used however.
Once cover is cleaned and preped. You can leave it or paint it. A good automotive high temp paint is a good choice.
Lets turn our attention to the main housing. I cover my carrier before stripping the old RTV sealant to minimize debris falling in the housing area.
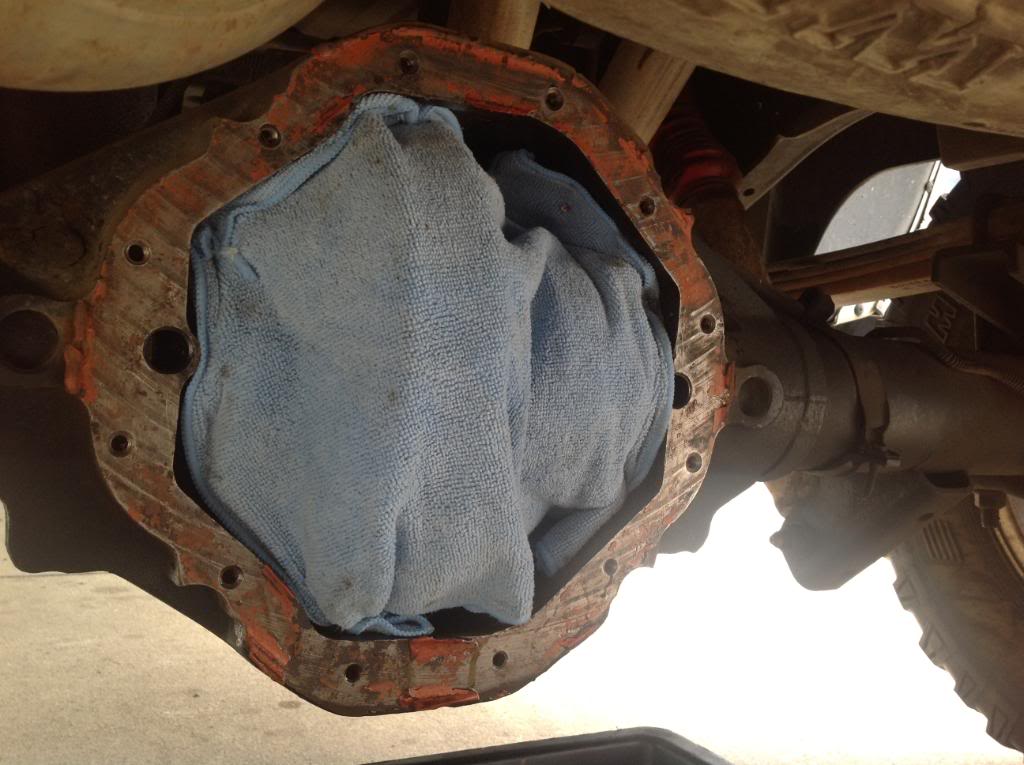
Remove all old sealant. I use the same method as the cover. Just be carefull not to tangle the rag in the drill. Then use a Brake cleaner soaked rag and wipe off the gasket area til clean. Also if available use a air hose and blow out all the bolt holes. Dirt and grim in the holes could affect the torqing of bolts later on.
Now how about them bolts, I clean each one with solvent. Cleaning the threads with this recognizable device is excellent.
Now that the paint has dried on the cover, I apply a thin layer of RTV sealant to the cover.
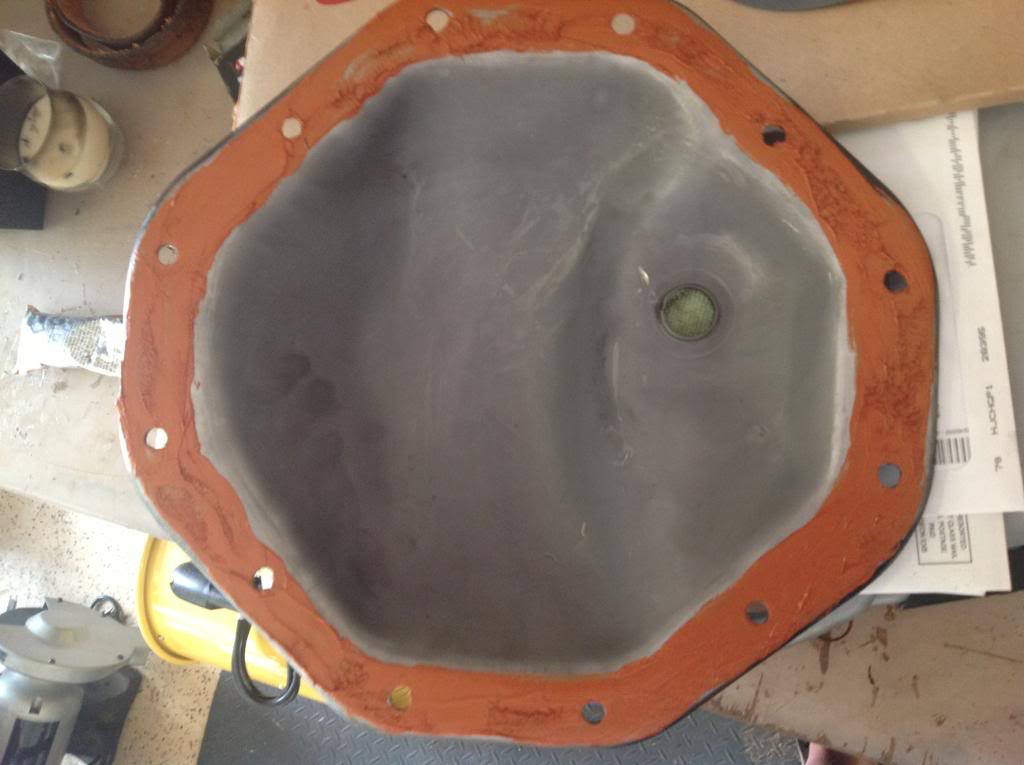
Next place new gasket in place and apply another thin layer of RTV sealant. Some people prefer no sealent just gasket, no gasket just sealant. I am only showing you what works for me to insure a leak free seal.

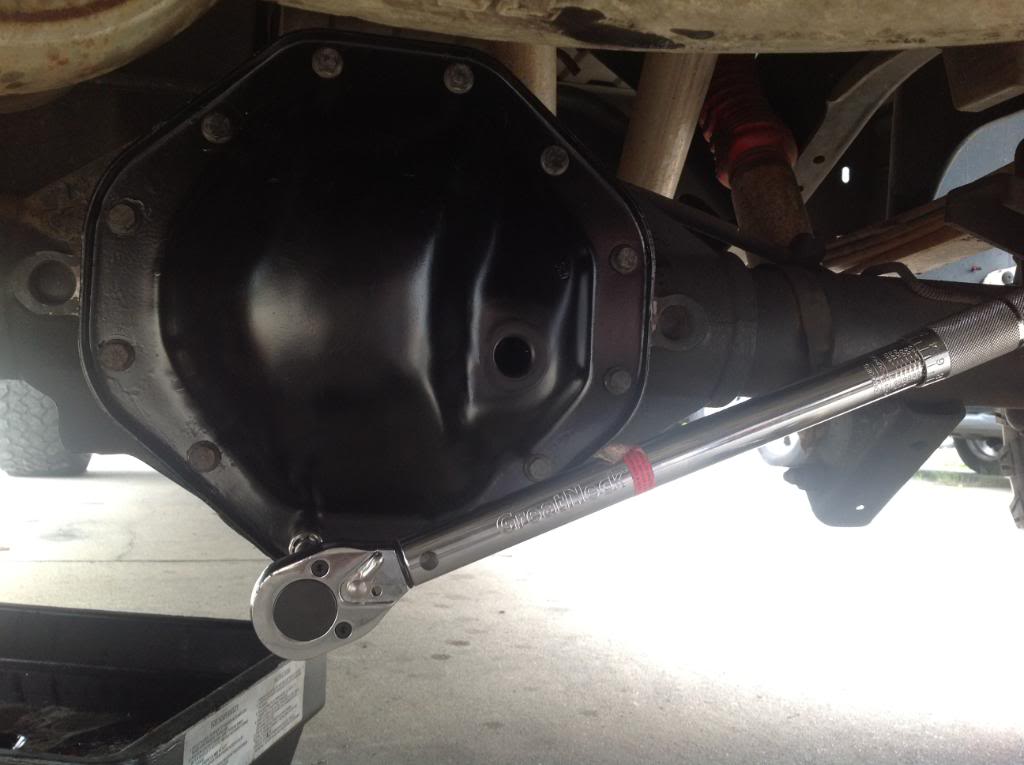
Now we can reinstall the cover. Be sure you remove the rag used to cover the carrier earlier. Finger tighten all bolts. then torque to your specs. in this case 35 flbs. I start at 25 flbs in a criss cross fahsion, then finish with 35 flbs.
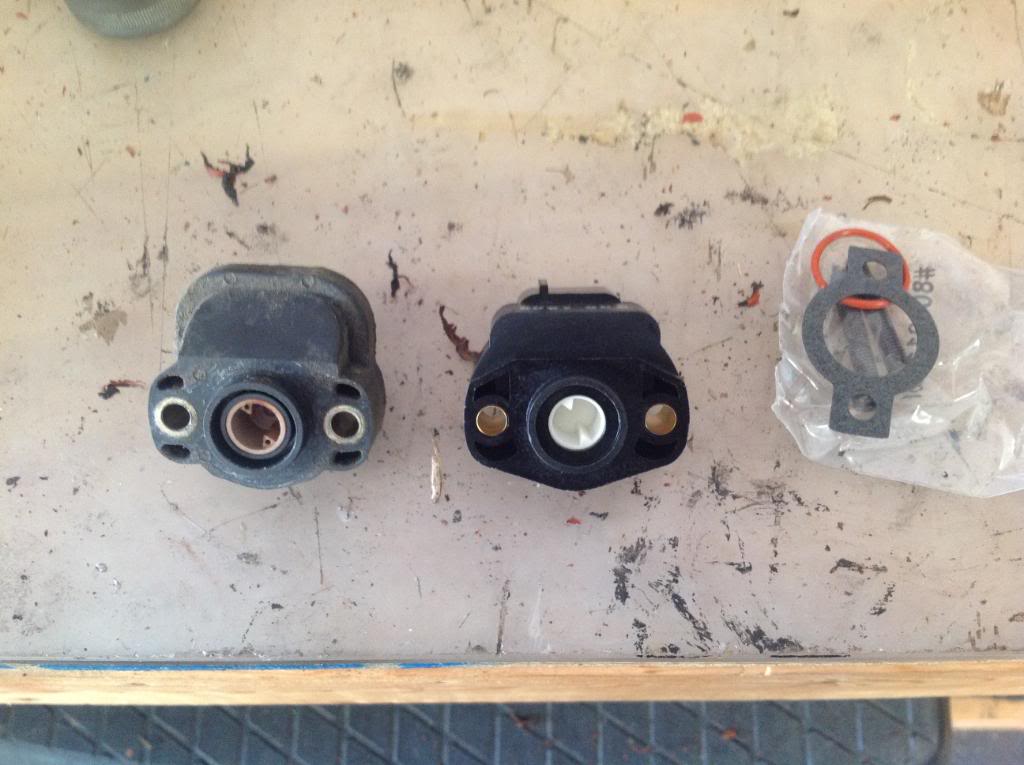
I prefer to let the sealant set for a bit before filling with fresh fluid. so in the mean time I replace one of these recognizable parts.
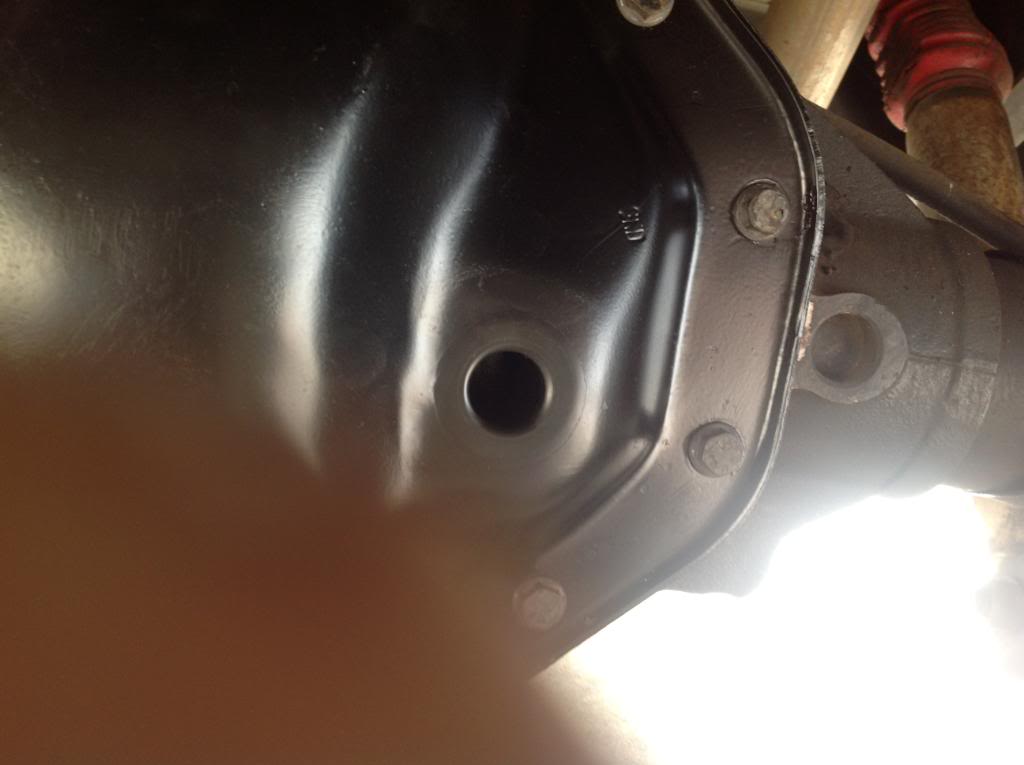
Back to our rear. Using your favorite gear oil fill through the fill hole on the cover in this case. I fill mine to about 1/4 of an inch from the the bottom of the fill hole. Over filling til it is spilling out make a mess and fluid will seep out of the plug while sitting there over time. Mine used 2each 32oz bottles and a 4 oz bottle of clutch additive. (Pardon my thumb in this pic)
Once you have enough fluids replaced the cleaned fill plug. Test drive and enjoy.
Remove all rear cover bolts except the top 2. Mine used a 1/2 inch socket
losen the top two bolts and with a catch pan under the cover, pry the bottom of the cover off. A large flat head screwdriver works well.
When all fluid has drained remove the top two bolts and remove the cover. While the cover is off is a great time to inspect the Ring, Pinion and Carrier for wear or dammage. Also clean out the bottom of the housing of any debris, a lint free rag works well.
Before we begin cleaning off the old sealant, I like to soak all the bolts in solvent.
Clean off all old RTV sealant and gasket from the cover. The wire wheel drill attachment works great. It is also great to clean up any rust on the front side of the cover, when preping for paint. I use brake cleaner to clean off any crud on the housing. Any solvent can be used however.
Once cover is cleaned and preped. You can leave it or paint it. A good automotive high temp paint is a good choice.
Lets turn our attention to the main housing. I cover my carrier before stripping the old RTV sealant to minimize debris falling in the housing area.
Remove all old sealant. I use the same method as the cover. Just be carefull not to tangle the rag in the drill. Then use a Brake cleaner soaked rag and wipe off the gasket area til clean. Also if available use a air hose and blow out all the bolt holes. Dirt and grim in the holes could affect the torqing of bolts later on.
Now how about them bolts, I clean each one with solvent. Cleaning the threads with this recognizable device is excellent.
Now that the paint has dried on the cover, I apply a thin layer of RTV sealant to the cover.
Next place new gasket in place and apply another thin layer of RTV sealant. Some people prefer no sealent just gasket, no gasket just sealant. I am only showing you what works for me to insure a leak free seal.
Now we can reinstall the cover. Be sure you remove the rag used to cover the carrier earlier. Finger tighten all bolts. then torque to your specs. in this case 35 flbs. I start at 25 flbs in a criss cross fahsion, then finish with 35 flbs.
I prefer to let the sealant set for a bit before filling with fresh fluid. so in the mean time I replace one of these recognizable parts.
Back to our rear. Using your favorite gear oil fill through the fill hole on the cover in this case. I fill mine to about 1/4 of an inch from the the bottom of the fill hole. Over filling til it is spilling out make a mess and fluid will seep out of the plug while sitting there over time. Mine used 2each 32oz bottles and a 4 oz bottle of clutch additive. (Pardon my thumb in this pic)
Once you have enough fluids replaced the cleaned fill plug. Test drive and enjoy.
Last edited by Halojm; Sep 30, 2012 at 07:28 PM. Reason: Spelling

Thread Starter
|
Professional
Joined: Sep 2012
Posts: 231
Likes: 0
From: Wade NC
Thank you, I enjoyed writing it up, less the computer acting up as I was.
Trending Topics
Grand Champion
Joined: Aug 2009
Posts: 5,971
Likes: 45
From: MAINE
Very good write up. The more diys like this the better...
And yea a mod will take care of posting it for you in diy....i did a front end diy and it was about 4-5 days before being posted in diy. But i pmed jasonw about it as well to bring it to his attention. Maybe you should do the same
And yea a mod will take care of posting it for you in diy....i did a front end diy and it was about 4-5 days before being posted in diy. But i pmed jasonw about it as well to bring it to his attention. Maybe you should do the same
