

Dodge Dana 70U Regear and ARB Install

Thread Starter
|
Champion
Joined: Sep 2011
Posts: 3,891
Likes: 8
From: NorCal
Maybe this thread will be helpful. This is an attempt to show the effort involved. The gritty details are captured in ARB and factory Dana 70 install instructions.
This past weekend I got a start on this project and lots of help from friend that finished up regearing 2 high pinion D60s for his LJ. He went from 4.88 to 5.38 and already had the ARBs.
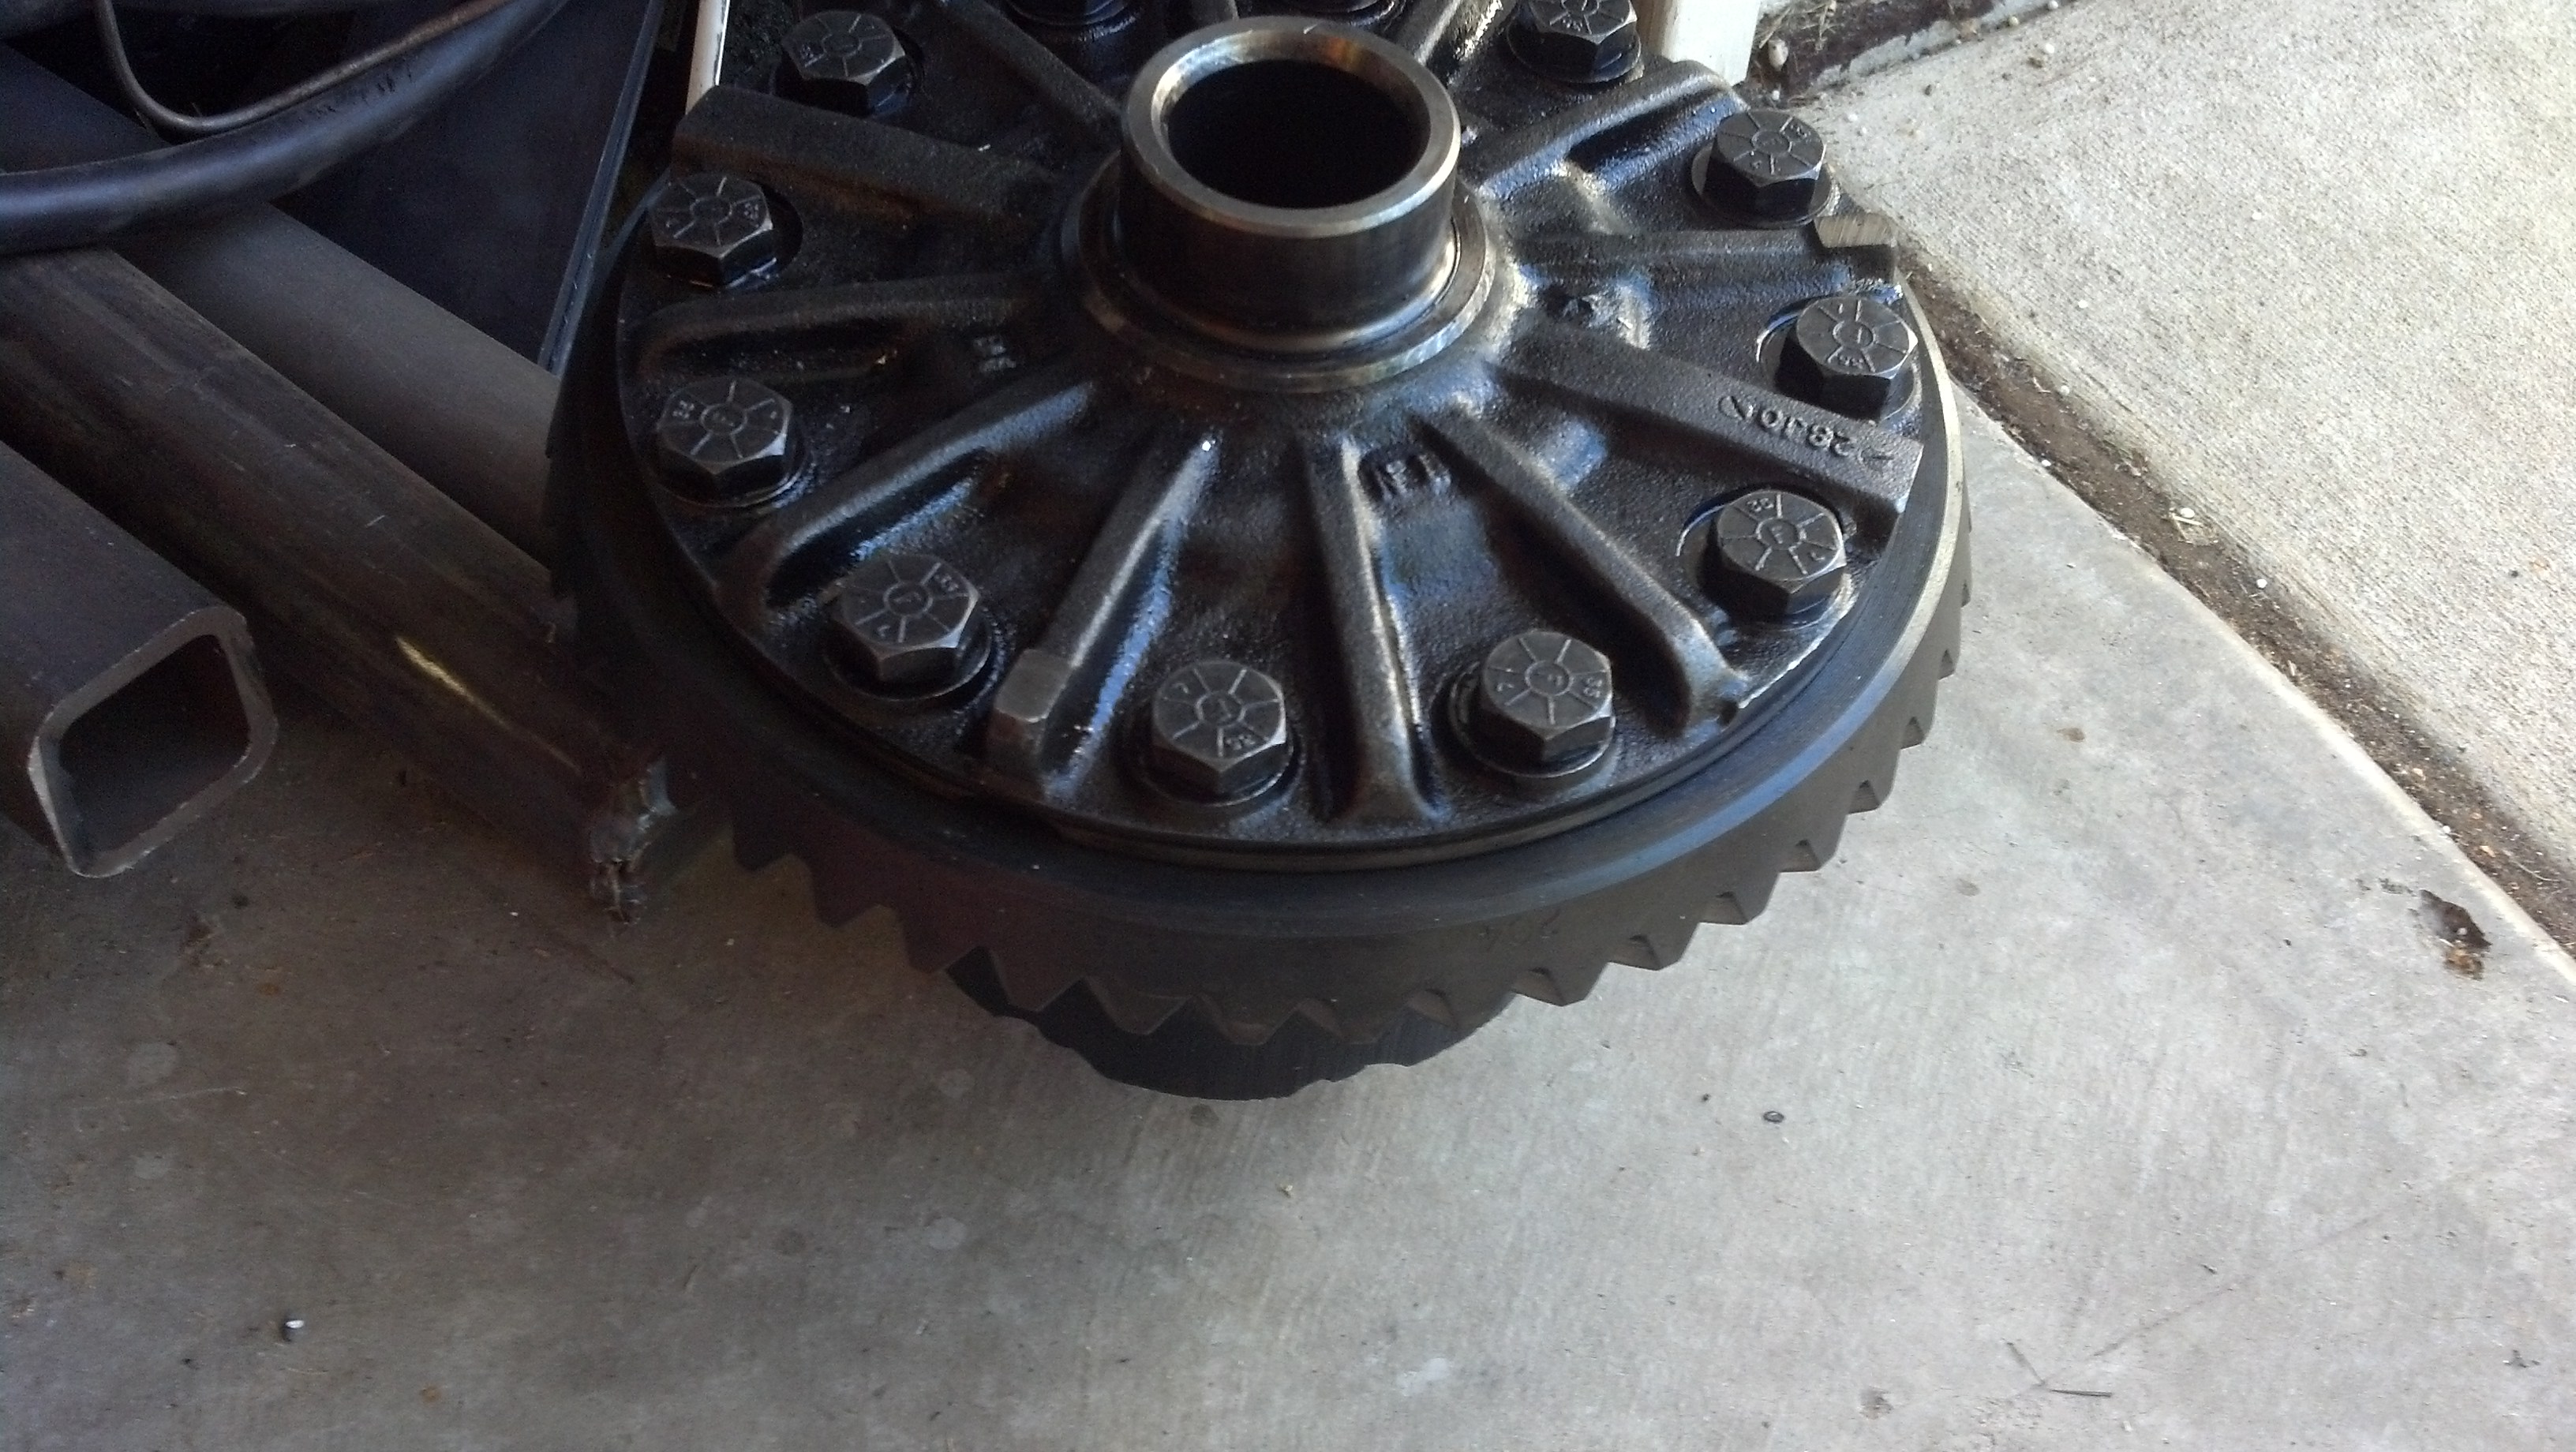
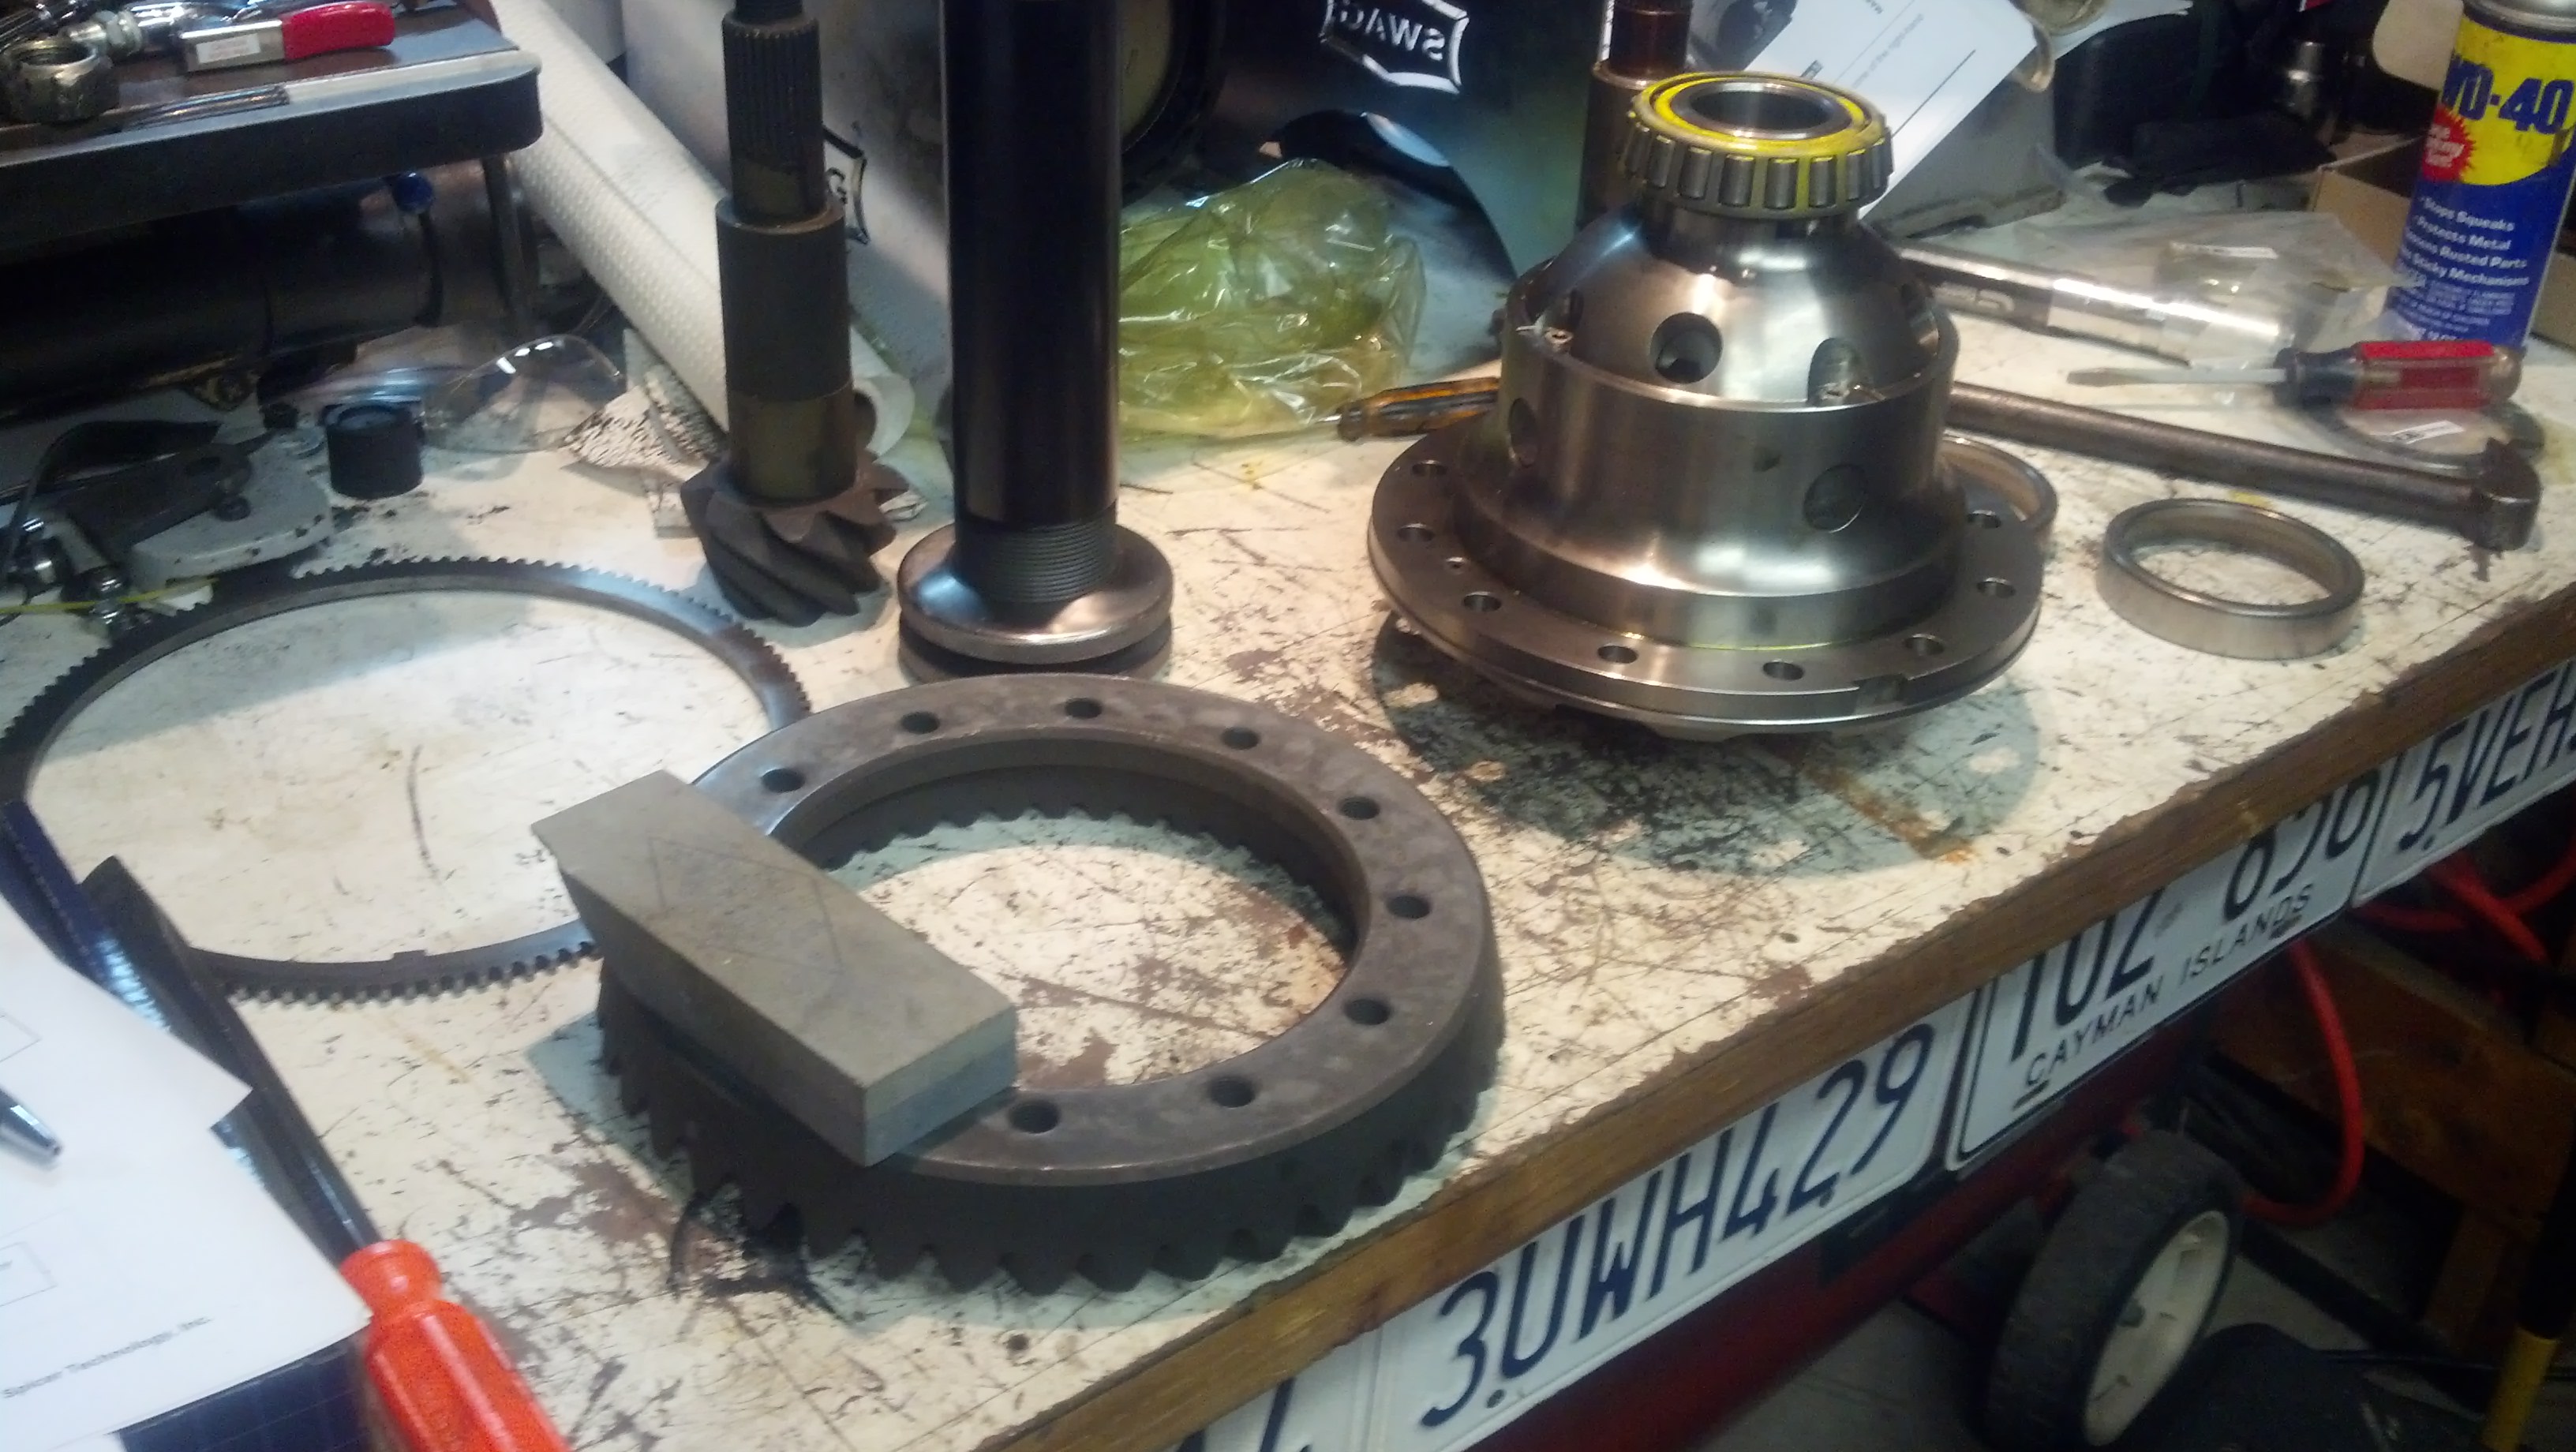
I am changing gears and carrier. Gear change is from 3.55 to 5.13 and carrier is factory power lock to ARB RD172. Factory carrier is 32 spline and the ARB carrier is 35 spline. Factory Dodge D80 axleshafts are 35 spline and slide right in.
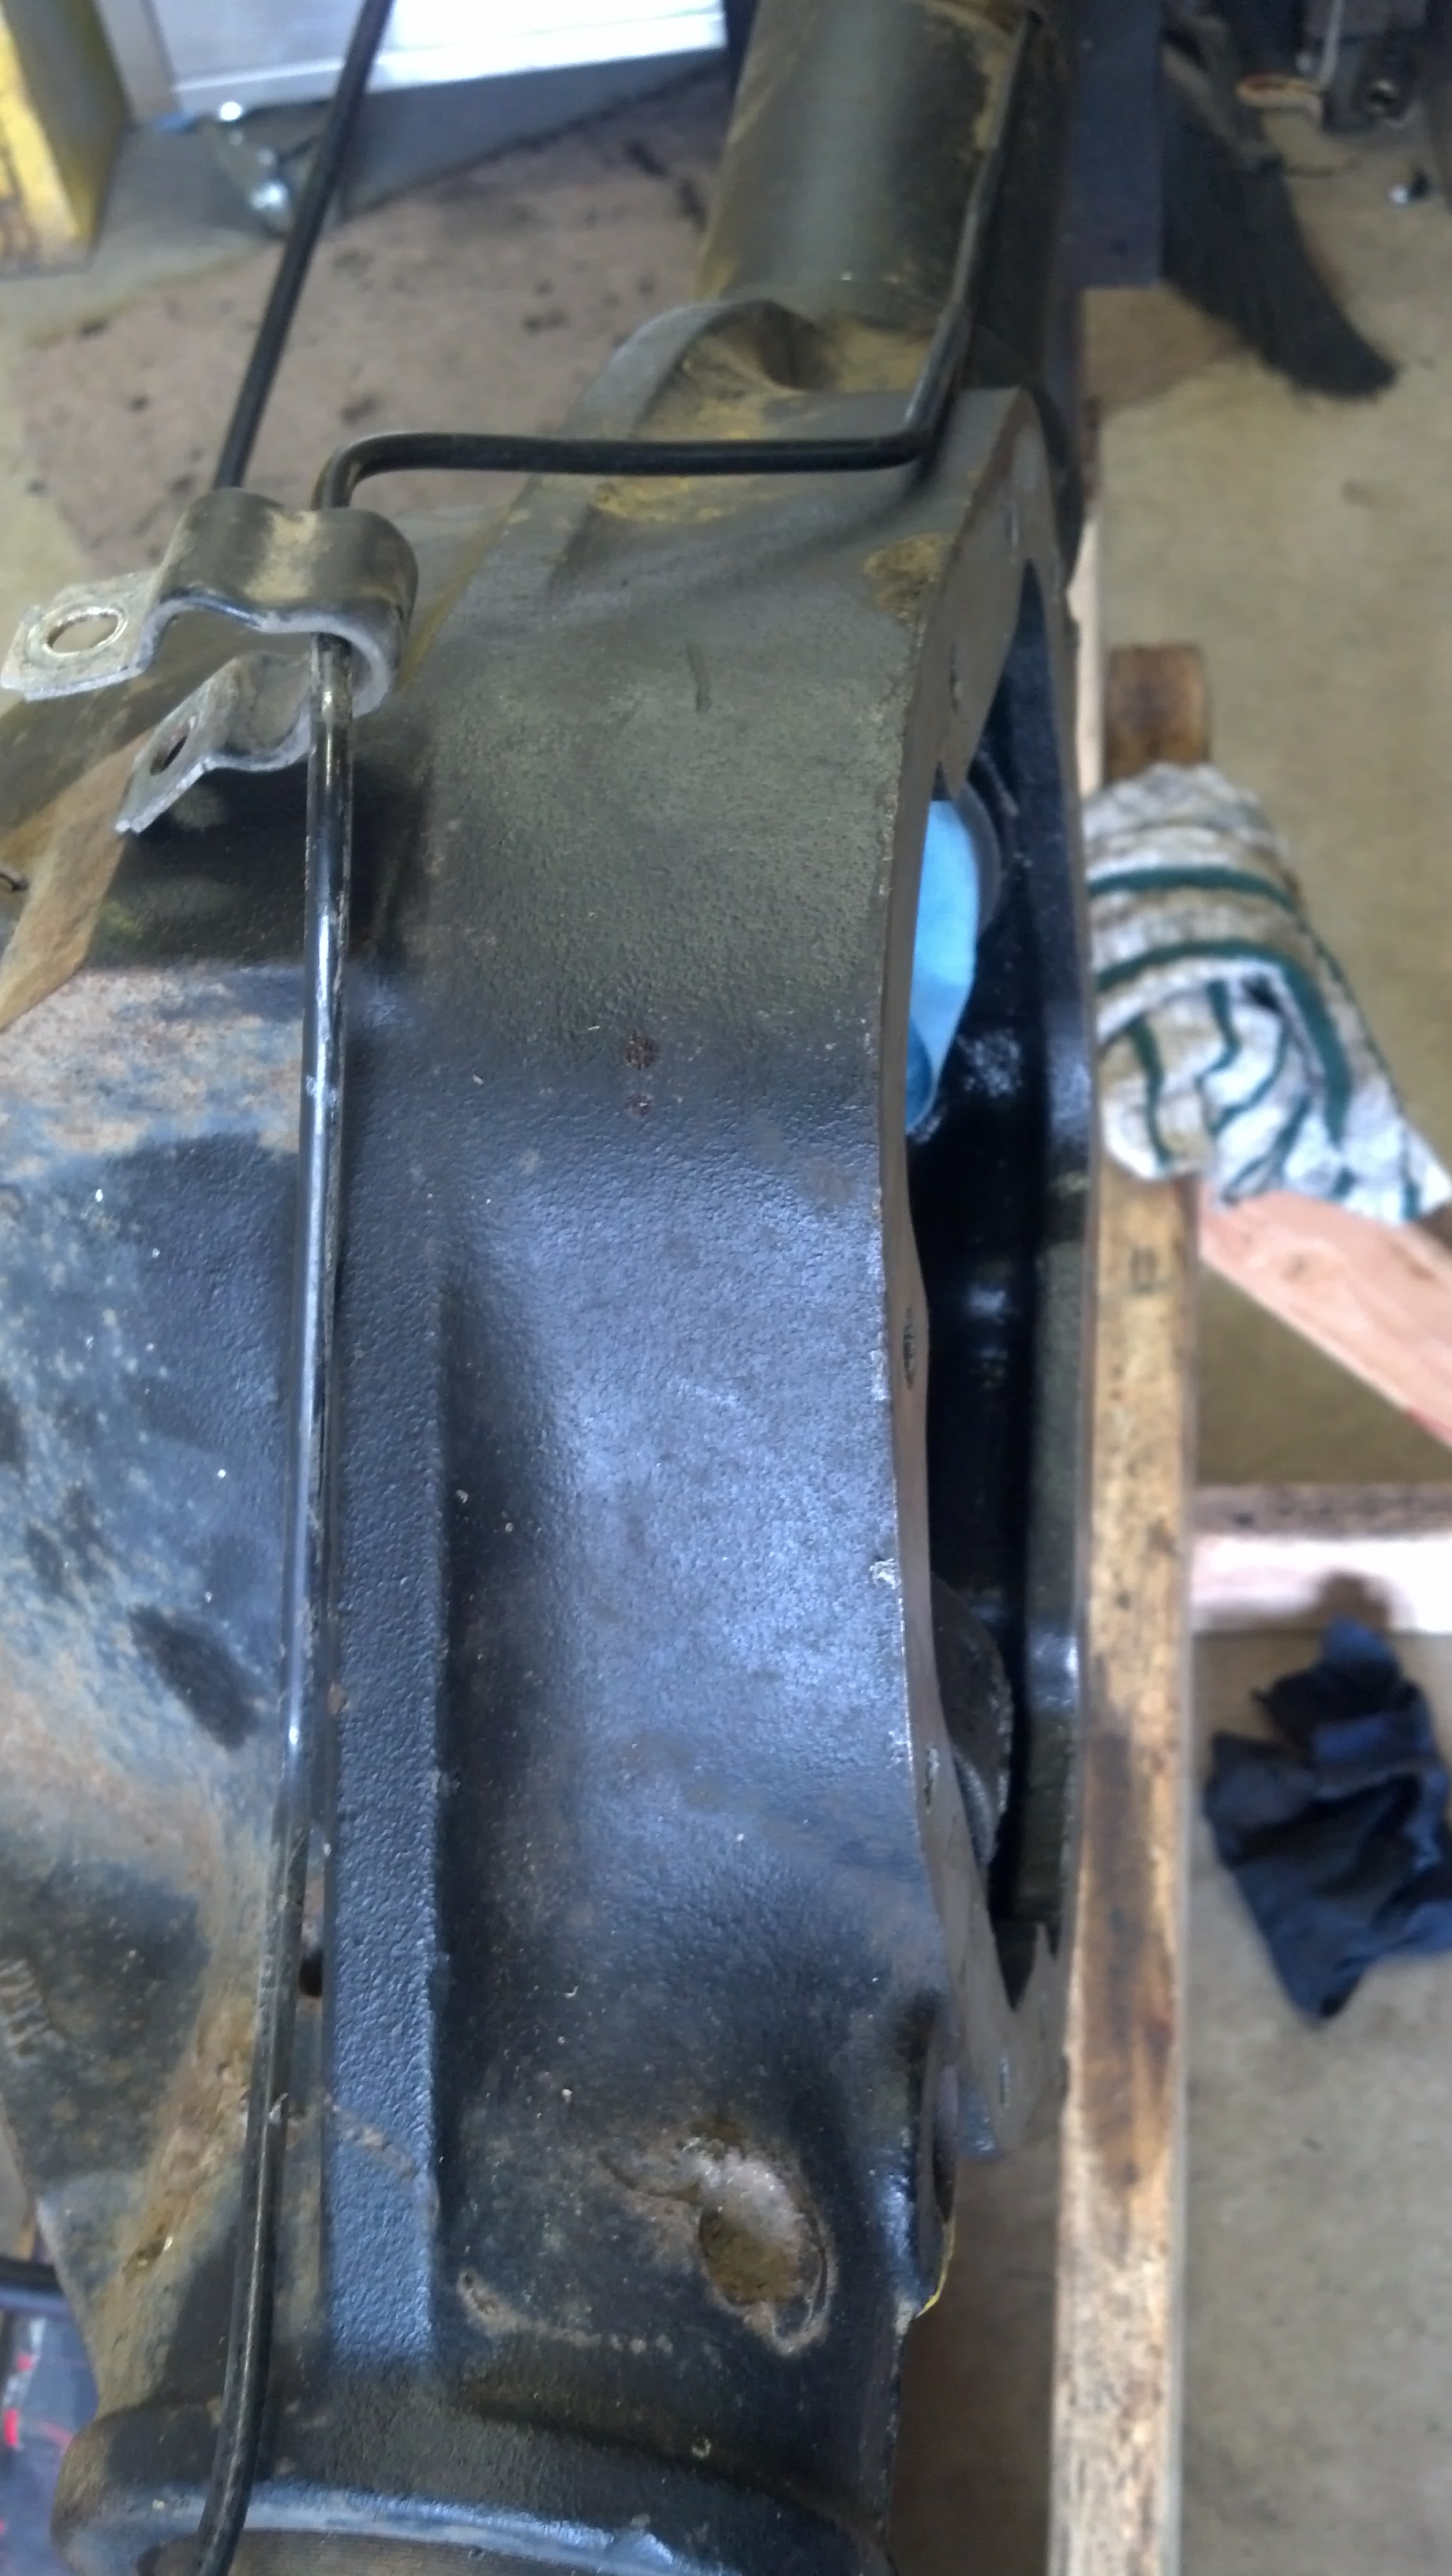
Leaf spring perches were removed. This is because they are for 3" wide leaf springs. I'm retaining my 2.5" wide leaf springs and welding new perches on.
Shock mounts were also removed.


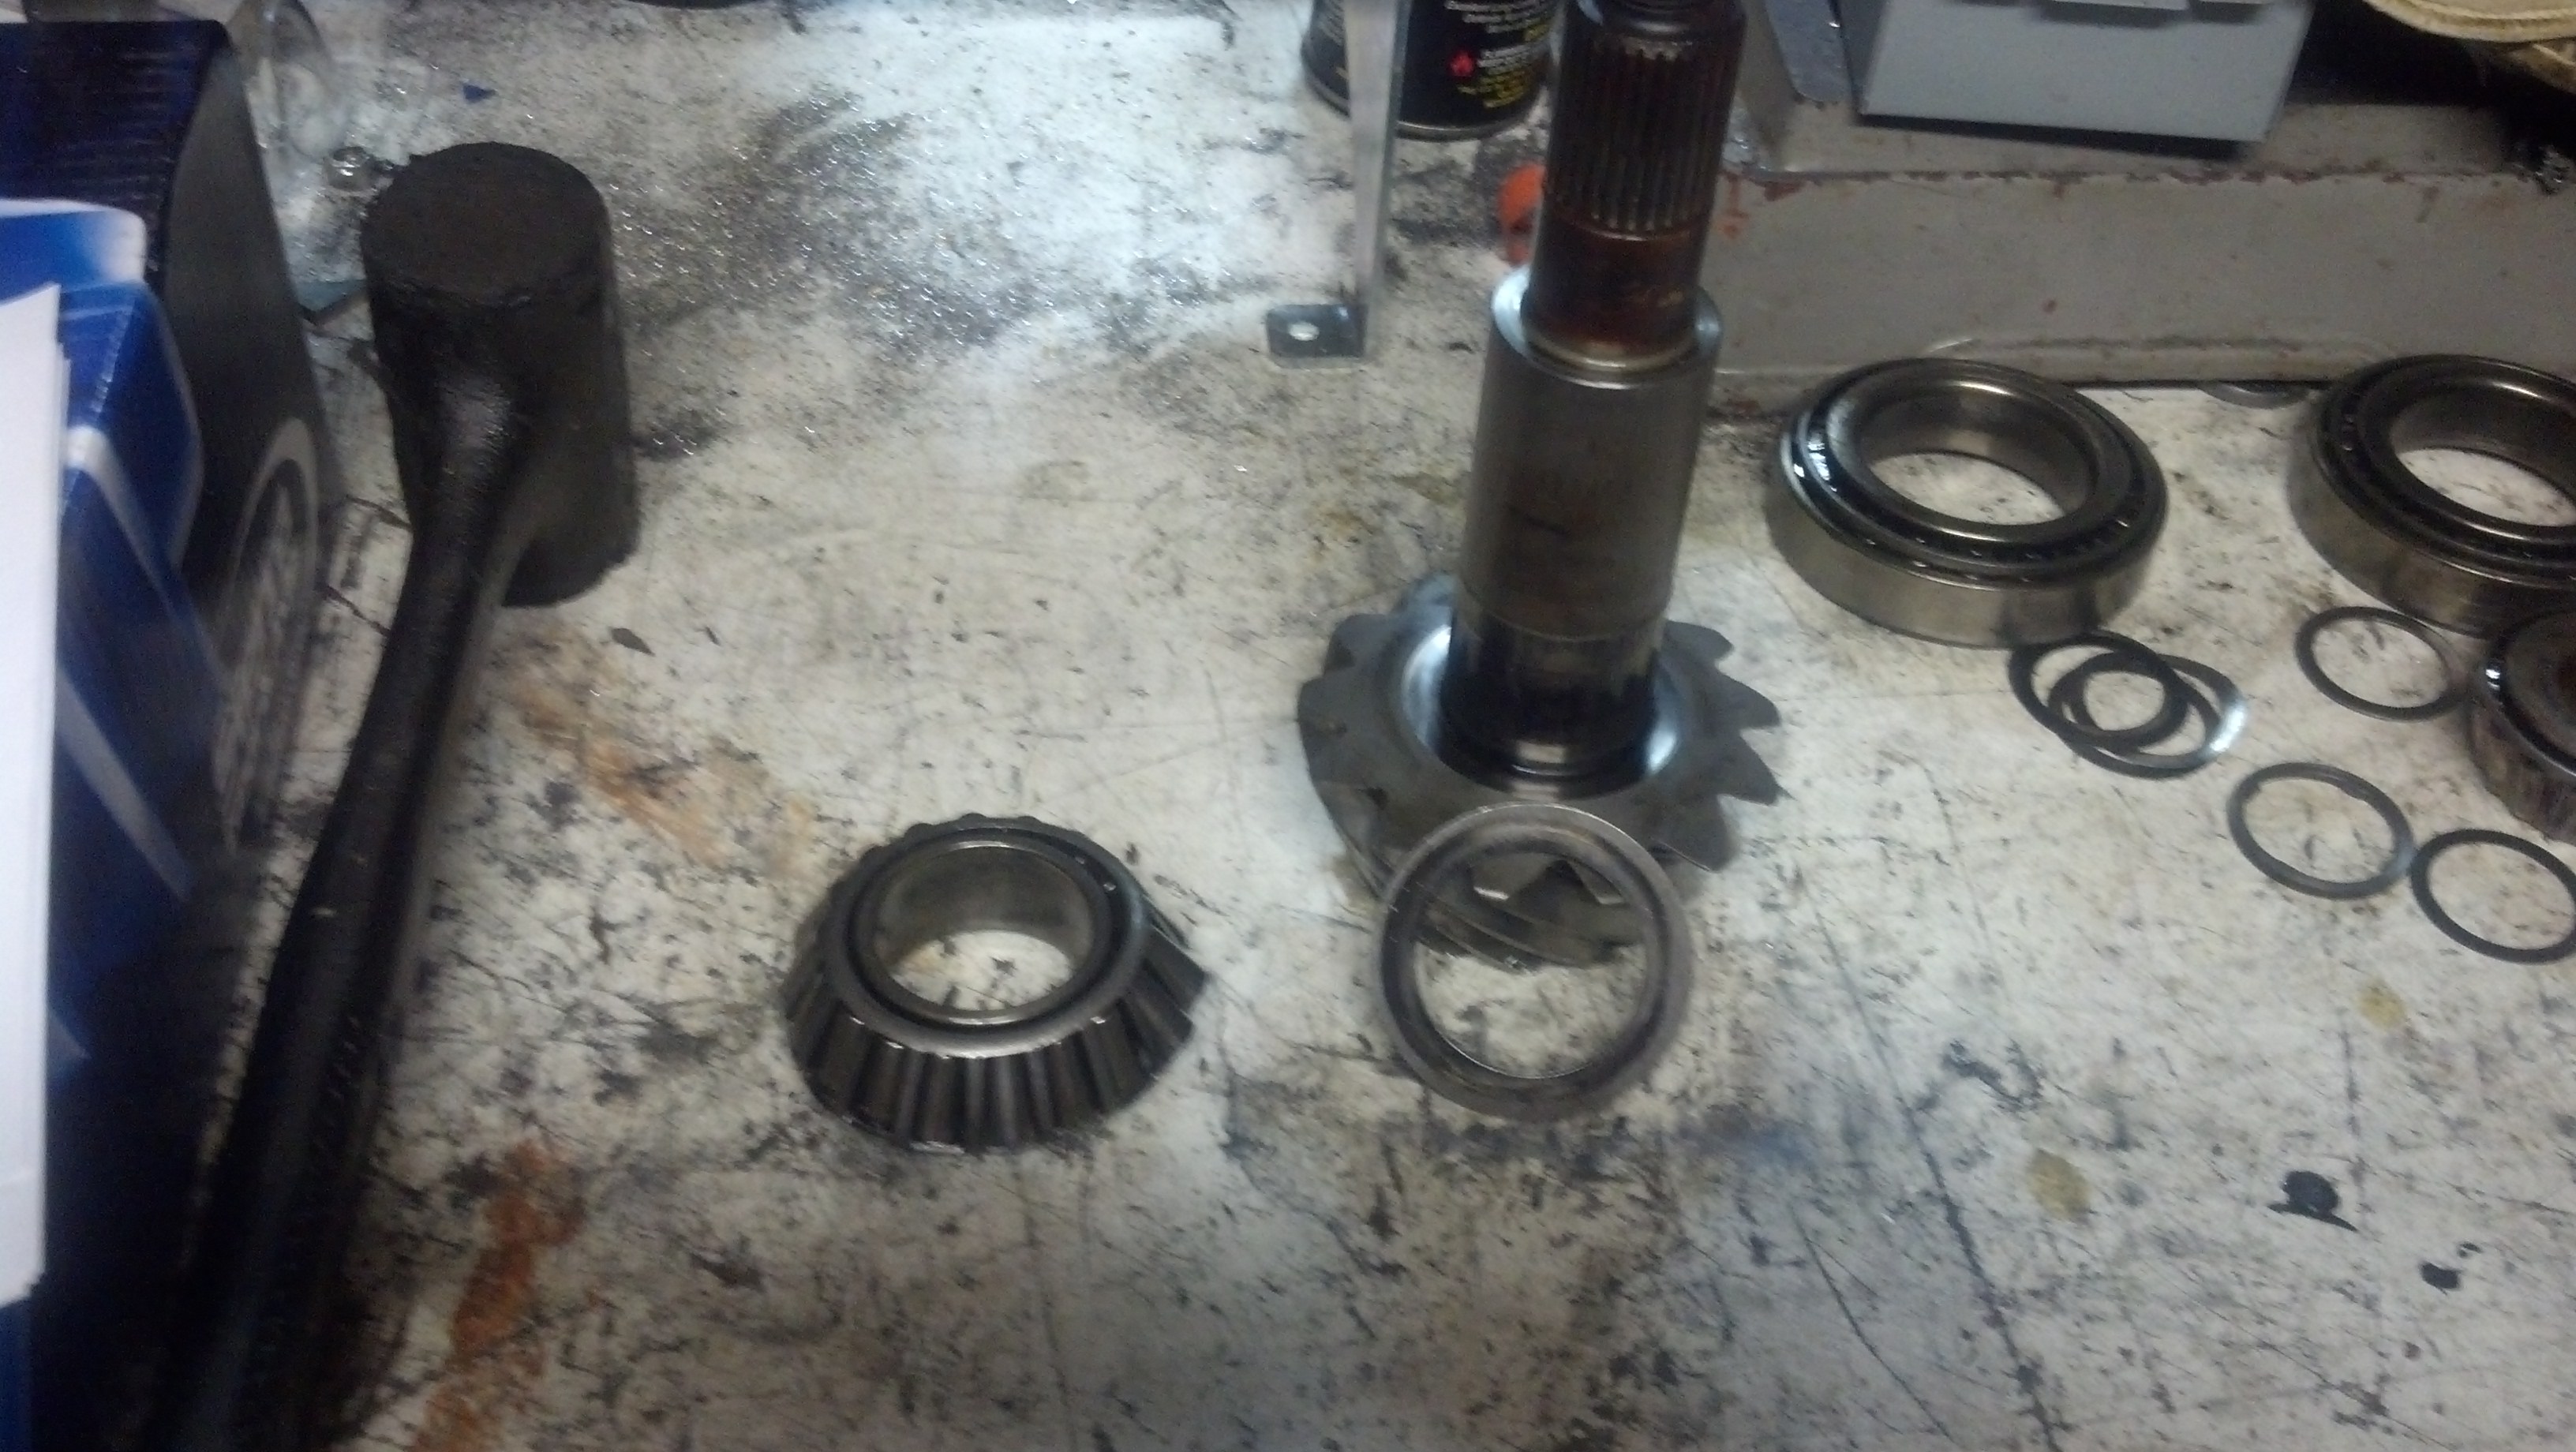
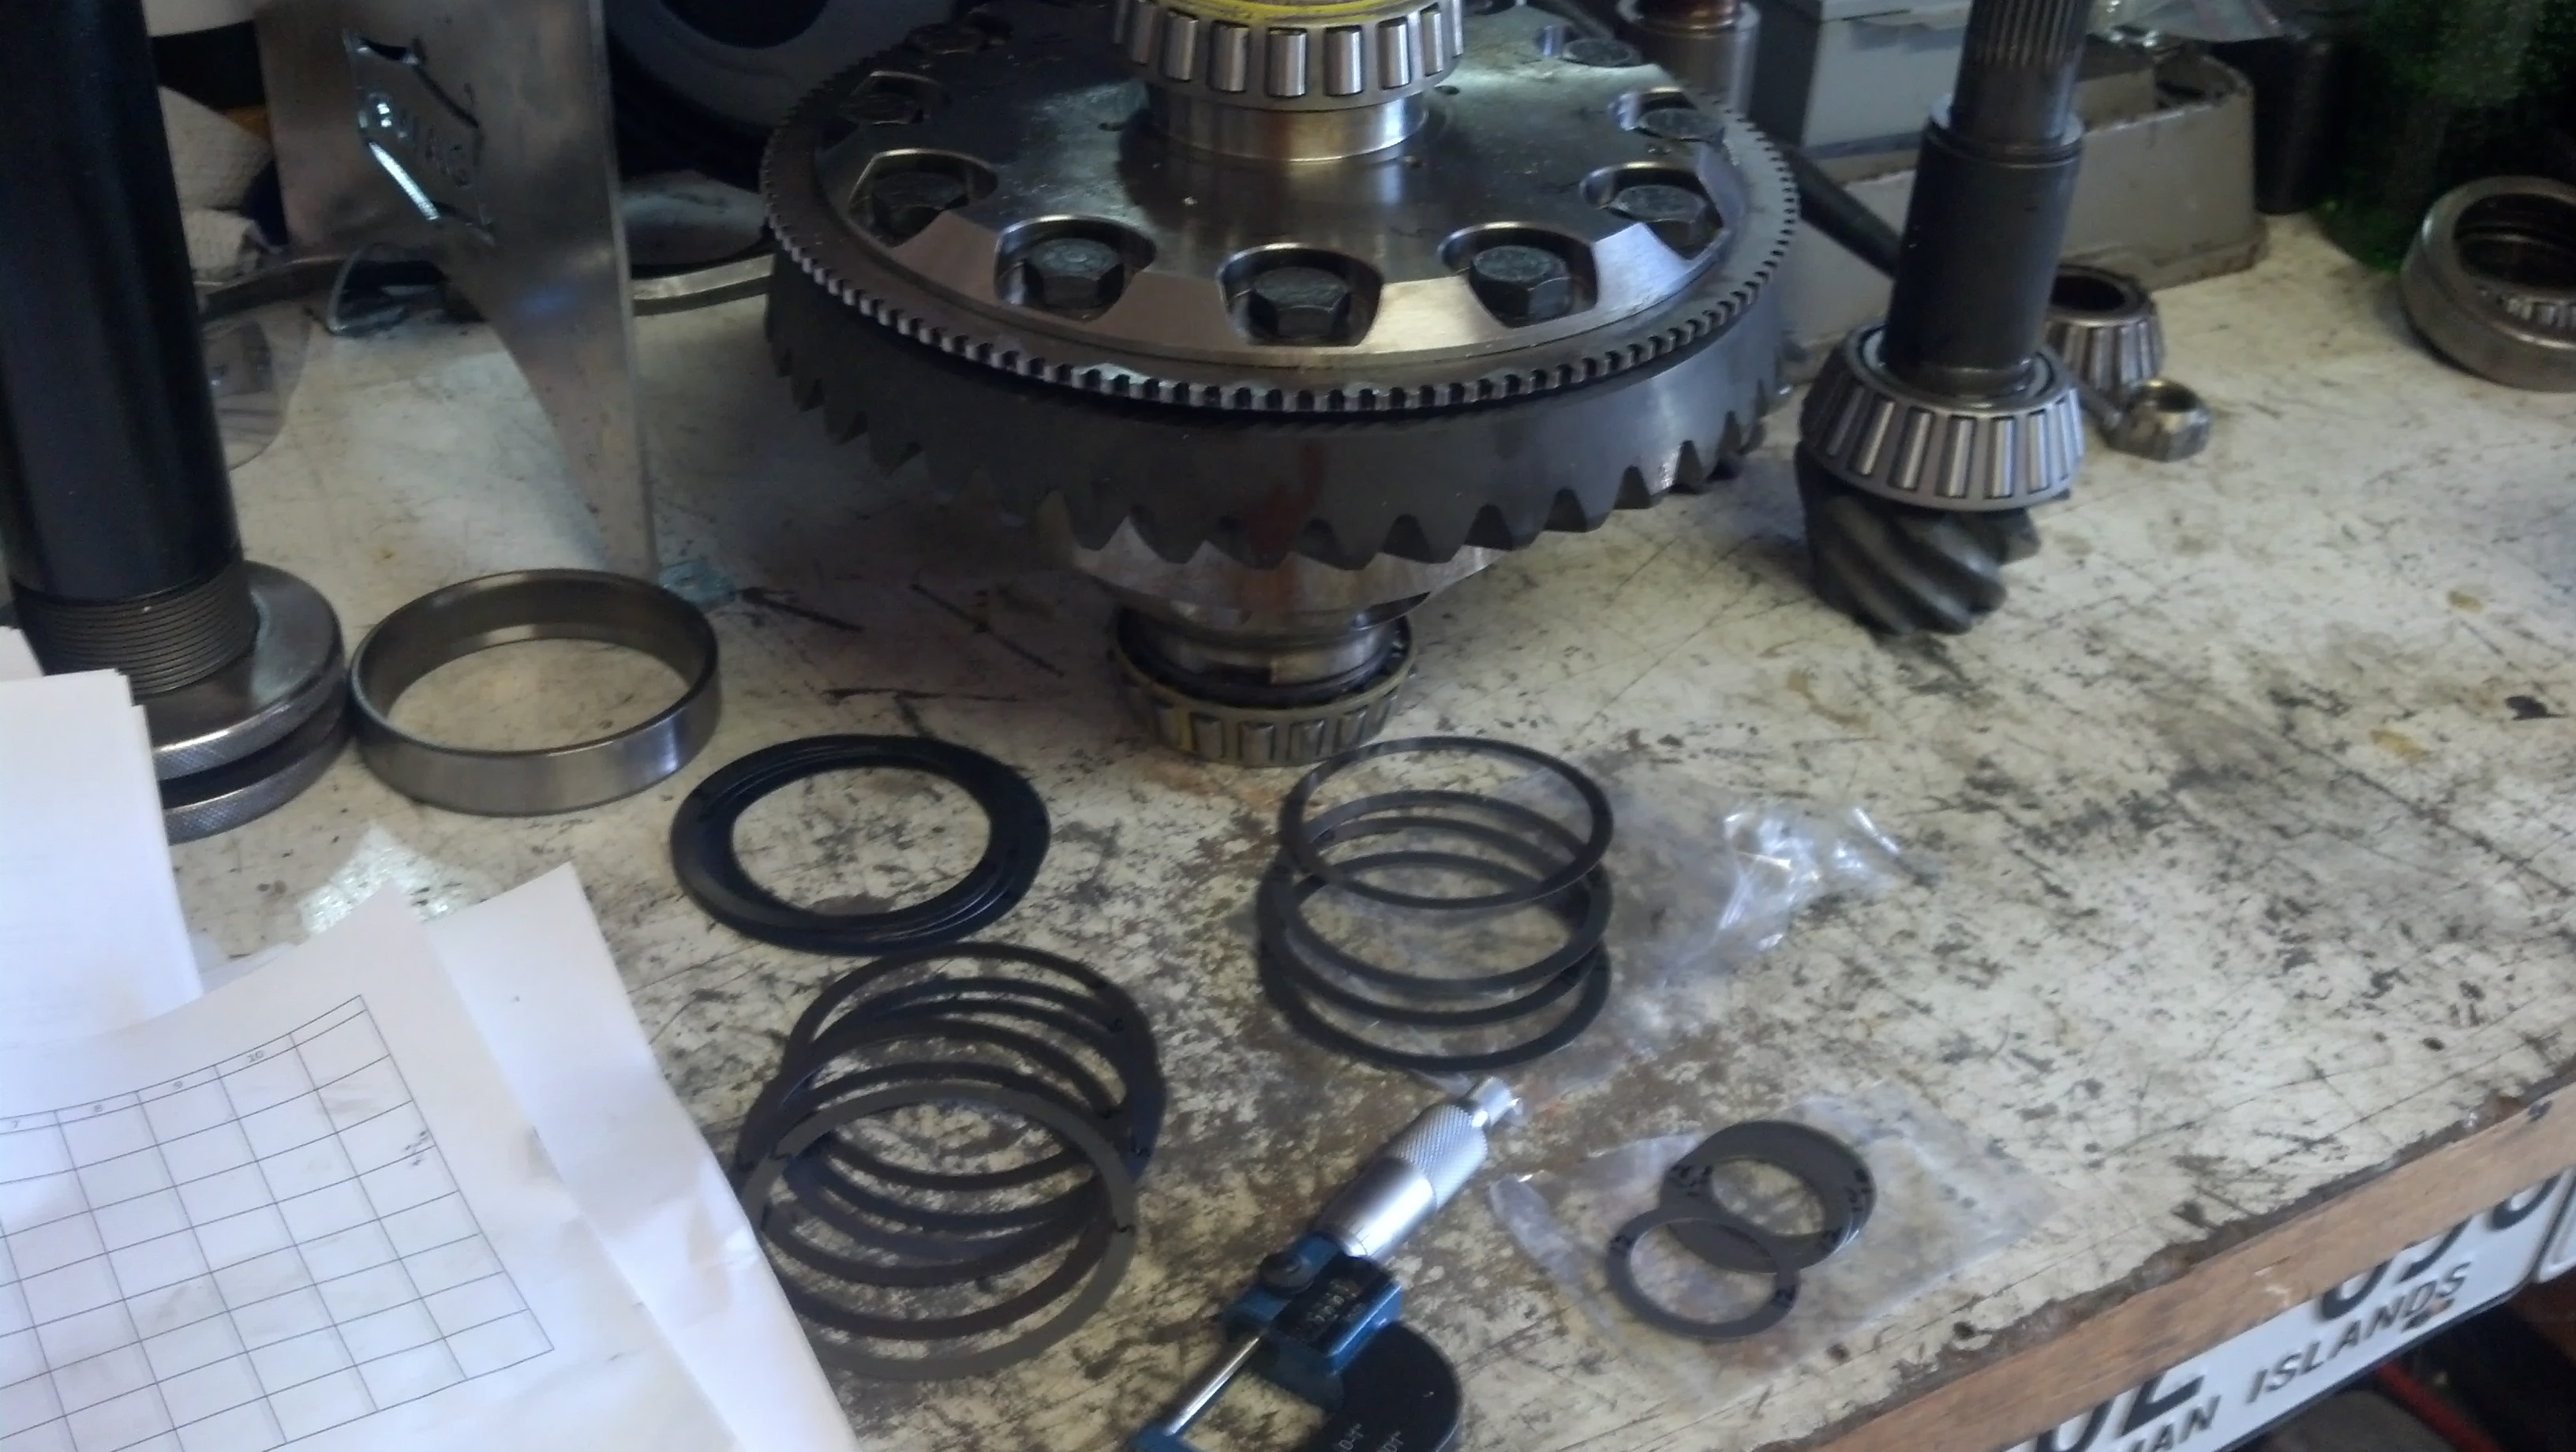
Comparison of D70 Inner Bearing and D60. Only in the Dodge D70 is this bearing "smaller" than the D60. All other bearings are the same as D60. I haven't measured yet exactly the difference, but you can see the inner race is much less in thickness.

Pinion Outer bearing shim spacer shown for this one.

Pinion Inner bearing single shim. No shims between bearing race and housing.
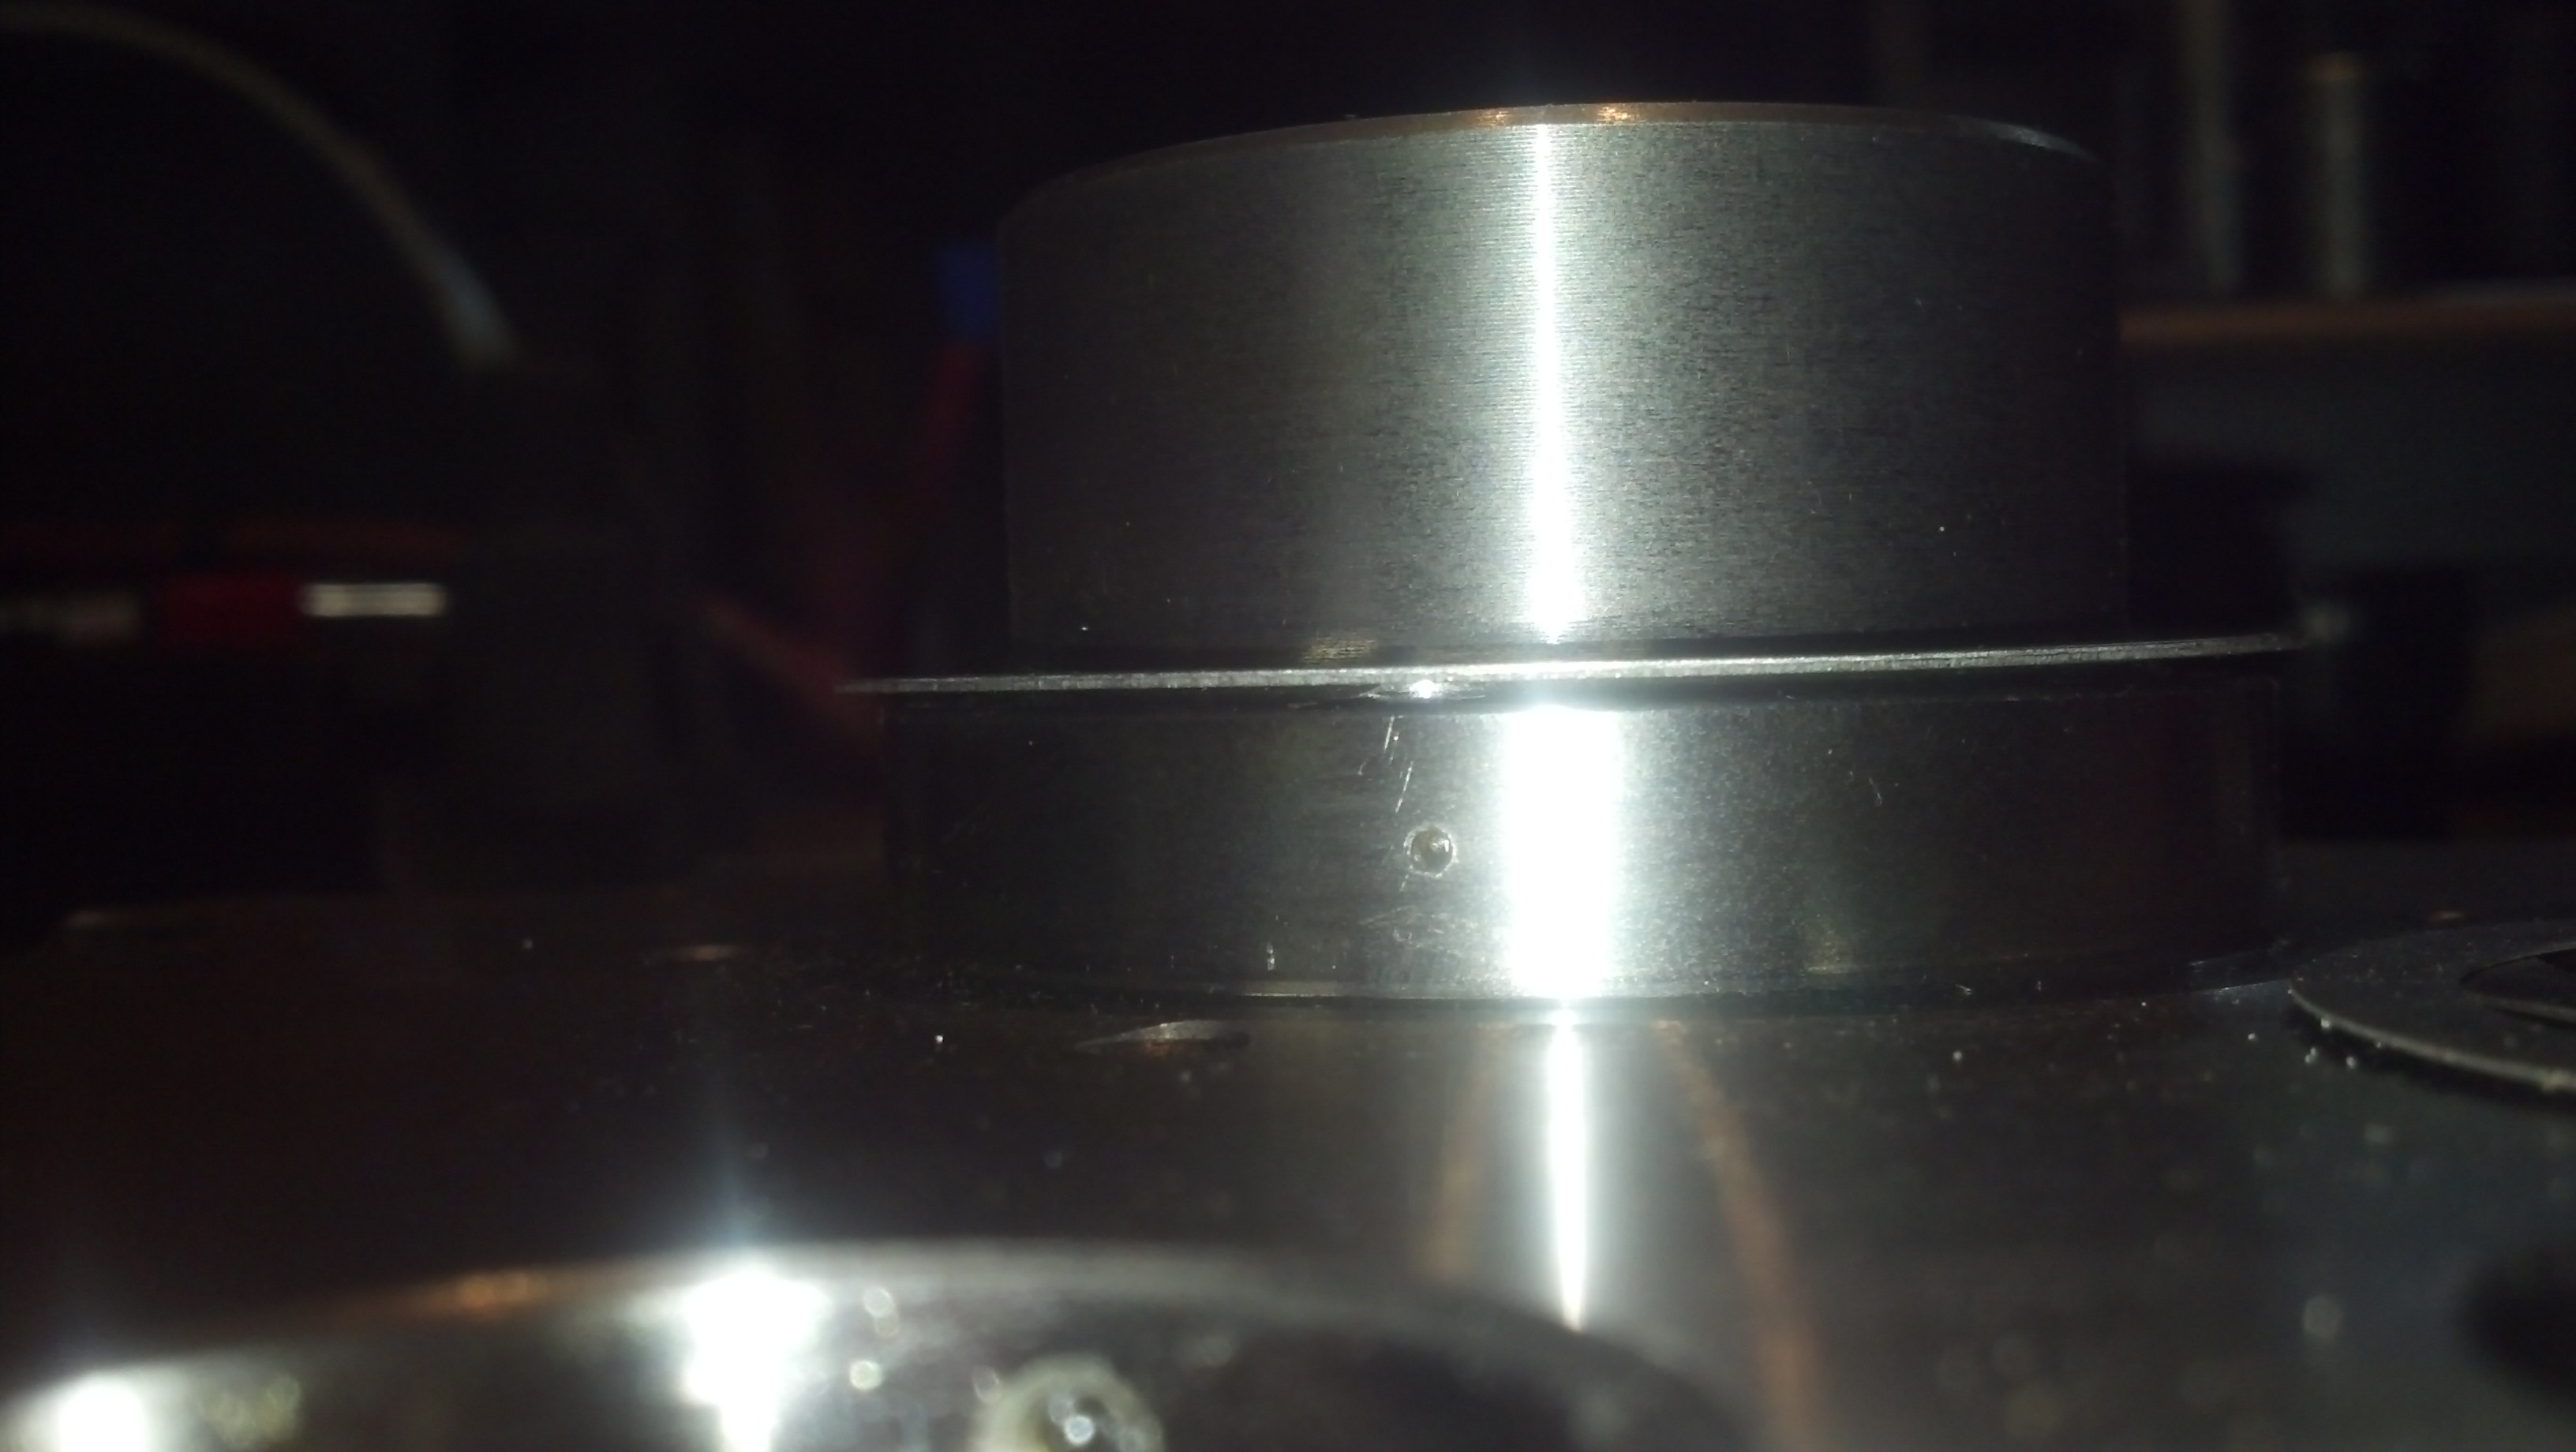
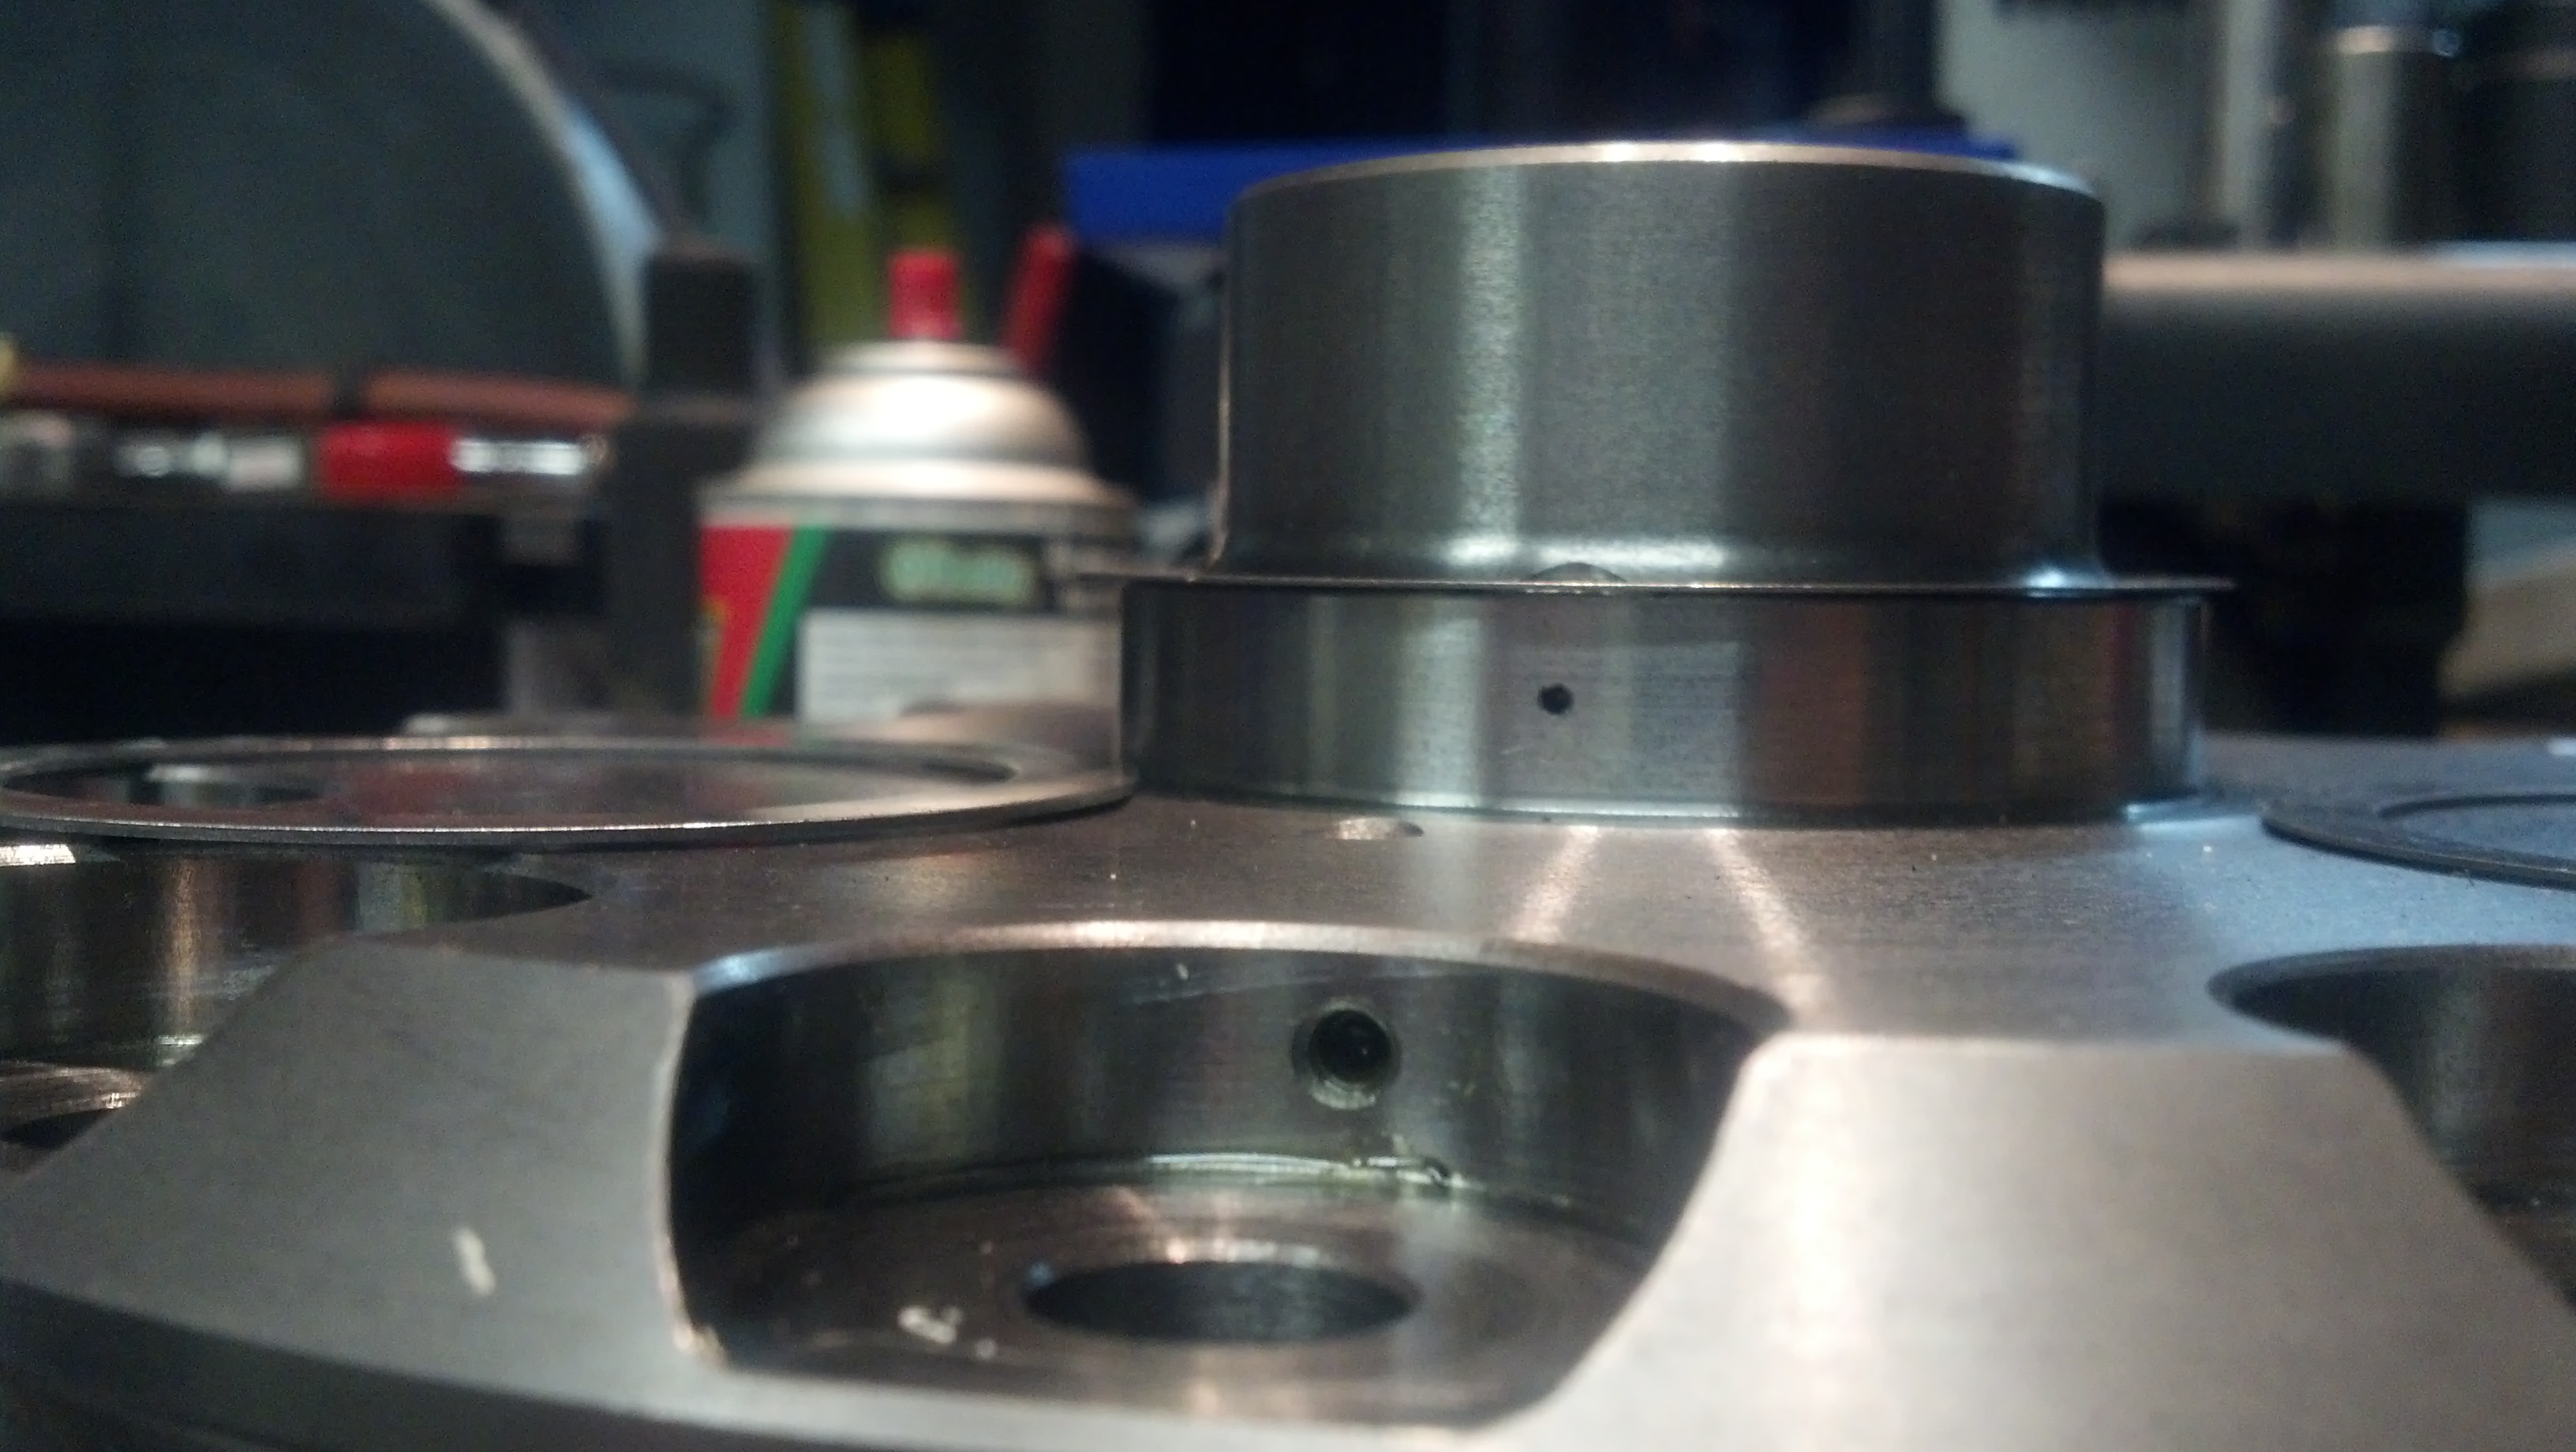
ARB showing the air side inlet (OD surface) and a vent (I think, on the bearing surface next to fillet).

Found that the shims that came with the Sierra master install kit have an ID that does not clear that fillet. This prevents the shim from sitting flush as shown here (slight gap).
So used a single factory shim where ID cleared the fillet and sits flush. New shim on that were added to set zero carrier preload.
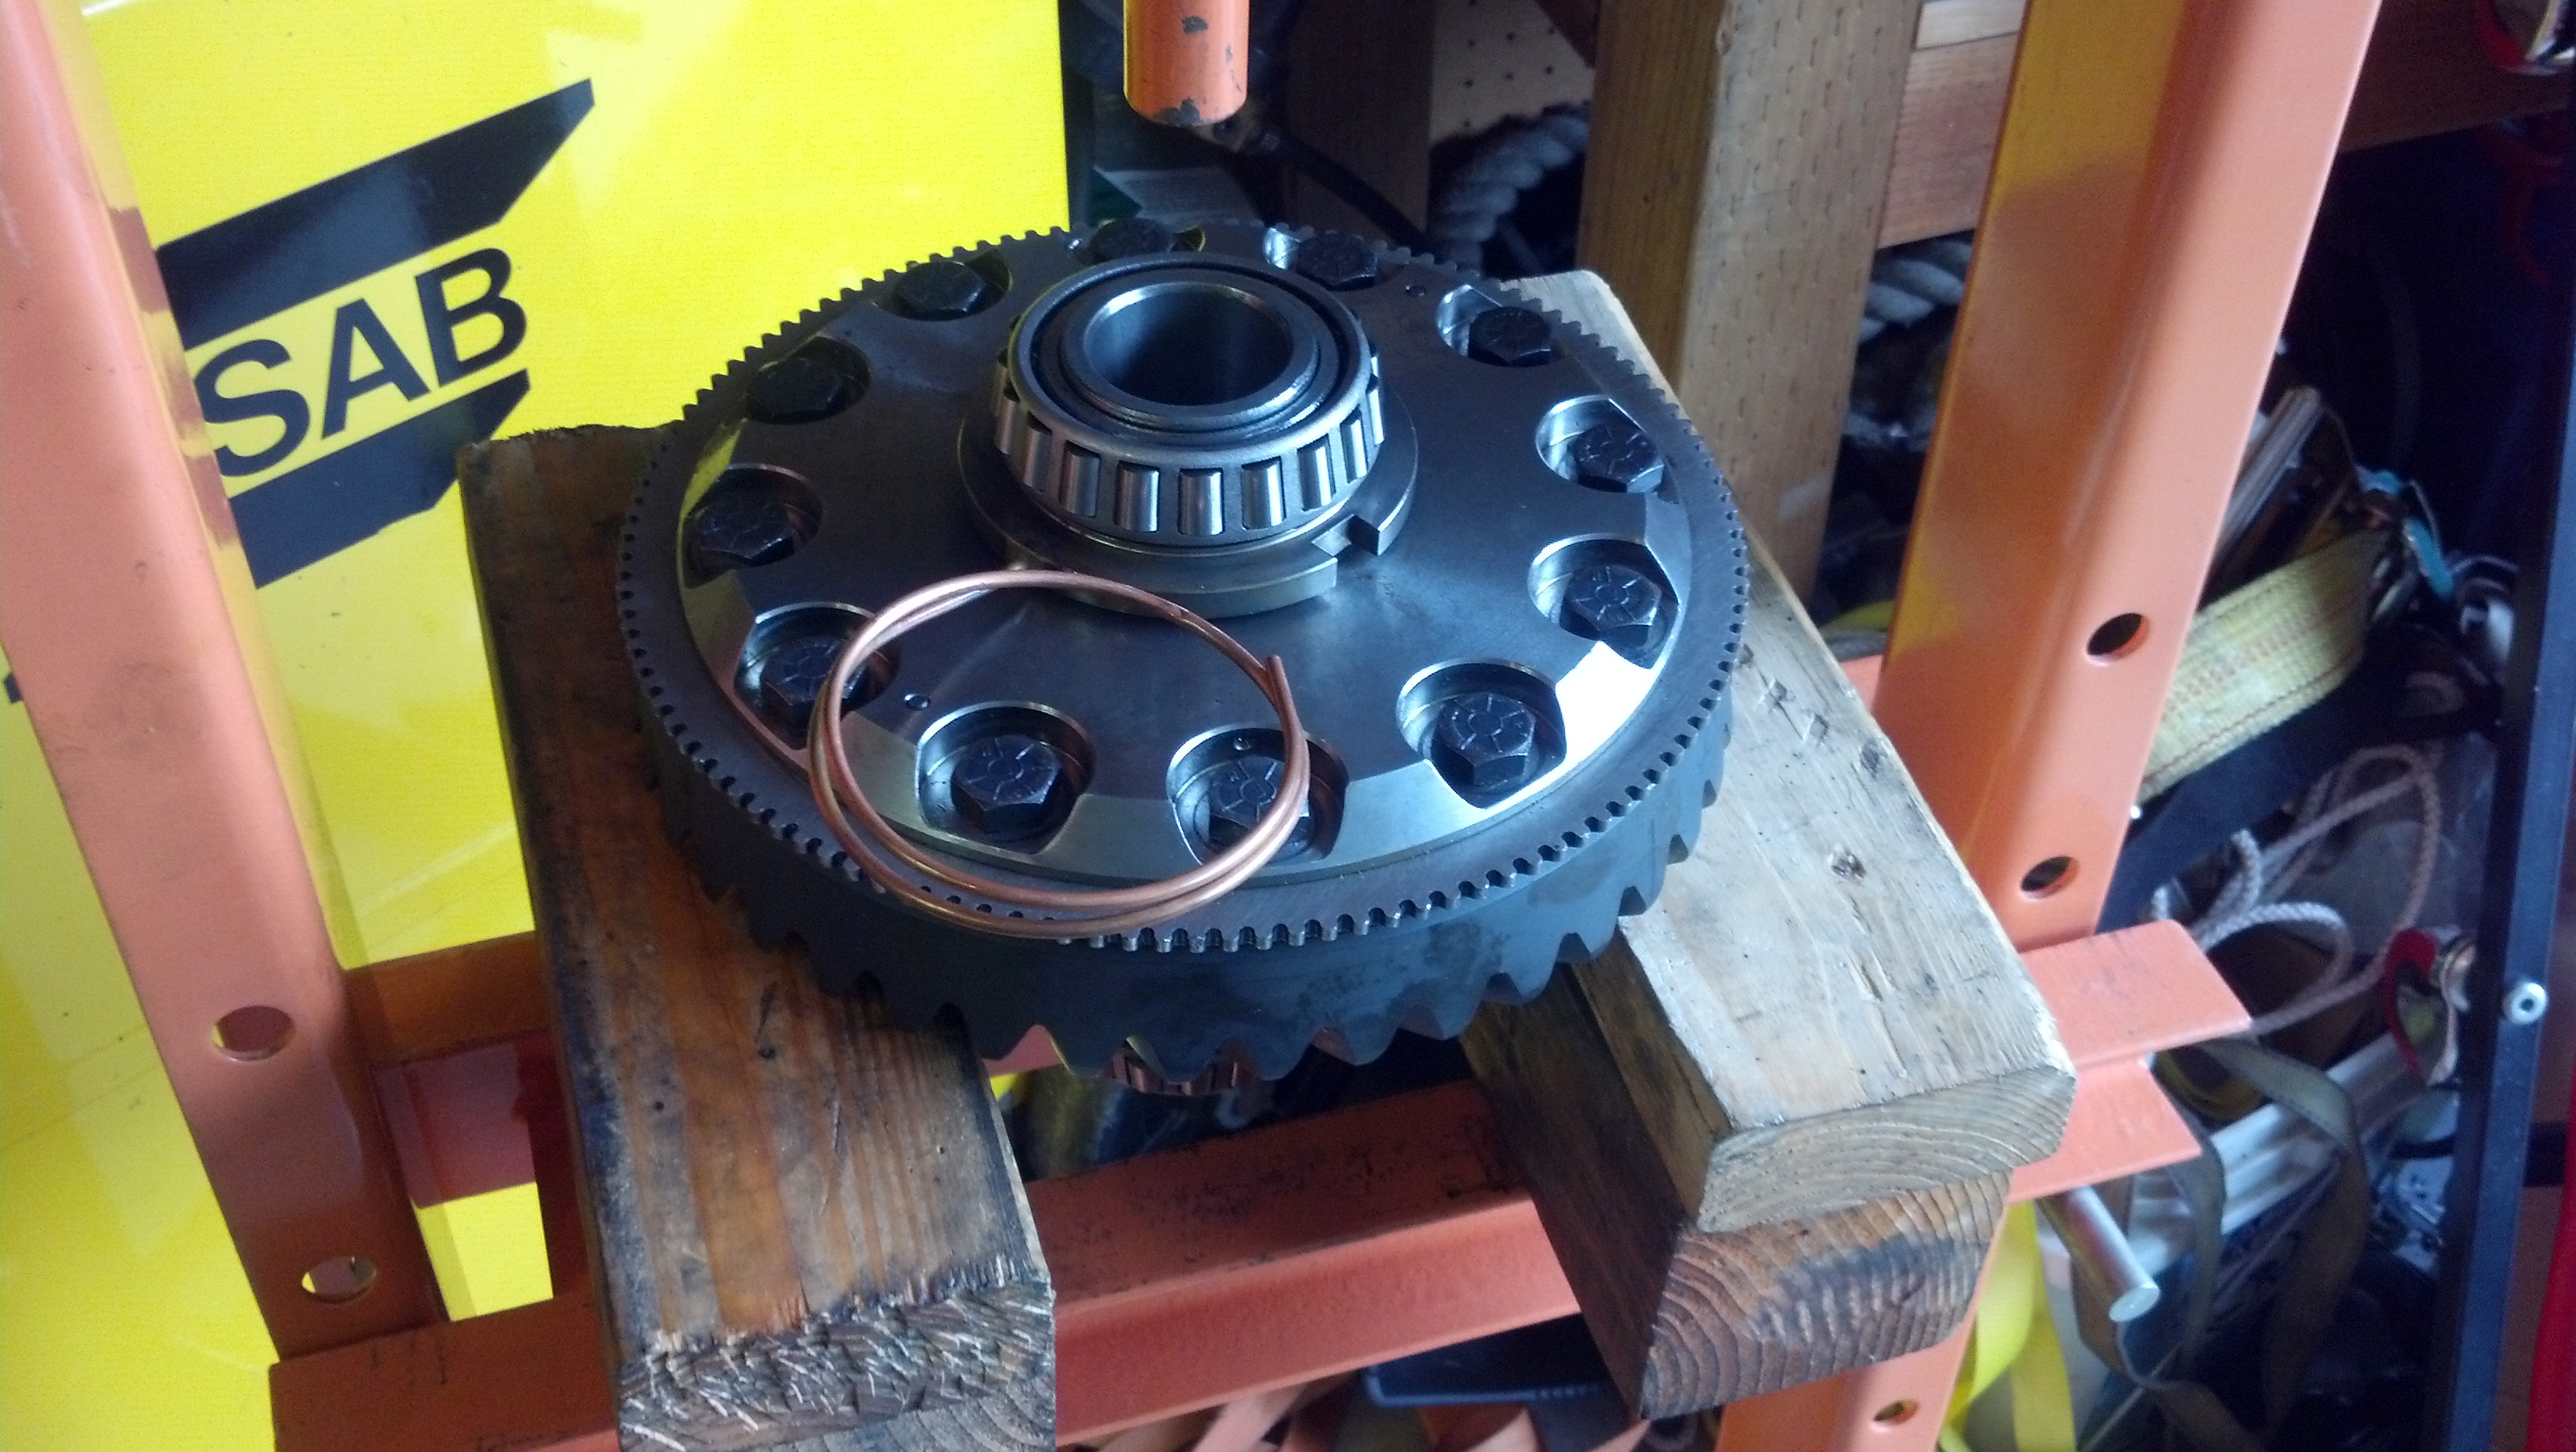
Setup bearings with carrier shims determined for zero preload. Ring gear getting prepped along with tone ring install to the ARB carrier.
TBC
This past weekend I got a start on this project and lots of help from friend that finished up regearing 2 high pinion D60s for his LJ. He went from 4.88 to 5.38 and already had the ARBs.
I am changing gears and carrier. Gear change is from 3.55 to 5.13 and carrier is factory power lock to ARB RD172. Factory carrier is 32 spline and the ARB carrier is 35 spline. Factory Dodge D80 axleshafts are 35 spline and slide right in.
Leaf spring perches were removed. This is because they are for 3" wide leaf springs. I'm retaining my 2.5" wide leaf springs and welding new perches on.
Shock mounts were also removed.
Comparison of D70 Inner Bearing and D60. Only in the Dodge D70 is this bearing "smaller" than the D60. All other bearings are the same as D60. I haven't measured yet exactly the difference, but you can see the inner race is much less in thickness.
Pinion Outer bearing shim spacer shown for this one.
Pinion Inner bearing single shim. No shims between bearing race and housing.
ARB showing the air side inlet (OD surface) and a vent (I think, on the bearing surface next to fillet).
Found that the shims that came with the Sierra master install kit have an ID that does not clear that fillet. This prevents the shim from sitting flush as shown here (slight gap).
So used a single factory shim where ID cleared the fillet and sits flush. New shim on that were added to set zero carrier preload.
Setup bearings with carrier shims determined for zero preload. Ring gear getting prepped along with tone ring install to the ARB carrier.
TBC
Last edited by Wh1t3NuKle; Jun 25, 2014 at 10:29 PM. Reason: typo
Thread Starter
|
Champion
Joined: Sep 2011
Posts: 3,891
Likes: 8
From: NorCal
So the next round was not so accomplished.
First installed the tone ring.
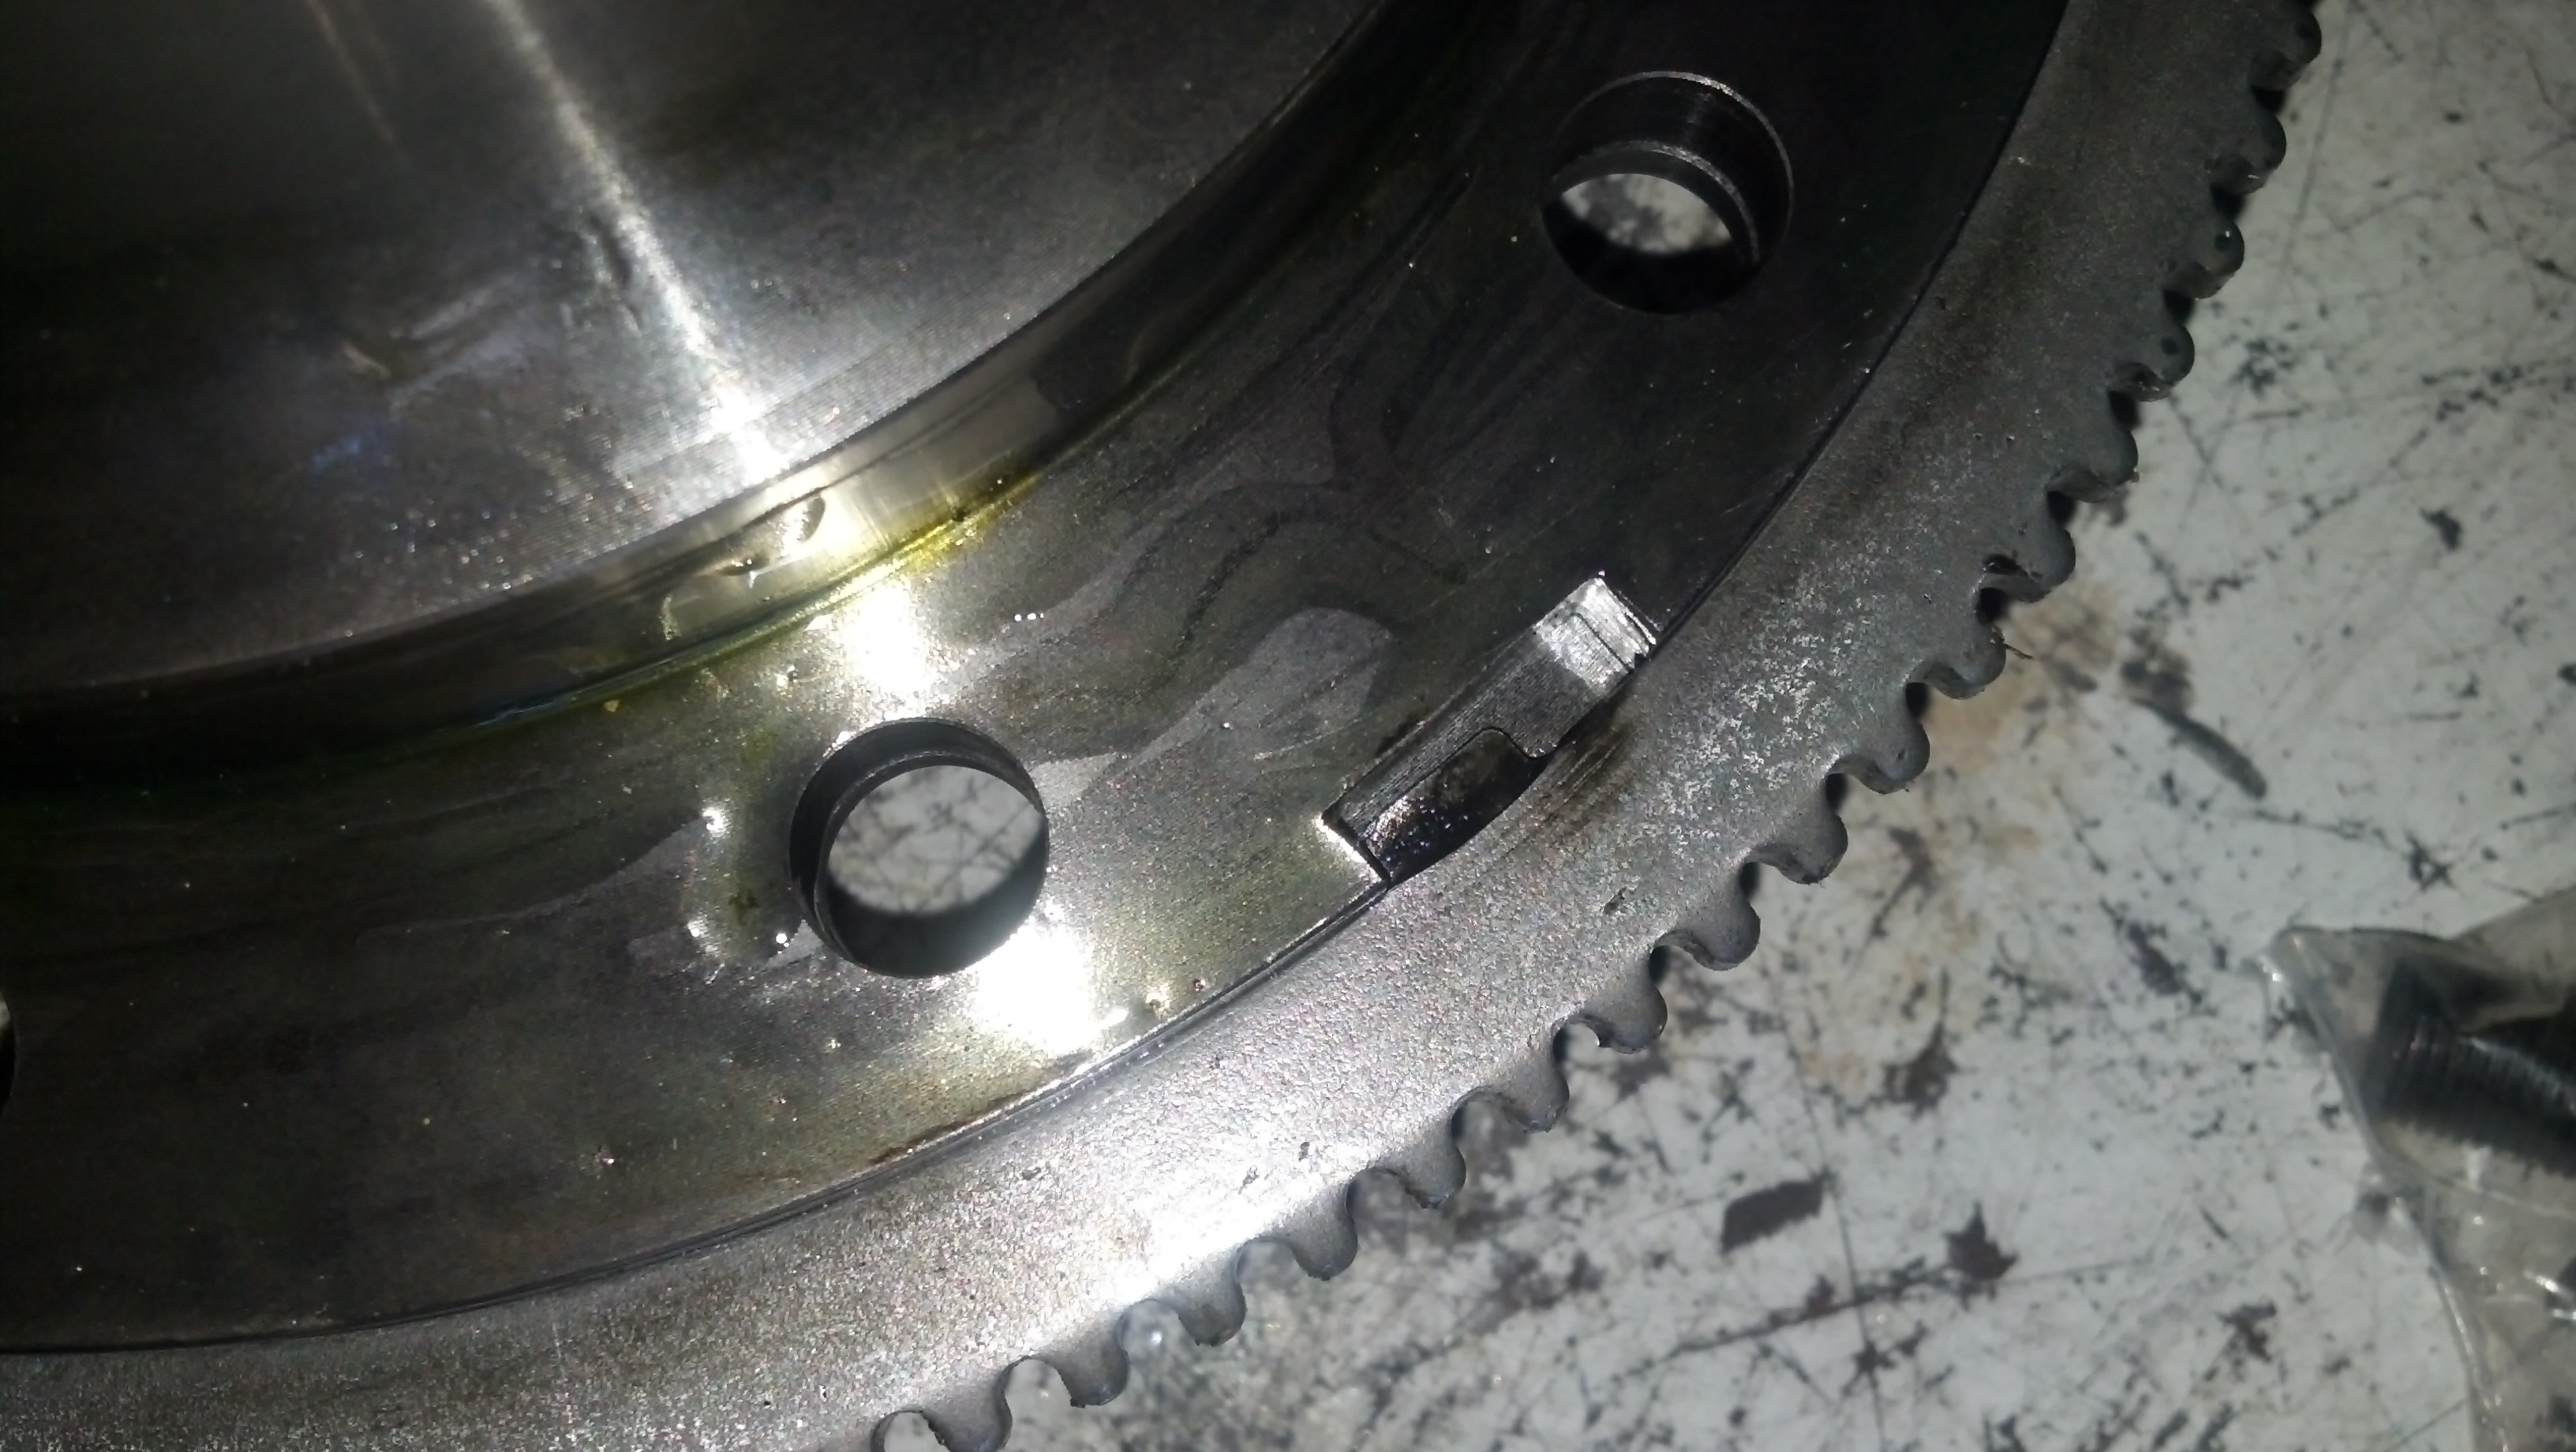


It was to install the ring gear onto the ARB carrier. It did not fit right on. So it was time for some thermodynamics.
1. Heated the ring gear in hot tap water for about 45 minutes. -- fail
2. Heated the ring gear in boiling water for about 20-30 minutes -- fail
3. Heated the ring gear in boiling water (20 minutes) and dropped the ARB carrier in ice chest of ice water (40 minutes). Ring gear slipped on, but could not align the bolt holes. It was off by like 0.05". grrrr -- fail
4. Redid #3, but for longer -- fail
Called it quits as this took nearly 4 hours to try and was 9pm, so did some other items and tried to call it quits earlier. Previous night was there till 11 or so.
Pressed on the inner pinion bearing onto the pinion.
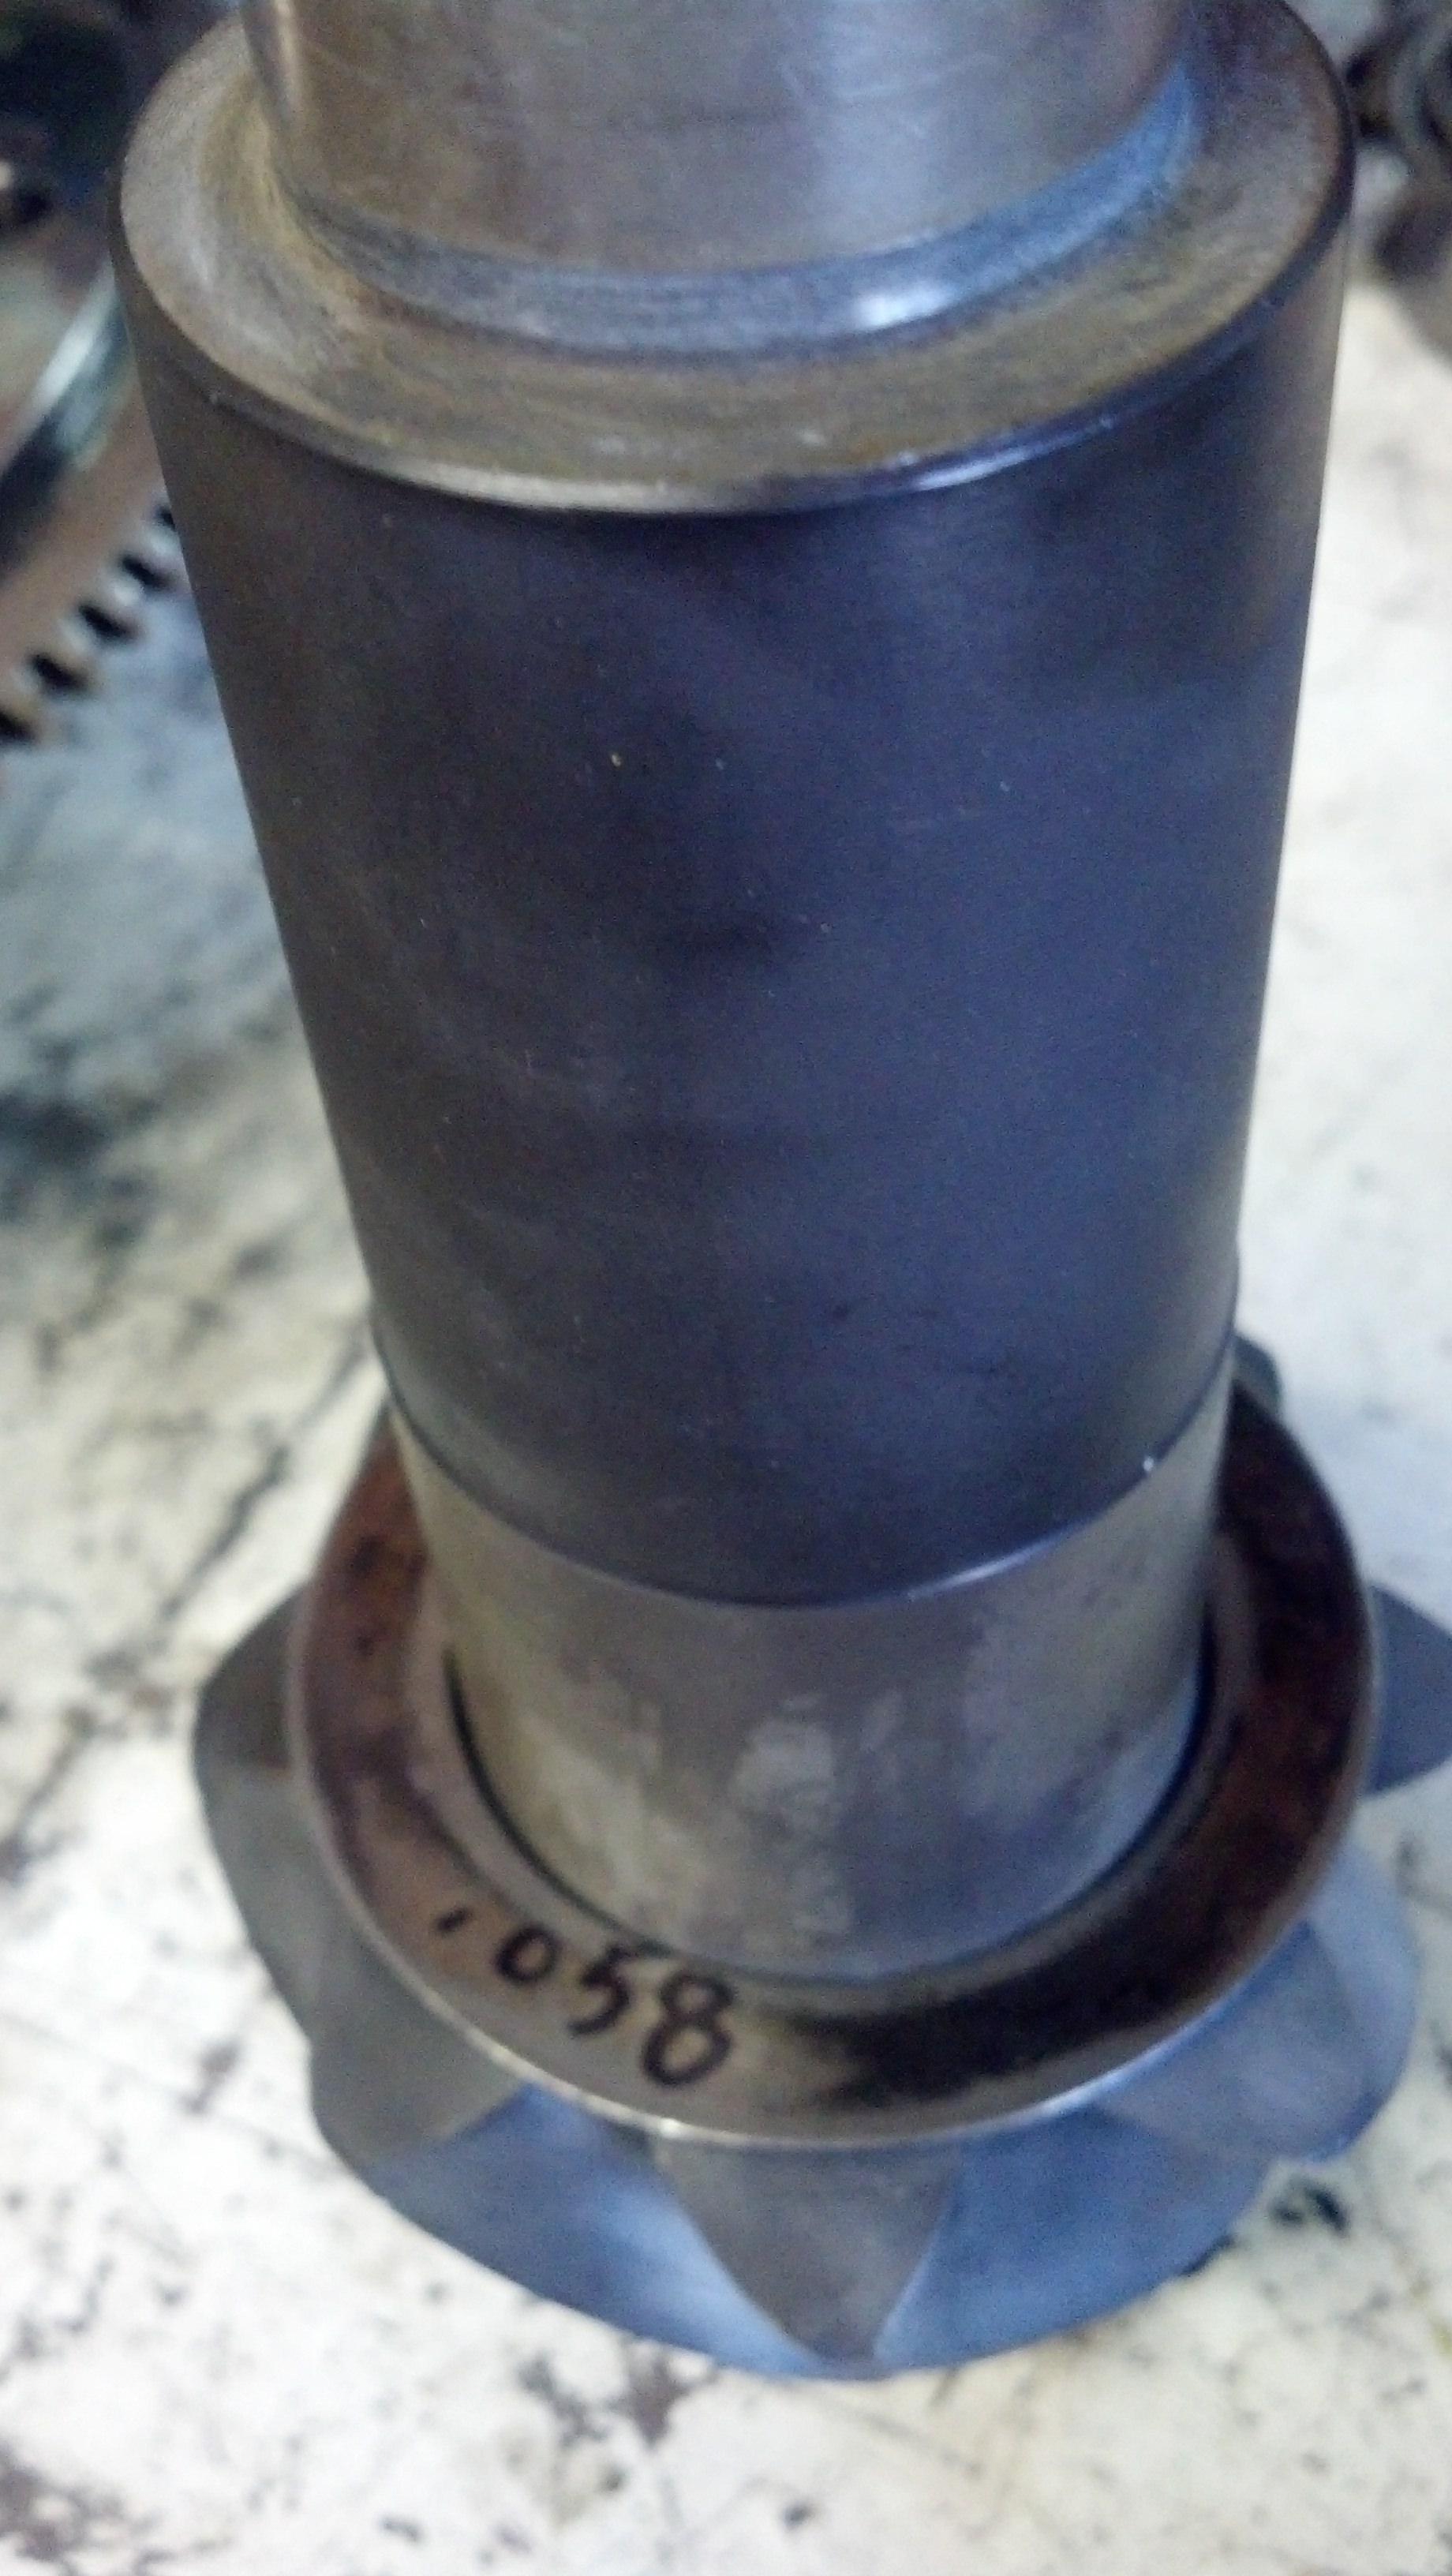
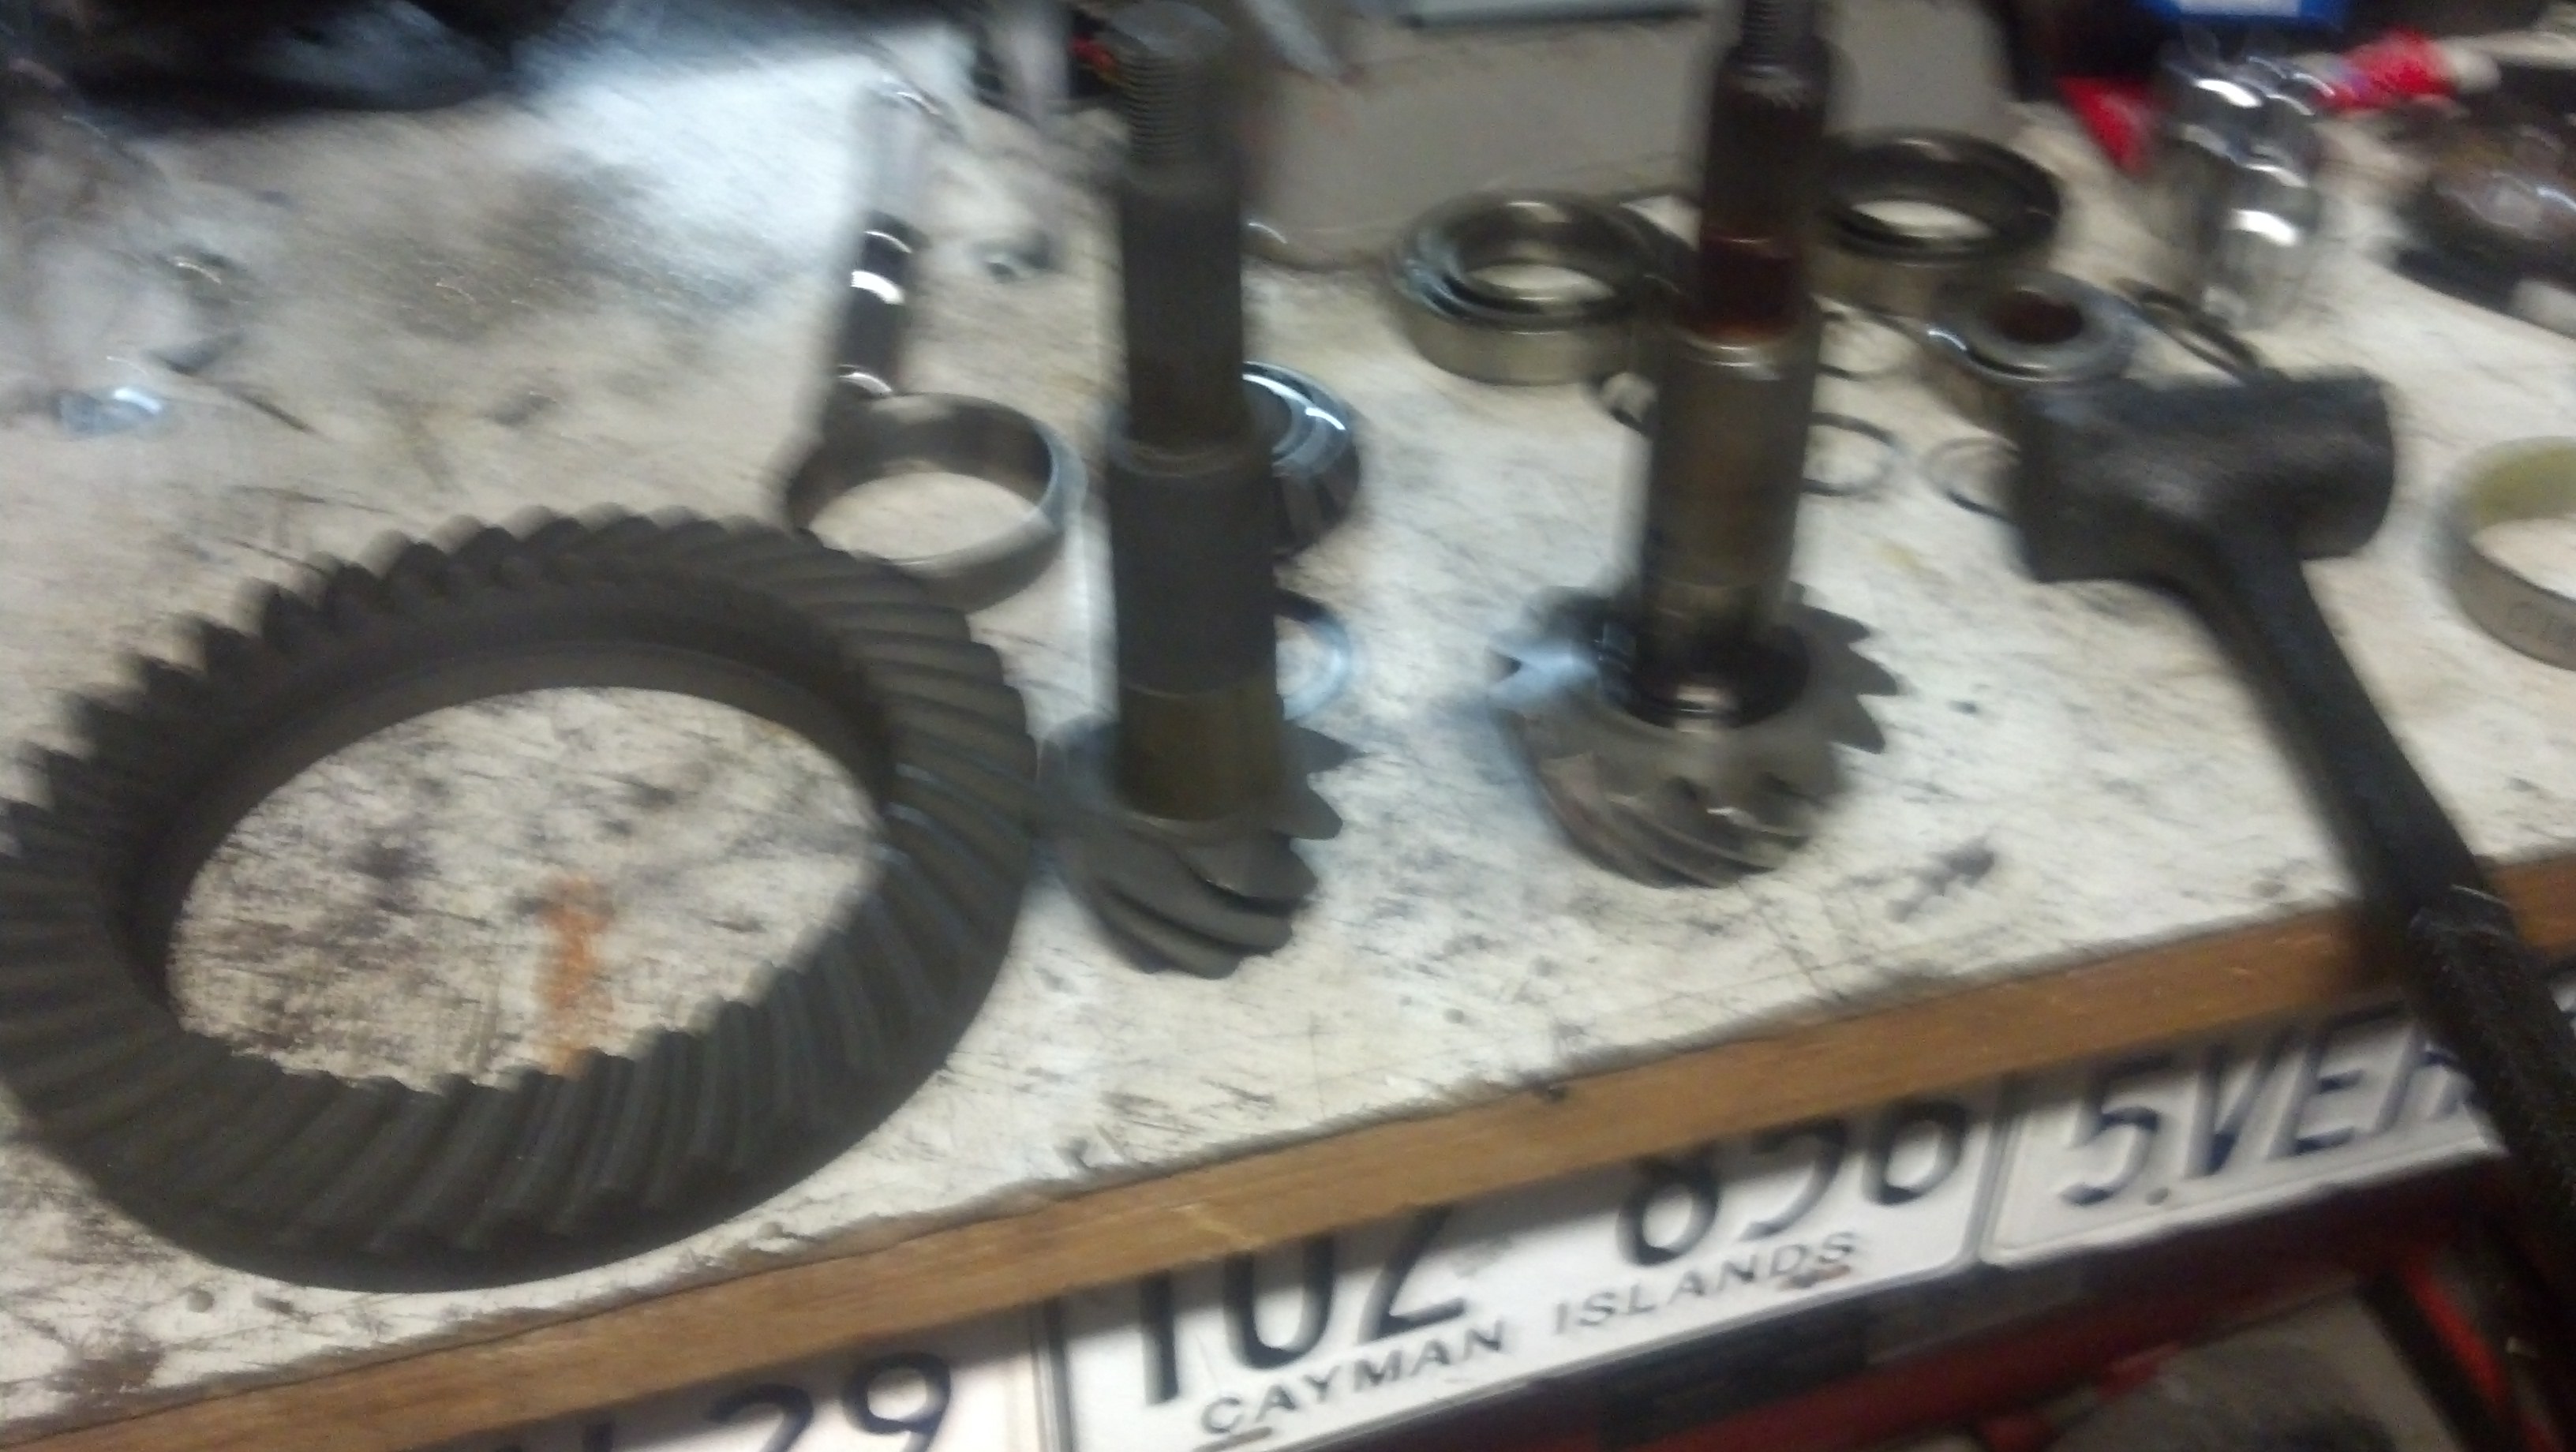
Comparison of the larger 3.55 pinion

So that was it and started thinking of getting dry ice and using the oven at home for the ring gear...
First installed the tone ring.
It was to install the ring gear onto the ARB carrier. It did not fit right on. So it was time for some thermodynamics.
1. Heated the ring gear in hot tap water for about 45 minutes. -- fail
2. Heated the ring gear in boiling water for about 20-30 minutes -- fail
3. Heated the ring gear in boiling water (20 minutes) and dropped the ARB carrier in ice chest of ice water (40 minutes). Ring gear slipped on, but could not align the bolt holes. It was off by like 0.05". grrrr -- fail
4. Redid #3, but for longer -- fail
Called it quits as this took nearly 4 hours to try and was 9pm, so did some other items and tried to call it quits earlier. Previous night was there till 11 or so.
Pressed on the inner pinion bearing onto the pinion.
Comparison of the larger 3.55 pinion
So that was it and started thinking of getting dry ice and using the oven at home for the ring gear...
Last edited by Wh1t3NuKle; Jun 25, 2014 at 10:38 PM.
Thread Starter
|
Champion
Joined: Sep 2011
Posts: 3,891
Likes: 8
From: NorCal
Awoke the next day thinking of the ring gear install. Decided to call West Coast Differentials, where I got the R&P and install kit, and asked how much to install the ring gear.
6 pack of pale ale -- DONE!

Could not start on the shim setups to get to a gear pattern check. Had to mic them all first. Plenty of inner pinion shims, but hardly any outer pinion shims (small ones).
Here is one backlash setup check
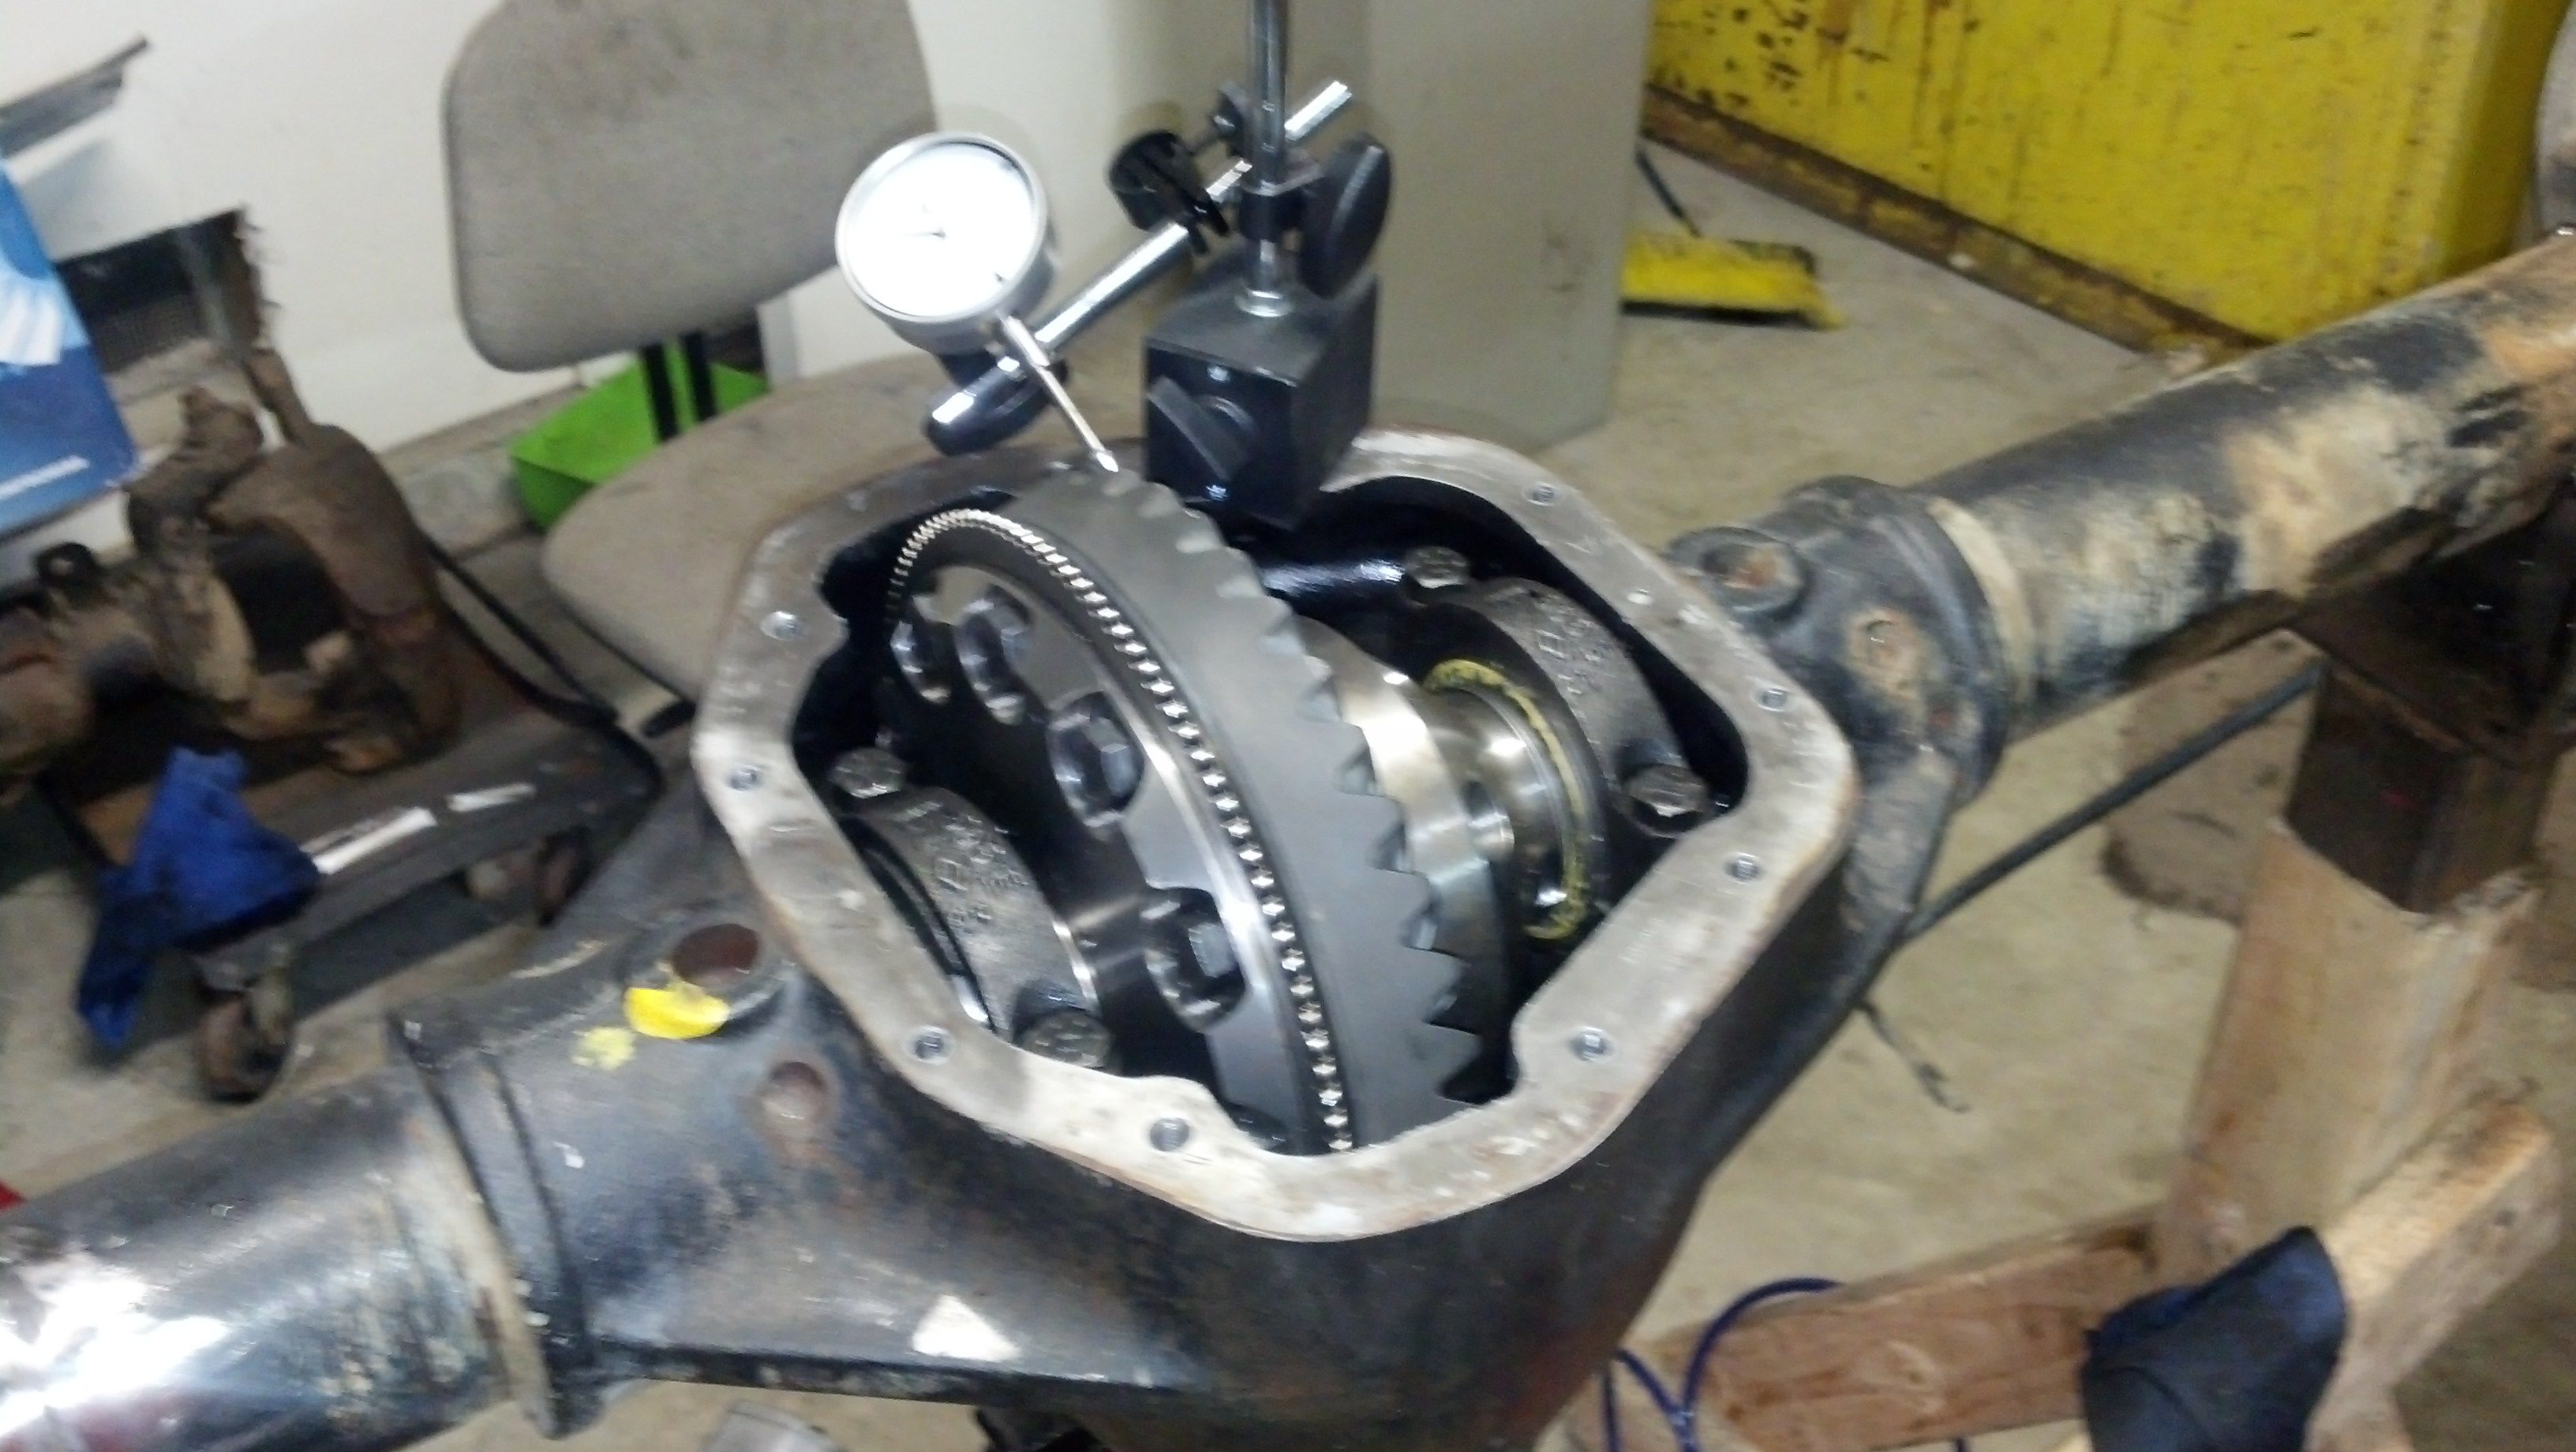
After about 10+ iterations of getting a backlash setting, I finally got to a gear pattern check. Here is check #1 drive side, followed by coast side.
Backlash = 0.005" - 0.007" (target range 0.005" - 0.008")
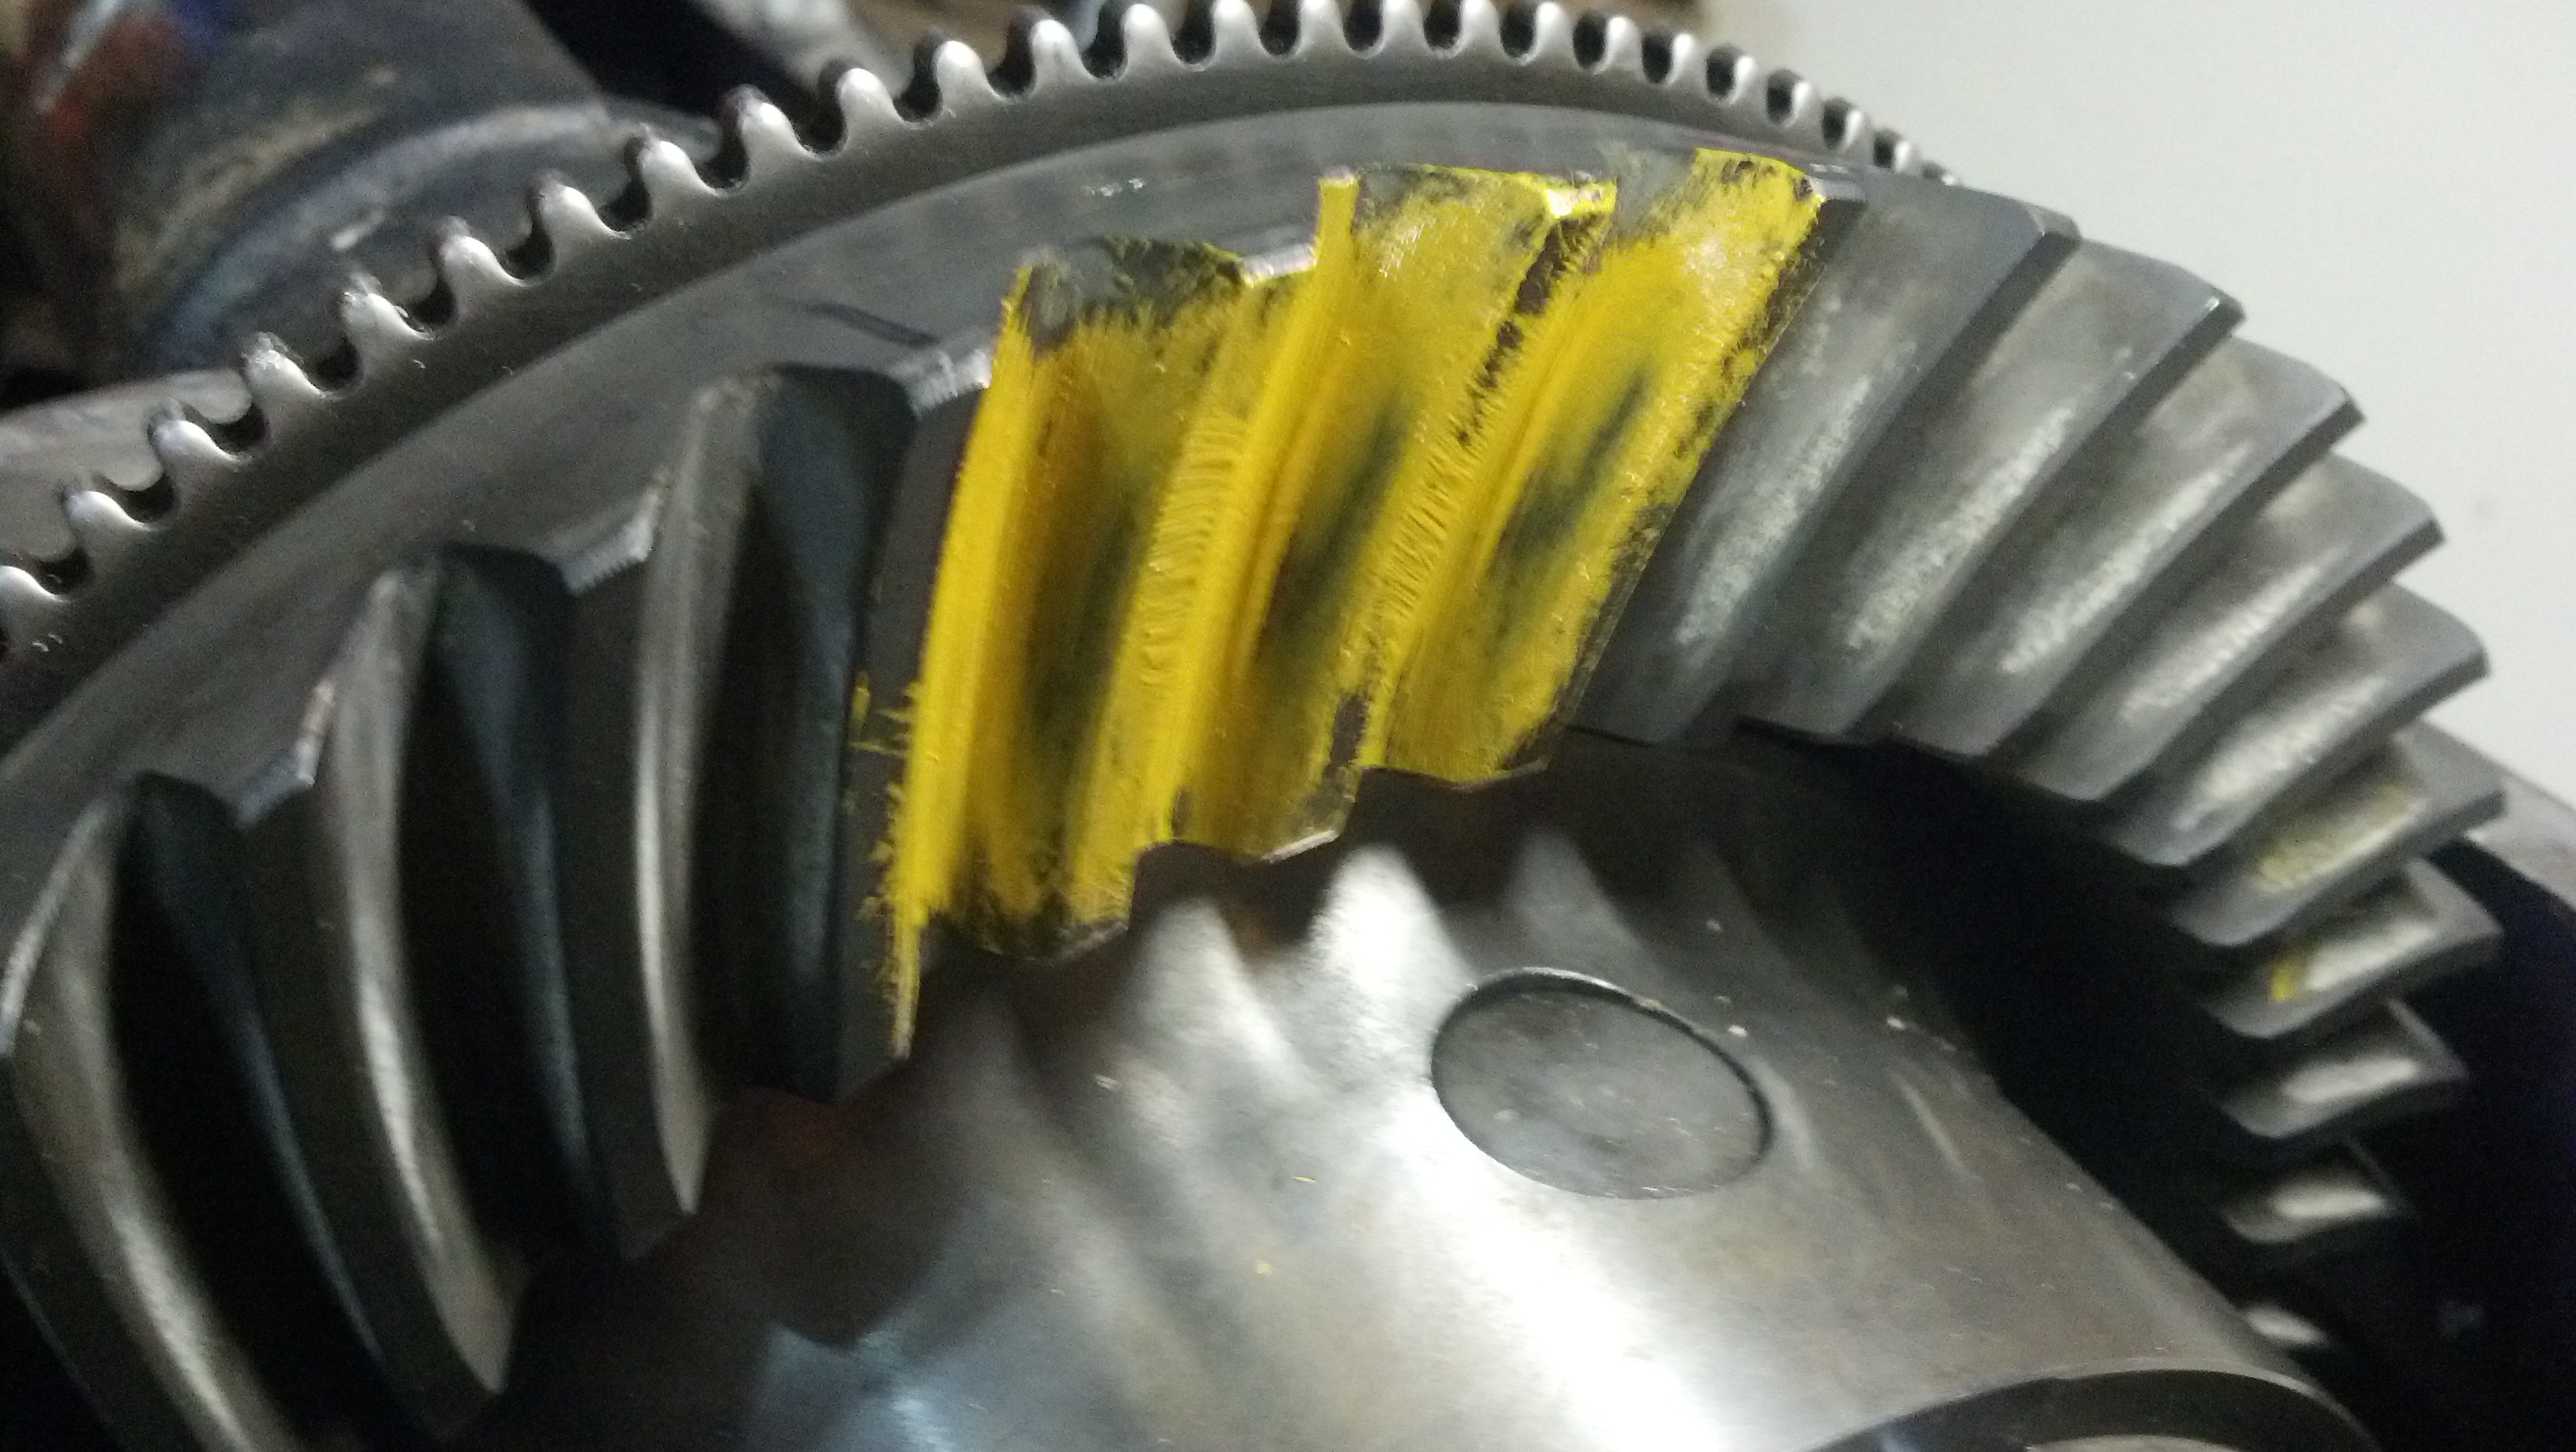

Pattern was centered, which is good, but too shallow. Shallow meaning away from the root.
So, made a change and got to check #2, drive side and coast side, respectively.
backlash = 0.007"
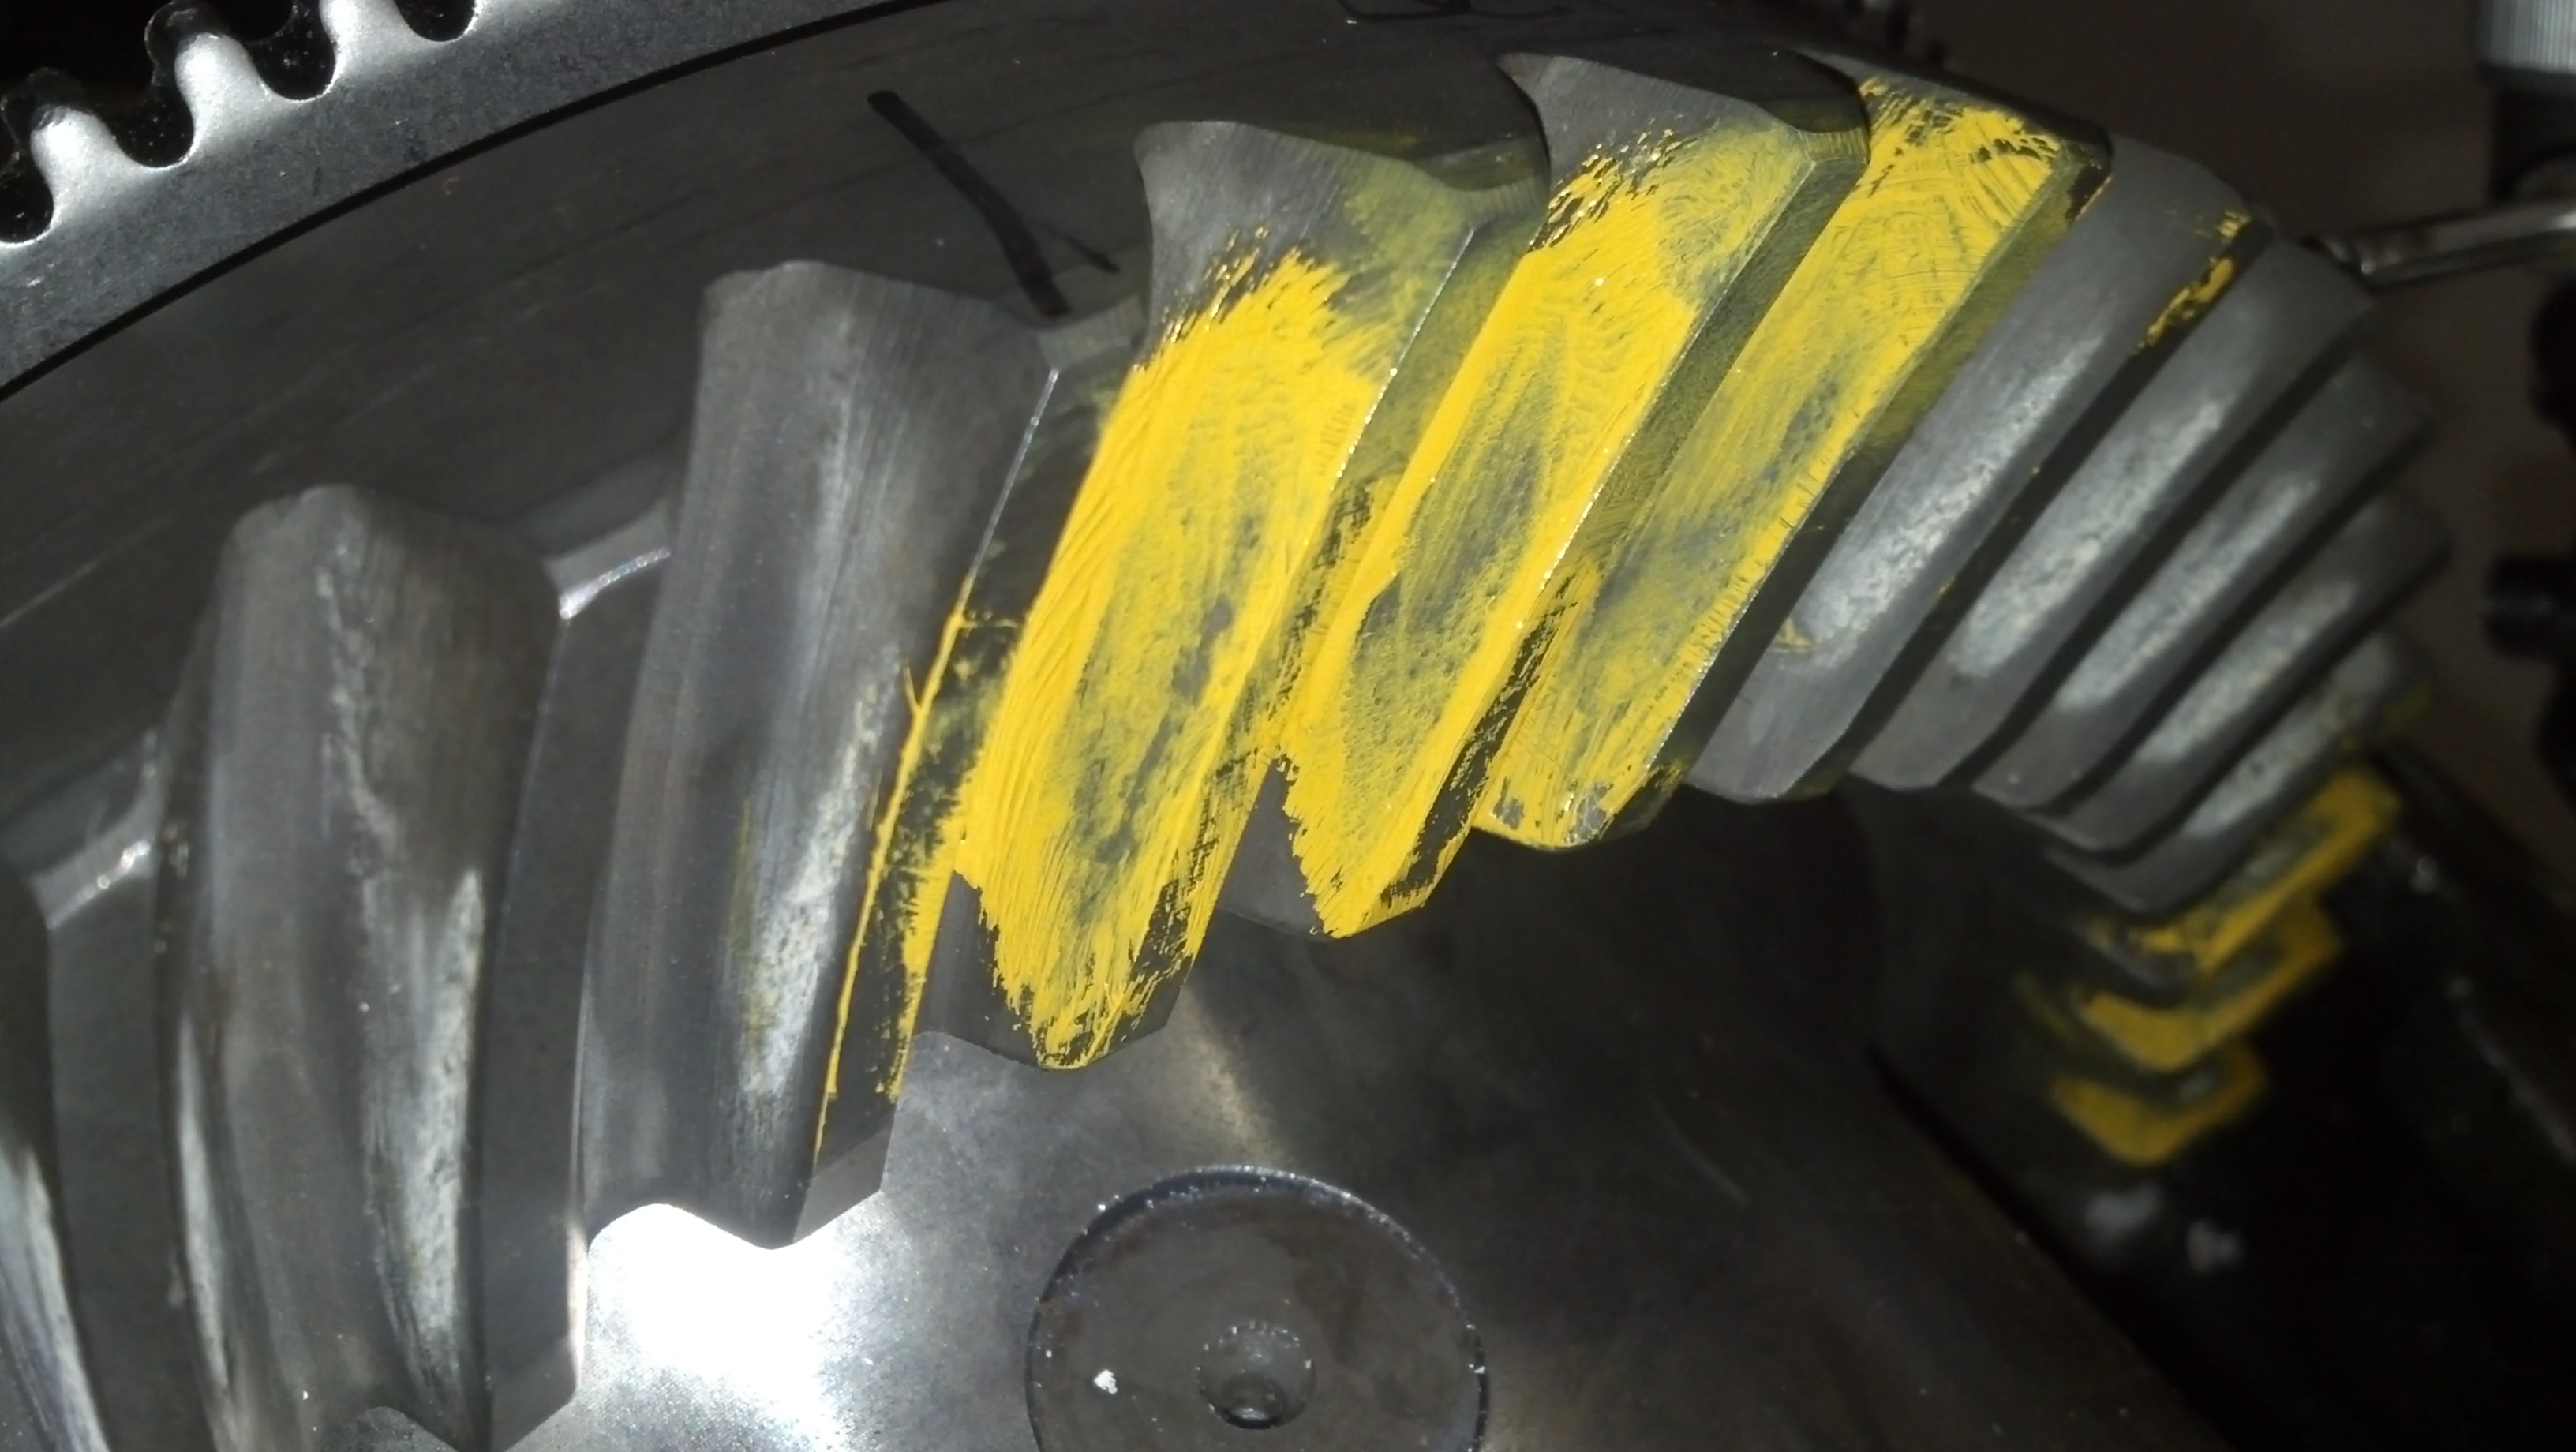

Called it good!! Moved a little deeper, which was the desired direction.
Here is my progress sheet. It was a long night.

6 pack of pale ale -- DONE!
Could not start on the shim setups to get to a gear pattern check. Had to mic them all first. Plenty of inner pinion shims, but hardly any outer pinion shims (small ones).
Here is one backlash setup check
After about 10+ iterations of getting a backlash setting, I finally got to a gear pattern check. Here is check #1 drive side, followed by coast side.
Backlash = 0.005" - 0.007" (target range 0.005" - 0.008")
Pattern was centered, which is good, but too shallow. Shallow meaning away from the root.
So, made a change and got to check #2, drive side and coast side, respectively.
backlash = 0.007"
Called it good!! Moved a little deeper, which was the desired direction.
Here is my progress sheet. It was a long night.
Last edited by Wh1t3NuKle; Jun 25, 2014 at 10:48 PM.
Thread Starter
|
Champion
Joined: Sep 2011
Posts: 3,891
Likes: 8
From: NorCal
Final assembly and torques!!
From the previous setup, the carrier and pinion were removed for taking off setup bearings to replace with the new bearings.
Here is my checklist:

Punched the inner pinion bearing race.
Setup for the drill/tap of the ARB air bulkhead. I did a pilot with 1/4" then the 7/16" drill finish. 1/4" npt tap.

Carrier bearings and air seal housing + preload shims. I did a total of 0.016" for preload, split 0.008" on both sides.
Used old bearings to push the new on the last 0.1" over the journal.

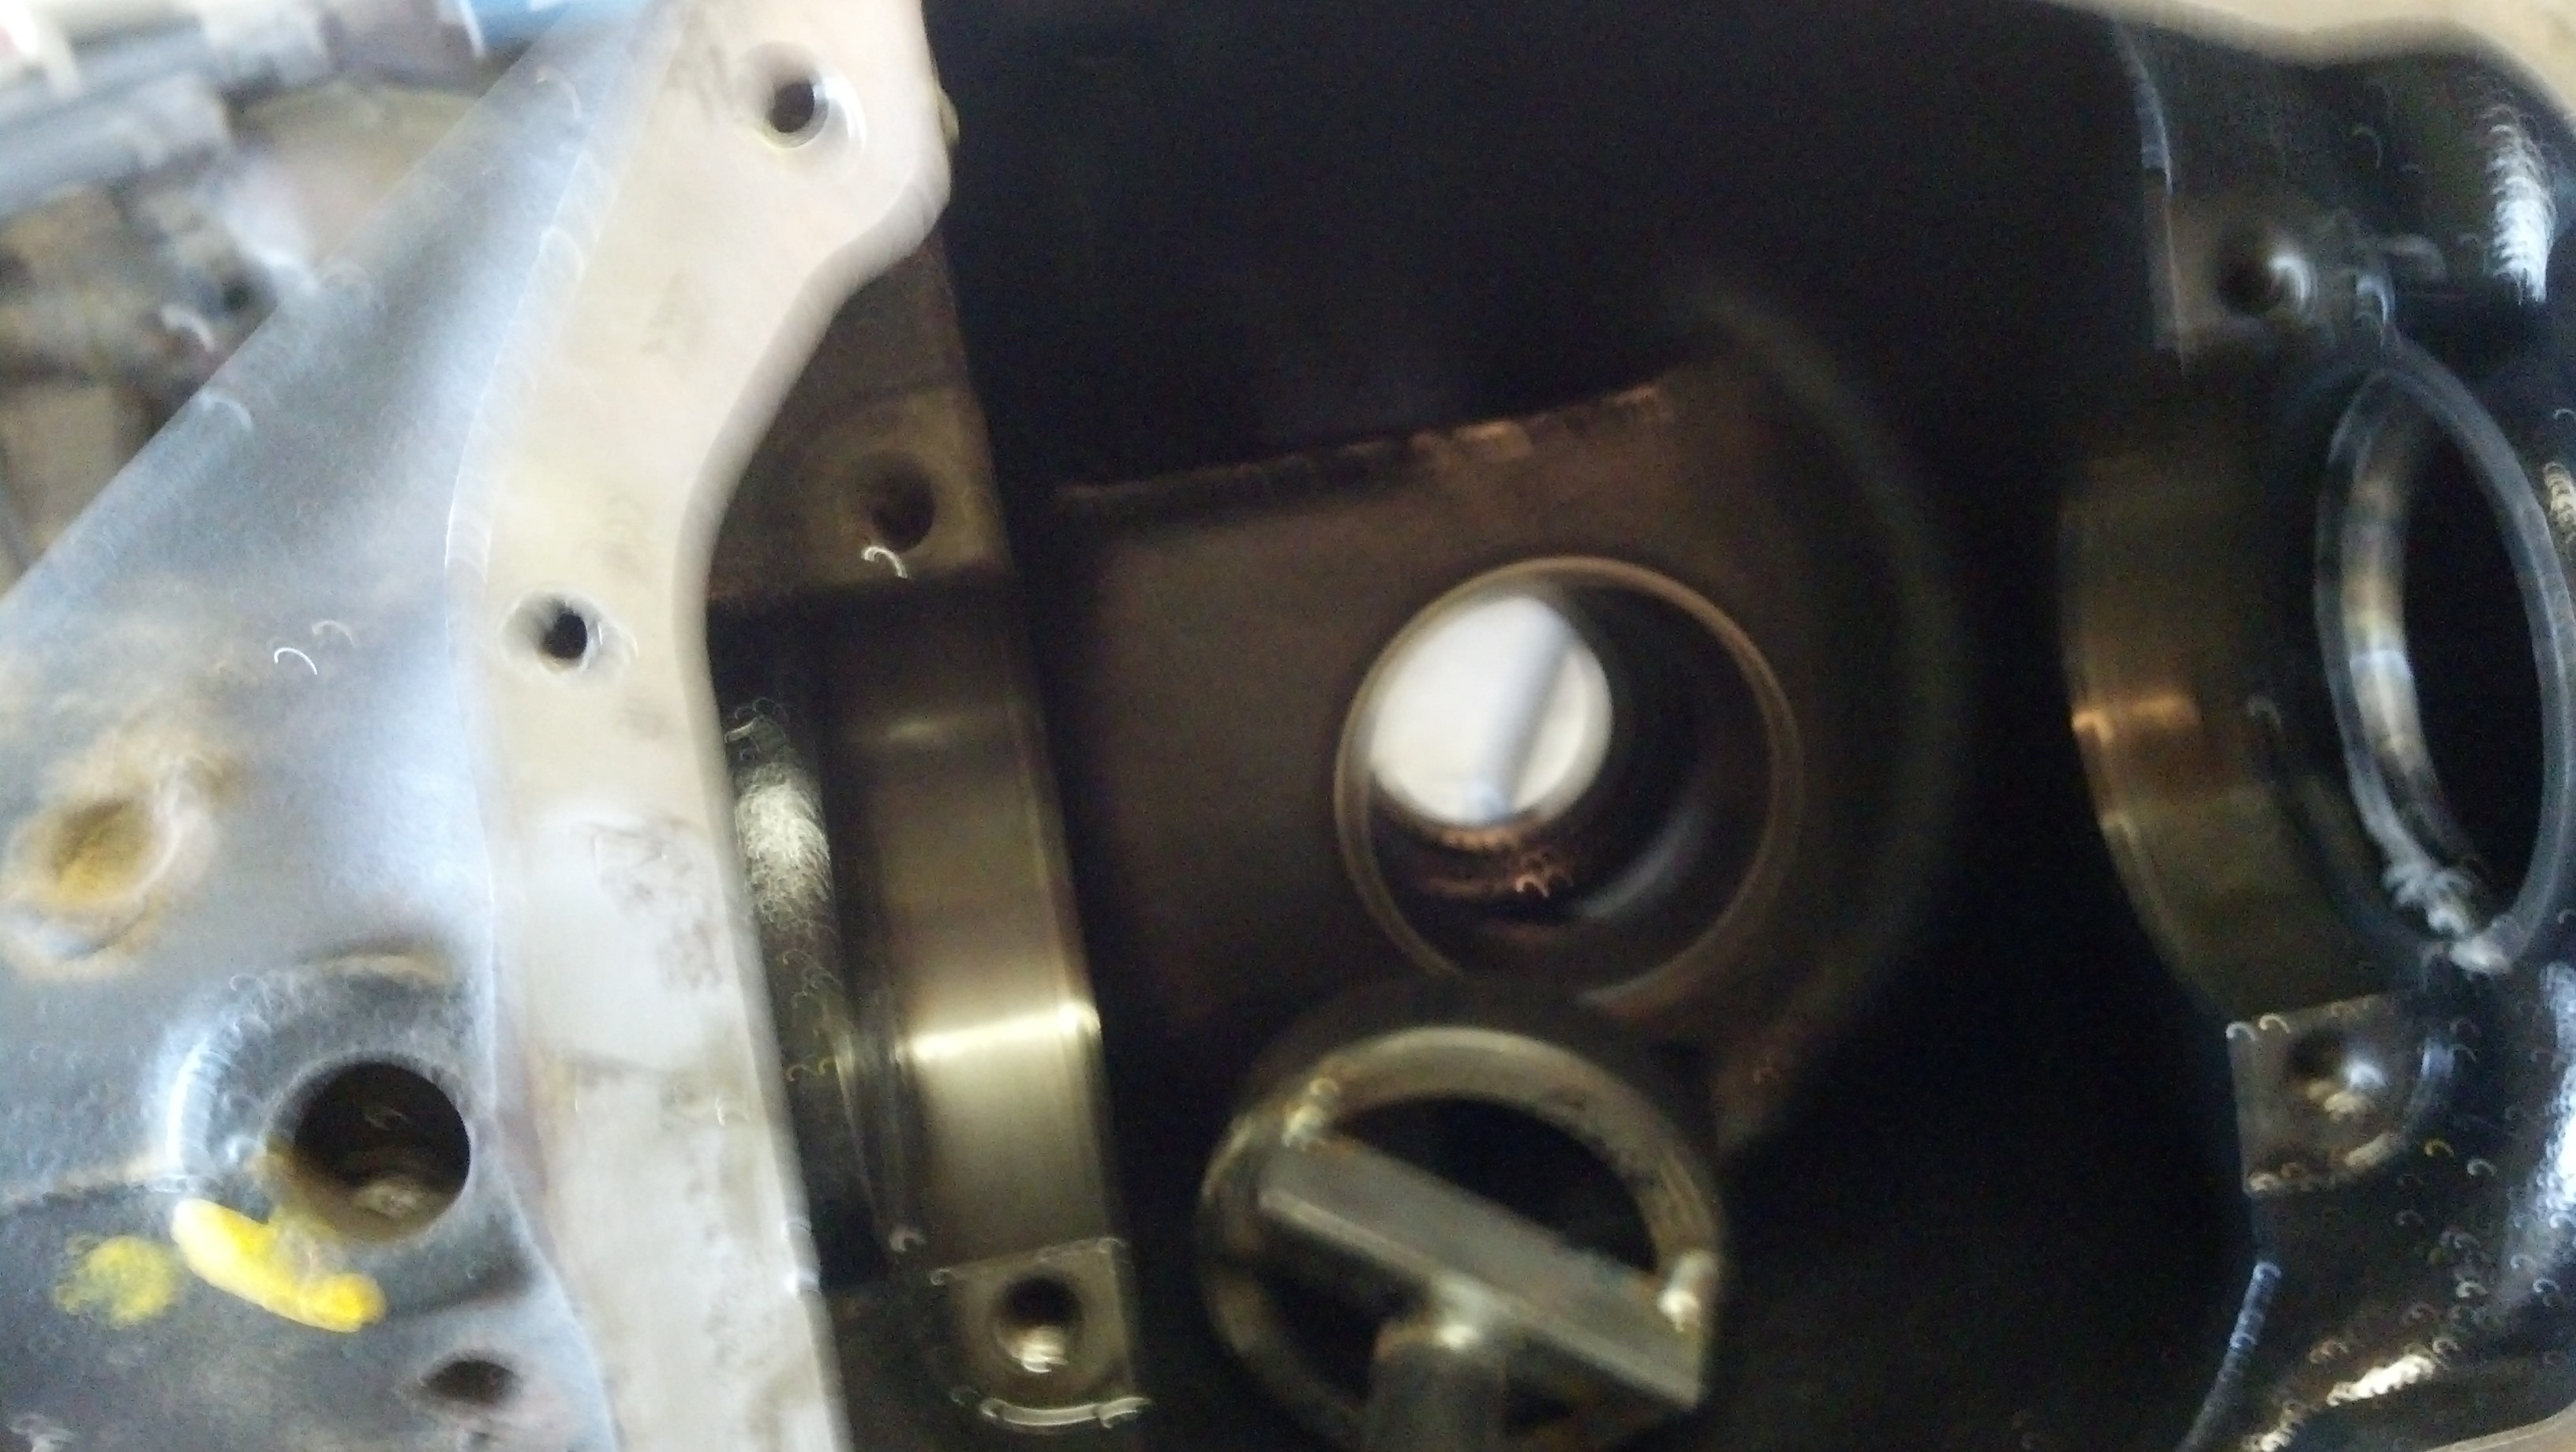
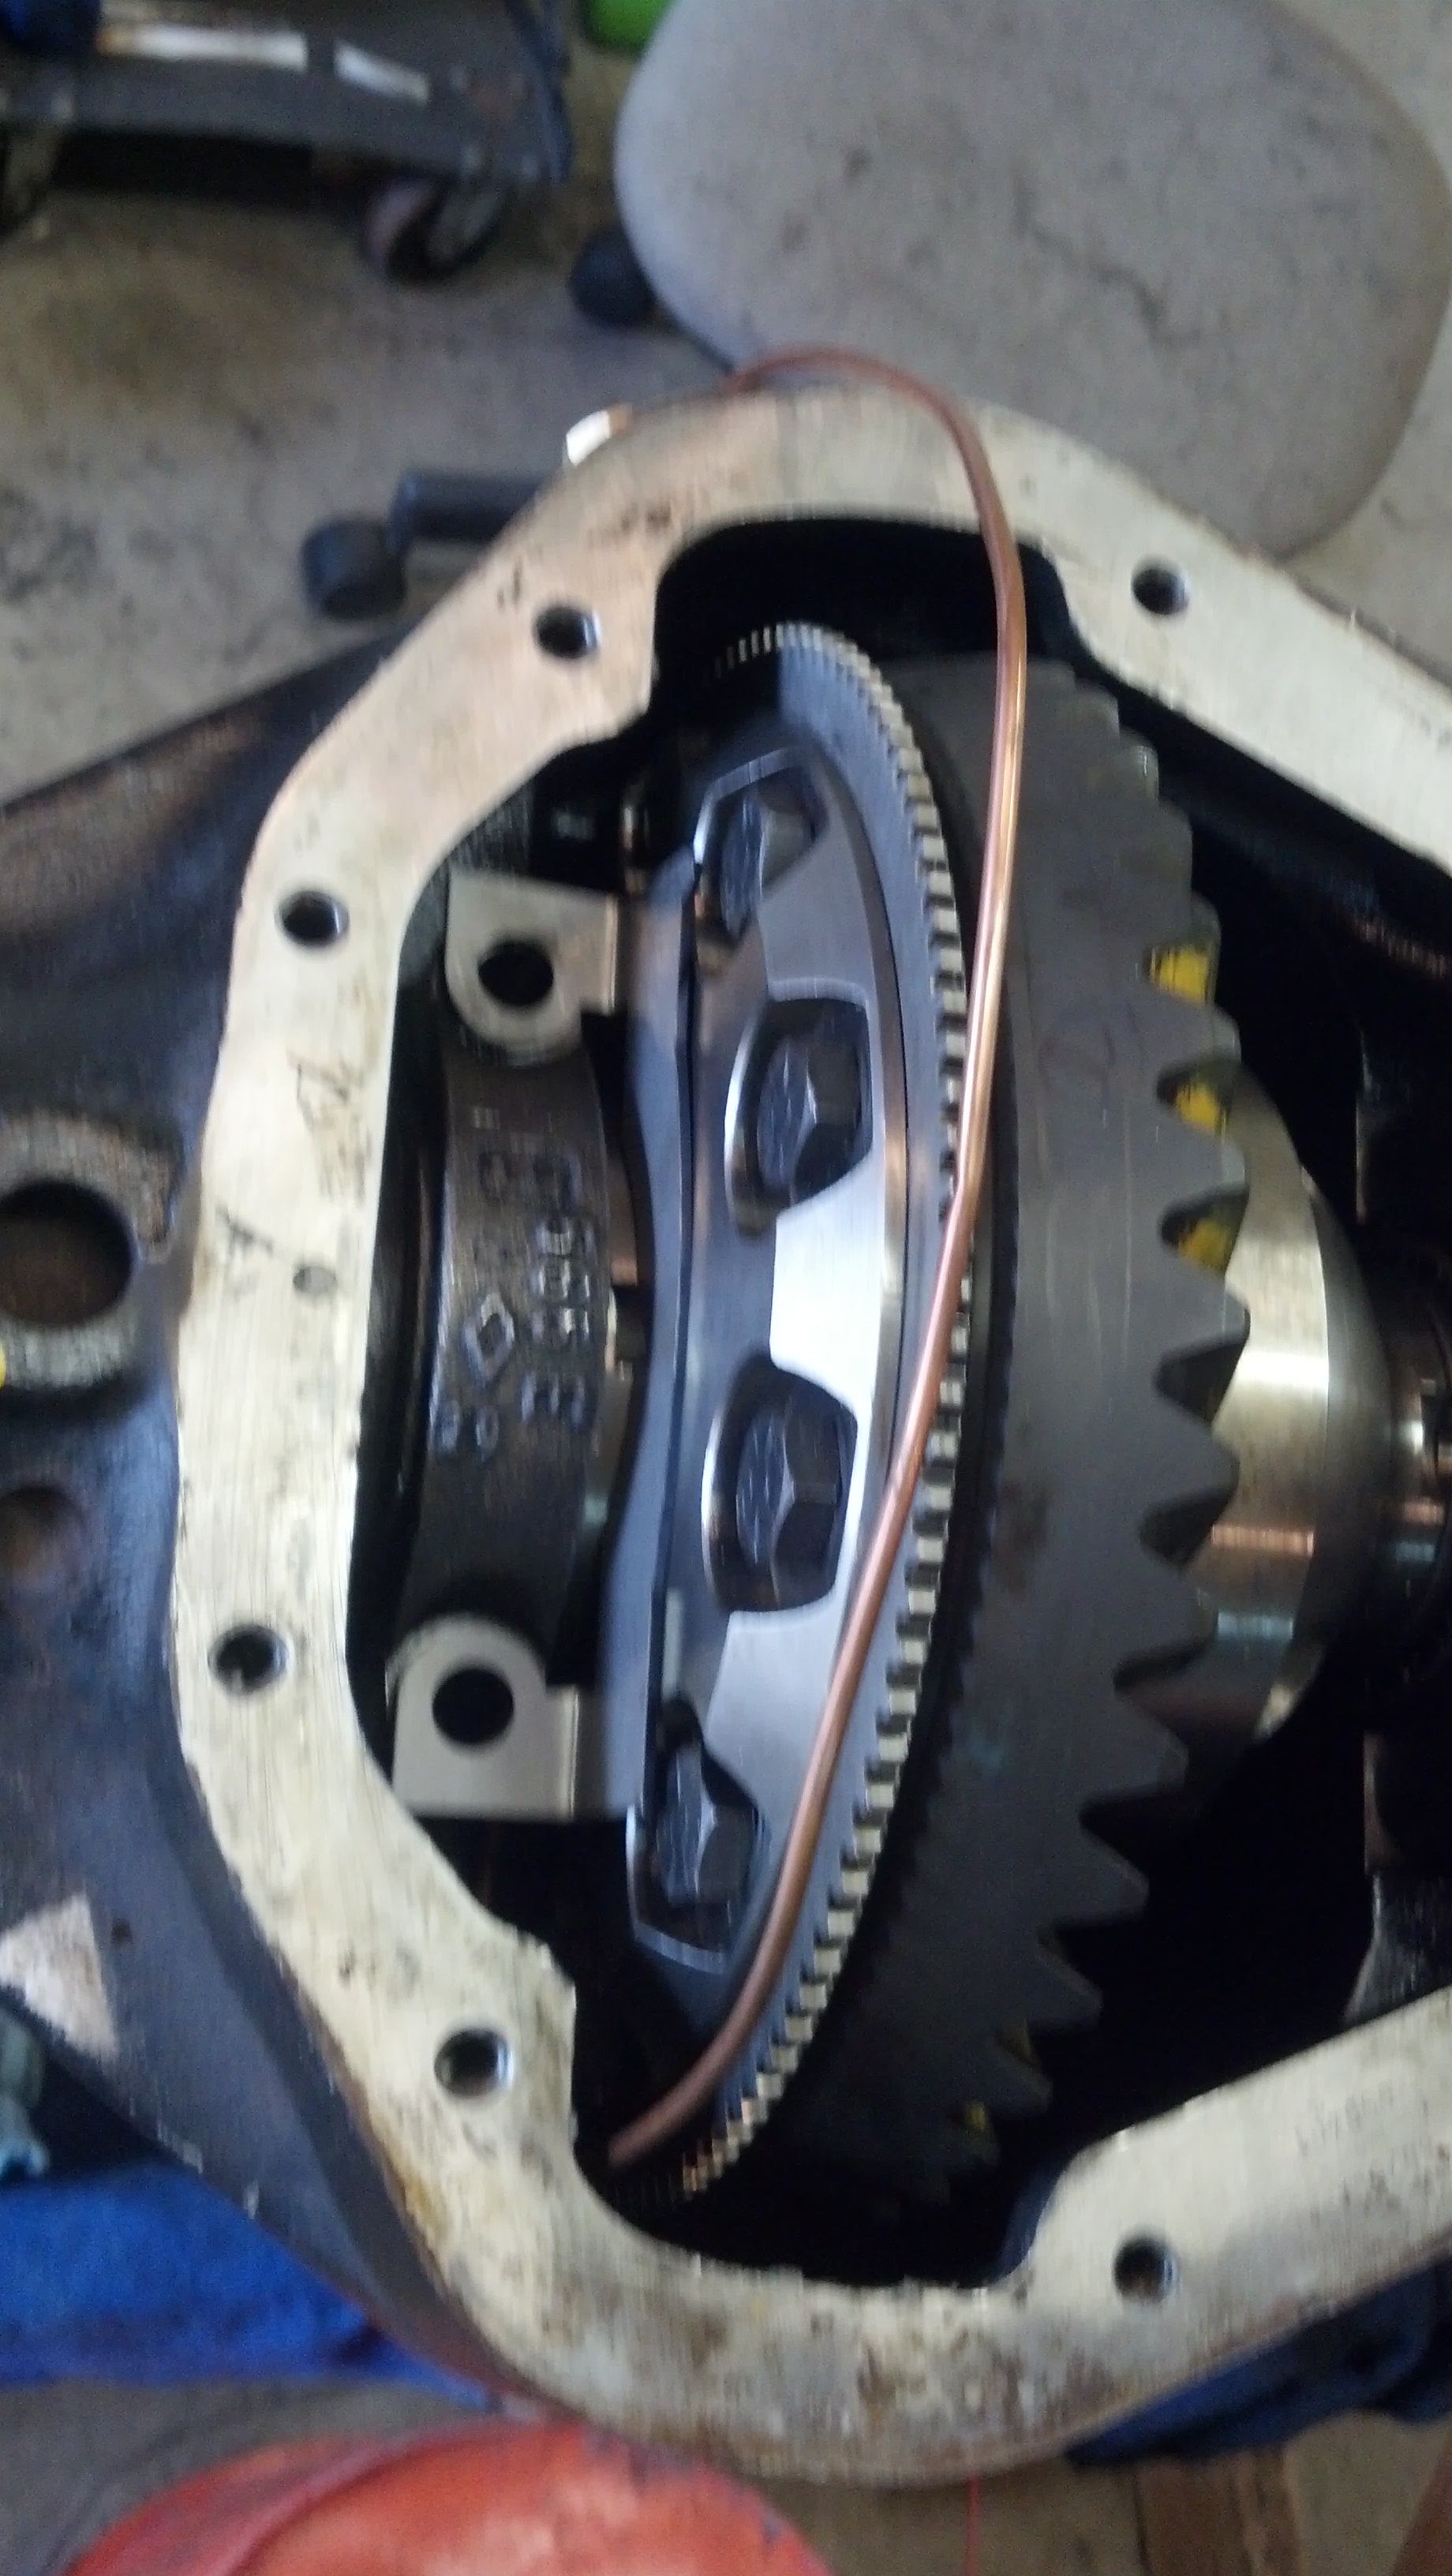
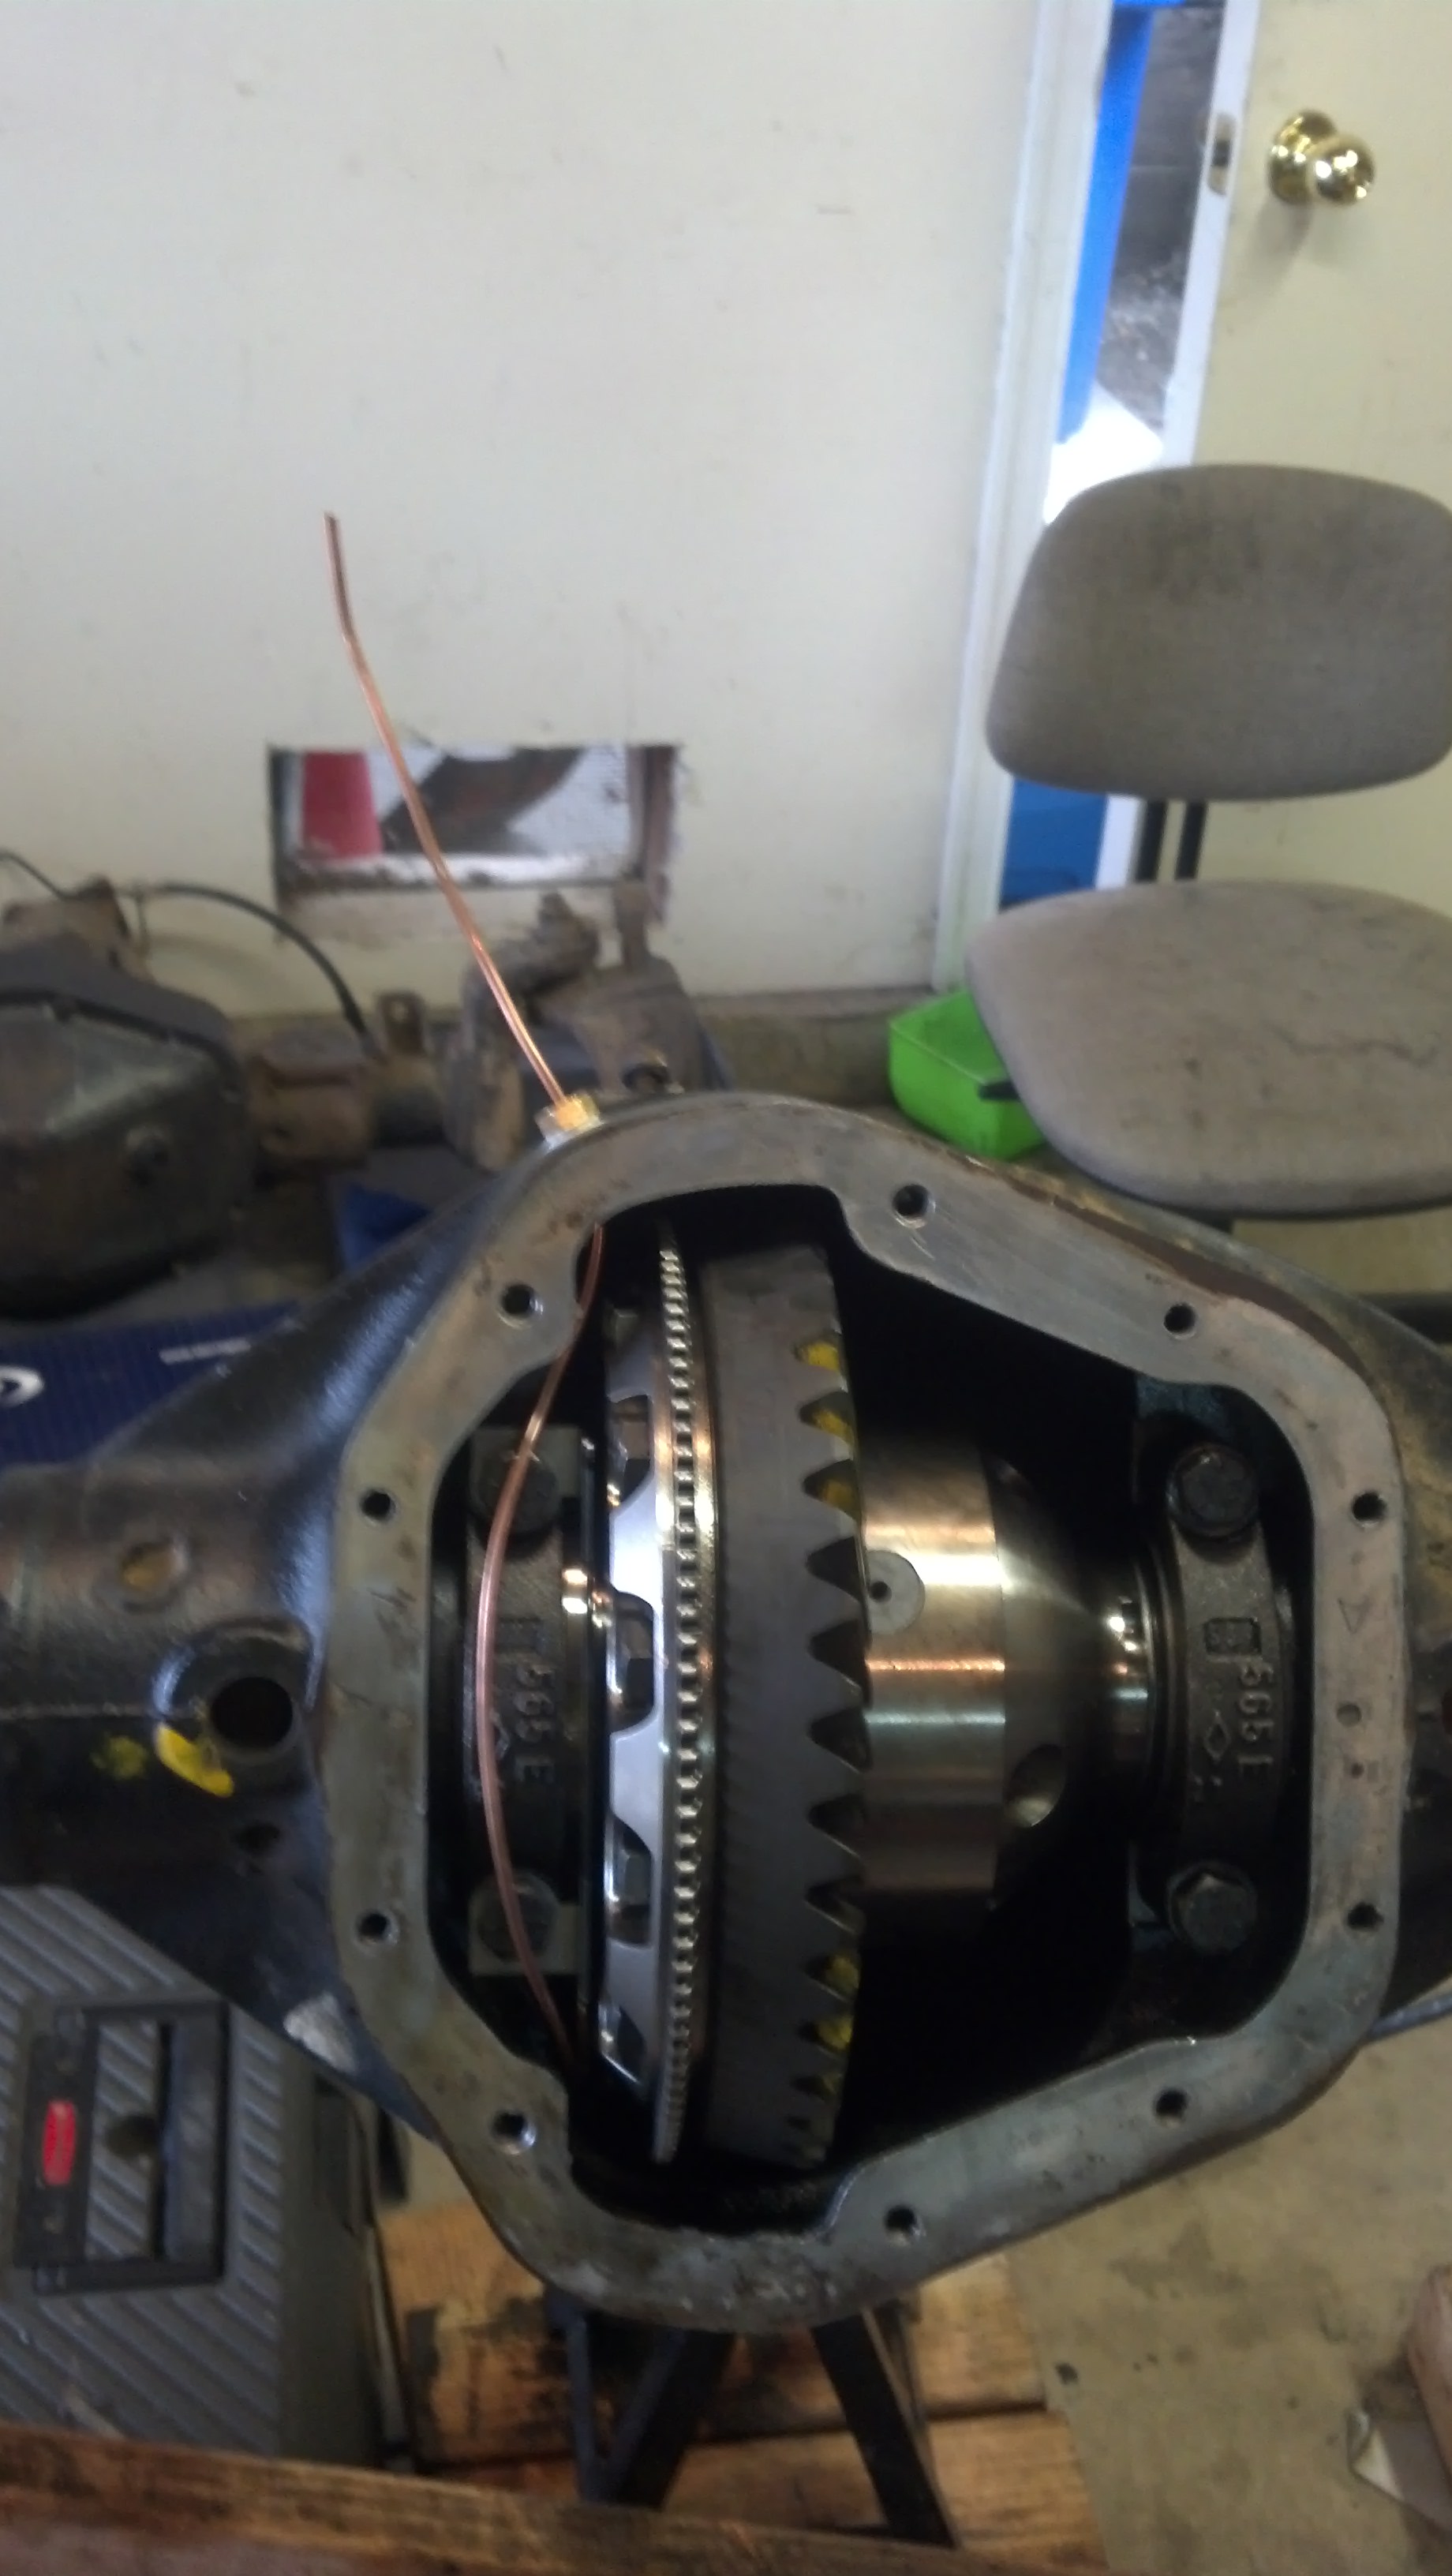
Installed the pinion with new outer bearing and new pinion seal. Then went for the final carrier drop in, which took a bit of mustering! Here it is seated.


Finished with stock D80 shafts.
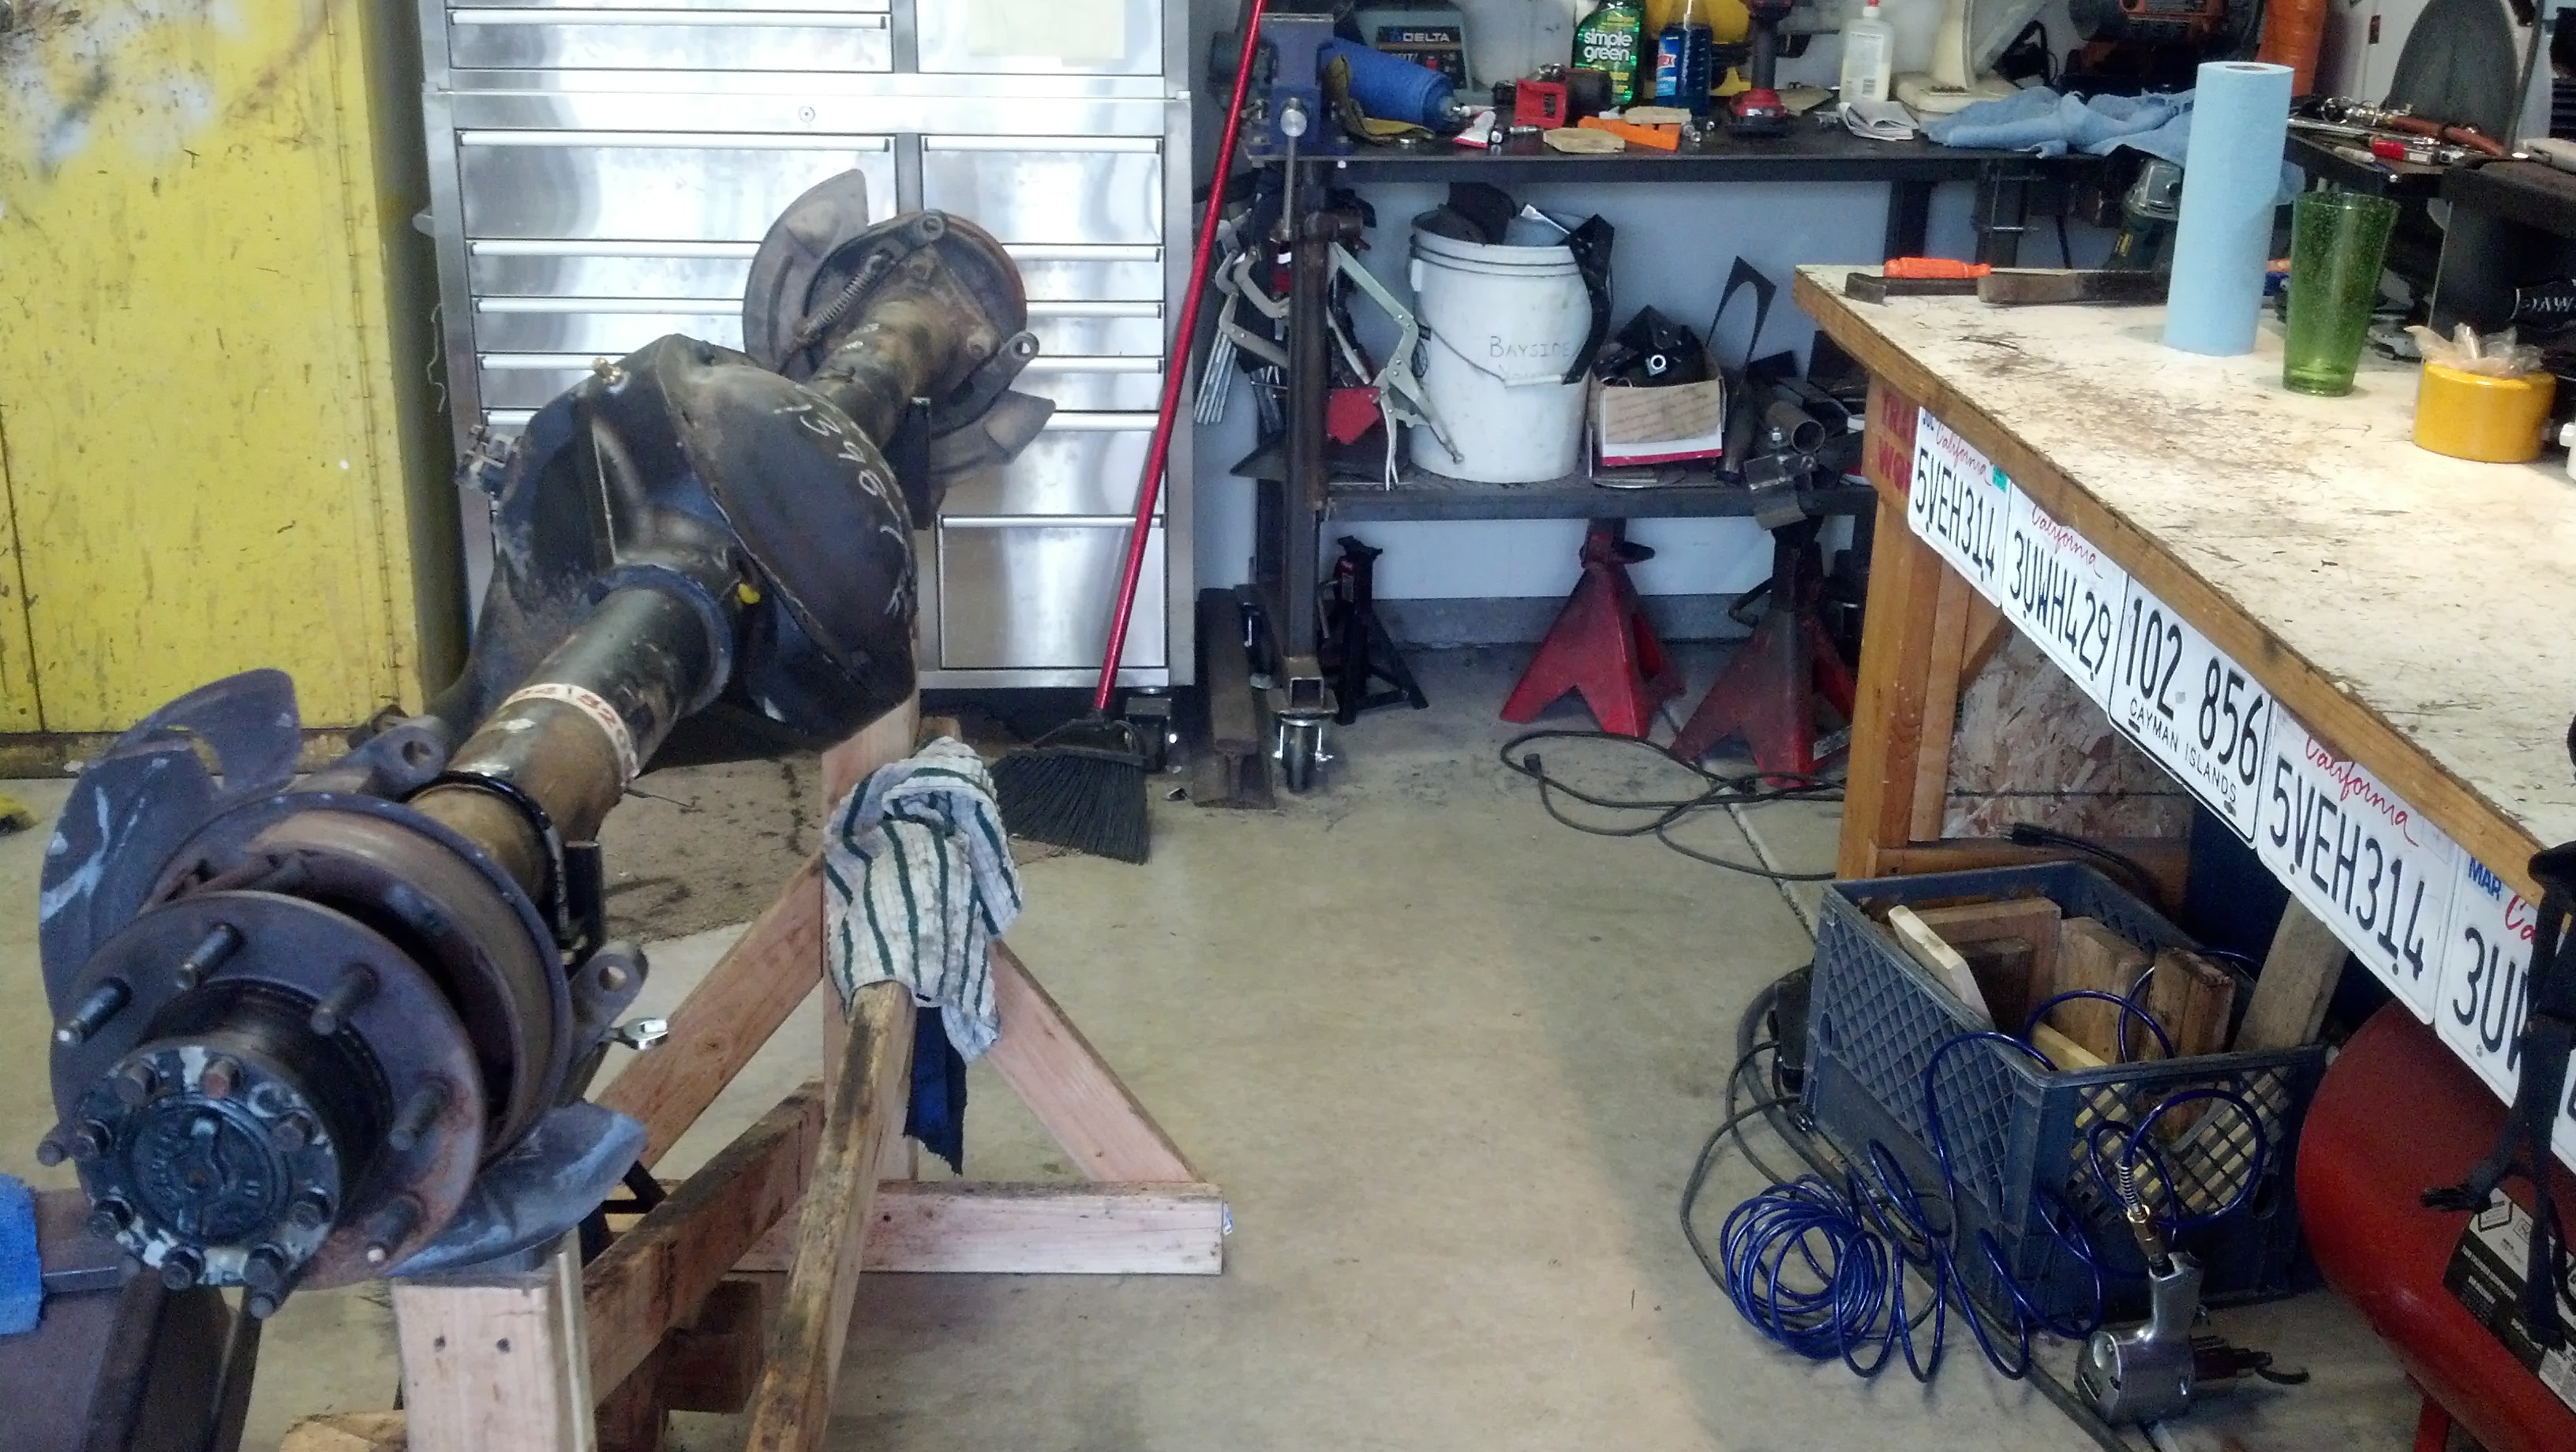
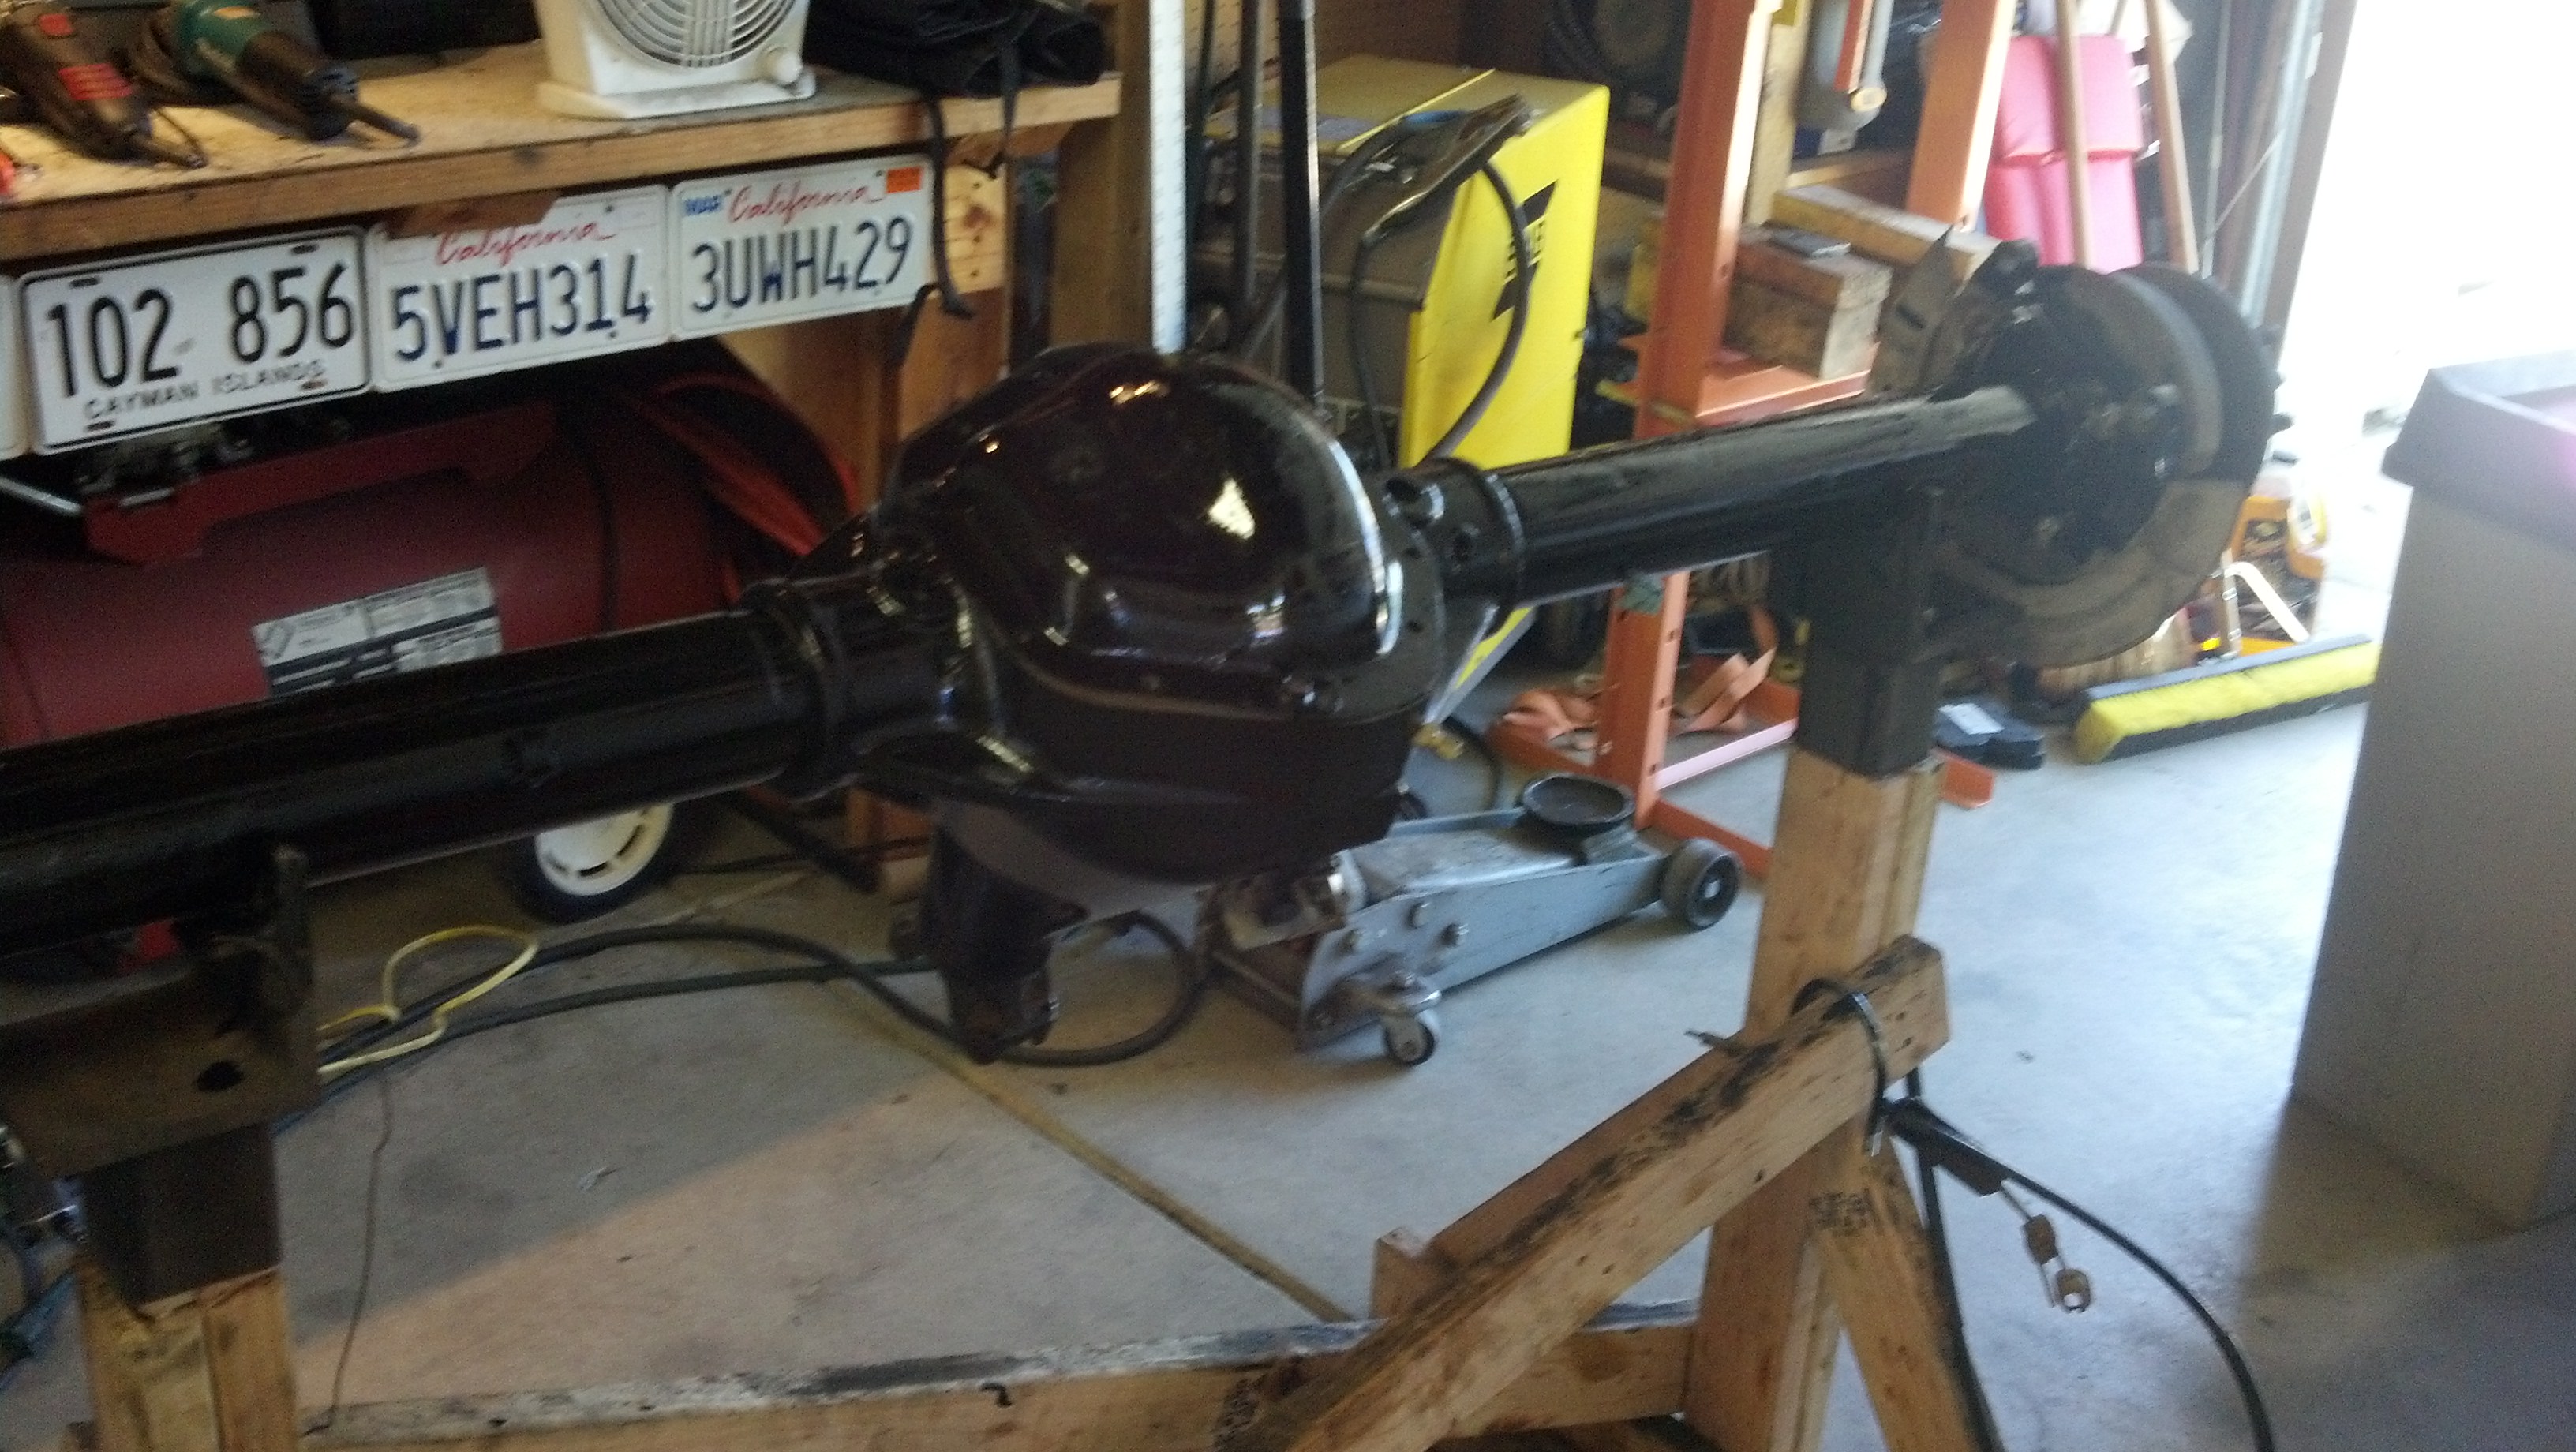
Ready for wire wheel, flapping, and paint!!
So there you have it. This took me roughly 4 days with 4-5 hours per day. I did it from scratch and fortunately had the proper tools. Hope this helps tell the story of the effort involved. Same effort for any carrier, just minus the air stuff. Next axle will presumably go quicker, but we'll see.
From the previous setup, the carrier and pinion were removed for taking off setup bearings to replace with the new bearings.
Here is my checklist:
Punched the inner pinion bearing race.
Setup for the drill/tap of the ARB air bulkhead. I did a pilot with 1/4" then the 7/16" drill finish. 1/4" npt tap.
Carrier bearings and air seal housing + preload shims. I did a total of 0.016" for preload, split 0.008" on both sides.
Used old bearings to push the new on the last 0.1" over the journal.
Installed the pinion with new outer bearing and new pinion seal. Then went for the final carrier drop in, which took a bit of mustering! Here it is seated.
Finished with stock D80 shafts.
Ready for wire wheel, flapping, and paint!!
So there you have it. This took me roughly 4 days with 4-5 hours per day. I did it from scratch and fortunately had the proper tools. Hope this helps tell the story of the effort involved. Same effort for any carrier, just minus the air stuff. Next axle will presumably go quicker, but we'll see.
Last edited by Wh1t3NuKle; Jun 25, 2014 at 10:58 PM.
Thread Starter
|
Champion
Joined: Sep 2011
Posts: 3,891
Likes: 8
From: NorCal
You no read stupid.
Yes, the ARB RD172 is both for D70/80 axles. It has 35 spline side gears. Factory D70 shafts are 32 spline, while D80 are 35 spline.
So I did an economical step up going with the D80 shafts. If they should ever break, then I'm already 35 spline and it's just picking cromo ones.
Thread Starter
|
Champion
Joined: Sep 2011
Posts: 3,891
Likes: 8
From: NorCal
Hmmm, found out that this is a 70-2U rather. This means the wheel bearings are slightly larger. Works for me! 

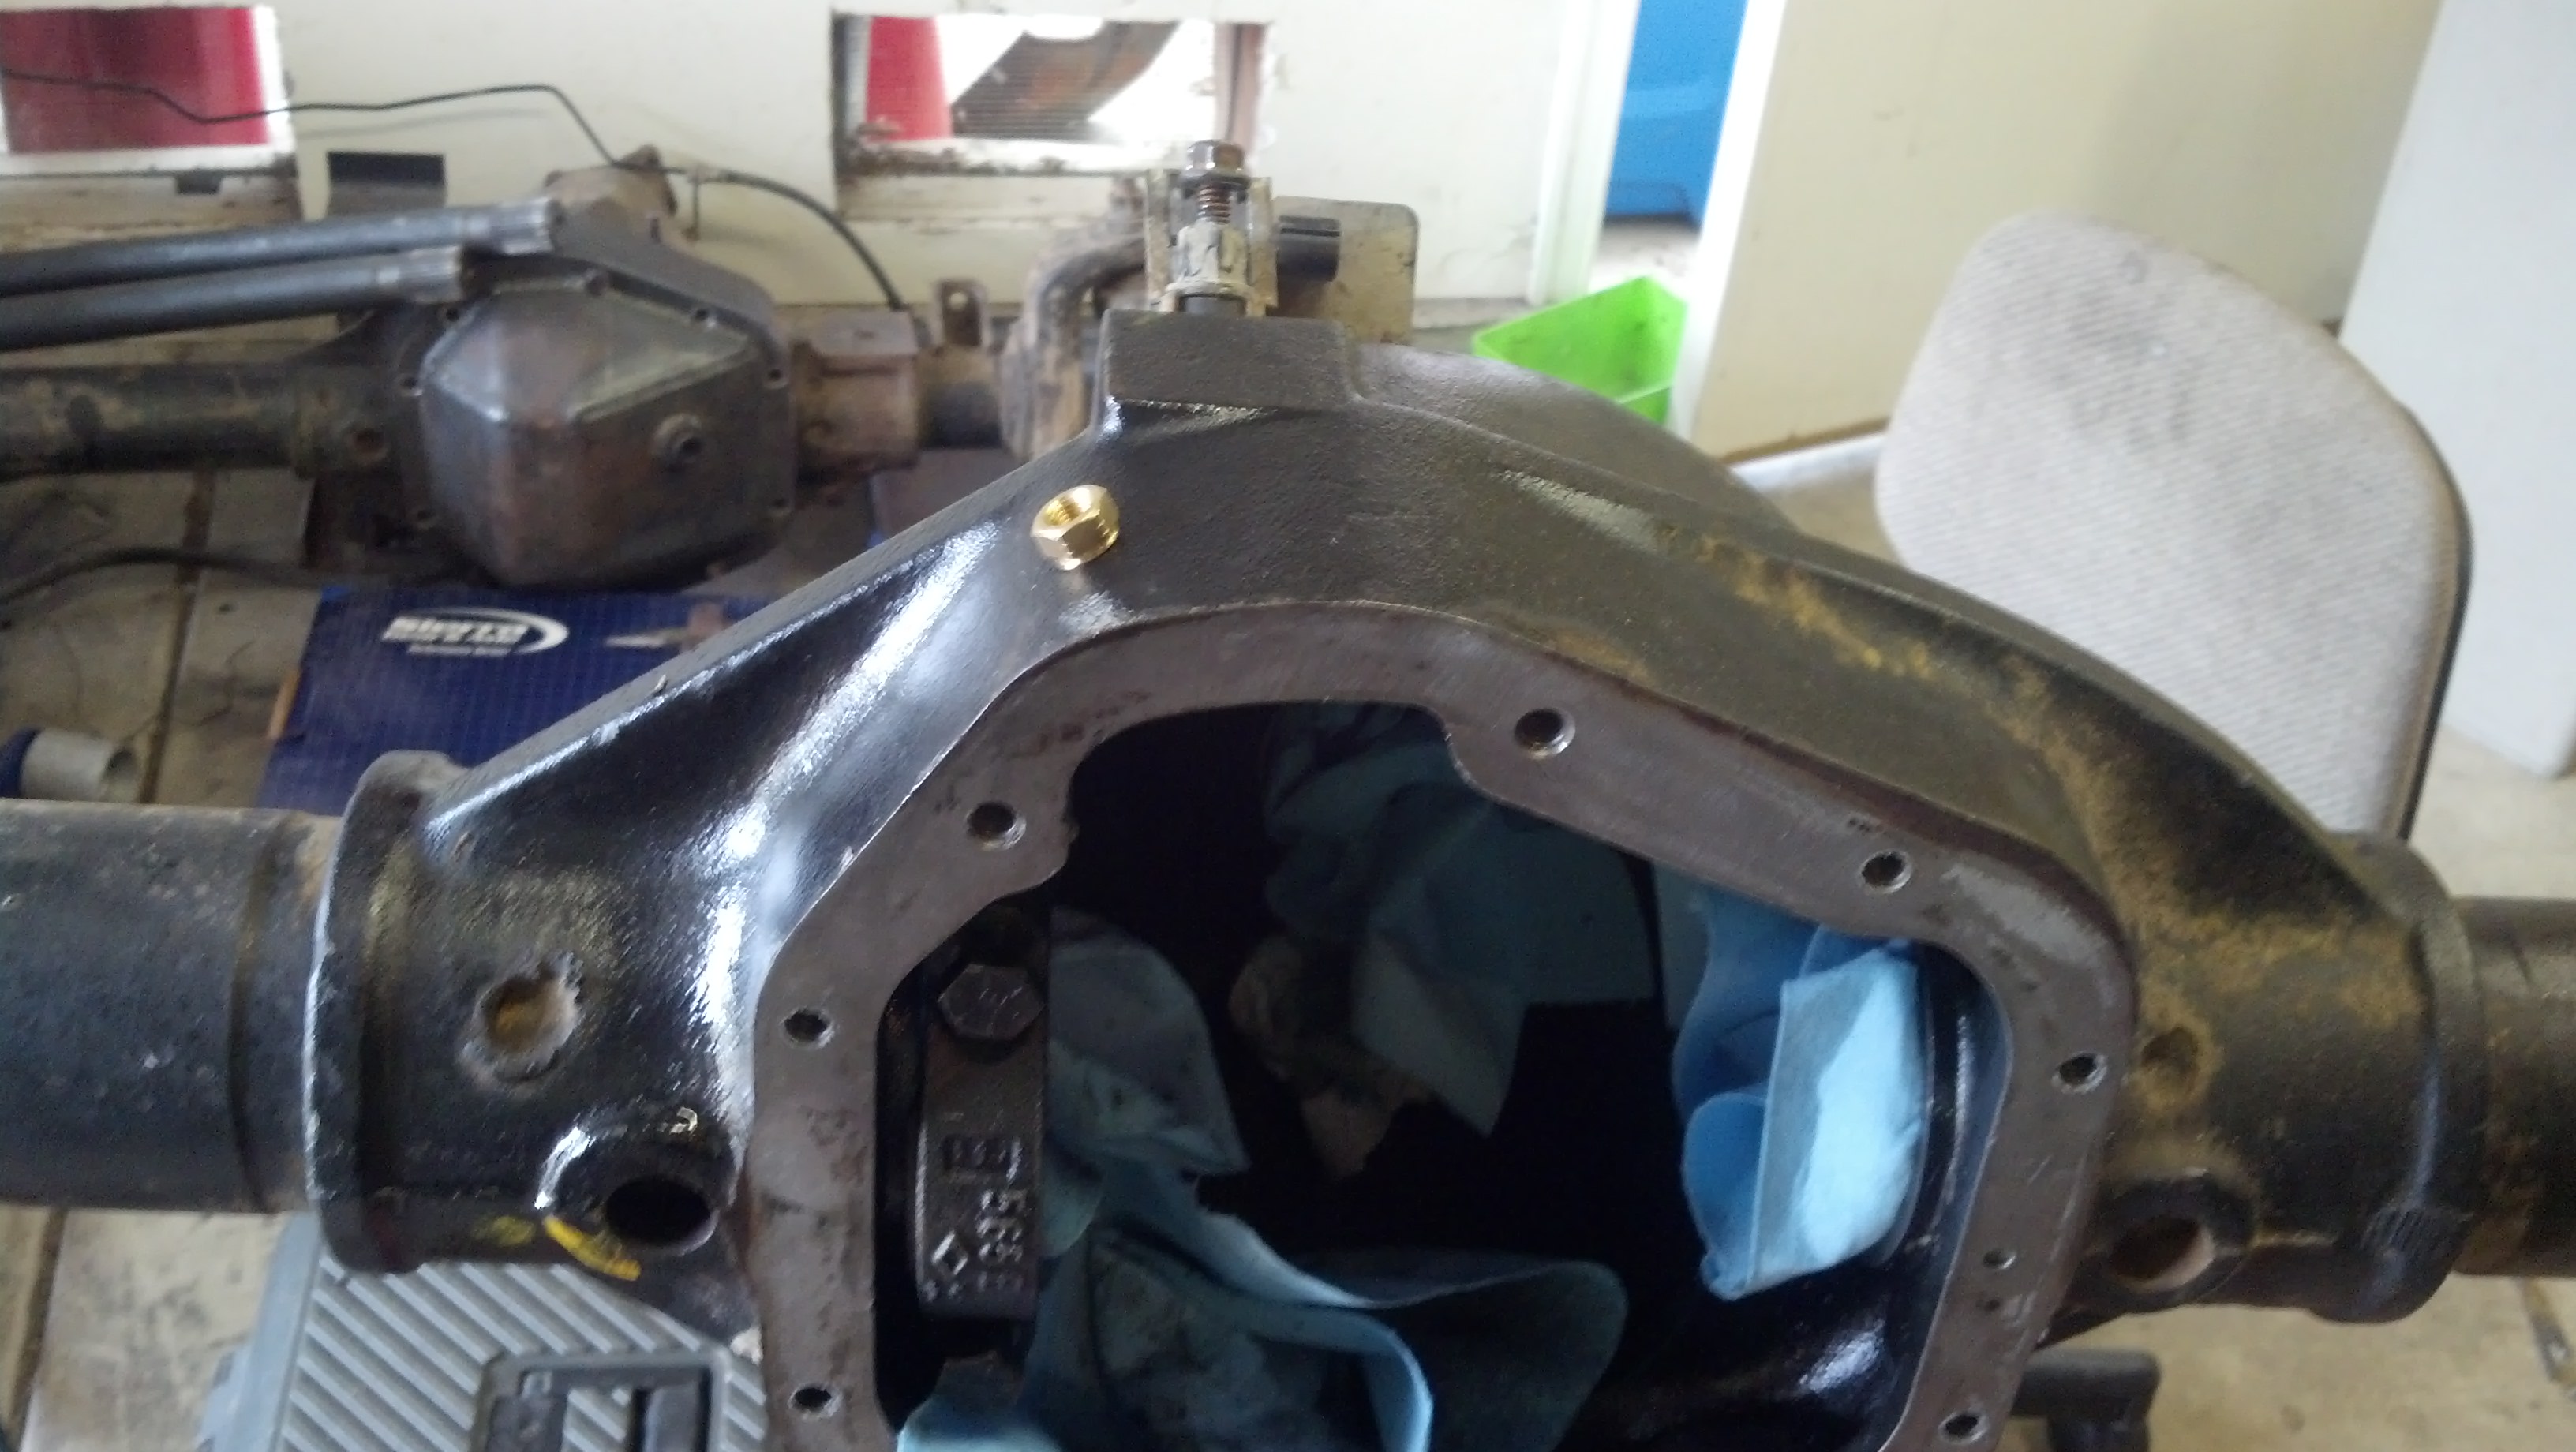
POR15'ed the *****
Cut off most of the brackets on the front 60...it's on deck!

POR15'ed the *****
Cut off most of the brackets on the front 60...it's on deck!
Trending Topics
Record Breaker


Joined: Nov 2011
Posts: 1,898
Likes: 162
From: Cle Elum, WA
WN,
Looking good dude. If you were closer I could of loaned you my case spreader. Makes it easier to get those diff's in and out. I've never used POR 15 so tell me a little about it and how well it works. How hard is it to paint with? You used a brush right?
WM
Looking good dude. If you were closer I could of loaned you my case spreader. Makes it easier to get those diff's in and out. I've never used POR 15 so tell me a little about it and how well it works. How hard is it to paint with? You used a brush right?
WM
I painted my axles with por-15. Just wire wheel all the old loose stuff off and degrease it. I painted it all on with a brush. Just get several cheap brushes and don't bother trying to save them. I put two coats on. It's good stuff. Goes far also. I used less then a pint.
Mines holding up great.
Merc painted his with it too. But I dont think it's holding up as well as he hoped. But he lives In the Canada land.
It cool as hell you can just slide Dana 80 shafts in. Wonder if that would work for my 60 if I got a 35 spline carrier?
I'll learn how to do this gear stuff one day. At least I hope so
Thread Starter
|
Champion
Joined: Sep 2011
Posts: 3,891
Likes: 8
From: NorCal
I was initially desiring to use a diff spreader given that preload is very significant factor. However, with some other research and other experience I waived it off the "necessary" list of tools. I'll 2 things that apply to my install.
1) Really need to apply a fine gauge stick on ruler to the spreader or a couple dial indicators with high confidence of reproducibility. This is to ensure one does not "accidentally" exceed the max spec tolerance on spreading. People have cracked their diffs b/c they just went and "cranked" on it. I think the max is like 0.02"(?) from the FSM.
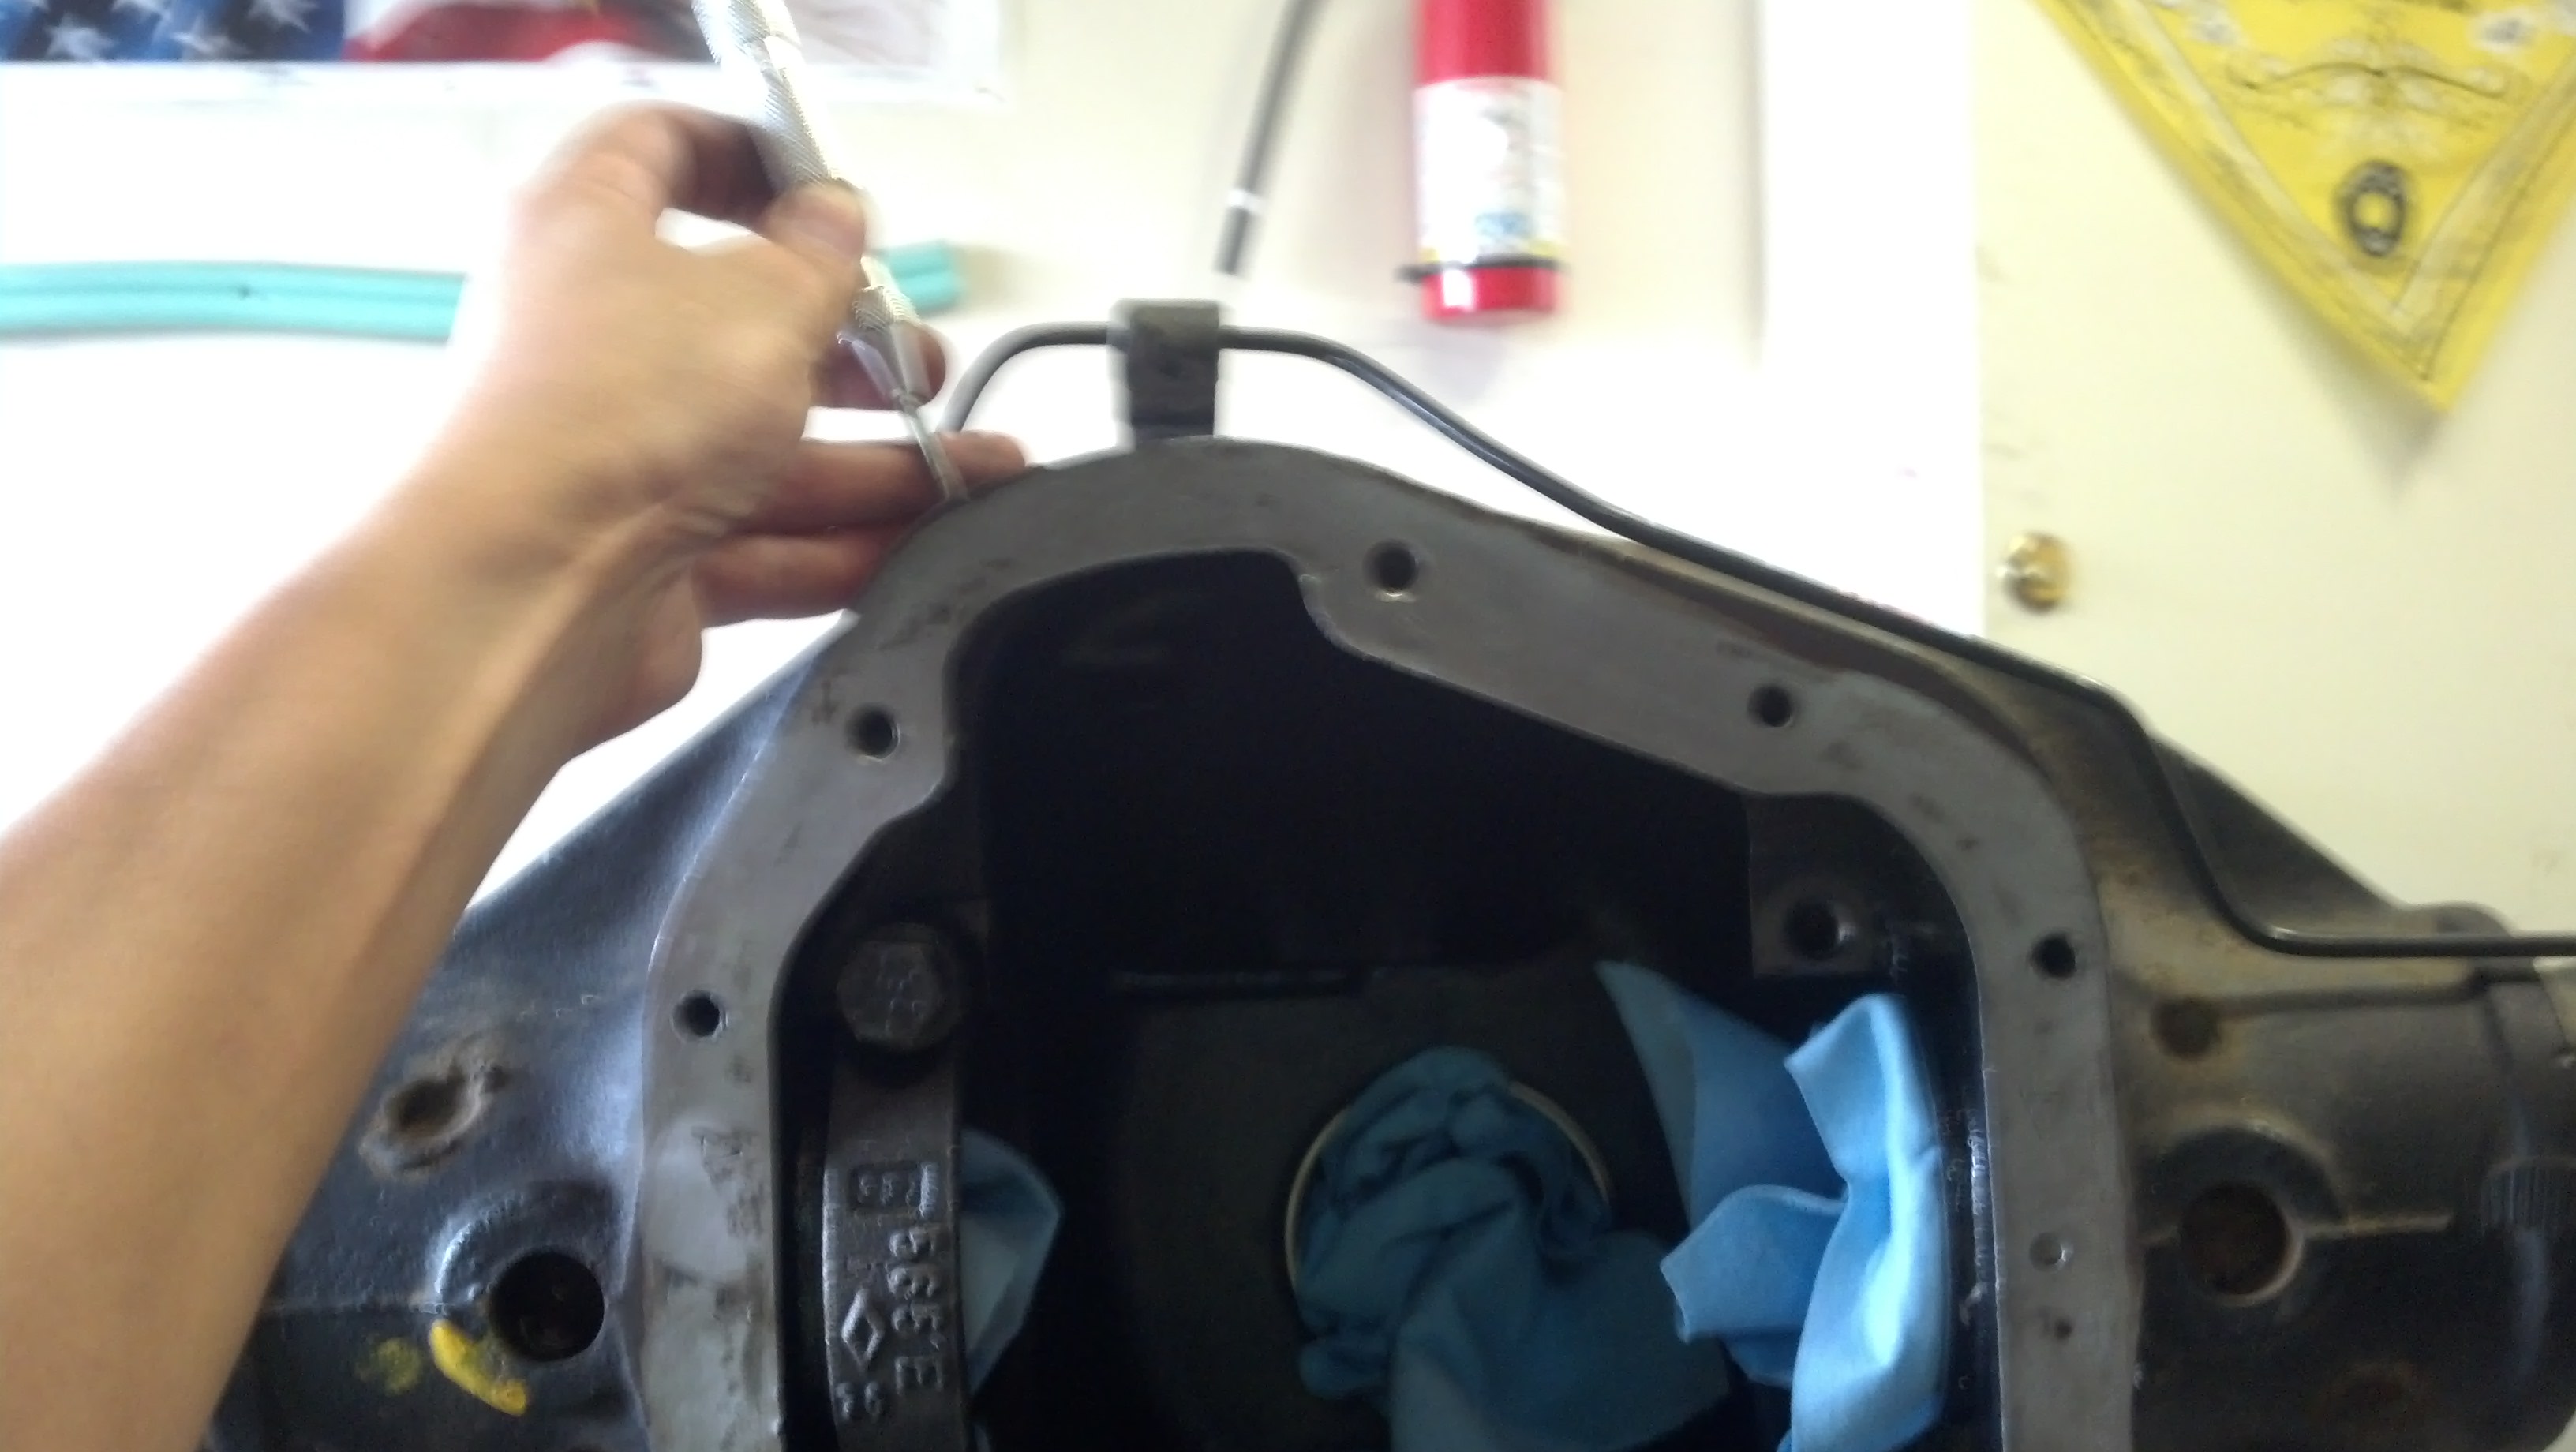
2) Installing an ARB has a useful part in it called a master shim. This shim is slightly less than 3/16" thickness. The other shims are safely b/t the carrier and carrier bearing. The FSM preload is 0.015". So you have to add those. Then upon dropping the carrier in you just make sure both carrier bearing races are seated and the master shim is OUTSIDE. It is b/t the non-ring gear side race and housing. With it partially in...you can just gradually whack it in safely. Wood or brass hammer, etc.
I was worried about this part, but I actually got it on the first try.
So, I wanted to clarify my reasons for not using a spreader. We actually had one on hand that was made by some guy....and it is lacking some features but could have been used. They are still an important tool. I can't speak to how other carriers are installed, detroit locker, etc. but I'm fairly in a Dana axle it's similar...you can whack the bearing race or better yet, from scrap bearing create a tool. Cut race in half, weld shaft on it, and use that to whack-a-mole...with attention to fitup of course.
I used the cheap foam brush and only did 1 coat as the factory paint was in good shape. This thing will get beat on...
POR15 is like chassis saver. I only used it b/c my buddy already had it. Otherwise I would have left it alone.
HB -- no you can't fit them as-is. You can if you bore out the spindle though.
1) Really need to apply a fine gauge stick on ruler to the spreader or a couple dial indicators with high confidence of reproducibility. This is to ensure one does not "accidentally" exceed the max spec tolerance on spreading. People have cracked their diffs b/c they just went and "cranked" on it. I think the max is like 0.02"(?) from the FSM.
2) Installing an ARB has a useful part in it called a master shim. This shim is slightly less than 3/16" thickness. The other shims are safely b/t the carrier and carrier bearing. The FSM preload is 0.015". So you have to add those. Then upon dropping the carrier in you just make sure both carrier bearing races are seated and the master shim is OUTSIDE. It is b/t the non-ring gear side race and housing. With it partially in...you can just gradually whack it in safely. Wood or brass hammer, etc.
I was worried about this part, but I actually got it on the first try.
So, I wanted to clarify my reasons for not using a spreader. We actually had one on hand that was made by some guy....and it is lacking some features but could have been used. They are still an important tool. I can't speak to how other carriers are installed, detroit locker, etc. but I'm fairly in a Dana axle it's similar...you can whack the bearing race or better yet, from scrap bearing create a tool. Cut race in half, weld shaft on it, and use that to whack-a-mole...with attention to fitup of course.
I used the cheap foam brush and only did 1 coat as the factory paint was in good shape. This thing will get beat on...
POR15 is like chassis saver. I only used it b/c my buddy already had it.
Otherwise I would have left it alone.HB -- no you can't fit them as-is. You can if you bore out the spindle though.