


200,000 mile Fix Up 96 Ram 1500 Sport
#101
 08-02-2011, 10:51 AM


Join Date: Jun 2011
Location: California
Posts: 325
Likes: 0
Received 0 Likes
on
0 Posts
#102
08-02-2011, 11:46 AM
Professional
Join Date: Jan 2009
Location: Between the lakes Eh?
Posts: 101
Likes: 0
Received 0 Likes
on
0 Posts
Good Job on your truck! Our Dodges always like a bit of attention. And yours is so clean and rust free....MMMMMMMM rust free...At 200K miles our trucks up here look like Swiss cheese samples, having to torch bolts to change out stuff from the salt used on the roads.
Could the cat have come apart sending chunks to the muffler?
sprntpshr
#103
08-02-2011, 12:55 PM
Join Date: Jun 2011
Location: California
Posts: 325
Likes: 0
Received 0 Likes
on
0 Posts
Definately. Plenum was blown and I couldn't pass emissions, got a new cat, and passed and never thought anything about it. Then when i started this 200,000 mile venture the blown plenum leading to failed cats, mufflers, o2 sensors etc made me go nuts. Exhaust is done for the time being, until im finished with all the rest of the mechanics then maybe ill put some high flow cats in but as im running duals that can get expensive :P
Thanks for the kind words btw, Thats what makes me keep posting pics after pics ;P
Thanks for the kind words btw, Thats what makes me keep posting pics after pics ;P
#104
08-04-2011, 11:13 AM
Join Date: Jun 2011
Location: California
Posts: 325
Likes: 0
Received 0 Likes
on
0 Posts
8 years later... I HAVE A FUEL GAUGE AGAIN. And god said let all the blinking lights on my dash be gone!
Jacking it up:
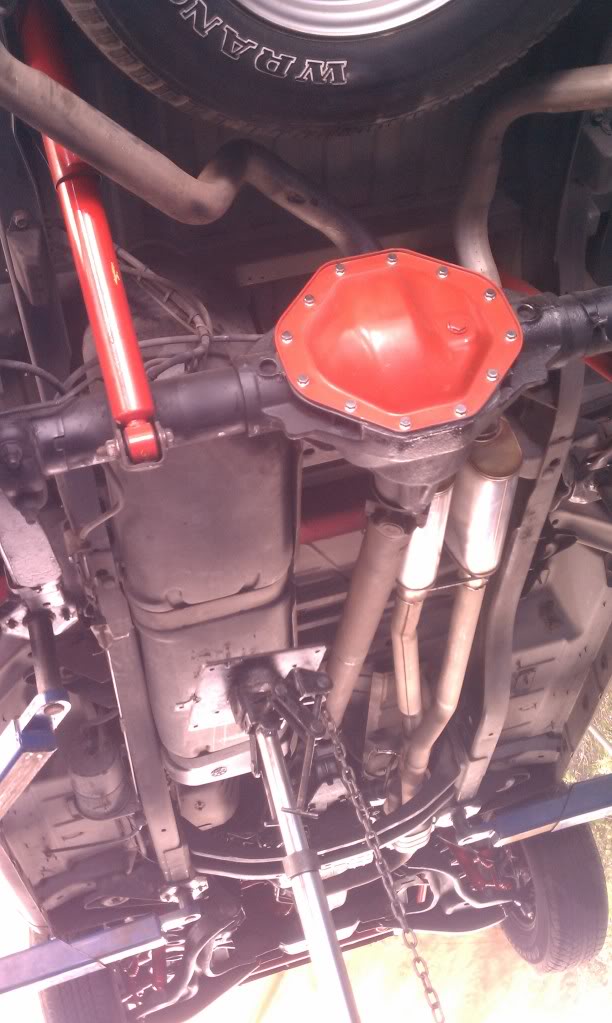
lowered a little by loosing nuts and prying the straps off, then disconnected hoses, Fuel line easy use needle nose squeeze tabs and pull. Electrical connector slide red tab over to unlock then push down and pull out. Vacuum tube damn hard. I snapped the end of the plastic trying to pull the tube out. Used a hacksaw to make a groove big enough to put the hose back on and clamp it
Lowered :

replaced the exact same way as the old pump:
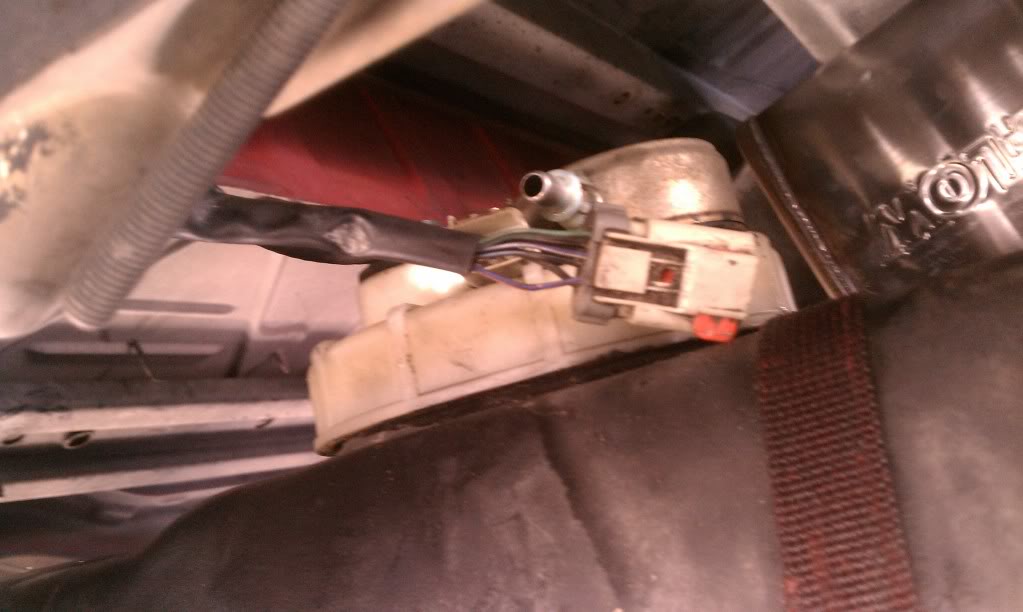
slide over gasket with ribs down, put sending unit in without bending, position gasket so the rim is completely flush. Line up alignment marks and get it seated and use a screw driver to tap plastic ring completely tight. take rubber gromet off the vacuum thing put gromet in first then push the vacuum thing in and it goes in like a breeze. Hook everything back up jack it up, tighten straps and your done!
Jacking it up:
lowered a little by loosing nuts and prying the straps off, then disconnected hoses, Fuel line easy use needle nose squeeze tabs and pull. Electrical connector slide red tab over to unlock then push down and pull out. Vacuum tube damn hard. I snapped the end of the plastic trying to pull the tube out. Used a hacksaw to make a groove big enough to put the hose back on and clamp it
Lowered :
replaced the exact same way as the old pump:
slide over gasket with ribs down, put sending unit in without bending, position gasket so the rim is completely flush. Line up alignment marks and get it seated and use a screw driver to tap plastic ring completely tight. take rubber gromet off the vacuum thing put gromet in first then push the vacuum thing in and it goes in like a breeze. Hook everything back up jack it up, tighten straps and your done!
#105
08-15-2011, 06:18 PM
Join Date: Jun 2011
Location: California
Posts: 325
Likes: 0
Received 0 Likes
on
0 Posts
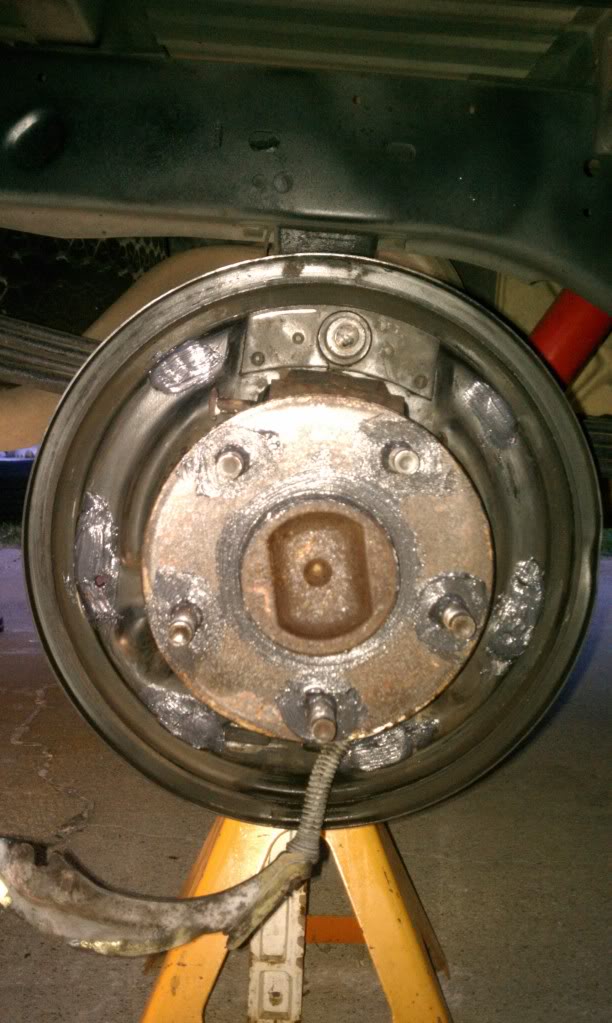
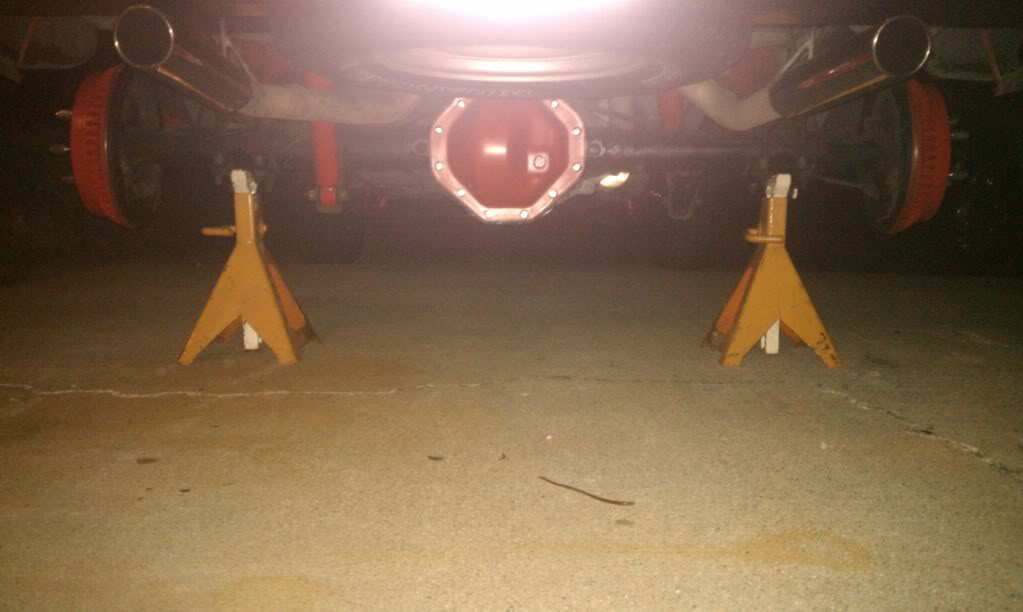
Just got the read drums all tided up. Was a bit more of a PITA then i thought, but that's because i left the pistons bleed all the way out and had to flush and bleed the whole system. Here's my attempt at fixing rear drums.
1) PB BLASTER and then beat the old drum out with a big hammer going all the way around the edges till it starts moving. DO NOT HIT THE BACKING PLATE
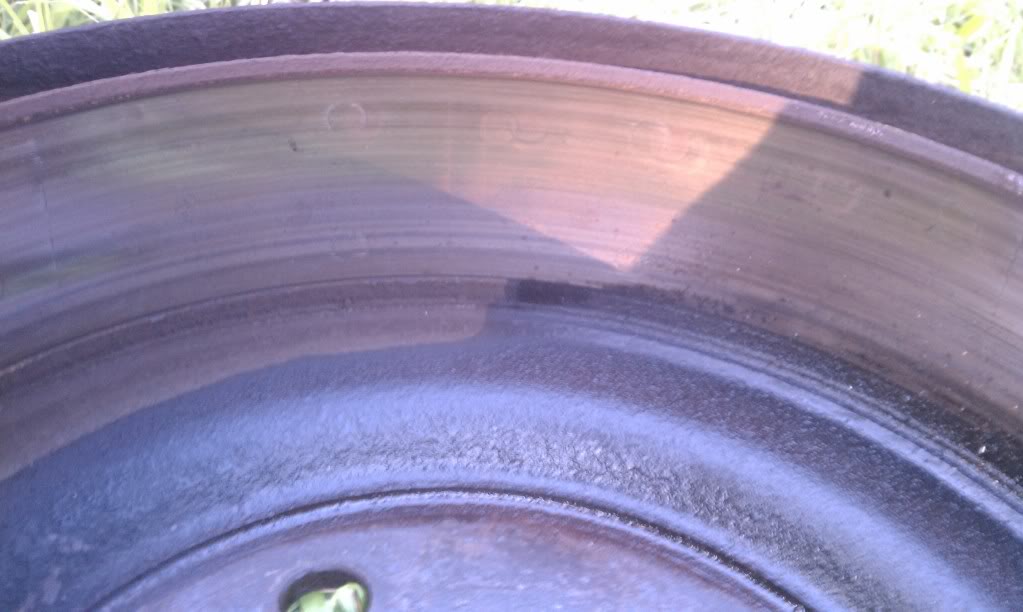
2) Pull the drum off and put aside (or go get it surfaced)
3) Take pictures of all the angles top bottom and sides of both sides of the vehicle. Leave something there to reference which side is passenger which side is driver.
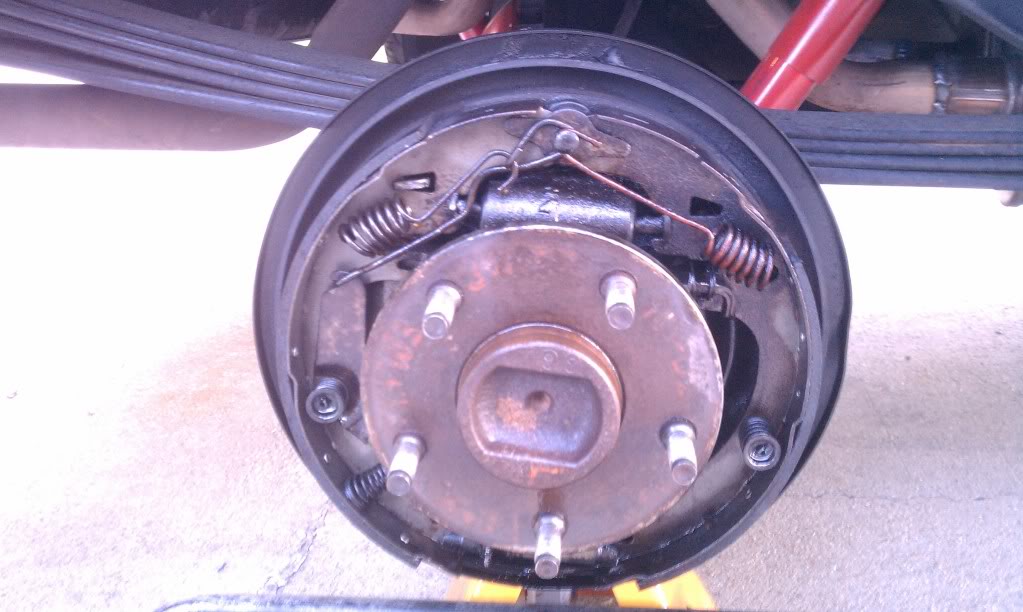
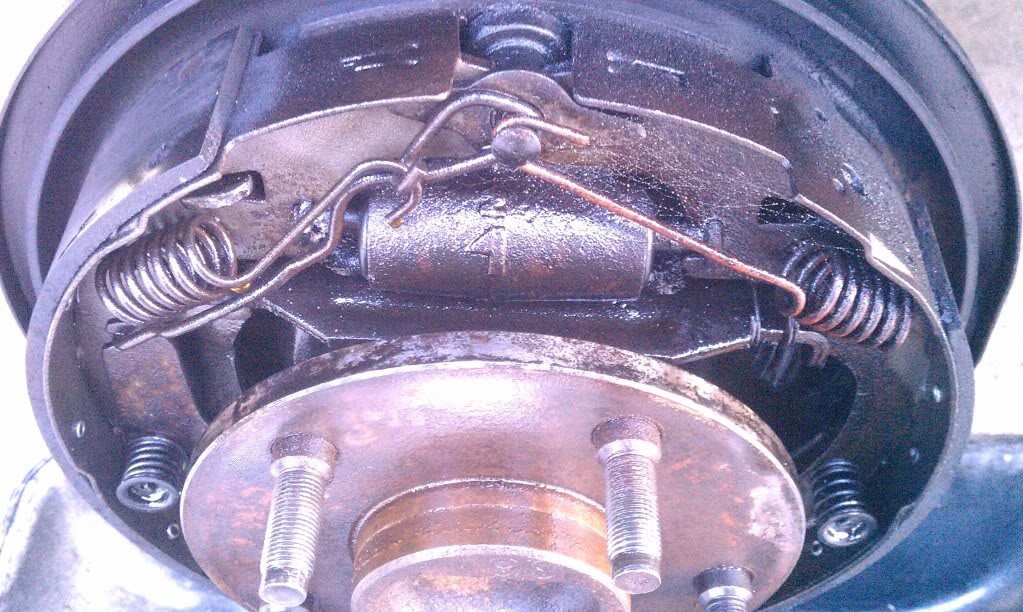
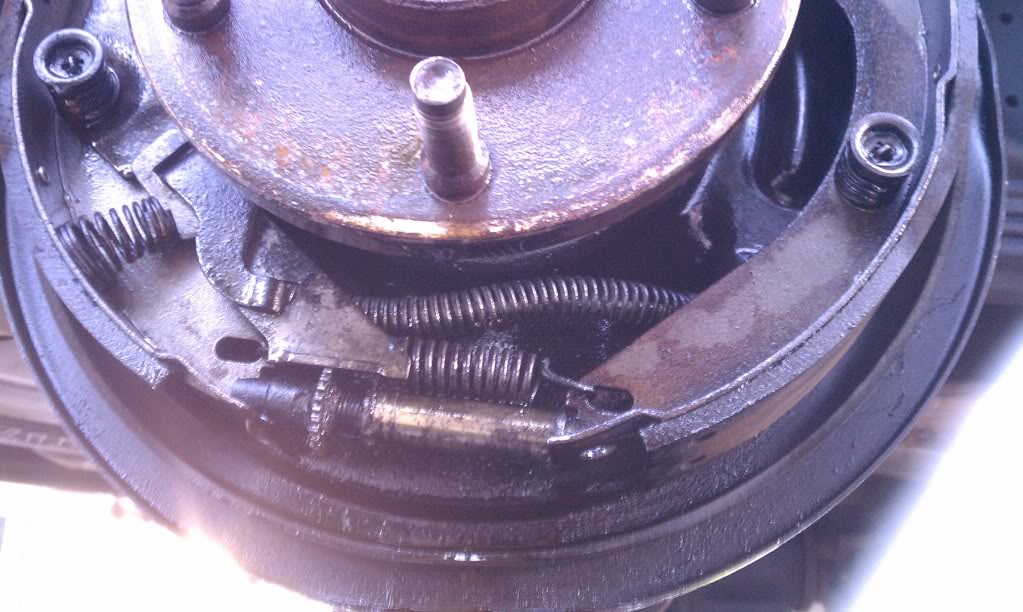

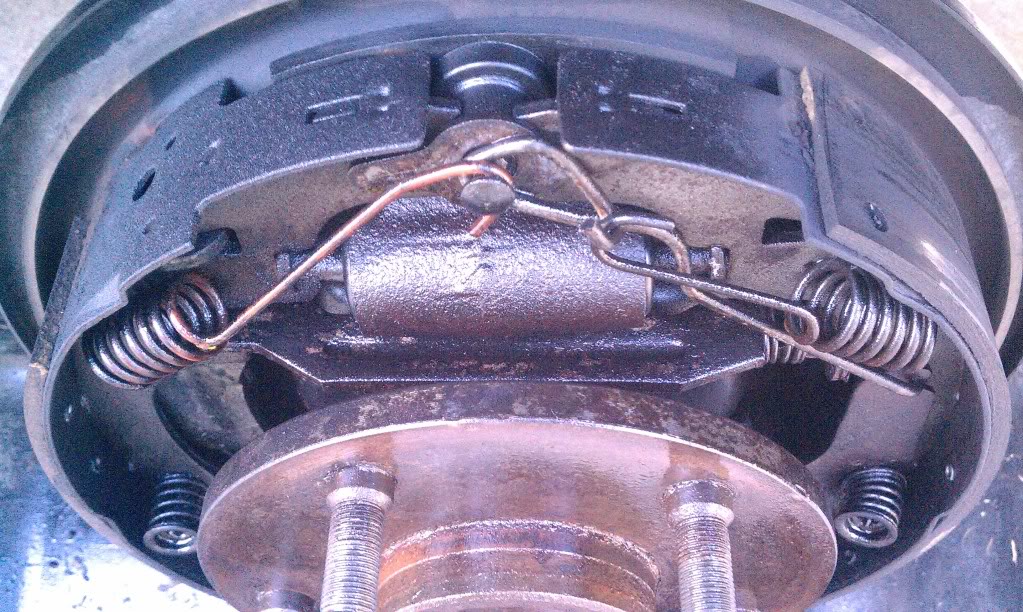

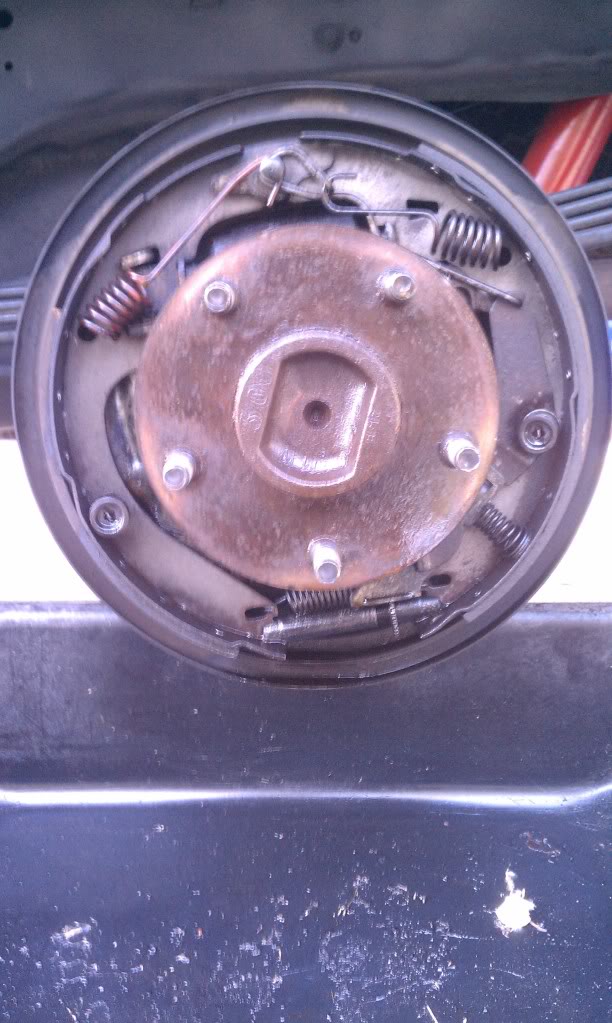
Heres the inside of my old drums:
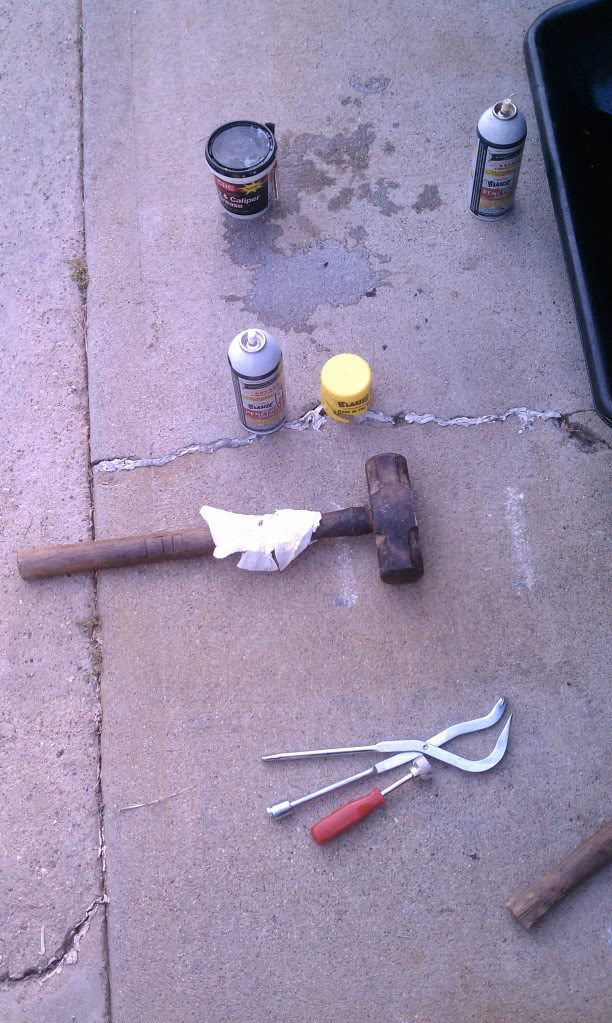
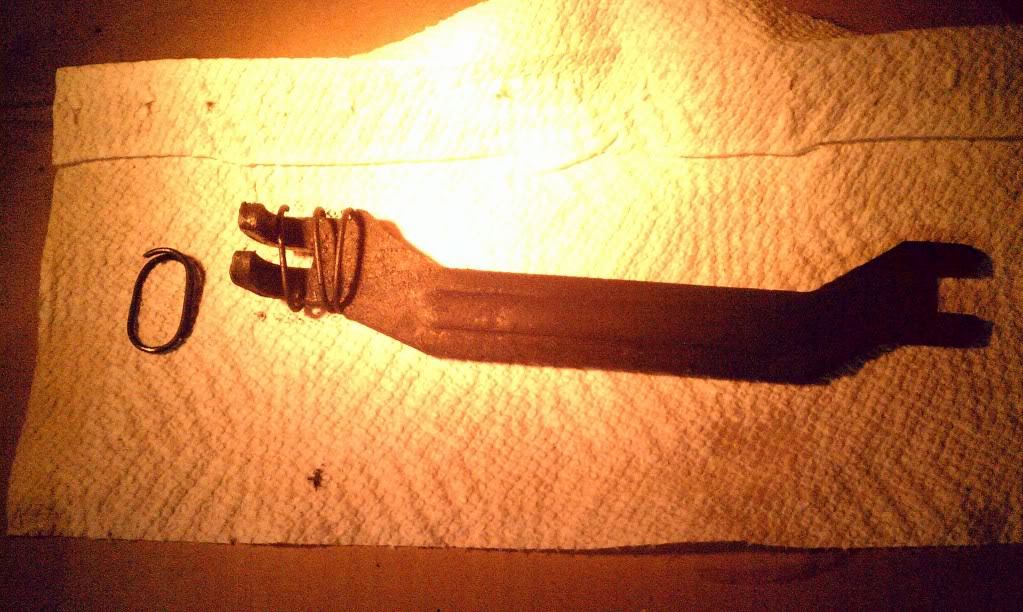
Tools that you want to do this job(not including service manual):
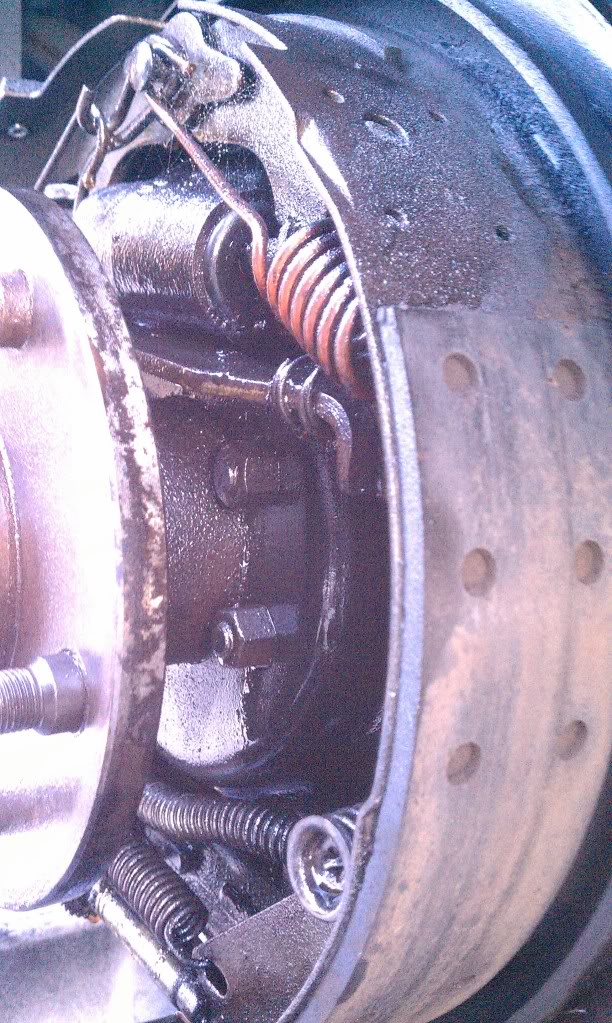
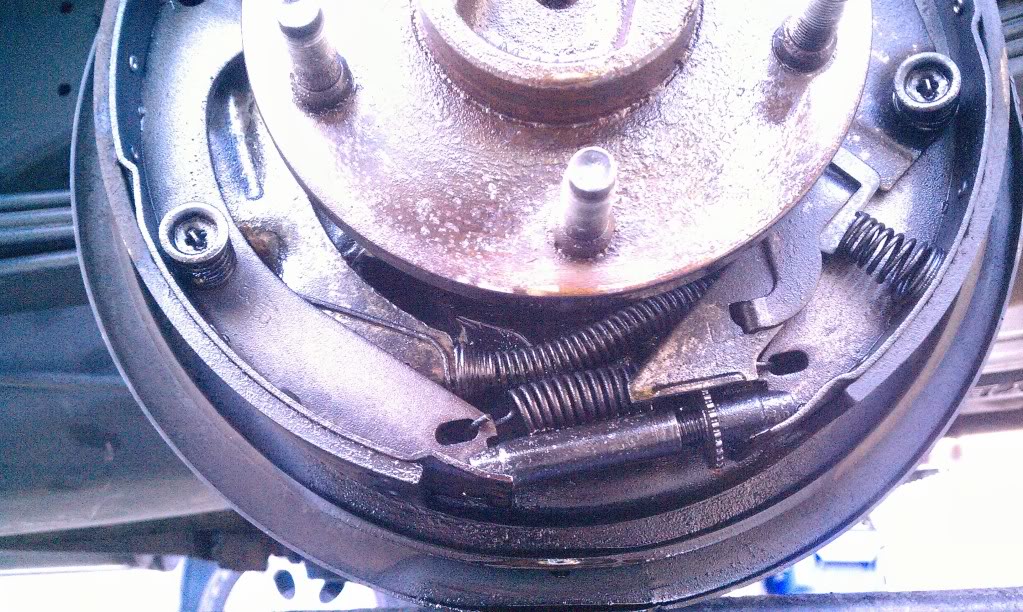
Drum and springs off:
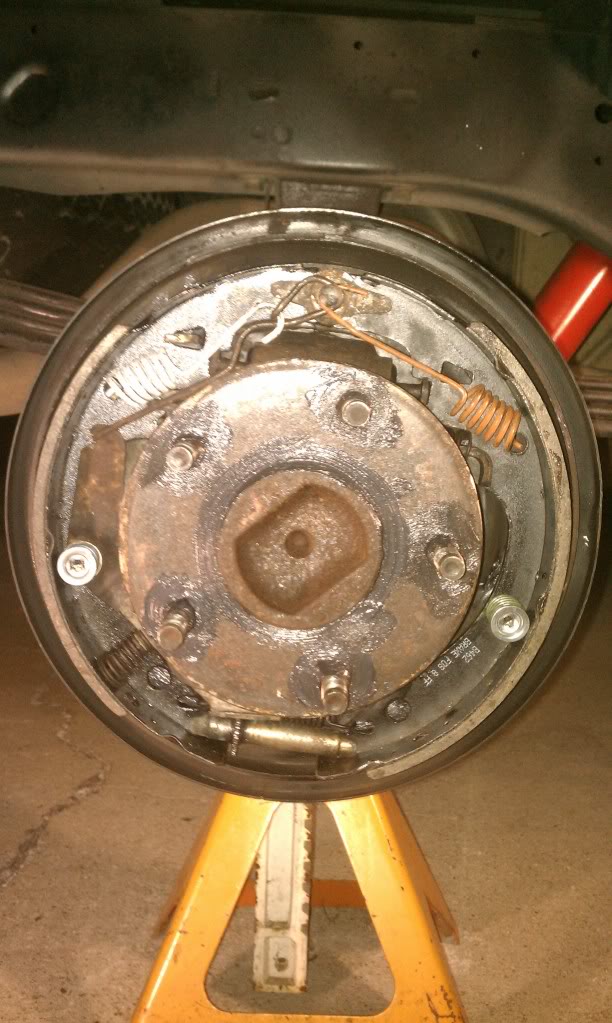
Strut and spring (goes from one shoe to the other on the top) I had a broken spring which i had to replace and was not included in the 1500 drum brake spring kit, i had to go buy a 2500 drum brake spring kit and steal those two springs.
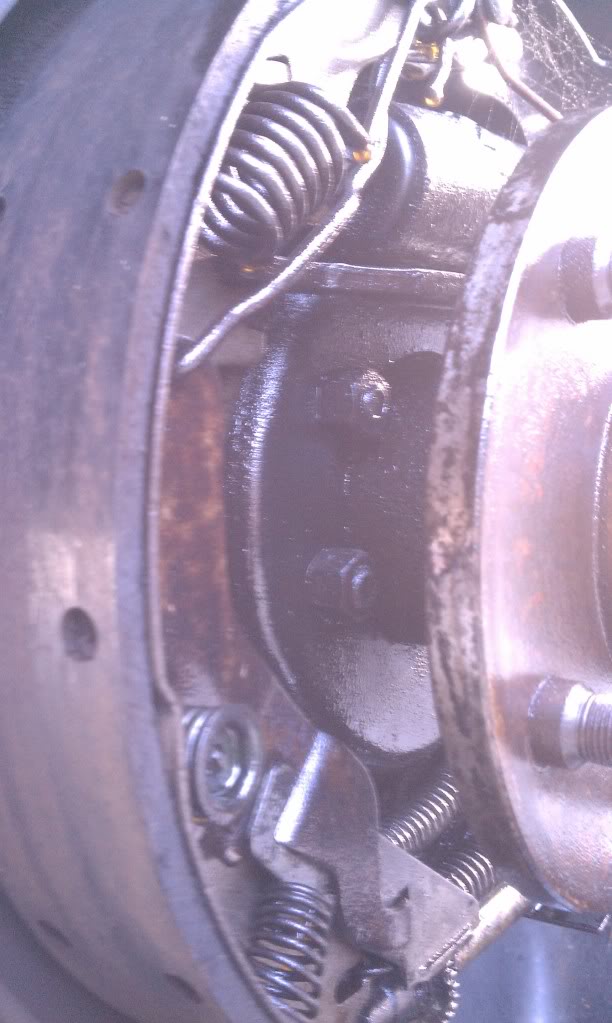
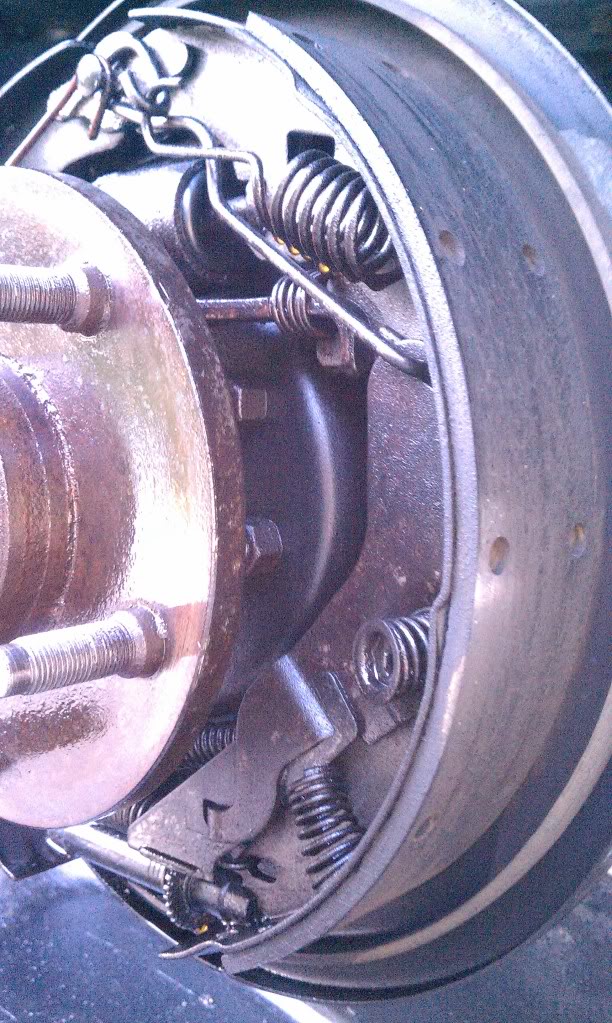
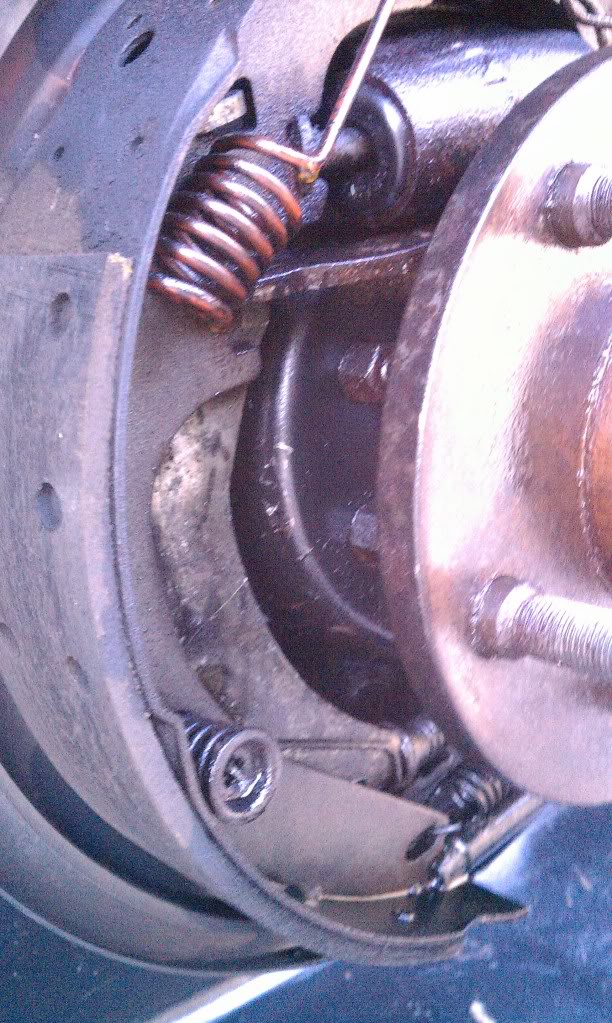
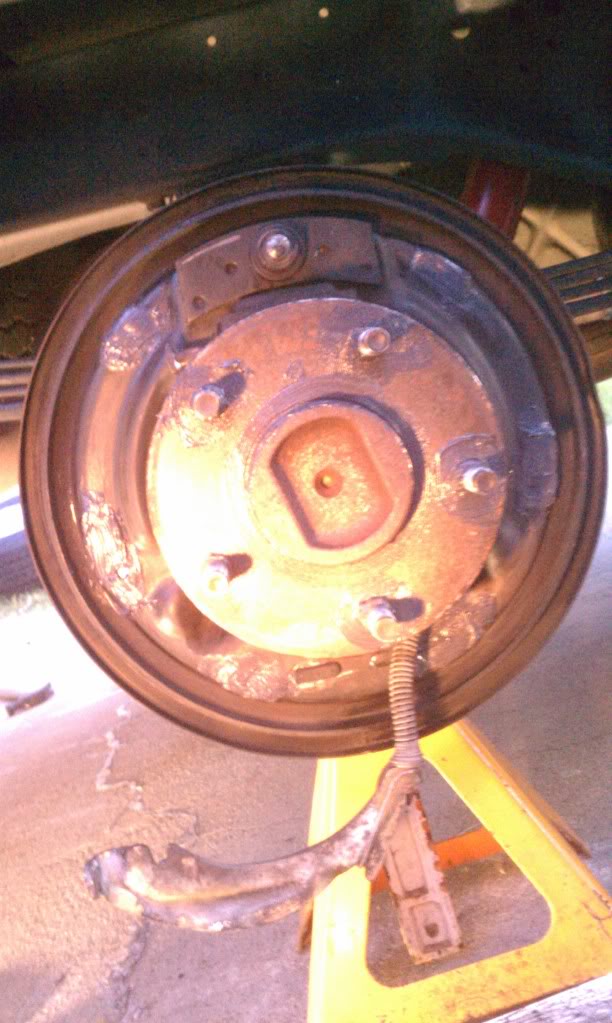
Springs back on(note i put BRAKE GREASE on the spots where the metal ends of the shoes touch the backing plate and a little around the bolts to make taking it off later easy):
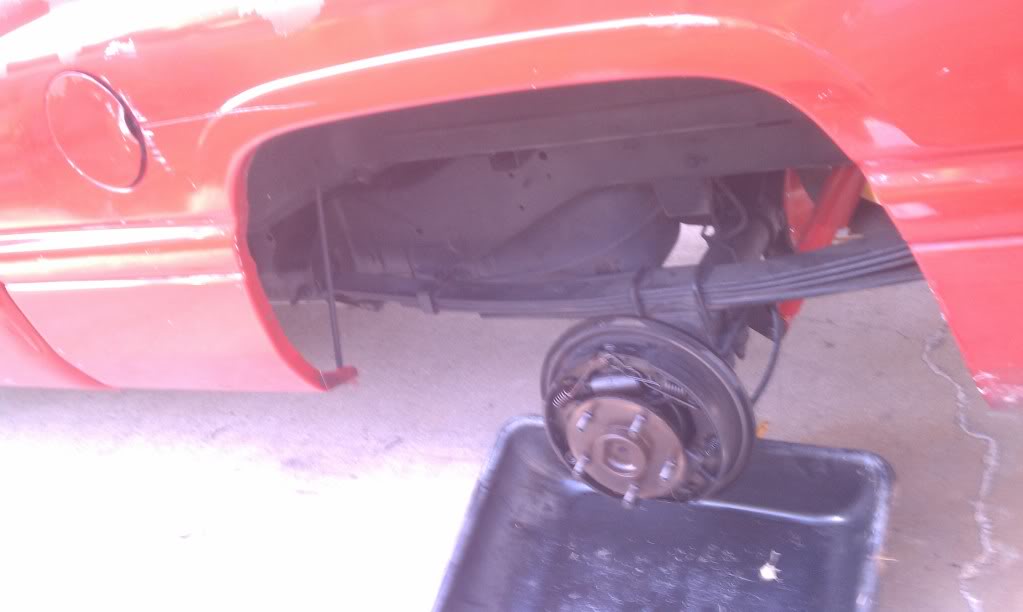
Drum back on:
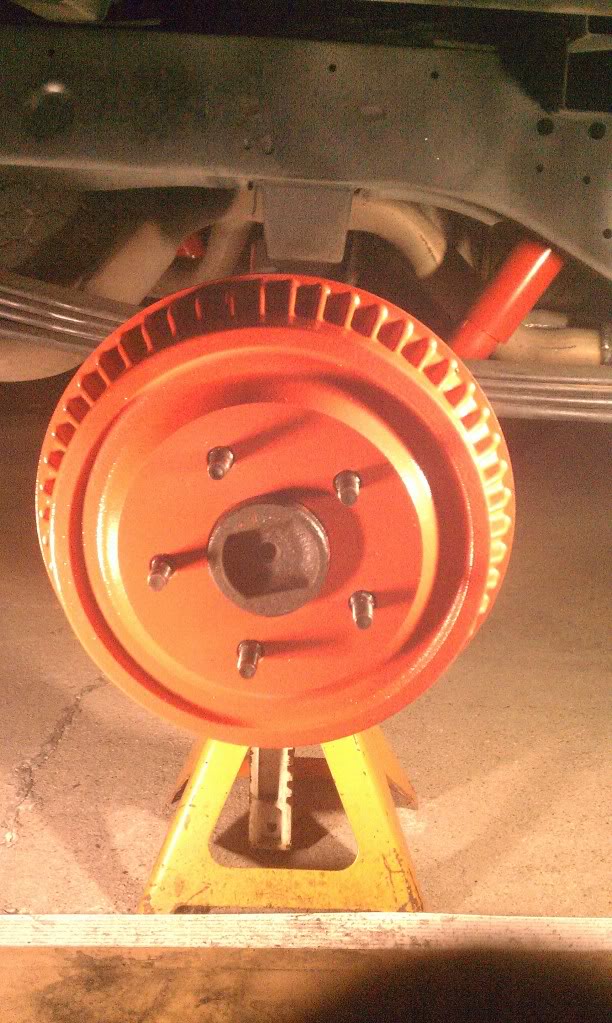
Alright heres where it gets tricky. After you can get your drum to slide on and have verified all your springs are installed correctly like on the pictures you took. You should hit the shoes with some cleaner and slightly sand them to make sure no grease has come in contact with them. Then turn the adjuster wheel up until the wheel is slightly hard to turn, give the parking brake cable a couple tugs, then adjust again. Do this untill it turns decent, but has good resistance (doesn't just keep spinning).
Bolt your tires on. Torque them to spec and check your brakes.
Since I had to go find that broken spring I had let the system completely bleed out and had to bleed all the brake lines and refill.
Brand new brakes!
Special thanks to ZMAN for the quick spring help and all the Dodgeforum members to helping support all of our DIY projects!
DONE AND DONE
1) PB BLASTER and then beat the old drum out with a big hammer going all the way around the edges till it starts moving. DO NOT HIT THE BACKING PLATE
2) Pull the drum off and put aside (or go get it surfaced)
3) Take pictures of all the angles top bottom and sides of both sides of the vehicle. Leave something there to reference which side is passenger which side is driver.
Heres the inside of my old drums:
Tools that you want to do this job(not including service manual):
Drum and springs off:
Strut and spring (goes from one shoe to the other on the top) I had a broken spring which i had to replace and was not included in the 1500 drum brake spring kit, i had to go buy a 2500 drum brake spring kit and steal those two springs.
Springs back on(note i put BRAKE GREASE on the spots where the metal ends of the shoes touch the backing plate and a little around the bolts to make taking it off later easy):
Drum back on:
Alright heres where it gets tricky. After you can get your drum to slide on and have verified all your springs are installed correctly like on the pictures you took. You should hit the shoes with some cleaner and slightly sand them to make sure no grease has come in contact with them. Then turn the adjuster wheel up until the wheel is slightly hard to turn, give the parking brake cable a couple tugs, then adjust again. Do this untill it turns decent, but has good resistance (doesn't just keep spinning).
Bolt your tires on. Torque them to spec and check your brakes.
Since I had to go find that broken spring I had let the system completely bleed out and had to bleed all the brake lines and refill.
Brand new brakes!
Special thanks to ZMAN for the quick spring help and all the Dodgeforum members to helping support all of our DIY projects!
DONE AND DONE
Last edited by TheycallmeLaramie; 08-15-2011 at 06:46 PM.