


Cracked Dash. My turn.


Thread Starter
|
Professional
Joined: Jun 2006
Posts: 132
Likes: 0
Here's the best I can do with pics.
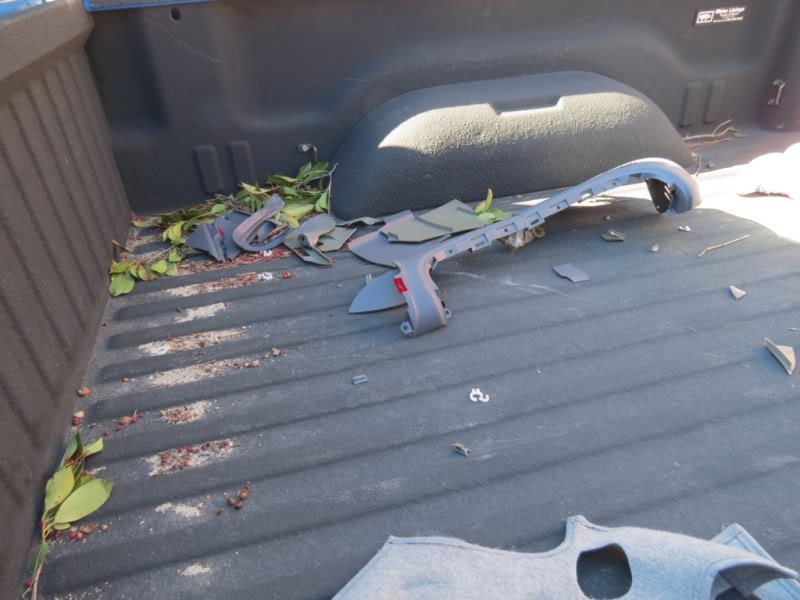
All pieces here came off over the past few weeks. I didn't break any of them purposely.
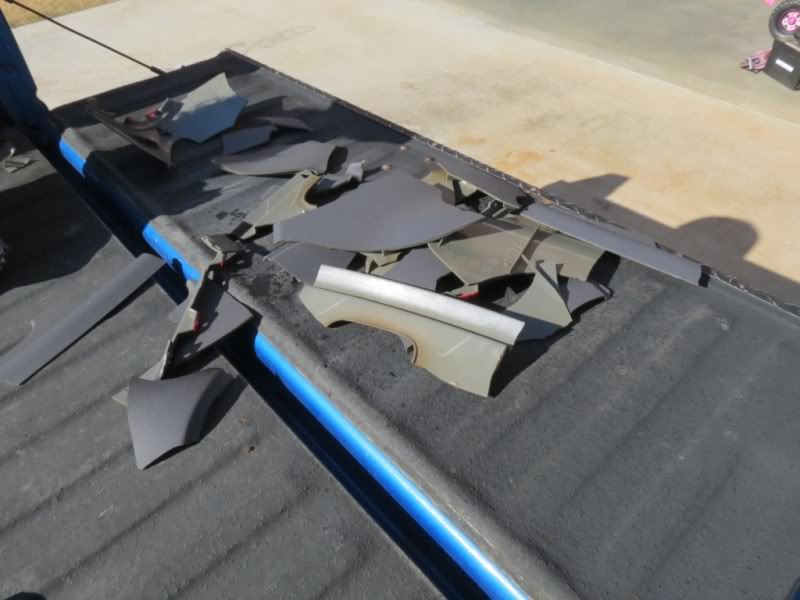
These pieces were all that was attached that I had to physically remove.
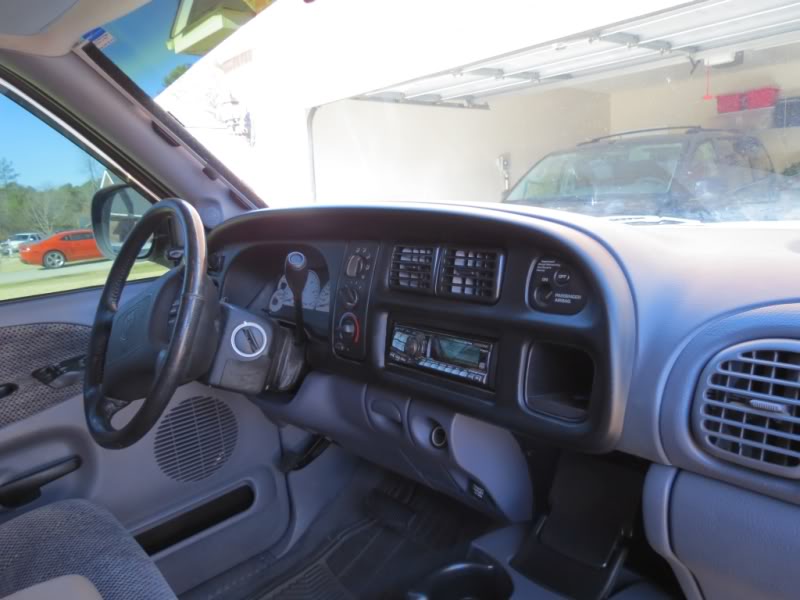
Here's the new dash installed. Best angle to show the color difference. It almost looks different in this pic but in person, you can't tell.
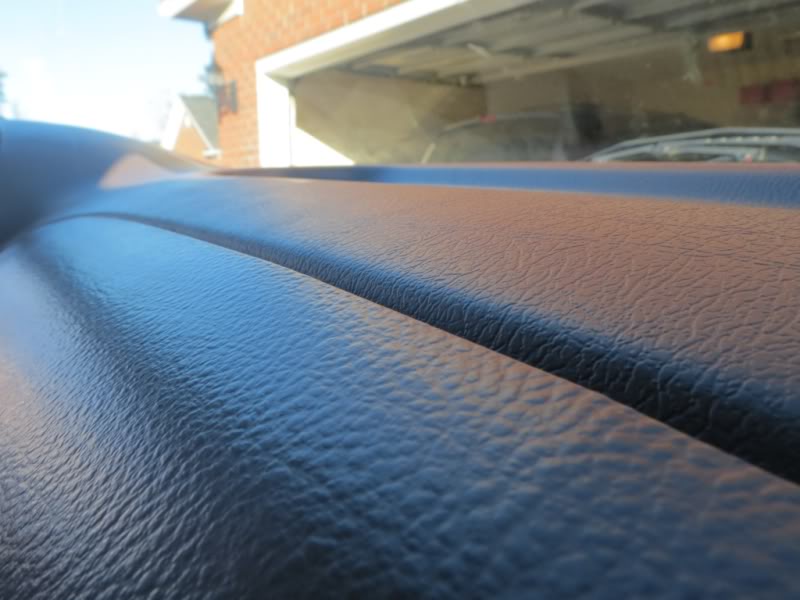
Here's one just to show texture comparison. The new dash does have a few lines in the top piece that I almost thought were scratches. It's just the pattern of the texture somehow makes a few random lines in the top. hard to explain but no big deal.
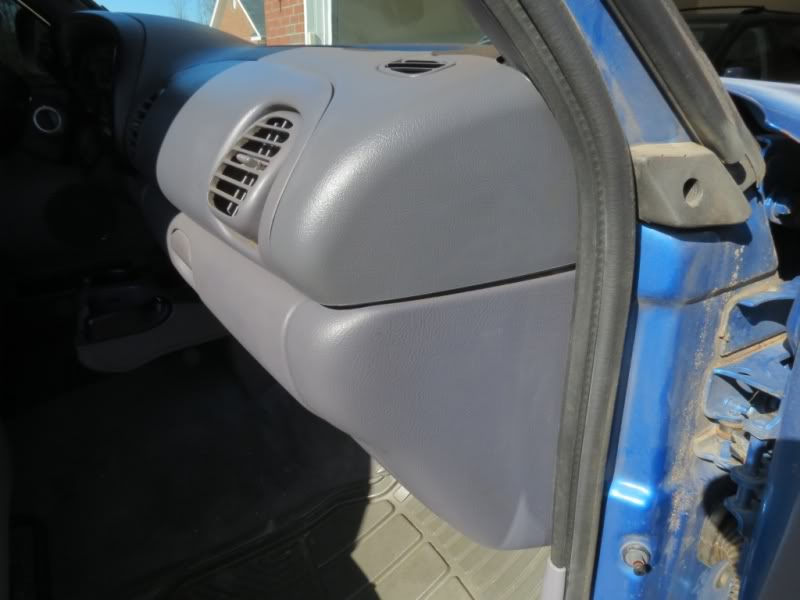
Overall shot to mostly show bezel. Looks great to me.
All pieces here came off over the past few weeks. I didn't break any of them purposely.
These pieces were all that was attached that I had to physically remove.
Here's the new dash installed. Best angle to show the color difference. It almost looks different in this pic but in person, you can't tell.
Here's one just to show texture comparison. The new dash does have a few lines in the top piece that I almost thought were scratches. It's just the pattern of the texture somehow makes a few random lines in the top. hard to explain but no big deal.
Overall shot to mostly show bezel. Looks great to me.
Legend
Joined: Jul 2011
Posts: 8,259
Likes: 4
From: Austin, TX
Color matching, whether in textiles, paint, print, ink or paint is bvery difficult. Your esisting compnents have some UV fade, which the new part does not. Ther is no way to get perfect. When I painted mine, there is a slight mismatch for the same reason. Paint code is based on new, and does not compenseate for age and sunlight damage. And the grain difference from the airbag and dash - mold differences and type of plastic.
Only thing matters is if it looks good to you and you are happy. I plan to paint over the lower dash ion my Ram when I get around to restoring the rest of interior - but that will be after I get the exterior completed.
It looks good to me! Good job.
Only thing matters is if it looks good to you and you are happy. I plan to paint over the lower dash ion my Ram when I get around to restoring the rest of interior - but that will be after I get the exterior completed.
It looks good to me! Good job.

Thread Starter
|
Professional
Joined: Jun 2006
Posts: 132
Likes: 0
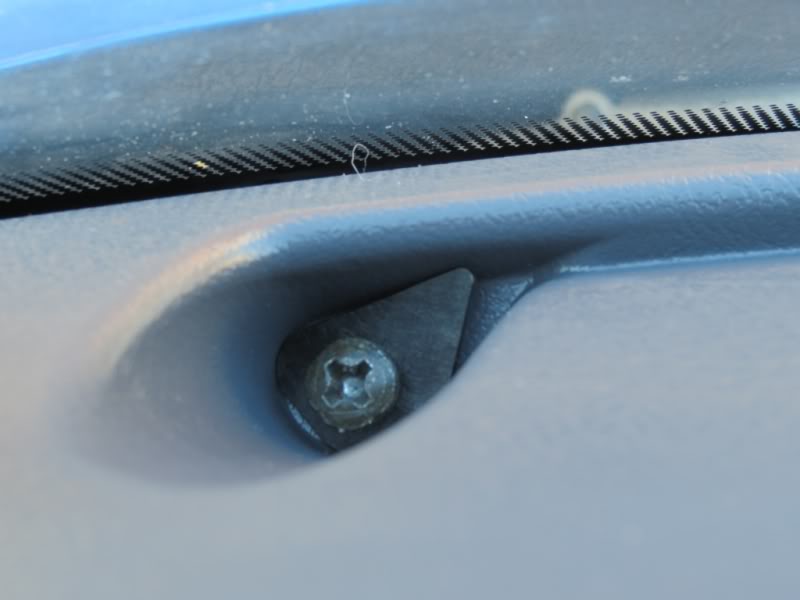
Here are some pics. Kinda glad I took them because I noticed one of them is crooked. Gonna straighten it up tomorrow.
They are used just as a washer would be. It goes between the screw and the new dash.
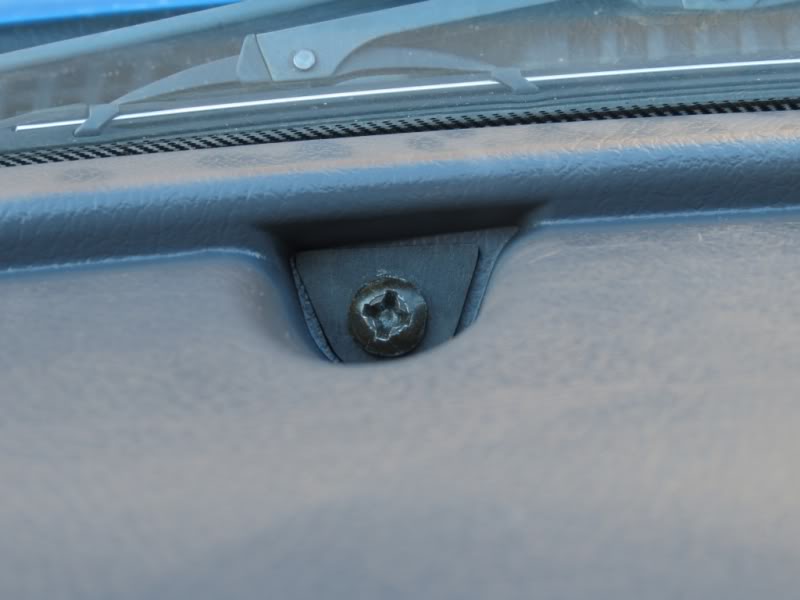
Here is the crooked one.
One thing I forgot is to put the VIN on. Looked at it real quick today and I don't think I can get my hand down far enough to put it where it should go.
They are used just as a washer would be. It goes between the screw and the new dash.
Here is the crooked one.
One thing I forgot is to put the VIN on. Looked at it real quick today and I don't think I can get my hand down far enough to put it where it should go.