


Cracked Dash Replacement (Busted more than Cracked)

Thread Starter
|
Legend
Joined: Jul 2011
Posts: 8,259
Likes: 4
From: Austin, TX
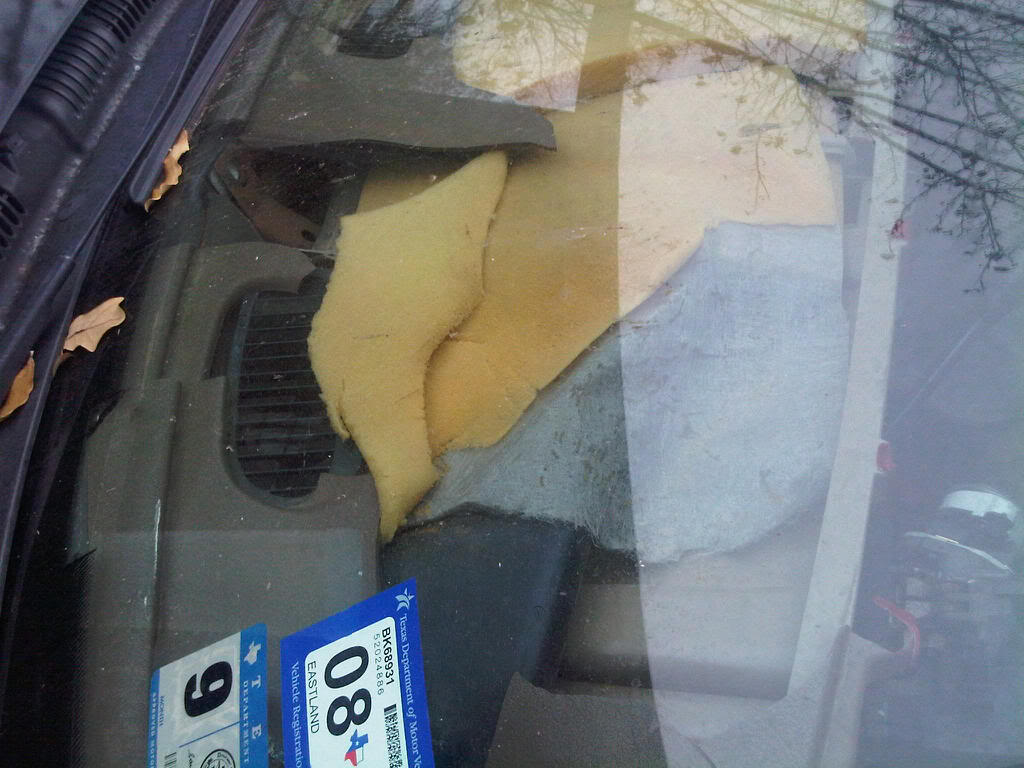
I have the all too common "cracked dash" or as I like to refer to it. "busted all to hell" dash.
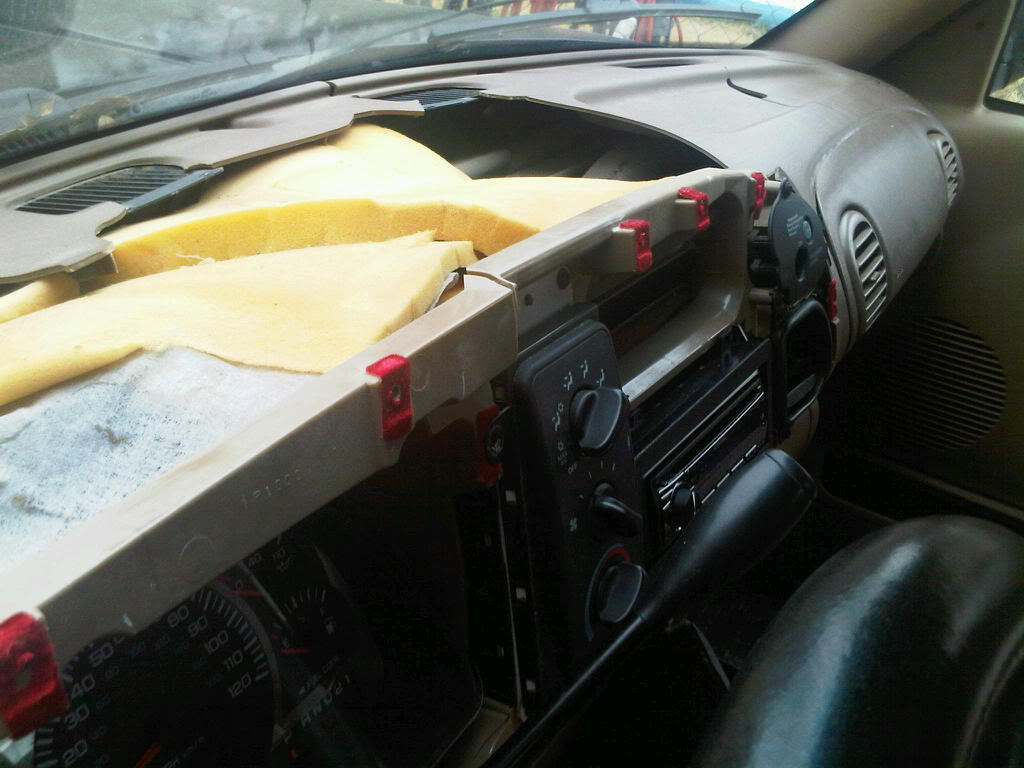
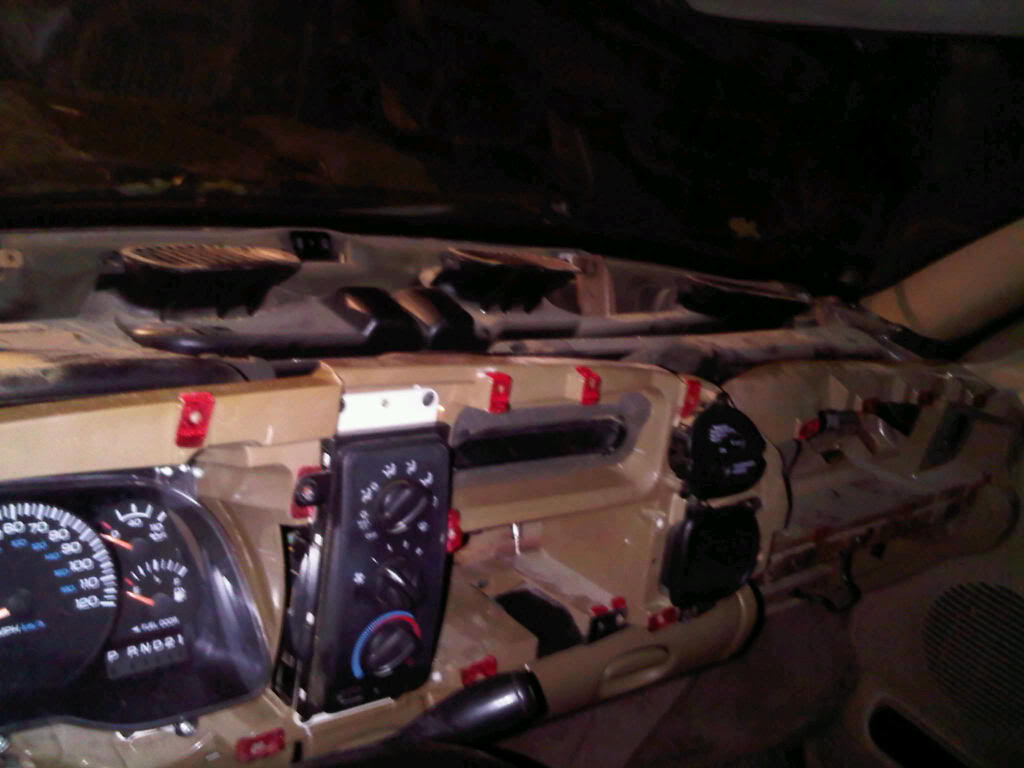
From the inside with the busted bezel removed as well:
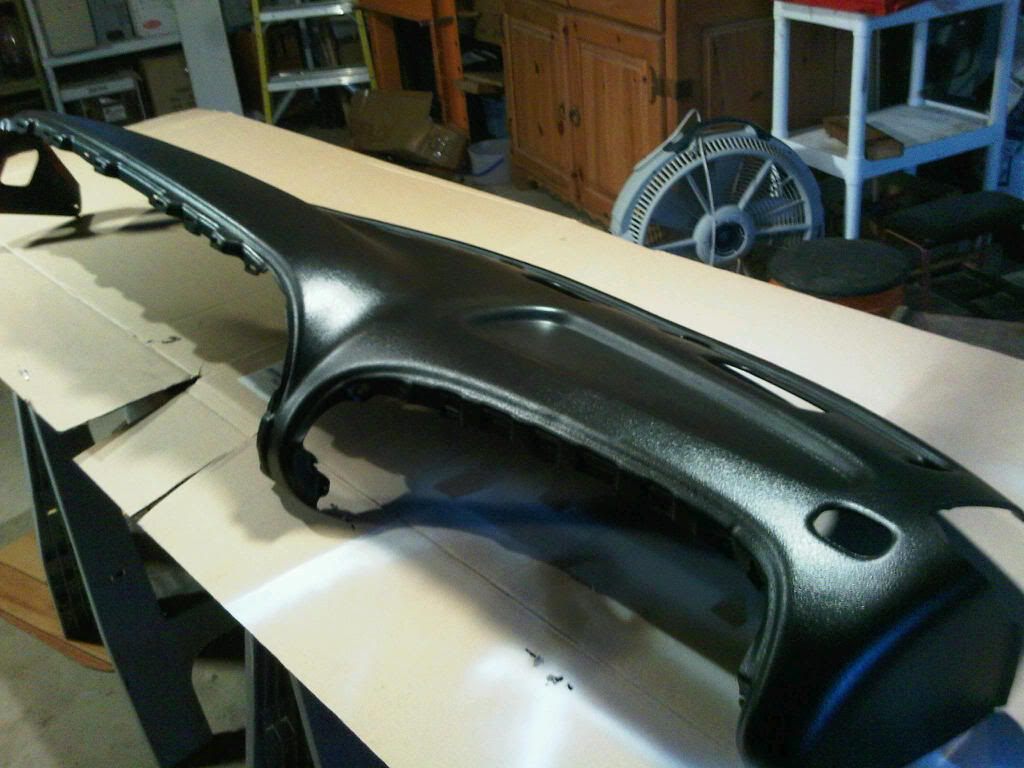
I decided to go with the replacement instead of the dash cap or skin. I bought it from E&K Bumper Fillers at http://sandkindustries.com/DASH.html. The downside, it only comes in black.
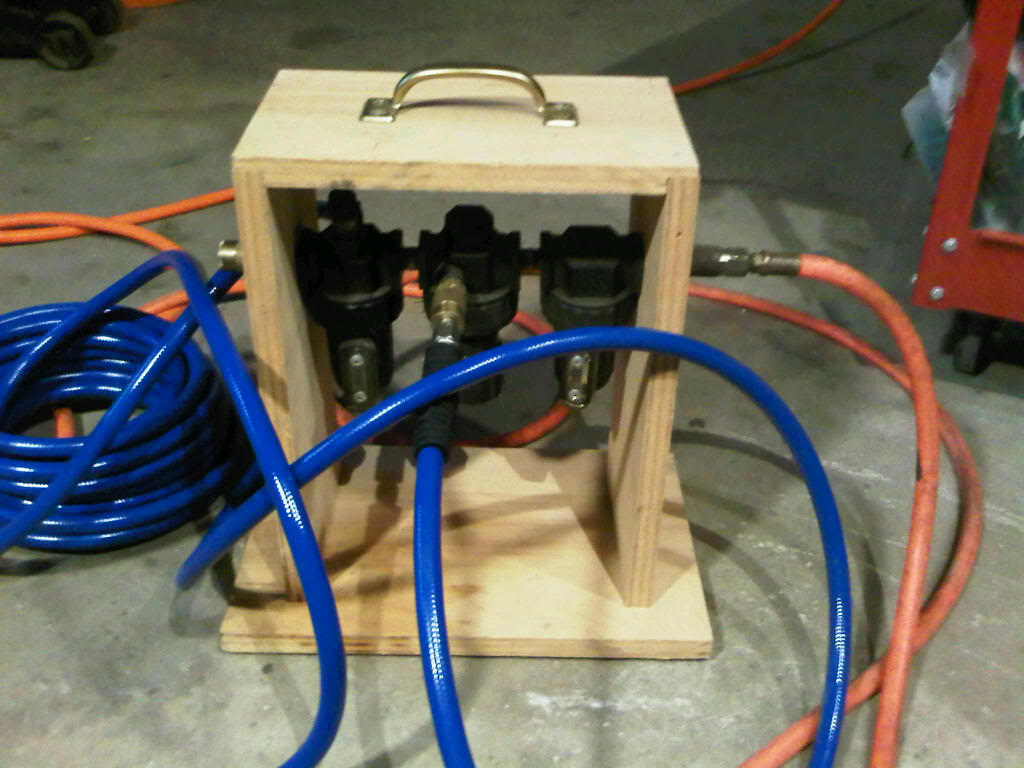
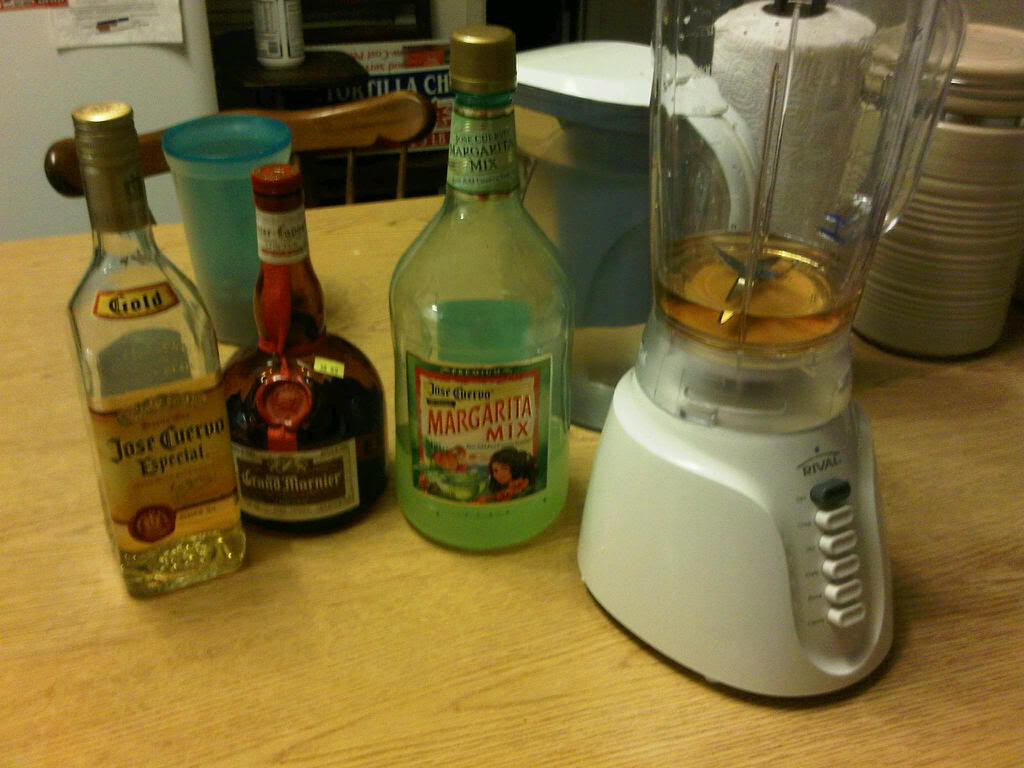
But this can be resolved with the correct paint and a few specialty items, like compressed air with drier (and any extras:
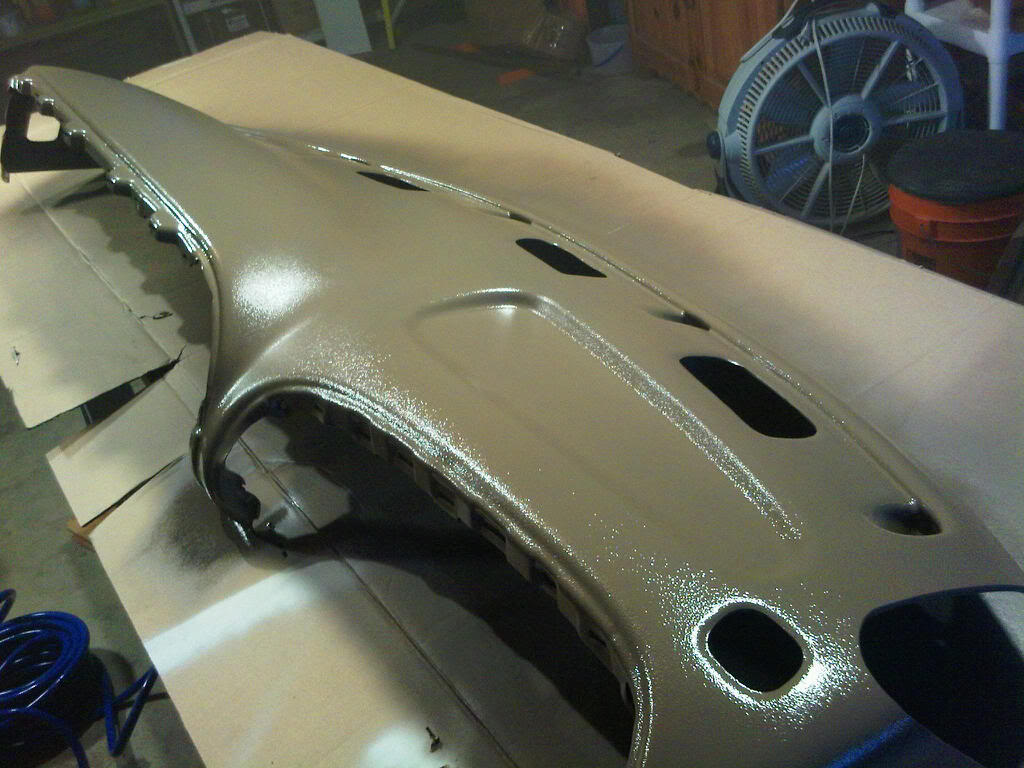
After paint:
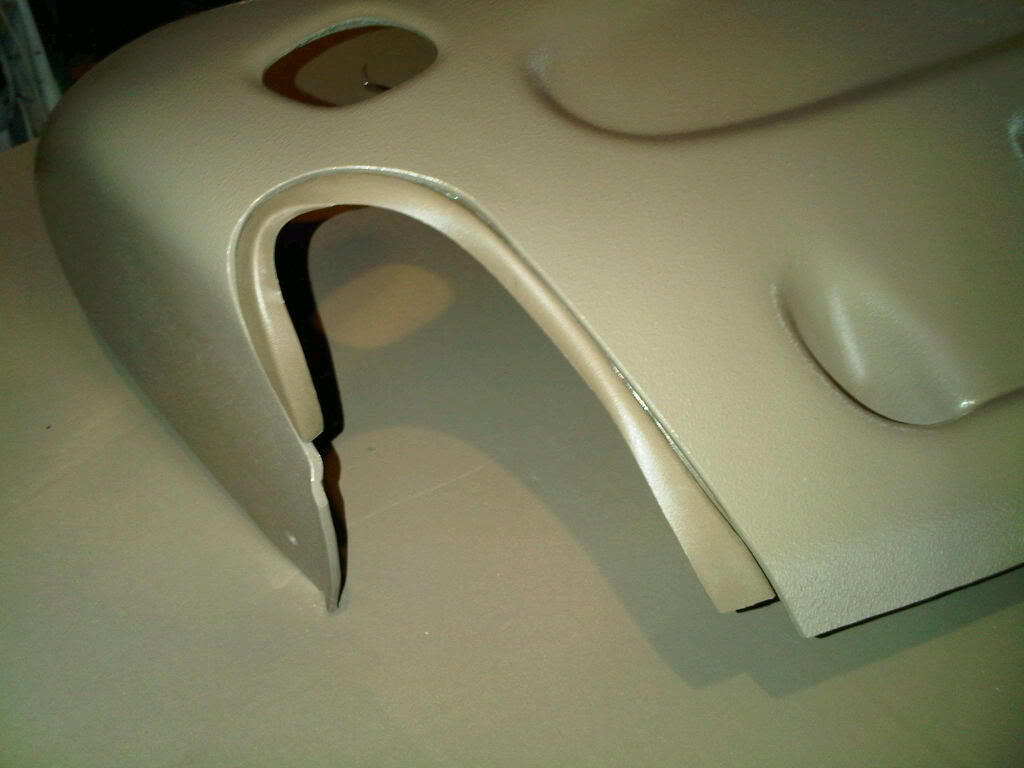
Don't forget to install A pillar seals:
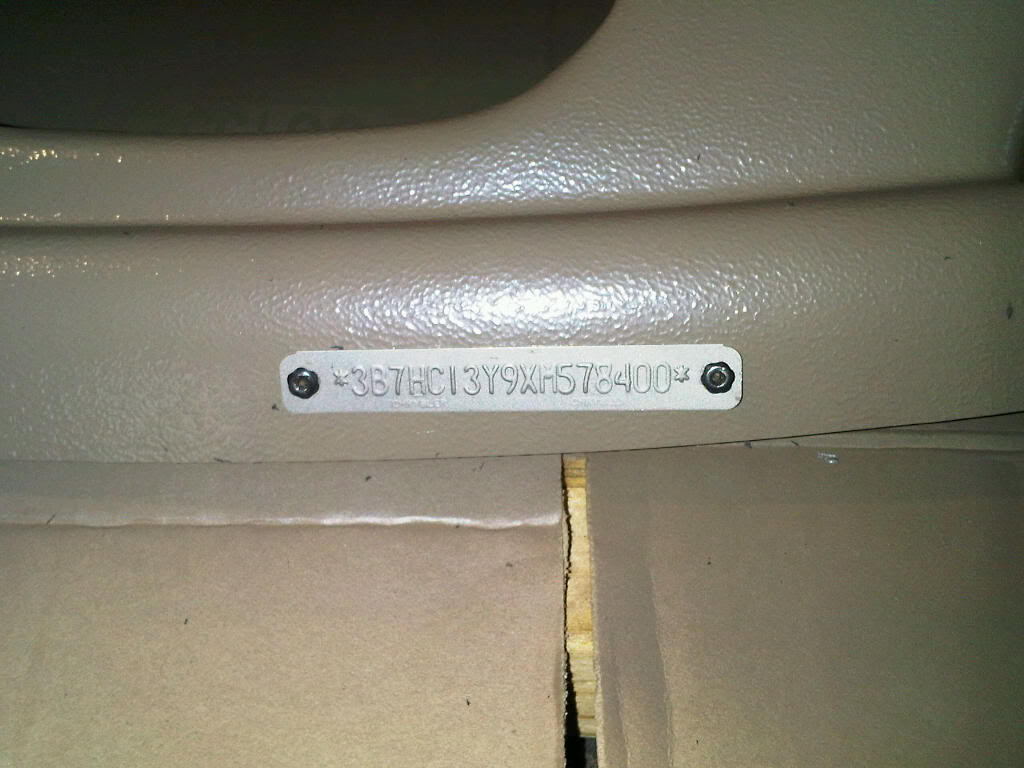
And I also installed the VIN plate to keep from having difficulty with a trooper somewhere:
From the inside with the busted bezel removed as well:
I decided to go with the replacement instead of the dash cap or skin. I bought it from E&K Bumper Fillers at http://sandkindustries.com/DASH.html. The downside, it only comes in black.
But this can be resolved with the correct paint and a few specialty items, like compressed air with drier (and any extras:
After paint:
Don't forget to install A pillar seals:
And I also installed the VIN plate to keep from having difficulty with a trooper somewhere:
Last edited by gdstock; Mar 17, 2012 at 11:49 PM.
Legend
Joined: Mar 2011
Posts: 8,914
Likes: 4
From: Fredericksburg, Virginia
I think the basic black would look good in my truck, it's a dark grey/black color anyways...
Looks good man
How much of the extra did you consume?
Edit: What are you doing for a bezel replacement?
Looks good man
How much of the extra did you consume?
Edit: What are you doing for a bezel replacement?
Last edited by stewie01; Nov 20, 2011 at 07:49 PM.
Thread Starter
|
Legend
Joined: Jul 2011
Posts: 8,259
Likes: 4
From: Austin, TX
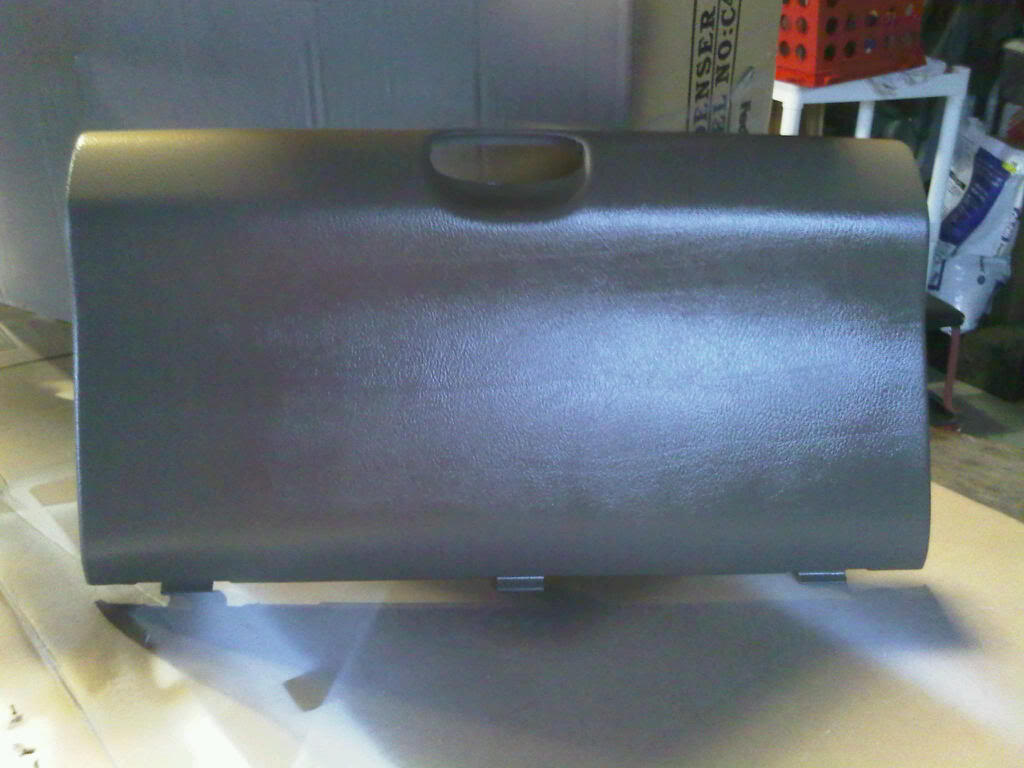
Glove box was also damaged. Moulded hinges were broken off. Dealer wanted over $400 for a new one. Picked one up from JY but all I could find was a dark gray. Since I had to paint dash anyway, this was not goning to be a problem. With primer:

Repainted:
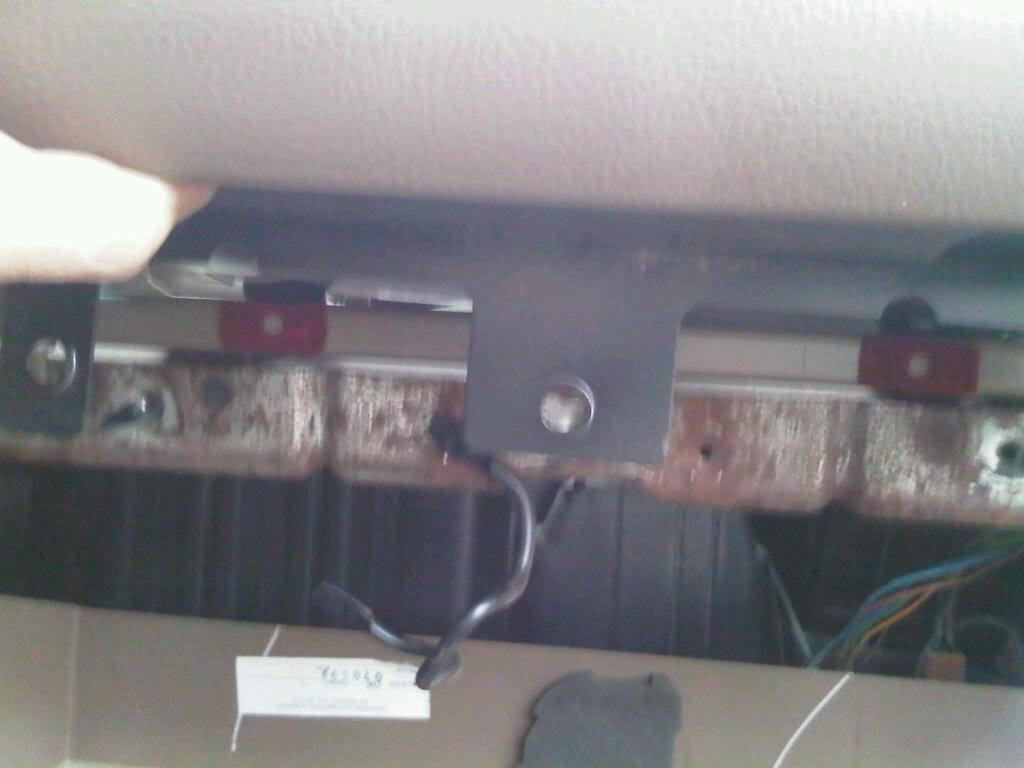
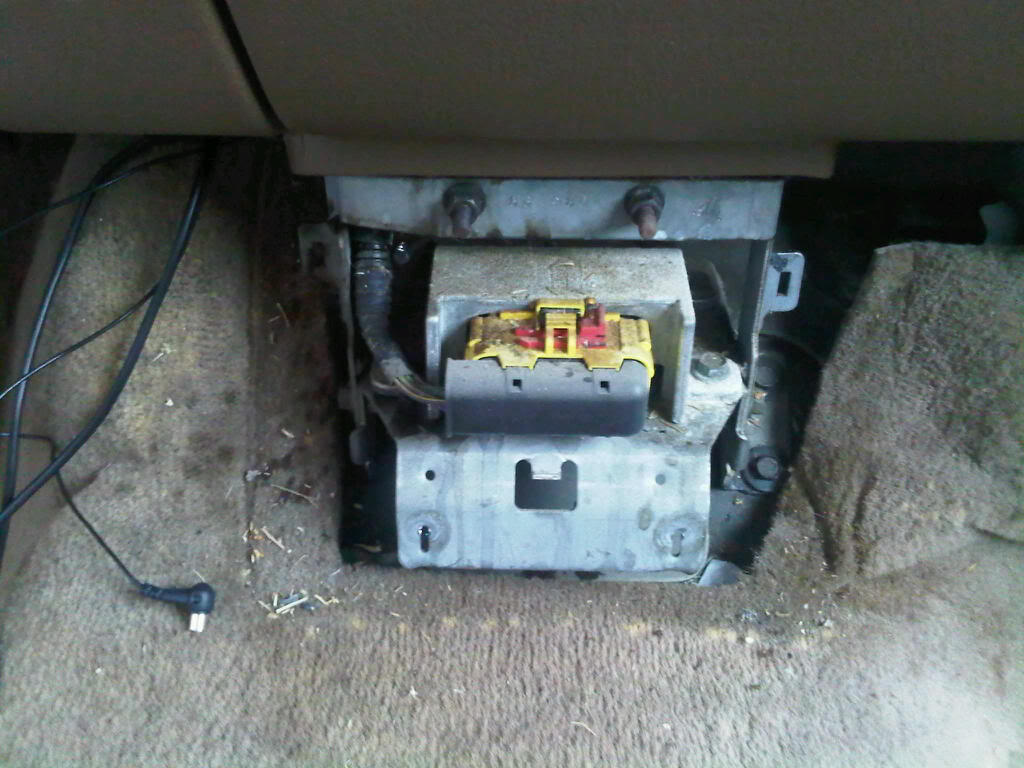
To drop dash down, the Airbag Module has to be disconnected (after disconnecting battery) and the mounting frame separated from dash.
Passenger Airbag needs to be removed from dash. There are 5 screws.:
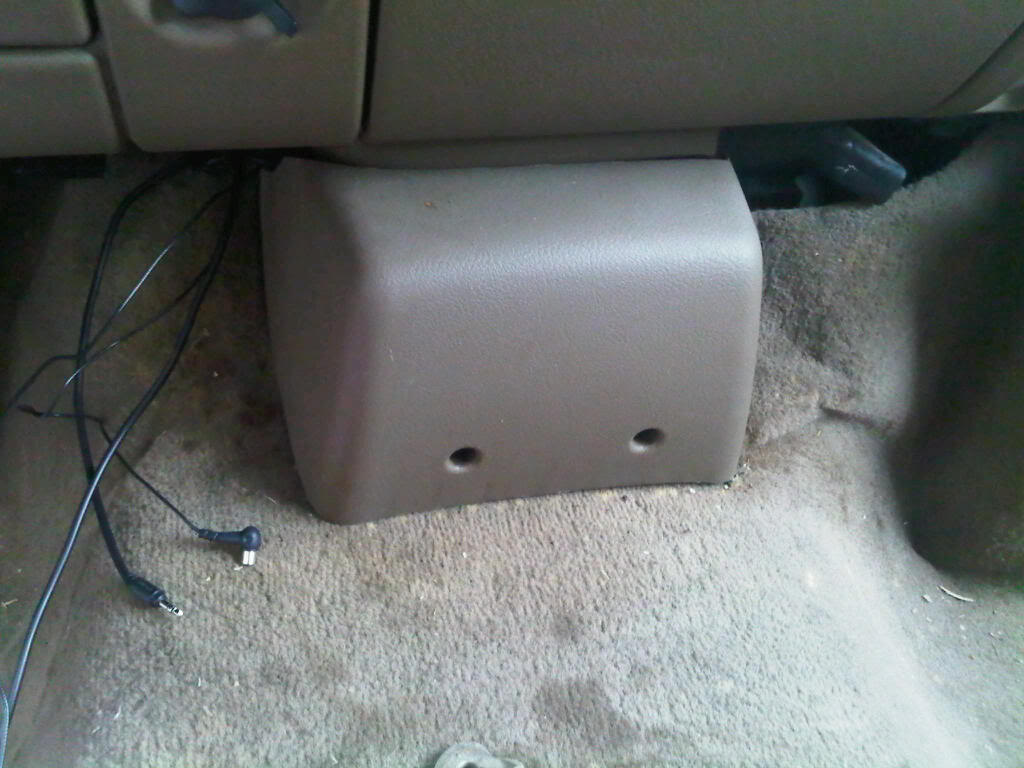
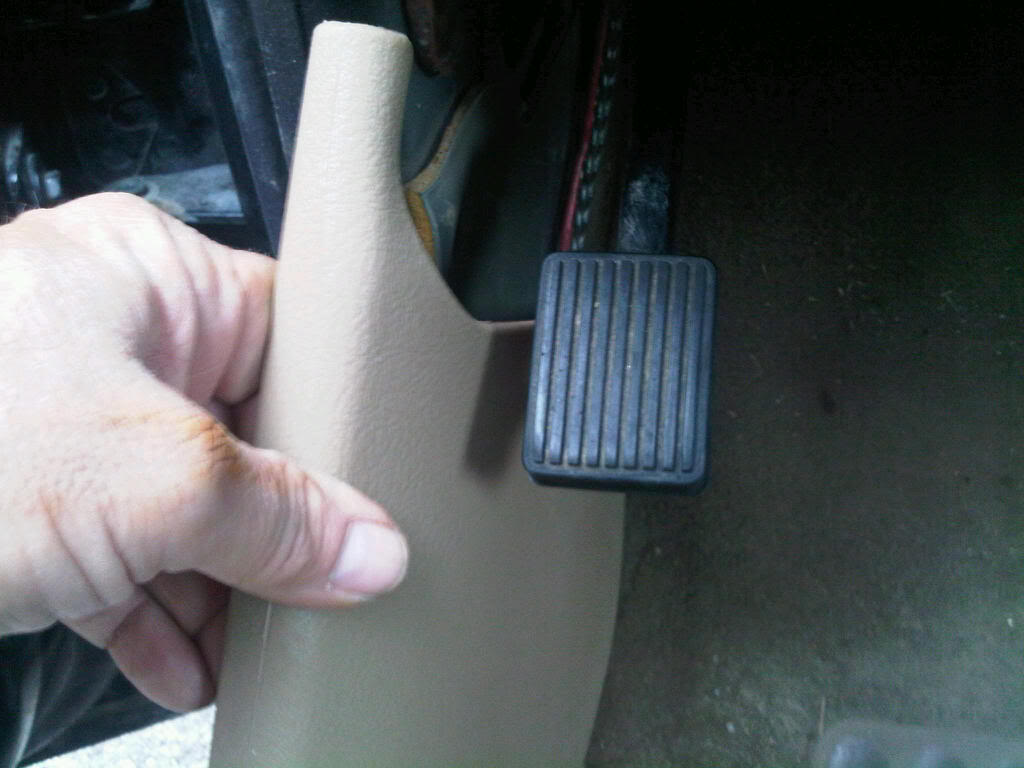
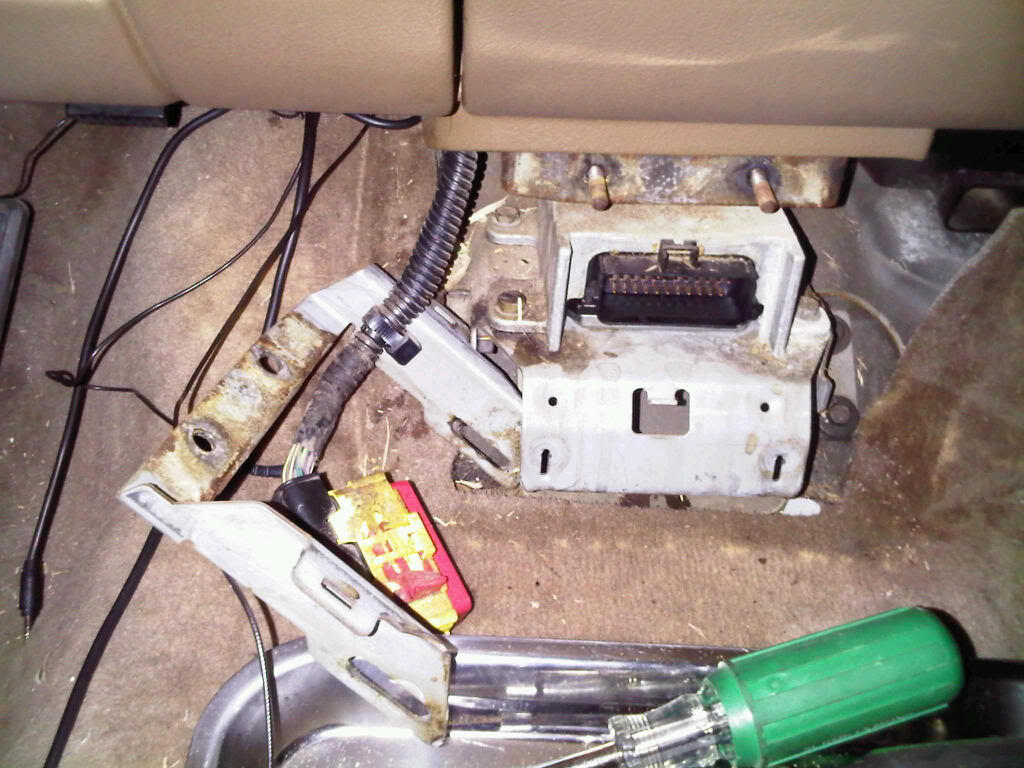
Knee blocker needs to come out:
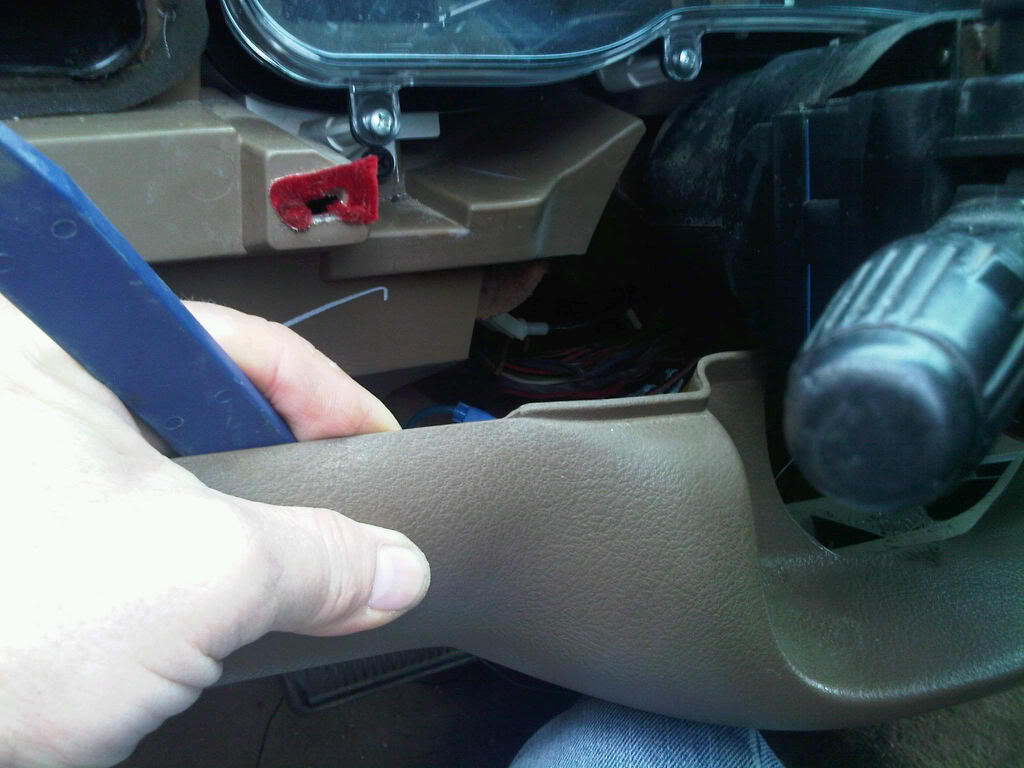
These kick panels on each side just pop out:
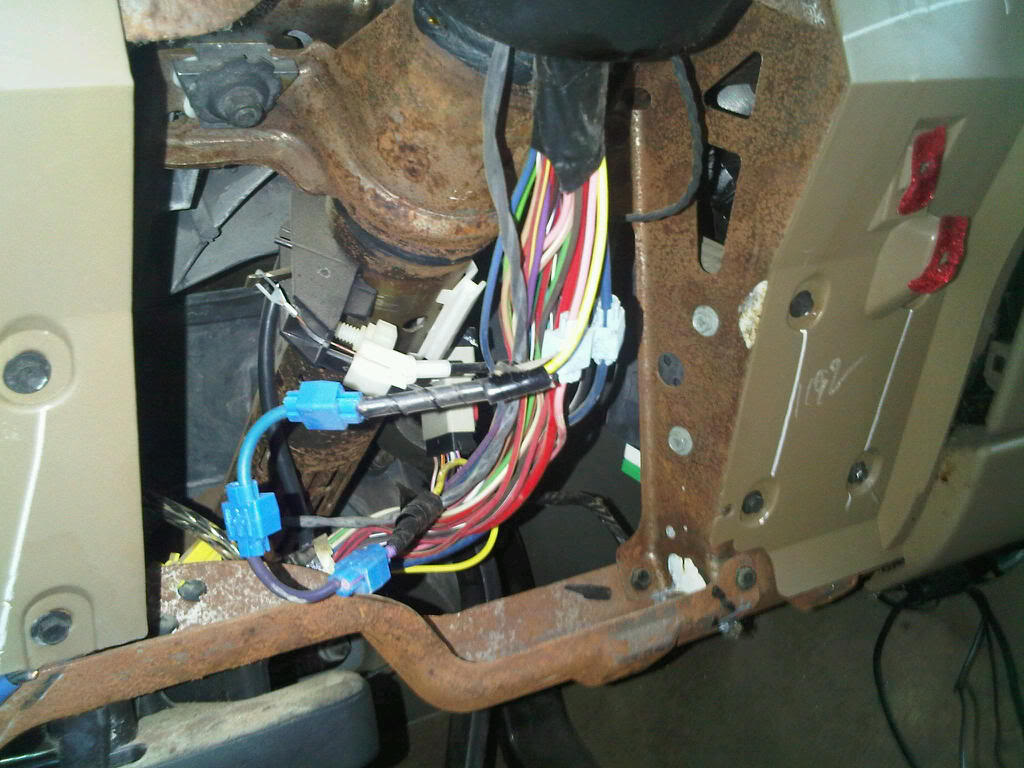
With knee blocker out, PRND21 indicator is disconnected and two bolts to removed to allow steering column to drop down:
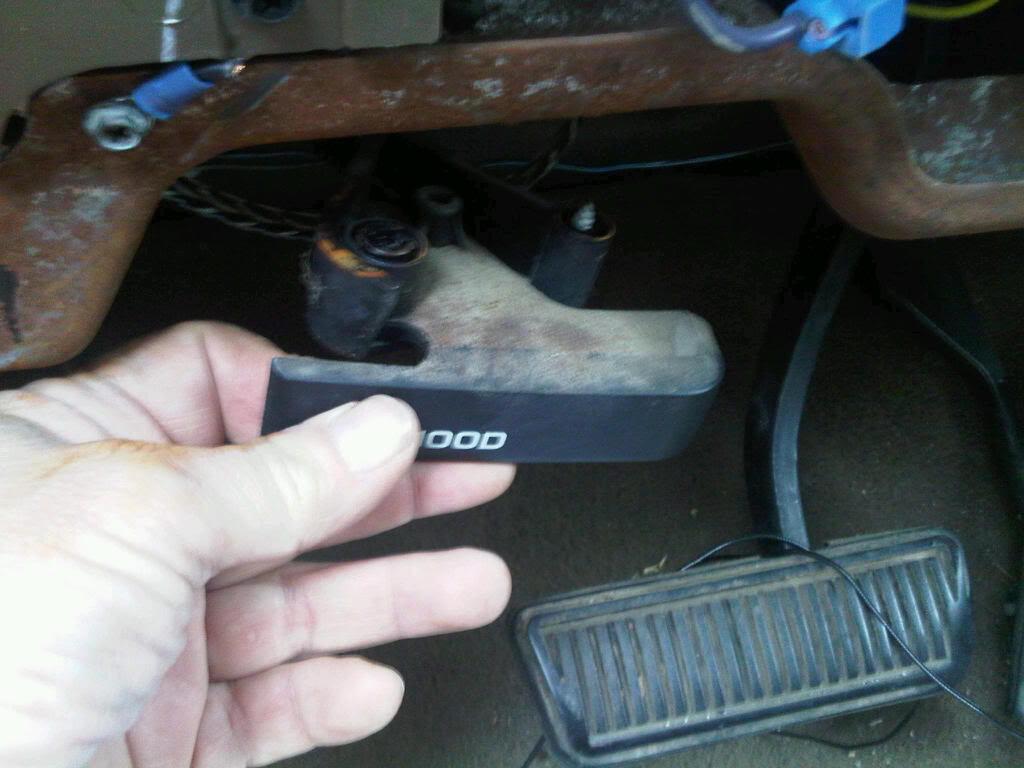
Two screws to remove parking hood lever:
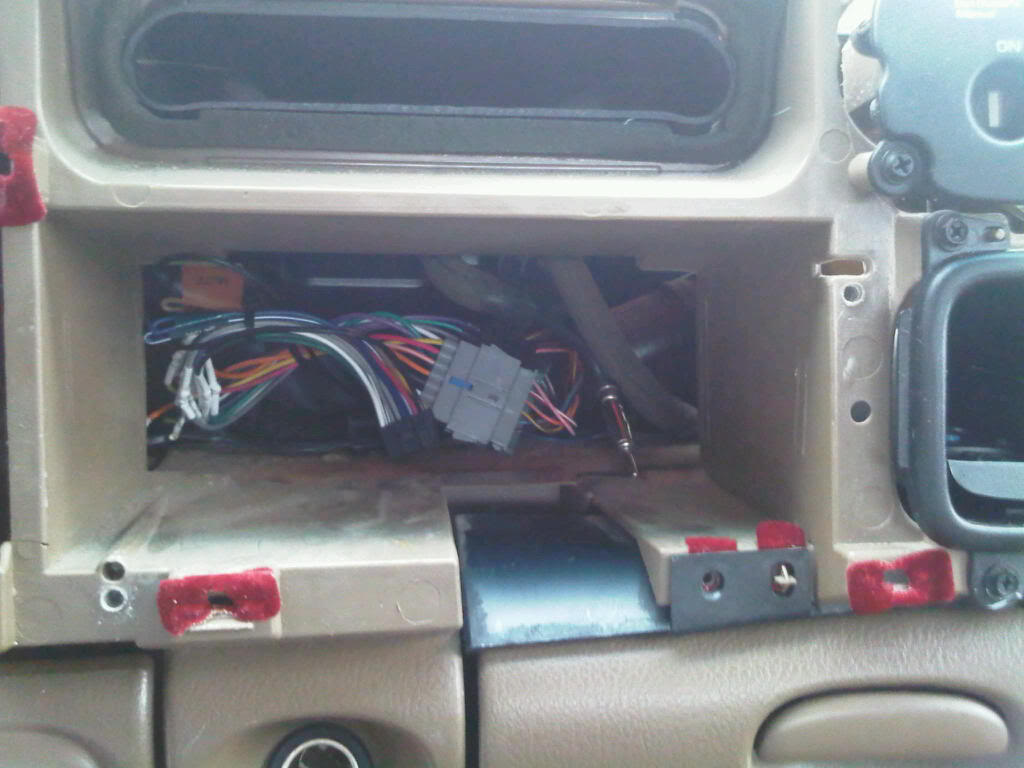
Radio removed:
Repainted:
To drop dash down, the Airbag Module has to be disconnected (after disconnecting battery) and the mounting frame separated from dash.
Passenger Airbag needs to be removed from dash. There are 5 screws.:
Knee blocker needs to come out:
These kick panels on each side just pop out:
With knee blocker out, PRND21 indicator is disconnected and two bolts to removed to allow steering column to drop down:
Two screws to remove parking hood lever:
Radio removed:
Thread Starter
|
Legend
Joined: Jul 2011
Posts: 8,259
Likes: 4
From: Austin, TX
What is meaning of word "extra" and who can count how muuuch??? It took a couple juet to get the courage to tackle this!
I bought a used bezel on e_bay for $45.00 about a month ago. One little scratch in it and I think I can glaze and paint.
There have been a number of threads about the covers and replacement dash panels but I never saw one with photos to show me which way may be best. As you can tell, my original dash was so busted up there wasn't much left to attach a skin on top of, so I decided a full replacement. Instructions in manual and a three year old post discuss removing the entire unti, but I did not even loosen the lower bolts that would require holding dash up somehow. With bolts tight, I was still able to pull the top back enough to get old dash out.
Last edited by gdstock; Nov 20, 2011 at 08:08 PM.
Legend
Joined: Mar 2011
Posts: 8,914
Likes: 4
From: Fredericksburg, Virginia
You've got more courage then I do
But for real, looks good.
Thread Starter
|
Legend
Joined: Jul 2011
Posts: 8,259
Likes: 4
From: Austin, TX
I know - who can count? No such thing as "extra" when it comes to ritas! That's almost like "too much fun!"
Last edited by gdstock; Nov 20, 2011 at 08:34 PM.
Thread Starter
|
Legend
Joined: Jul 2011
Posts: 8,259
Likes: 4
From: Austin, TX
I missed this photo. The two nuts at the top need to come off:
Dash removed:
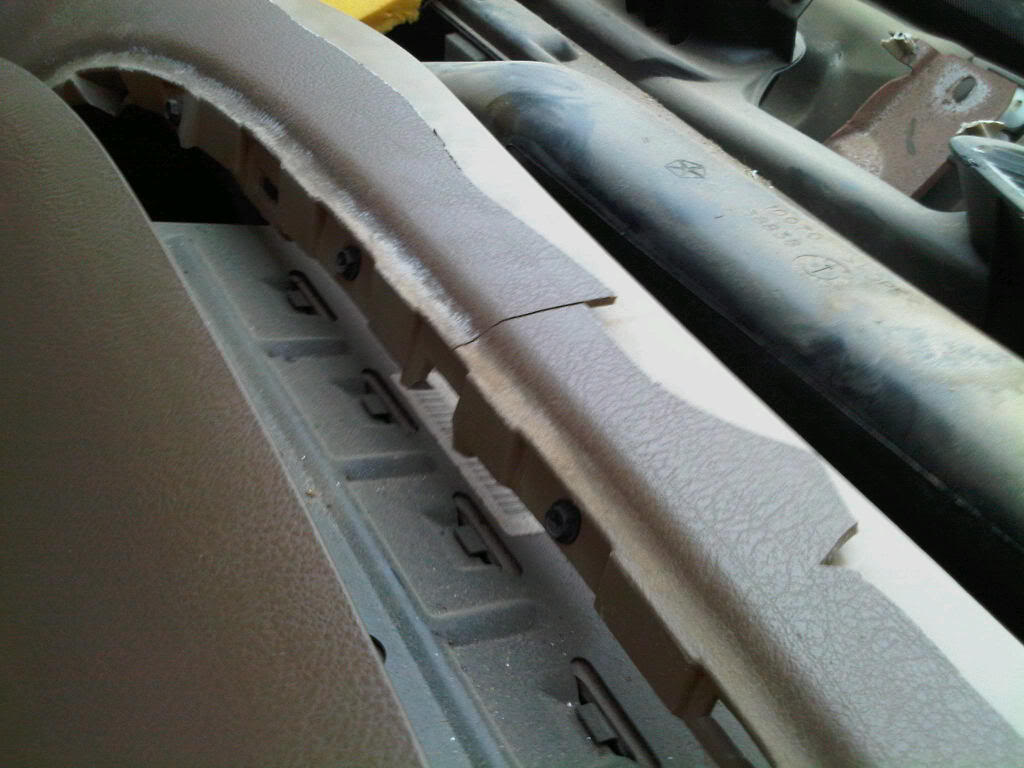
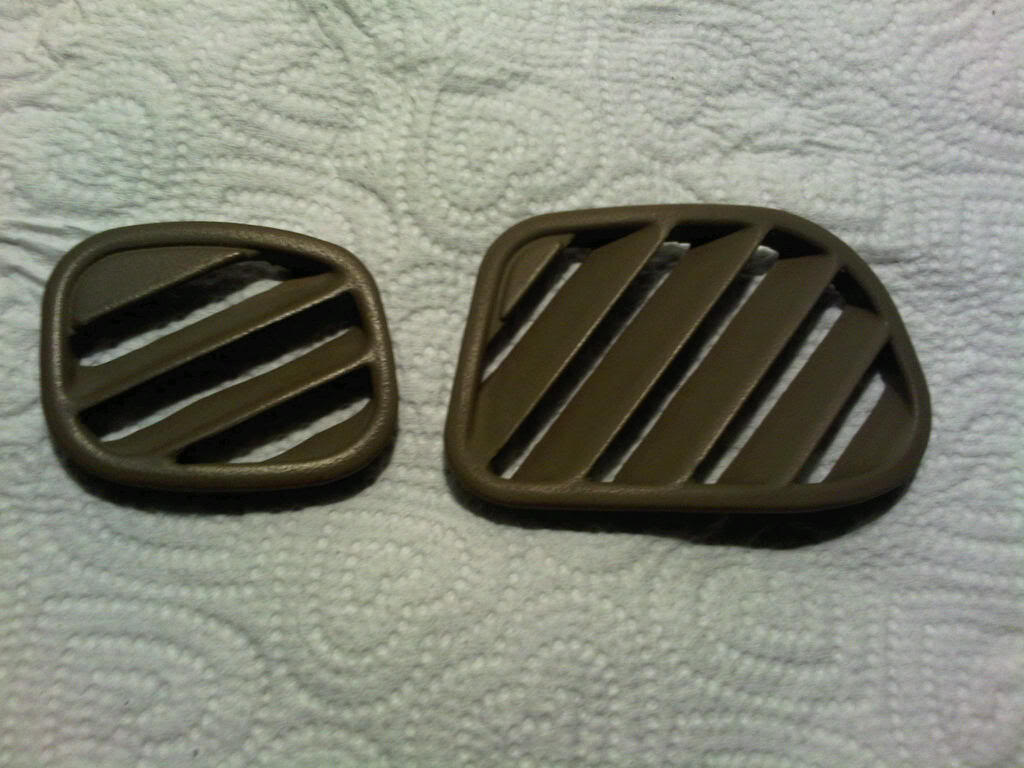
Remove these pieces:

And don't forget to take these out of old dash to install in new dash:
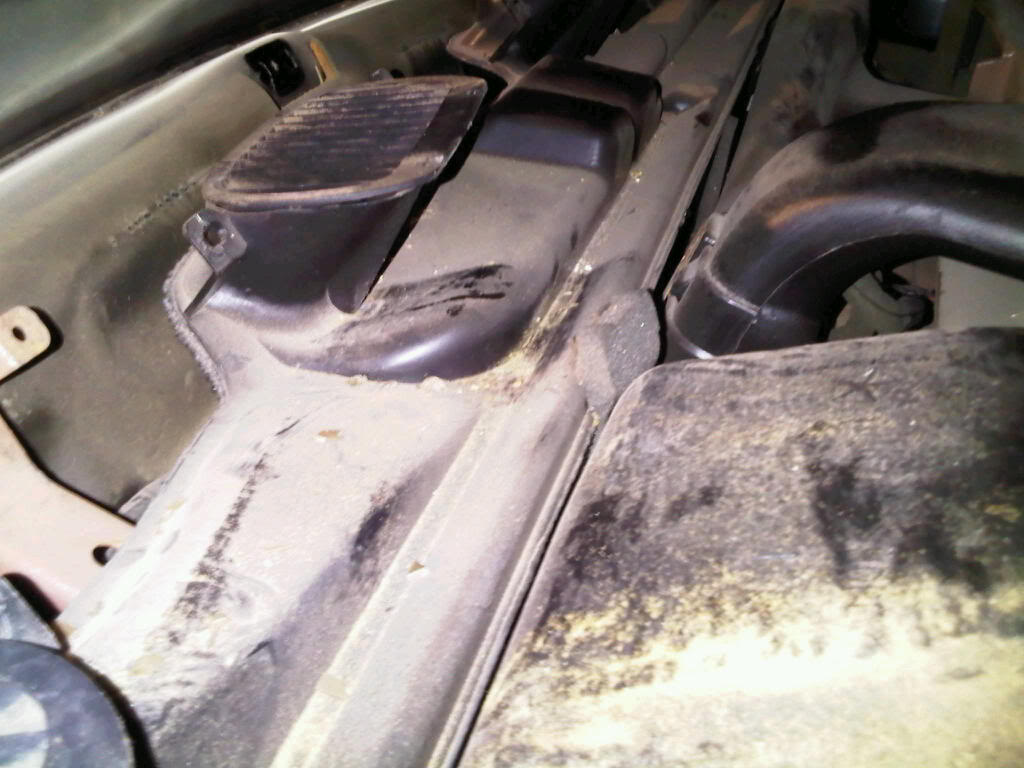
Stopping point for today. Getting dark and a little chilly. Gotta blow all the garbage out tomorrow and clean out air contitioning ducts. Lots of dust and trash inside.
Dash removed:
Remove these pieces:
And don't forget to take these out of old dash to install in new dash:
Stopping point for today. Getting dark and a little chilly. Gotta blow all the garbage out tomorrow and clean out air contitioning ducts. Lots of dust and trash inside.
Trending Topics

Thread Starter
|
Legend
Joined: Jul 2011
Posts: 8,259
Likes: 4
From: Austin, TX
VIN plate just has two rivets. I just broke old plastic away and drilled two hols slighly smaller than flared end of rivet in new dash. I place a 1/4" box end wrenc below rivet, and used long nosed pliers to compress and force rivet into holes. Small dab of clear rtv in center to make sure it would stay in the event rivet process went south. New plastic is thick and not near as brittle as old dash, so it popped in rather easily.