
DIY front spring/spacer install
#1
 07-25-2007, 09:58 AM


this DIY writeup was done on a 3rd gen 2500 4x4, 2nd gen 4x4's will be slightly different where noted in the writeup...
jack up the front & support with jackstands on the frame so the front end will be free to move remove the front tires
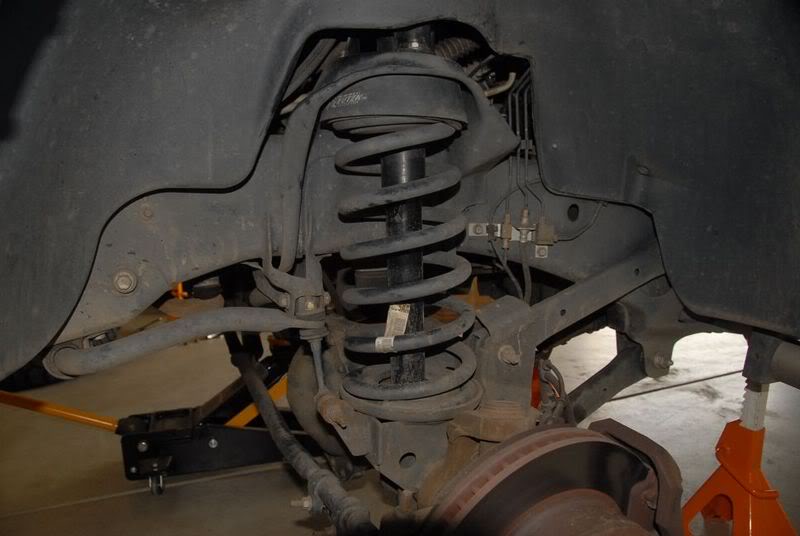
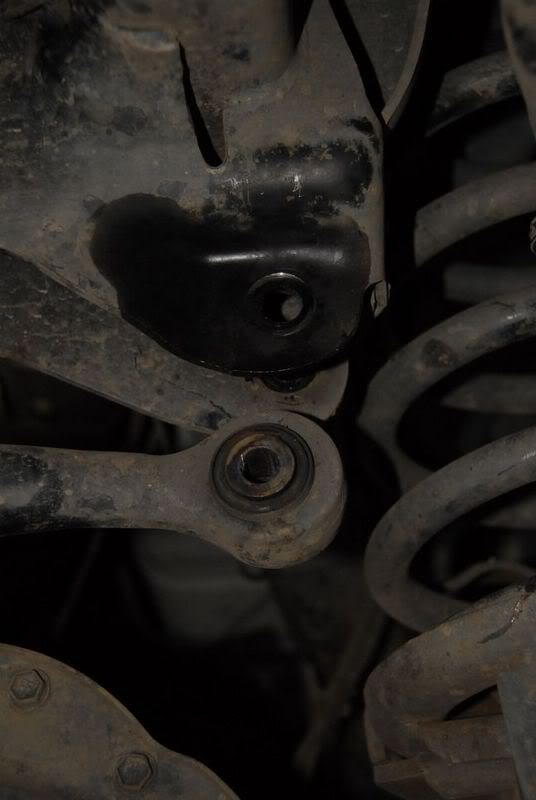
this is what your working with... I had spacers installed and went to a spring. the steps to swap/add are the same.
support the axle with jack in the center
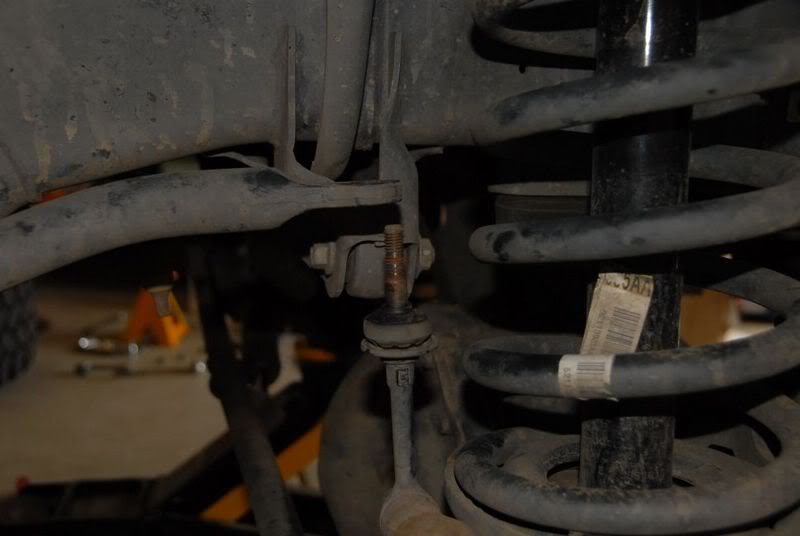
unbolt the swaybar ends
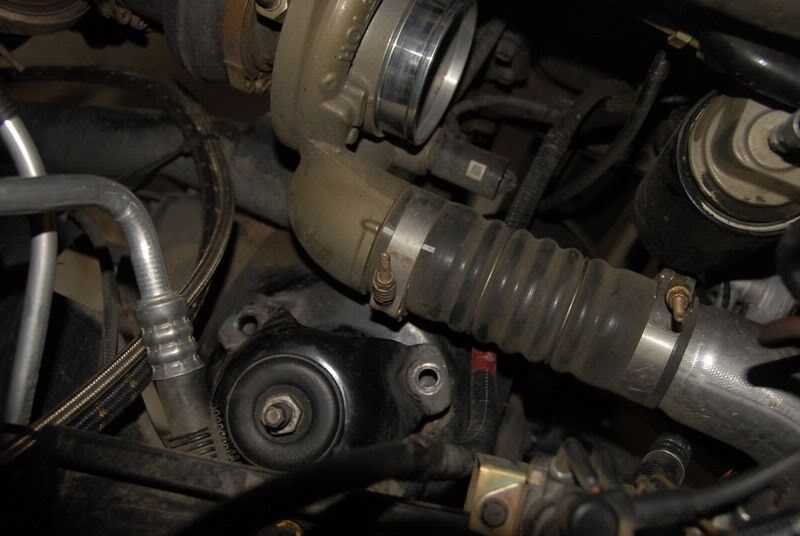
remove shocks & shock towers
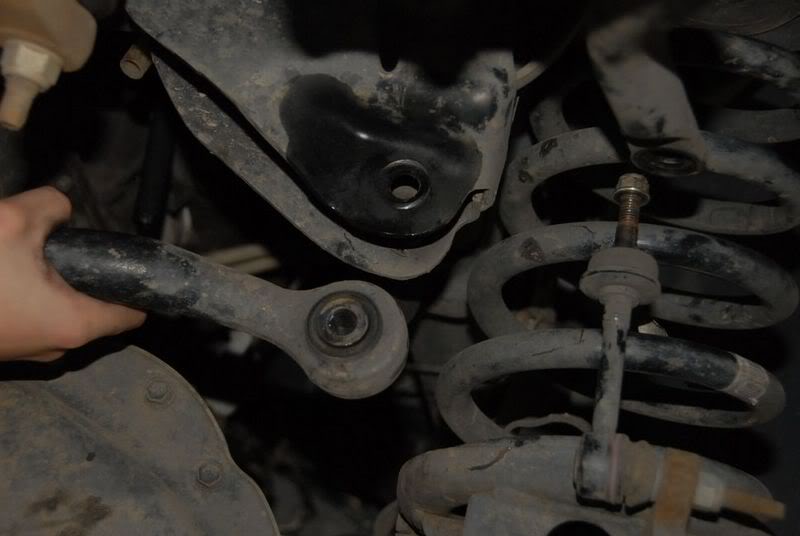
unbolt the frame end of the tracbar (drivers side)
2nd gen trucks will unbolt the passenger side.
now lower the axle all the way.
move the jack to one side of the axle and lift enough to wiggle the opposite side spring out (should pretty much just fall out at this point)
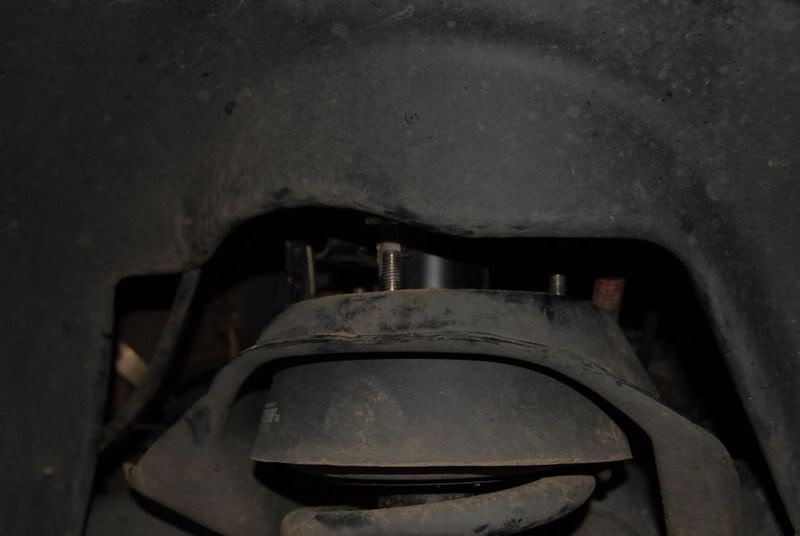
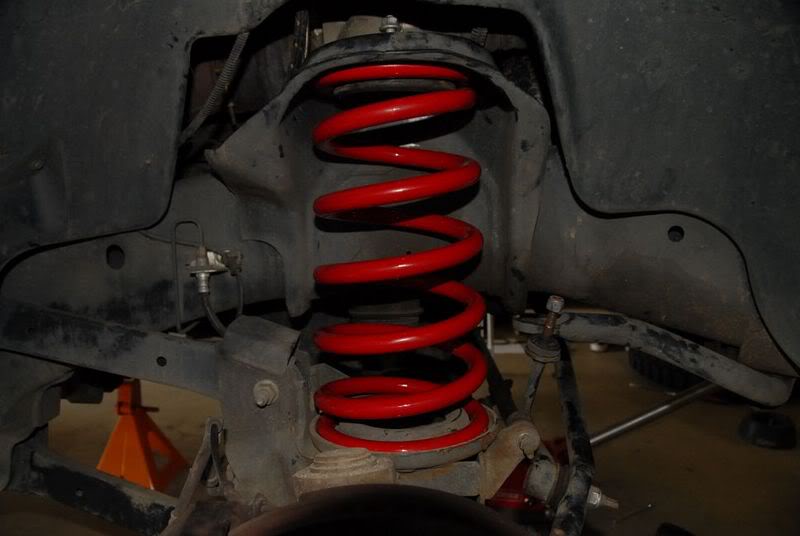
install spacer or new spring
Make sure the top rubber spacer is installed correctly before installing the spring.
move the jack over to the other side & repeat...
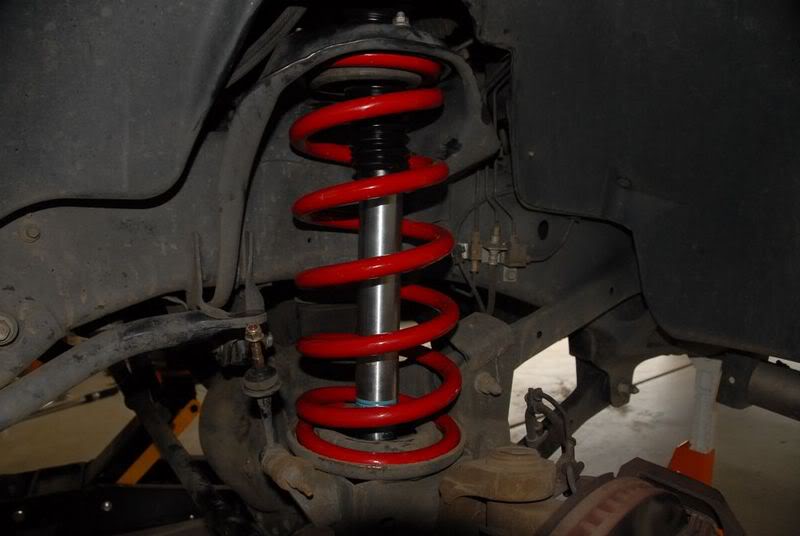
once springs/spacers are installed then reinstall shocks
connect the tracbar... easiest thing to do is jack up theopposite side of the axle and let the bar move into place, then bolt it in.
check your manual for the torque specs.
reconnect the swaybar
reinstall the shocks & towers
remount the wheels
make sure everything is torqued down to spec and your done
jack up the front & support with jackstands on the frame so the front end will be free to move remove the front tires
this is what your working with... I had spacers installed and went to a spring. the steps to swap/add are the same.
support the axle with jack in the center
unbolt the swaybar ends
remove shocks & shock towers
unbolt the frame end of the tracbar (drivers side)
2nd gen trucks will unbolt the passenger side.
now lower the axle all the way.
move the jack to one side of the axle and lift enough to wiggle the opposite side spring out (should pretty much just fall out at this point)
install spacer or new spring
Make sure the top rubber spacer is installed correctly before installing the spring.
move the jack over to the other side & repeat...
once springs/spacers are installed then reinstall shocks
connect the tracbar... easiest thing to do is jack up theopposite side of the axle and let the bar move into place, then bolt it in.
check your manual for the torque specs.
reconnect the swaybar
reinstall the shocks & towers
remount the wheels
make sure everything is torqued down to spec and your done