

Differential Fluid Change Tutorial

Thread Starter
|
Record Breaker
Joined: May 2007
Posts: 1,854
Likes: 2
From: Oceanside, CA
Heres a quick tut for changing out your differential fluid. Its not hard at all. So now you dont have an excuse to not do this at the recommended intervals.
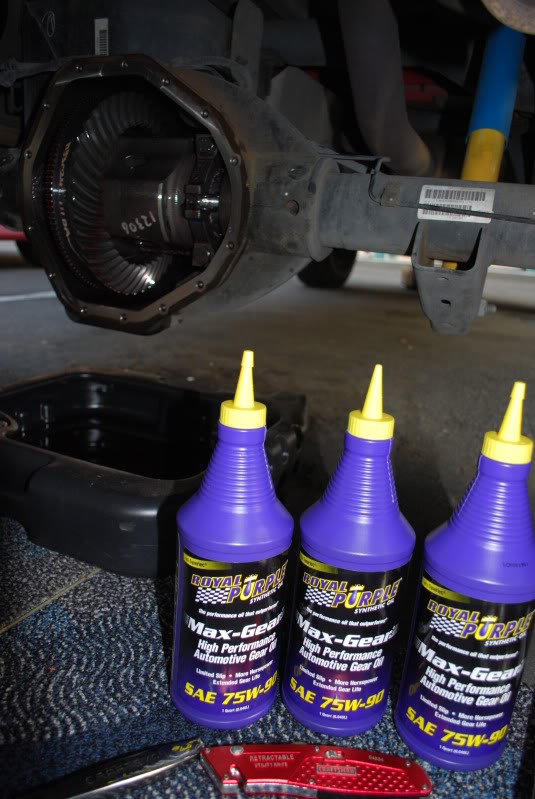
Step #1 Gather proper tools and equipment.
You will need a 3/8" drive socket set, enough diff fluid of the proper weight, an oil pan, bucket, or something to catch the old fluid in, and some sort of heavy duty cleaner or degreaser (i used brake parts cleaner)
you might also need some RTV if you dont have a gasket on your cover.
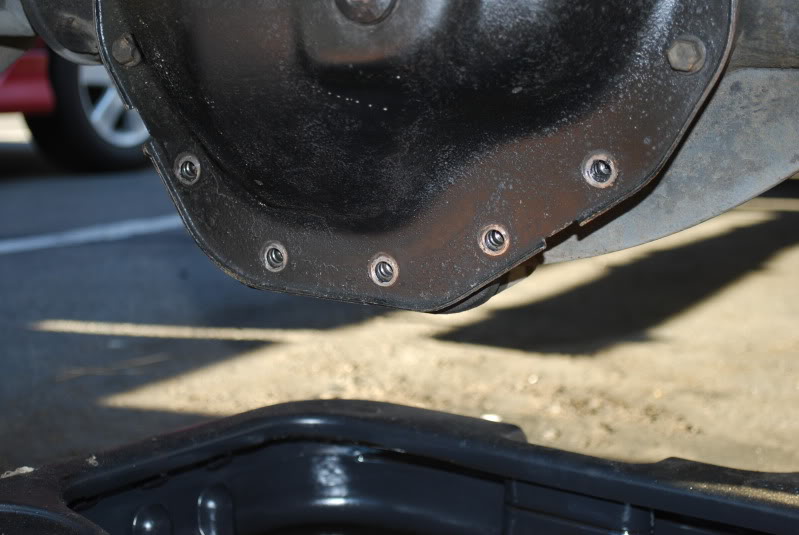
Step # 2 Place drip pan under Diff, and start removing Bolts
You need to remove the bolts starting from the bottom and work your way up. This will allow the fluid to start draining without making a huge mess.
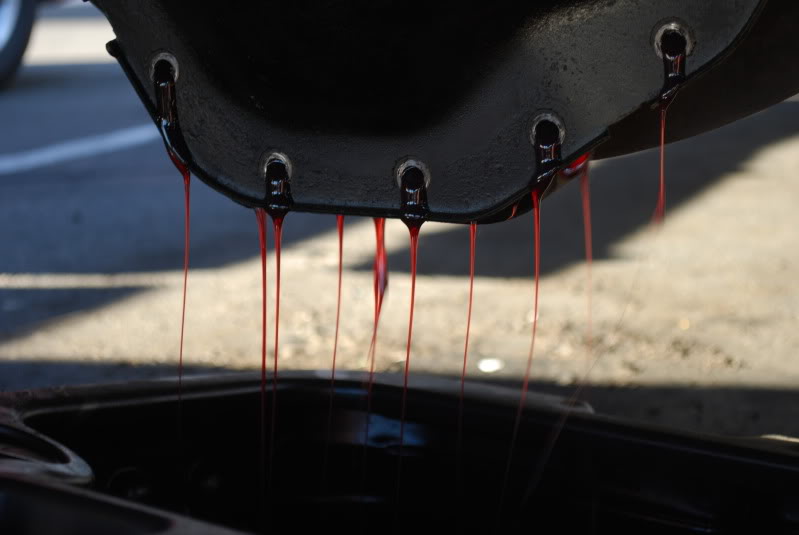

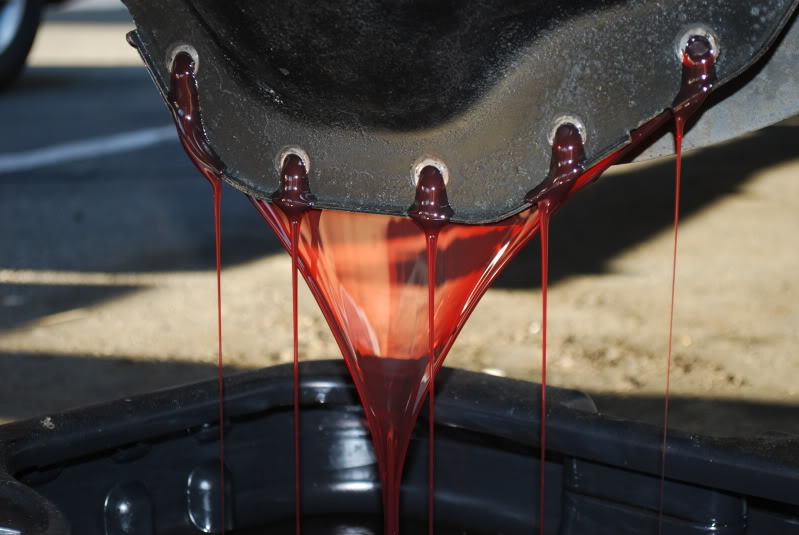
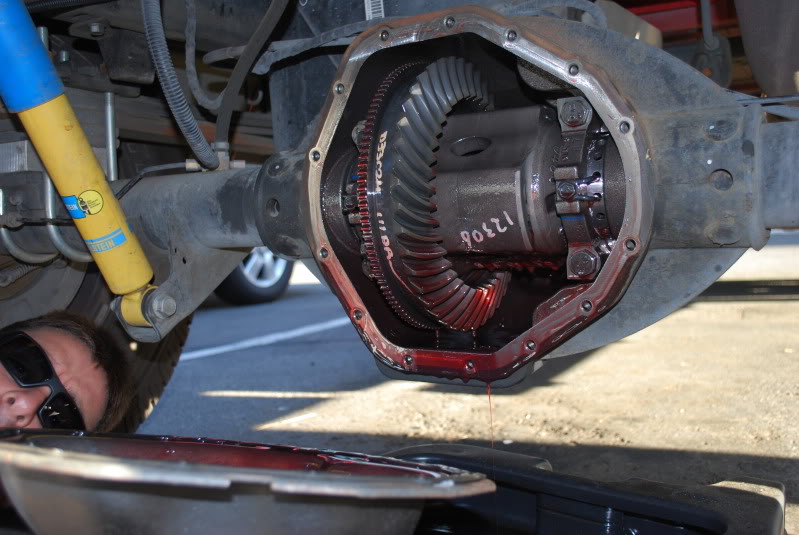
Step #3 Allow fluid to drain and remove cover
Wait a few minutes with only the top two bolts loosely in place for the rest of the fluid to drain out. Next remove your cover.
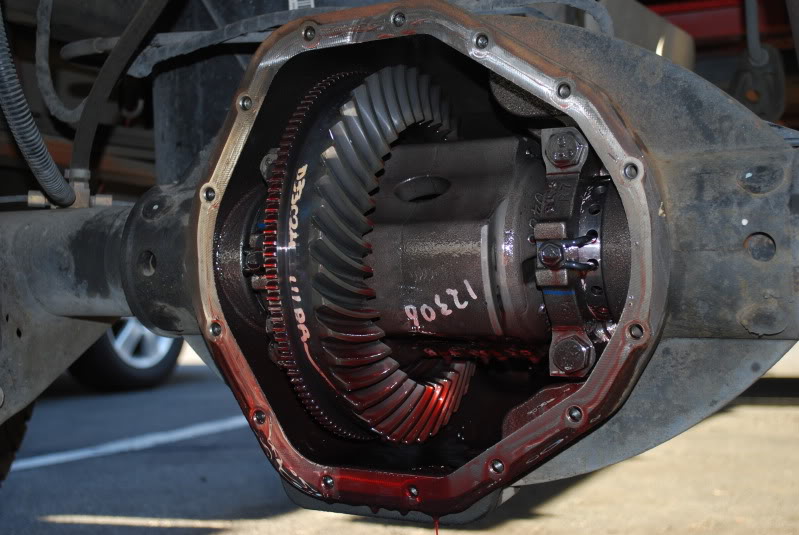
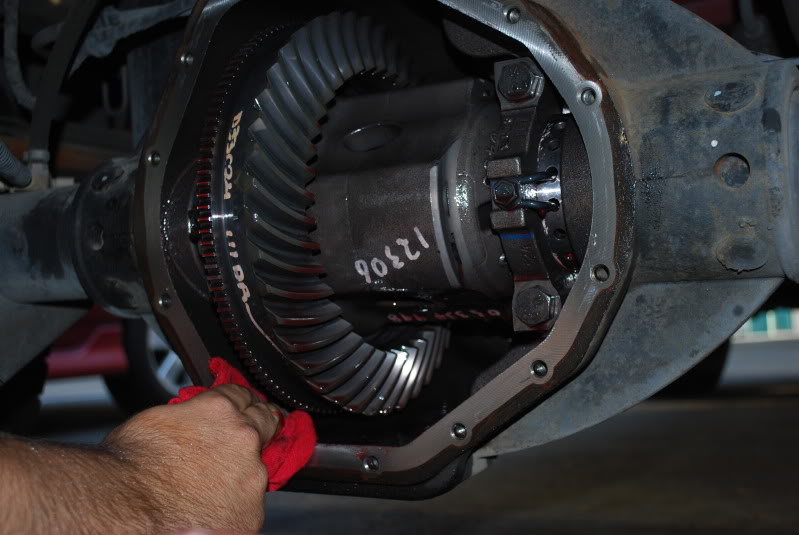
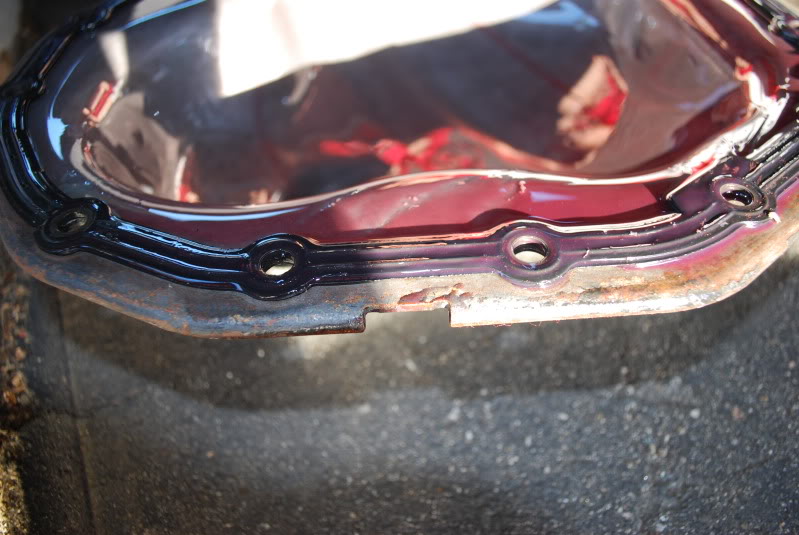
Step #4 Clean out pumpkin/cover and inspect Gears and Gasket
Using a clean rag wipe out all the excess fluid from the bottom of the differential. Use this time to inspect your gears for any abnormal wear or chips, or anything out of the ordinary. DONT USE CLEANER INSIDE THE DIFF!! you most likely wont be able to get it all out, and it could prematurely break down the viscosity of your new fluid. Next, inspect your cover gasket if equipped, and clean out the inside of the cover using the cleaner of your choice.
Step #5 Optional Step
If you have been wanting to get a new diff cover, but dont want to spend the money, you can paint the cover with a can of high temp paint and replace the bolts (I used grade 8 bolts, got them from NAPA), the results will surprise you! And it only takes a few minutes.
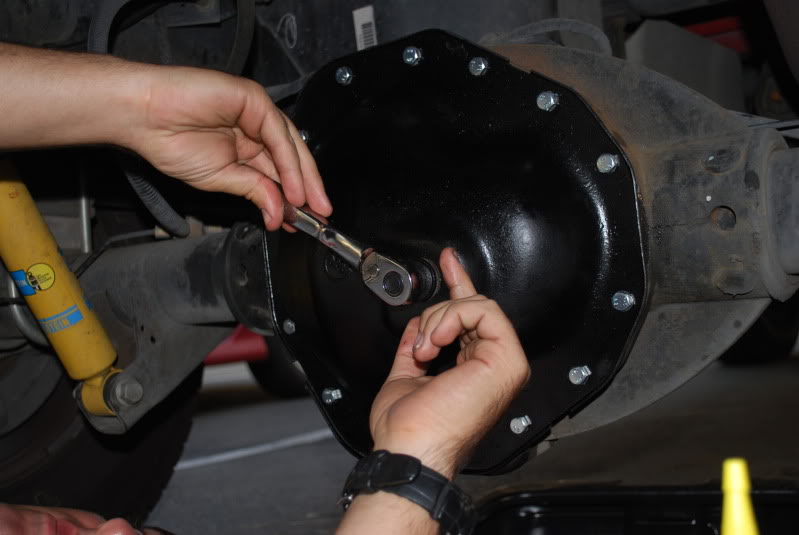
Step #6 Replace diff cover
Line up your gasket, or apply RTV gasket maker according to the directions on the package, and put your diff cover back on. torque down bolts according to specs. (in my case it was 30 ft/lbs) I also torqued bolts down in a criss cross pattern to avoid warping the cover.
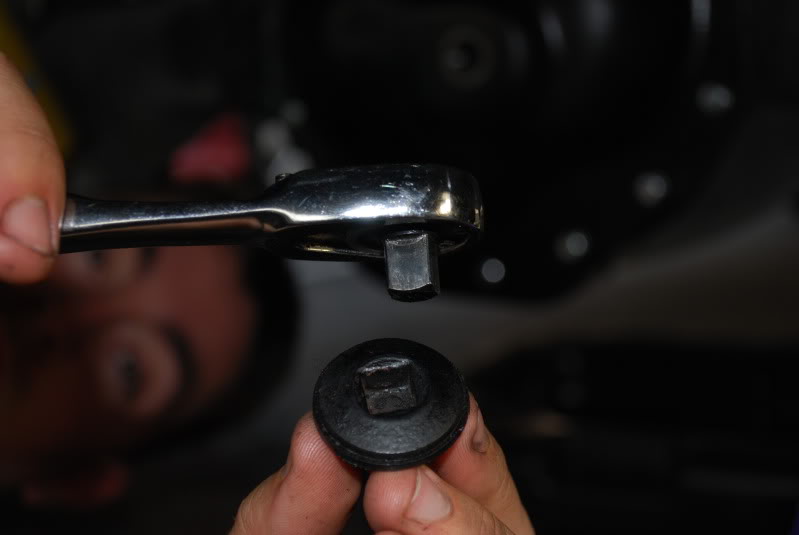
Step #7 Fill Diff with Correct amount of fluid
To take out the fill plug simply use a 3/8" drive socket wrench. Next fill with diff fluid. (my 10.5" rear took 3 quarts) fill until fluid is just below the fill hole. Next replace fill plug, and torque to specs (24 ft/lbs)

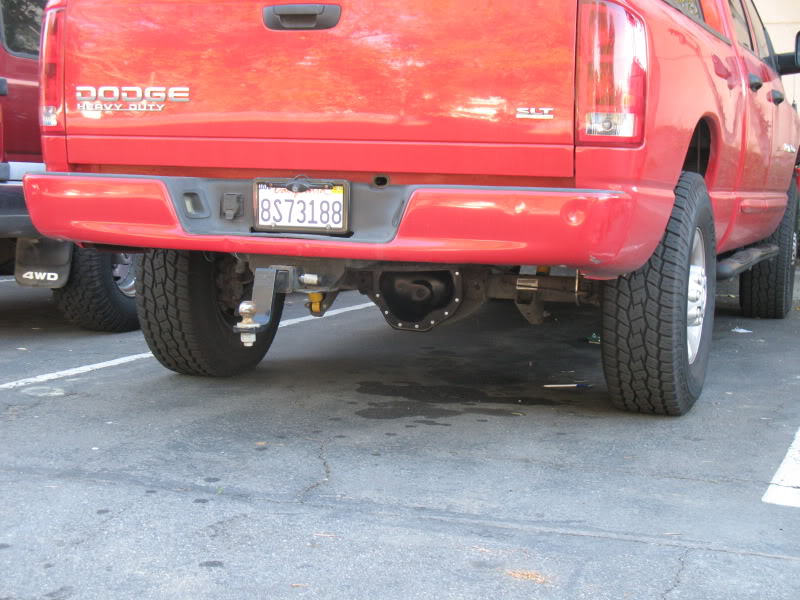
Step #8 Stand back, and enjoy the fruits of your labor
Also, check for leaks. Those are bad.
Step #1 Gather proper tools and equipment.
You will need a 3/8" drive socket set, enough diff fluid of the proper weight, an oil pan, bucket, or something to catch the old fluid in, and some sort of heavy duty cleaner or degreaser (i used brake parts cleaner)
you might also need some RTV if you dont have a gasket on your cover.
Step # 2 Place drip pan under Diff, and start removing Bolts
You need to remove the bolts starting from the bottom and work your way up. This will allow the fluid to start draining without making a huge mess.
Step #3 Allow fluid to drain and remove cover
Wait a few minutes with only the top two bolts loosely in place for the rest of the fluid to drain out. Next remove your cover.
Step #4 Clean out pumpkin/cover and inspect Gears and Gasket
Using a clean rag wipe out all the excess fluid from the bottom of the differential. Use this time to inspect your gears for any abnormal wear or chips, or anything out of the ordinary. DONT USE CLEANER INSIDE THE DIFF!! you most likely wont be able to get it all out, and it could prematurely break down the viscosity of your new fluid. Next, inspect your cover gasket if equipped, and clean out the inside of the cover using the cleaner of your choice.
Step #5 Optional Step
If you have been wanting to get a new diff cover, but dont want to spend the money, you can paint the cover with a can of high temp paint and replace the bolts (I used grade 8 bolts, got them from NAPA), the results will surprise you! And it only takes a few minutes.
Step #6 Replace diff cover
Line up your gasket, or apply RTV gasket maker according to the directions on the package, and put your diff cover back on. torque down bolts according to specs. (in my case it was 30 ft/lbs) I also torqued bolts down in a criss cross pattern to avoid warping the cover.
Step #7 Fill Diff with Correct amount of fluid
To take out the fill plug simply use a 3/8" drive socket wrench. Next fill with diff fluid. (my 10.5" rear took 3 quarts) fill until fluid is just below the fill hole. Next replace fill plug, and torque to specs (24 ft/lbs)
Step #8 Stand back, and enjoy the fruits of your labor
Also, check for leaks. Those are bad.