

DIY Painted Wiper Cowl

Thread Starter
|
Grand Champion
Joined: Dec 2008
Posts: 6,556
Likes: 1
From: TX
Alright well Ive had some questions on how to remove it and the steps I took to paint it and decided to make a diy. here goes:
** If you can take of the hood, I would advised that you should. It will make it a whole lot easier. I did not take off the hood so you can do it either way.**
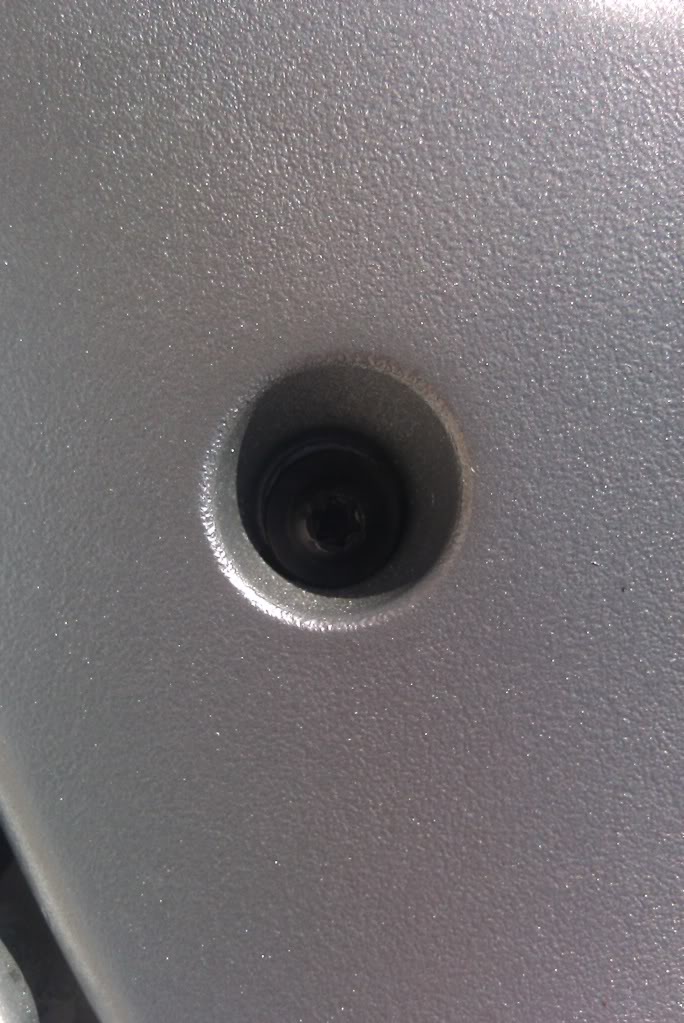
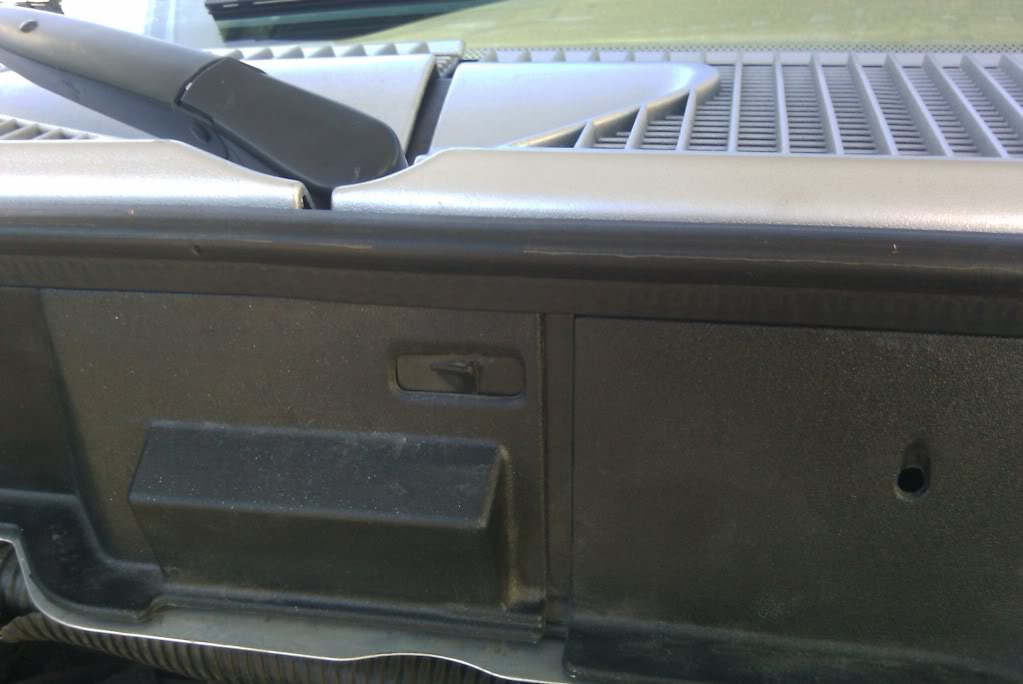
1. Remove the two torx bolt on each side of the cowl. I believe they are size t-20.
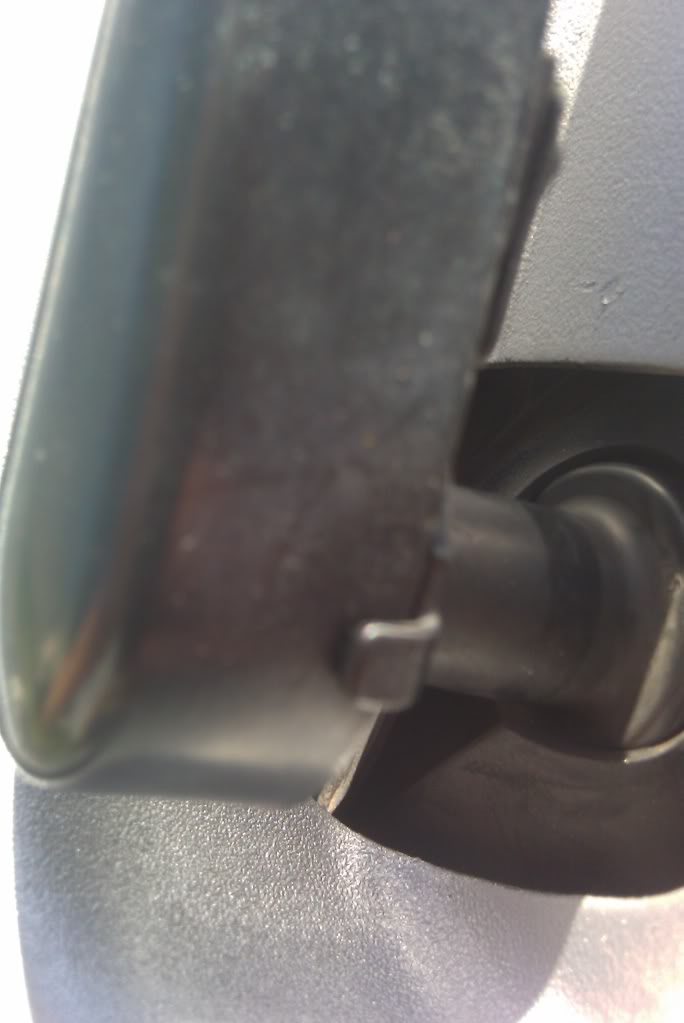
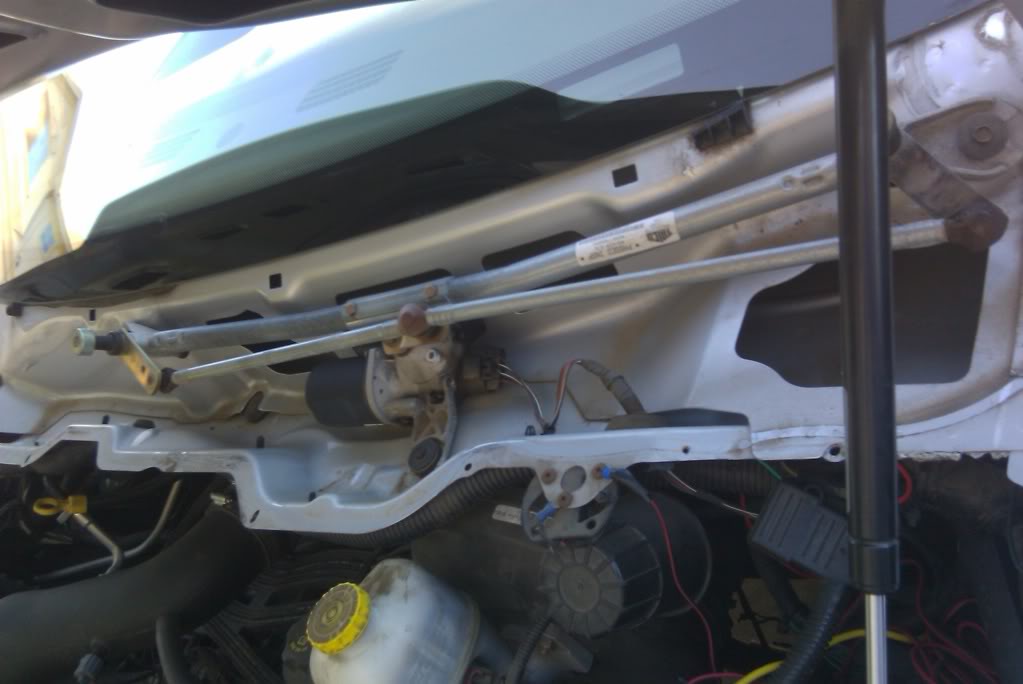
2. Remove the two wipers. You have to push that tab forward and then pull up.
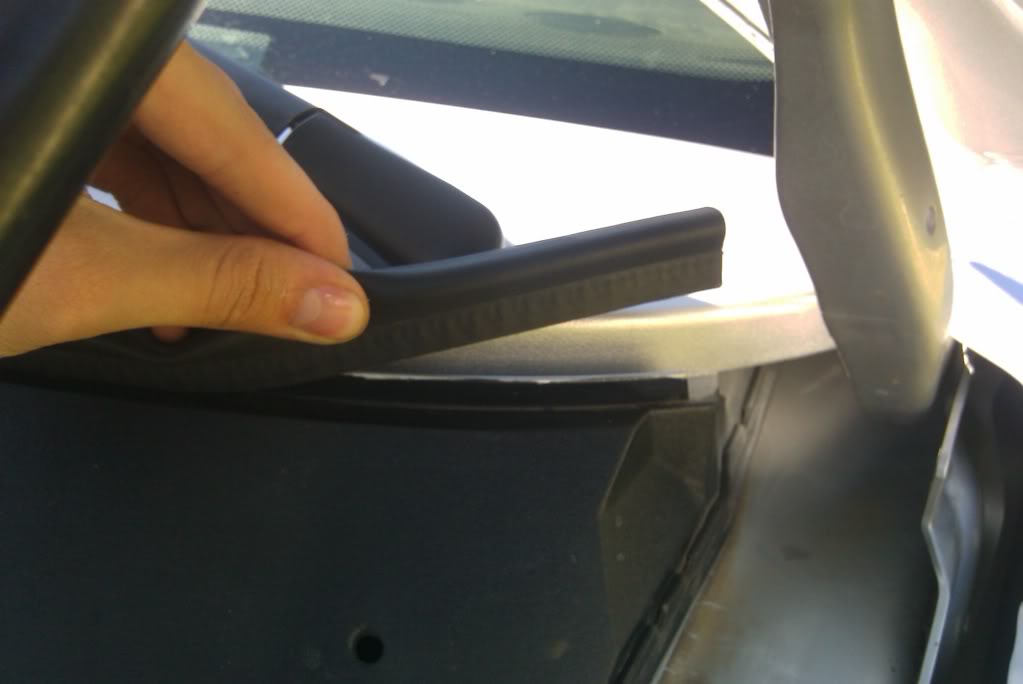
3. Remove the weather seal and the 6-8 push pins along the bottom of the cowl.
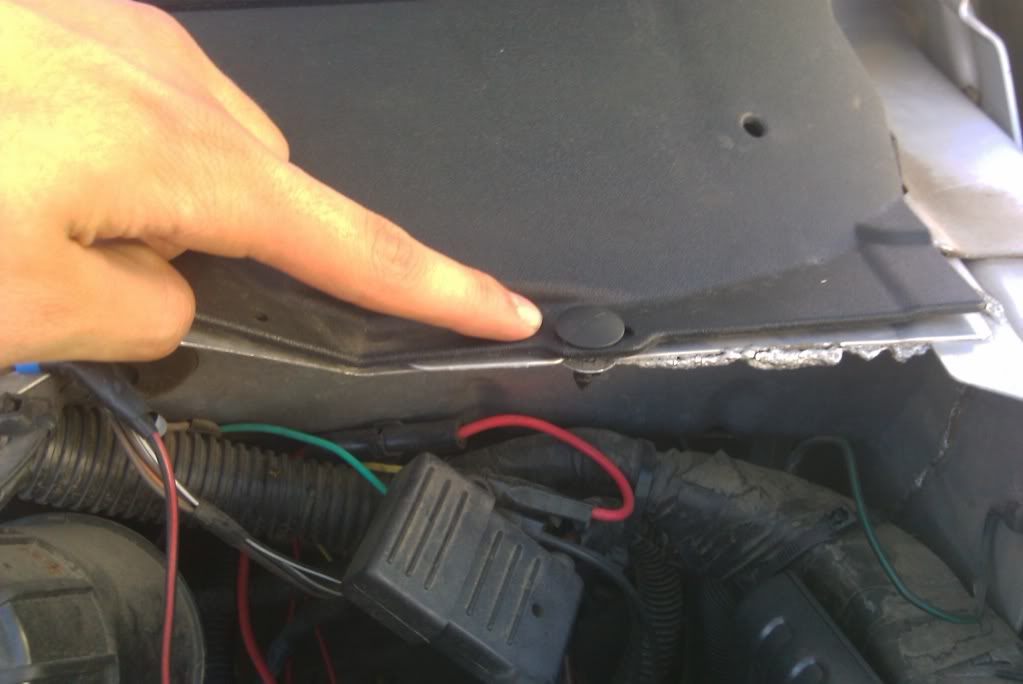
4. Disconnect the wiper fluid hose.
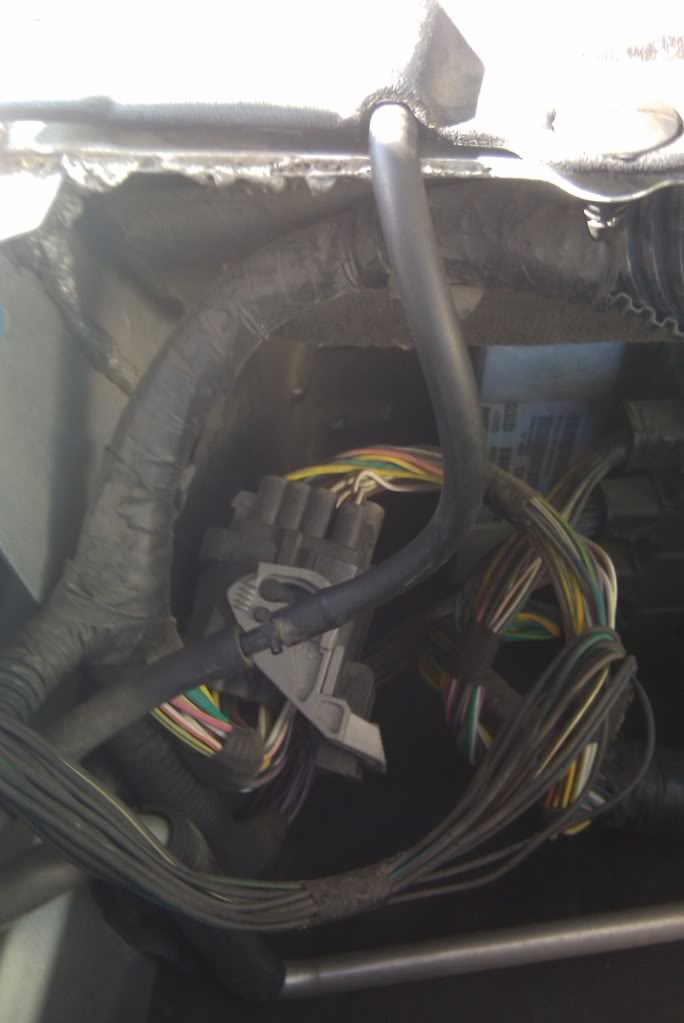
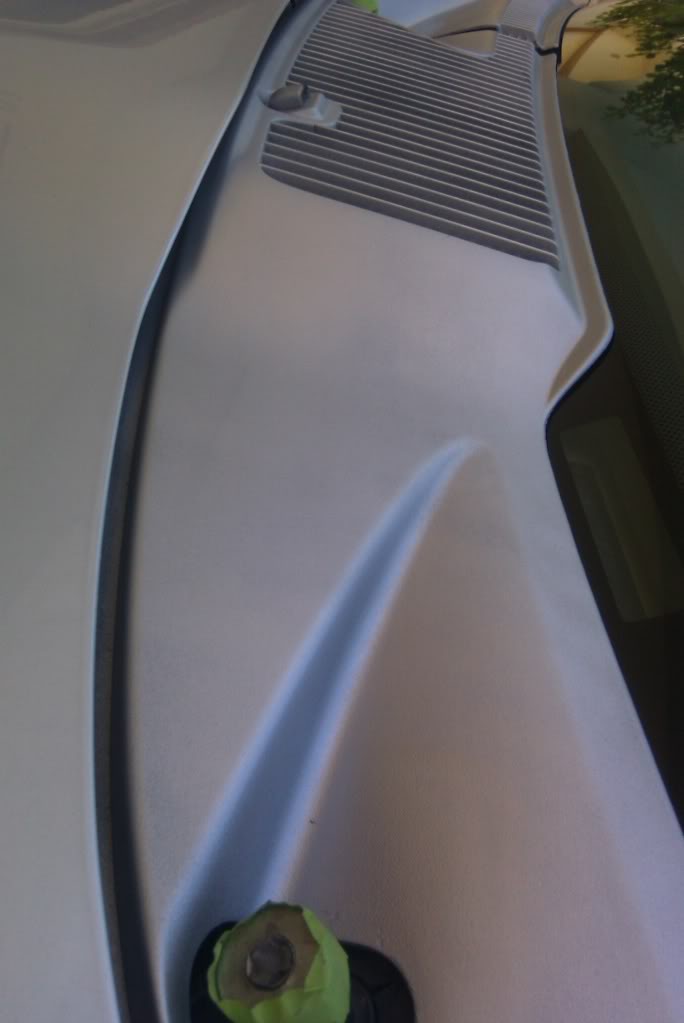
5. Next you have to separate the two cowls. Pull the front tab part towards you while pulling the right (drivers side) cowl out. It should slide out but be careful because there is a wiper fluid hose in the back that you have to disconnect.
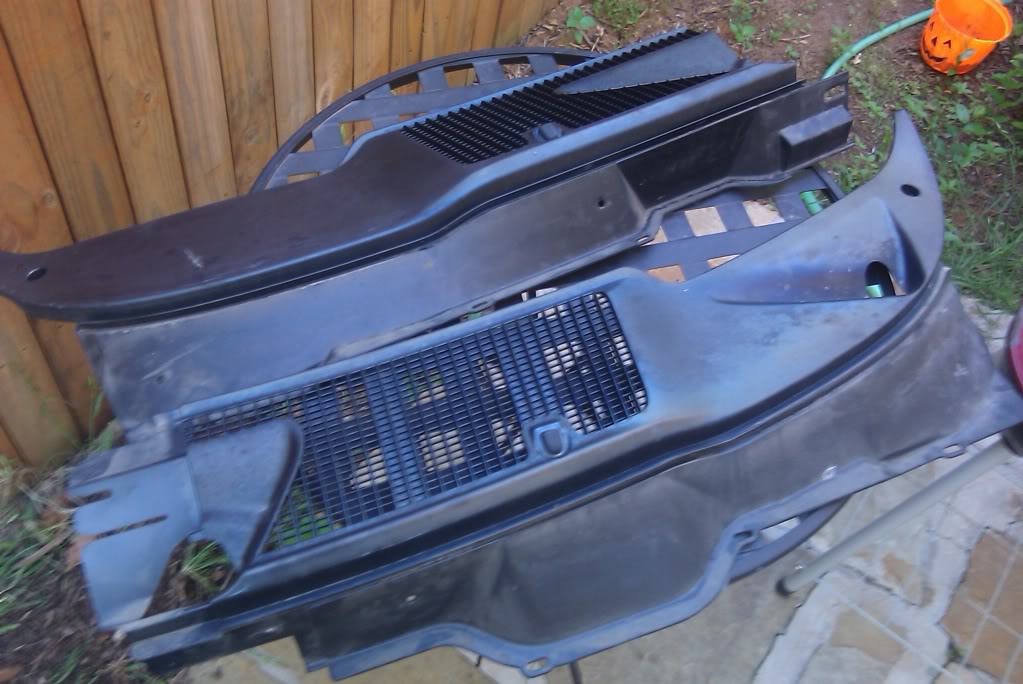
6. Remove the two cowls.
Now you are done with the removal of the cowls, now its on to the prep and paint work.
Supplies Needed:
Degreaser
220 grit and 600 grit sandpaper
Filler and Self Etching Primer
Duplicolor (whatever color) paint and Clear
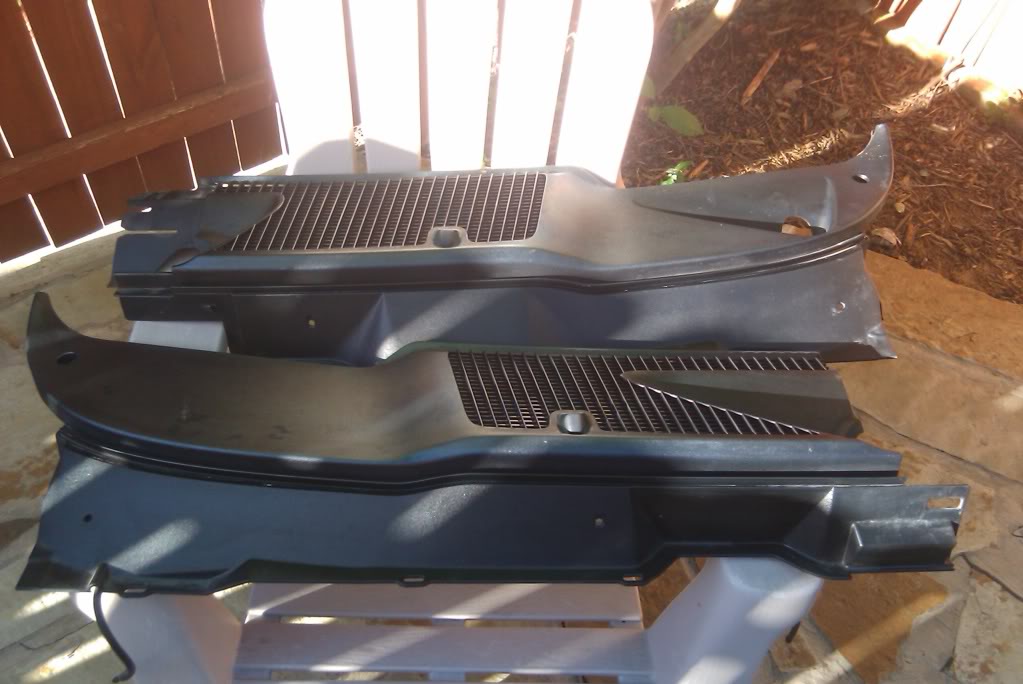
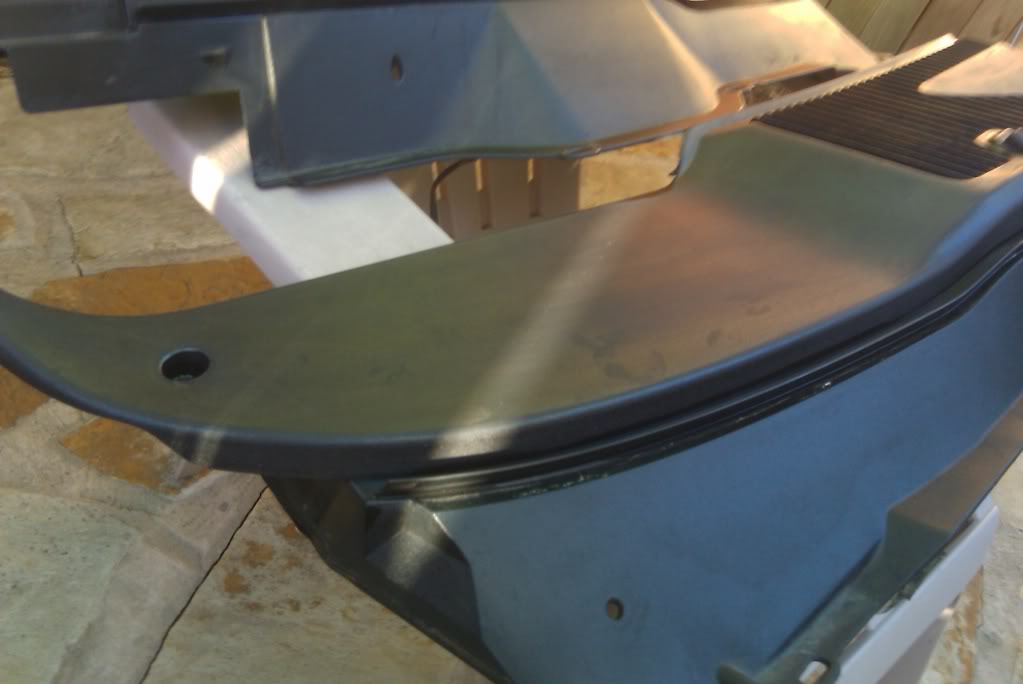
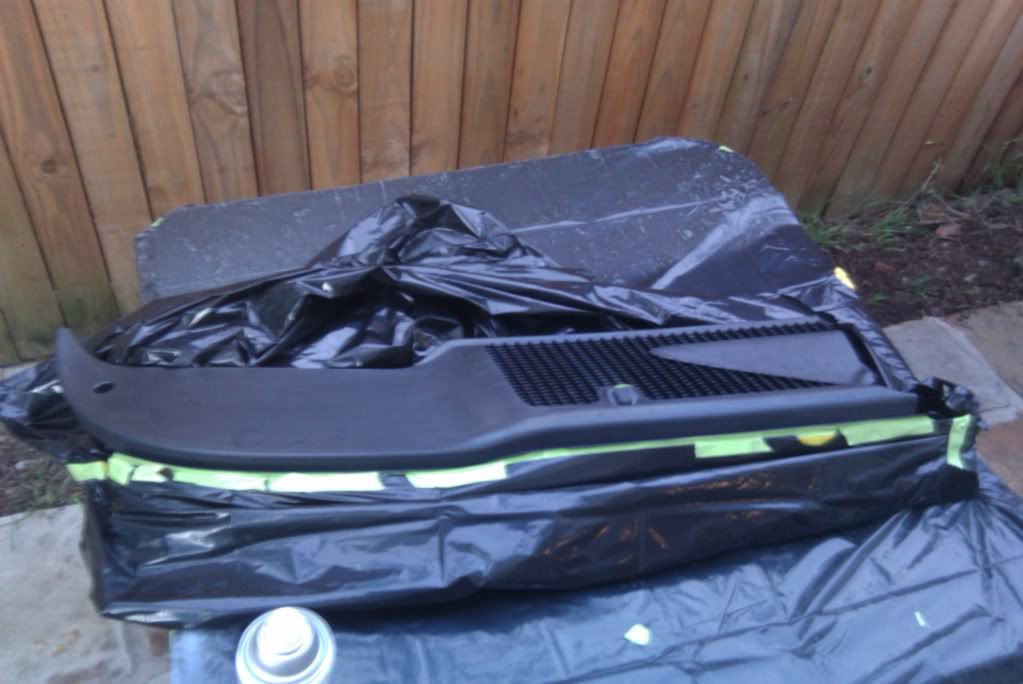
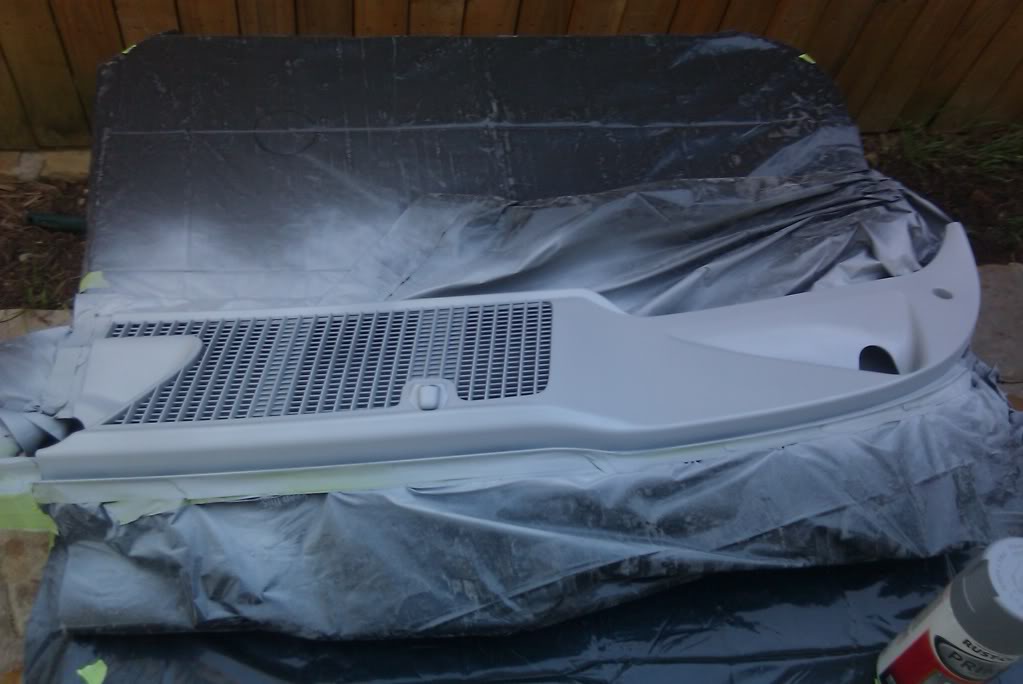
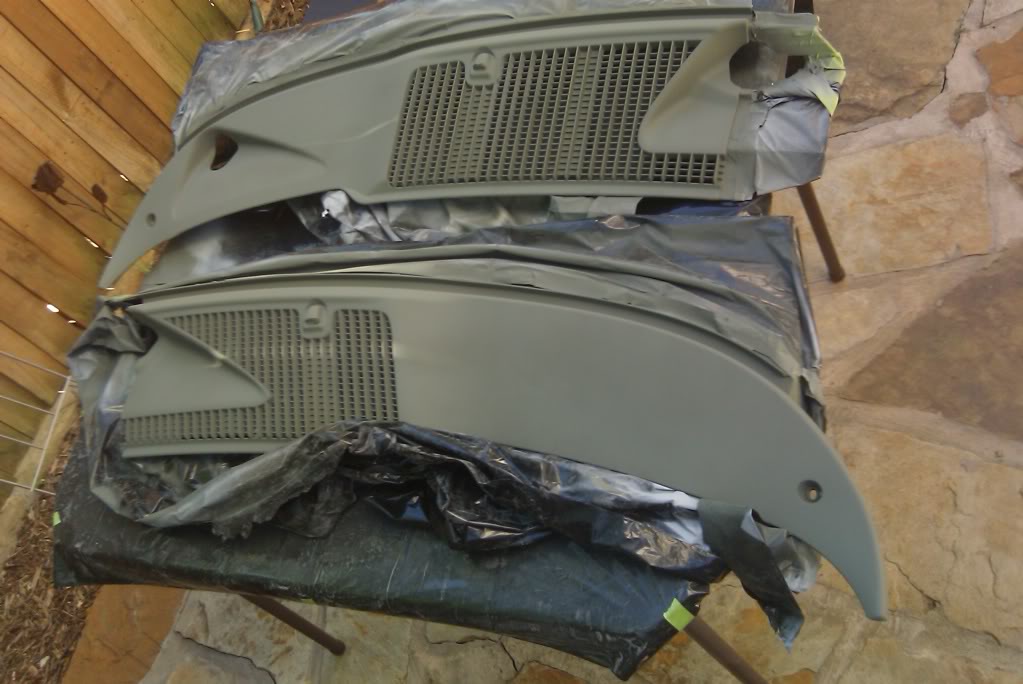
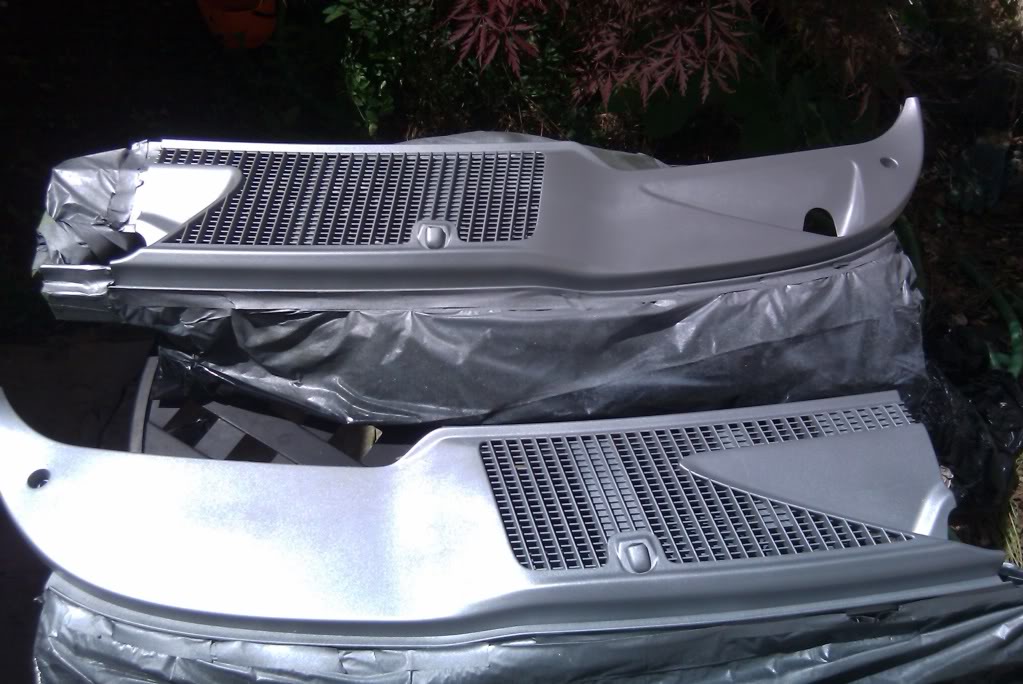
7. First you need to clean the cowls really good. I just used soap and water and let them dry. First pic is before and second is after.
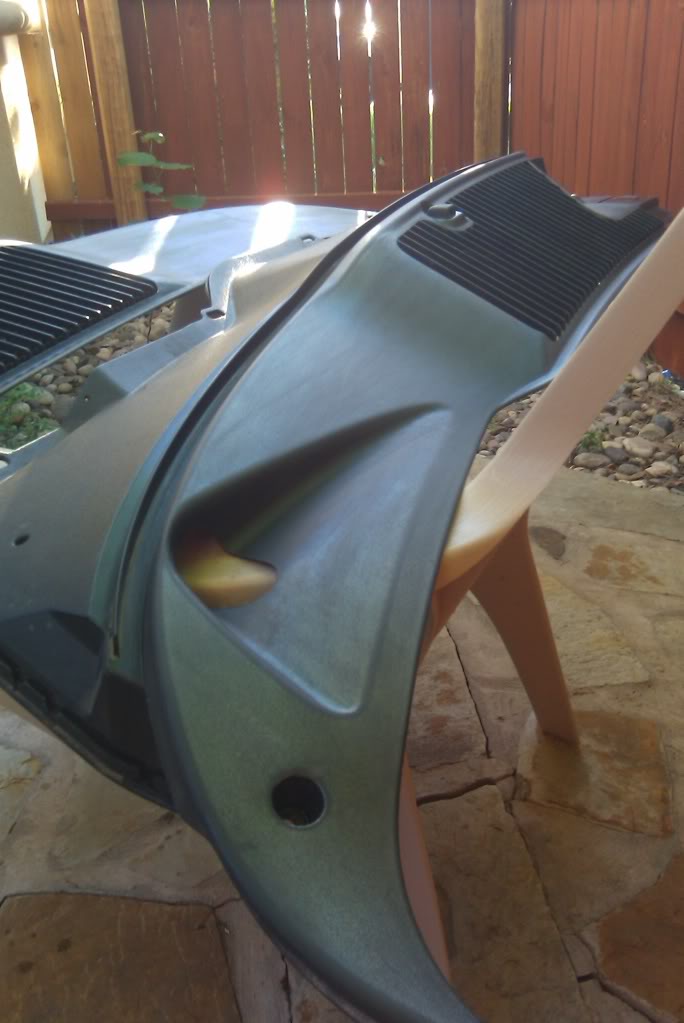
8. Sand with 220 grit sandpaper until you feel its smooth enough for you. I spent about 30-40 mins sanding. Make sure to wipe the cowl off after your done.
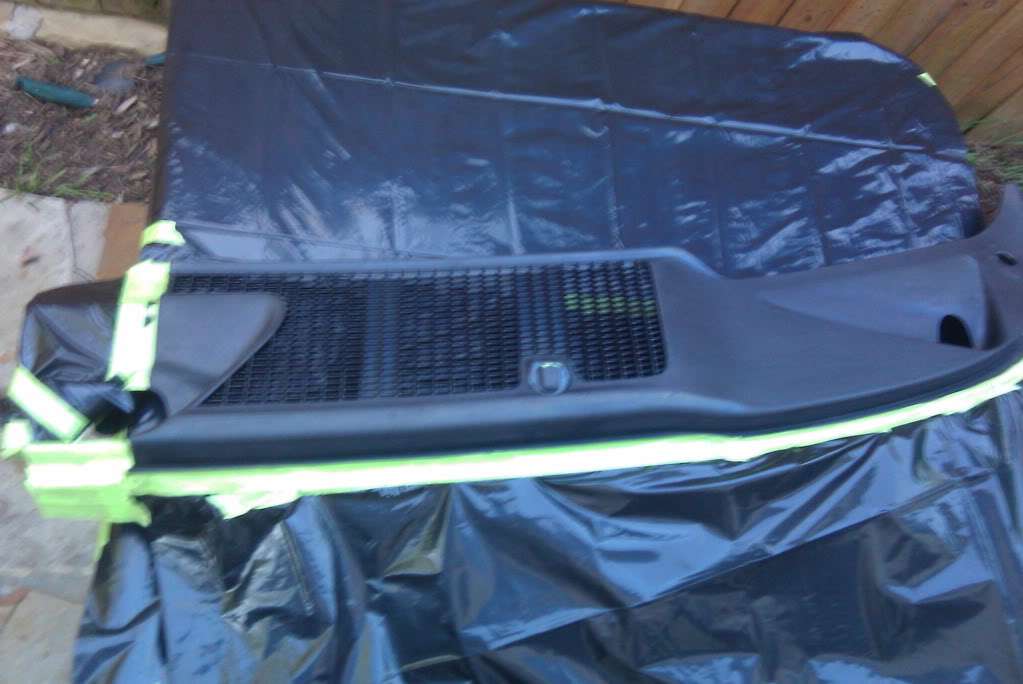
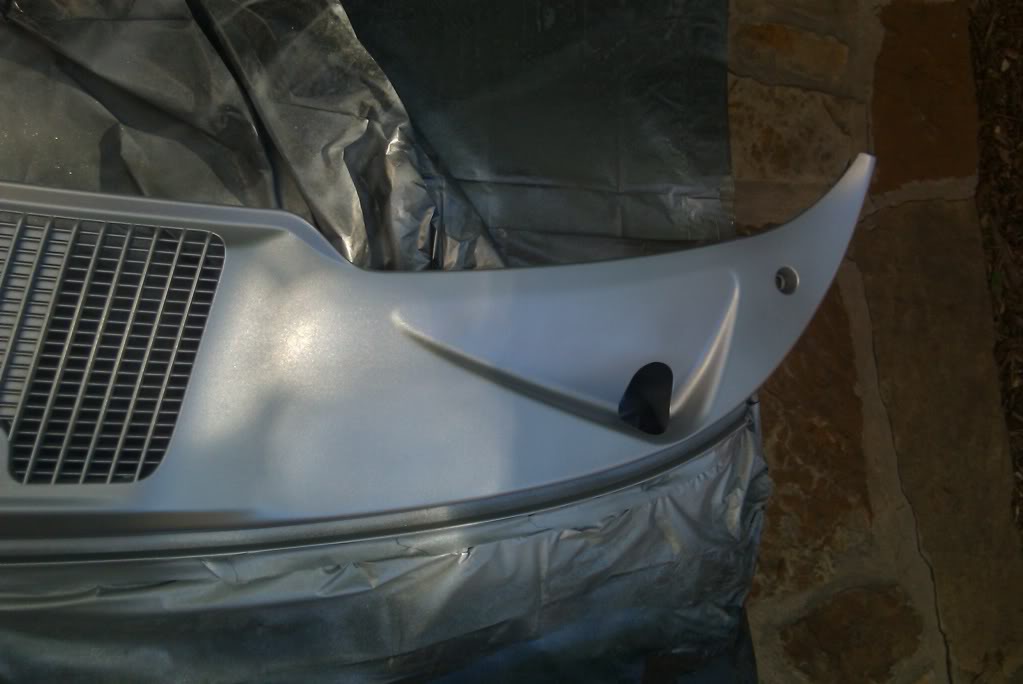
9. Tape the cowl off if you dont want the whole thing sprayed. I left the front portion black. make sure you tape off the washer fluid sprayers.
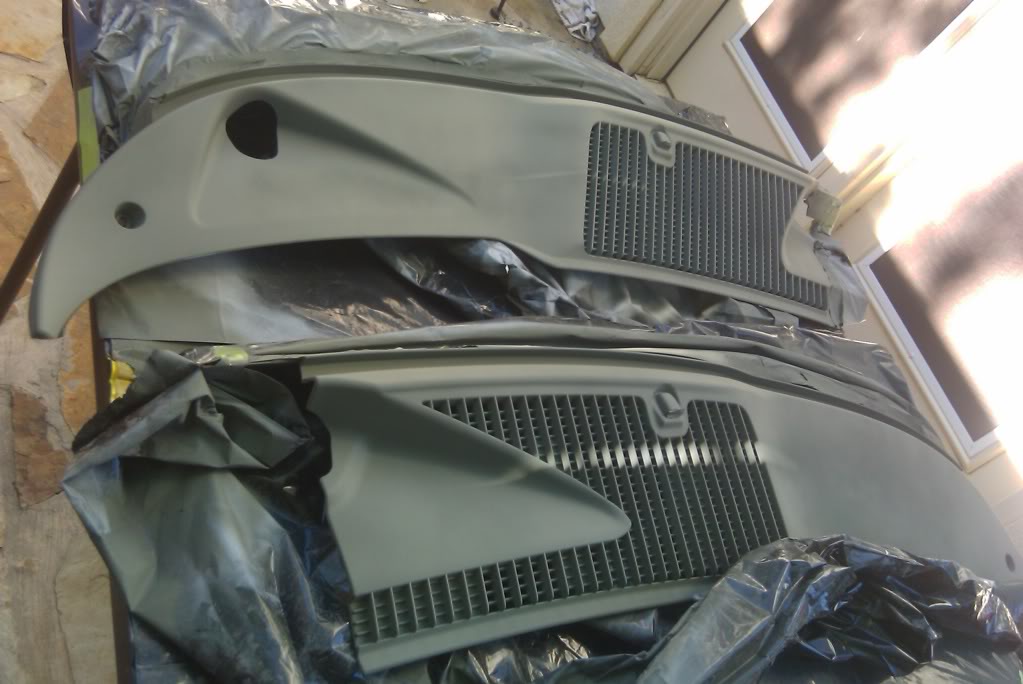
10. Next spray the filler primer. I did two good coats with about 10-15 minutes if dry time in between them.
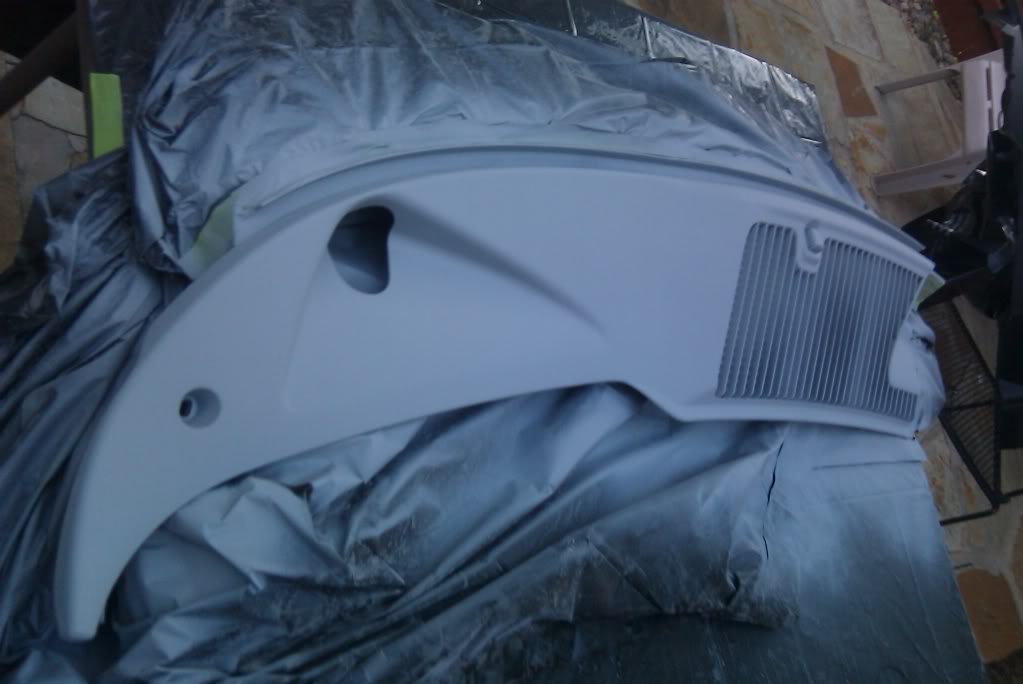
11. After letting the filler primer dry for about an hour sand with 600 grit sandpaper to make it smooth. Then start spraying with the self etching primer. I did the same process as with the filler primer.
12. I let the self etching primer dry over night but im sure 2-4 hours would be good. Again I lightly sanded with 600 grit sandpaper.
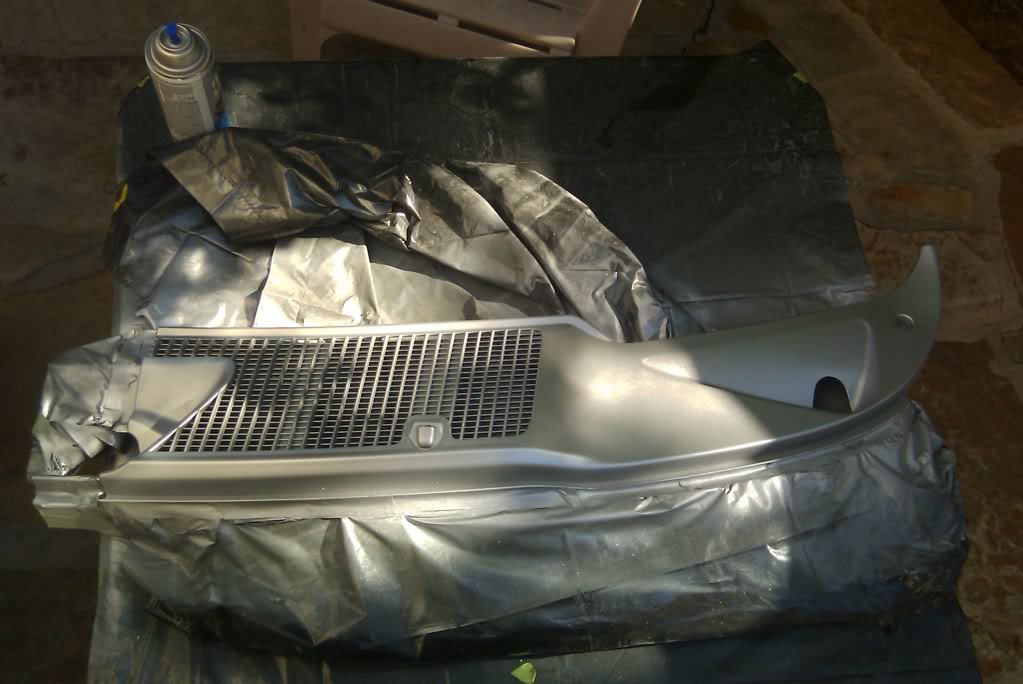
13. Start Spraying your base coat. I did 3 good, even coats. Let them dry for about an hour or two.
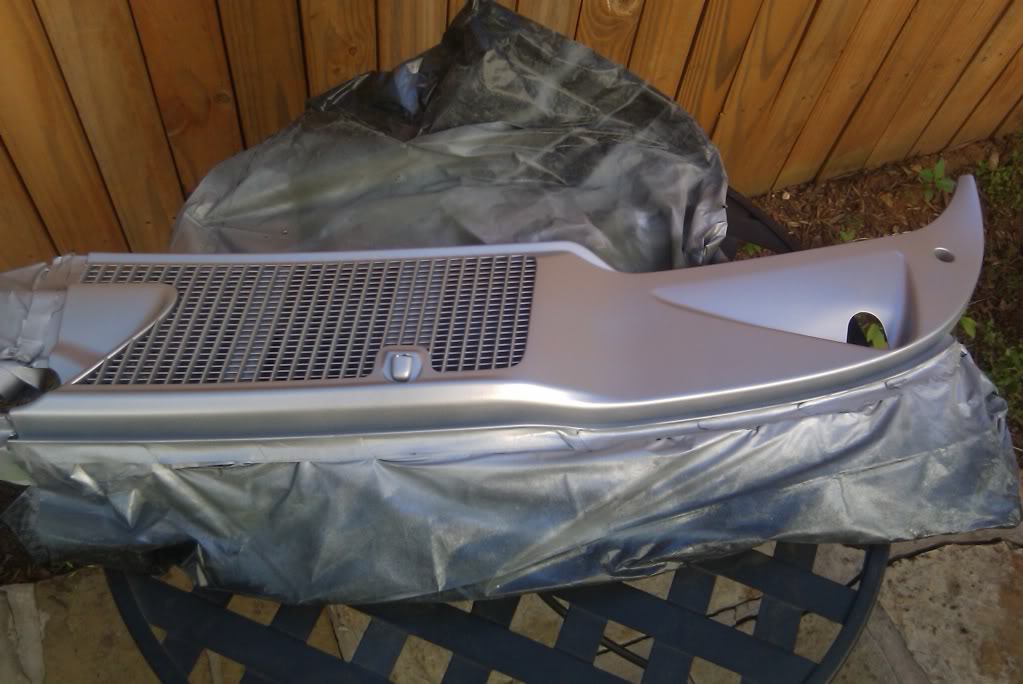

14. Start Spraying your clear coat. I did 3 good, even coats. Let them dry for about an hour or two.
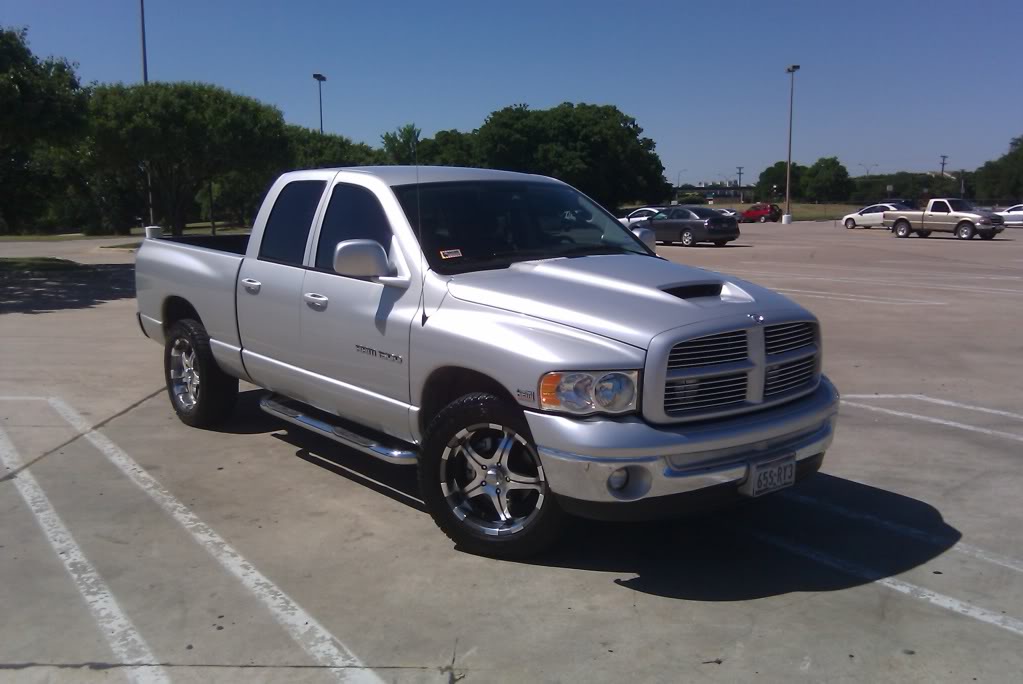
15. After drying, put them back on your truck and admire your work!!

Hope this helps people out. Enjoy, Silver
** If you can take of the hood, I would advised that you should. It will make it a whole lot easier. I did not take off the hood so you can do it either way.**
1. Remove the two torx bolt on each side of the cowl. I believe they are size t-20.
2. Remove the two wipers. You have to push that tab forward and then pull up.
3. Remove the weather seal and the 6-8 push pins along the bottom of the cowl.
4. Disconnect the wiper fluid hose.
5. Next you have to separate the two cowls. Pull the front tab part towards you while pulling the right (drivers side) cowl out. It should slide out but be careful because there is a wiper fluid hose in the back that you have to disconnect.
6. Remove the two cowls.
Now you are done with the removal of the cowls, now its on to the prep and paint work.
Supplies Needed:
Degreaser
220 grit and 600 grit sandpaper
Filler and Self Etching Primer
Duplicolor (whatever color) paint and Clear
7. First you need to clean the cowls really good. I just used soap and water and let them dry. First pic is before and second is after.
8. Sand with 220 grit sandpaper until you feel its smooth enough for you. I spent about 30-40 mins sanding. Make sure to wipe the cowl off after your done.
9. Tape the cowl off if you dont want the whole thing sprayed. I left the front portion black. make sure you tape off the washer fluid sprayers.
10. Next spray the filler primer. I did two good coats with about 10-15 minutes if dry time in between them.
11. After letting the filler primer dry for about an hour sand with 600 grit sandpaper to make it smooth. Then start spraying with the self etching primer. I did the same process as with the filler primer.
12. I let the self etching primer dry over night but im sure 2-4 hours would be good. Again I lightly sanded with 600 grit sandpaper.
13. Start Spraying your base coat. I did 3 good, even coats. Let them dry for about an hour or two.
14. Start Spraying your clear coat. I did 3 good, even coats. Let them dry for about an hour or two.
15. After drying, put them back on your truck and admire your work!!
Hope this helps people out. Enjoy, Silver