

Starting lift install today!!!


Thread Starter
|
Rookie
Joined: Jun 2011
Posts: 77
Likes: 0
From: Ketchum, Idaho
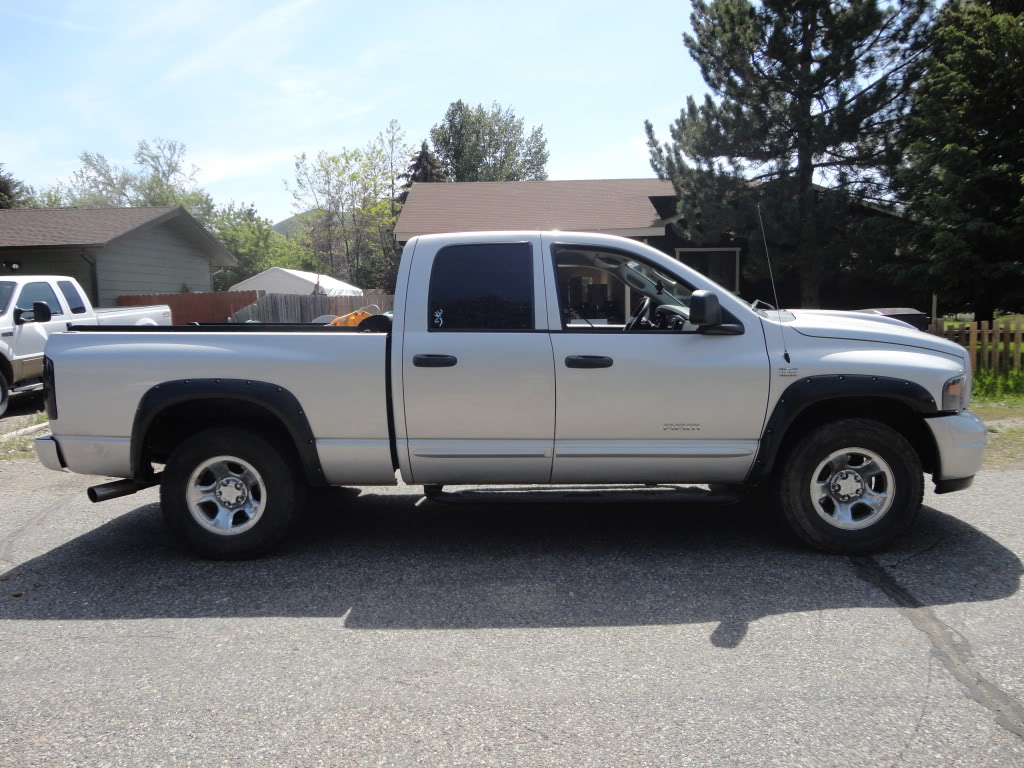
So after we installed the lift I had to take it to les schwab for a realignment and new rims and tires. I ordered Fuel Offroad Octane Black: http://www.mhtwheels.com/wheel.cfm?cat=495 and SXT All Terrian Tires: http://www.performancewheel.com/blog...1/sxtat_lg.jpg
Only reason I need new wheels is because the stock rims made the tire rub against the new steering knuckle. The new rims have a 4.5 inch offset. I figured if I get new rims I should just get new tires as well.
Only reason I need new wheels is because the stock rims made the tire rub against the new steering knuckle. The new rims have a 4.5 inch offset. I figured if I get new rims I should just get new tires as well.
Thread Starter
|
Rookie
Joined: Jun 2011
Posts: 77
Likes: 0
From: Ketchum, Idaho
The parts:
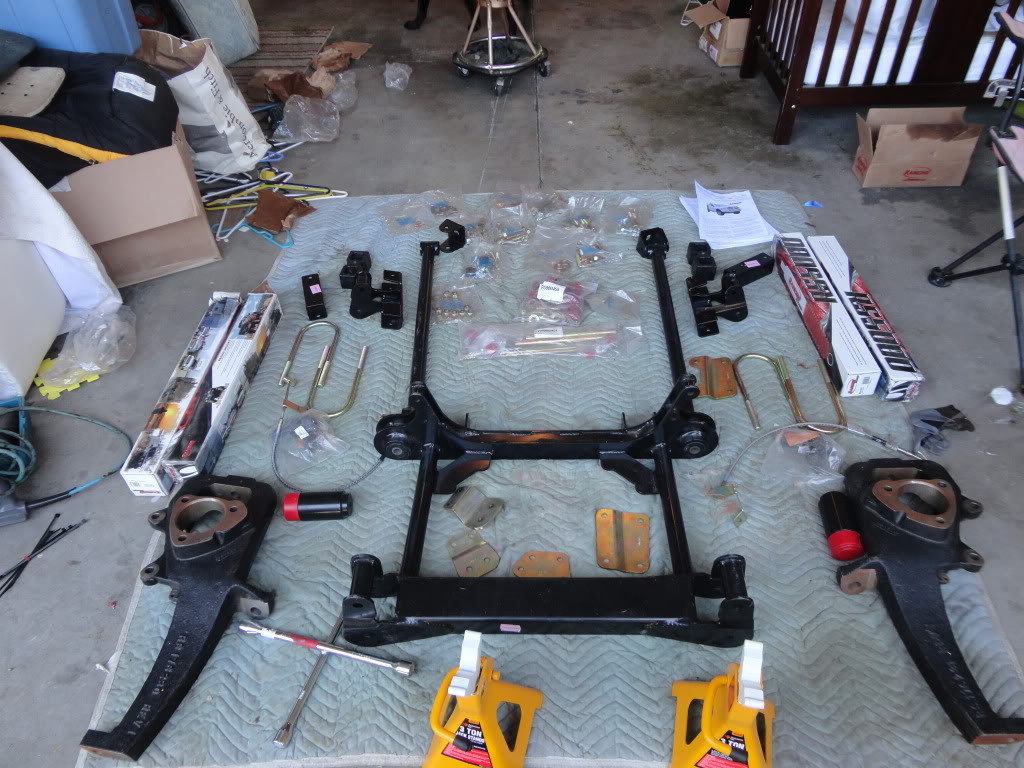
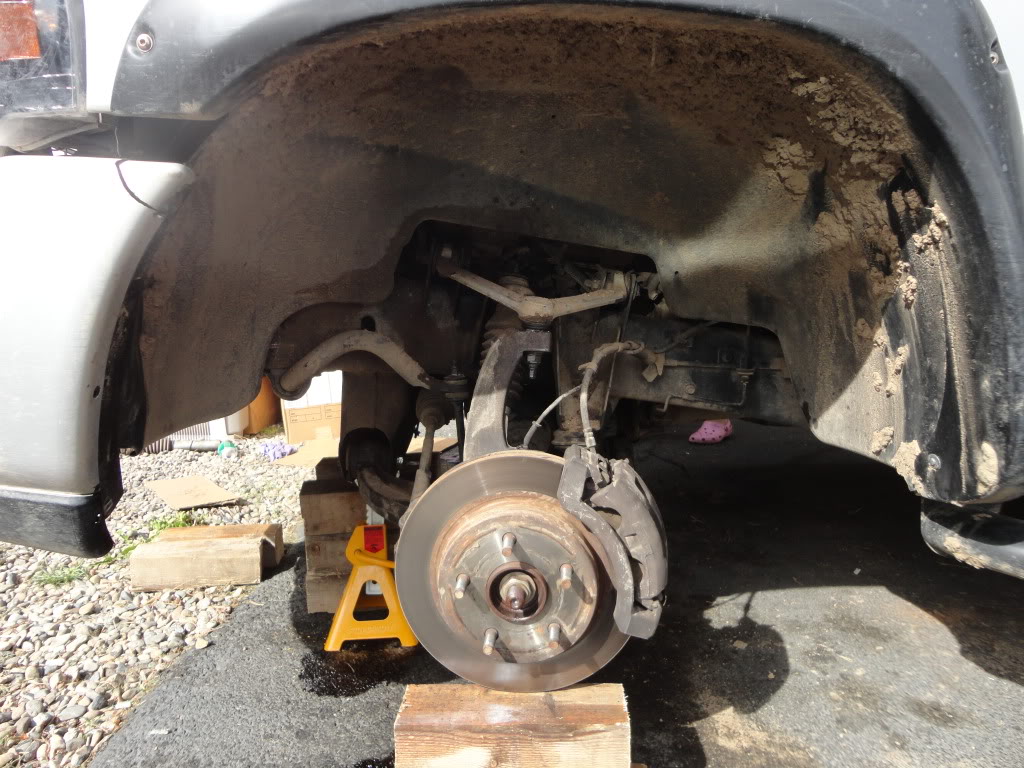
Driver Side Stock Suspension Assembled:
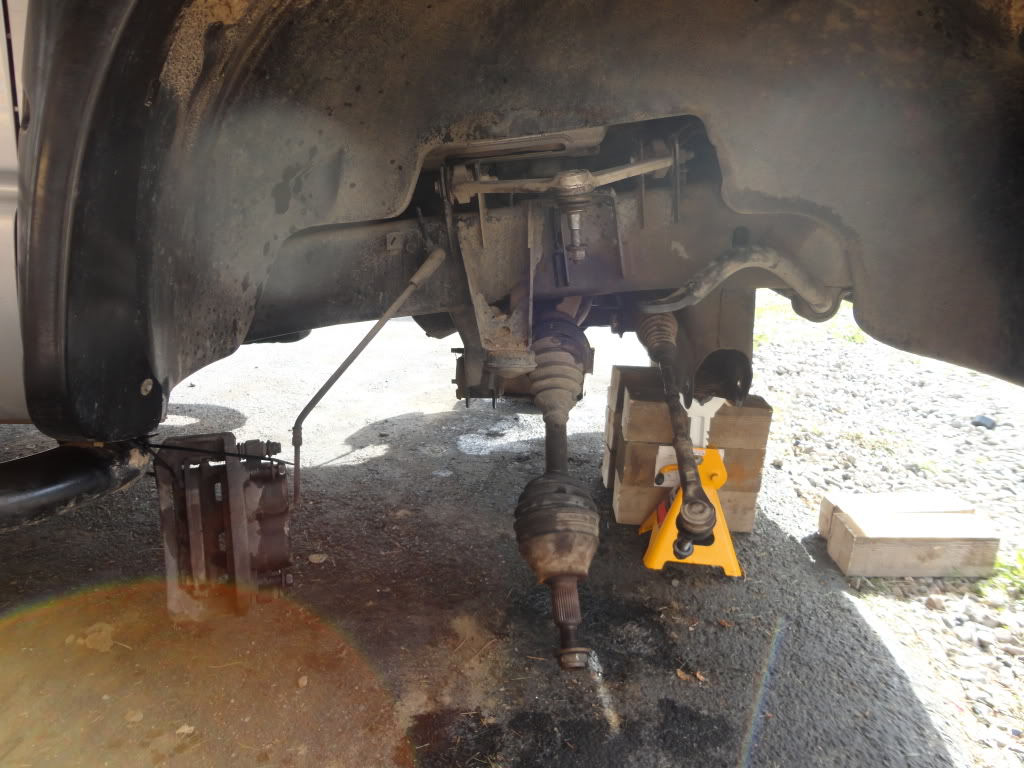
Passenger Side Stock Suspension Disassembled:
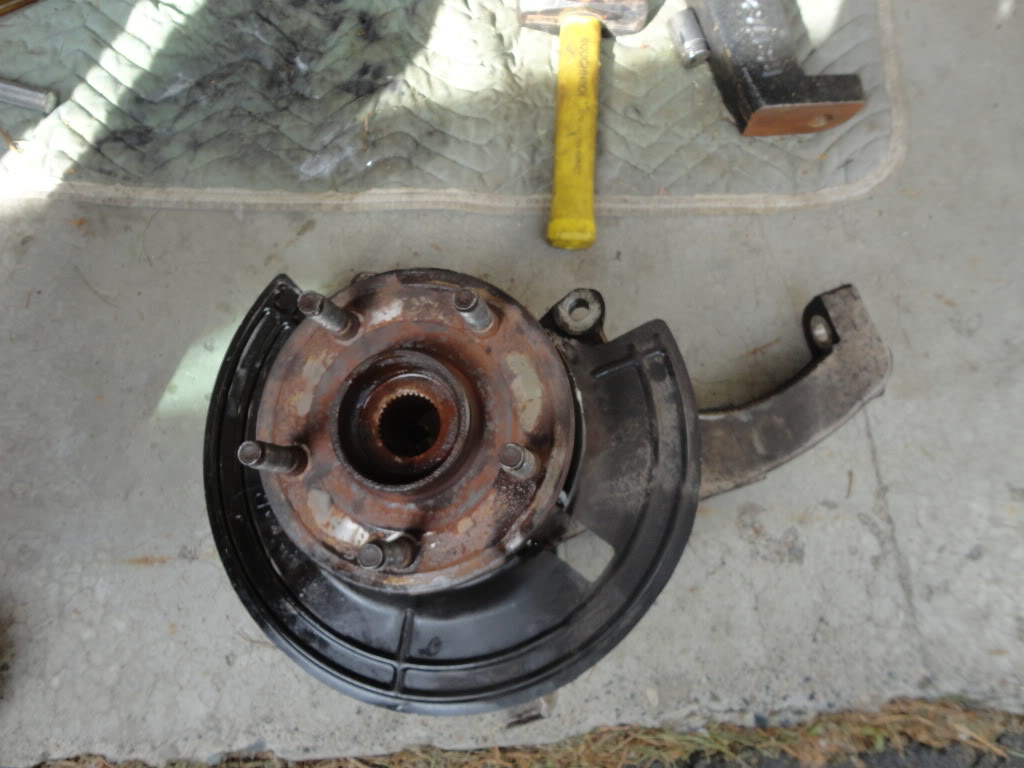
The old steering knuckle w/hub. Made mistake of taking the knuckle off before trying to get the hub out. later found it easier to remove the axle and then the hub followed by the knuckle:
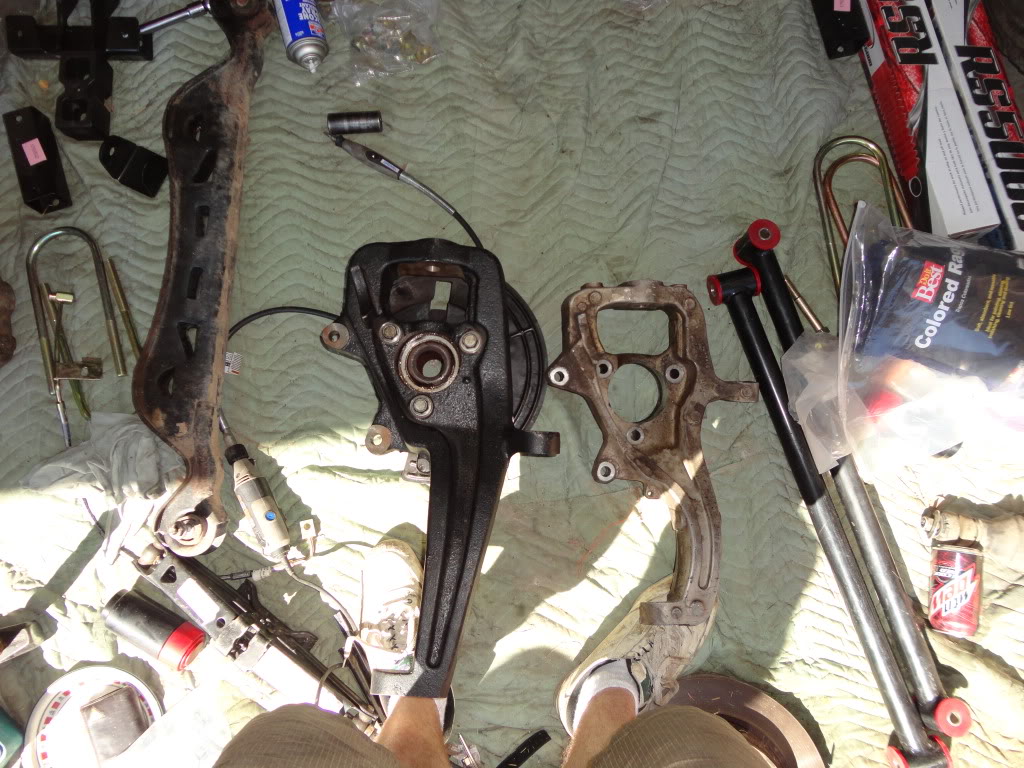
Old Knuckle v.s. New Knuckle:
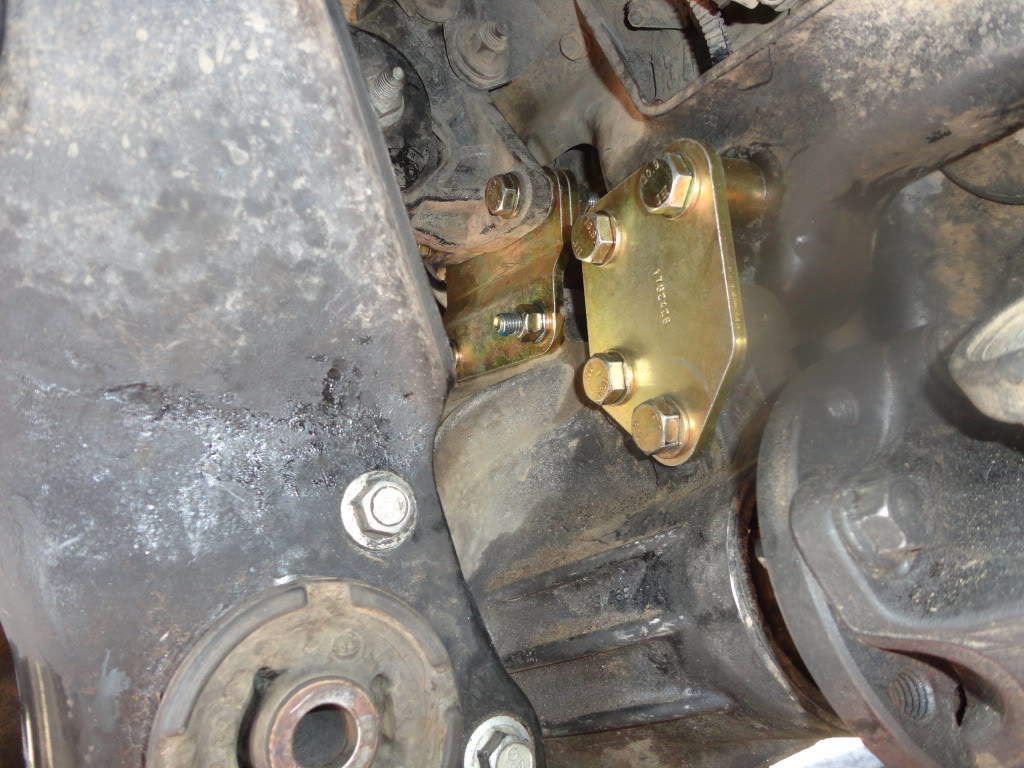
Dropped down brackets installed on the front differential:
The new suspension installed on driver side, had to cut a half inch off the tie rod(in this pictire if you look at the dust cover on the hub you will notice it is backwards and that would be why we found out it is easier to remove the axle to get the hub off):

Driver Side Stock Suspension Assembled:
Passenger Side Stock Suspension Disassembled:
The old steering knuckle w/hub. Made mistake of taking the knuckle off before trying to get the hub out. later found it easier to remove the axle and then the hub followed by the knuckle:
Old Knuckle v.s. New Knuckle:
Dropped down brackets installed on the front differential:
The new suspension installed on driver side, had to cut a half inch off the tie rod(in this pictire if you look at the dust cover on the hub you will notice it is backwards and that would be why we found out it is easier to remove the axle to get the hub off):
Last edited by Knuckles1988; Jun 5, 2012 at 03:37 PM.
Thread Starter
|
Rookie
Joined: Jun 2011
Posts: 77
Likes: 0
From: Ketchum, Idaho
The rear suspension installed:
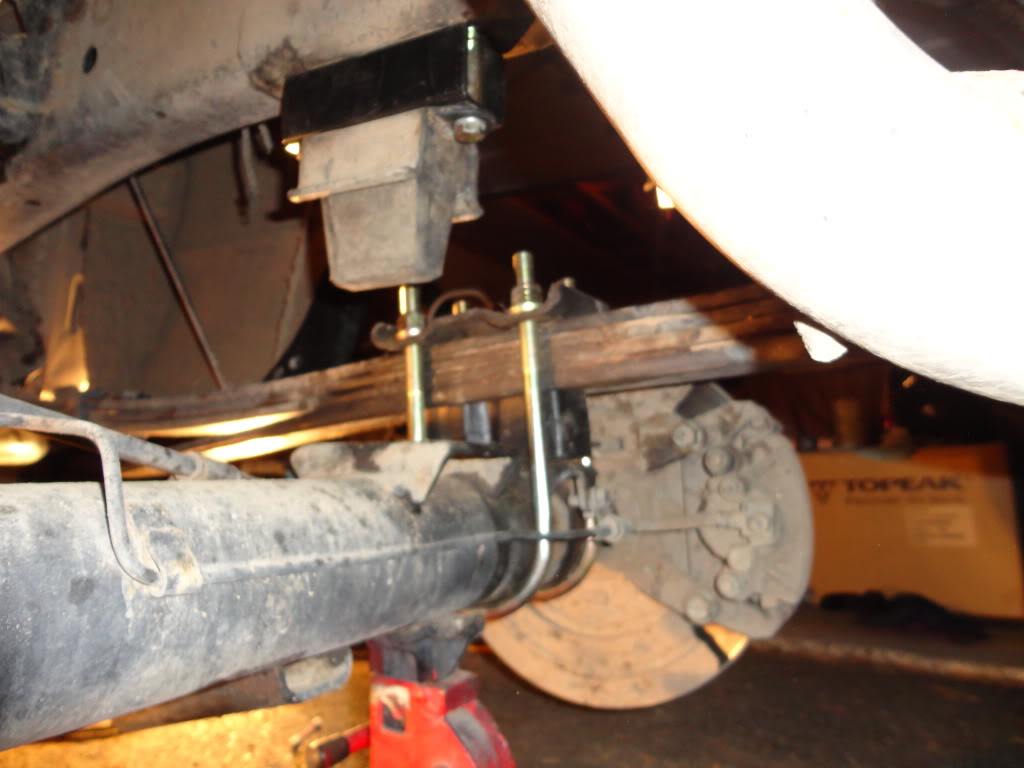

Because of the lack of room we had, we had to use a jack to hold up the leaf springs as we dropped the axle in order to get the four inches we needed to install the spacers:

Because of the lack of room we had, we had to use a jack to hold up the leaf springs as we dropped the axle in order to get the four inches we needed to install the spacers:
Thread Starter
|
Rookie
Joined: Jun 2011
Posts: 77
Likes: 0
From: Ketchum, Idaho
After all was said and done we figured we put in 20 hours of actually working on the lift. Easily could cut that time in half had we done this before. There were things that we had to repeat because we did wrong or had to take a break from because we couldn't figure it out. If we were to go back and do this lift again there is no doubt in our minds we could do it in 8-10 hours. The learning process was huge and took up most our time plus we didn't have a floor lift so we had to use hydraulic jacks and jackstands. Throw in a floor lift and life would have been easier. I owe a big thanks to my girlfriends brother Jeff for letting me use his tools and drive way, my best bud Eric for providing me with tips and skills that I was lacking, and to my dad for pushing me until midnight on the last night of install to finish the lift(I was worn out and ready to finish it in the morning but with a little push from the pops and some beer motivation we finished her up).
Last edited by Knuckles1988; Jun 5, 2012 at 03:48 PM.
Thread Starter
|
Rookie
Joined: Jun 2011
Posts: 77
Likes: 0
From: Ketchum, Idaho
Thread Starter
|
Rookie
Joined: Jun 2011
Posts: 77
Likes: 0
From: Ketchum, Idaho
Thanks man. I'm excited for it. Feels great knowing I did the lift myself. Gives me extra pride in my truck compared to someone else with a lift. Figured I can always use it in an argument when someone tries to brag about their truck. "Yeah man your truck looks good with that 6" Skyjacker lift. How much did it cost you to install it?" "response." "Oh man that sucks, mine was free because I did it myself." Best believe I'll say it with a smile on my face the whole time 
Administrator
Joined: Jul 2007
Posts: 24,686
Likes: 21
From: South Georgia/East Florida
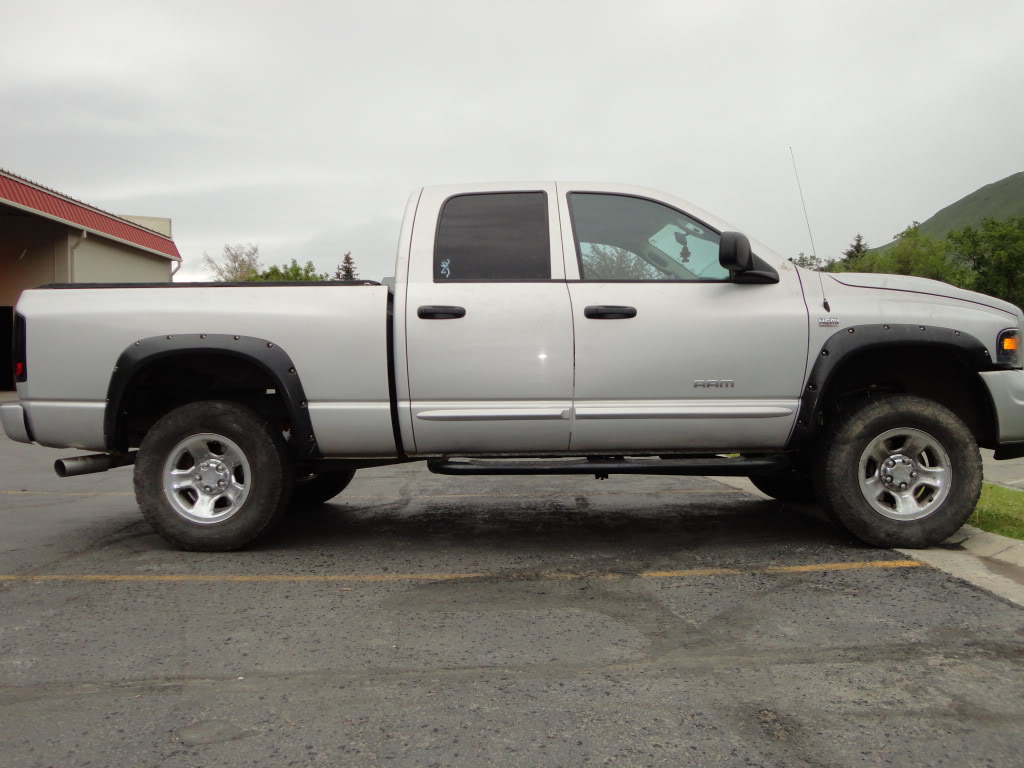
Very nice! Your 4x4 now looks like a 4x4 IMO!!!
Same as my kit except I opted for the red components since my truck is red and when I bought my kit back in '05, they were running a deal for free RS9000x shocks for free with it, but otherwise, the same...
Feel great when you do your sh*t yourself and don't have to pay crazy labor rates, don't it???