How to Perfecly Tint tail Lights
#1
I have the 07 ram and want to tint my tail light with vht night shades. I have looked on post on this site about doing this but havent found a step by step procces on this. If anyone can help me send me a link anything would be nice. I want them to look nice and shiny. i want be buff them and clear coat them and looks really nice without spending 150 at a shop to do it. I need a step by step procces on this. thanks guys.
#2
Ok, many have asked how to do this, so i figured i would show how to tint your tails, ONLY using VHT Nightshades and clearcoat from your local autoparts, and get great results.
now thru this i used no power tools or anything you cannot get locally and cheap from the autoparts, except the VHT nightshades, i ordered off the i-net
this is what i did, im sure plenty have their own methods, but that is them and this is me,
ok gather your materials:
1 - can of nightshades
1 - can of clearcoat (duplicolor was at my autozone)
1 - pack of 600 gritt wet-sandpaper
1 - pack of 2000 gritt wet-sandpaper
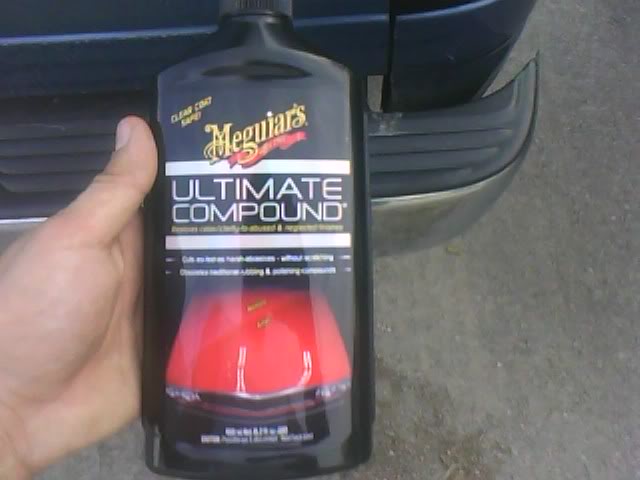
1 - bottle of a good rubbing compound ( meguiars ultimate compound is what i used)
few - paper towls
1 - rag to polish when done
1 - bucket with water
ALWAYS HAVE THE SANDPAPER WET WHILE SANDING!
ok to start ill show you pix of the products i used:

1st step - Wet sand your lense with the 600 gritt wet-sandpaper, i only use up and down and side to side motion, no swirling, make sure you have the entire lense dull, anything shiny will not grip the paint to well.
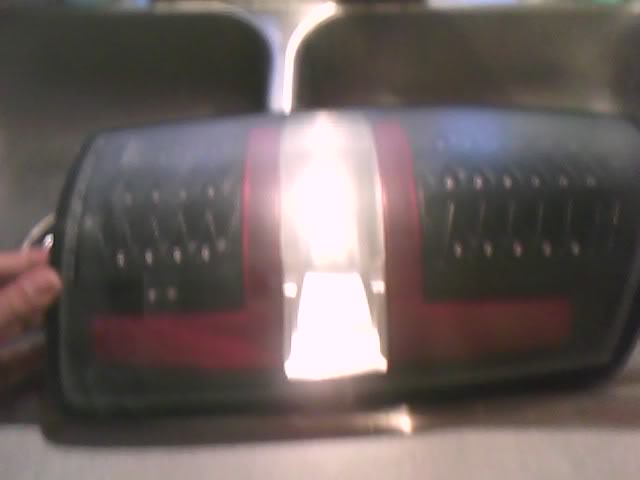
2nd step, you will need to wipe down your lens and make sure all residue from sanding is removed and you have a clean surface to paint.
3rd step - spraying the VHT Nightshades, i use thick heavy coats so that it is semi glossy after each coat, I let it sit for a few minutes, inbetween coats, this stuff dries fast so dont worry.
Pix of each coat of paint:
1 Coat
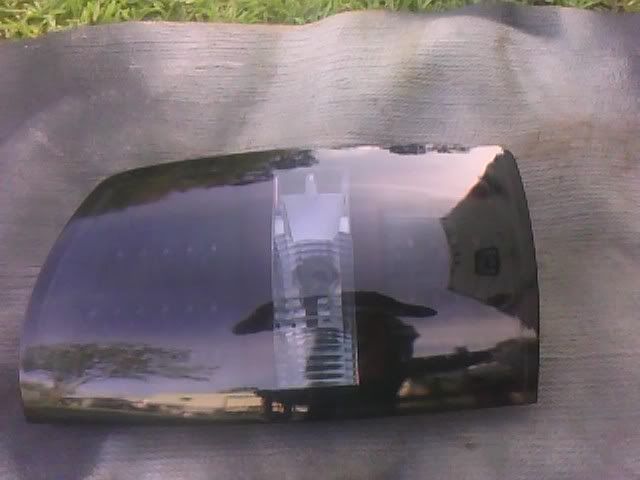
2 Coats
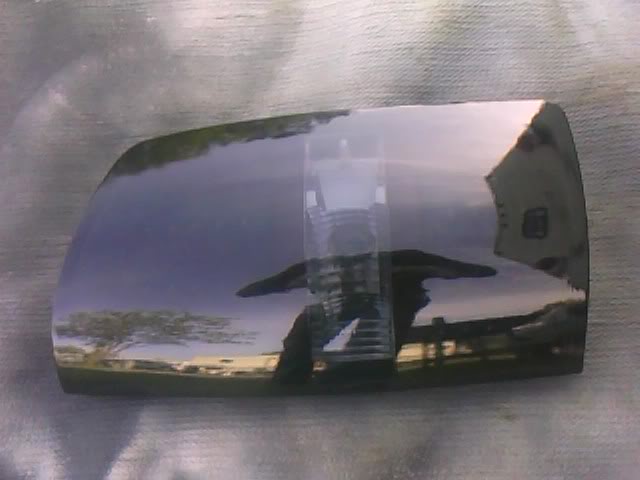
3 Coats
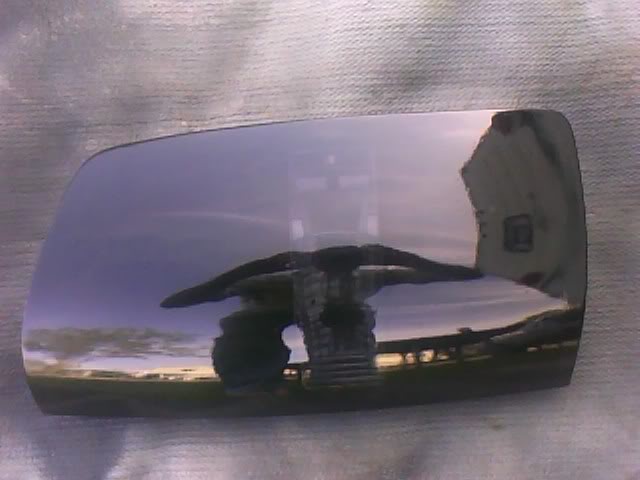
4th step - the clear coat, after about 10 min i started with the duplicolor clear coat, i spray it the same way as i do the paint, thick and heavy.
Pix of Clear Coats:
1 Coat
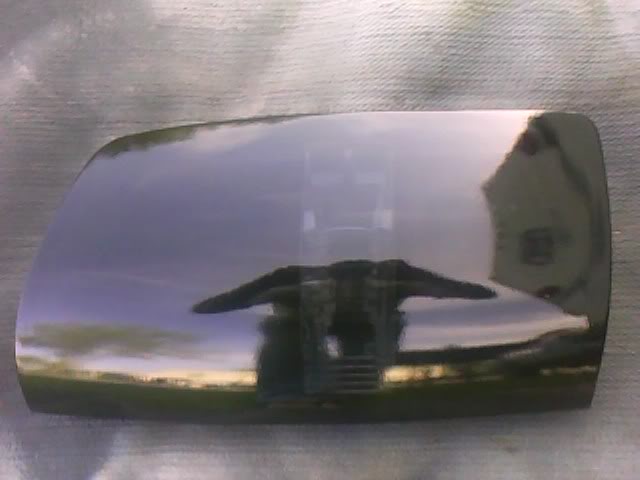
2 Coats
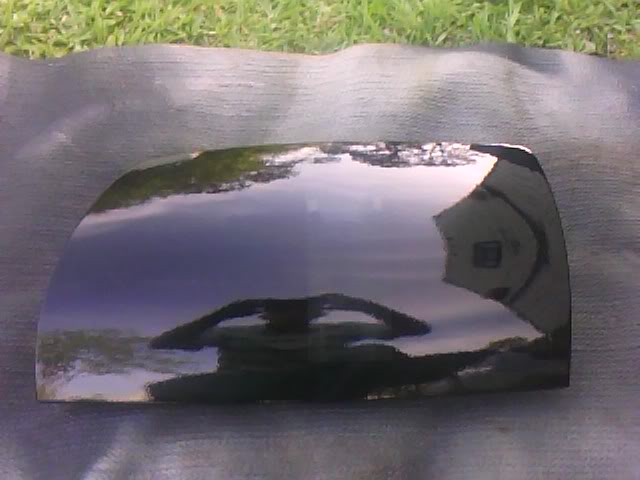
OK NOW FOR THE HIGH QUALITY PIX
when you are done you will wind up with a semi shiny set of tails, more than likely they will have a moderate amount of orange peel to them. (see pix)
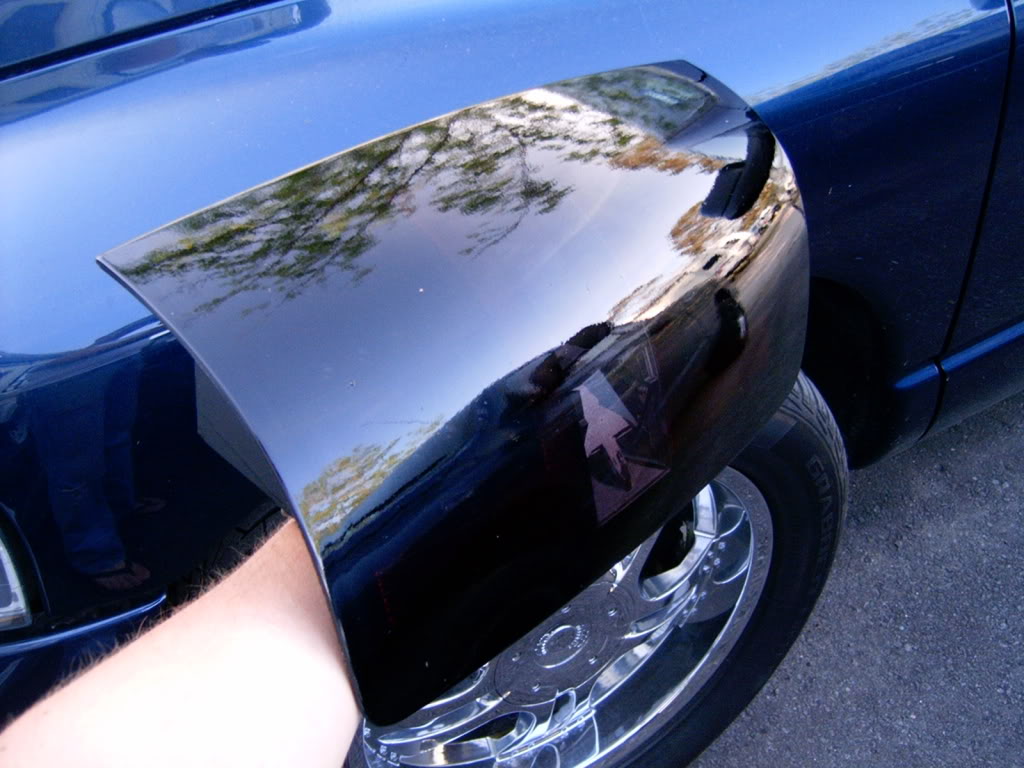
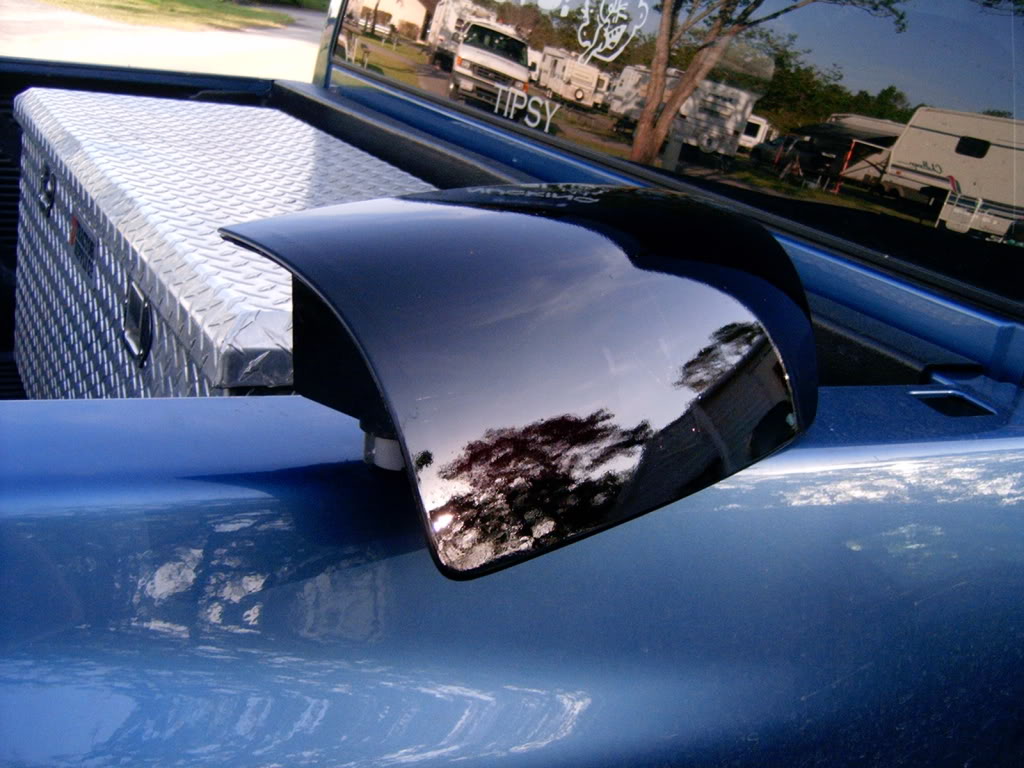
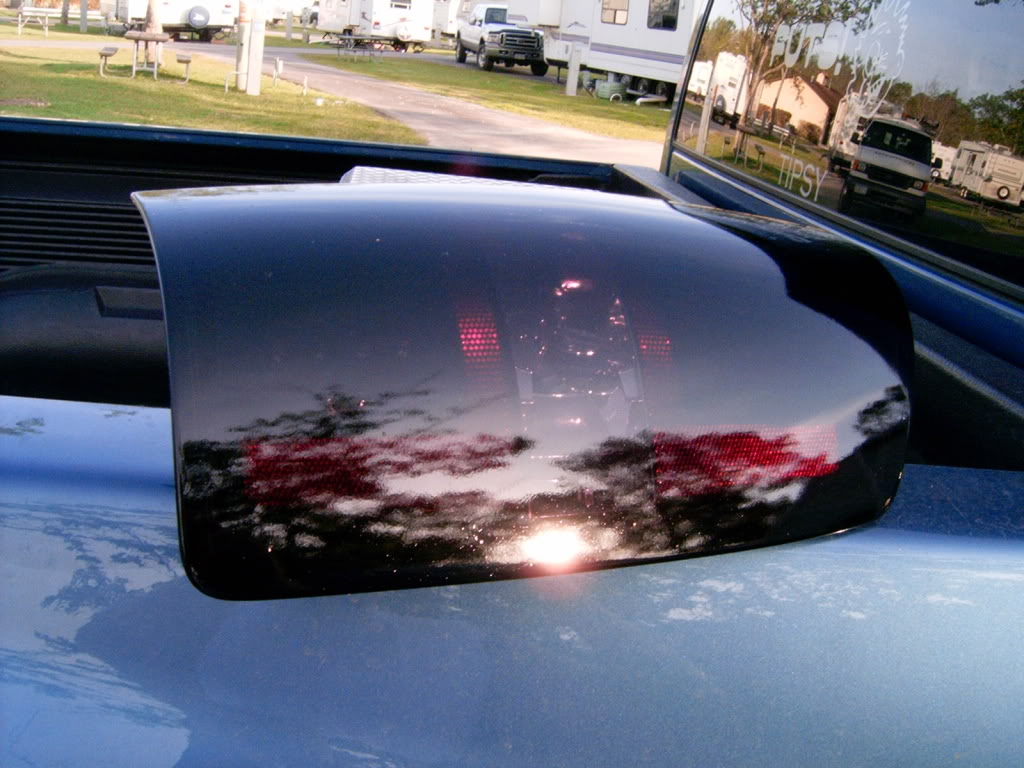
Step 5 - sanding with 2000 gritt sanpaper, after you have let the tails dry in the sun for about an hour, mine were fully dry, so to remove the orangepeel what you do is get your sandpaper and start sanding the clearcoat, be careful not to go thru the clear coat, but while sanding, wipe them clean frequently, so see how your doing, you will notice when you start sanding you will have a bunch of tiny shiny dots with a dull area around them, you are wanting to sand until all the little dots are gone and its perfectly smooth. (see pic)
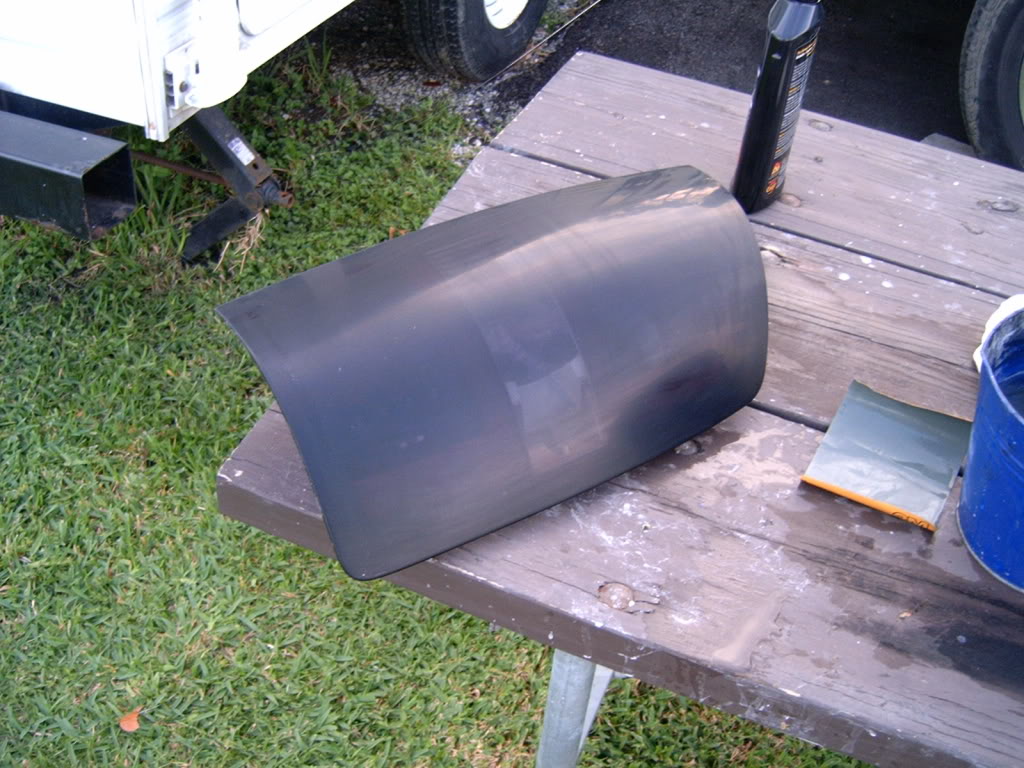
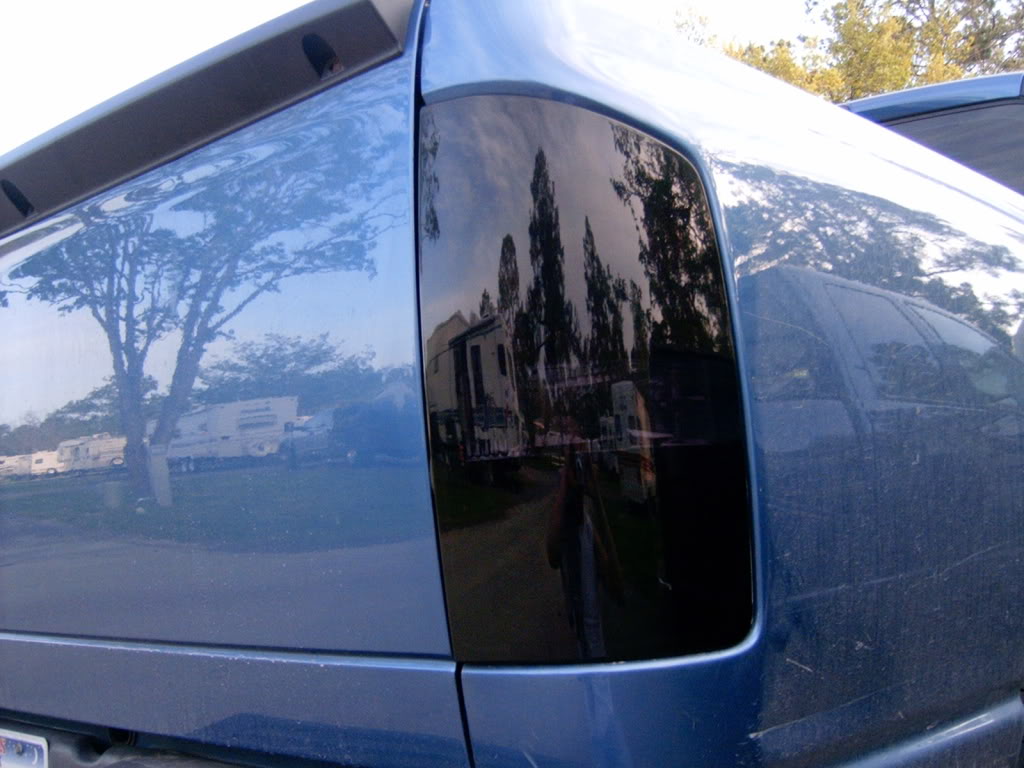
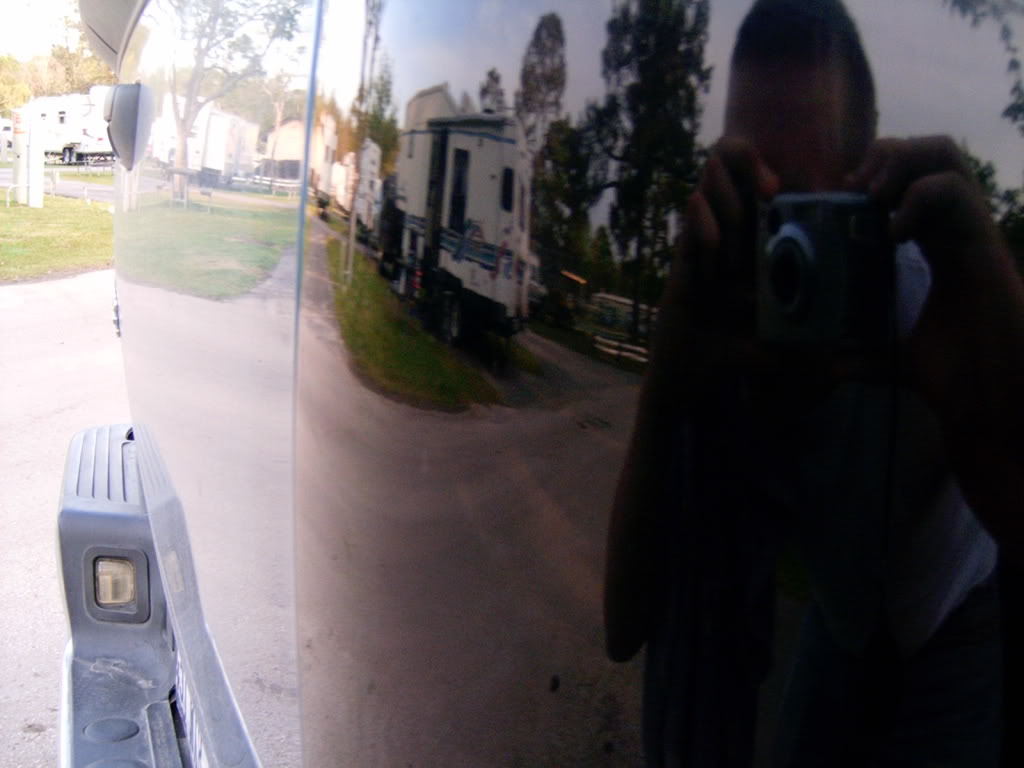
Step 6 - the final step - Polishing, i find it best to put em on the truck to polish them, now keeping this simple i polished by hand with my polish rag, use a generous amount of compound the more you polish the better your outcome, so dont be shy, after your done polishing, wipe em down with a clean cloth and stand back and admire your work.
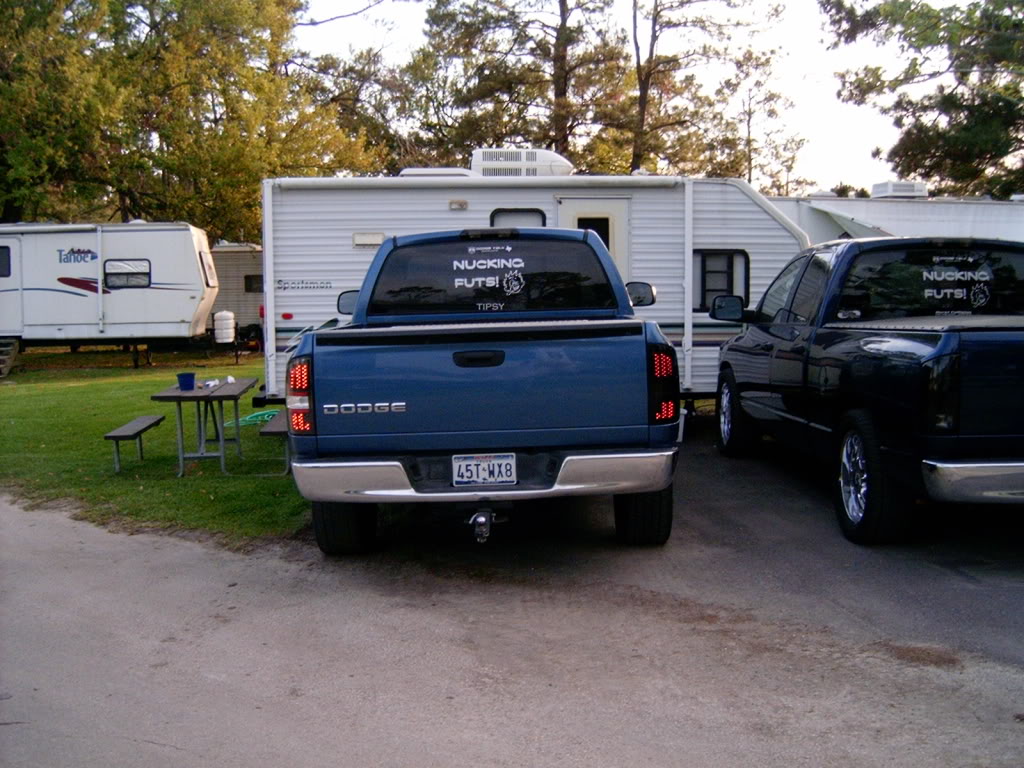
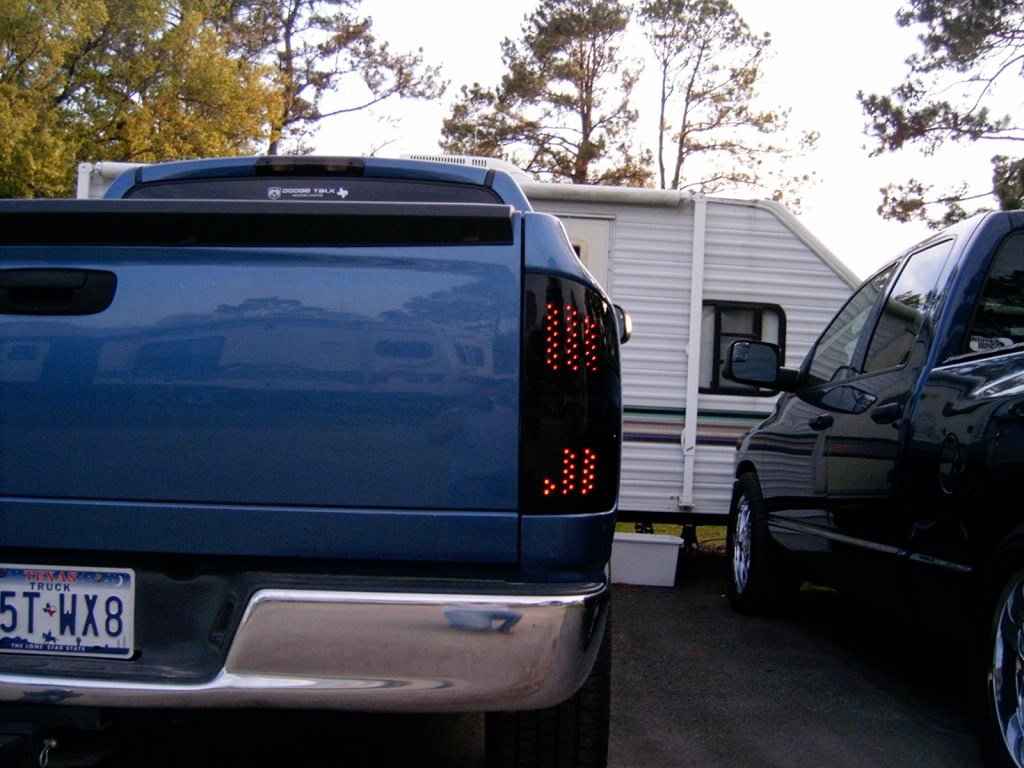
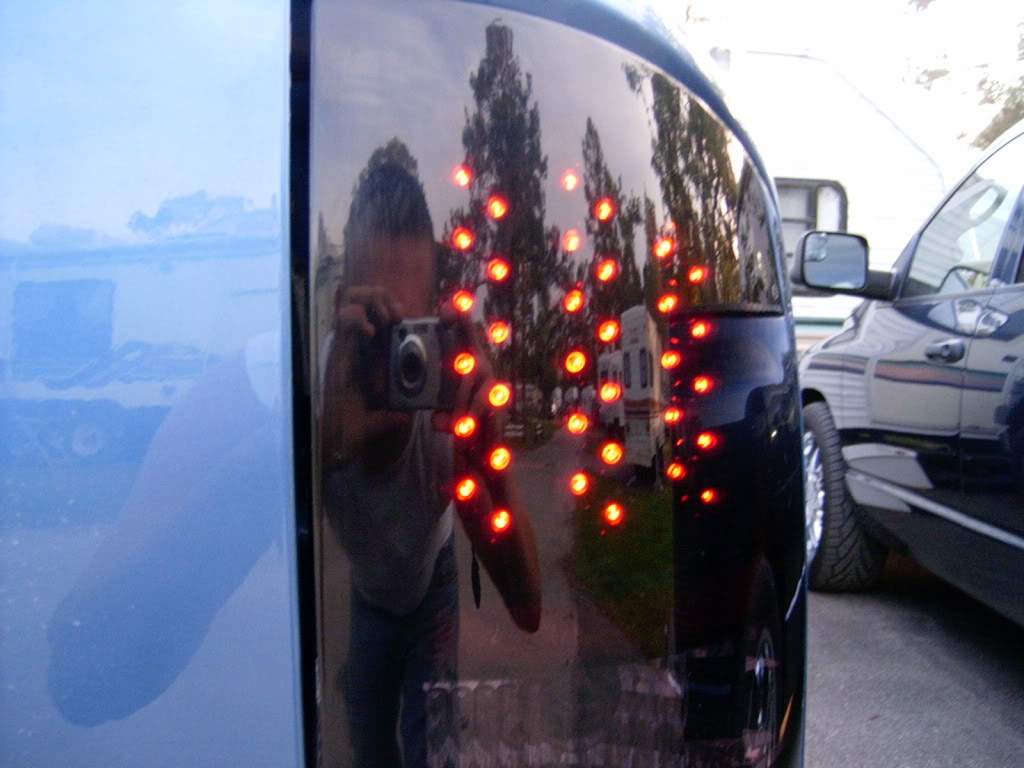
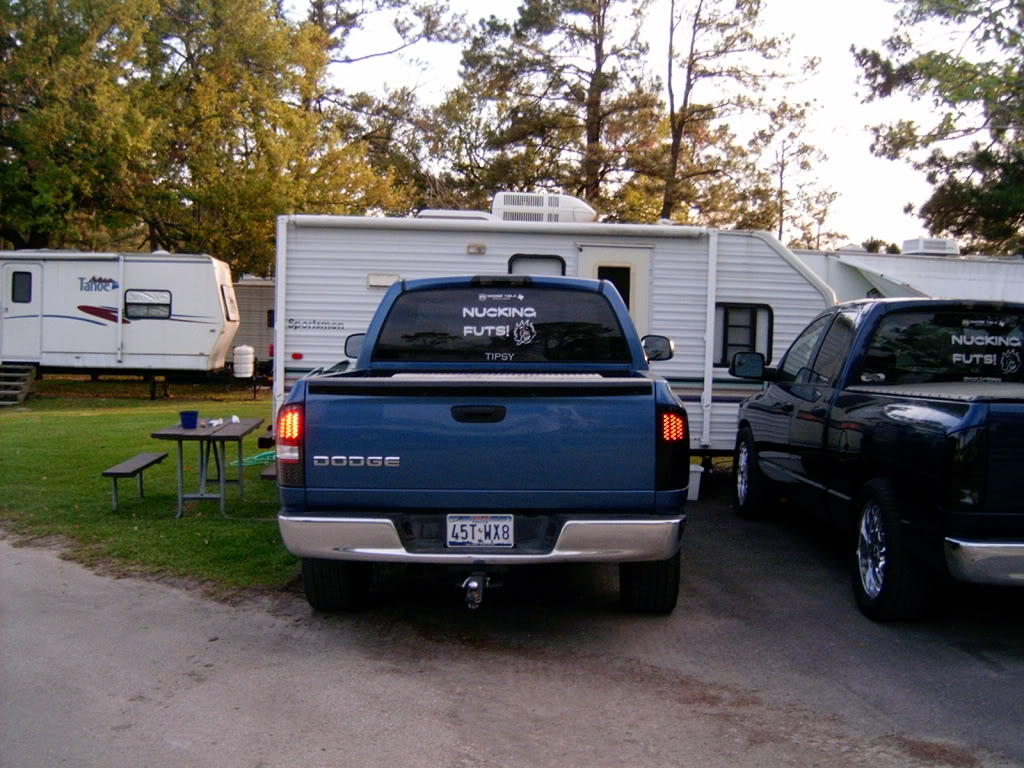
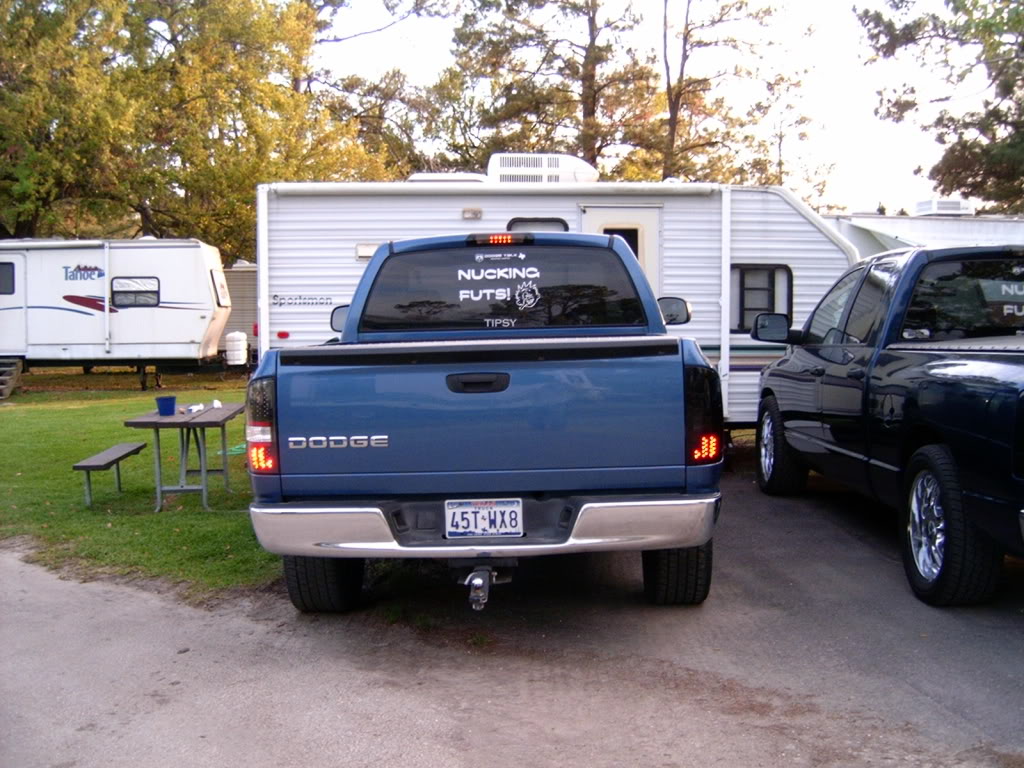
Finished Pix:
Compare to the untinted lense

now thru this i used no power tools or anything you cannot get locally and cheap from the autoparts, except the VHT nightshades, i ordered off the i-net
this is what i did, im sure plenty have their own methods, but that is them and this is me,

ok gather your materials:
1 - can of nightshades
1 - can of clearcoat (duplicolor was at my autozone)
1 - pack of 600 gritt wet-sandpaper
1 - pack of 2000 gritt wet-sandpaper
1 - bottle of a good rubbing compound ( meguiars ultimate compound is what i used)
few - paper towls
1 - rag to polish when done
1 - bucket with water
ALWAYS HAVE THE SANDPAPER WET WHILE SANDING!
ok to start ill show you pix of the products i used:


1st step - Wet sand your lense with the 600 gritt wet-sandpaper, i only use up and down and side to side motion, no swirling, make sure you have the entire lense dull, anything shiny will not grip the paint to well.

2nd step, you will need to wipe down your lens and make sure all residue from sanding is removed and you have a clean surface to paint.
3rd step - spraying the VHT Nightshades, i use thick heavy coats so that it is semi glossy after each coat, I let it sit for a few minutes, inbetween coats, this stuff dries fast so dont worry.
Pix of each coat of paint:
1 Coat

2 Coats

3 Coats

4th step - the clear coat, after about 10 min i started with the duplicolor clear coat, i spray it the same way as i do the paint, thick and heavy.
Pix of Clear Coats:
1 Coat

2 Coats

OK NOW FOR THE HIGH QUALITY PIX
when you are done you will wind up with a semi shiny set of tails, more than likely they will have a moderate amount of orange peel to them. (see pix)


Step 5 - sanding with 2000 gritt sanpaper, after you have let the tails dry in the sun for about an hour, mine were fully dry, so to remove the orangepeel what you do is get your sandpaper and start sanding the clearcoat, be careful not to go thru the clear coat, but while sanding, wipe them clean frequently, so see how your doing, you will notice when you start sanding you will have a bunch of tiny shiny dots with a dull area around them, you are wanting to sand until all the little dots are gone and its perfectly smooth. (see pic)

Step 6 - the final step - Polishing, i find it best to put em on the truck to polish them, now keeping this simple i polished by hand with my polish rag, use a generous amount of compound the more you polish the better your outcome, so dont be shy, after your done polishing, wipe em down with a clean cloth and stand back and admire your work.
Finished Pix:


Compare to the untinted lense


#5


