


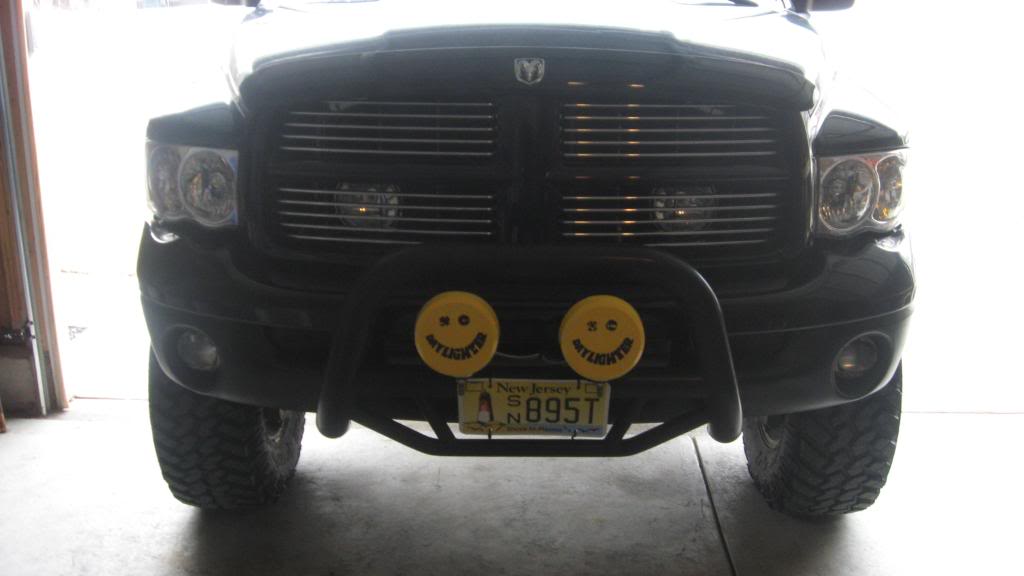
DIY: Eyelids (Finally did mine)

Thread Starter
|
Veteran
Joined: Aug 2007
Posts: 296
Likes: 0
From: Jersey Shore
I figured since i was painting my eyelids i would do a DIY on how to do them. Now this may not be the perfect way to go about painting them but it may help some.
Step 1:
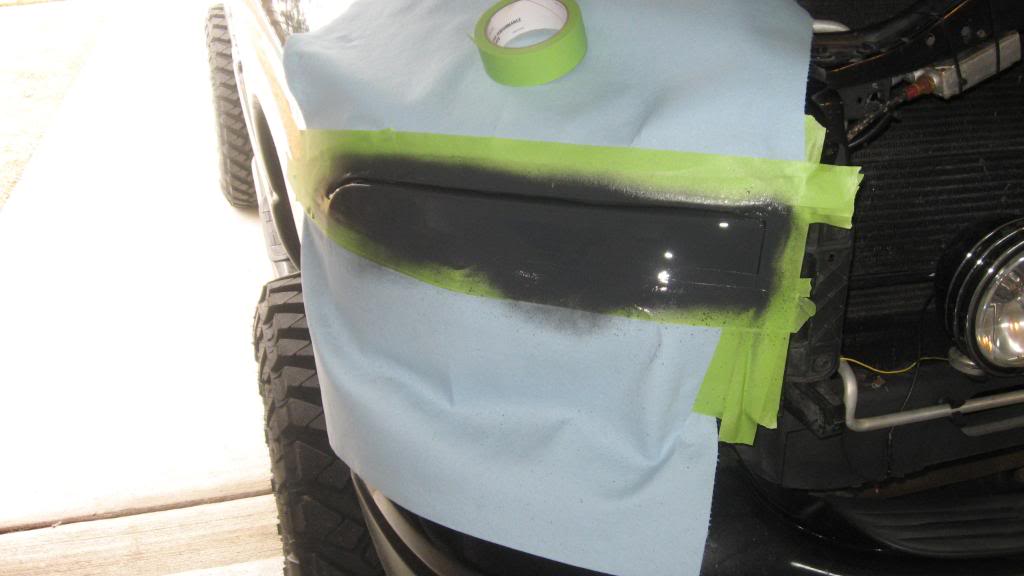
Go to your local auto store and get a primer, any color of paint you choose, and a clear coat. For tape I used 1/2" and 1 1/2' green painters tape along with the use of shop towels. Also i used 320 grit sandpaper for the headlight.
Step 2:
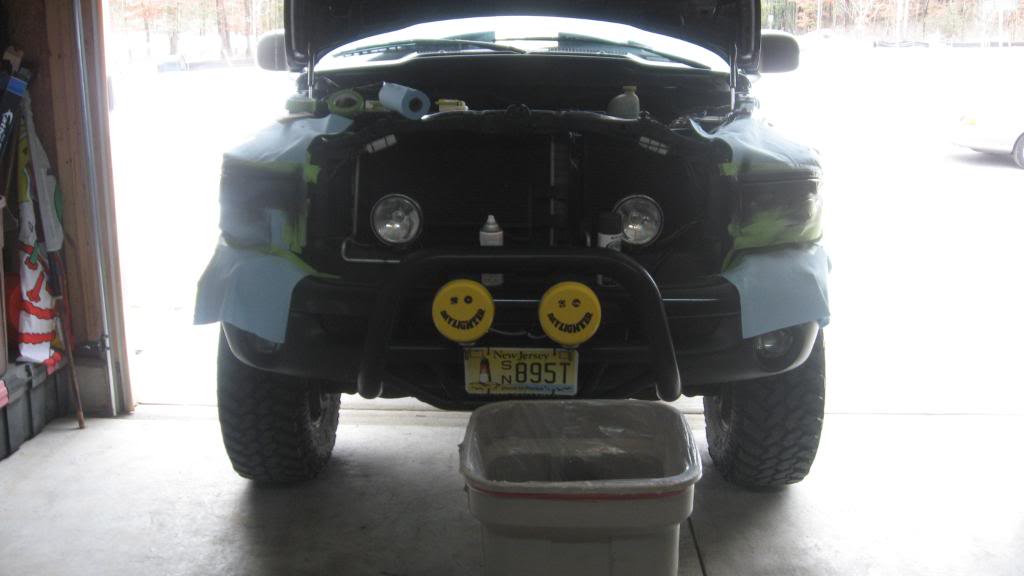
Pull your truck into your garage or in your driveway where ever your going to paint them. I used my garage, well couldnt get it all the way in but you can see.
Step 3:
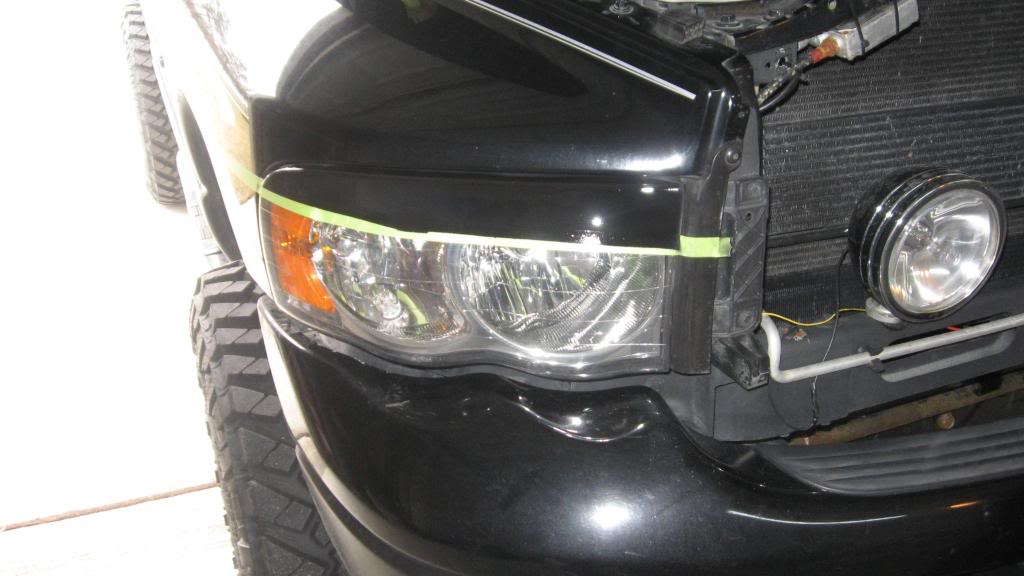
Tape off the surrounding areas around the headlight so you dont get overspray on the rest of the truck. Also you can use shop towels to cover wide areas instead of using alot of tape.
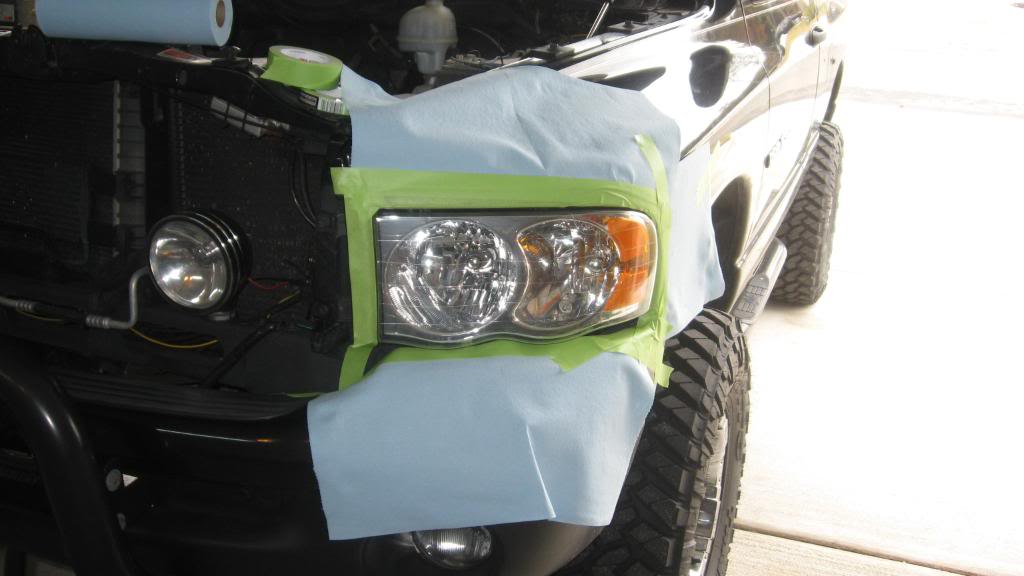
Step 4:
Tape off the area you would like to paint. Now this may vary depending on your liking or however you want to paint your headlights but this is my area im going to be painting.
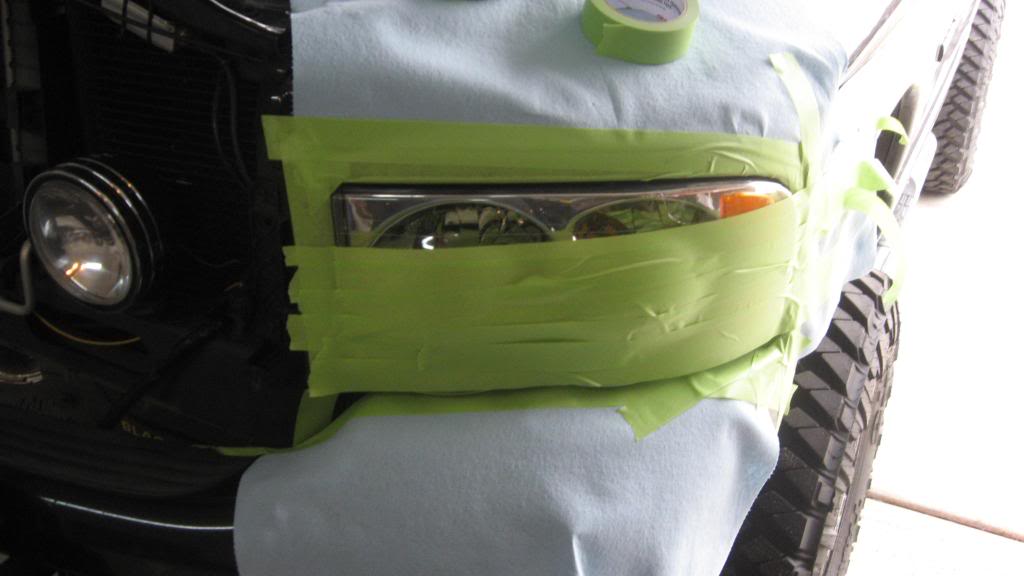
Step 5: (maybe optional)
This is were i used the 320 grit sandpaper to lightly scuff the headlight to allow for the primer to have a good surface to stick to. Now dont apply the paint right after you sand, take a damp rag and wipe off the dust from the sanding.
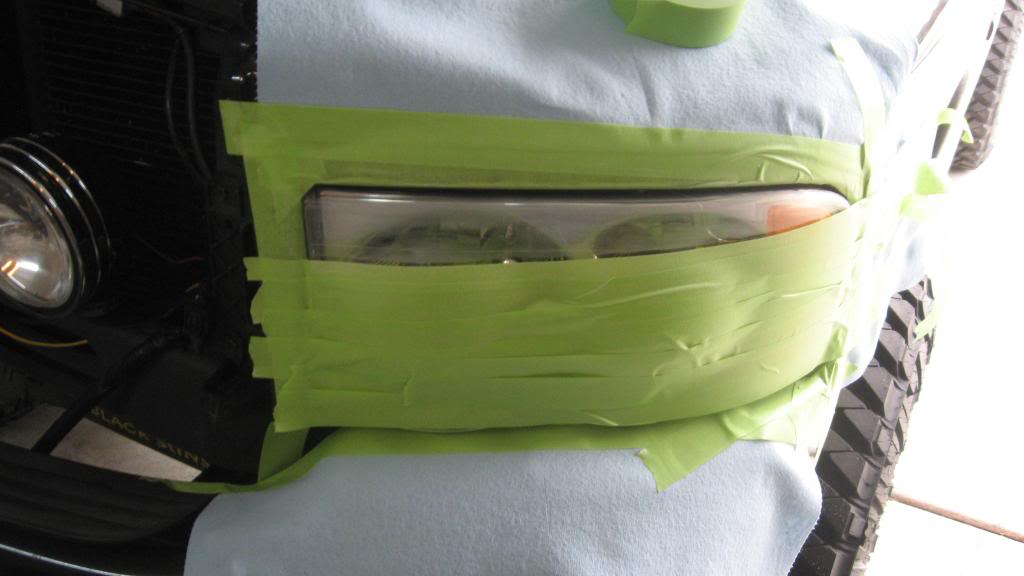
Step 6:
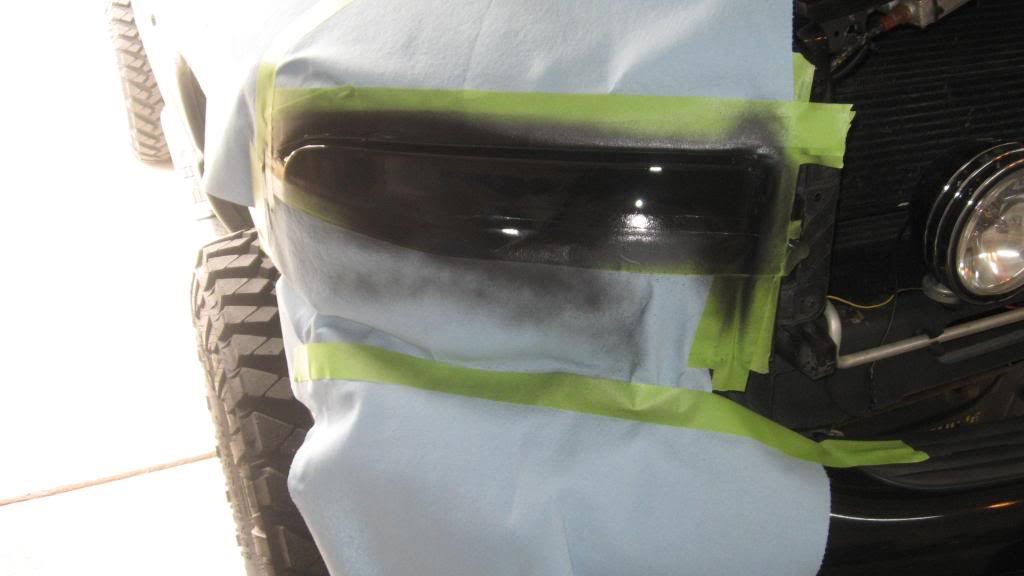
Now that youve completed all the above steps, now its time to apply the primer. Hold the can about 14" away from the truck (follow directions on spray can). Let stand according to paint you are using and apply second coat
Step 7:
I waited about 1 hour to apply the paint to the primer (once again use recommended dry times on spray can). My truck is black so i opt with the black paint to paint the lights with.
Step 8:
Once i again i waited about 1 hour to apply clear coat. 1 light coat then 1 heavy coat (as per can).
Step 9:
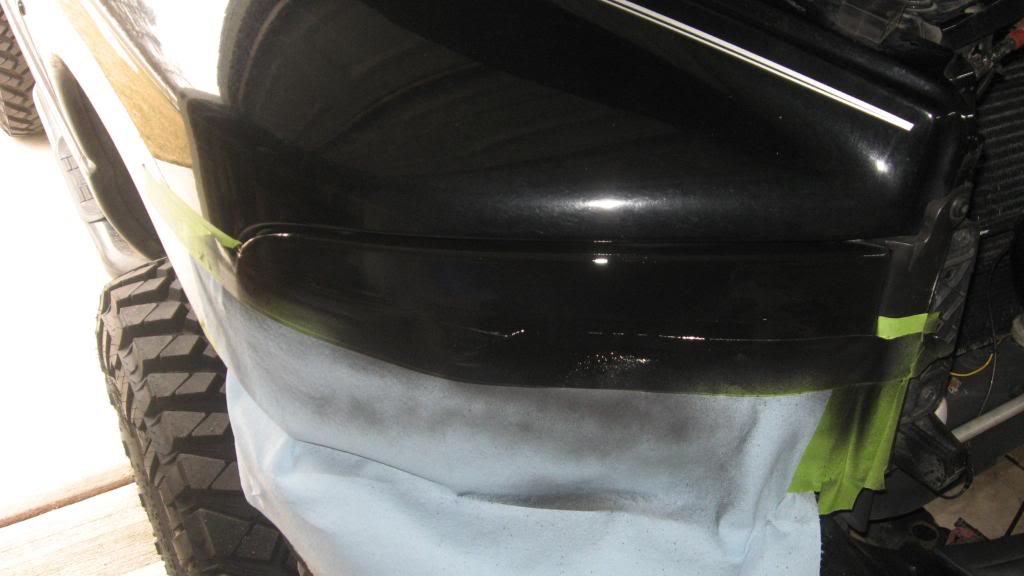
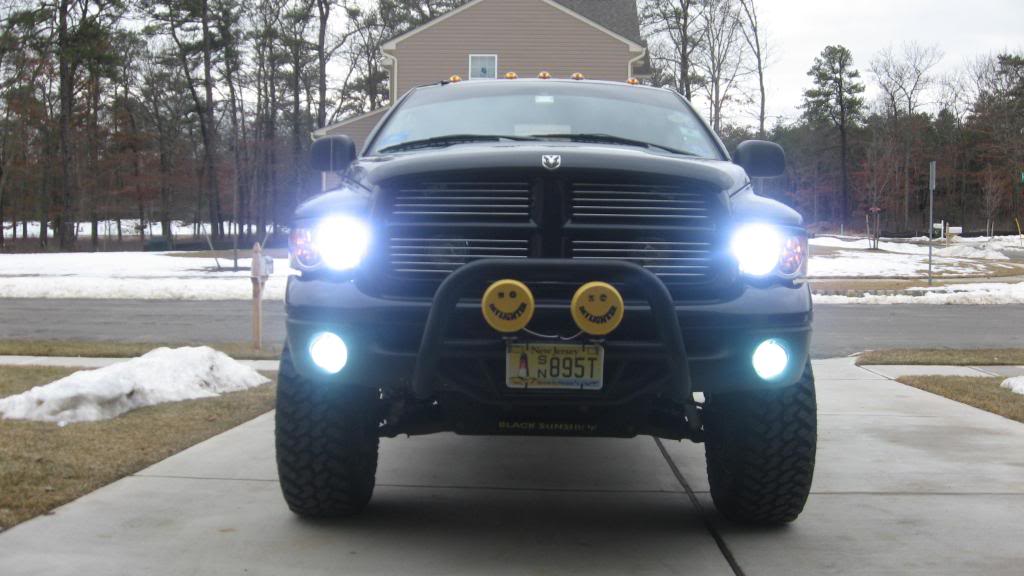
Remove tape and towels and enjoy the final product!!

Now it may affect your headlights but my hids arent really affected:
Step 1:
Go to your local auto store and get a primer, any color of paint you choose, and a clear coat. For tape I used 1/2" and 1 1/2' green painters tape along with the use of shop towels. Also i used 320 grit sandpaper for the headlight.
Step 2:
Pull your truck into your garage or in your driveway where ever your going to paint them. I used my garage, well couldnt get it all the way in but you can see.
Step 3:
Tape off the surrounding areas around the headlight so you dont get overspray on the rest of the truck. Also you can use shop towels to cover wide areas instead of using alot of tape.
Step 4:
Tape off the area you would like to paint. Now this may vary depending on your liking or however you want to paint your headlights but this is my area im going to be painting.
Step 5: (maybe optional)
This is were i used the 320 grit sandpaper to lightly scuff the headlight to allow for the primer to have a good surface to stick to. Now dont apply the paint right after you sand, take a damp rag and wipe off the dust from the sanding.
Step 6:
Now that youve completed all the above steps, now its time to apply the primer. Hold the can about 14" away from the truck (follow directions on spray can). Let stand according to paint you are using and apply second coat
Step 7:
I waited about 1 hour to apply the paint to the primer (once again use recommended dry times on spray can). My truck is black so i opt with the black paint to paint the lights with.
Step 8:
Once i again i waited about 1 hour to apply clear coat. 1 light coat then 1 heavy coat (as per can).
Step 9:
Remove tape and towels and enjoy the final product!!
Now it may affect your headlights but my hids arent really affected:


Veteran
Joined: Aug 2008
Posts: 498
Likes: 1
From: Langley, B.C. Canada
holy crap silver your truck looks like its gonna pass out!! Looks good OP, I really like those tires!! What did the rims and tires put you back if you dont mind me asking?
Trending Topics
Record Breaker
Joined: Nov 2008
Posts: 2,273
Likes: 1
From: Pierce County, Wa
dang silver, I dont know if thats angry or asian! LOL, that's probably the biggest angle I've seen of those heads.
Nice work, and good DIY senseless, you need to get a vid up with those strobes you have though
Nice work, and good DIY senseless, you need to get a vid up with those strobes you have though
Thread Starter
|
Veteran
Joined: Aug 2007
Posts: 296
Likes: 0
From: Jersey Shore
Tires i got from my local auto shop for 299 a tire. Rims i got from a buddy of mine i had srt10 replicas with 35" nitto mudds that i traded him for the Motos with 33" Maxxis tires. I just replaced the tires last week. So total i spent around 1300 with tax for tires