


First Part done Of rhino Lining Bull Bar.

Thread Starter
|
Captain
Joined: Sep 2009
Posts: 524
Likes: 0
From: boston,Ma
So I started My proccess of rhino lining my bull bar today. Its not done but the sanding is. All you people with the infor yesturday was great. I started sanding at 230 and stoped at 7. A long time But i think is ok. You people said to really scuff it up. I used 400 gritt Paper as only my auto store had. Then used 200 gritt to really dig in and back to 400. I also used a wheels paint stripper to try and get the blue paint off. I thought it was painted on but now i think it was p/c on, That blue paint wont come damm off. I got alot of parts to bare metal and sanded the *** out of it for 4 and a half hours. I went crazy. Tomorrow i will use some de greaser to clean it and then start the spray painting of the truck rhino bed coating. Im not really good at painting but took all of your infor guys and hope it comes out good.I know this is long story but Im just glad i got the first big part of sanding done. Im happy. Thanks guys. Will post pics when its done.
This pic is when I frist started sanding.
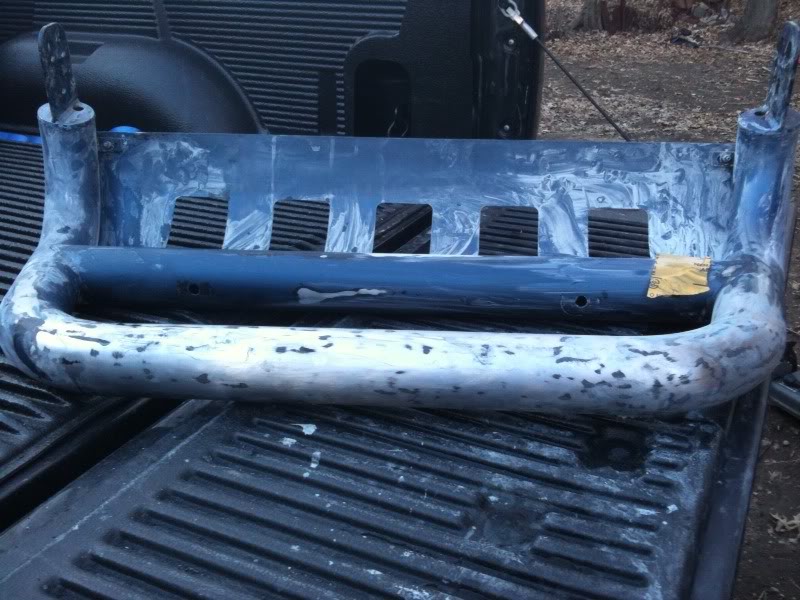
As you can see This is going to be how i paint it. You can still see blue paint on it but I sanded the heck out of it for hours, Used everything even some paint stripping luqid that guy at auto store said. hope thats ok?
This pic is when I frist started sanding.
As you can see This is going to be how i paint it. You can still see blue paint on it but I sanded the heck out of it for hours, Used everything even some paint stripping luqid that guy at auto store said. hope thats ok?
Veteran
Joined: Feb 2010
Posts: 281
Likes: 0
From: Minnesnowta
agreed. looking forward to seeing the end result
Veteran
Joined: Jan 2009
Posts: 355
Likes: 0
From: Dixon
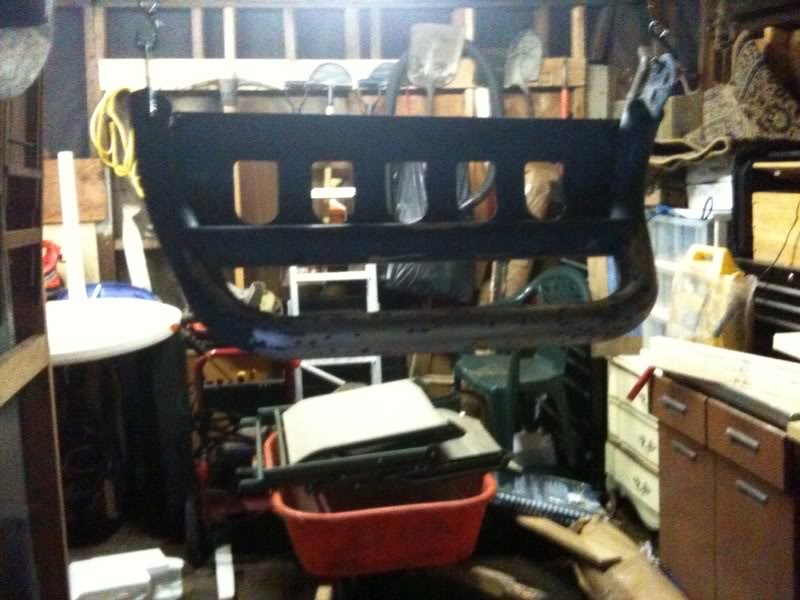
I would get a roll of plastic and make yourself a little paint booth or you are gonna get over spray on everything in that picture if that is where you are gonna spray it at. just staple it to the ceiling and let it hang down will make clean up after you are done spraying alot easier also.

Banned
Joined: Jun 2008
Posts: 5,343
Likes: 0
I would get a roll of plastic and make yourself a little paint booth or you are gonna get over spray on everything in that picture if that is where you are gonna spray it at. just staple it to the ceiling and let it hang down will make clean up after you are done spraying alot easier also.