


My 9.25 Ring and Pinion Change


Thread Starter
|
Captain
Joined: Mar 2012
Posts: 597
Likes: 33
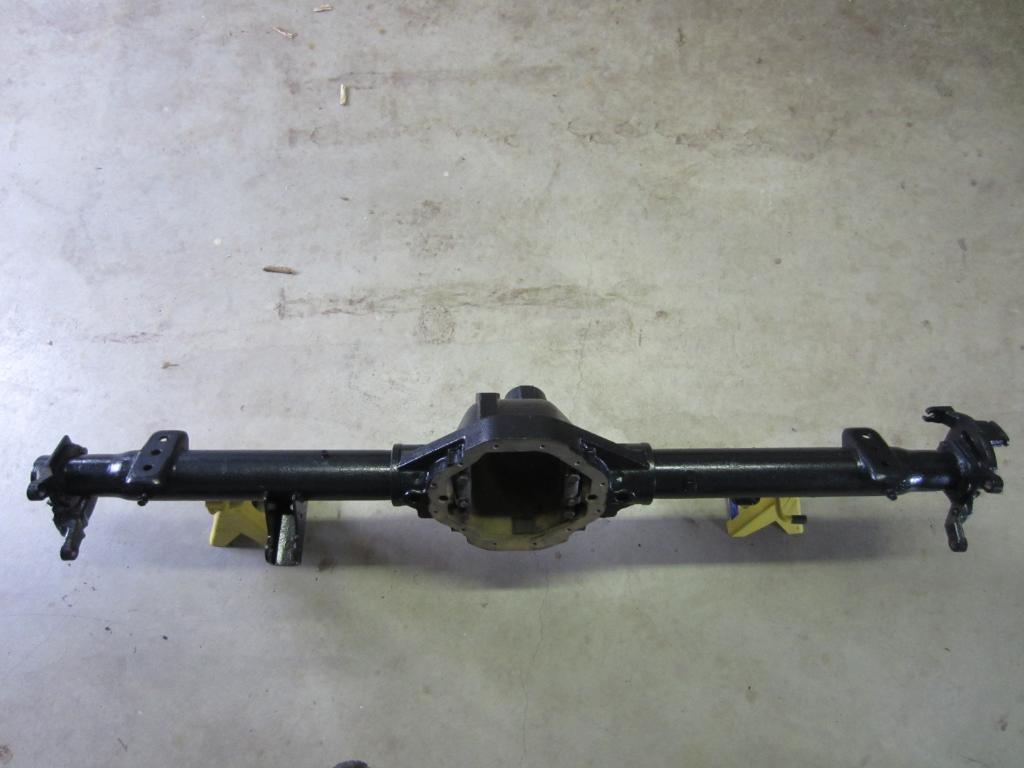
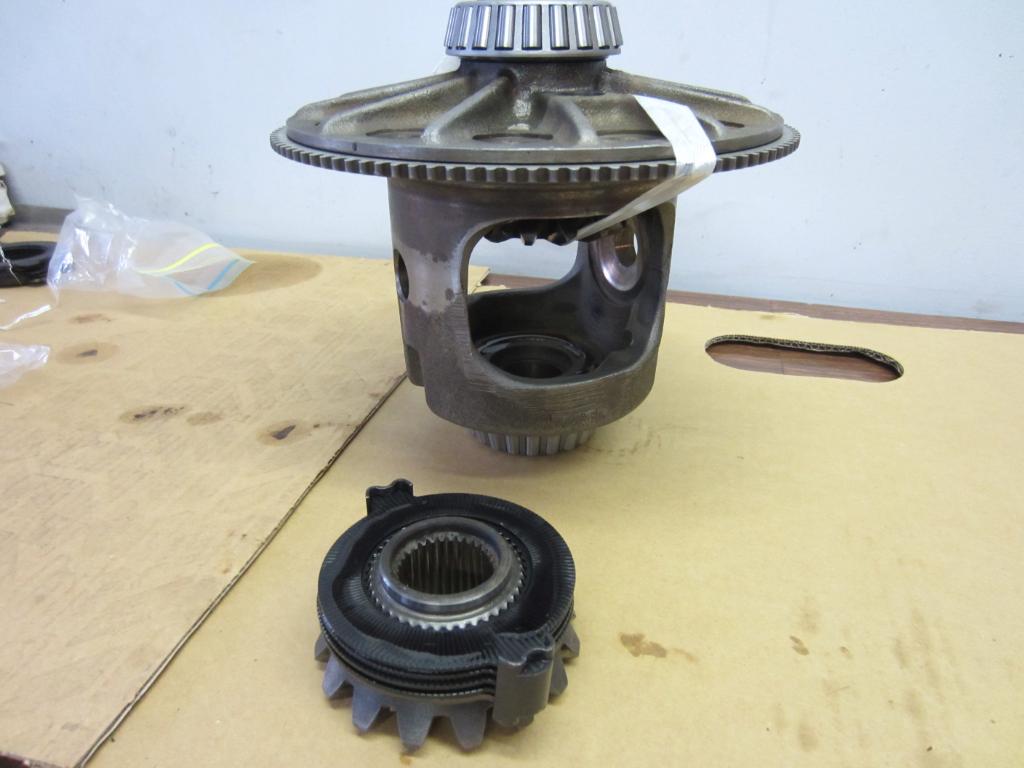
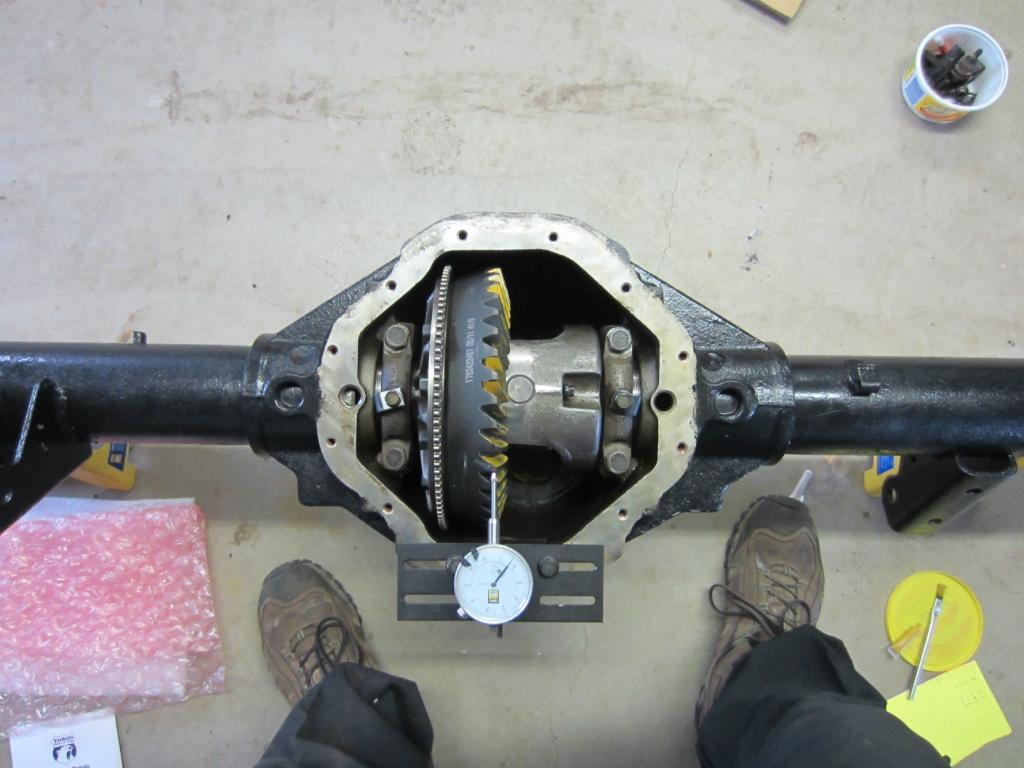
Hi Everyone, Im relatively new to the forum. This forum and a few of its members have helped me and my decision to jump to a 4.56 gear ratio and give it a try for towing my RV. As a way of giving back to this forum, I have lots of pictures of my gear change. My at home DIY. I can offer up my pictures for anyone curious or looking for info.
For what its worth, this is MY plan. I did not want to jump in and do a gear change in both the front and rear axles. I am going to have a "summer" rear axle with 4.56 gears and remove the front drive shaft when using this rear end.
When I need four wheel drive in the winter, Im going to switch back to the original differential with the 3.92 gears.
So, I found a separate rear differential to rebuild.
I have picked some pictures to add in here of what I think is important...and the questions I had before my research.
Feel free to PM me if I can help anyone or inform of my experiences.
I wont be installing my rebuilt rear end for a couple of weeks. I will be towing soon, and I need to break the new gears in without towing.
Champion
Joined: Nov 2005
Posts: 2,875
Likes: 1
From: North Eastern England
All that work and your putting that crummy stock LSD back in there?
BTW Did you use the "updated" clutch pack retaining clips?
This is all a great idea and good luck and thanks, for the info and pics. Keep the info coming please.
Al.
BTW Did you use the "updated" clutch pack retaining clips?
This is all a great idea and good luck and thanks, for the info and pics. Keep the info coming please.
Al.
Thread Starter
|
Captain
Joined: Mar 2012
Posts: 597
Likes: 33
I knew that comment would come sometime. Didnt expect it to be first reply.
Yes, obviously Im putting that crummy stock LSD back in. YES I have read about the issues including the ones with the retaining clips.
Yes, obviously Im putting that crummy stock LSD back in. YES I have read about the issues including the ones with the retaining clips.
Moderate User


Joined: Oct 2008
Posts: 17,003
Likes: 21
From: Albany, NY
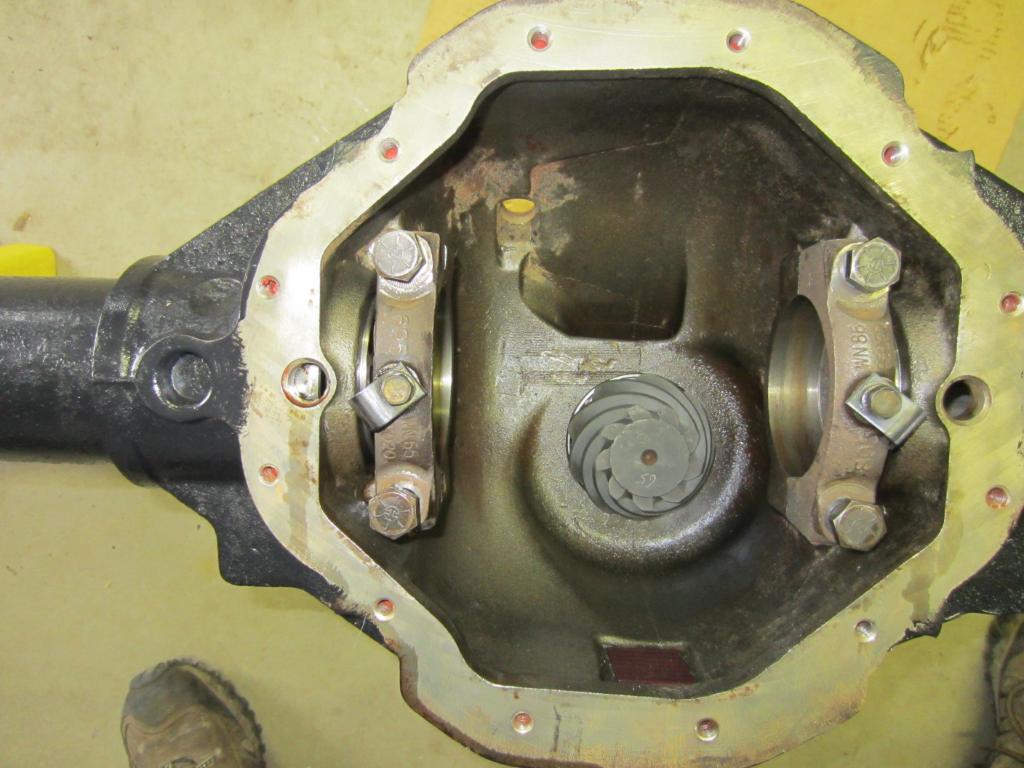
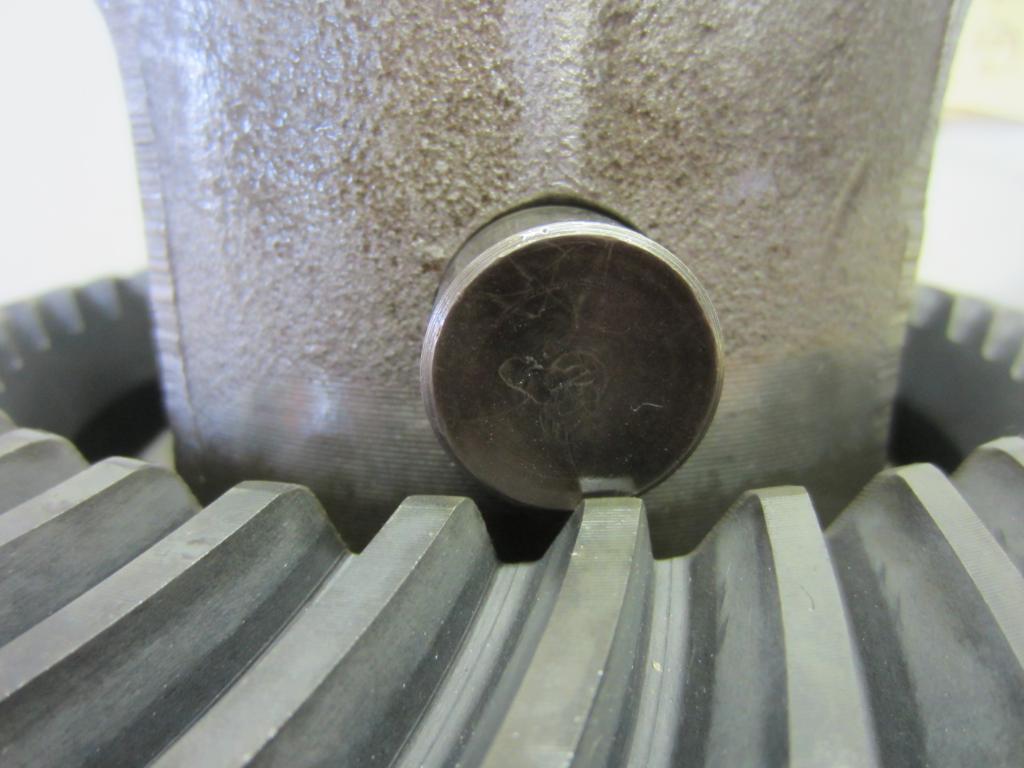
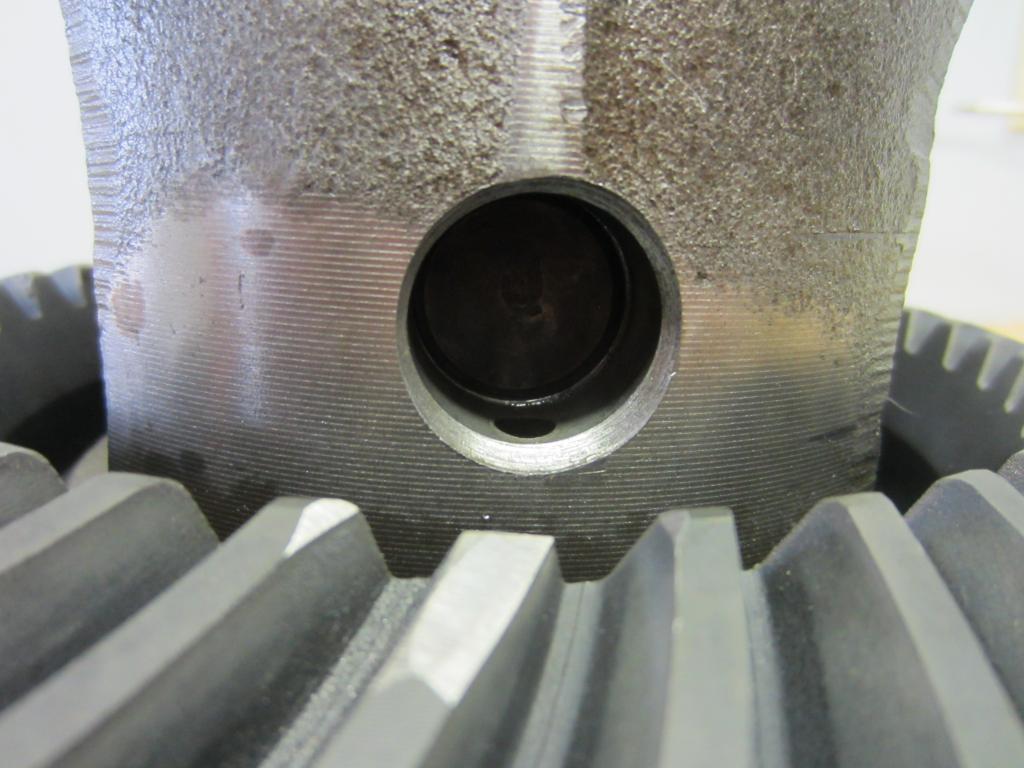
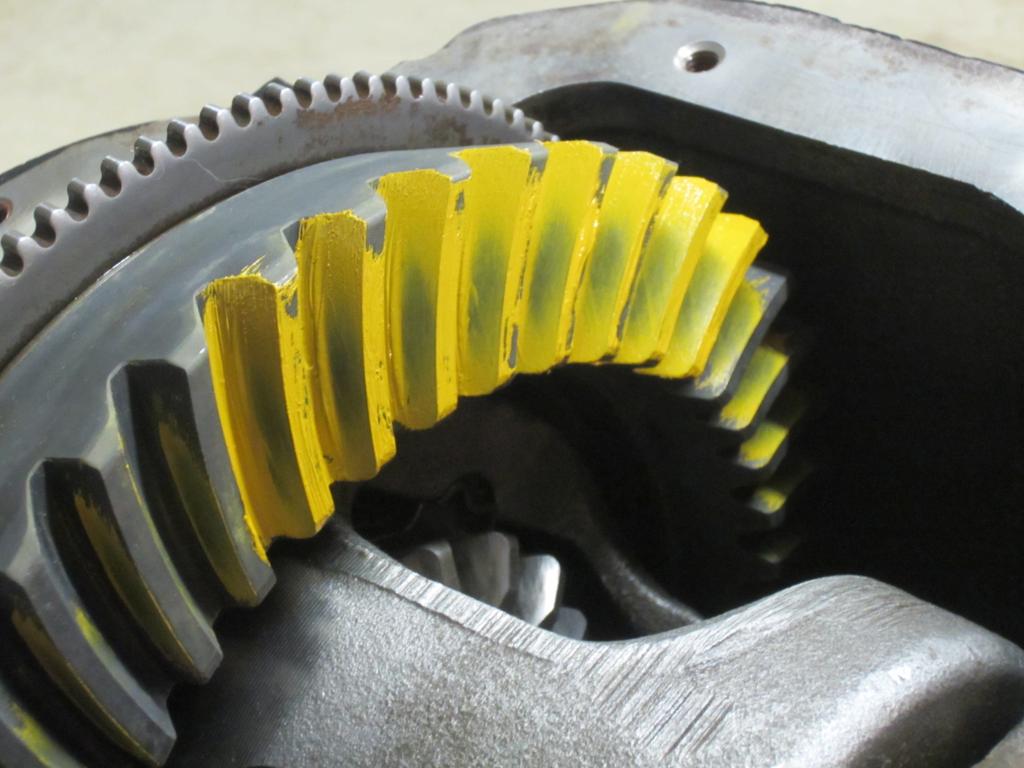
Nice job. Nice pattern, how's the coast side pattern?
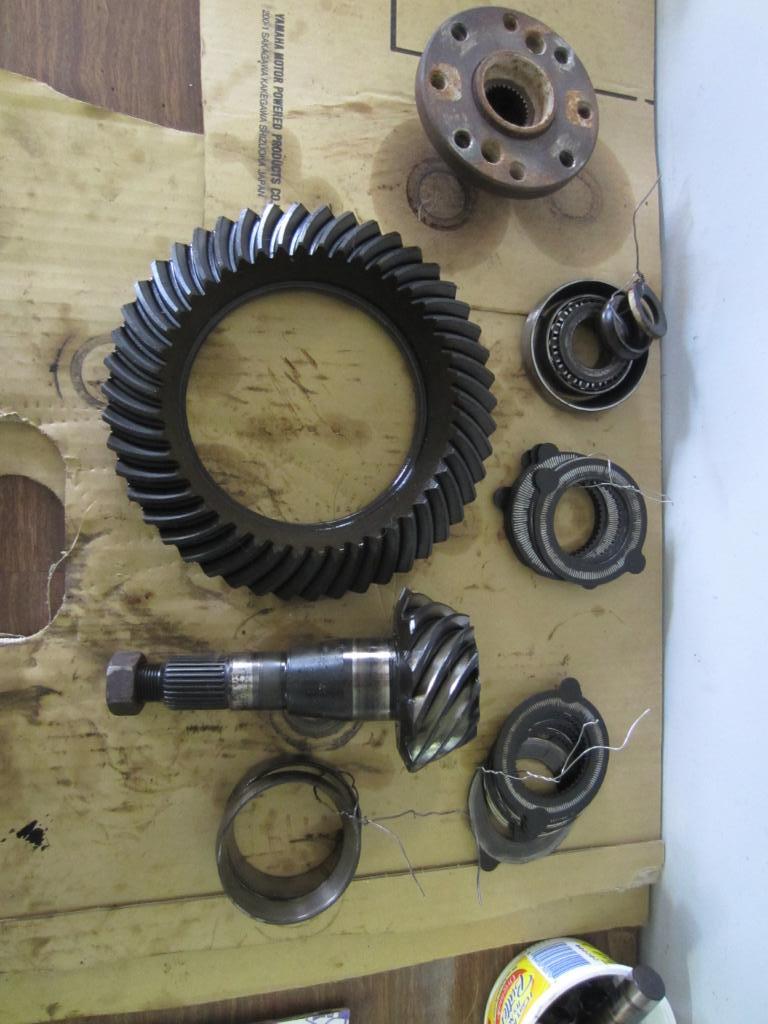
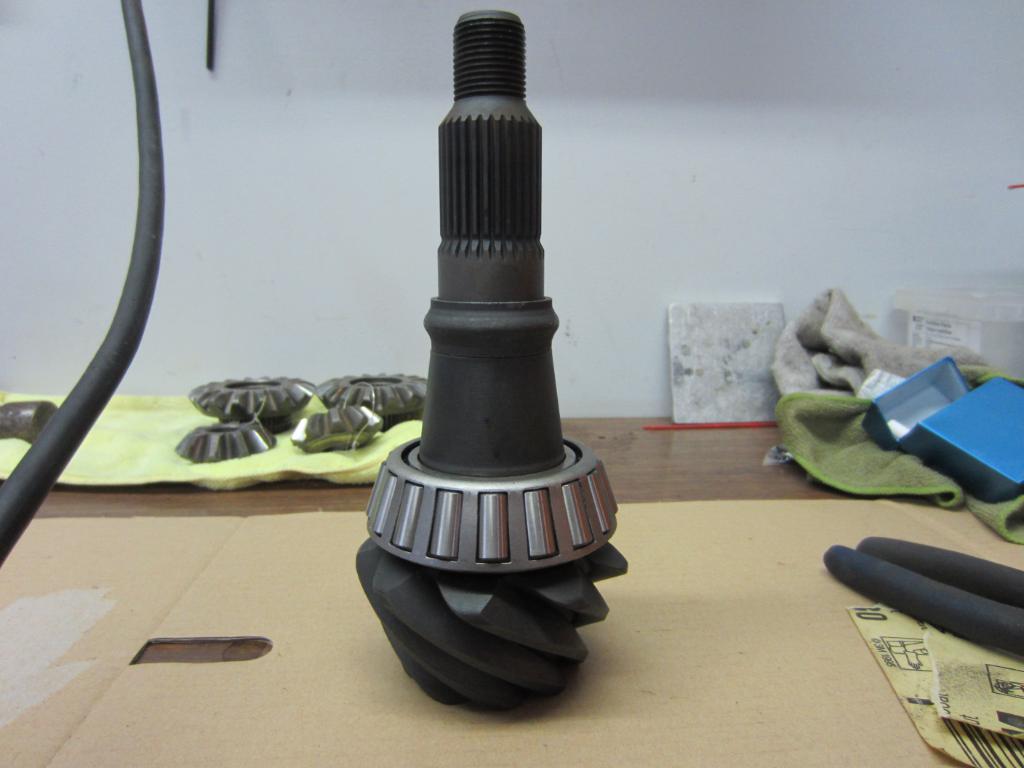
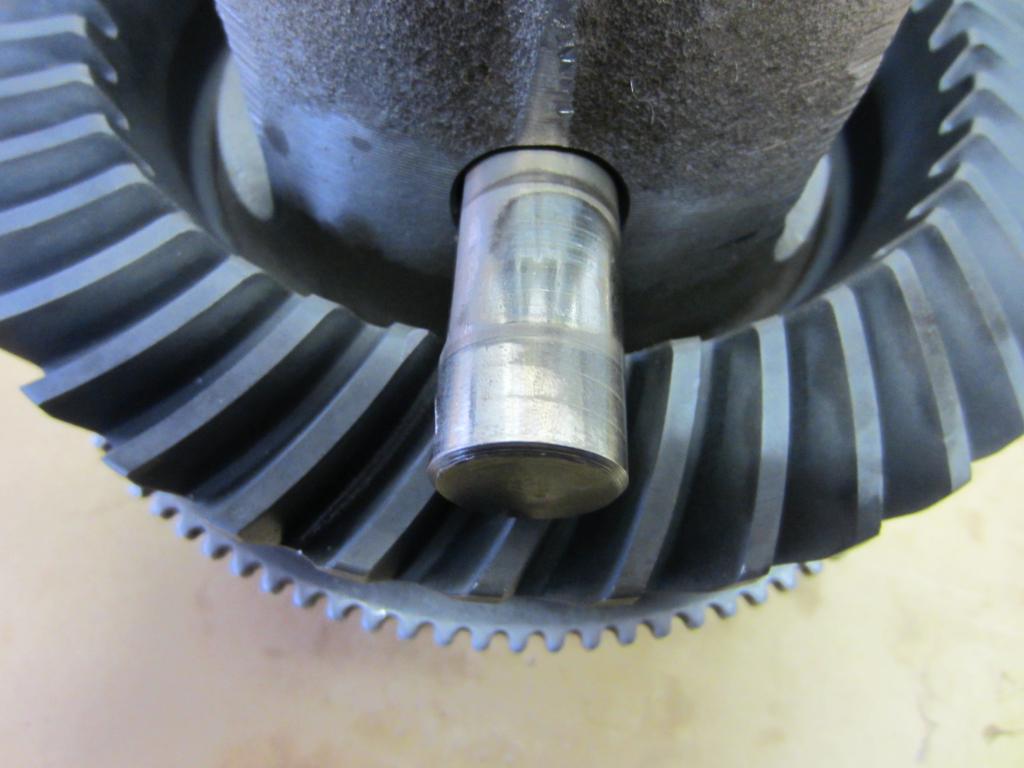
I just would like to point out to the others for anyone who plans on doiing this. Installing the pinion bearing, crush collar and dropping it into place is not as easy as 1-2-3. The shims are between the pressed on bearing and the gearhead, so finding the right one can cause you to damage the bearing when removing it(sometimes needed) and the crush collar may need to be replaced(sometimes) if you have a bad tooth mesh. Most times, you can measure the thickness of the pinion gear and use the same shim if any were on the old one.
Just though I'd point that out.
Thread Starter
|
Captain
Joined: Mar 2012
Posts: 597
Likes: 33
Coast side pattern looks good too. Not quite as centred as drive side. But Im happy.
In my research, I learned alot of tech's use the original shim from beneath the pinion bearing. I tried the same, and voila!
I came up with some different ideas for holding pinion flange while collapsing the collar and obtaining the correct pinion preload. For what its worth, I also learned alot of techs go by "feel" and experience when doing pinion bearing preload. I did use a lb/in torque wrench.
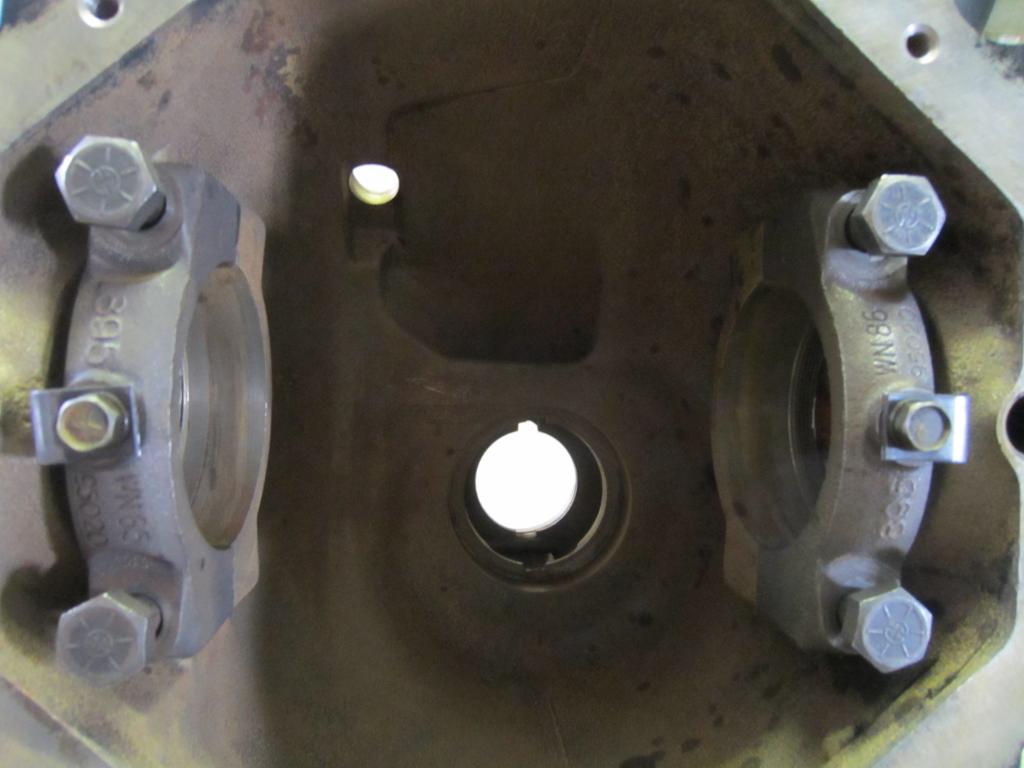
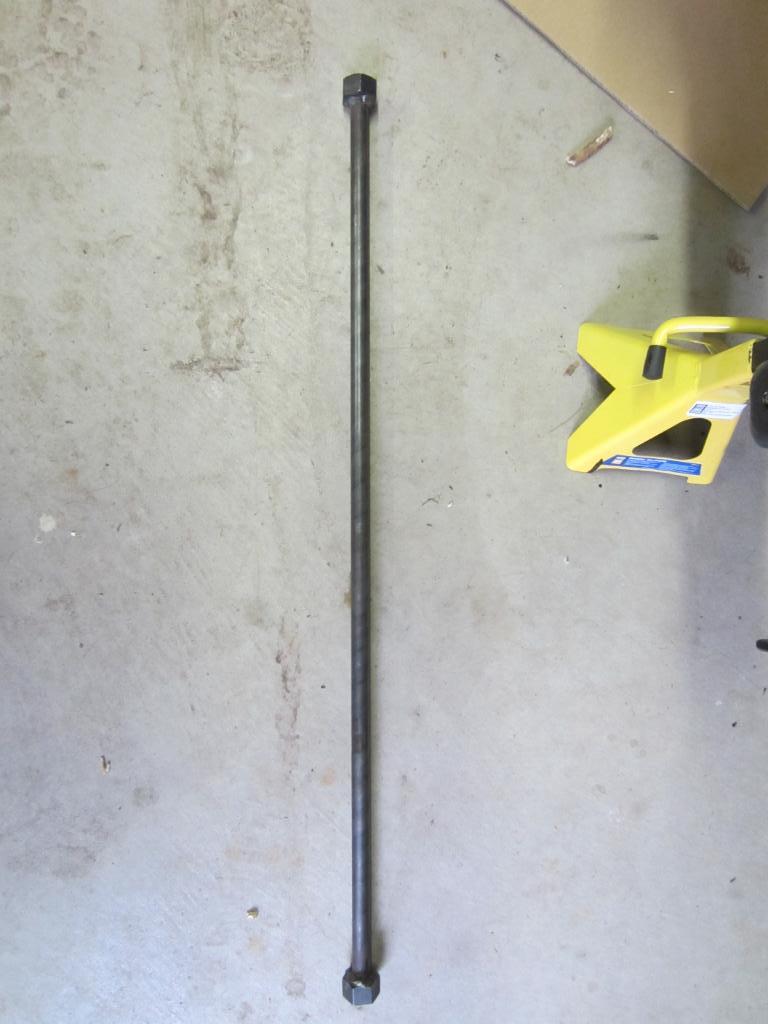
And of course, I made the tool for adjusting the carrier bearings thru the axle tube.
I have my backlash set at .0065.
I have many more pics for those who might be tackling a diy rear end change at home. Somewhat backyardish.....but it worked for me.
In my research, I learned alot of tech's use the original shim from beneath the pinion bearing. I tried the same, and voila!
I came up with some different ideas for holding pinion flange while collapsing the collar and obtaining the correct pinion preload. For what its worth, I also learned alot of techs go by "feel" and experience when doing pinion bearing preload. I did use a lb/in torque wrench.
And of course, I made the tool for adjusting the carrier bearings thru the axle tube.
I have my backlash set at .0065.
I have many more pics for those who might be tackling a diy rear end change at home. Somewhat backyardish.....but it worked for me.
Last edited by TrueDogman; Apr 18, 2012 at 10:19 AM.
Trending Topics
Champion
Joined: Nov 2005
Posts: 2,875
Likes: 1
From: North Eastern England
A "crush sleeve eliminator kit" which uses shims to set the correct pinion pre-load is a way forward. You can even "lap" a shim to get the correct thickness if necessary to get that crucial Pinion depth.
They're available at Randy's Ring and Pinion, for anyone who's interested.
Al.
They're available at Randy's Ring and Pinion, for anyone who's interested.
Al.
Champion
Joined: Nov 2005
Posts: 2,875
Likes: 1
From: North Eastern England
Here's one of my old posts about this kit.
https://dodgeforum.com/forum/3rd-gen...nator-kit.html
Al.
https://dodgeforum.com/forum/3rd-gen...nator-kit.html
Al.
