Last edit by: IB Advertising
See related guides and technical advice from our community experts:
Browse all: Interior Guides
- Dodge Ram 2002-2008: How to Paint Radio Bezel Trim
Step by step instructions for the do-it-yourself repairs
Browse all: Interior Guides
DIY 02-05 Painted Radio Bezel
#1
Here is a step by step on how to paint your radio bezel.
Supplies (what I used): 1 can of duplicolor adhesive promoter, 1 can of duplicolor paint (your choice of color), 1 can of duplicolor clear, 400grit and 1000 grit sandpaper, Painters tape, wet and dry rags.
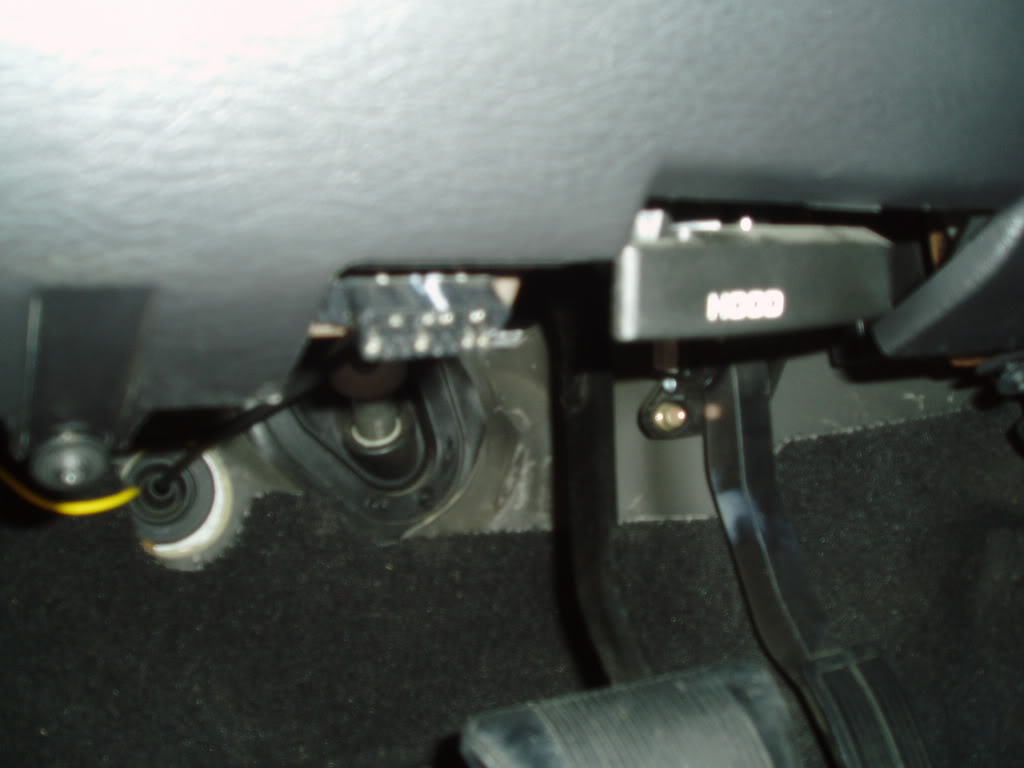
1. Remove the two torquescrew (20) under the dash.
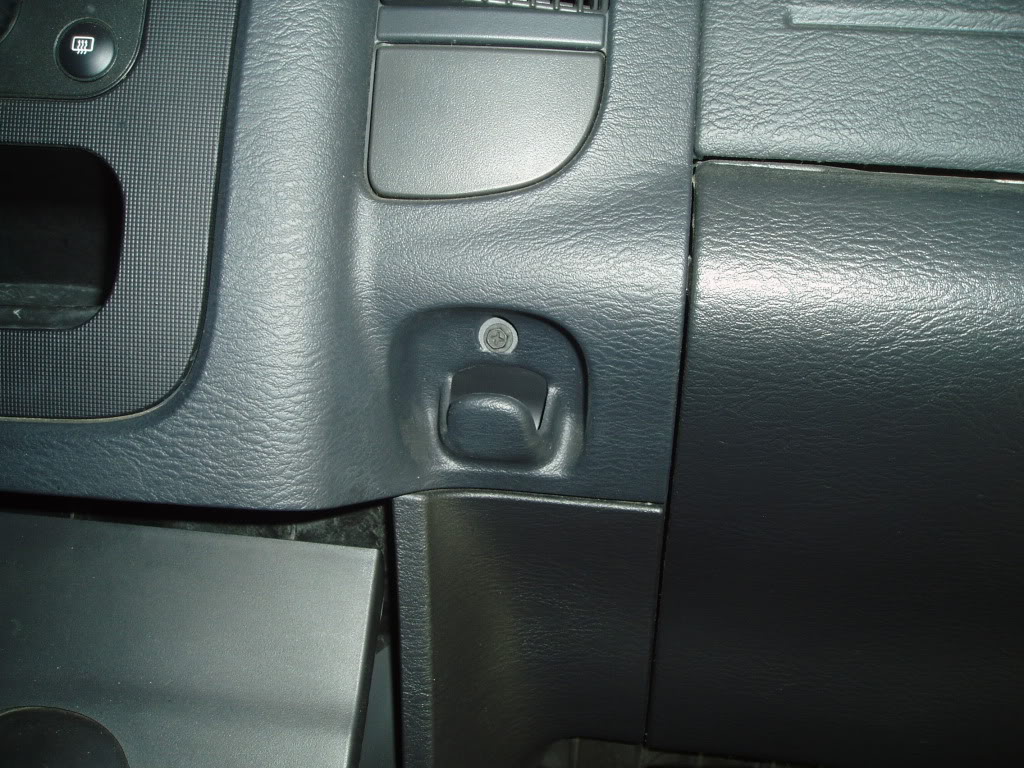
2. Remove the screw under the air conditioner vent.
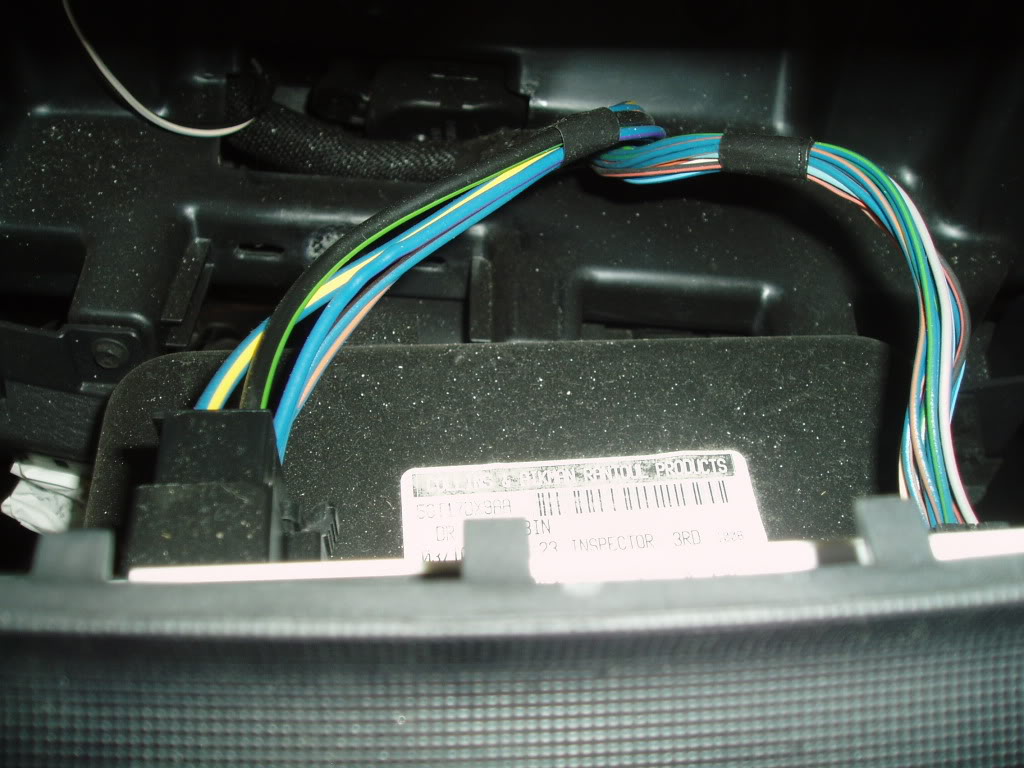
3. Then start from the left side and pull out the dash. This just snaps in and out so you just have to pull on it till it comes out. Be careful not to pull to hard because you dont want to rip the wires that are in the back. Unhook the four wires. From the left it goes cigarette lighter, Two air conditioner wires and then an air vent wire.
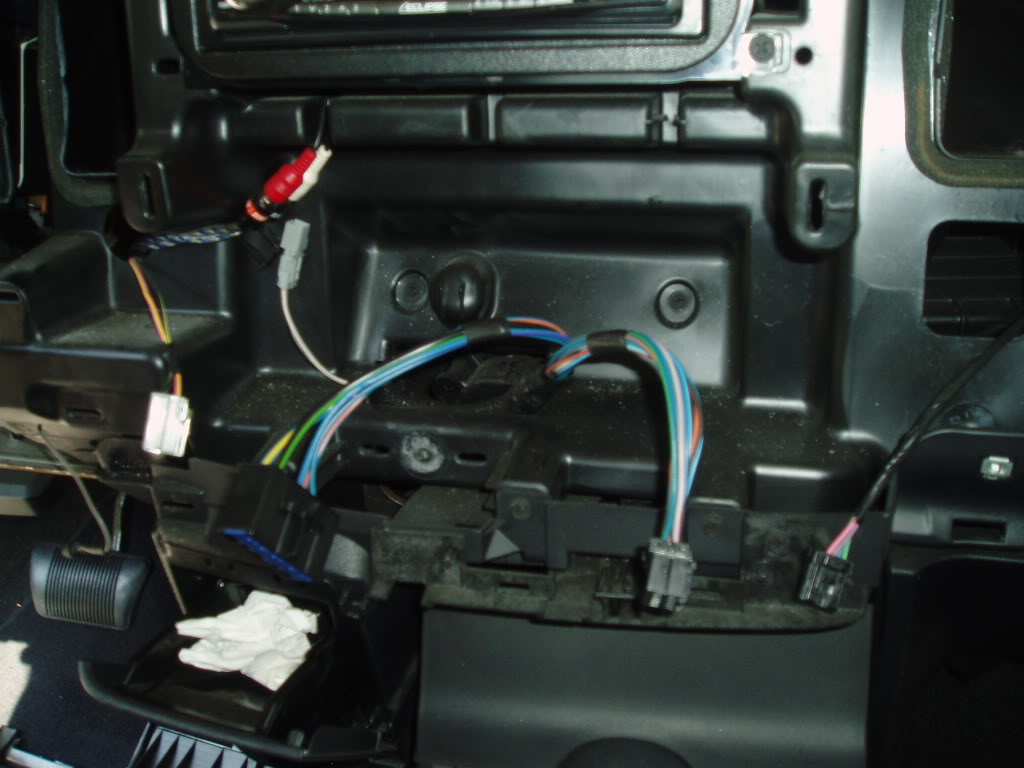
4. Unscrew the four screws from the air controls and the little cubby hole.
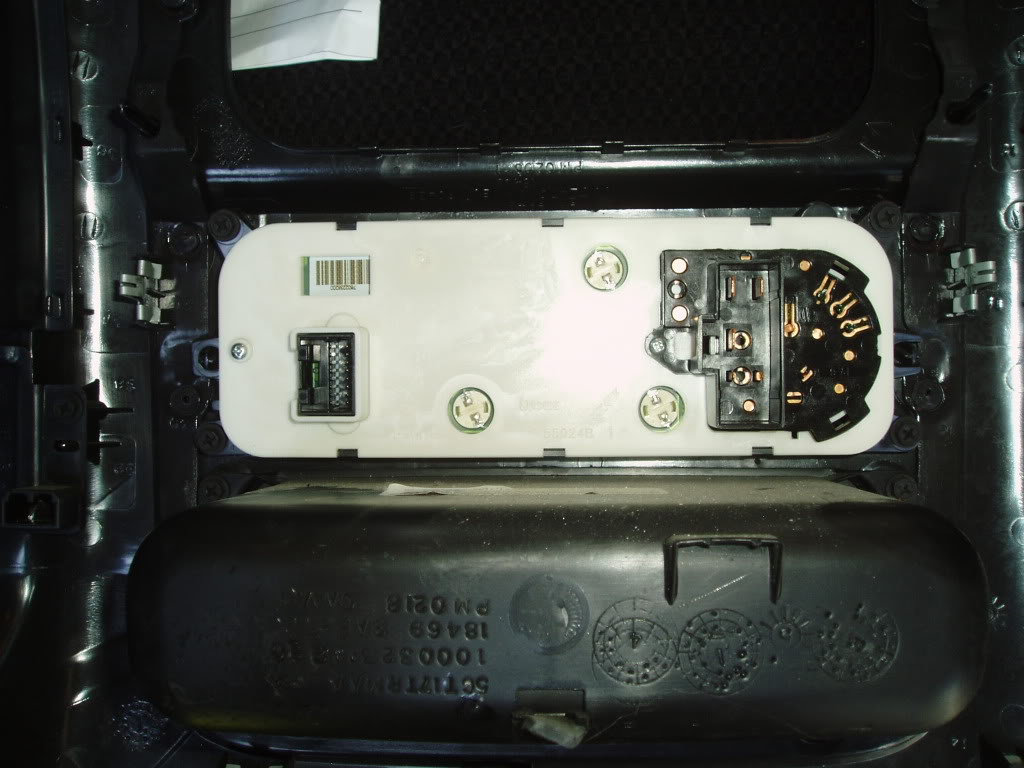
5. Clean off the bezel. I used paper towels. One wet, one dry.
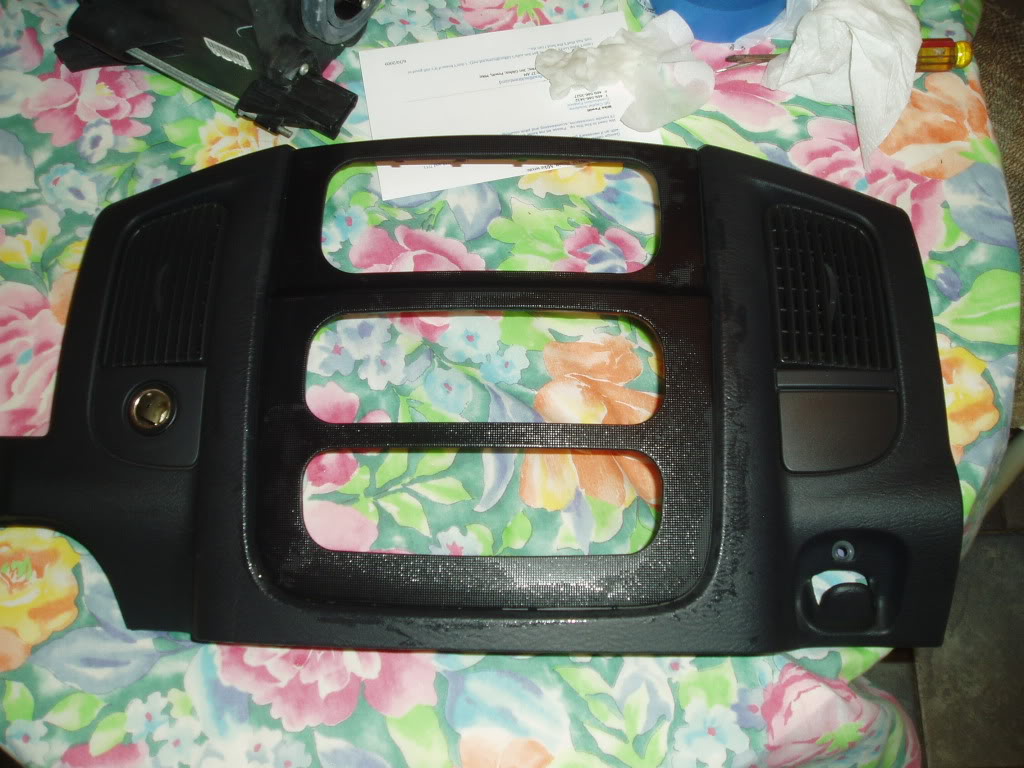
6. Tape off the edge and around the bezel so you do get overspray. Then you can sand with the 400 grit sand paper till its consistently smooth.
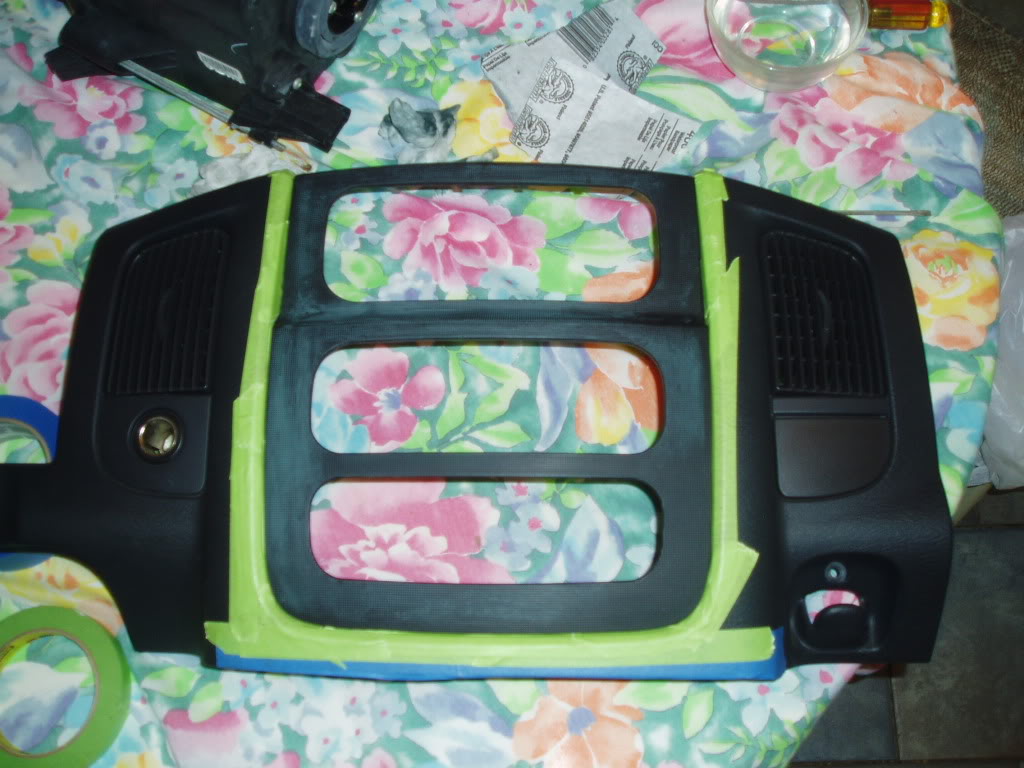
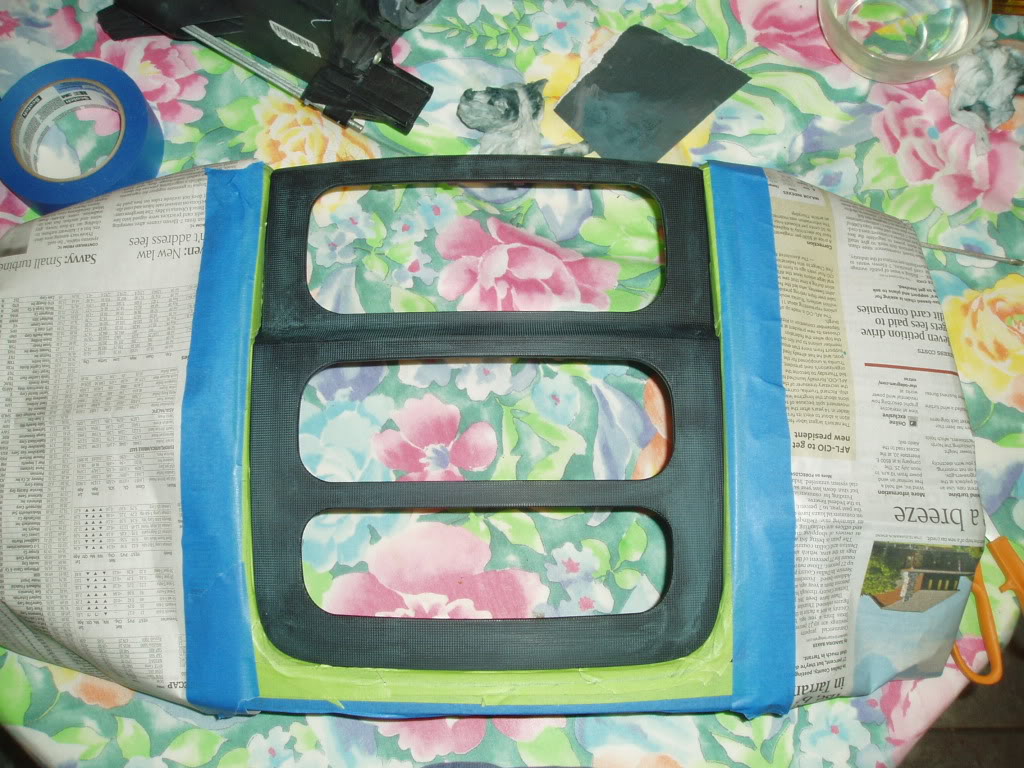
7. Clean the bezel off again, and then spray three even coats of the adhesive promoter. I waited 10 minutes between each coat.
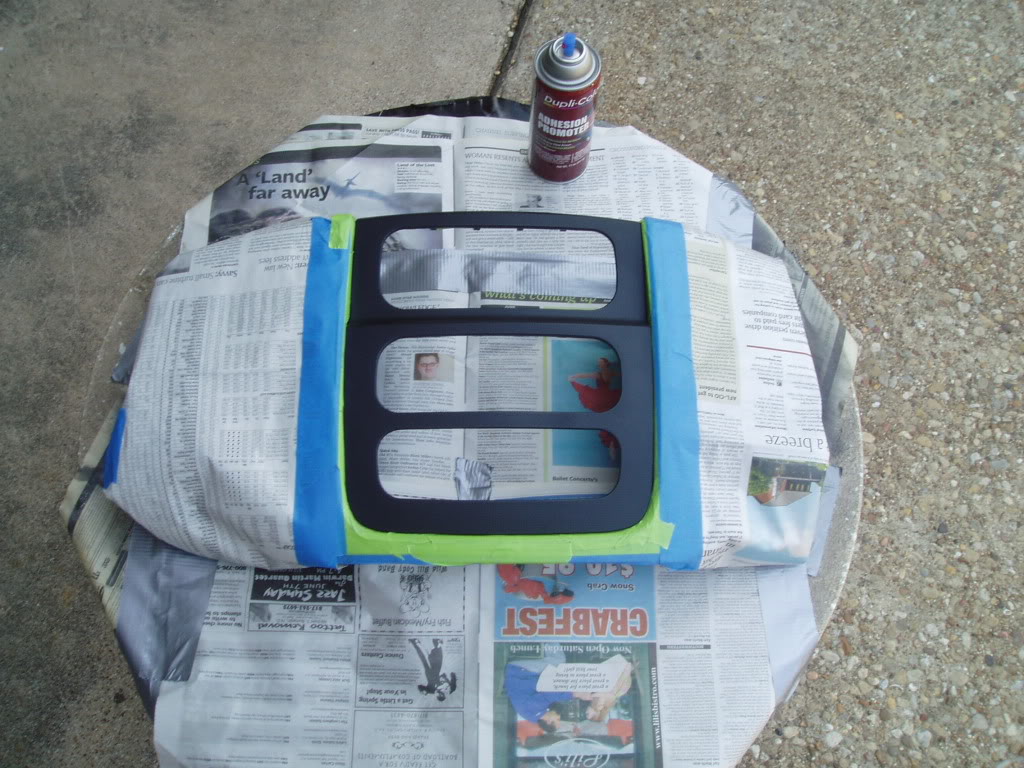
8. Spray two coats of the paint. Let dry for 10 minutes in between. After the second coat dries, sand with the 1000 grit sand paper gently. This is just to smooth it out again. Then spray the final coat of paint.
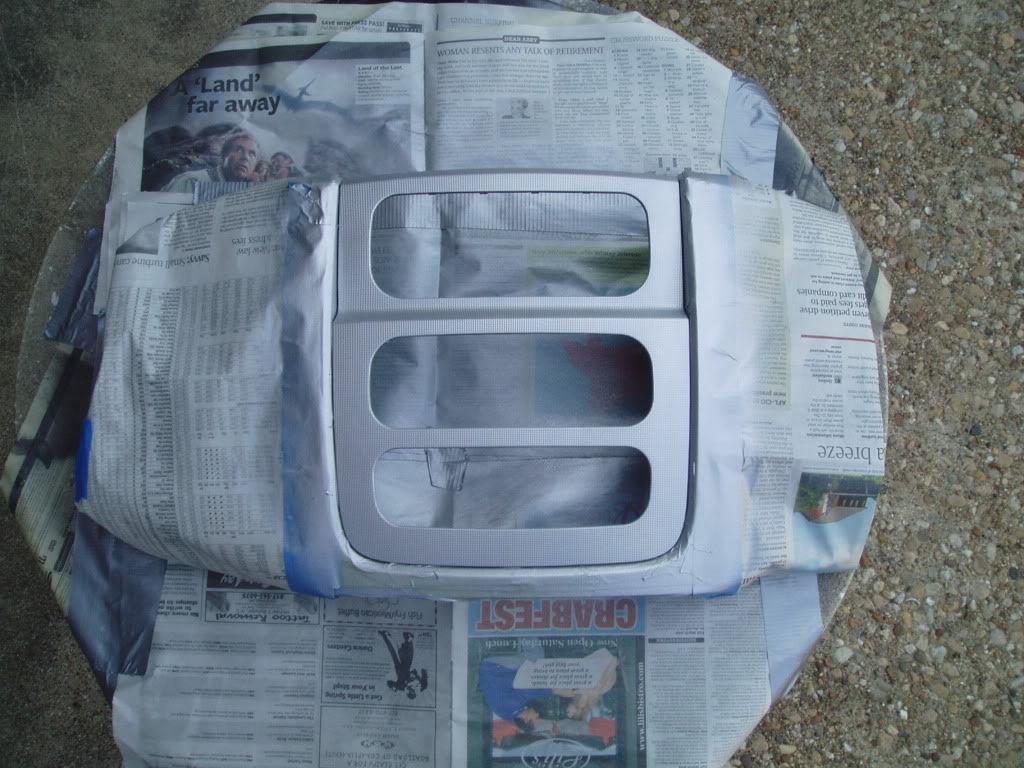
9. Spray 3 coats of clear and let dry for 10 minutes in between. After the last coat of clear let it dry for a good hour and a half.
10. Repeat the assembly to put back in the truck and your done!! Admire the finished product.
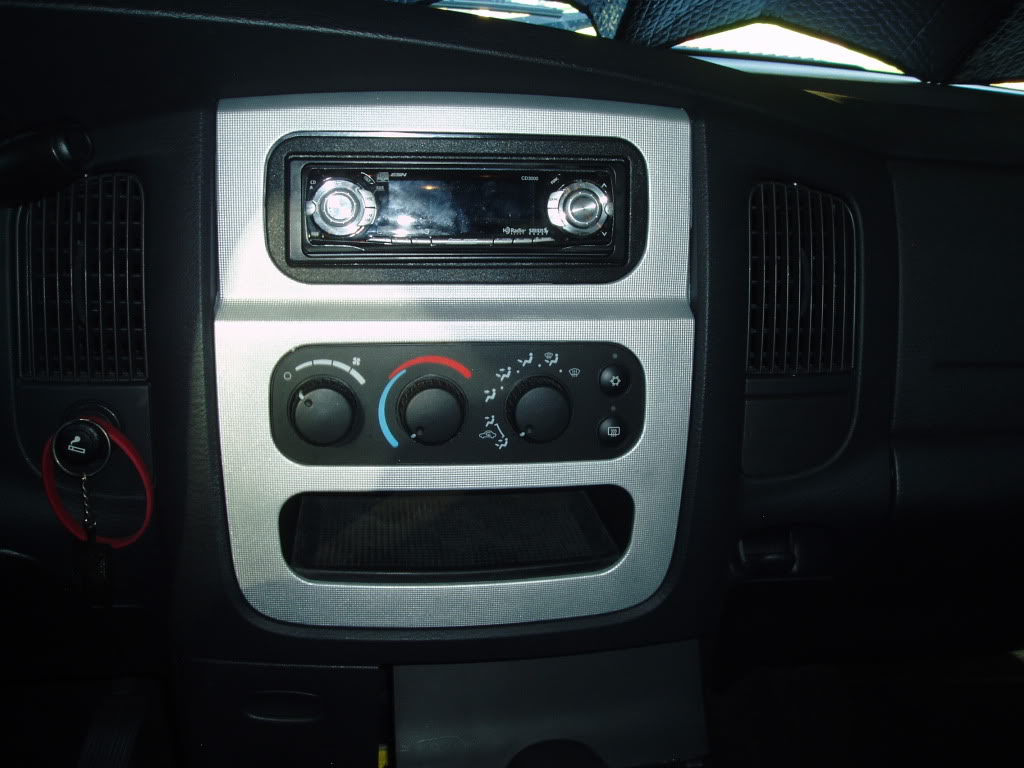
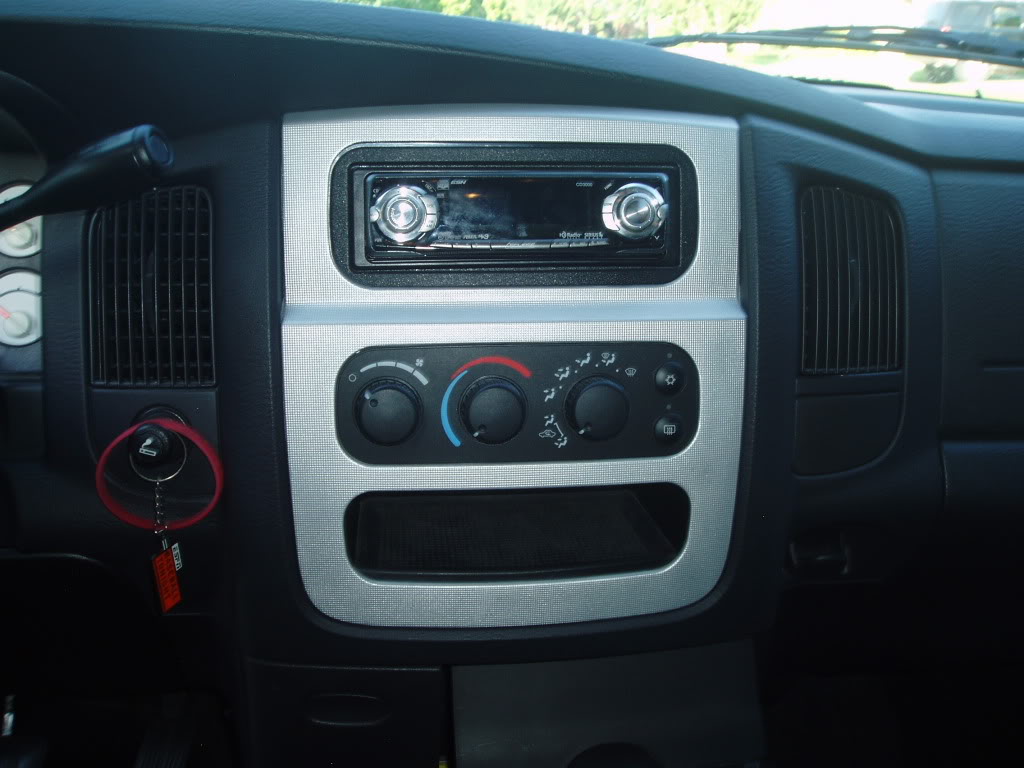
Supplies (what I used): 1 can of duplicolor adhesive promoter, 1 can of duplicolor paint (your choice of color), 1 can of duplicolor clear, 400grit and 1000 grit sandpaper, Painters tape, wet and dry rags.
1. Remove the two torquescrew (20) under the dash.

2. Remove the screw under the air conditioner vent.

3. Then start from the left side and pull out the dash. This just snaps in and out so you just have to pull on it till it comes out. Be careful not to pull to hard because you dont want to rip the wires that are in the back. Unhook the four wires. From the left it goes cigarette lighter, Two air conditioner wires and then an air vent wire.


4. Unscrew the four screws from the air controls and the little cubby hole.

5. Clean off the bezel. I used paper towels. One wet, one dry.

6. Tape off the edge and around the bezel so you do get overspray. Then you can sand with the 400 grit sand paper till its consistently smooth.


7. Clean the bezel off again, and then spray three even coats of the adhesive promoter. I waited 10 minutes between each coat.

8. Spray two coats of the paint. Let dry for 10 minutes in between. After the second coat dries, sand with the 1000 grit sand paper gently. This is just to smooth it out again. Then spray the final coat of paint.

9. Spray 3 coats of clear and let dry for 10 minutes in between. After the last coat of clear let it dry for a good hour and a half.
10. Repeat the assembly to put back in the truck and your done!! Admire the finished product.


#6
 . check the other pics of when i did my handles and bumper trim.
#7


