Last edit by: IB Advertising
See related guides and technical advice from our community experts:
Browse all: General Overview
- Dodge Ram 2009-Present: Aftermarket Modifications
Overview of popular modifications to customize your Ram.
Browse all: General Overview
2009 ram st mods (pics)
#1
So, recently, I've been working a lot on my Ram. I completely transformed the look of the truck with a fair amount of paint and chrome accessories. This is really to inspire or aid ST owners with their mods.
My intent was to get rid of the awkward black on white configuration. Personally it wasn’t aesthetically pleasing.
Here is my Truck Prior to any mods.
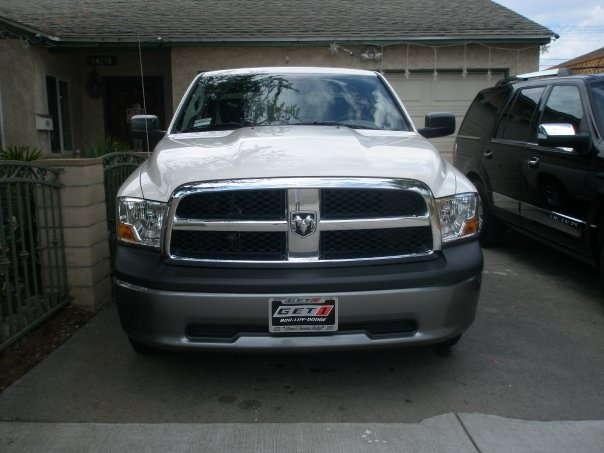
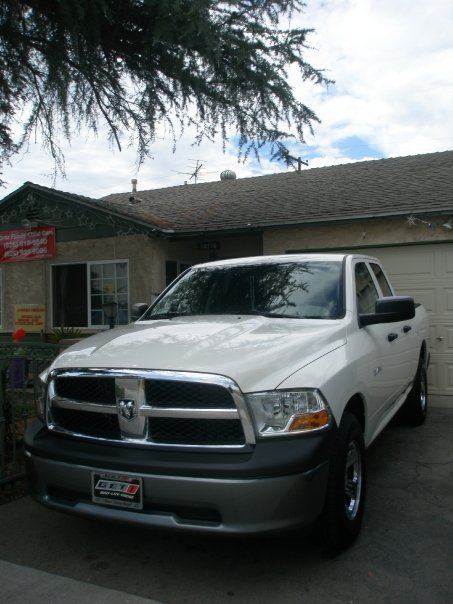
let’s go in order.
CHROME:
The first accessory I bought for my truck was the Mopar Chrome Bug Sheild. It really changes the look of the truck and is effective in blowing debris and bugs away from the hood and over the roof. It’s really simple to install. Takes two minutes.
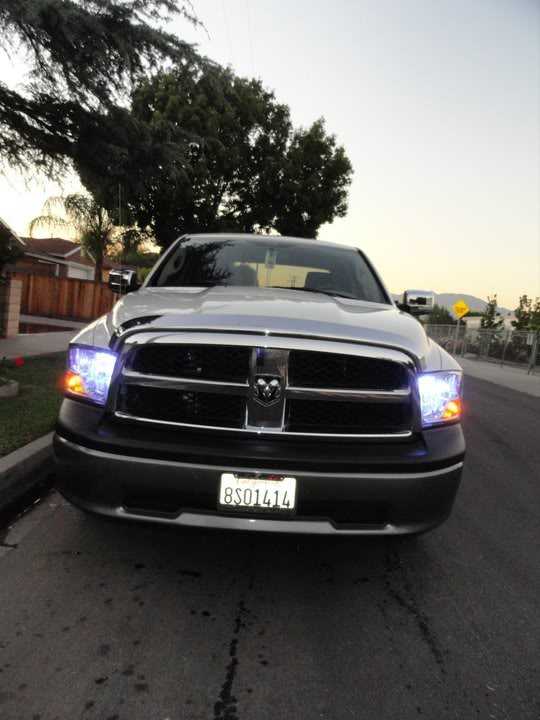
I then purchased The Chrome handles and bezels. The just attach with automotive 3m tape and prep with alcohol.
From there I purchased the chrome tip exhaust. Installation was straight forward and easy.
I also bought the Mopar Chrome Gas Door and Mirror Covers.
HIDs:
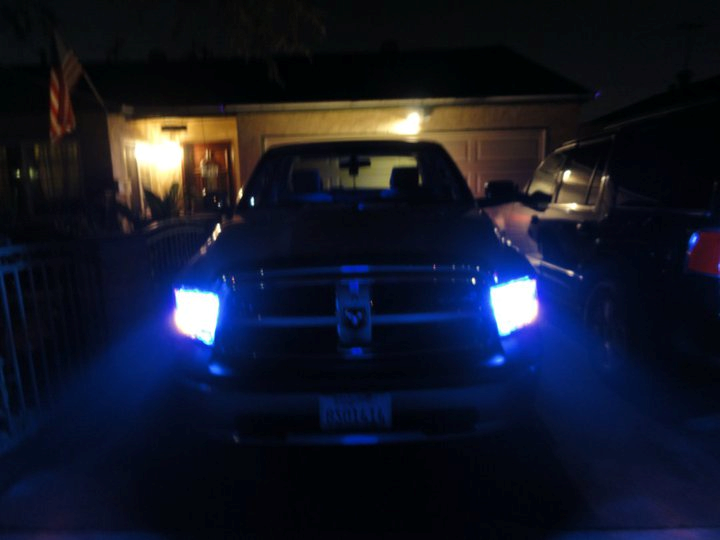
Out of all the mods I have done on my truck. The HIDs I got were one of my favorite. The Temperature I chose was 8000k which is an iceberg blue. If you’ve never taken apart your front end, BE CAREFUL you could break clips from the grille.
Smoke:
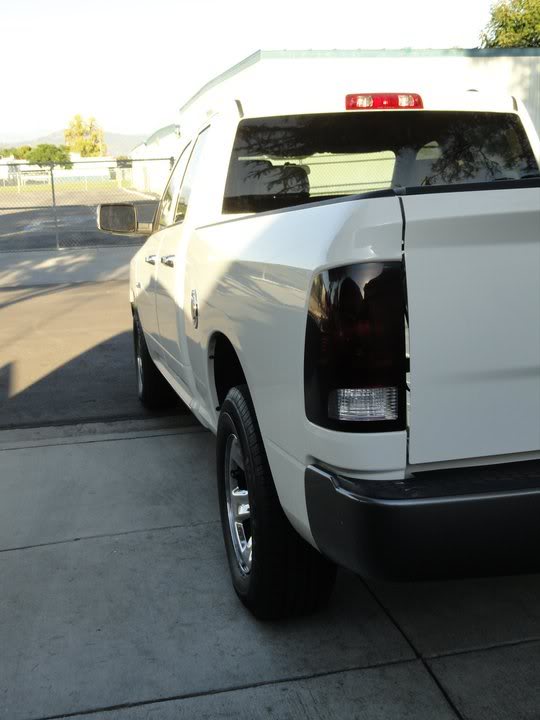
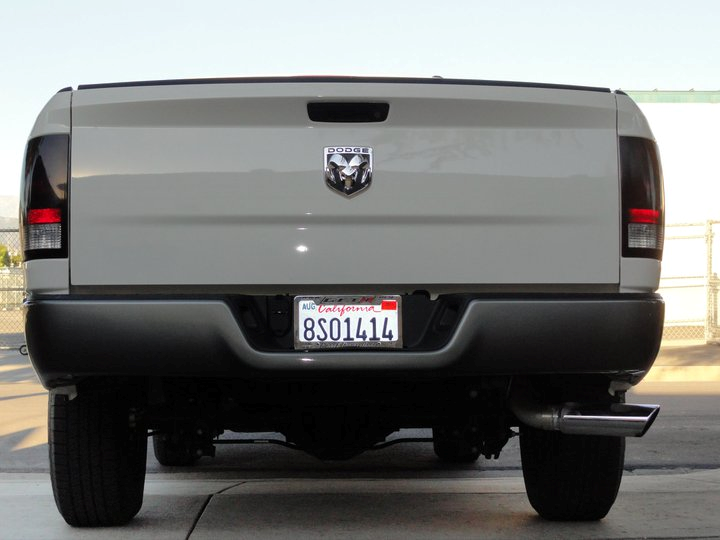
I smoked my taillights. (I still need to smoke my third brake light). First you will need these supplies: VHT Nightshades, Clear Coat, Mixture of soapy water in spray bottle, 2000 grit sand paper, microfiber towels, rubbing alcohol and Meguiar’s Ultimate Compound.
Remove the taillights, mask off rear ports to avoid getting moisture into the housing, spray soapy solution onto the surface and begin to knack at it with the 2000 grit sand paper with medium pressure. Make sure you take your time, be patient. The better the prep, the better the end result. Once you finish that,run it under water, wipe it dry and clean the surface with rubbing alcohol to remove any oils or greases. Then you are ready to apply your Nightshades.
I personally only ran three light coats. Don’t do more than three, that’s just asking to get rear ended. And don’t apply the paint like those dumb kids on youtube applying a massive amount of paint and saying that its one coat.
First, before you start spraying, begin to spray before you get to the housing. Keep light coats to avoid runs of paint.
Apply the paint to the edges first, then to the center. You’ll get an even coat that way. Wait 15 mins to dry. The bust the 2000 grit sandpaper (wet) and say it very very lightly as even as possible. Then dry, alcohol, paint, dry(15mins), sandpaper (you get the idea) until you get the desired smoke effect.
So you’re going to very lightly sand the final coat of nightshades evenly, clean and apply clear coat. It’s the same process. The more clear you have the better. And remember to keep the coats light.
Once you’re content with the amount of clear you have you will sand (wet) the surface evenly and lightly. Clean up. Then rub it down with ultimate compound and there will be great shine. You can even apply a polish. Install and enjoy!
Lighting:
I installed a blue dome light and bright white LED license plate lights on my truck.
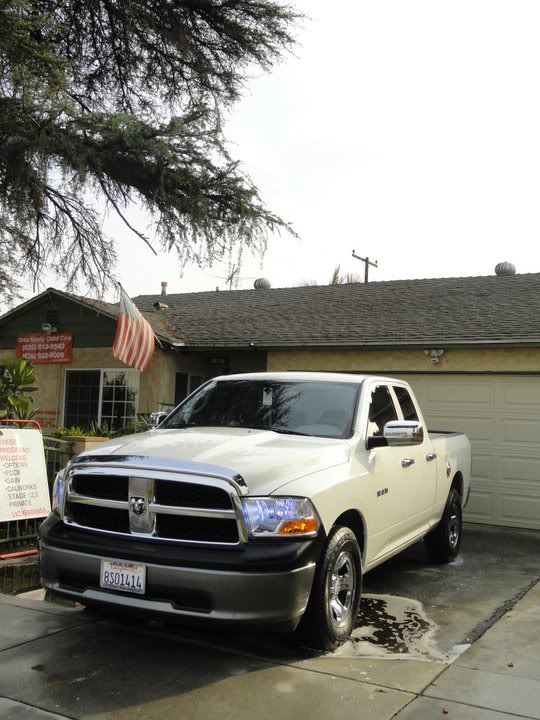
Prior To Paint:
Paint:
PM me if you need instructions. Way too much to write.
Basically I removed my upper fascia and bumpers, sanded them down, Adhesion Promoter, Primer, Color, Clear coat.
For the Grille, I removed the inserts to paint. You have to really get in the crevices. Same process.
Bedliner:
I purchased Bed Armor. First scuff surface of bed with bright pad. I used 2000 grit sand paper and 400 grit sand paper (removed small amounts of rust). Do a good job of prep or the liner will not adhere and just fall off. Begin by masking of everything you don’t want paint on with butcher paper and painting tape. I bought a can of aerosol bed spray by duplicolor to spray hard to reach places. I waited 15 mins to dry. Then I began to work on the walls of the bed. I waited 6 hours for it to dry partially. Then began to work from the front of the truck toward the back. I let it sit overnight. Sweeped up any debris the next morning and same process. I applied 3 coats.
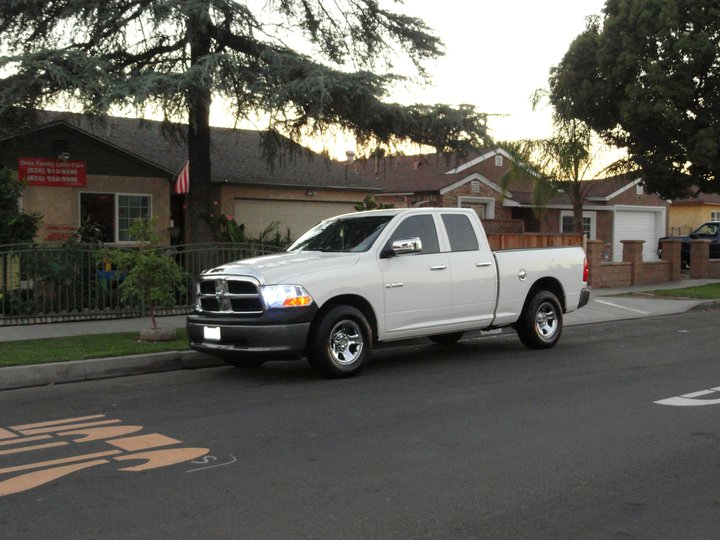
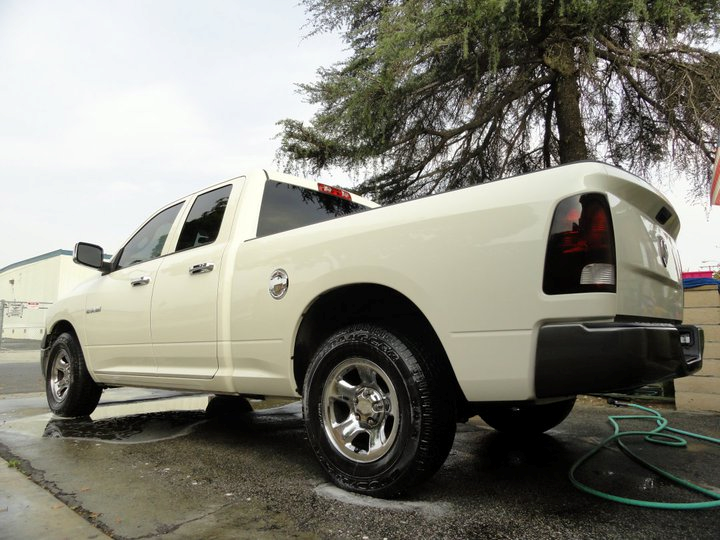
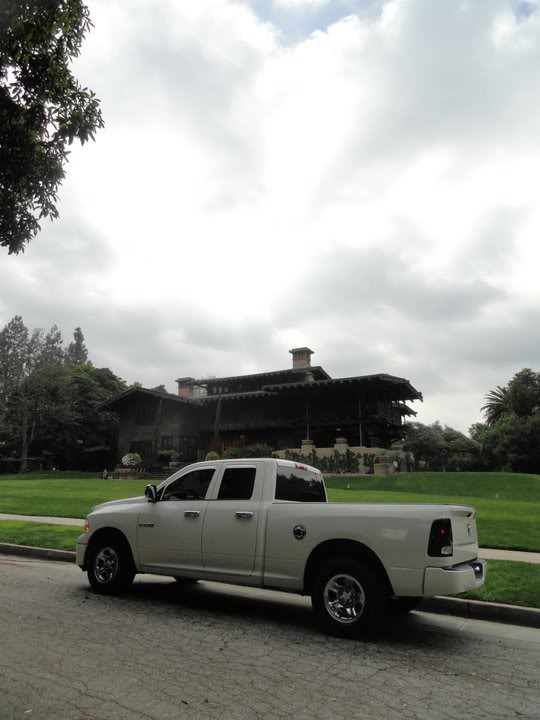
Final Product (SO Far)(PICS @ Doc Brown’s House From Back To the Future)
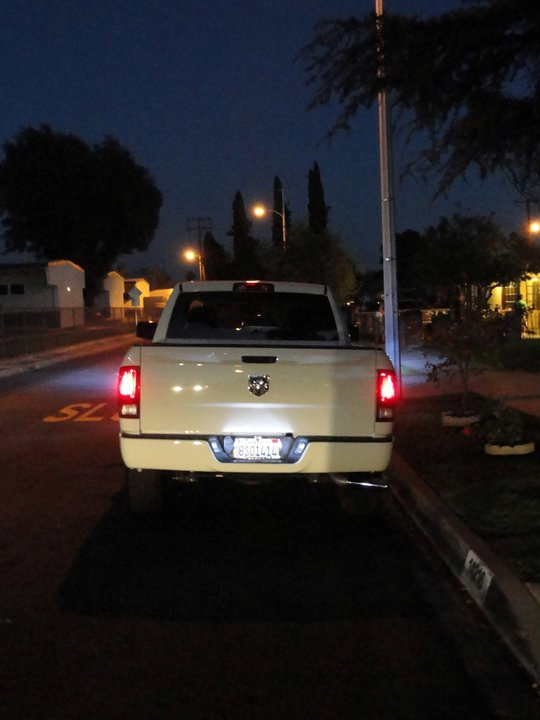
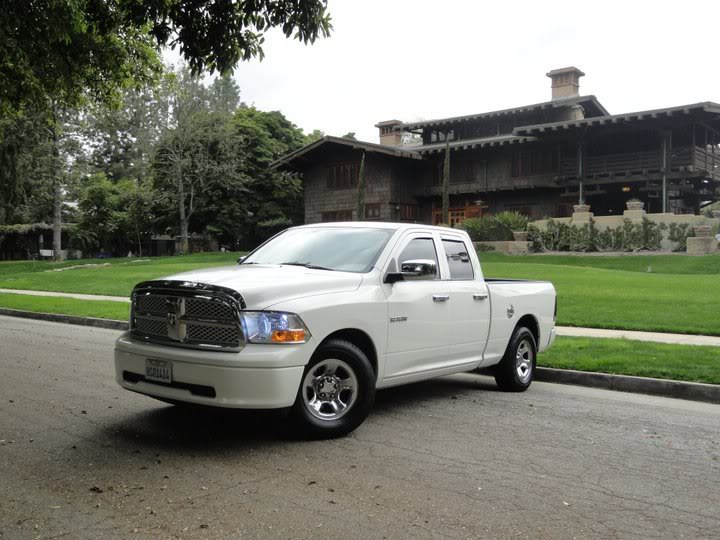
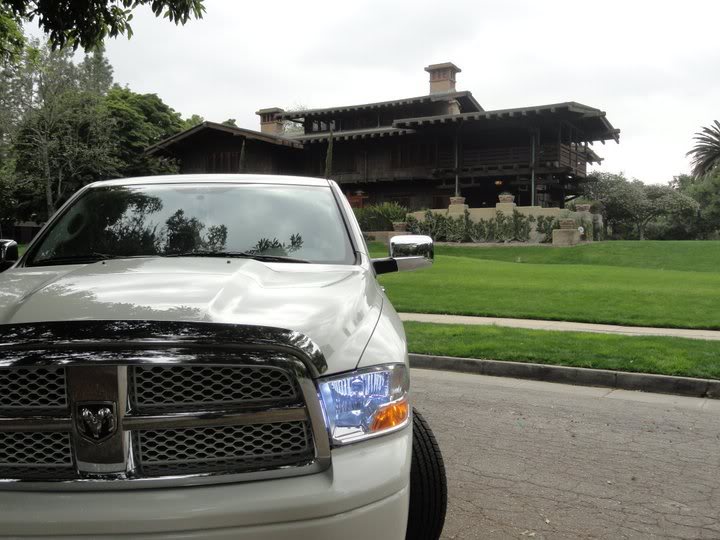
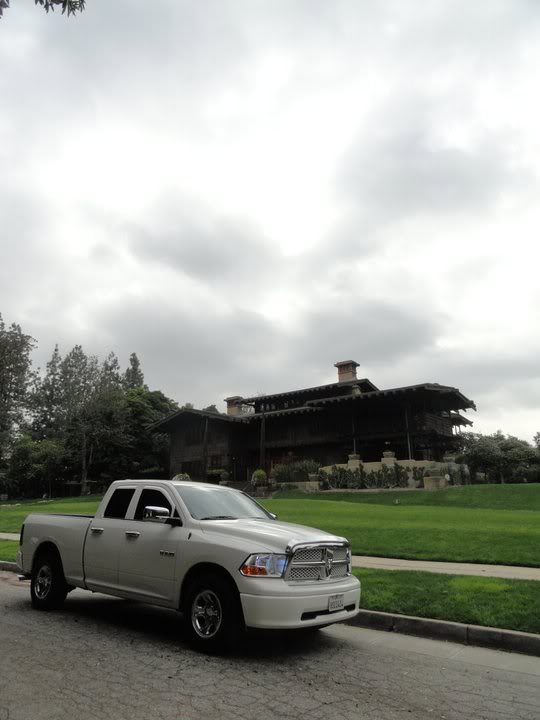
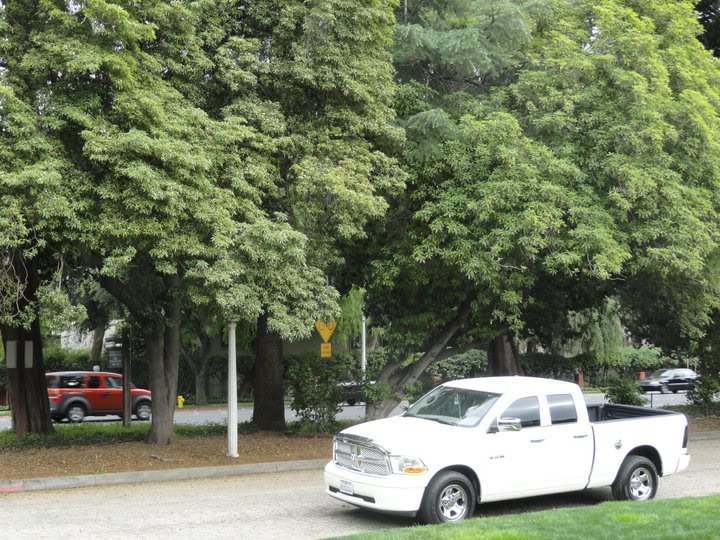
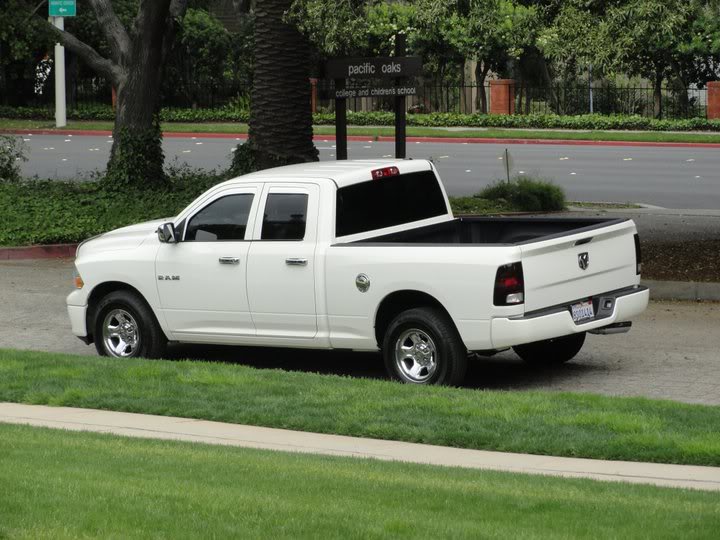
So, That is my truck so far. I do not think it is complete yet but I am stumped on what to do next. Wheels will come soon but not yet. I was thinking of getting mopar Fender flares in Stone white. Do you have any suggestions? Please I would like to hear them!
My intent was to get rid of the awkward black on white configuration. Personally it wasn’t aesthetically pleasing.
Here is my Truck Prior to any mods.


let’s go in order.
CHROME:
The first accessory I bought for my truck was the Mopar Chrome Bug Sheild. It really changes the look of the truck and is effective in blowing debris and bugs away from the hood and over the roof. It’s really simple to install. Takes two minutes.

I then purchased The Chrome handles and bezels. The just attach with automotive 3m tape and prep with alcohol.
From there I purchased the chrome tip exhaust. Installation was straight forward and easy.
I also bought the Mopar Chrome Gas Door and Mirror Covers.

HIDs:
Out of all the mods I have done on my truck. The HIDs I got were one of my favorite. The Temperature I chose was 8000k which is an iceberg blue. If you’ve never taken apart your front end, BE CAREFUL you could break clips from the grille.

Smoke:
I smoked my taillights. (I still need to smoke my third brake light). First you will need these supplies: VHT Nightshades, Clear Coat, Mixture of soapy water in spray bottle, 2000 grit sand paper, microfiber towels, rubbing alcohol and Meguiar’s Ultimate Compound.
Remove the taillights, mask off rear ports to avoid getting moisture into the housing, spray soapy solution onto the surface and begin to knack at it with the 2000 grit sand paper with medium pressure. Make sure you take your time, be patient. The better the prep, the better the end result. Once you finish that,run it under water, wipe it dry and clean the surface with rubbing alcohol to remove any oils or greases. Then you are ready to apply your Nightshades.
I personally only ran three light coats. Don’t do more than three, that’s just asking to get rear ended. And don’t apply the paint like those dumb kids on youtube applying a massive amount of paint and saying that its one coat.
First, before you start spraying, begin to spray before you get to the housing. Keep light coats to avoid runs of paint.
Apply the paint to the edges first, then to the center. You’ll get an even coat that way. Wait 15 mins to dry. The bust the 2000 grit sandpaper (wet) and say it very very lightly as even as possible. Then dry, alcohol, paint, dry(15mins), sandpaper (you get the idea) until you get the desired smoke effect.
So you’re going to very lightly sand the final coat of nightshades evenly, clean and apply clear coat. It’s the same process. The more clear you have the better. And remember to keep the coats light.
Once you’re content with the amount of clear you have you will sand (wet) the surface evenly and lightly. Clean up. Then rub it down with ultimate compound and there will be great shine. You can even apply a polish. Install and enjoy!


Lighting:
I installed a blue dome light and bright white LED license plate lights on my truck.
Prior To Paint:


Paint:
PM me if you need instructions. Way too much to write.
Basically I removed my upper fascia and bumpers, sanded them down, Adhesion Promoter, Primer, Color, Clear coat.
For the Grille, I removed the inserts to paint. You have to really get in the crevices. Same process.

Bedliner:
I purchased Bed Armor. First scuff surface of bed with bright pad. I used 2000 grit sand paper and 400 grit sand paper (removed small amounts of rust). Do a good job of prep or the liner will not adhere and just fall off. Begin by masking of everything you don’t want paint on with butcher paper and painting tape. I bought a can of aerosol bed spray by duplicolor to spray hard to reach places. I waited 15 mins to dry. Then I began to work on the walls of the bed. I waited 6 hours for it to dry partially. Then began to work from the front of the truck toward the back. I let it sit overnight. Sweeped up any debris the next morning and same process. I applied 3 coats.
Final Product (SO Far)(PICS @ Doc Brown’s House From Back To the Future)


So, That is my truck so far. I do not think it is complete yet but I am stumped on what to do next. Wheels will come soon but not yet. I was thinking of getting mopar Fender flares in Stone white. Do you have any suggestions? Please I would like to hear them!
Last edited by Der Dummkopf; 04-06-2011 at 02:50 AM.
#6
#7


