


 Aug 12, 2015, 02:27 PM
Last edit by: IB Advertising
See related guides and technical advice from our community experts:
Browse all: Dodge Ram 1500 Exterior Guides
- Dodge Ram 2009-Present: How to Install Side Step
Step by step intructions for the do-it-yourself repairs.
Browse all: Dodge Ram 1500 Exterior Guides

How To: Install Mopar Side Steps

Thread Starter
|
Professional
Joined: May 2009
Posts: 153
Likes: 0
From: New City, NY
I installed by Mopar Side Steps a few days ago, and I captured most of the install with pictures. Below are those pictures, with some basic installation instructions.
You will need to install 12 Rivnuts.
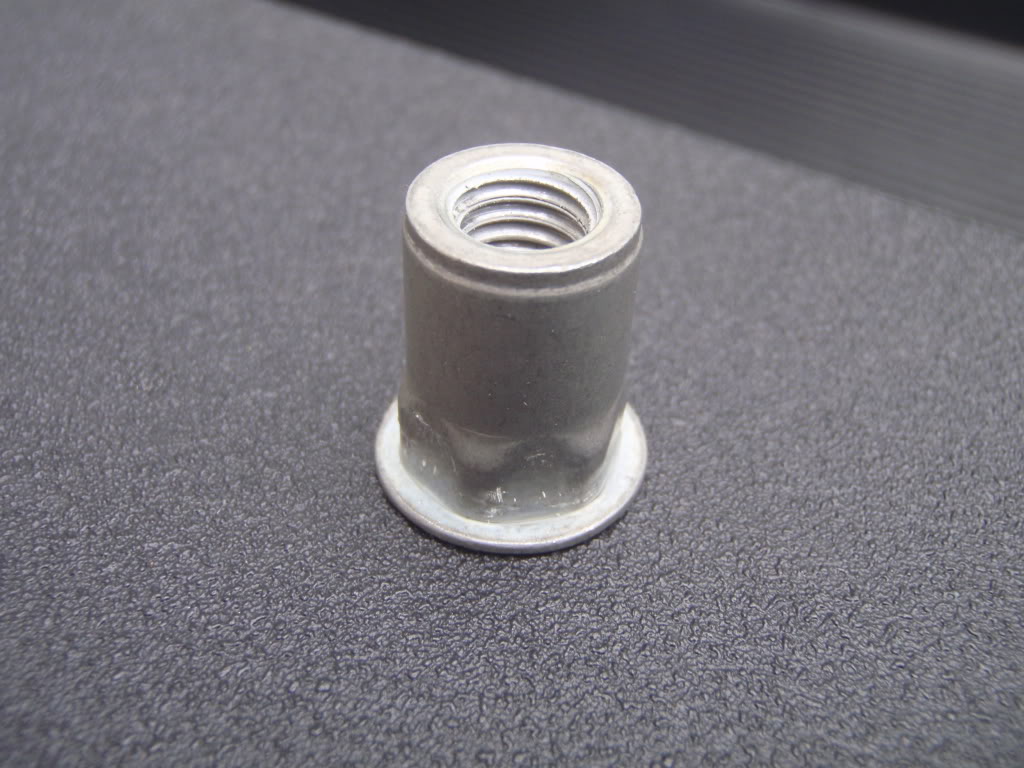
This is supposed to be accomplished with a special Rivnut Compression Tool.
But you can make your own tool for about $3 in nuts and bolts. What you need
M8X1.25 bolt, at least 2 inches long
M8 nut
M8 washer
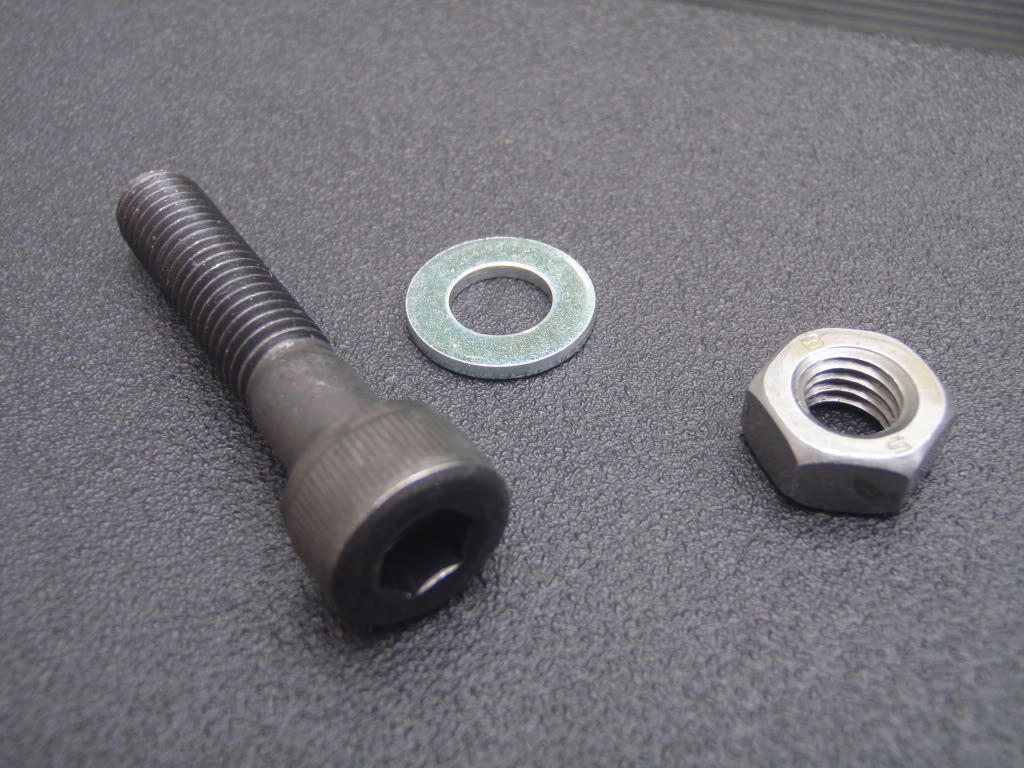
For tools, you will need a half inch wrench, to drive the nut, and whatever tool is required for the bolt. In this instance, a 6mm allen wrench.
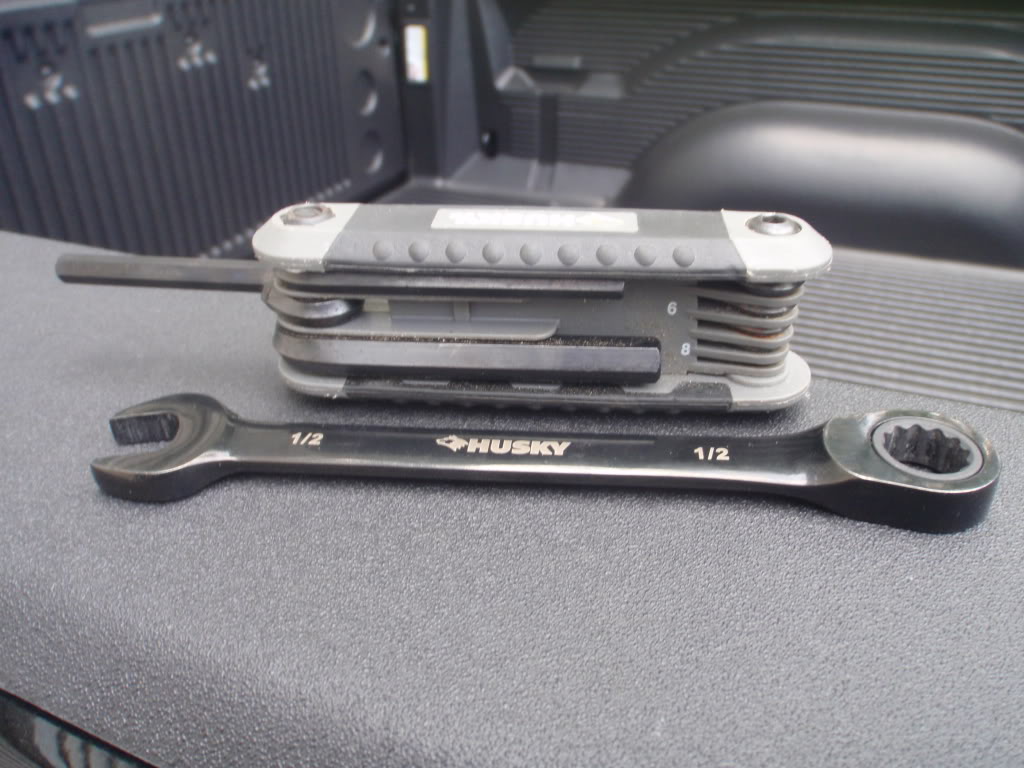
A ratcheting closed wrench like the one shown will make the job easier
Assemble the bolt, nut, washer, and first rivnut as shown
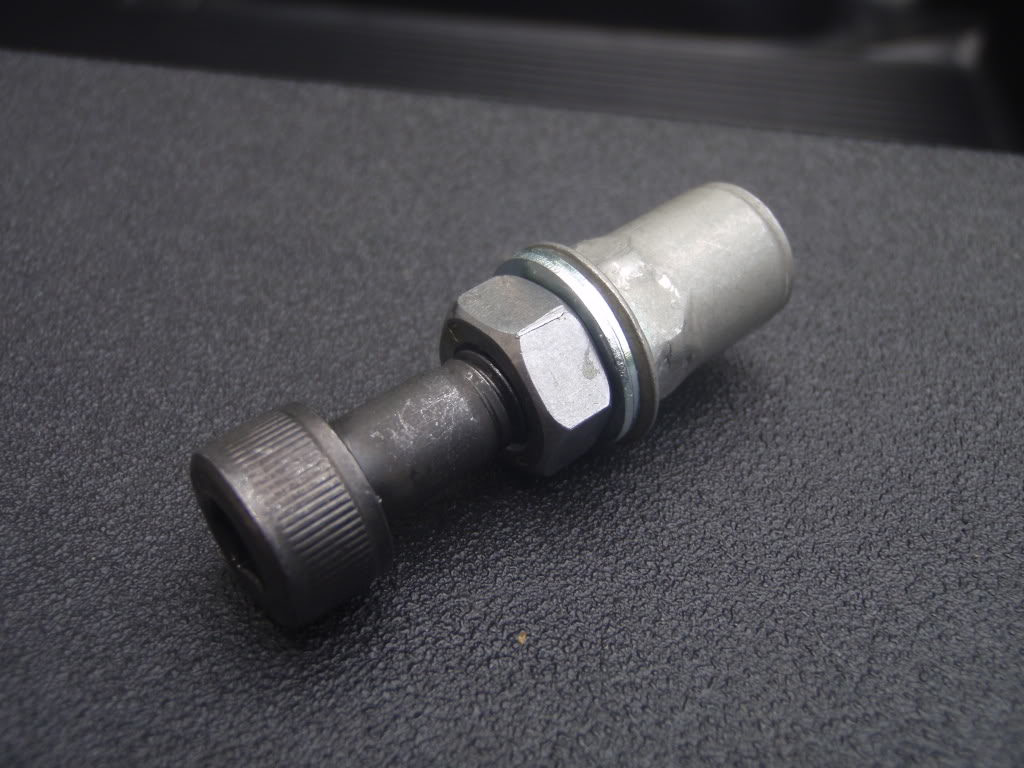
This assembly will go into one of the 12 holes in the body. The holes are hexagonal, in pairs, on the inside lip of the body, at the front, middle, and back of the cab.
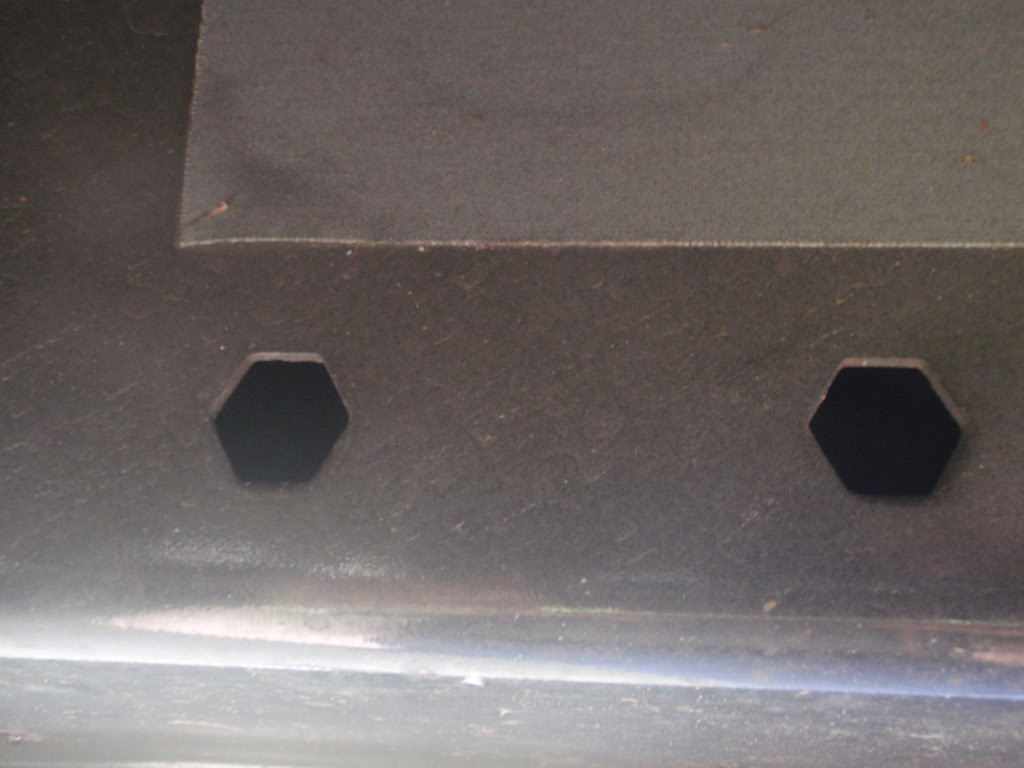
The tape above the 2 holes will be removed once both rivnuts are installed. The hole that the tape covers is used to hang the running boards.
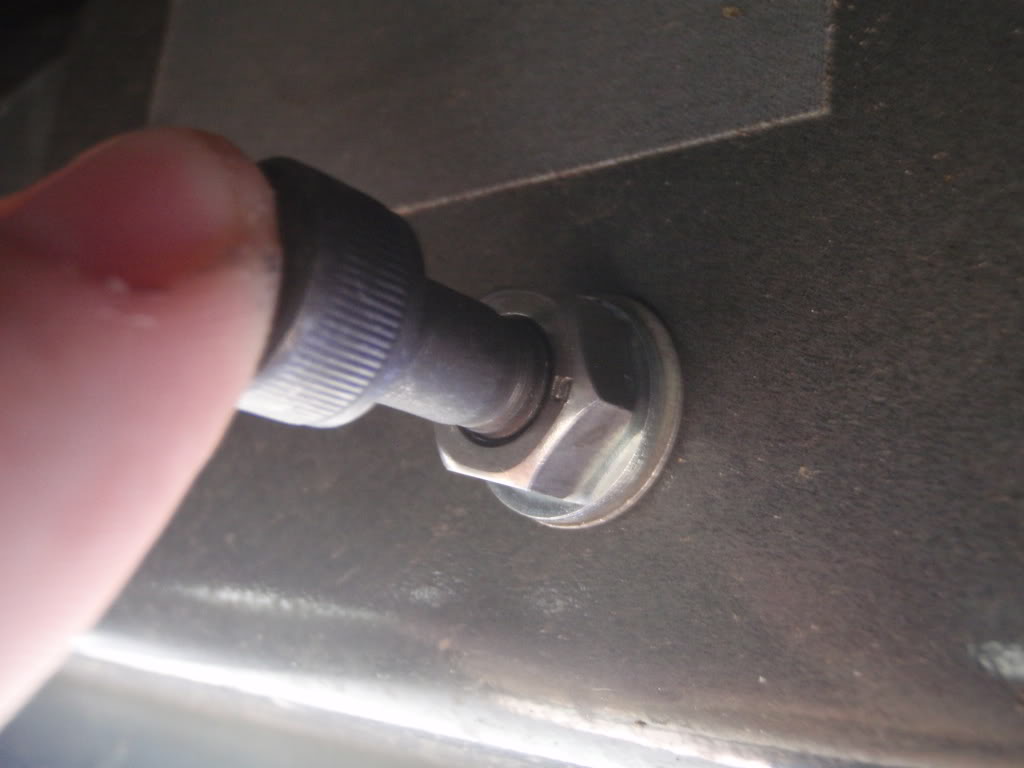
Put your tools in place.

You need to hold the bolt in place, don't allow it to town, and also push in towards the hole, to keep the rivnut seated. Turn the nut clockwise. This will collapse the 6 walls of the rivnut. Keep turning, you'll know when to stop. Turn the nut counterclockwise a half turn, and then back the bolt out of the rivnut. This is the end result.
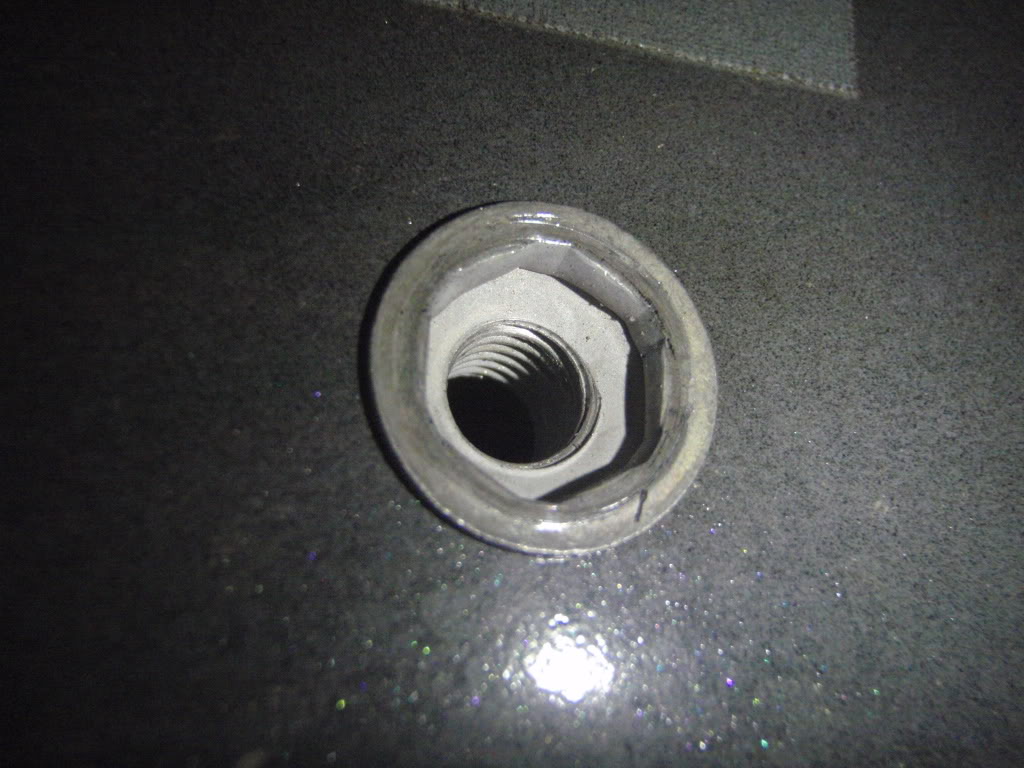
Insert the other 11 Rivnuts the same way. The rivnut installation is the hardest part of the whole install. It takes about 10 minutes to do the rest of it.
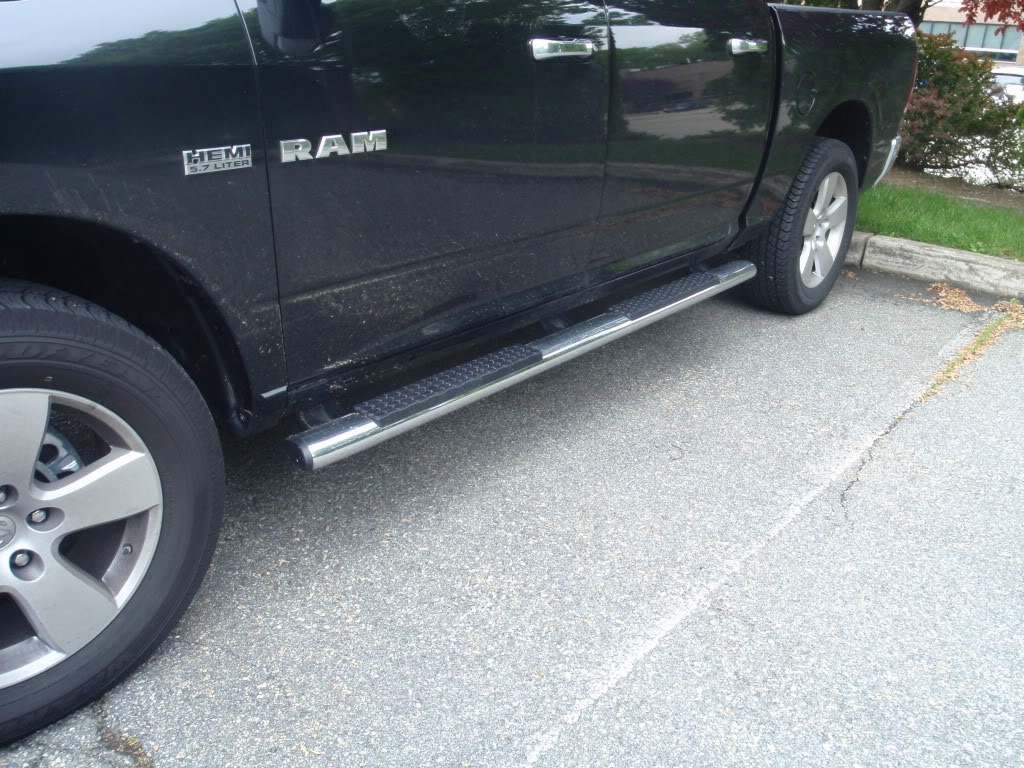
Each side step has 3 mounts, and each mount has a small tab that sticks out. These tabs go into the holes that were covered with tape before. The steps will just hang there. Once they're hanging, and adjusted front to back to line up the holes with the rivnuts, install the bolts. The bolts require a 13mm socket wrench.
This is the finished product.

You will need to install 12 Rivnuts.
This is supposed to be accomplished with a special Rivnut Compression Tool.
But you can make your own tool for about $3 in nuts and bolts. What you need
M8X1.25 bolt, at least 2 inches long
M8 nut
M8 washer
For tools, you will need a half inch wrench, to drive the nut, and whatever tool is required for the bolt. In this instance, a 6mm allen wrench.
A ratcheting closed wrench like the one shown will make the job easier
Assemble the bolt, nut, washer, and first rivnut as shown
This assembly will go into one of the 12 holes in the body. The holes are hexagonal, in pairs, on the inside lip of the body, at the front, middle, and back of the cab.
The tape above the 2 holes will be removed once both rivnuts are installed. The hole that the tape covers is used to hang the running boards.
Put your tools in place.
You need to hold the bolt in place, don't allow it to town, and also push in towards the hole, to keep the rivnut seated. Turn the nut clockwise. This will collapse the 6 walls of the rivnut. Keep turning, you'll know when to stop. Turn the nut counterclockwise a half turn, and then back the bolt out of the rivnut. This is the end result.
Insert the other 11 Rivnuts the same way. The rivnut installation is the hardest part of the whole install. It takes about 10 minutes to do the rest of it.
Each side step has 3 mounts, and each mount has a small tab that sticks out. These tabs go into the holes that were covered with tape before. The steps will just hang there. Once they're hanging, and adjusted front to back to line up the holes with the rivnuts, install the bolts. The bolts require a 13mm socket wrench.
This is the finished product.


Champion
Joined: Dec 2007
Posts: 3,563
Likes: 0
From: Ontario, Canada
Trending Topics

Rookie
Joined: Apr 2009
Posts: 53
Likes: 0
From: Washington
man...i should have read this more carefully....i did not install the rivnut...i just started to bolt it on...it kinda work....rivnuts got mangled...so i came back and carefully read your post, made two homedepot trips and tried to fix them...i got two rivnuts to look right...the rest of them are mangled, but it still works.
i'm thinking if you placed a washer behind the L bracket you could just bolt it straight up without having to precompress the rivnut...because as you turn the bolt it will compress the rivnuts on it's own.
at first i thought the mopar side bar was straight...but once installed i noticed one side bends in and the other side is straight....which way does it go? i will finish tomorrow and post some pics.
Thanks ironsides for your write up...it saved my ***!!!
Last edited by Smile; May 17, 2009 at 12:46 AM.