


 Aug 14, 2015, 02:58 PM
Last edit by: IB Advertising
See related guides and technical advice from our community experts:
Browse all: Steering & Suspension Guides
- Dodge Ram 2009-Present: Lowering Modifications
Step by step intructions for the do-it-yourself repairs.
Browse all: Steering & Suspension Guides

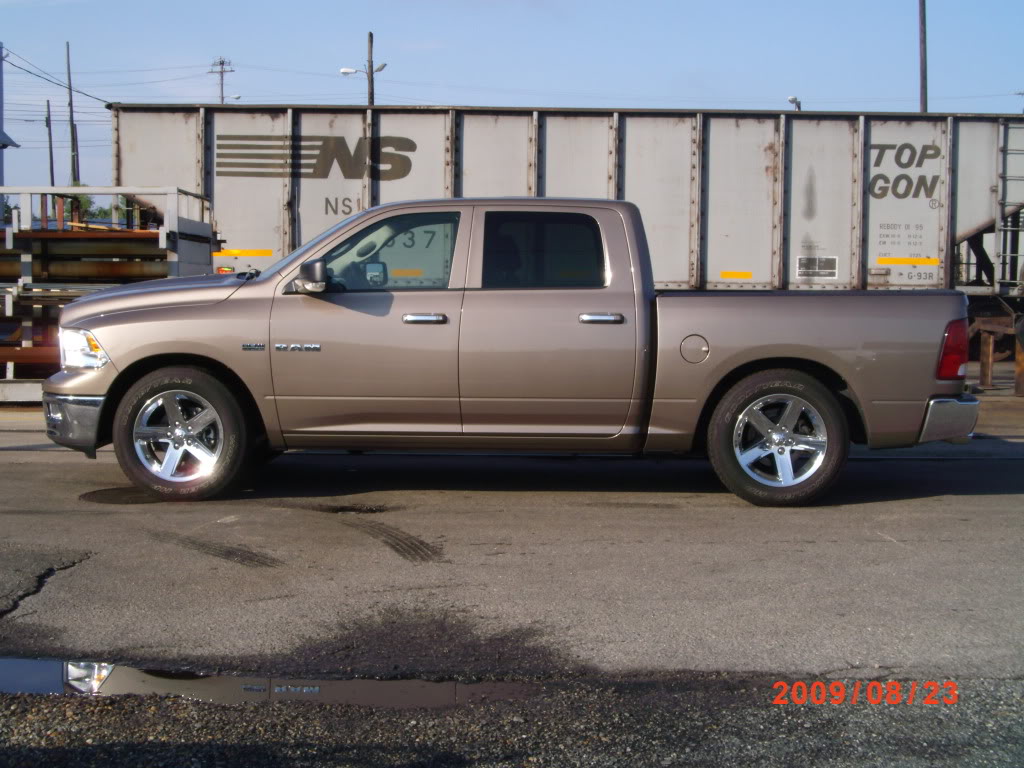
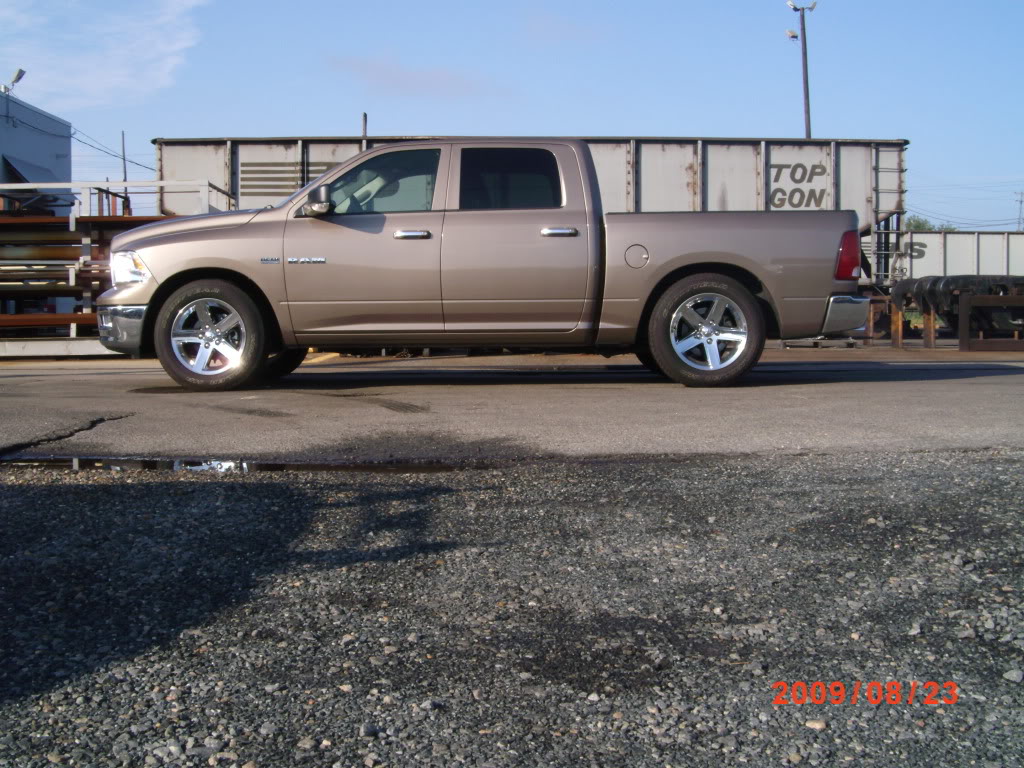
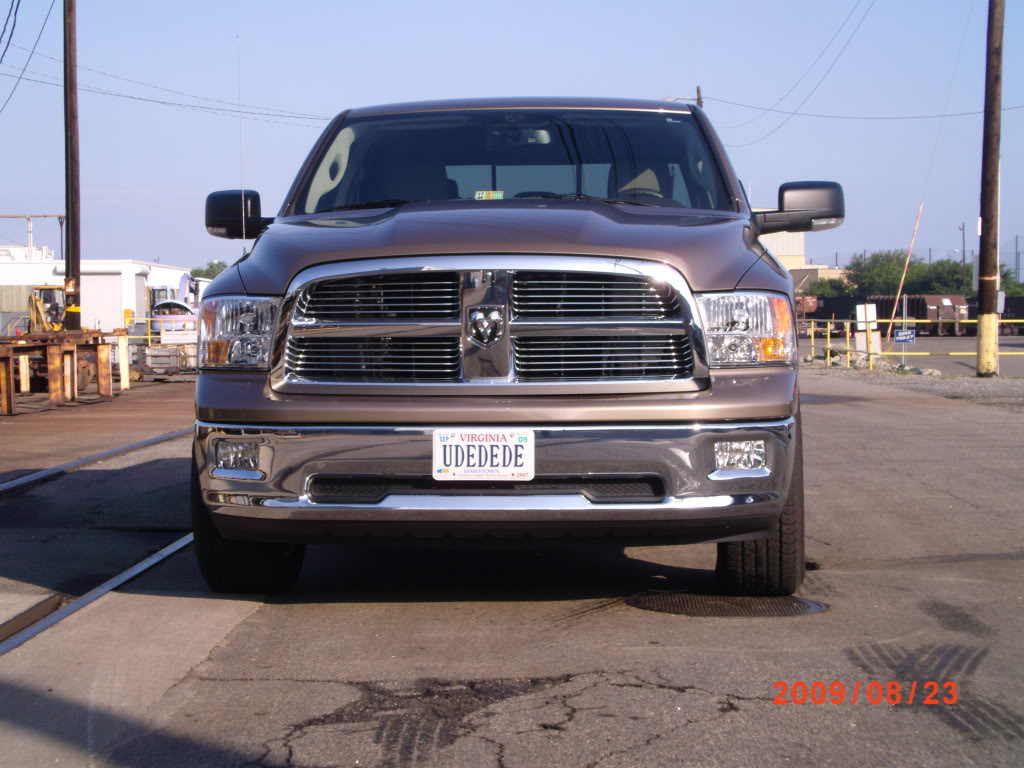
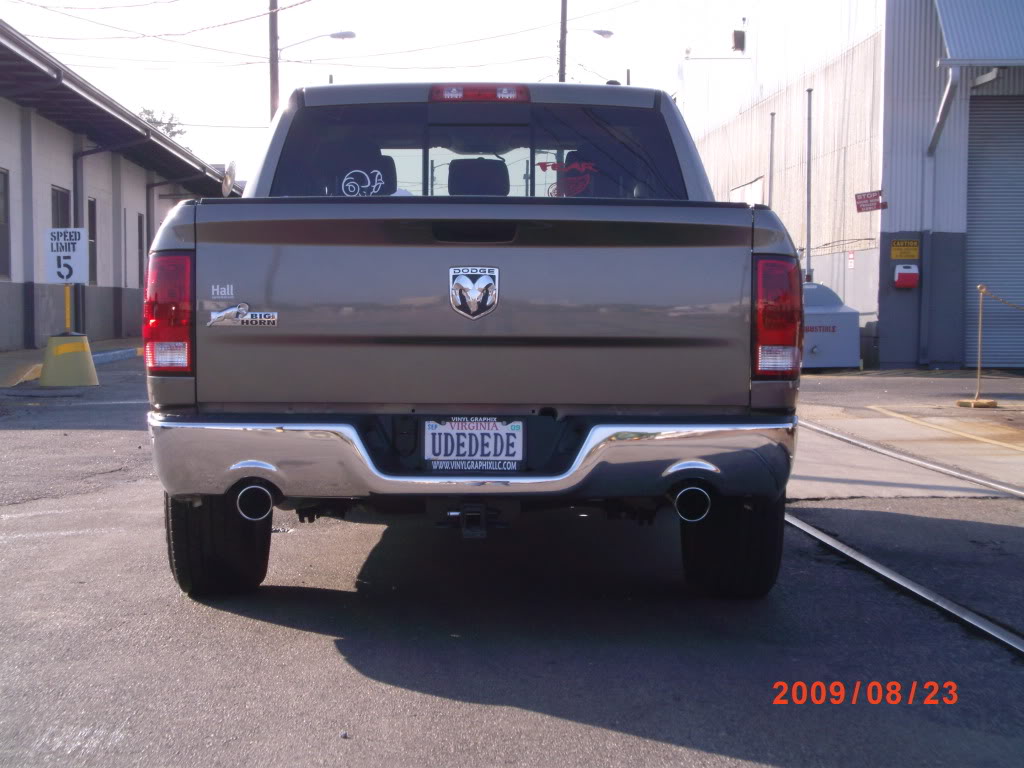
lowered my crew cab today
All Star
Joined: Jun 2009
Posts: 975
Likes: 0
From: San Antonio, TX
Friggin sweet looking. After seeing your truck, I've officially put the Mcgaughy's kit on my wish list. Of course I've also got to find a shop that will put it on. No way in heck I'm going to try that in my driveway.


Veteran
Joined: Oct 2005
Posts: 461
Likes: 0
From: NW Arkansas
I like the gaps on that one but I think that would be more than a 2/4 though. He's already at 2" on the front so I don't expect it to drop much more.
For those that have installed the kit, do you think there is room in the front to go lower? I'm just wanting to find out if one could use the spindles and springs to get 3-4" in the front.
For those that have installed the kit, do you think there is room in the front to go lower? I'm just wanting to find out if one could use the spindles and springs to get 3-4" in the front.
Veteran
Joined: Mar 2009
Posts: 478
Likes: 0
From: Chesapeake, VA
Get the kit, bring the rig down, we'll drop it in a day.
Veteran
Joined: Mar 2009
Posts: 478
Likes: 0
From: Chesapeake, VA
Thats looks awsome!
Any full side shots???
Question: I just received the same lowering kit you installed for $395 from Stylin but was wondering what way did you remove the coils in the rear???
*instructions they come with are worthless*
Did you put the frame on jack stands, then lift up one side with a jack to compress the spring (then install spring compressors) and finaly lowered the jack and remove them???
Im trying to find the easiest/fastest way to do this.
Hmmm...
ROAD TRIP! (pssst......bring your rims
 )
)i agree the instructions are crap. for the rear we didnt use spring compressors. we did both sides of the rear at the same time. first we jacked up the rear end under the differential and then put jack stands under the frame. then we disconnected the sway bar end links and the track bar and lowered the axle until the springs were able to be taken out. we put the new ones in and then jacked the axle back up to hook everything back up. one tip is to mount the new track bar bracket before you jack the axle back up and then as you jack it up watch the hole and as it goes up the track bar hole will line up perfectly to put the bolt in. after we put in the bolt we jacked it up until we could put the end links on. the hardest part of the rear to me was cutting the bump stop cups off.
i am gonna post some more side shots in my next post.
i am gonna post some more side shots in my next post.
Not mentioned above:
- We also unbolted the shocks before lowering the rear end.
- Put the entire weight of the vehicle on the suspension before tightening up the bolts.
- After cuting off the bump stop, grind the frame smooth and paint with an epoxy (suspension) paint.
- You will need to elongate the bottom hole for the track bar locater and drill a hole for this same bracket. Other than that this it is a "plug and play" kit.

Amateur
Joined: Oct 2009
Posts: 45
Likes: 0
From: Austin, TX
Ordered my 2-4 eco drop kit and would like to know what tools I should have to complete it. Ive got the standard jacks, rachets and wrenches, but want to round up everything else I dont have from my buddies. Any advice would be appreciated.