2012 Caravan Seats = Glued or not?


Thread Starter
|
Amateur
Joined: May 2012
Posts: 46
Likes: 5
So starting the Drivers Side - should be easier
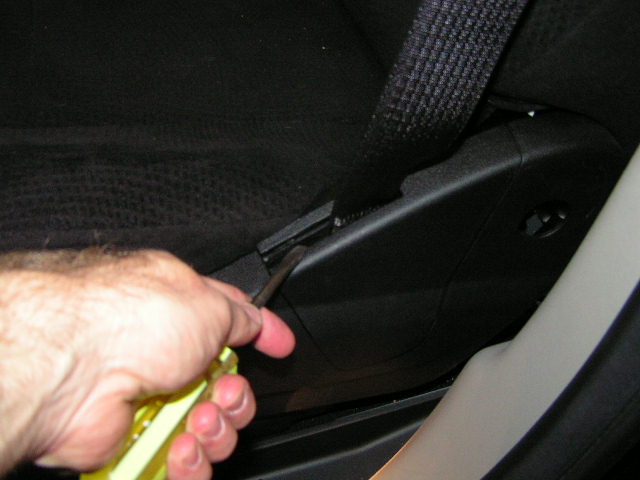
Step #1 - remove the arm rest - Torx T40

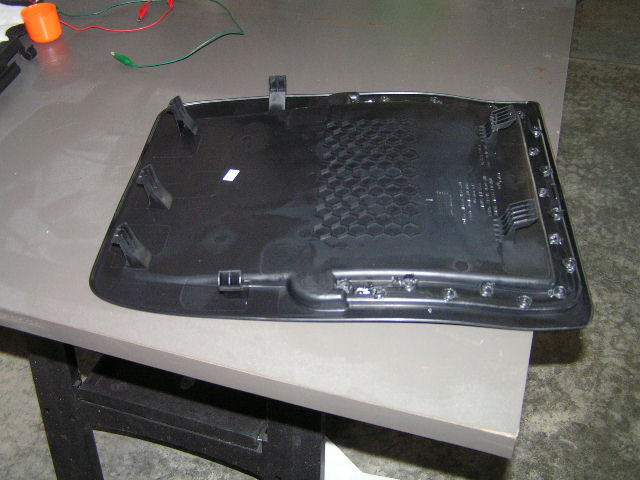
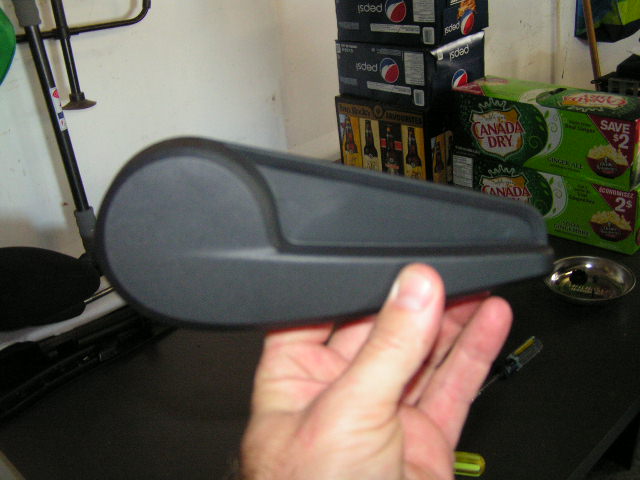
Step #2 Remove rear seat kick/storage plate - it seems if you push down to one side, pull gently from the top and opposite side it pops off
Backside of the above said plate
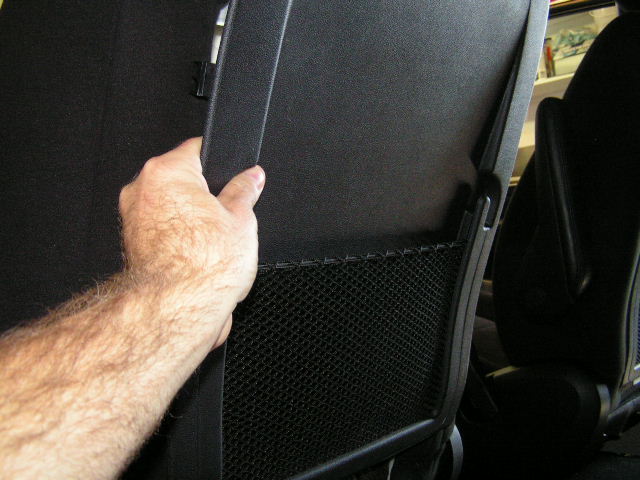
Step #3 Remove the fabric trim part between seat back and bottom
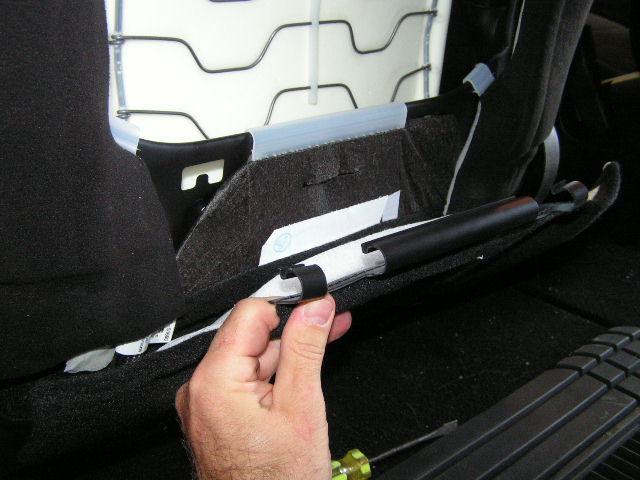

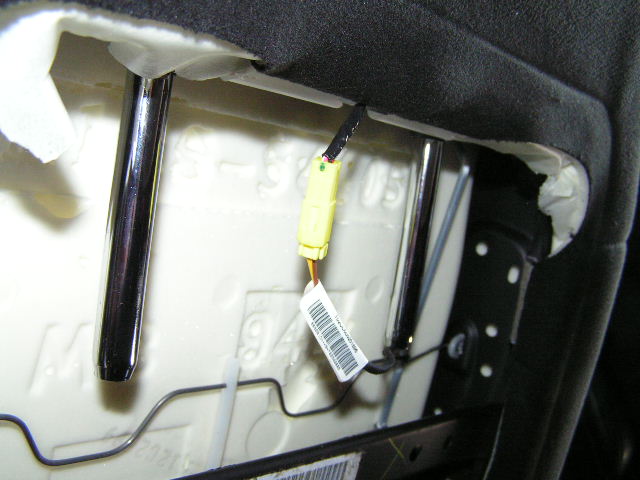
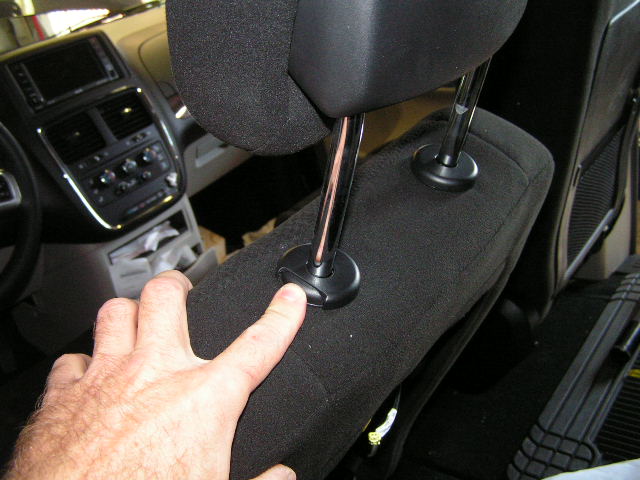
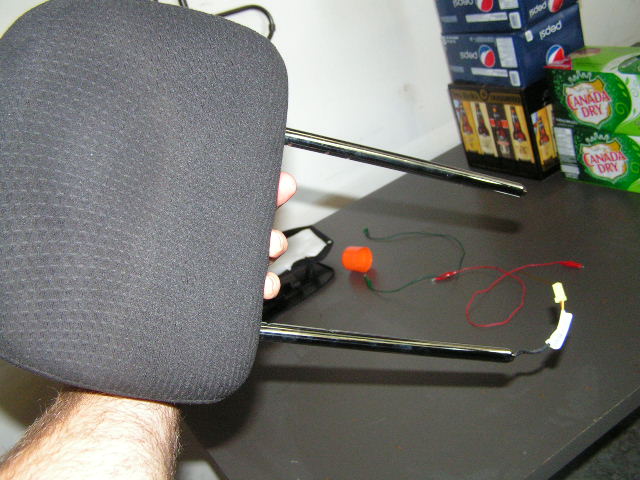
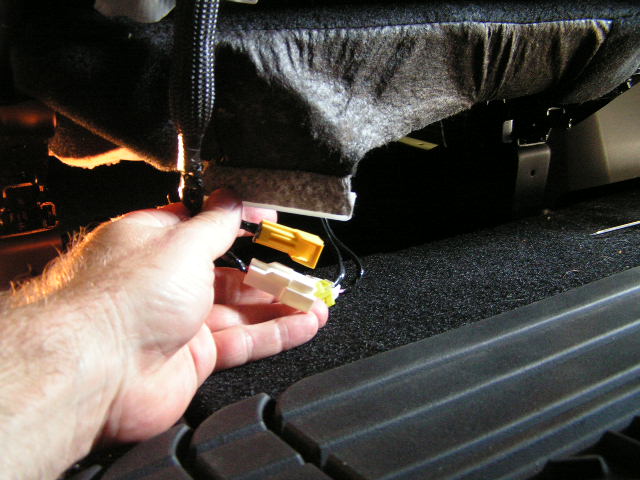
Step #4 Unclip the headrest wire, and remove headrest

Step #1 - remove the arm rest - Torx T40
Step #2 Remove rear seat kick/storage plate - it seems if you push down to one side, pull gently from the top and opposite side it pops off
Backside of the above said plate
Step #3 Remove the fabric trim part between seat back and bottom
Step #4 Unclip the headrest wire, and remove headrest
Thread Starter
|
Amateur
Joined: May 2012
Posts: 46
Likes: 5
Step #5 - Remove both middle and door side trim

Use a Phillips to undo the screw, then gentle pull, lift all the time adjusting the seat back position, pull up near the inside edge, one metal clip in the middle, and push toward the front of the van for removal of the console side trim
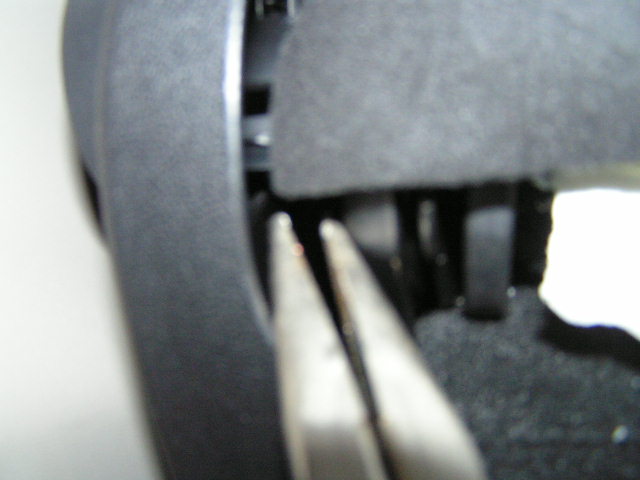
push back on clip from front with a screw drvier, use a flashlight, then once pushed go to rear of seat with needle nose pliers, and flashlight, grab clip and pull
Use a screw driver to gently pry, lift and release this part, I broke the passenger side decided to just leave the rear clip in place and gently adjust until I could remove the hex bolt


Use a Phillips to undo the screw, then gentle pull, lift all the time adjusting the seat back position, pull up near the inside edge, one metal clip in the middle, and push toward the front of the van for removal of the console side trim
push back on clip from front with a screw drvier, use a flashlight, then once pushed go to rear of seat with needle nose pliers, and flashlight, grab clip and pull
Use a screw driver to gently pry, lift and release this part, I broke the passenger side decided to just leave the rear clip in place and gently adjust until I could remove the hex bolt

Thread Starter
|
Amateur
Joined: May 2012
Posts: 46
Likes: 5
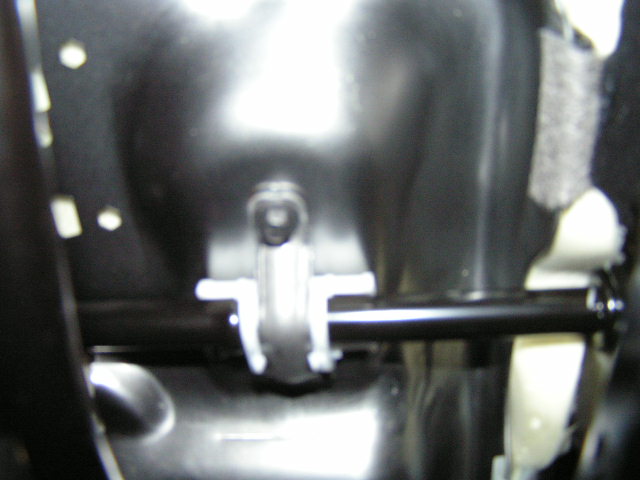
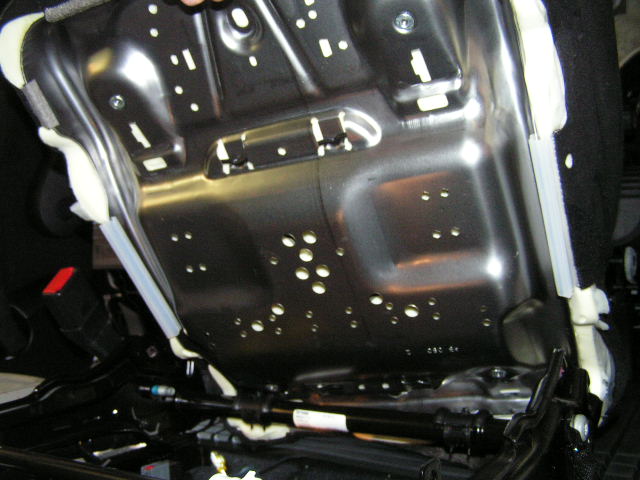
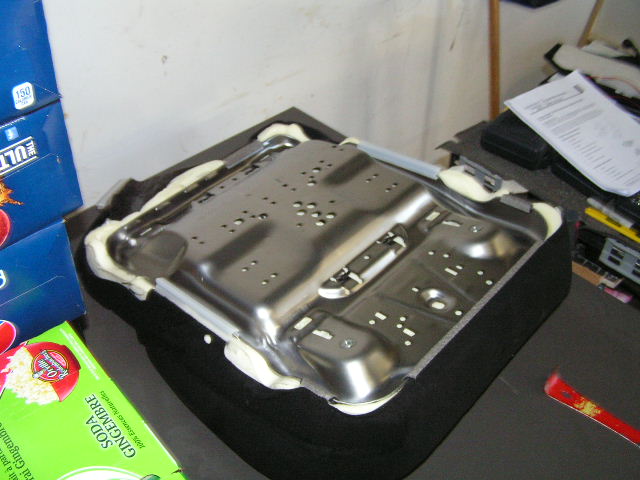
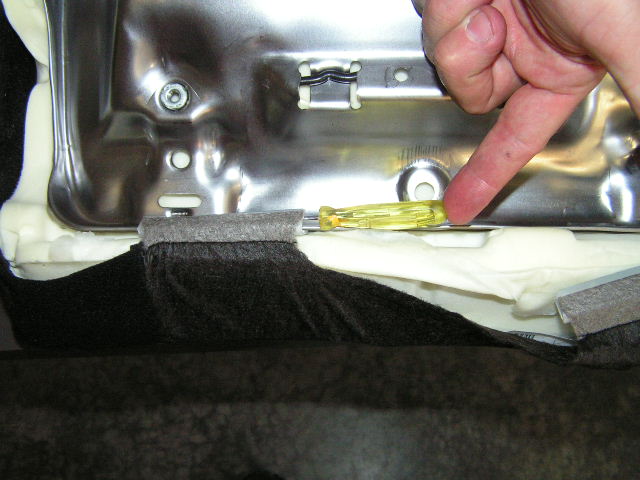
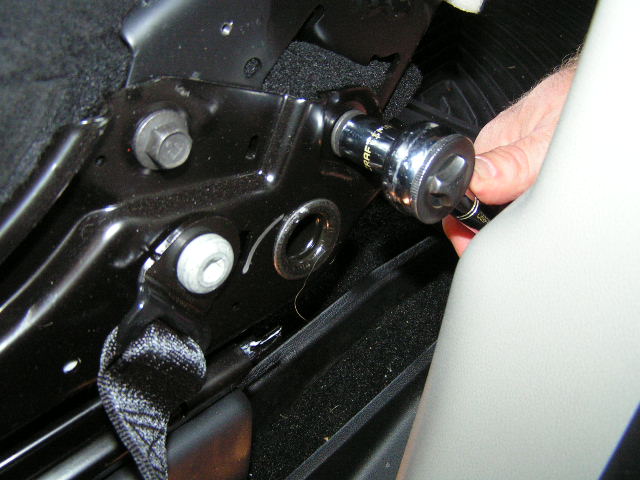
Step #6 - time to remove the seat back

Undo these on both sides, they are glued (loctite) so they are tight until you break the glue. Don't forget to use some glue when putting it back together, just loosen them, then undo the wiring
13mm botls to undo, 2 per side

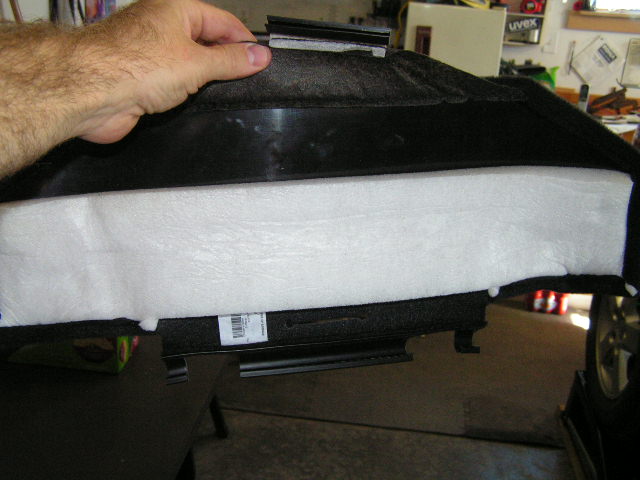
just lifting it out
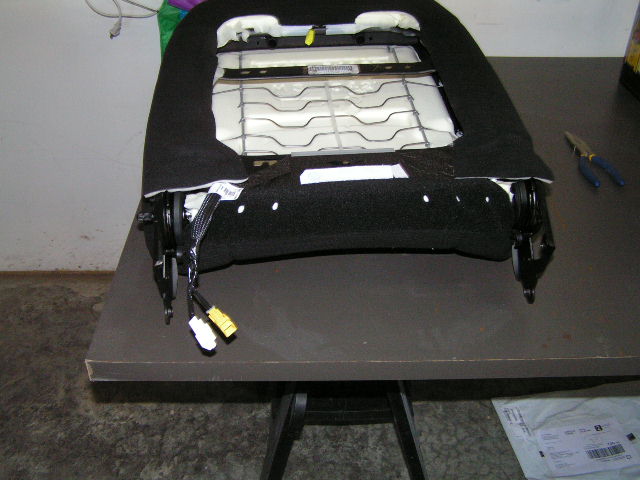
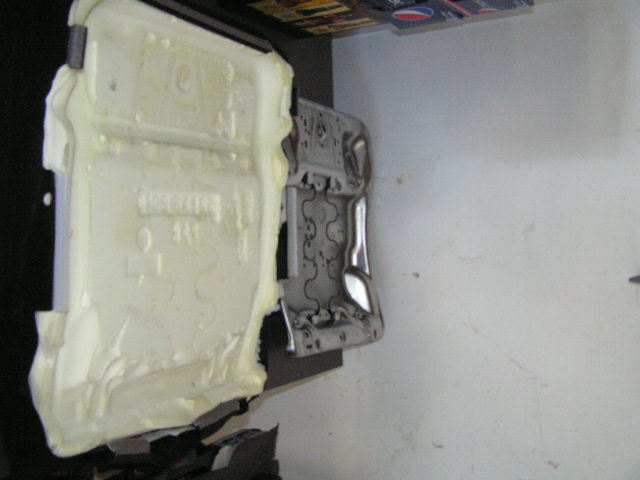
the back sitting on the work table
Undo these on both sides, they are glued (loctite) so they are tight until you break the glue. Don't forget to use some glue when putting it back together, just loosen them, then undo the wiring
13mm botls to undo, 2 per side
just lifting it out
the back sitting on the work table