

2012 Caravan Seats = Glued or not?


Thread Starter
|
Amateur
Joined: May 2012
Posts: 46
Likes: 5
So does anybody know if the 2012 caravan's have the seat fabric glued on or not? http://www.heatedseatkits.com/ seems to indicate that they are glued, however I have not yet ripped mine apart to find out. So if you happen to know please share the info, otherwise I'll share once I rip mine apart. Guess I should order the heaters first....
Thread Starter
|
Amateur
Joined: May 2012
Posts: 46
Likes: 5
so I asked this on Yahoo Answers and got a WRONG response from Chrysler Customer Care
Q: Are the 2012 Dodge Grand Caravan factory seat covers glued?
I would like to install heated seats and would like to know from others who have installed or know first hand if the front seats in a 2012 (or late model 2009+) factory seat covers are glued. Also are they secured with hog rings? I have installed heated seats before to a set of factory glued seats and it was a real PITA but doable. Just curious what I am getting into before I do it.
3 weeks ago
A: Chrysler Group Cares
Best Answer - Chosen by Voters
They are not glued, they are attached to the frame of the seat using J-Hook retainers and metal tabs.
Lisa
Customer Care
Chrysler Group LLC
3 weeks ago Report Abuse
100% 1 Vote
0 Rating: Good Answer0 Rating: Bad Answer
Action Bar:stars - mark this as Interesting!
Email
Comment (1)
Save
D M
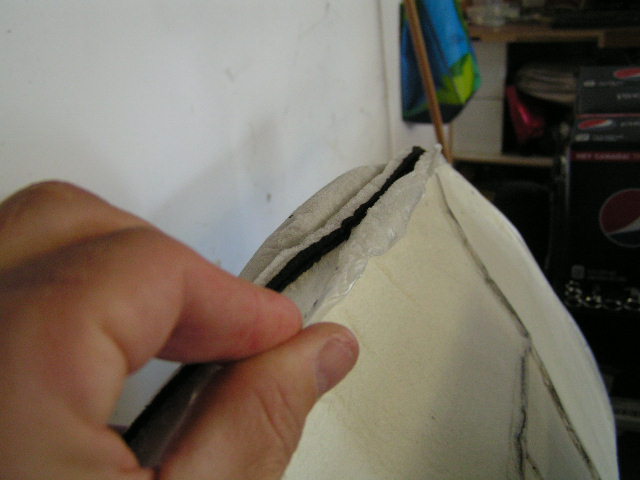
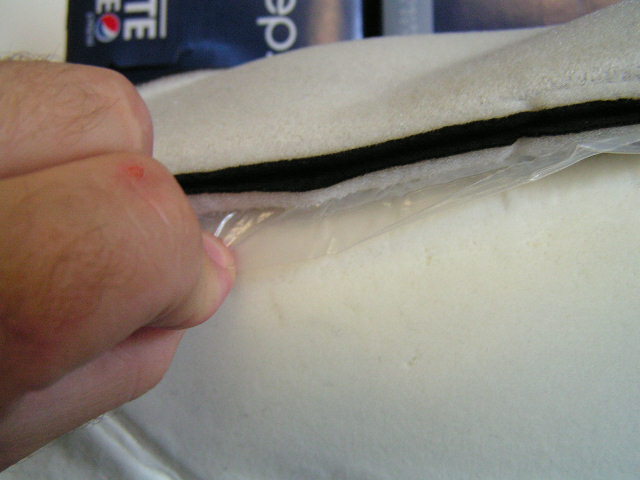
So Lisa, thanks for the incorrect answer, you have made my life a hell of a lot harder. The seat covers on the 2012 are absolutely glued to the foam backer, and worse yet the air bag is not a separate component and it's protective cover is actually glued in the seam along with the seat fabric.
Q: Are the 2012 Dodge Grand Caravan factory seat covers glued?
I would like to install heated seats and would like to know from others who have installed or know first hand if the front seats in a 2012 (or late model 2009+) factory seat covers are glued. Also are they secured with hog rings? I have installed heated seats before to a set of factory glued seats and it was a real PITA but doable. Just curious what I am getting into before I do it.
3 weeks ago
A: Chrysler Group Cares
Best Answer - Chosen by Voters
They are not glued, they are attached to the frame of the seat using J-Hook retainers and metal tabs.
Lisa
Customer Care
Chrysler Group LLC
3 weeks ago Report Abuse
100% 1 Vote
0 Rating: Good Answer0 Rating: Bad Answer
Action Bar:stars - mark this as Interesting!
Comment (1)
Save
D M
So Lisa, thanks for the incorrect answer, you have made my life a hell of a lot harder. The seat covers on the 2012 are absolutely glued to the foam backer, and worse yet the air bag is not a separate component and it's protective cover is actually glued in the seam along with the seat fabric.
Thread Starter
|
Amateur
Joined: May 2012
Posts: 46
Likes: 5
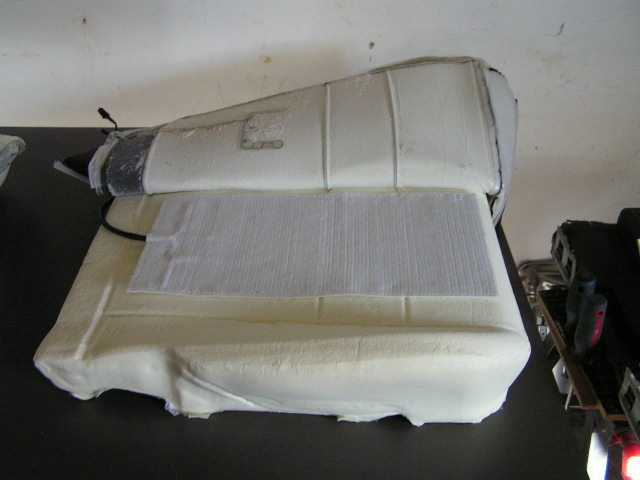
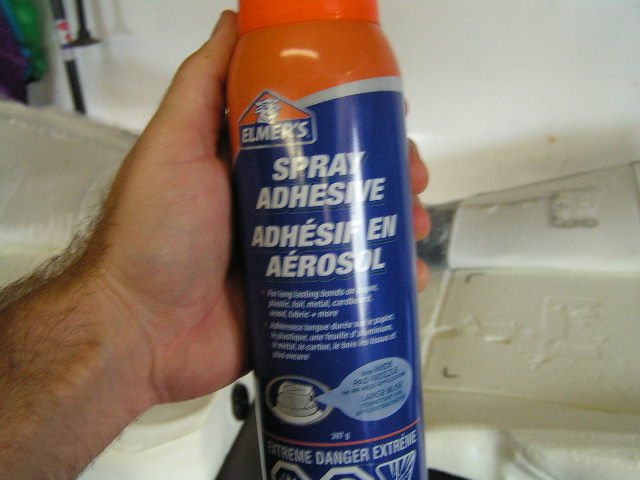
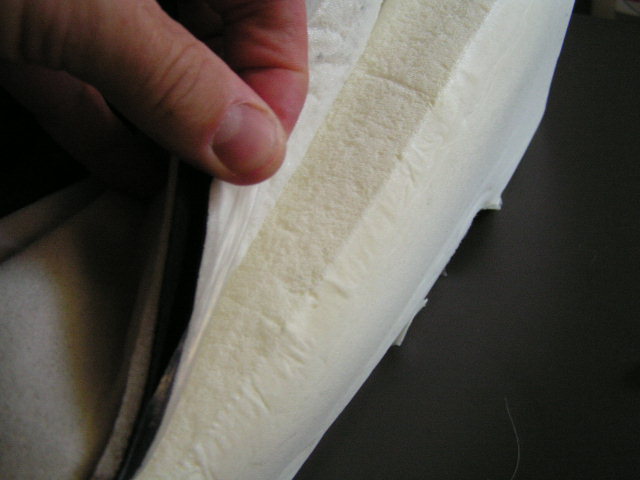
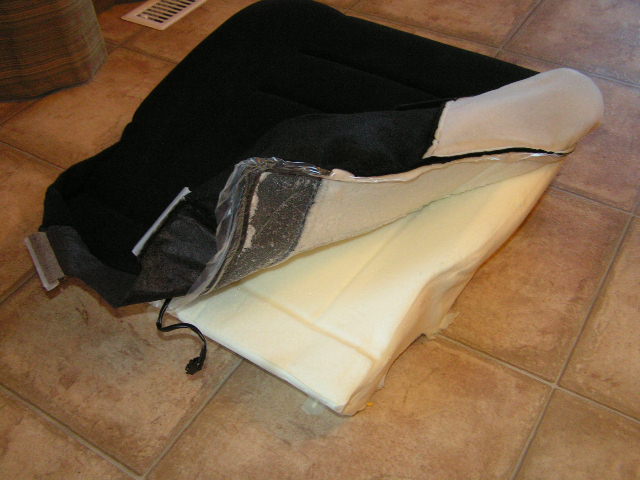
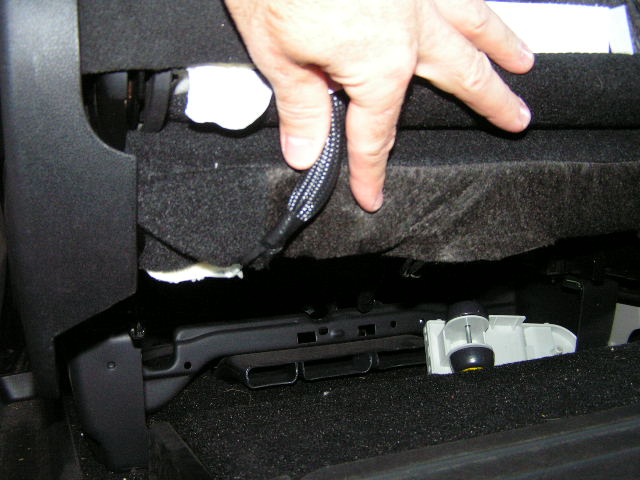
So I got the elements glued in the passenger seats, its up to you how you want to remove the seats, I removed the side plastic seat trim, then un-clipped all the wires (negative Batt. post disconnected), and unbolted the seat back - 2 - 13mm bolts each side (located under the plastic trim) took off the head rest and gently ripped - THATS RIGHT!!! RIPPED back the fabric & plastic away from the foam. Here is some photos, need to wait an hour until I glue the fabric to the element and foam and start the install process.
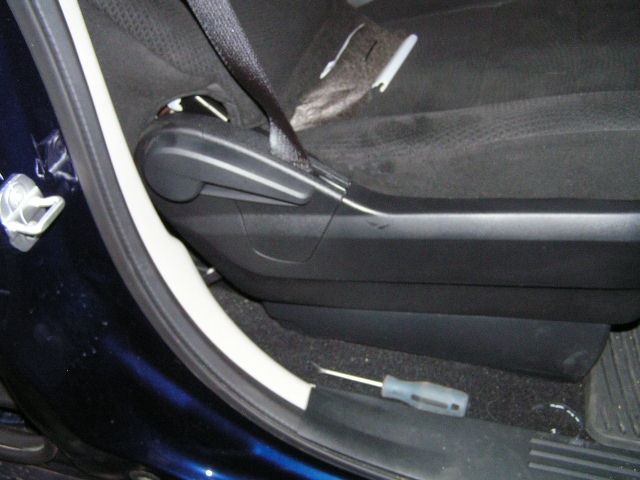
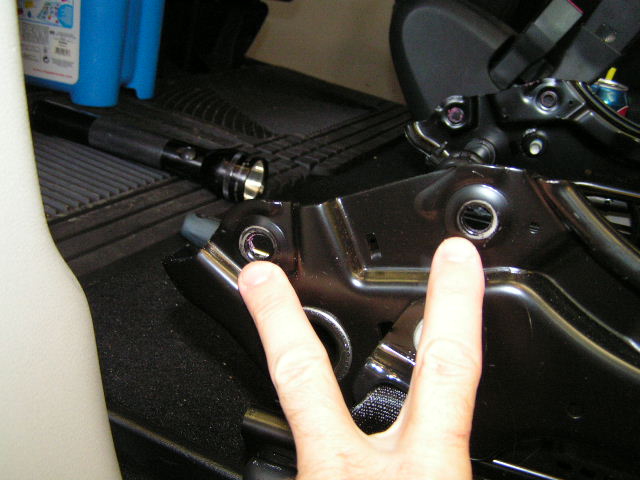
there is a retainer clip that hold on the adjustment arm that needs to be removed, push on the tab from the crack where the seat beat goes in, and then go to the rear sliding door and use needle nose pliers to pull the clip from the back beside the plastic trim

active head rest wire
use a phillips to undo the middle (console side) plastic trim - the trim close to the door had a plastic pin, just pull it out I have specific screw driver type tool but a screw driver might do it and pliers
you can see the back side of the 13mm bolts that hold on the seat back frame


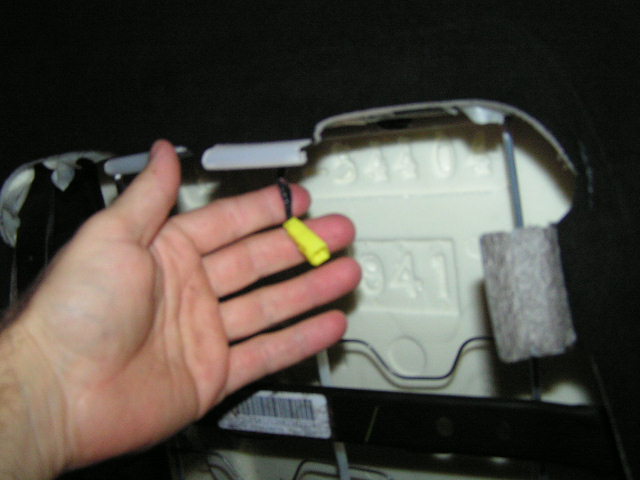
This shot details the removal of the head rest
there is a retainer clip that hold on the adjustment arm that needs to be removed, push on the tab from the crack where the seat beat goes in, and then go to the rear sliding door and use needle nose pliers to pull the clip from the back beside the plastic trim
active head rest wire
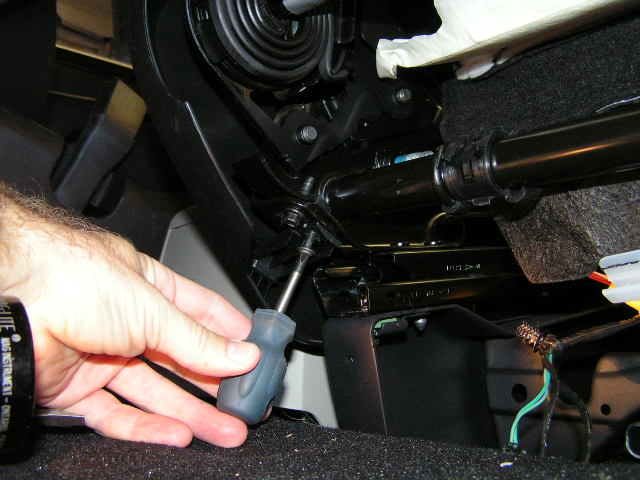
use a phillips to undo the middle (console side) plastic trim - the trim close to the door had a plastic pin, just pull it out I have specific screw driver type tool but a screw driver might do it and pliers
you can see the back side of the 13mm bolts that hold on the seat back frame
This shot details the removal of the head rest
Last edited by thevalleyboy; Oct 5, 2012 at 05:17 PM.
Thread Starter
|
Amateur
Joined: May 2012
Posts: 46
Likes: 5
oh the seat back I ripped back toward the airbag side, so I didn't have to deal with that thing. I simply glue back toward the other side and clip it in the rear. Hope it goes smooth, the seat fabric that is.
Trending Topics


Thread Starter
|
Amateur
Joined: May 2012
Posts: 46
Likes: 5
torx T40 required to remove the armrest, 4 x 8mm nuts on the bottom of the seat pan, then snap plastic clips hold on the seat base, 2 bolts at the front and 2 at the rear, accessible after you take of the trim fabric that sits below the back and base
Last edited by thevalleyboy; Oct 5, 2012 at 03:17 PM.
Thread Starter
|
Amateur
Joined: May 2012
Posts: 46
Likes: 5
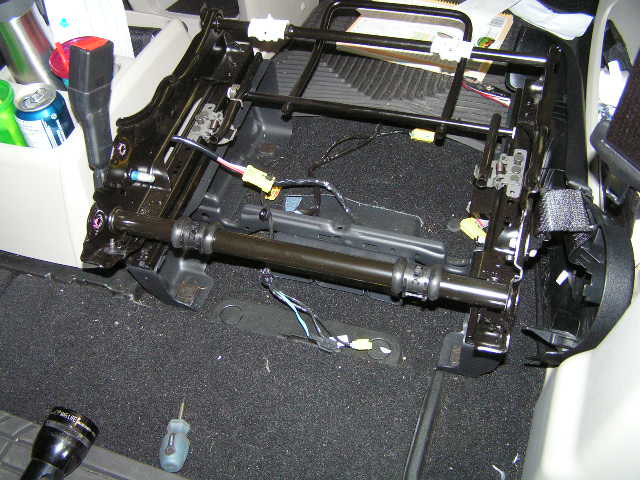
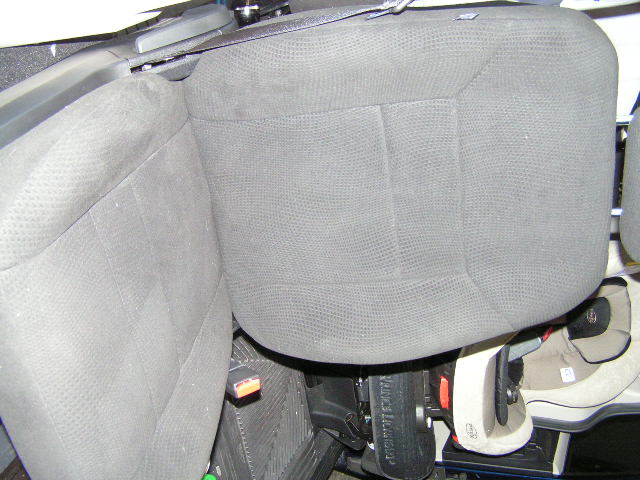
Seat Base still in Vehicle

Actually left the seat belt connected and the trim loose, just do not slam it in the door!
The 13mm bolt holes that hold on the seat back frame

This photo is the drivers side (not yet apart) after removing the one trim fabric, the 3 wire connections are all nicely tucked under this fabric that my finger is point at
another shot, holding the main harness, and pointing at the connections under the fabric

side ways shot of the head rest wire connections

3mm hex I think (didn't measure or pay attention) I broke the rear plastic insert - typical to get at this nut, passenger side - I assume drivers will be the same
Passenger seat DONE!
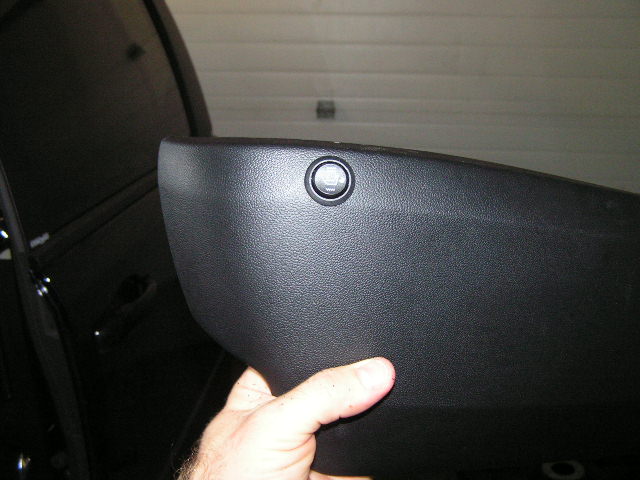
Passenger side inside seat trim with heater control installed

Trim installed with Switch