When you click on links to various merchants on this site and make a purchase, this can result in this site earning a commission. Affiliate programs and affiliations include, but are not limited to, the eBay Partner Network.
[4th Gen : 01-07]: Need Help - 03 Grand Caravan coolant leak from odd location with photo.
Dodge CaravanThe Dodge Caravan is the best selling mini van from Dodge. How many Dodge Caravan owners here at DodgeForum.com would agree? Discuss it now!
Need Help - 03 Grand Caravan coolant leak from odd location with photo.
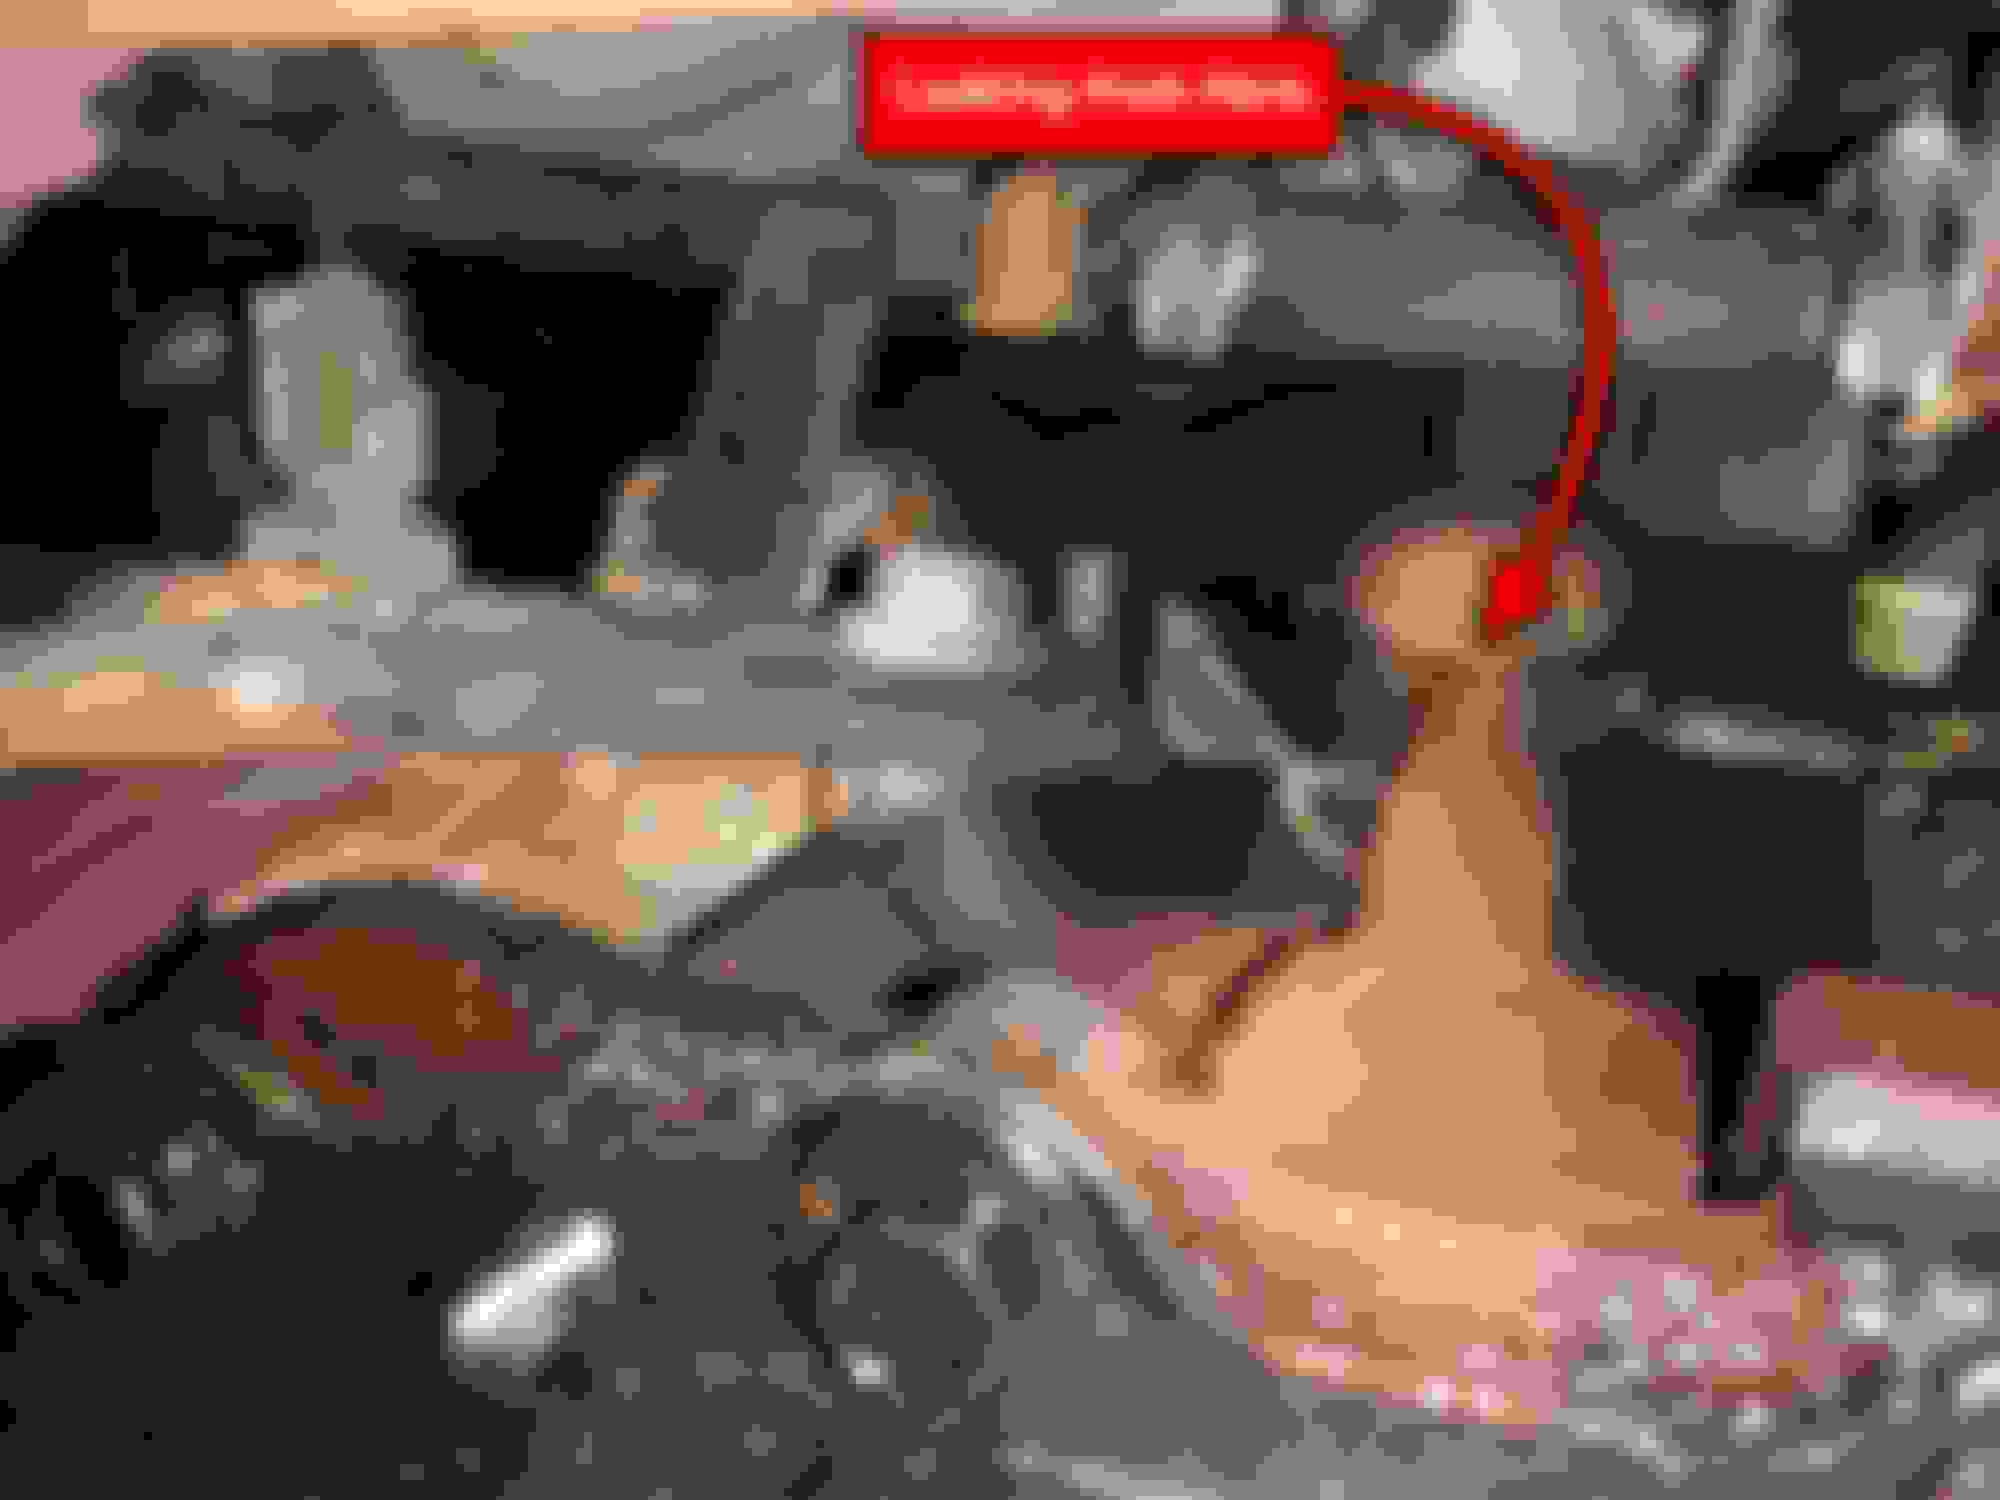
Can anyone tell me why coolant would be leaking from this location? Is this a big problem or and easy fix? The leak had already drained the coolant system before I could take this picture from under the van where it was leaking from. I verified it wasn't leaking from the hose above that goes to the water pump or from the water pump itself, which I had previously replaced.
Thanks for any help! The 3 red circles are capped holes in engine below exhaust manifold. The circle with the red arrow is where the coolant leaked from. Taken from underneath the van. Red arrow indicates where coolant was draining from.
Those are expansion plugs for the block. Their purpose is to give ice an exit path from the block if the coolant is too weak (watered down). If the coolant freezes and expands, it will push the plug out instead of cracking the block.
Whether or not they leak depends on age, mileage, maintenance intervals, and driving habits; but it�s not uncommon.
They really need to be replaced if you expect to keep using the engine for some time, especially if they�re leaking fast like you describe. You can replace them with the same type (installed the same as you would a seal) or there�s rubber replacements that seal just as well, but are installed by torquing a nut in the center that makes them swell out.
Either way, you just need to know the diameter. There�s 6 total - 3 on each side.
I recommend also flushing the block, radiator, and heater core while you have them out as well as replacing hoses as needed and installing a new thermostat.
1) Make sure to clean the bores as best you can before installing the replacements. Emery cloth, steel wool, or scotch brite pads all work. It doesn�t need to be down to bare metal but the bore wall needs to be free of any built up corrosion.
2) If you install the original type plugs, applying a thin coating of RTV to the edges of the plugs will help them seal. This won�t harm anything because they�re not much thicker than an aluminum soda can and they�ll still break open if the coolant freezes.
3) If you install the rubber type plugs, do not torque them past the manufacturer�s recommendation (usually stamped on the plug) or use any sealant. The recommended torque only swells it enough to seal - exceeding the spec will cause it to swell too much and it won�t get pushed out if the coolant freezes. Sealant will glue them in place, having the same effect.
I had my oil changed and noticed van was redlining on the gauge shortly after. Found the fan relay was bad. Replaced it. Ran it. Back to redline. Cooled it down, added water, found water free flowing from under the intake/ oil cooler housing. Tore it down and replaced the �"rings on the bottom of the cooler assembly. Filled it up, still leaking. I did not see any cracks on the housing. And it leaks with no pressure. I can't see where it is coming from. Probably the cooler assembly?
Thanks for any replies.
Most likely, yes, it�s the cooler/filter housing assembly that needs replacement - they are known for cracking/leaking.
You can replace it with another OEM style if you want, but Dorman makes an all aluminum replacement that also comes with the intake gaskets. I installed it on my 2016 GC 2 years ago and haven�t seen any signs of leaks or coolant/oil cross-contamination yet.
Just make sure the block sealing surfaces are clean and to use the torque specs/sequence(s) for assembly and installation, and plan to change the oil afterwards.