


Autometer A-pillar and gauges install w / PICS !!

Thread Starter
|
Legend
Joined: Aug 2006
Posts: 8,529
Likes: 0
From: 100% Heaven Sent
Well ... you asked for it, you've got it. Here is the chain of events that took place while installing my pillar and gauges.
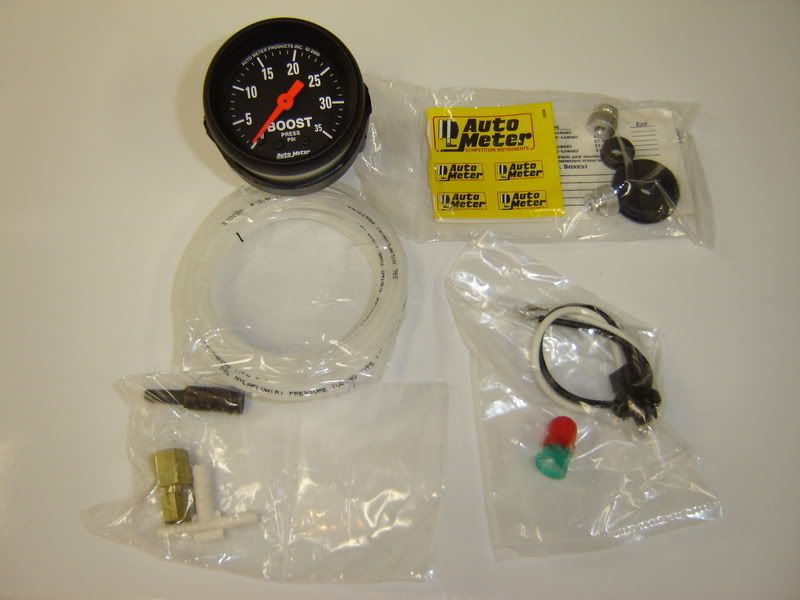
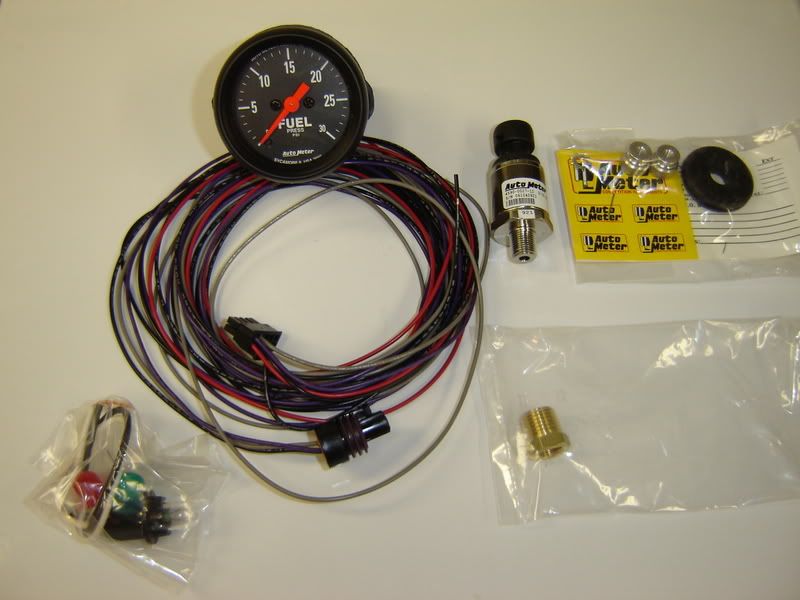
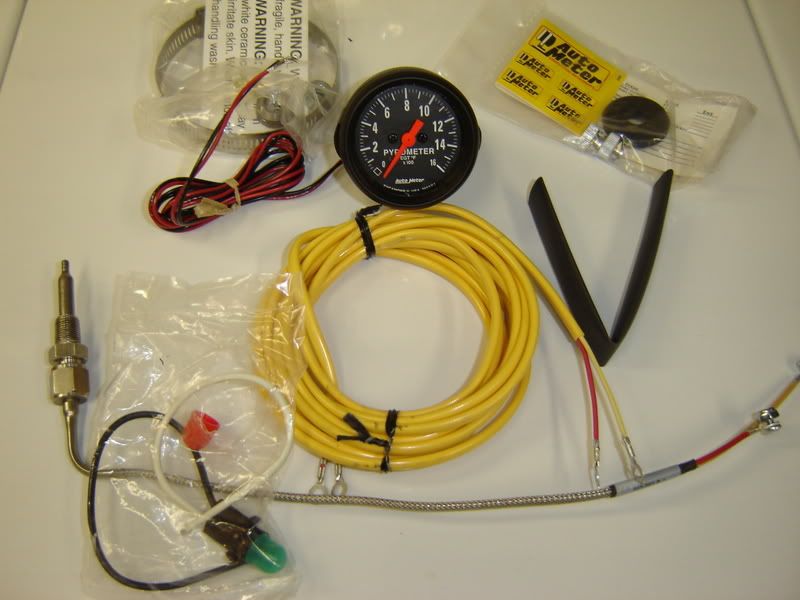
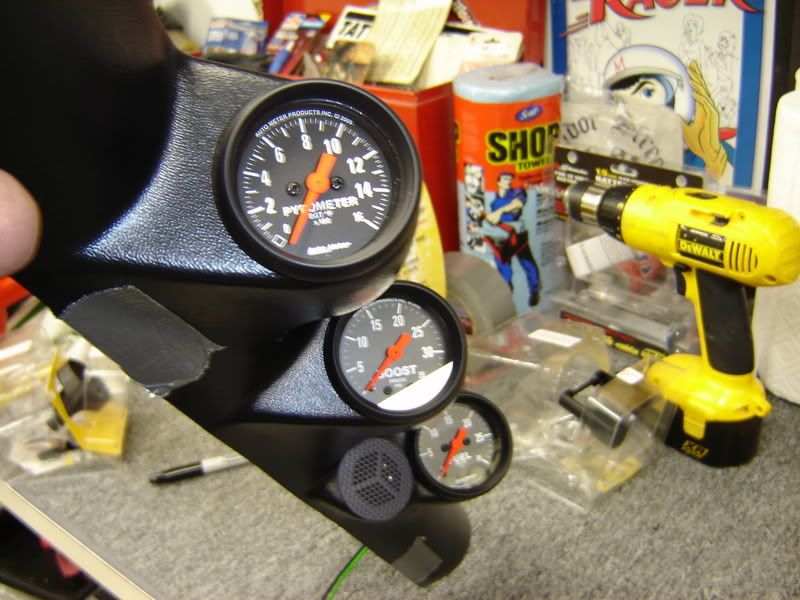
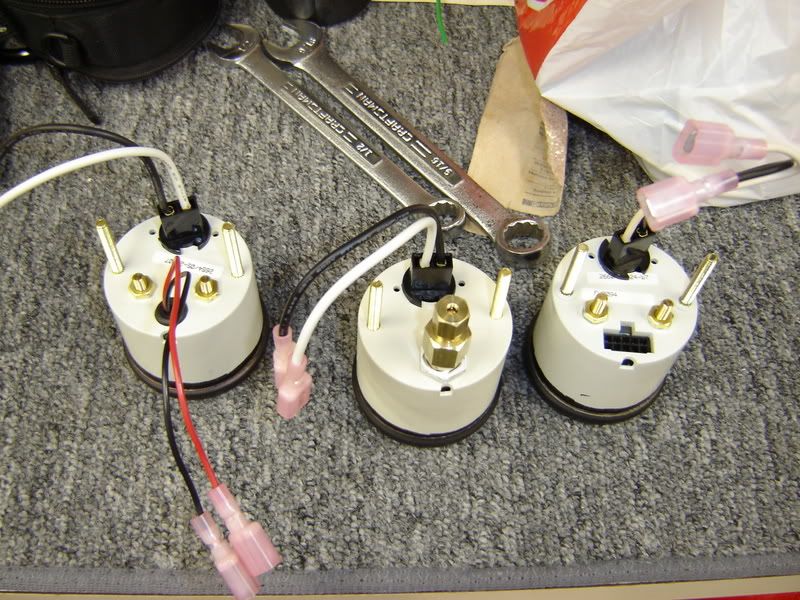
These pics show everything that comes with the Boost, EGT ( pyro ) and Fuel Pressure gauges.
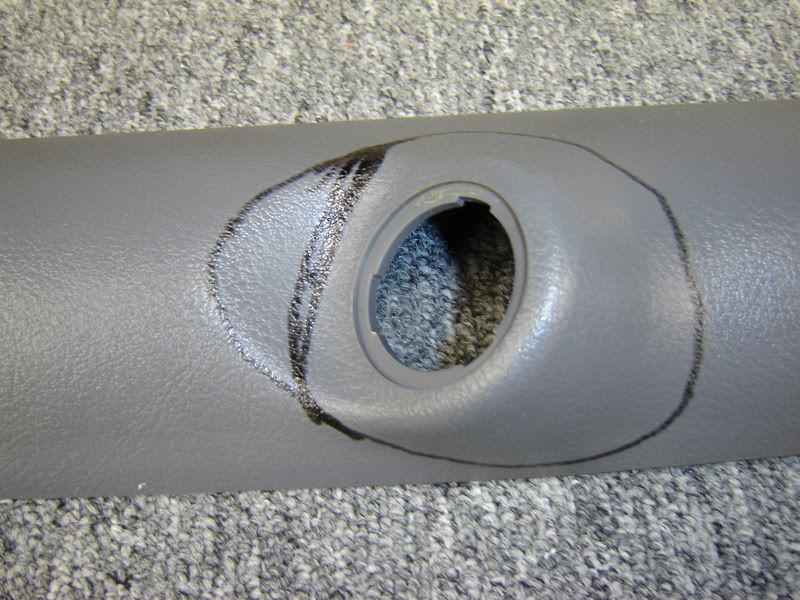
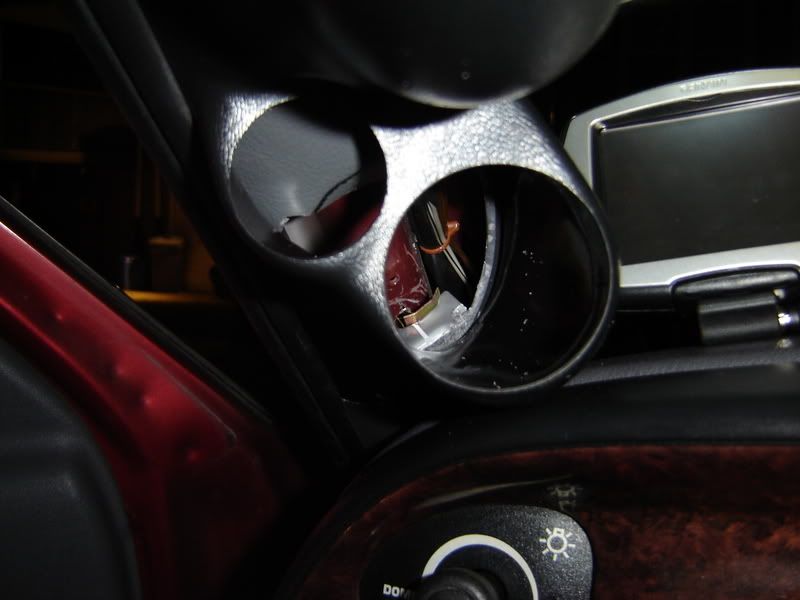
This pic shows what my factory pillar looked like from the drivers view beforeI HACKED it up !!
What it looks like when you remove it ( notice the top gold clip still in the red pillar. It must have broken off before I got to it.)
After I removed the stock pillar, I just laid the new one in to see if I liked it. I thought it looked cool, so ONWARD I went !!
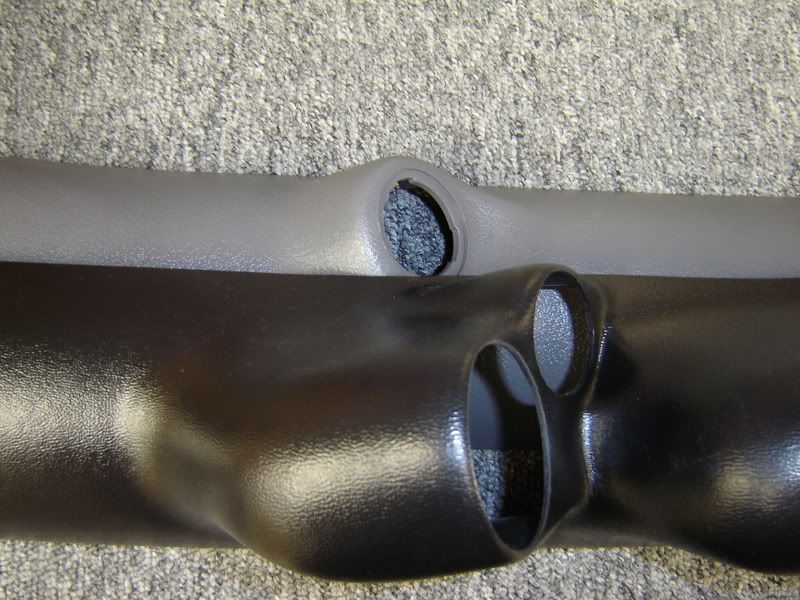
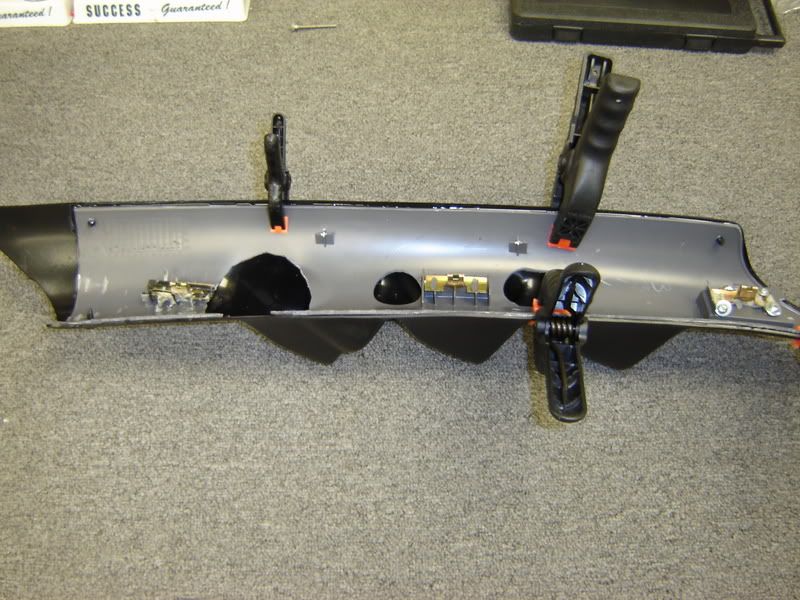
This is what the stock pillar looked like, as well as the new pillar next to it. As you can see, I had to do some cutting because the tweeter holes didn't line up. I had to cut out the old tweeter entirely so that the new pillar would fit over the old pillar. Oh yeah, see those gold clips well trust me those things are DAINTY !! One of them broke off immediately (top one already missing -I think it was done prior to me getting the truck ) and the bottom one I broke off trying to get everything to fit. I was able to screw the top one in, but the bottom one took a combination of PL-400 and some wire ties. Not pretty, but it worked

WAAAY OFF !!
This is the area that I initially cut off. Eventually I had to trim more to make the two fit together better.
WAAAY past the point of no return !!
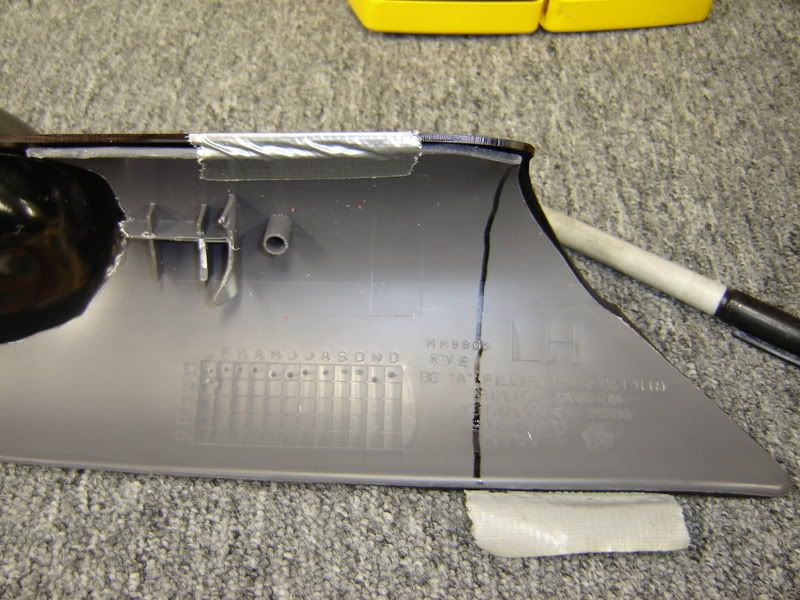
I had to shave the sides a bit because the pillar fit too tight in the truck. I was back and forth with it till it fit good.
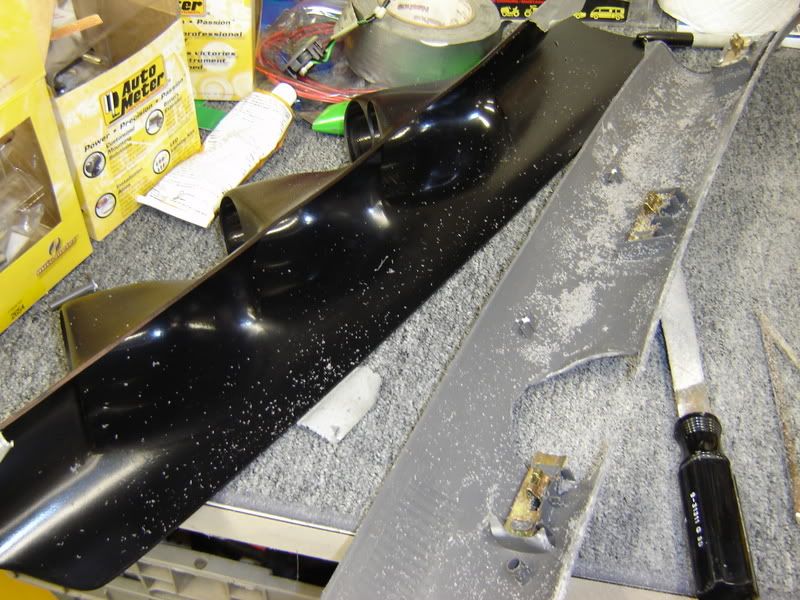
I cut the whole bottom right off so that it would slide in easier.
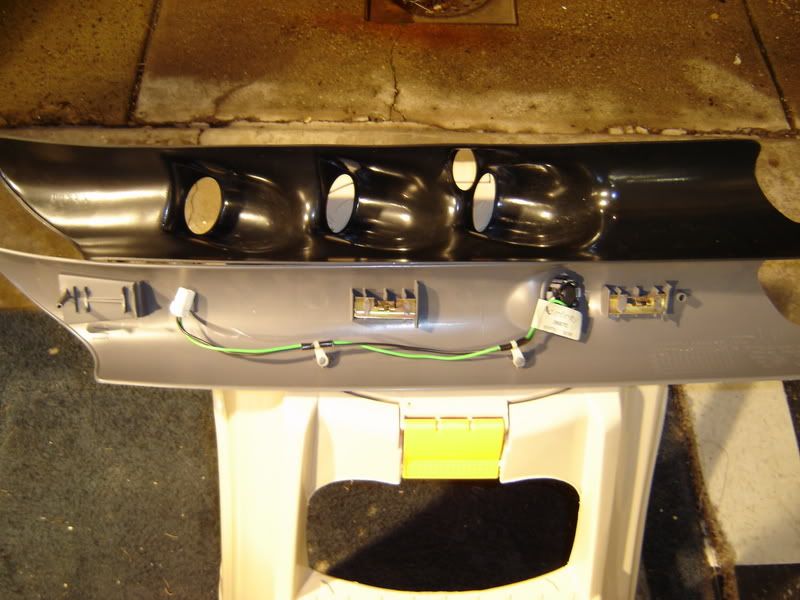
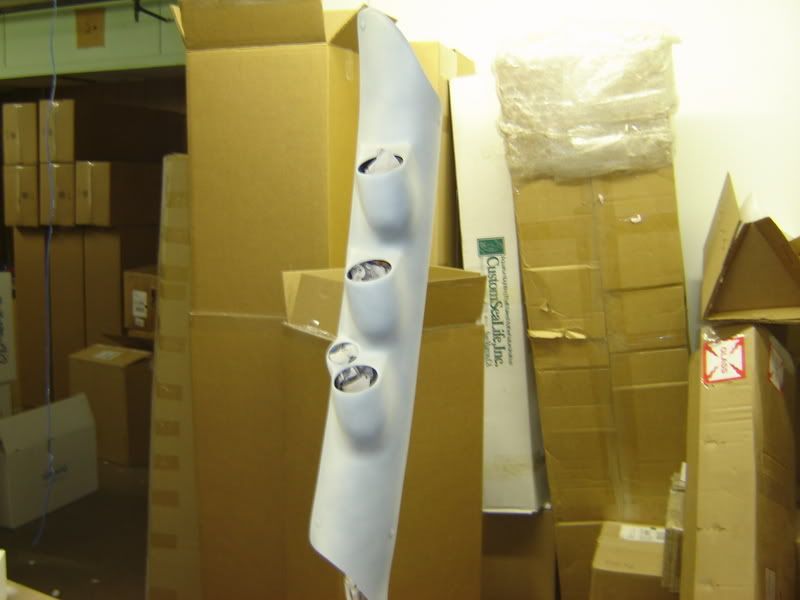
I also had to shave the cups until the gauges slid in easily. I didn't use any backings on the gauges, just slid them in. Not too loose, and not too tight. I also pre-fit the tweeter cover to make sure it fit as well and it did.
Here is what it looks like installed
I drilled, pinned, and also glued the two together.
FYI - cut off the excess pins when you are finished. They will hit your pillar wall and drive you CRAZY wondering why it's not sitting flush. Wound up being the pins.
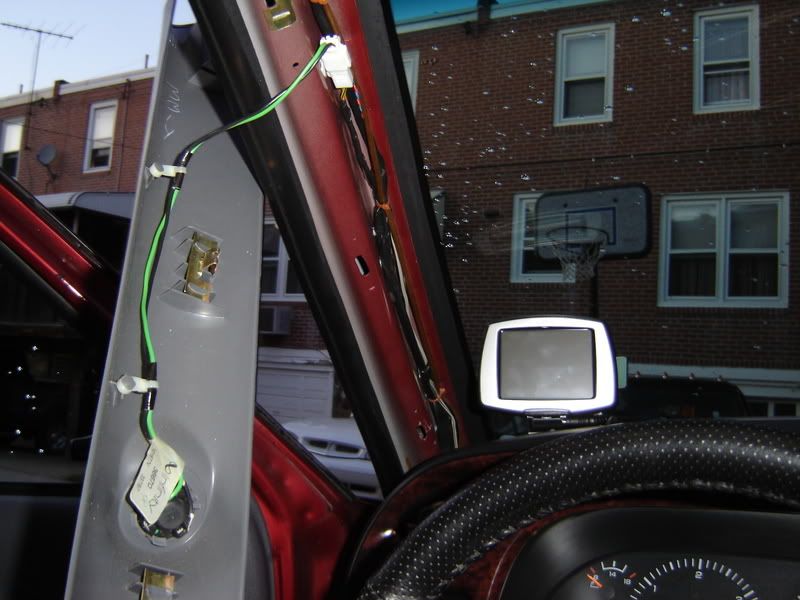
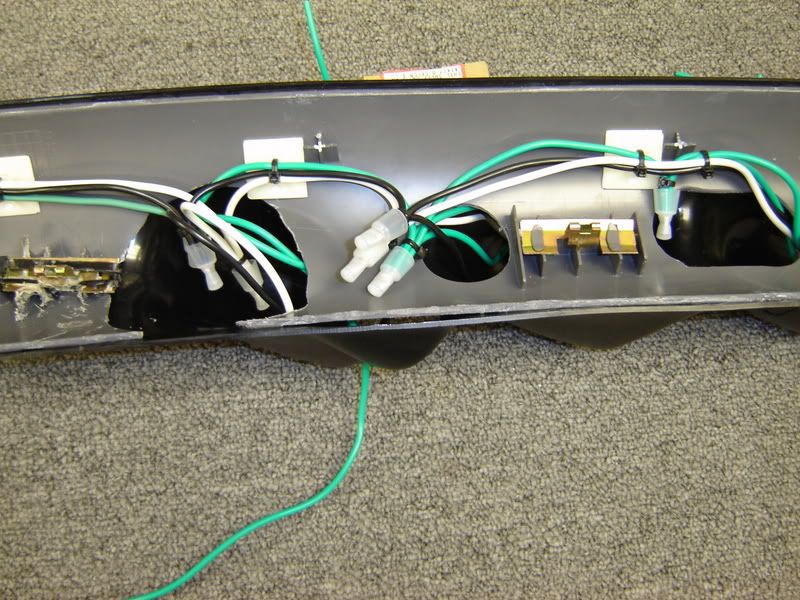
I pre-wired everything prior to installing to make it easier. I used white for lights, black for power, and green for the grounds. You can kinda see the way I had to rig the one gold clip in this pic.

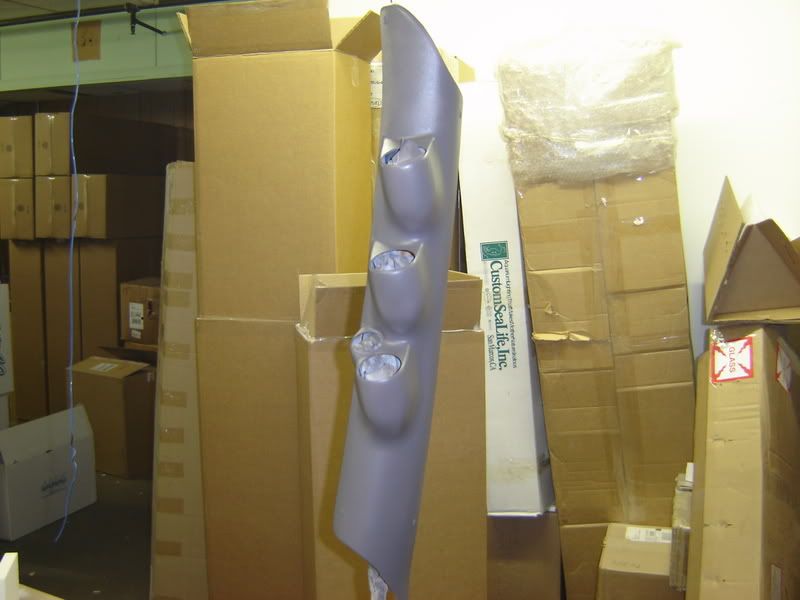
Off to the 3 P's - Prep, Prime, and Paint
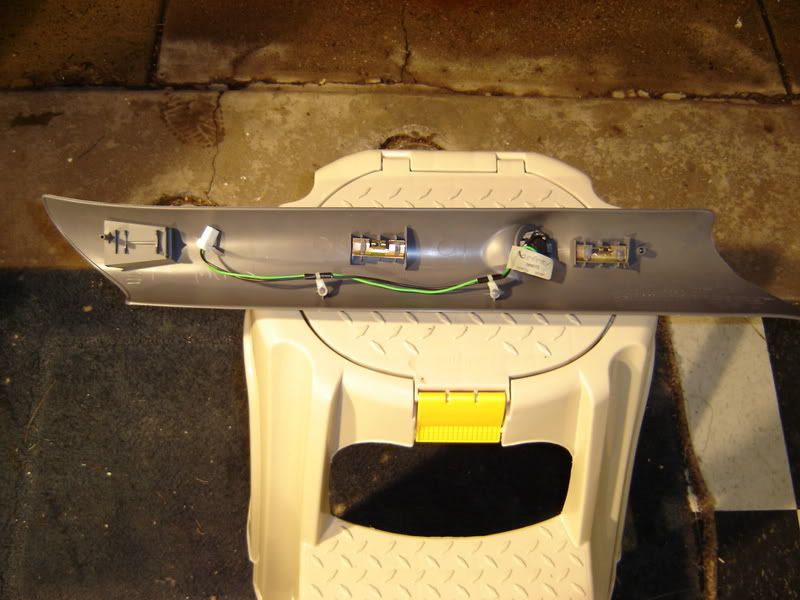
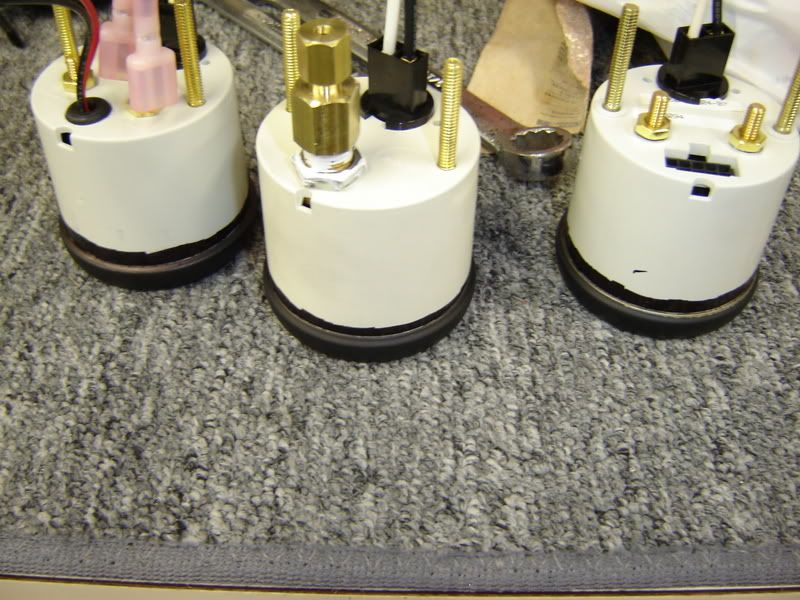
I pre-wired and prepped the gauges as much as I could
I used a black marker to put a stripe along the edge of the gauges because there was a SLIGHT gap between the pillar and the gaugeand you could see the white gauge backing. Making itblack made it not noticable at all.
It took me a while to install ( mostly because of the pins ) but I got it installed
Time to get to the business end of the job. I found the bolt that Jake so kindly told me to remove and I did. Then I installed the new boost bolt. Before installing it I lined the threads with loctiteI believe it's #14. It's the one with teflon in it. I used this on ALL threaded fittings.

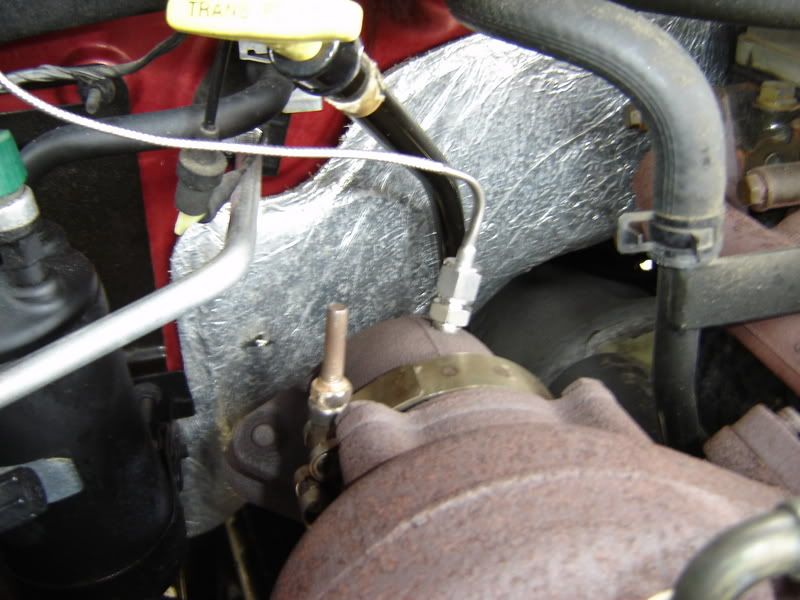
Onto the fuel pressure sensor again useing the loctite. I was a back and forth about wether to mountthe sensorhere or on the FASS, but Jake told me that I'd get the best readings if I took them closest to the VP-44. Since this canister was the closest, I took it here.
Up next PYRO !!!!!
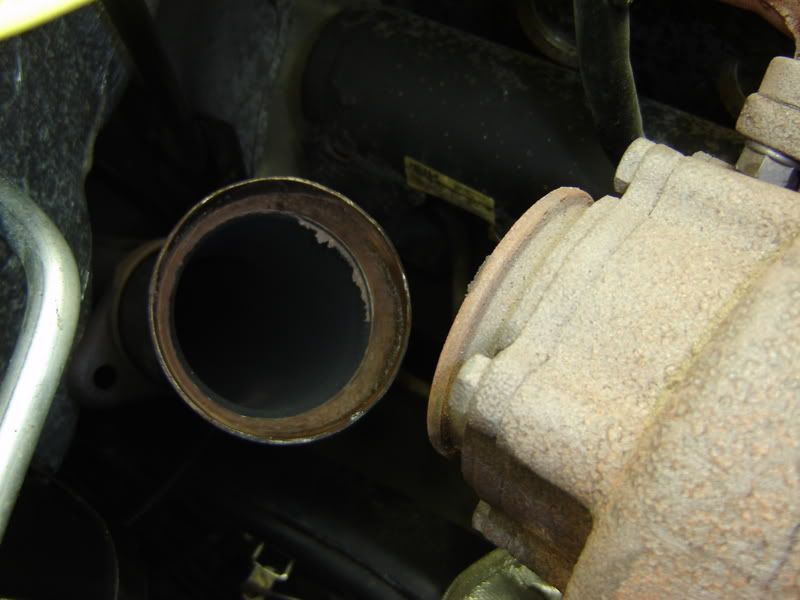
I chose to install it after the turbo not becauseI was scared to drill and tap the manifold, but because I was more concerned with turbo cool down after towing. I'm told that a good rule of thumb is to add about 400 degrees to whatever readingI get here and that should be what PRE turbo is. I can live with that.
Here is the removed elbow. I pre-soaked the bolts with WD-40 and they came out pretty easily with a LOOONG extension from under the truck.
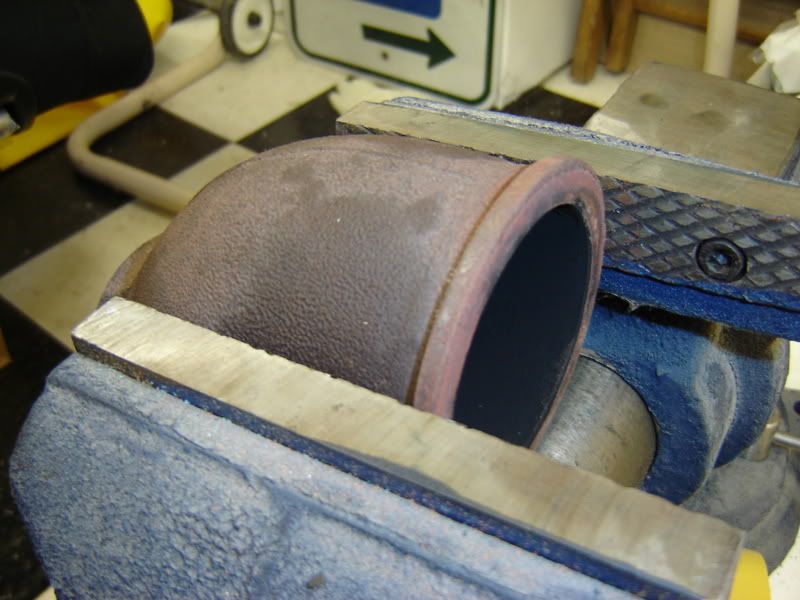
Time for the drillin and tappin ... ( 1/8" NPT )
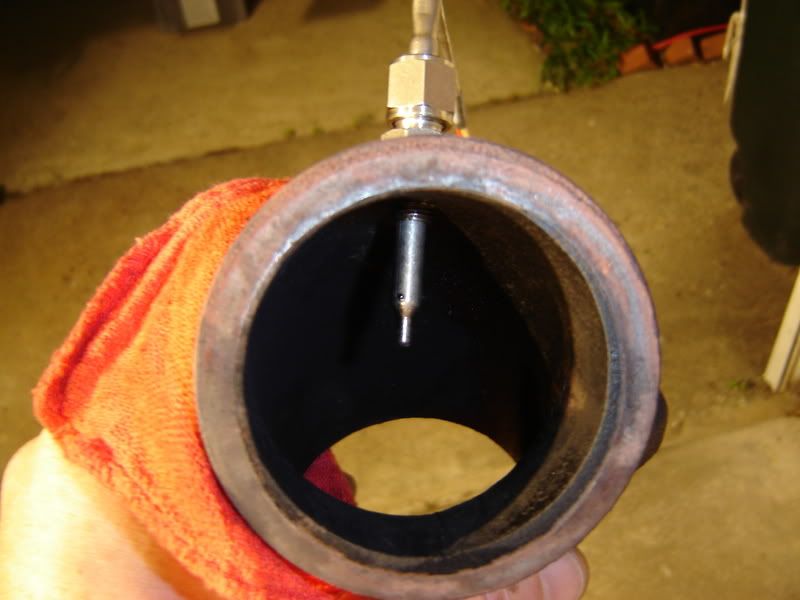
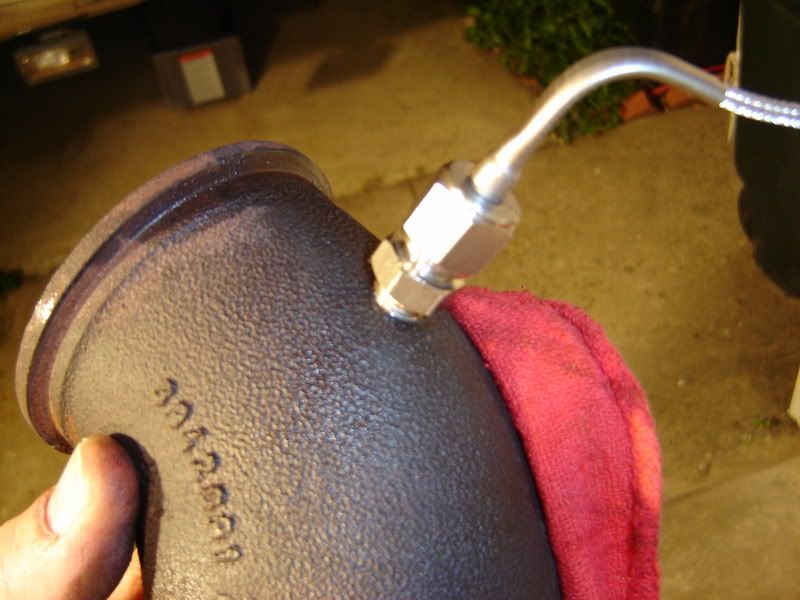
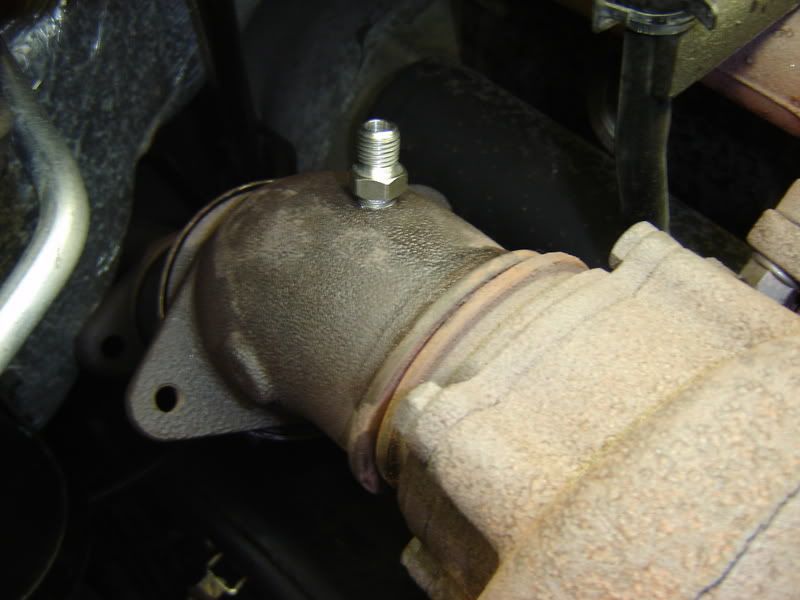
Here is what the probe looks like installed
Here it is laid in before bolting it back up from below and the band clamp up top.
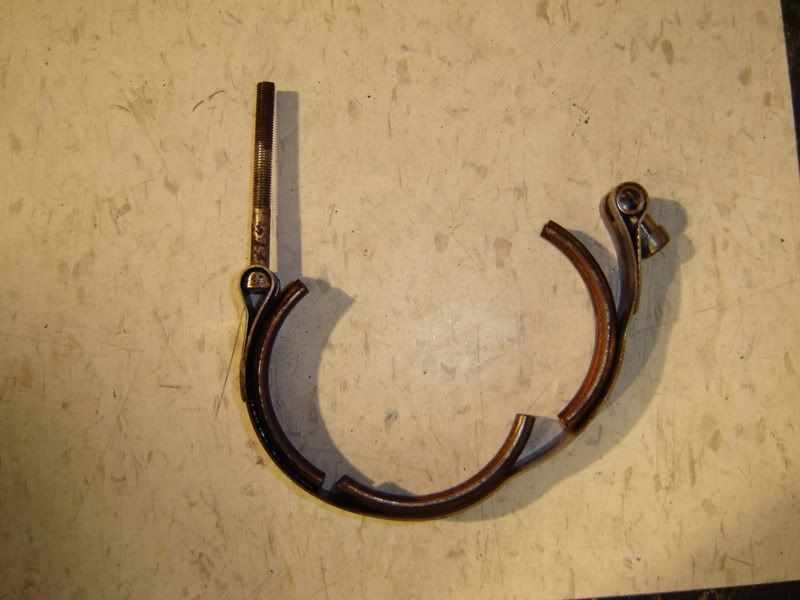
Speaking of ... I found it easier to totally remove the band clamp rather than try and just "work it off " I totally unbolted it and then just pryed it off with a screwdriver. It was a LOT easier to do this way !!
Here's the clamp
Finished product ...
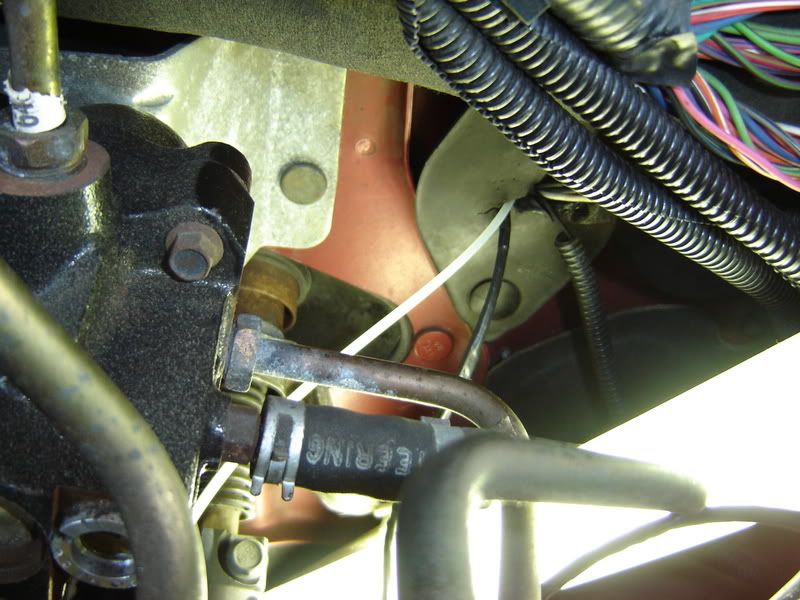
I then ran all three lines through a boot found right next to the steering collum. It was kinda tuff to get out, but I managed. I had to cut a pretty big slice in it because the harness for the fuel pressure gauge has a pretty big plug on the end of it.
MY NIGHTMARE !!!
I'm not in the least bit afraid to do my own wireing, but when it comes to having to work with wireing that someone else didI get nervous because I don't know what they did, how well they did it, or if it's gonna fall apart. Here are some shots of what I was dealing with. As you can see, whenever I run a new line I label it as to what it's to. It only takes a second to do, but can save YEARS of your life trying to figure it out later.
LOOK AT THIS MESS !!
PROPS to Frone for helping me find the right wire to tap into for the lights.
Here is the boost gauge that I was trying to get working. I kinked the line shoving the gauge back in, so I tried the rubber boot that came with it to see if it would work. At first I didn't think it was working because I got no reading. It wasn't until later that I realized that I wasn't GOING to get a reading at idle. Once I started driving, the needle started moving. I probably could have left it that way, but I replaced the ferrel and it's done right now.
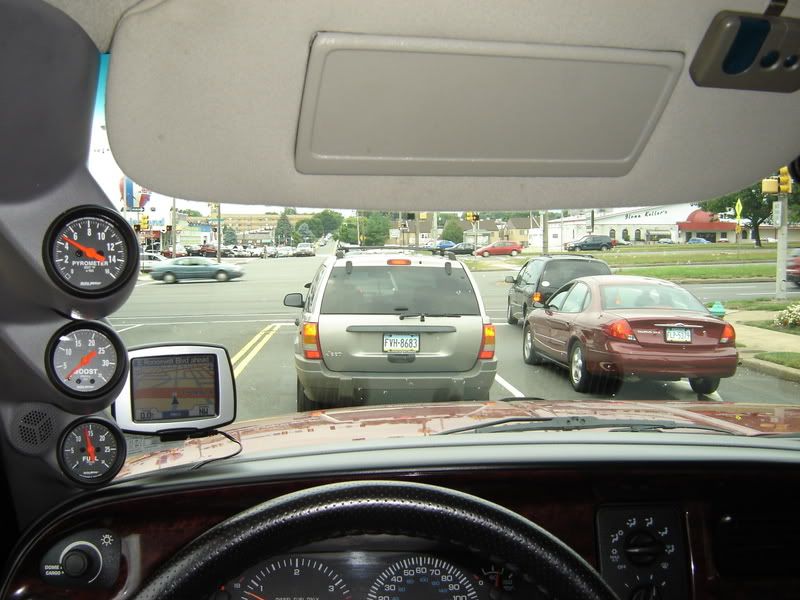
WA-LA - SHE IS DONE
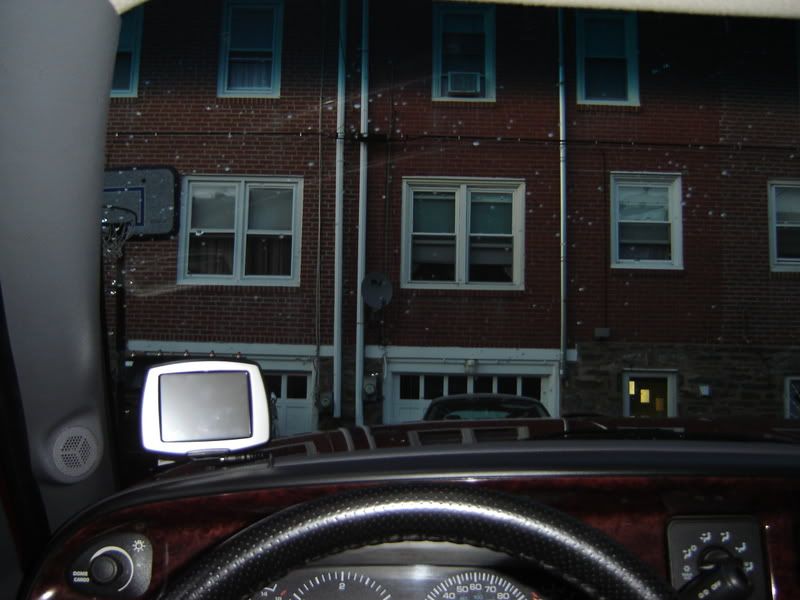
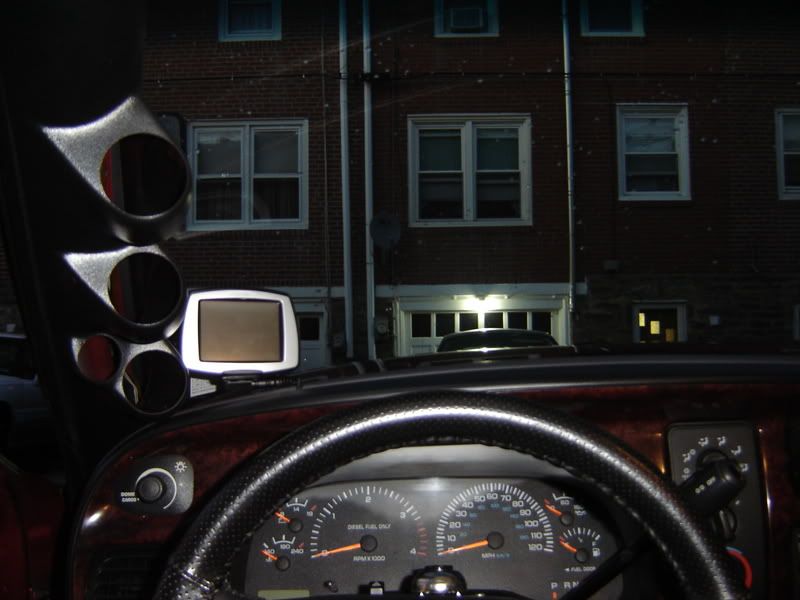
I took this pic as best as I could to show EXACTLY how they look in the drivers seat. I had the camera sitting on my nose.
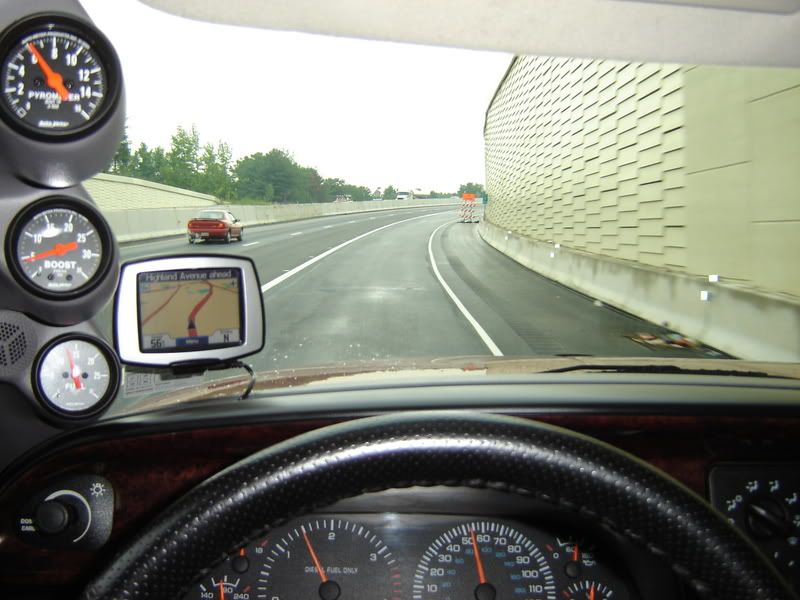
Here is what it looks like crising right along. I was getting off at the ramp so I wasn't on the throttle.
And there it is !! Once I was sure that everything was fine and dandy, I cleaned it all up buy covering the boost and fuel pressure lines with 1/4 "split loom, and wire tieing it all up nice and pretty.
Hope this helps the next guy wondering how it's done !!
Mayfair
These pics show everything that comes with the Boost, EGT ( pyro ) and Fuel Pressure gauges.
This pic shows what my factory pillar looked like from the drivers view beforeI HACKED it up !!
What it looks like when you remove it ( notice the top gold clip still in the red pillar. It must have broken off before I got to it.)
After I removed the stock pillar, I just laid the new one in to see if I liked it. I thought it looked cool, so ONWARD I went !!
This is what the stock pillar looked like, as well as the new pillar next to it. As you can see, I had to do some cutting because the tweeter holes didn't line up. I had to cut out the old tweeter entirely so that the new pillar would fit over the old pillar. Oh yeah, see those gold clips well trust me those things are DAINTY !! One of them broke off immediately (top one already missing -I think it was done prior to me getting the truck ) and the bottom one I broke off trying to get everything to fit. I was able to screw the top one in, but the bottom one took a combination of PL-400 and some wire ties. Not pretty, but it worked
WAAAY OFF !!
This is the area that I initially cut off. Eventually I had to trim more to make the two fit together better.
WAAAY past the point of no return !!
I had to shave the sides a bit because the pillar fit too tight in the truck. I was back and forth with it till it fit good.
I cut the whole bottom right off so that it would slide in easier.
I also had to shave the cups until the gauges slid in easily. I didn't use any backings on the gauges, just slid them in. Not too loose, and not too tight. I also pre-fit the tweeter cover to make sure it fit as well and it did.
Here is what it looks like installed
I drilled, pinned, and also glued the two together.
FYI - cut off the excess pins when you are finished. They will hit your pillar wall and drive you CRAZY wondering why it's not sitting flush. Wound up being the pins.
I pre-wired everything prior to installing to make it easier. I used white for lights, black for power, and green for the grounds. You can kinda see the way I had to rig the one gold clip in this pic.
Off to the 3 P's - Prep, Prime, and Paint
I pre-wired and prepped the gauges as much as I could
I used a black marker to put a stripe along the edge of the gauges because there was a SLIGHT gap between the pillar and the gaugeand you could see the white gauge backing. Making itblack made it not noticable at all.
It took me a while to install ( mostly because of the pins ) but I got it installed
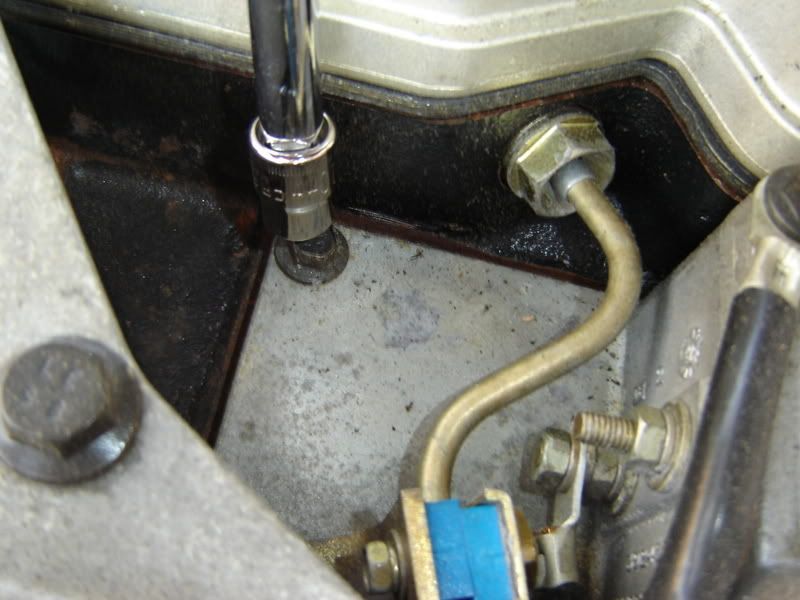
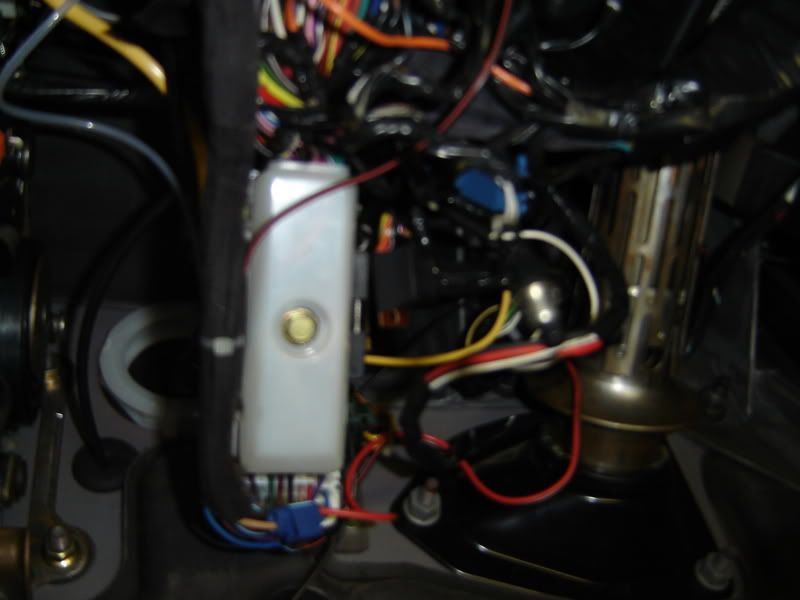
Time to get to the business end of the job. I found the bolt that Jake so kindly told me to remove and I did. Then I installed the new boost bolt. Before installing it I lined the threads with loctiteI believe it's #14. It's the one with teflon in it. I used this on ALL threaded fittings.
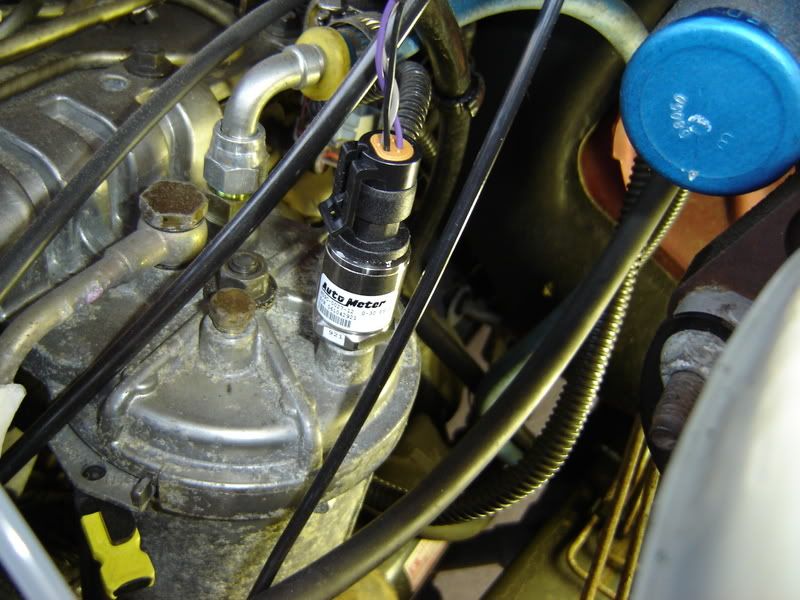
Onto the fuel pressure sensor again useing the loctite. I was a back and forth about wether to mountthe sensorhere or on the FASS, but Jake told me that I'd get the best readings if I took them closest to the VP-44. Since this canister was the closest, I took it here.
Up next PYRO !!!!!
I chose to install it after the turbo not becauseI was scared to drill and tap the manifold, but because I was more concerned with turbo cool down after towing. I'm told that a good rule of thumb is to add about 400 degrees to whatever readingI get here and that should be what PRE turbo is. I can live with that.
Here is the removed elbow. I pre-soaked the bolts with WD-40 and they came out pretty easily with a LOOONG extension from under the truck.
Time for the drillin and tappin ... ( 1/8" NPT )
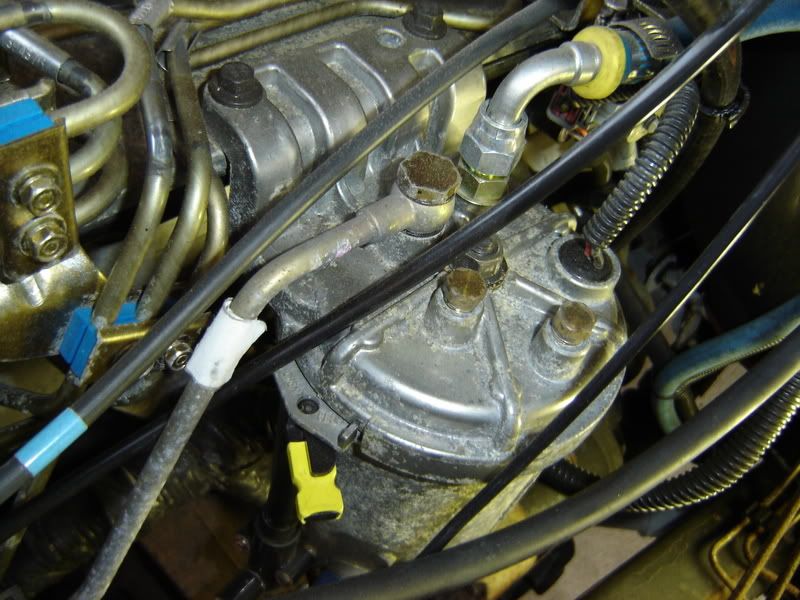
Here is what the probe looks like installed
Here it is laid in before bolting it back up from below and the band clamp up top.
Speaking of ... I found it easier to totally remove the band clamp rather than try and just "work it off " I totally unbolted it and then just pryed it off with a screwdriver. It was a LOT easier to do this way !!
Here's the clamp
Finished product ...
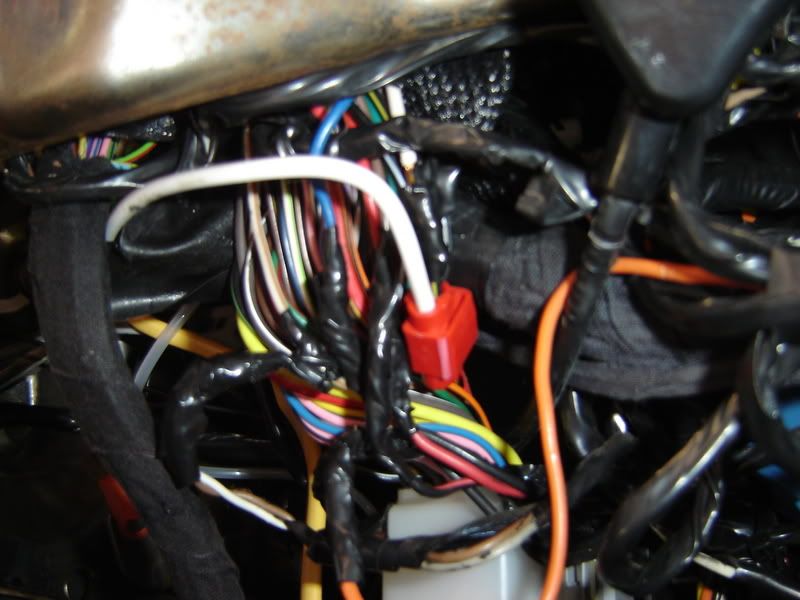
I then ran all three lines through a boot found right next to the steering collum. It was kinda tuff to get out, but I managed. I had to cut a pretty big slice in it because the harness for the fuel pressure gauge has a pretty big plug on the end of it.
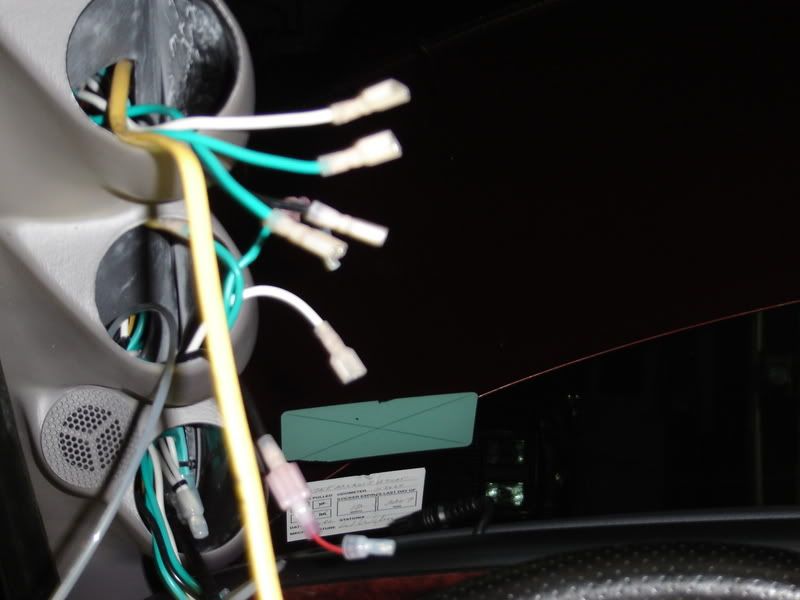
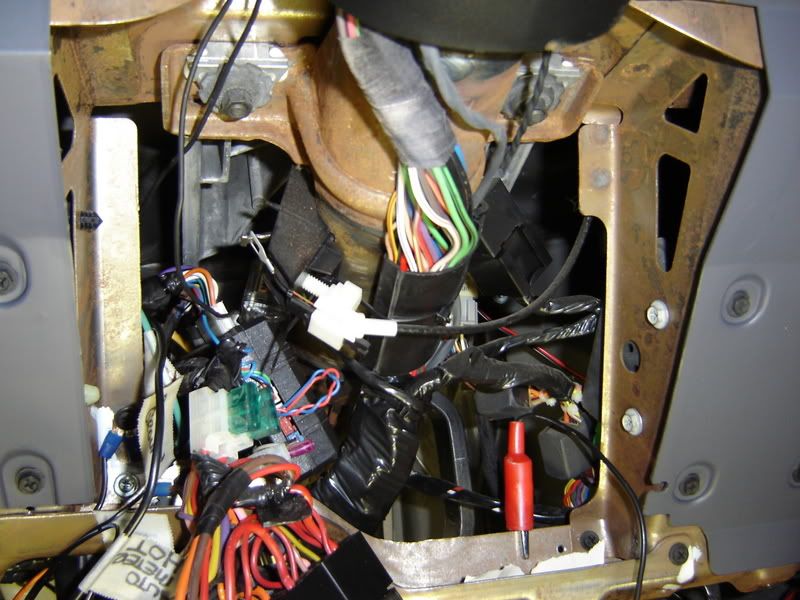
MY NIGHTMARE !!!
I'm not in the least bit afraid to do my own wireing, but when it comes to having to work with wireing that someone else didI get nervous because I don't know what they did, how well they did it, or if it's gonna fall apart. Here are some shots of what I was dealing with. As you can see, whenever I run a new line I label it as to what it's to. It only takes a second to do, but can save YEARS of your life trying to figure it out later.
LOOK AT THIS MESS !!
PROPS to Frone for helping me find the right wire to tap into for the lights.
Here is the boost gauge that I was trying to get working. I kinked the line shoving the gauge back in, so I tried the rubber boot that came with it to see if it would work. At first I didn't think it was working because I got no reading. It wasn't until later that I realized that I wasn't GOING to get a reading at idle. Once I started driving, the needle started moving. I probably could have left it that way, but I replaced the ferrel and it's done right now.
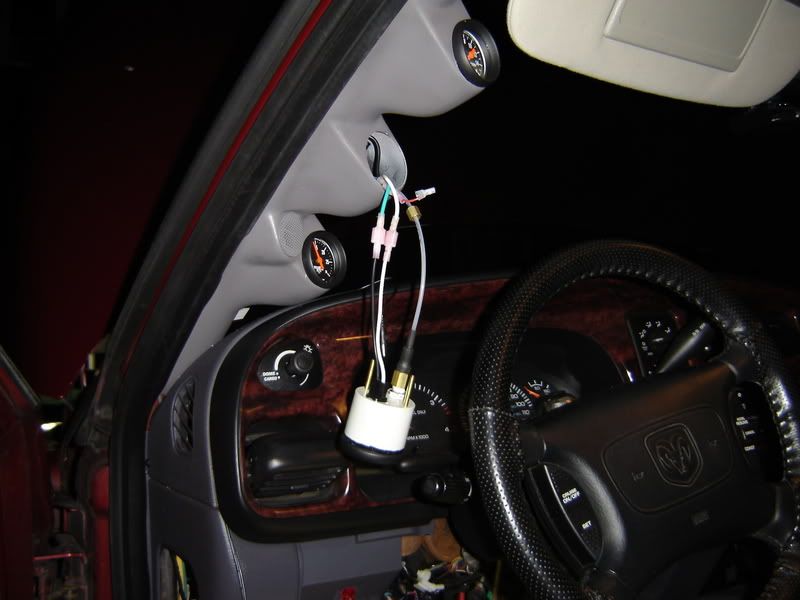
WA-LA - SHE IS DONE
I took this pic as best as I could to show EXACTLY how they look in the drivers seat. I had the camera sitting on my nose.
Here is what it looks like crising right along. I was getting off at the ramp so I wasn't on the throttle.
And there it is !! Once I was sure that everything was fine and dandy, I cleaned it all up buy covering the boost and fuel pressure lines with 1/4 "split loom, and wire tieing it all up nice and pretty.
Hope this helps the next guy wondering how it's done !!
Mayfair


Joined: Jan 2007
Posts: 998
Likes: 0
From:
Daaaaaaaammmnnnnnnn Dude....you're truely Uptown. No shade tree mechanic here. I'm glad to see guys taking care of their trucks. I suppose the hardest part is crossing the line to decide to begin the job. Looks first class.......and thanks for showing the details. Looking forward to Part II

Hall Of Fame


Joined: Jan 2004
Posts: 12,946
Likes: 309
wow, awesome work! how are you holding the gauges in the pod? mine had a bracket that went on the back to press them up against the back of the bezel... (also autometer btw)

Thread Starter
|
Legend
Joined: Aug 2006
Posts: 8,529
Likes: 0
From: 100% Heaven Sent
OK, it's done. ( See above )
Steve, I didn't bother to use the bracket because I didn't see a reason to. I sanded the pockets just enough so that the gauges slid in nicely and didn't wiggle around at all. KINDA tight, but not loose at all. That way it was easier to change the bulbs when needed without having to remove the whole pillar again.
River, YES the hardest part was deciding what bracket to mount them in. I didn't want to destroy my old pillar in case I didn't like them, but unlimately, I did like them so I had no problem hacking it up.

Captain
Joined: Dec 2006
Posts: 667
Likes: 0
From:
You the MAN May!!! Your getting good enough with these trucks to start your own shop Maybe you could hook the ole Melon up with an Install. I dont have the patience to do a job like that. Id be slinging wrenches and crap everywhere[:@]My hat is off to ya.
Maybe you could hook the ole Melon up with an Install.I dont have the patience to do a job like that. Id be slinging wrenches and crap everywhere[:@]My hat is off to ya.


