


The Stealth BOMB'r is under the knife


Professional
Joined: Nov 2009
Posts: 129
Likes: 0
From: ontario, California
danm that thing looks amazing. i sooo wish i had the knowledge of all this stuff. or just a vehicle i could tare apart and figure it out. i work on aircraft but i dnt drive them everyday. lol its crazy. nice work man. very cool
Thread Starter
|
All Star
Joined: Dec 2008
Posts: 863
Likes: 0
From: East Alabama
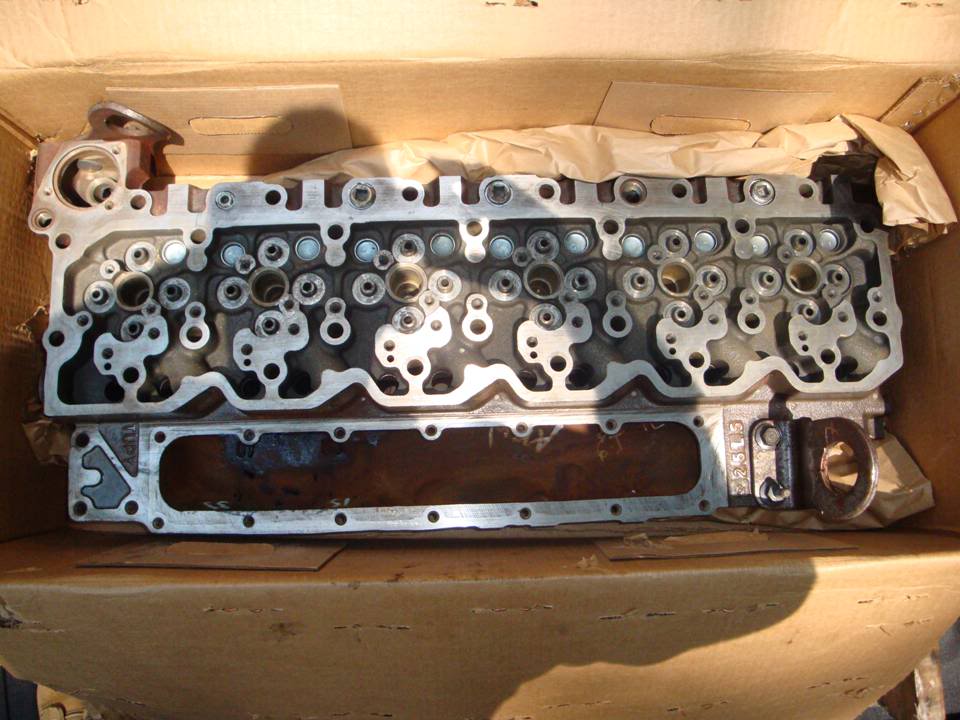
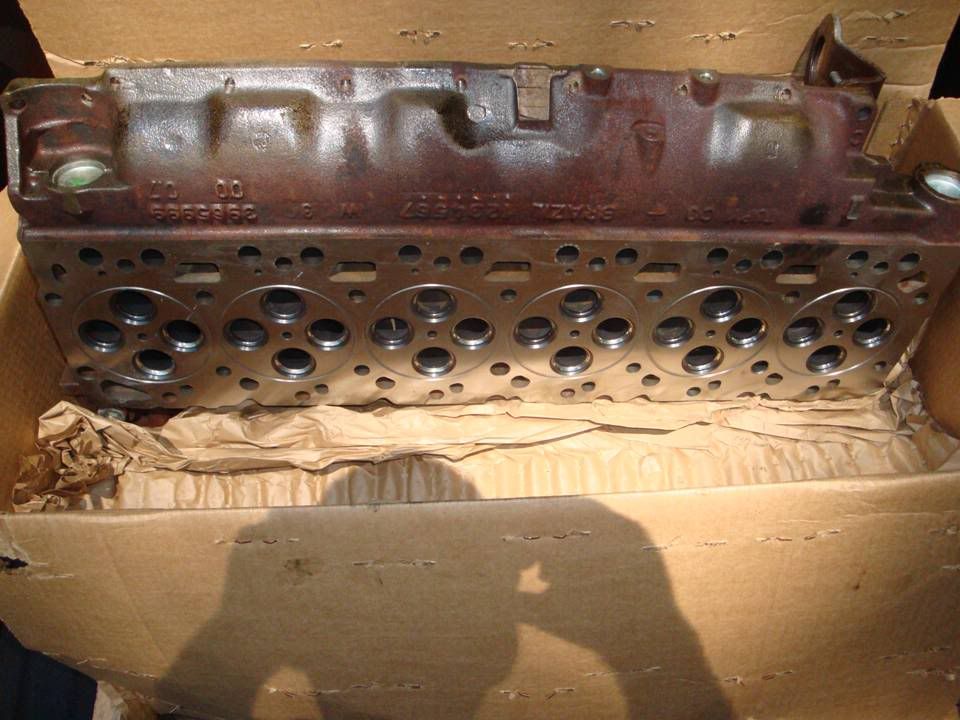
Well, got a few parts in yesterday, but I really need the head an pistons back so I can make some real progress at this point.
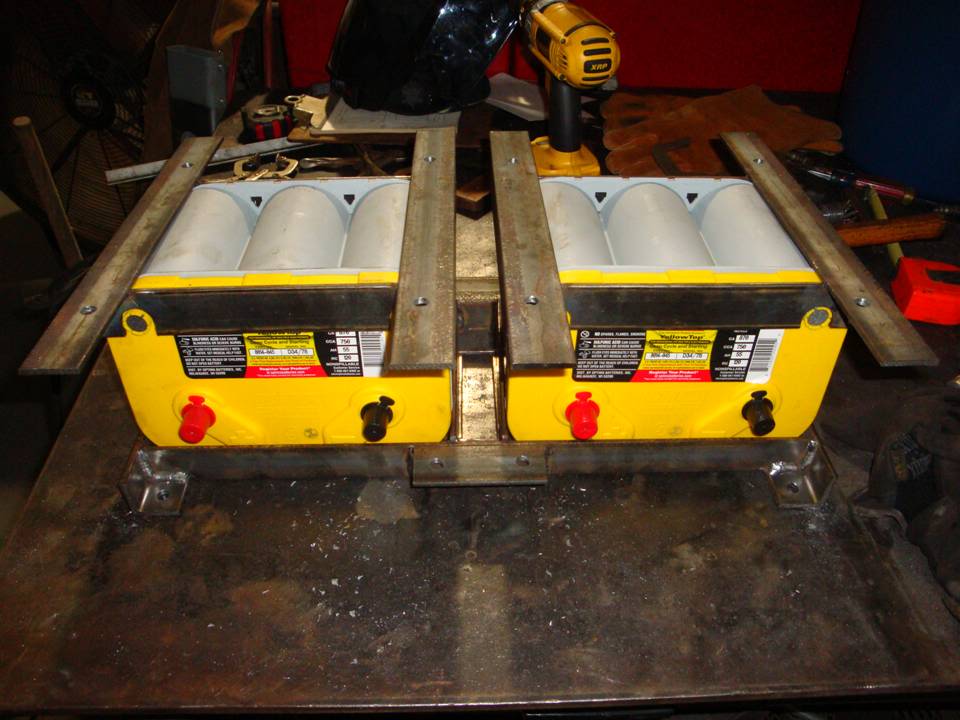
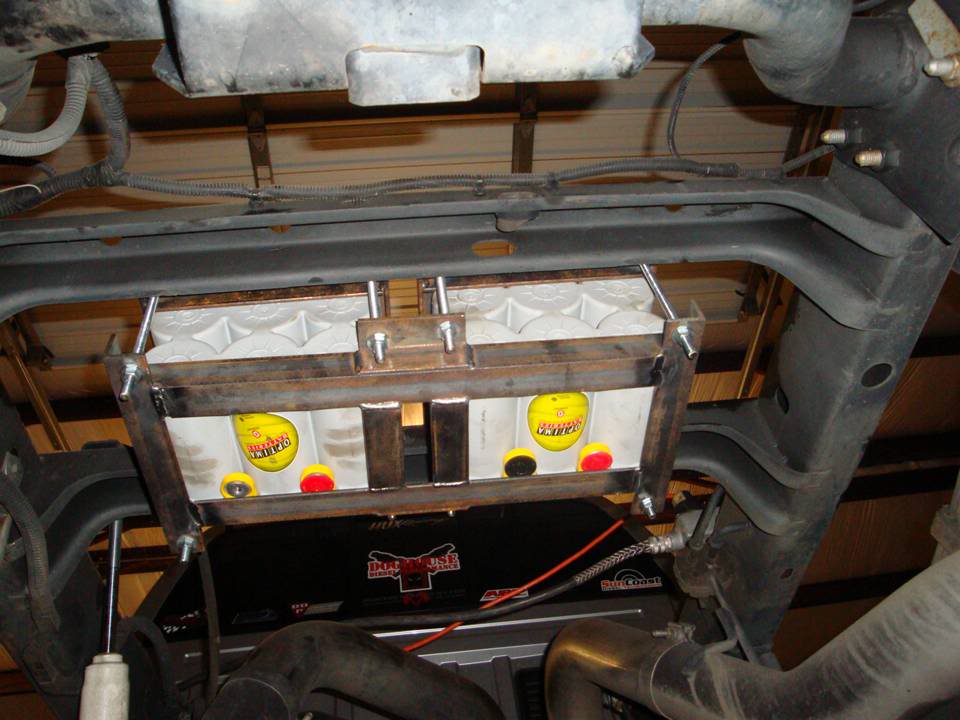
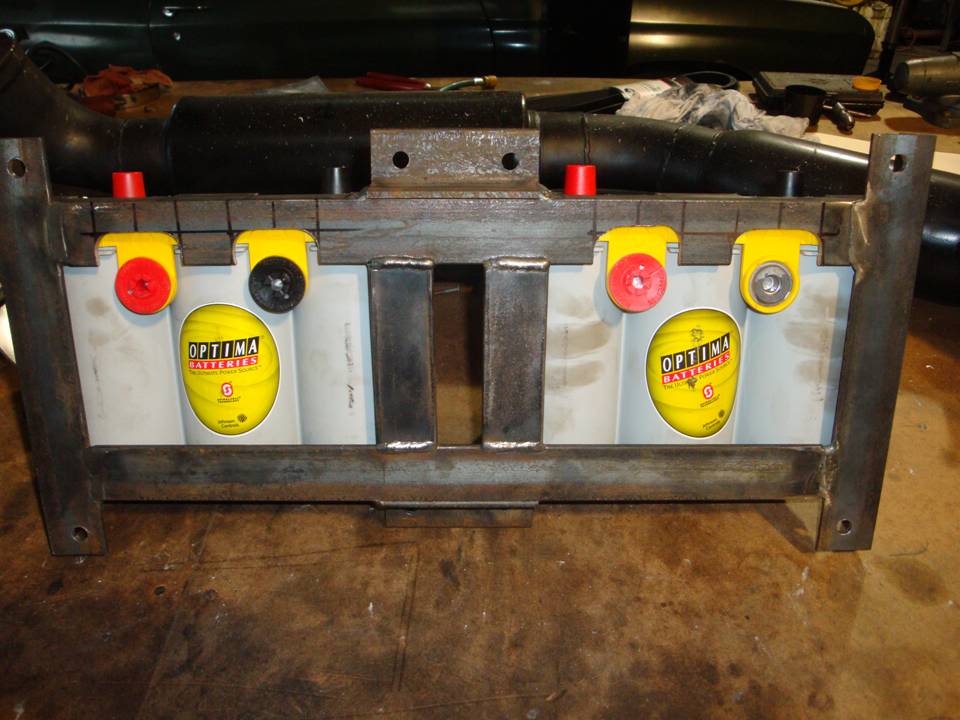
Got 2 Optima Yellow Tops that will be getting put under the bed where the spare tire used to be and 240 inches of 1 gauge battery cable to hook everything up back there.
We'll fab up some aluminum brackets to mount the batteries on their sides with the posts facing the front of the truck.
It's just a waiting game now.
As soon as I have the head, pistons and the new ring sets, she goes back together, then the trans gets ripped apart and freshened up.
Thread Starter
|
All Star
Joined: Dec 2008
Posts: 863
Likes: 0
From: East Alabama
Okay, so since I have finally have a little time on my hands this weekend (finished a truck two days early) I decided to start tackling the electrical.
Here's what's going in. Two 870 amp Optimas, 48 ft of power wire, 24 ft of ground wire.

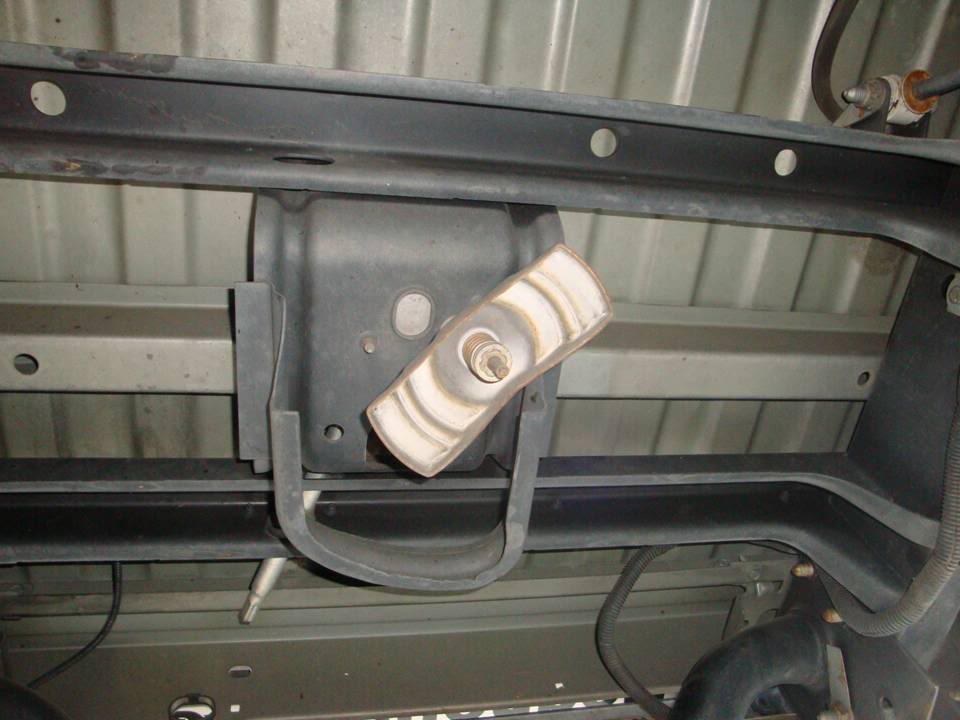
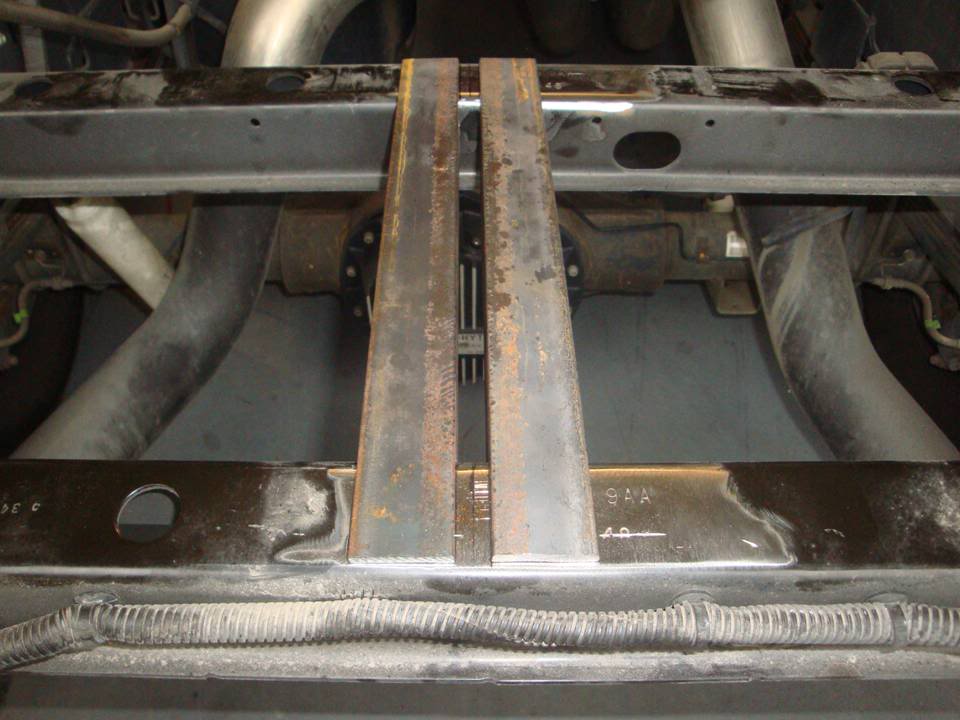
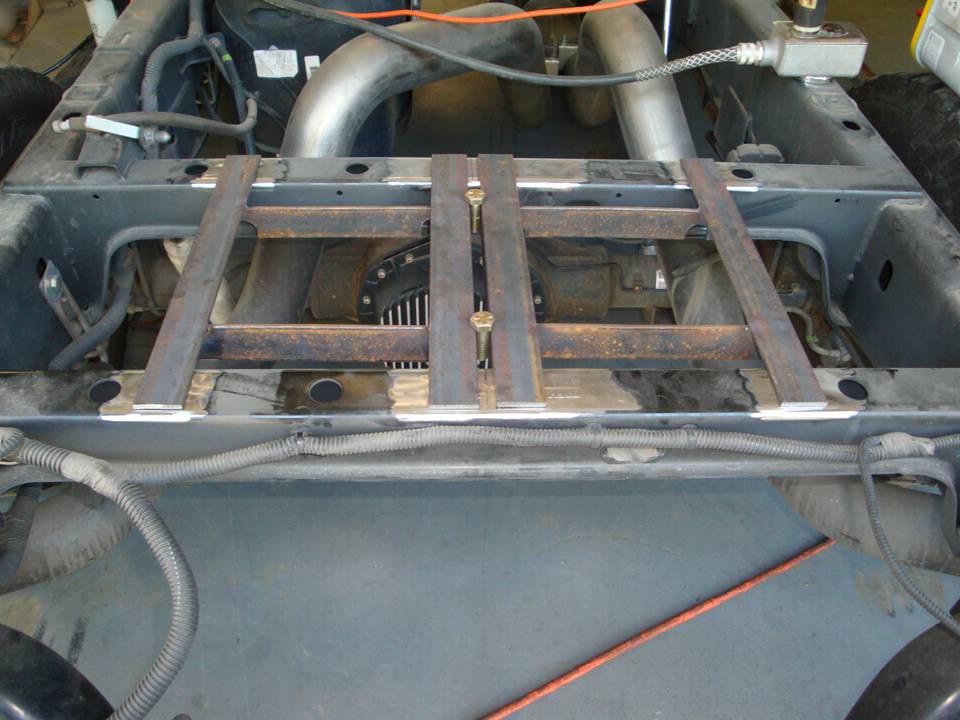
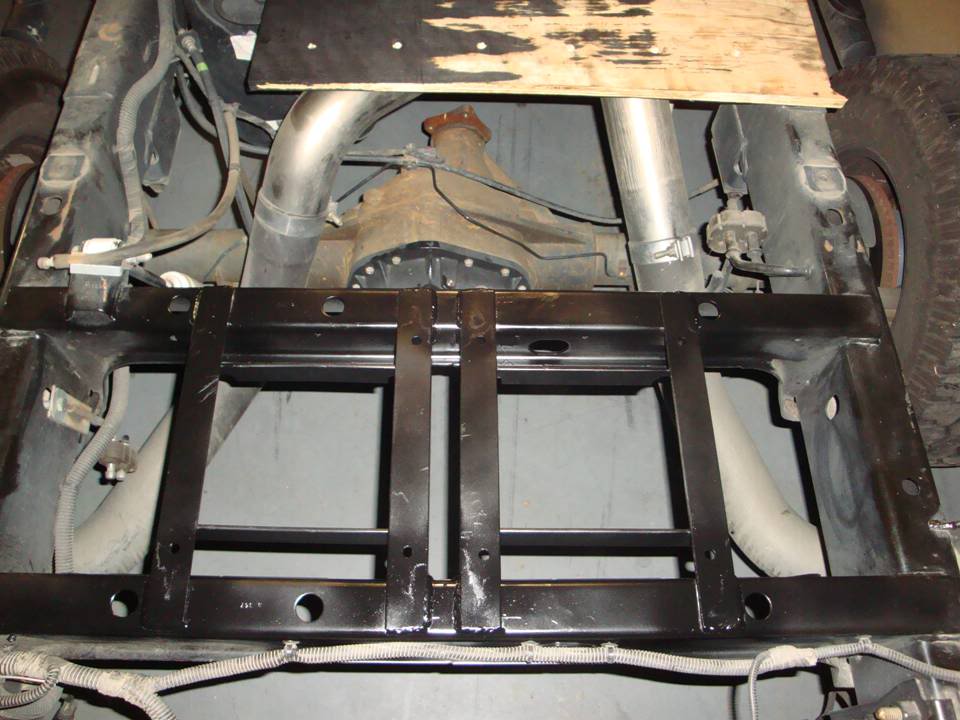
Here's where it's going. We're pulling the bed off tomorrow and cutting out the spare tire carrier. Those two cross member will make the perfect base for the batteries.
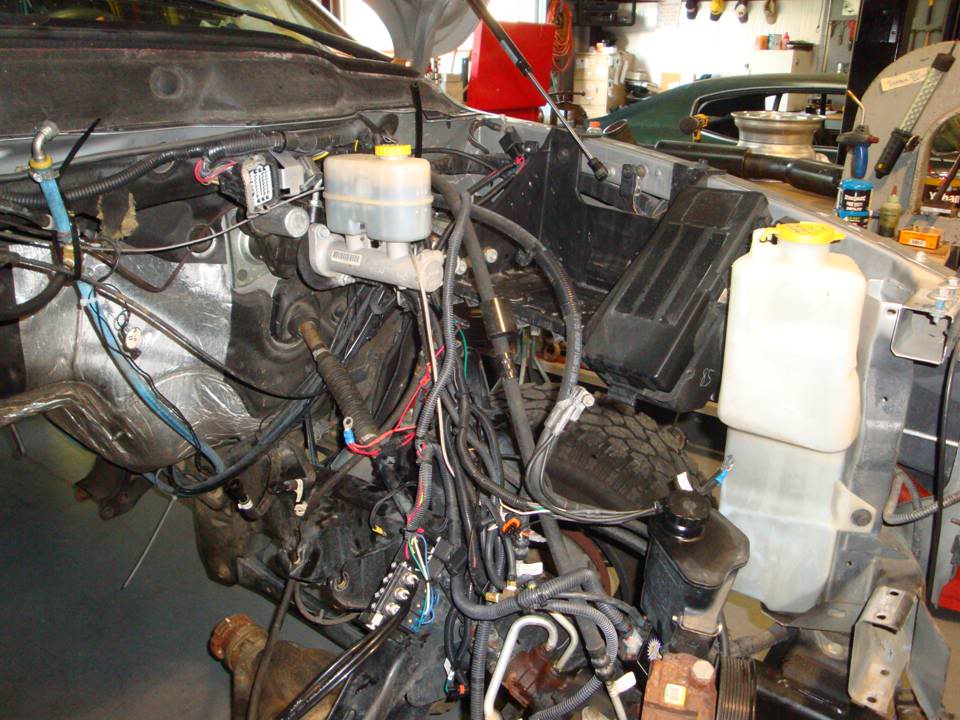
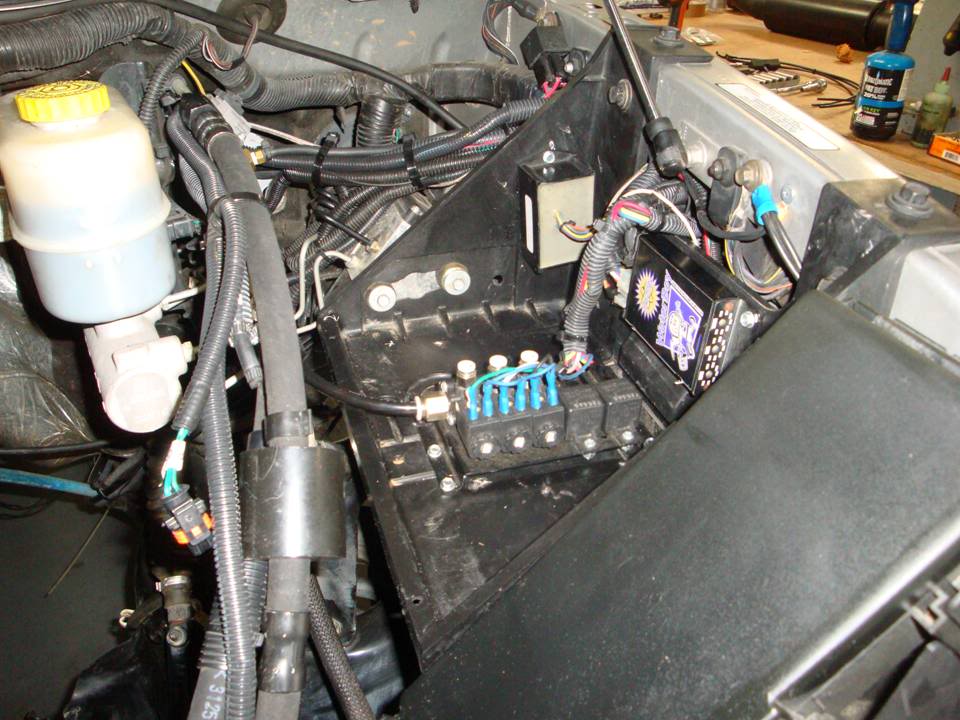
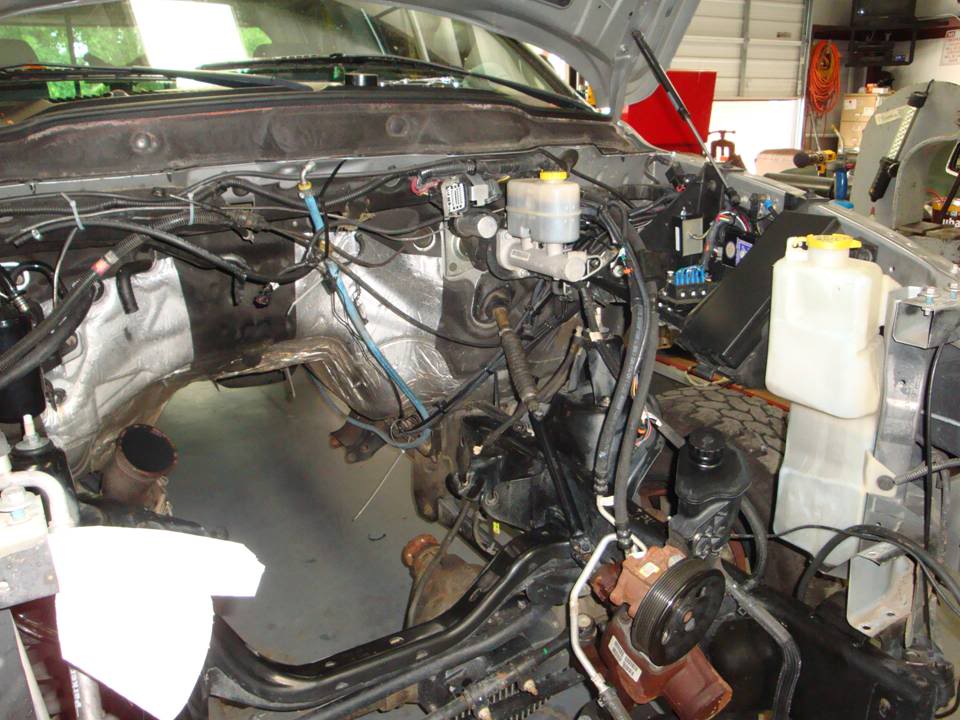
And I started taking care of this octopus of wiring before we called it quits for tonight. I pulled all the wiring and remounted the solenoids, the dual CP3 controller, and the Waterboy controller in to the battery box. All the wiring is now running behind the box and is MUCH cleaner.
All this wiring in the picture is add-on crap....gauges, water injection, dual CP3's, sensors, probes, boost lines, etc. I don't want to see any of it.
The passenger side battery box won't be going back in, but I'm leaving the driver side box to mount the accessories.
Here's what's going in. Two 870 amp Optimas, 48 ft of power wire, 24 ft of ground wire.
Here's where it's going. We're pulling the bed off tomorrow and cutting out the spare tire carrier. Those two cross member will make the perfect base for the batteries.
And I started taking care of this octopus of wiring before we called it quits for tonight. I pulled all the wiring and remounted the solenoids, the dual CP3 controller, and the Waterboy controller in to the battery box. All the wiring is now running behind the box and is MUCH cleaner.
All this wiring in the picture is add-on crap....gauges, water injection, dual CP3's, sensors, probes, boost lines, etc. I don't want to see any of it.
The passenger side battery box won't be going back in, but I'm leaving the driver side box to mount the accessories.
Thread Starter
|
All Star
Joined: Dec 2008
Posts: 863
Likes: 0
From: East Alabama
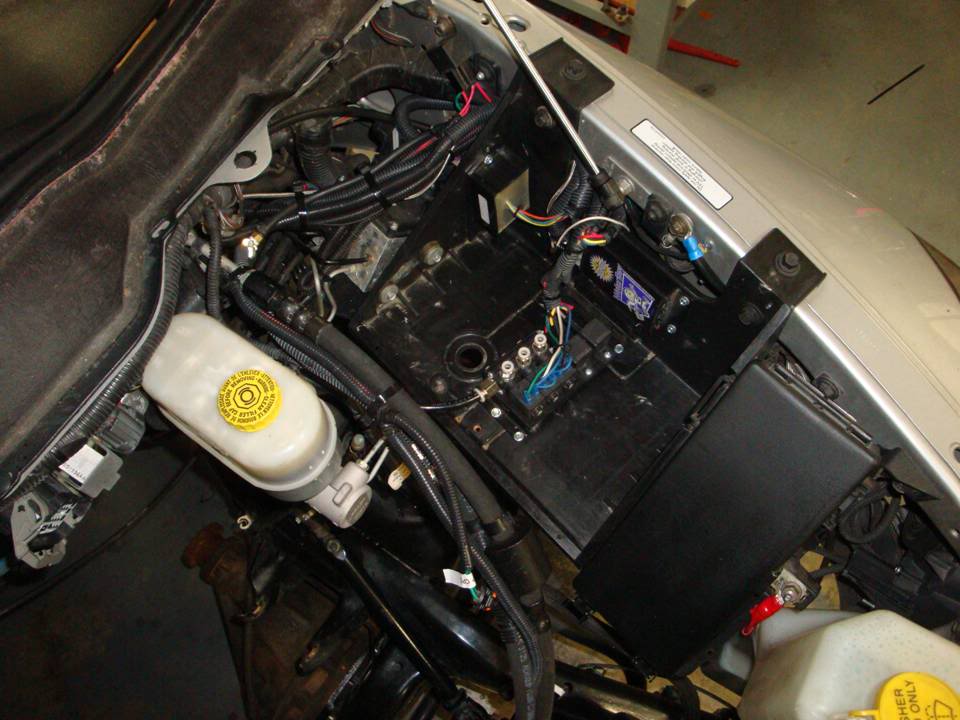
Okay, all the electical in the engine bay is sorted out.
Re-routed the washer fluid line so it follows the fender behind the battery box and across the firewall instead of going across the front of the truck.
Looks MUCH better now. Makes me happy.
Leaving the driver side battery box installed is the perfect spot to mount all the extra electronics and solenoids.....now to add 2 more solenoids.
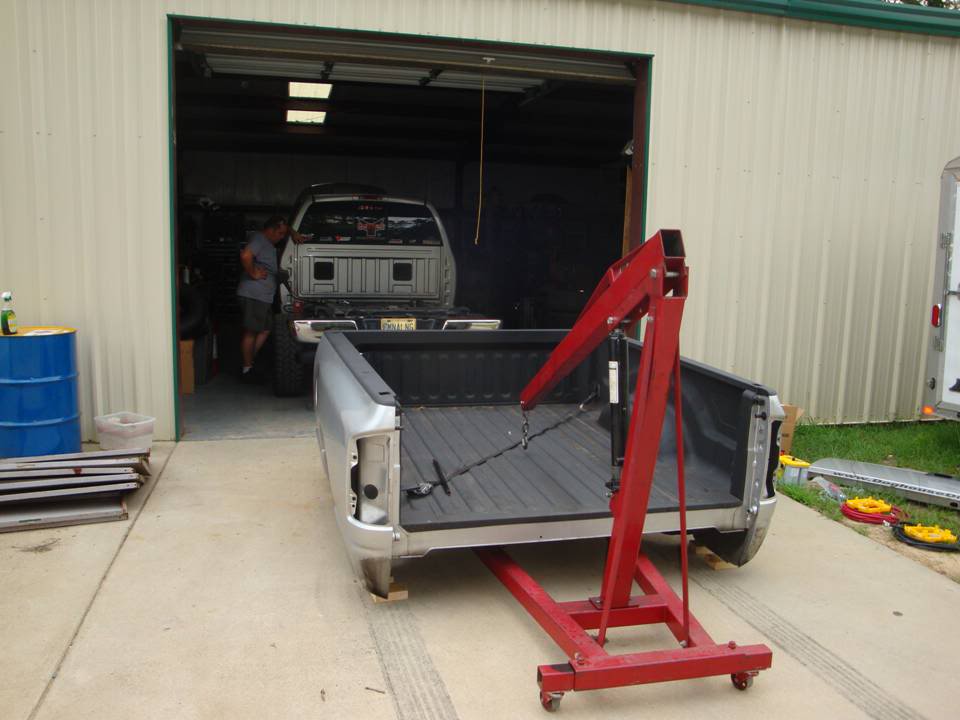
But first, it's time to pull the bed off and cut out the spare tire carrier and get those batteries mounted and make some new stainless braided fuel lines.
So here was this afternoon's work.
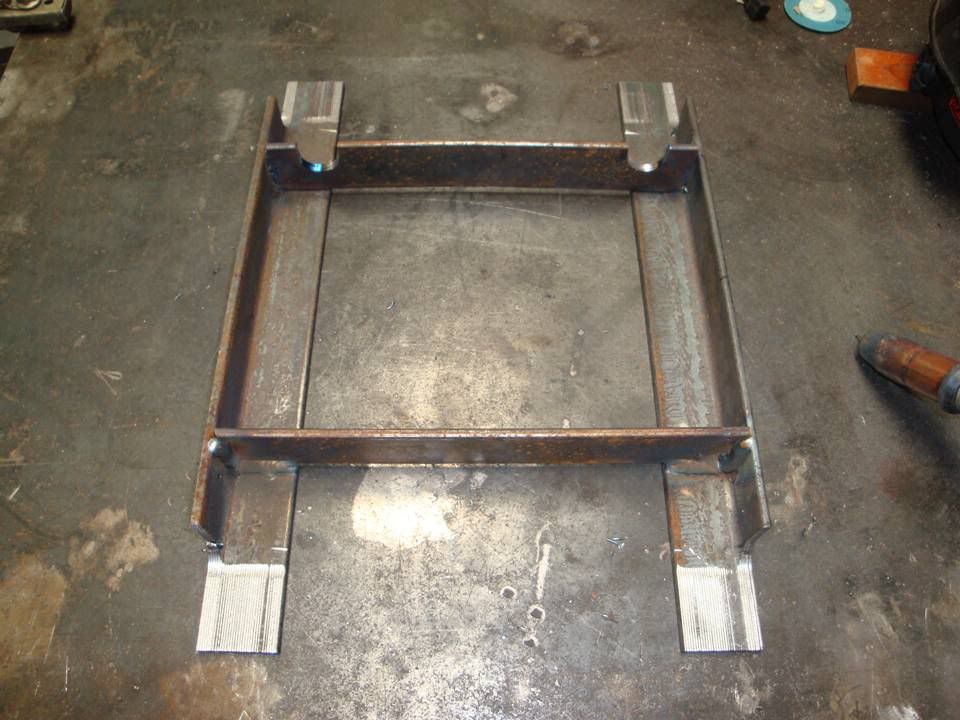
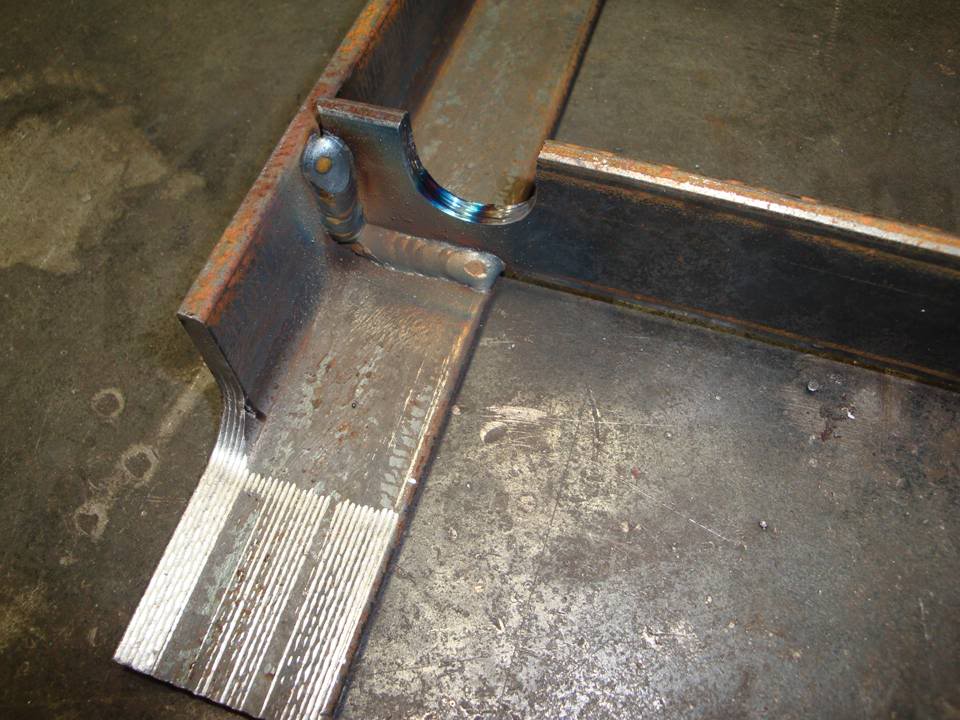
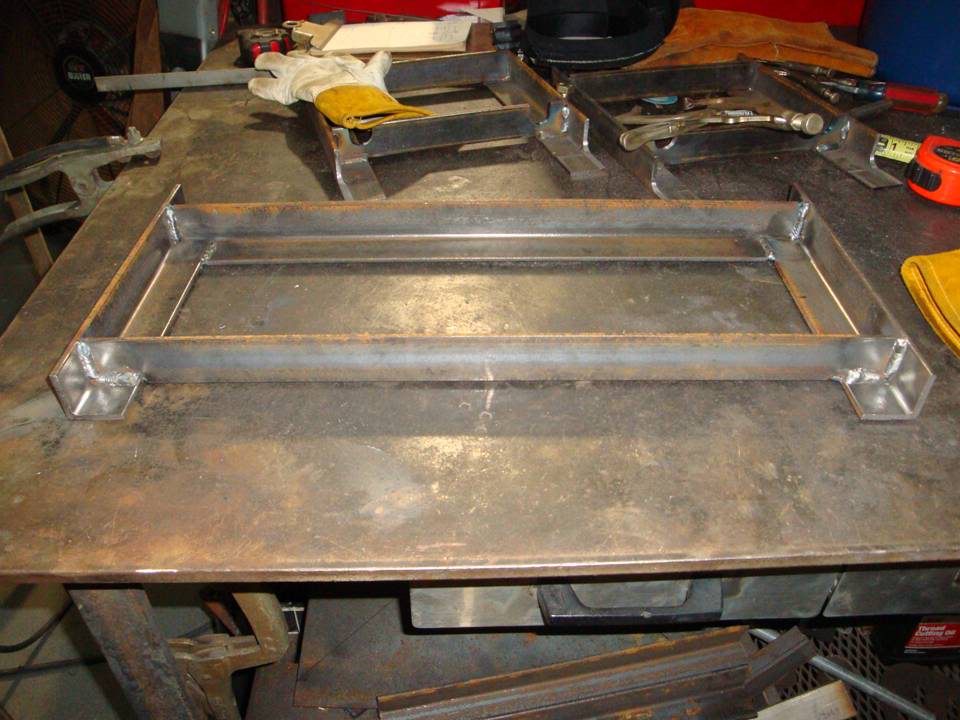
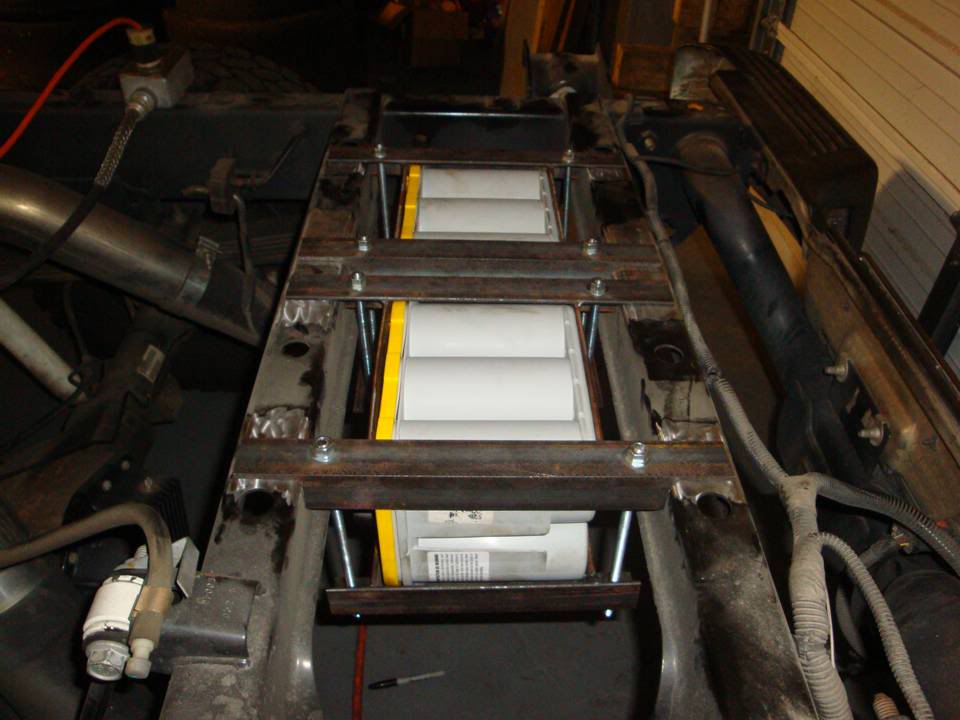
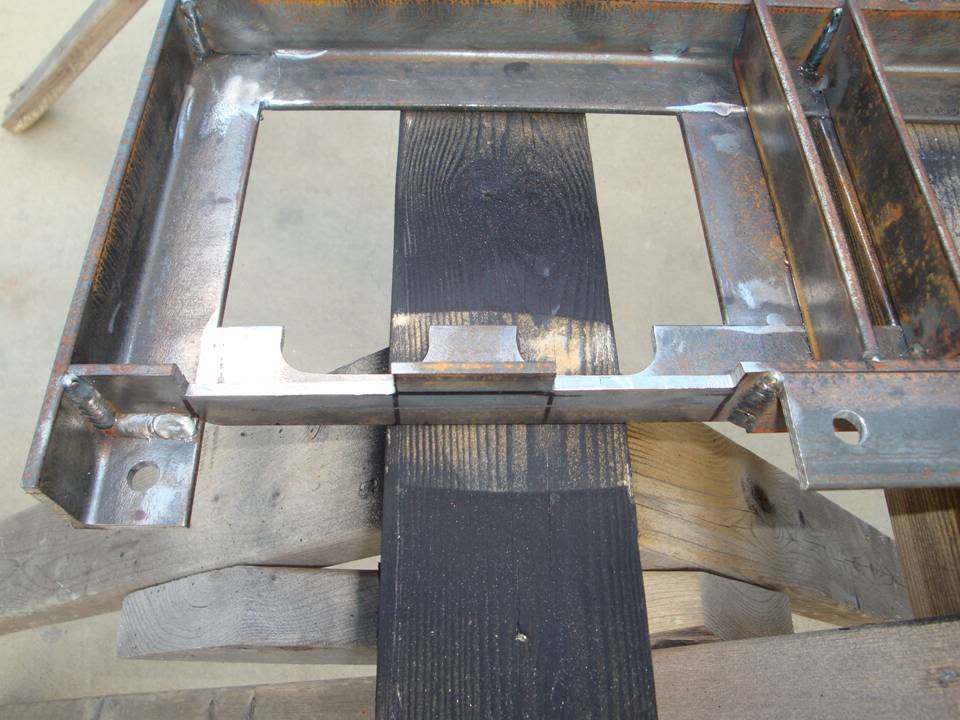
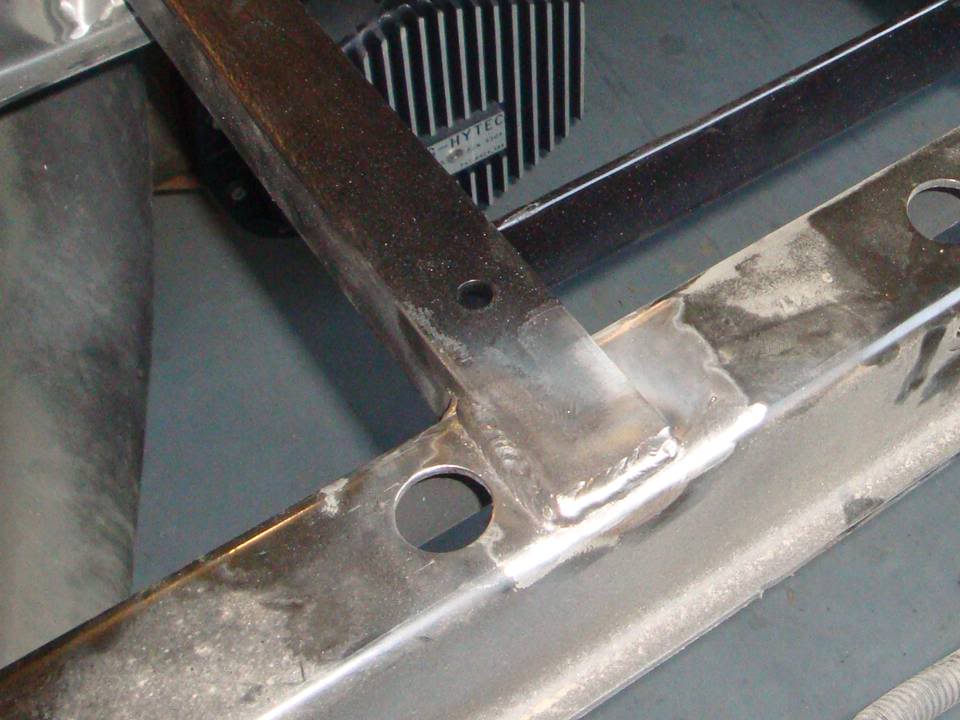
Got the bed pulled, cut the spare tire winch out, got the the measurements for all the pieces to make the battery brackets and got the upper brackets that will get welded to the frame done.
Called it quits at this point. Time to get some dinner.
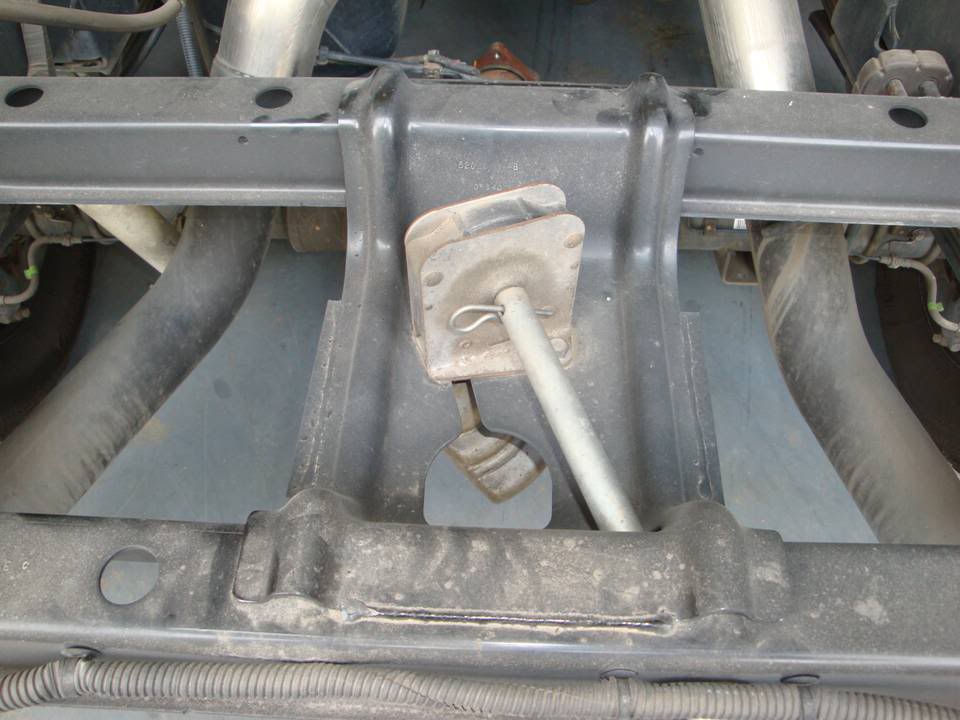

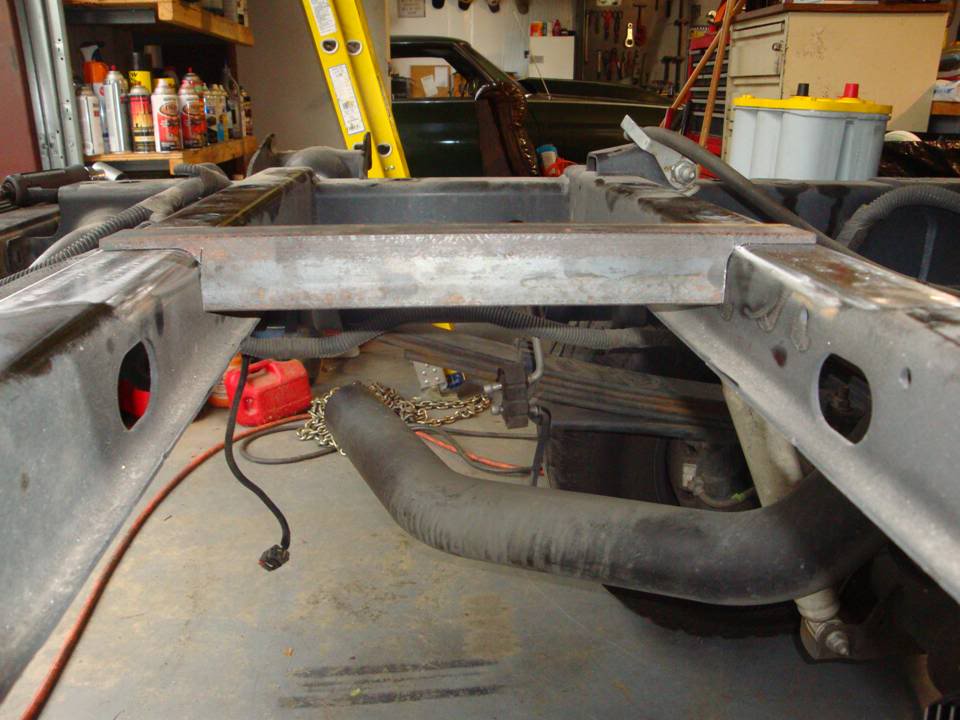
These are upside down from how they'll actually sit. I was measuring for the front and rear pieces.
Re-routed the washer fluid line so it follows the fender behind the battery box and across the firewall instead of going across the front of the truck.
Looks MUCH better now. Makes me happy.
Leaving the driver side battery box installed is the perfect spot to mount all the extra electronics and solenoids.....now to add 2 more solenoids.
But first, it's time to pull the bed off and cut out the spare tire carrier and get those batteries mounted and make some new stainless braided fuel lines.
So here was this afternoon's work.
Got the bed pulled, cut the spare tire winch out, got the the measurements for all the pieces to make the battery brackets and got the upper brackets that will get welded to the frame done.
Called it quits at this point. Time to get some dinner.
These are upside down from how they'll actually sit. I was measuring for the front and rear pieces.
Last edited by Coal Train; Jun 19, 2010 at 10:10 PM.

Thread Starter
|
All Star
Joined: Dec 2008
Posts: 863
Likes: 0
From: East Alabama
Those are the injection pumps on the common rails.
You truck has a VP44, the common rails have CP3's.
Mine has two of them.
You truck has a VP44, the common rails have CP3's.
Mine has two of them.
Thread Starter
|
All Star
Joined: Dec 2008
Posts: 863
Likes: 0
From: East Alabama
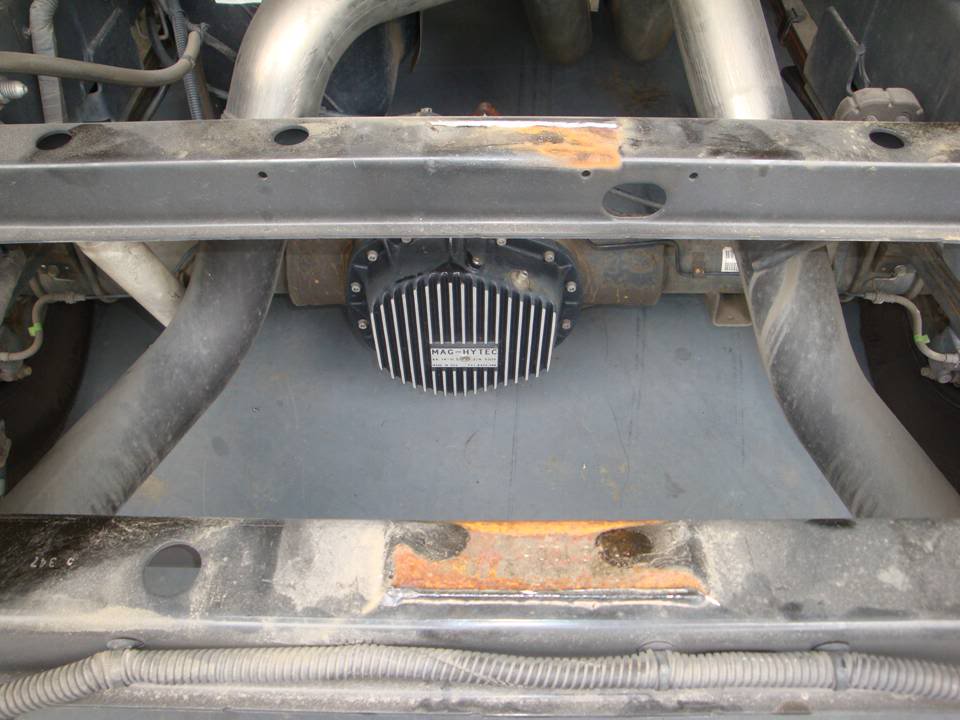
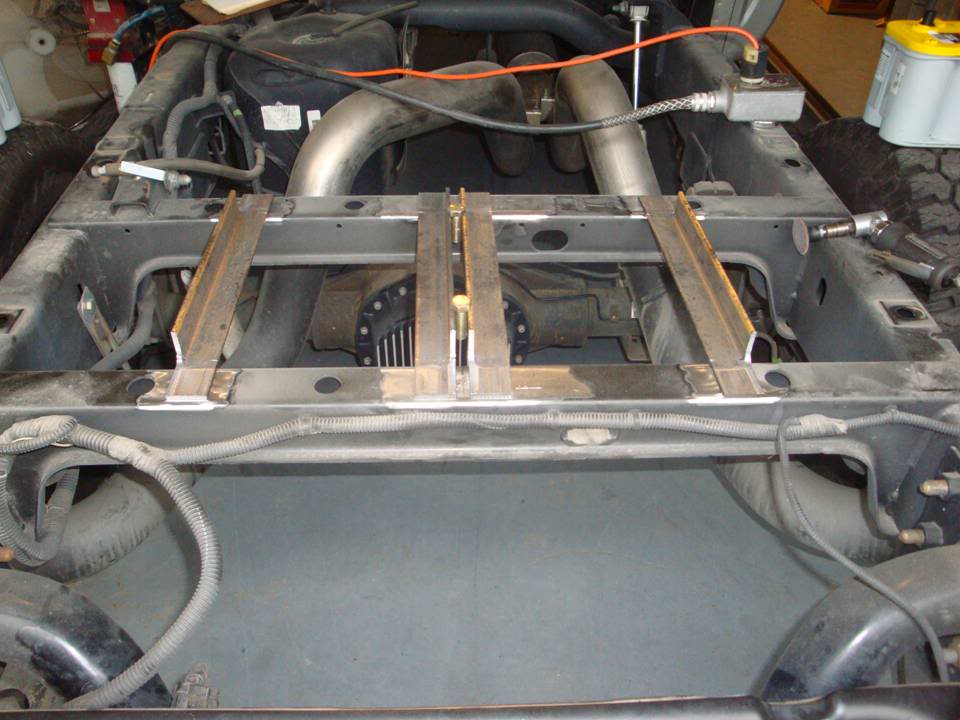
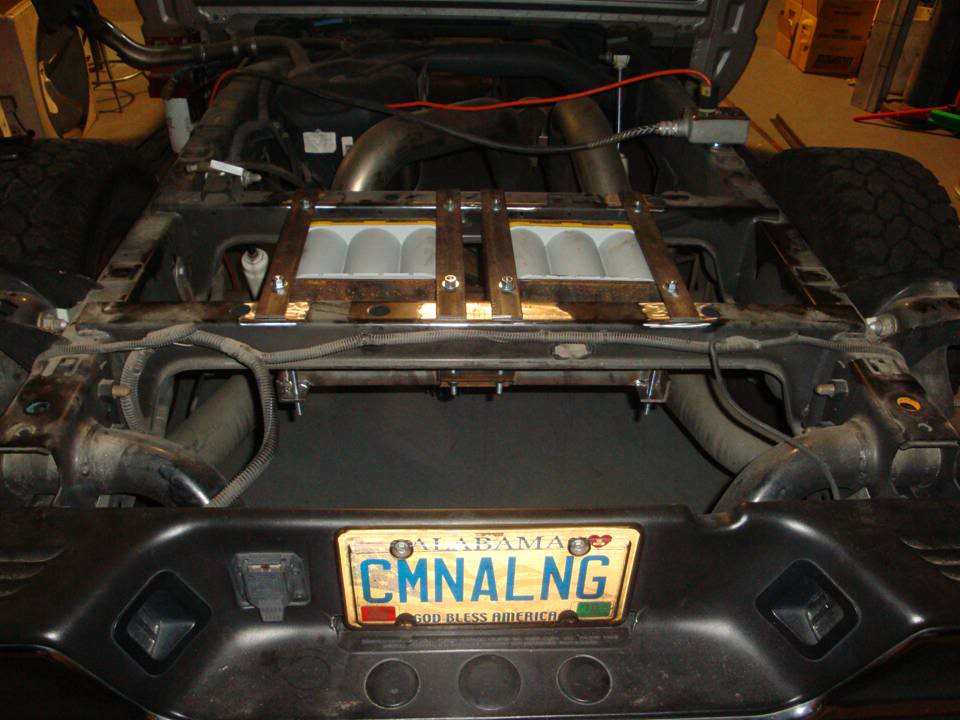
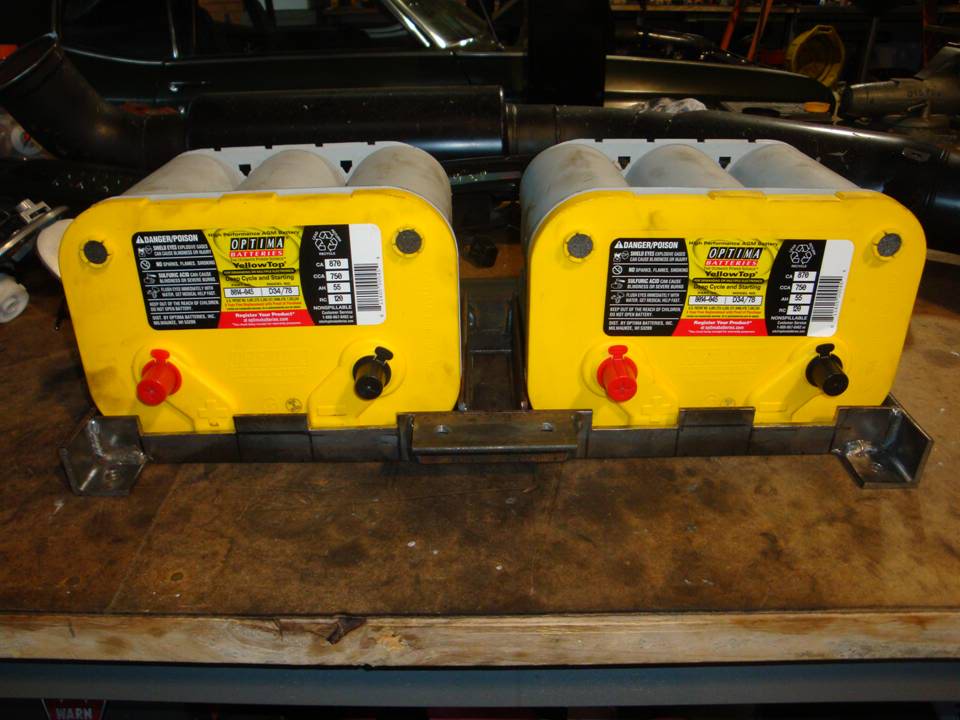
Okay, after a full morning down the drain from being hungover like 3 ****'s, I got my battery brackets done and into the truck.
Still need to pull them back out, clean them up, paint everything and weld the top brackets to the frame, but they're complete and solid as all hell.
Still need to pull them back out, clean them up, paint everything and weld the top brackets to the frame, but they're complete and solid as all hell.
Thread Starter
|
All Star
Joined: Dec 2008
Posts: 863
Likes: 0
From: East Alabama
Okay, modified the battery brackets today.
Clearanced around the top and side posts to give some more room for the wiring and got the top brackets cleaned up, welded in and painted.
Clearanced around the top and side posts to give some more room for the wiring and got the top brackets cleaned up, welded in and painted.