


The Stealth BOMB'r is under the knife


Professional
Joined: Nov 2009
Posts: 129
Likes: 0
From: ontario, California
wow. u never really know how much u dont know untill u talk to someone who knows everything. i thought i knew quite a bit but i have no idea. lol to know how to work on airplanes and jets and watnot and not know how to work on my truck sucks. lol but hey thats wat learning from u people is for. correct? now wat is the sump for? water? sump the water outa the tank? cause i have to do that for jet-A fuel here and the 100LL fuel that the planes use. they all have fuel sumps on the tanks.
Professional
Joined: Nov 2009
Posts: 129
Likes: 0
From: ontario, California
ok heres a question for ya. there was a guy i worked around at the airport. he had a 05 cummins and allllll he would run in his truck would be jet-A fuel. he wouldnt run diesel or anything else. what all would i have to do to do that? and pros and cons?
Thread Starter
|
All Star
Joined: Dec 2008
Posts: 863
Likes: 0
From: East Alabama
Okay, first off, I gotta give a huge thanks my partner to Tom.
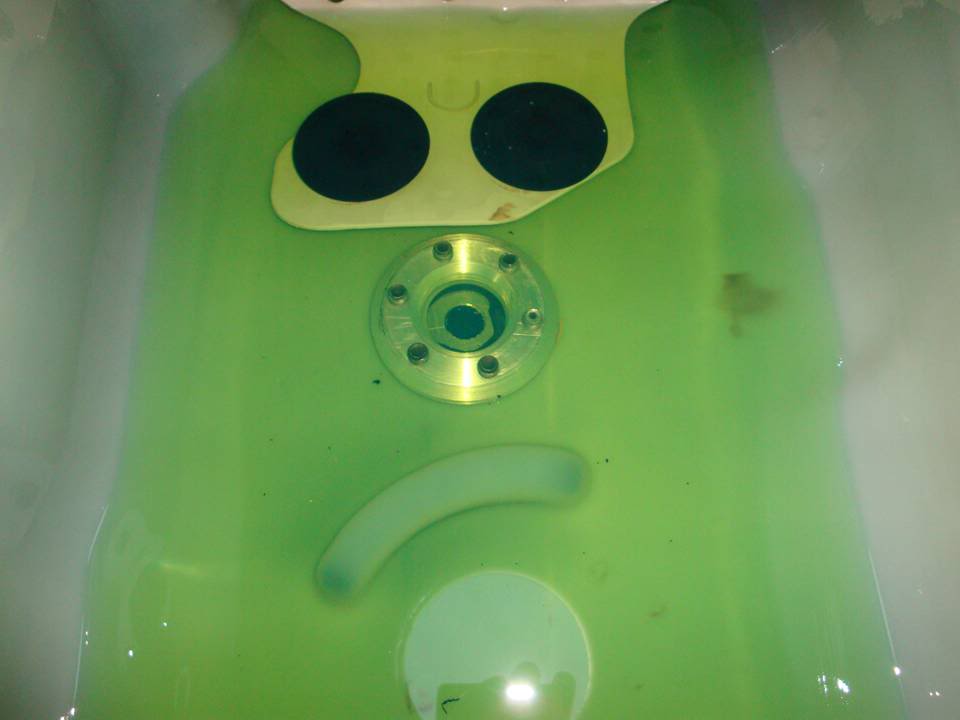
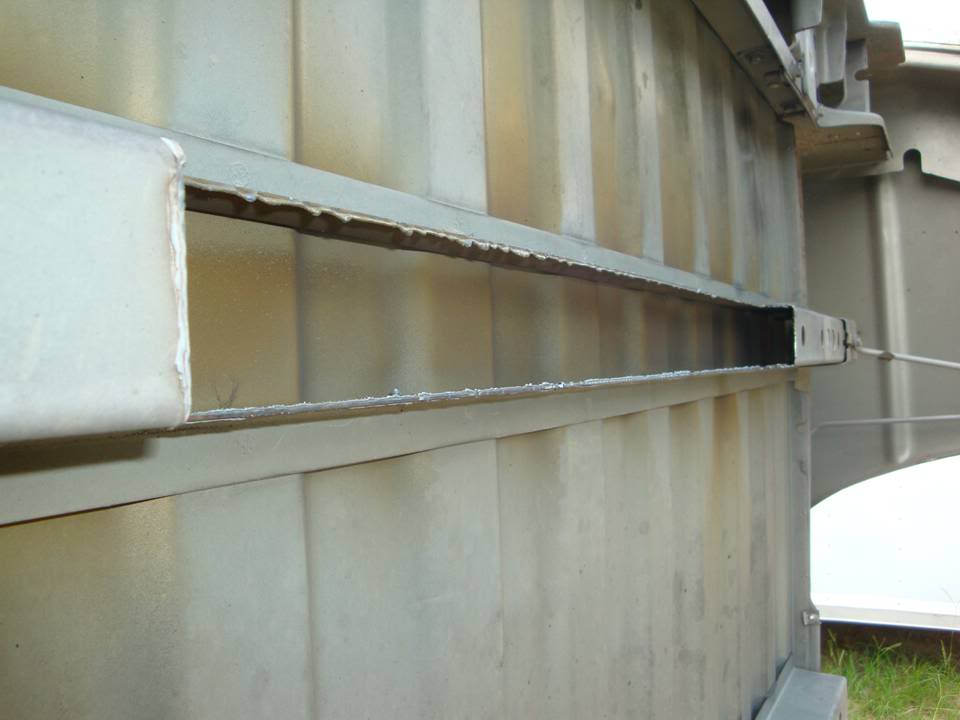
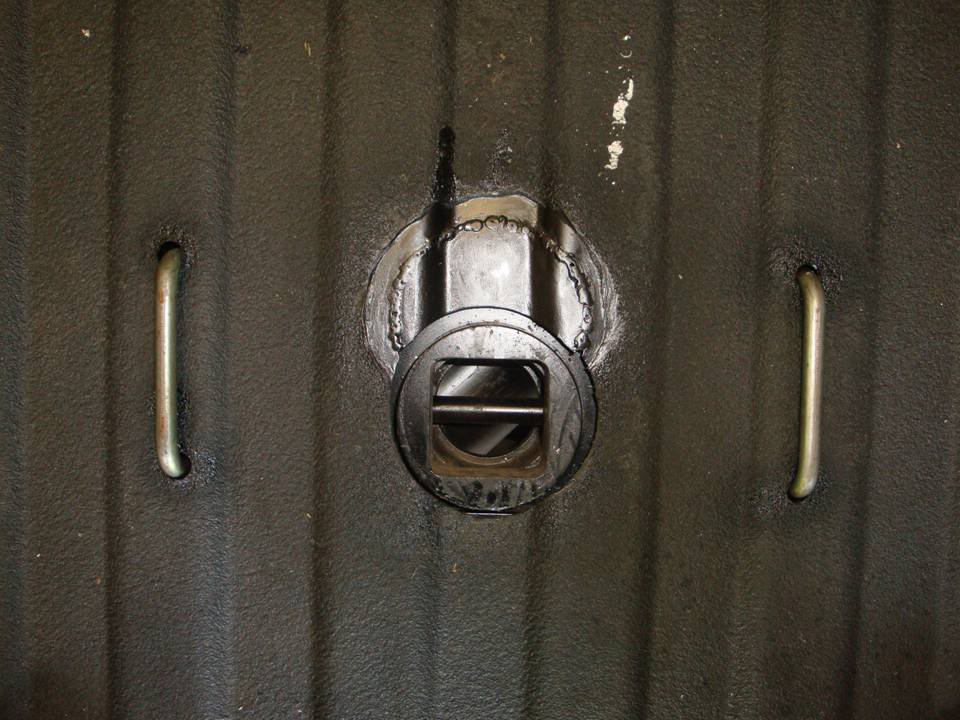
He did a KICK AZZ job of the fuel sump for the tank. I'm REALLY happy with the way it came out.
We were able to get the flanges exactly how we had talked about them.
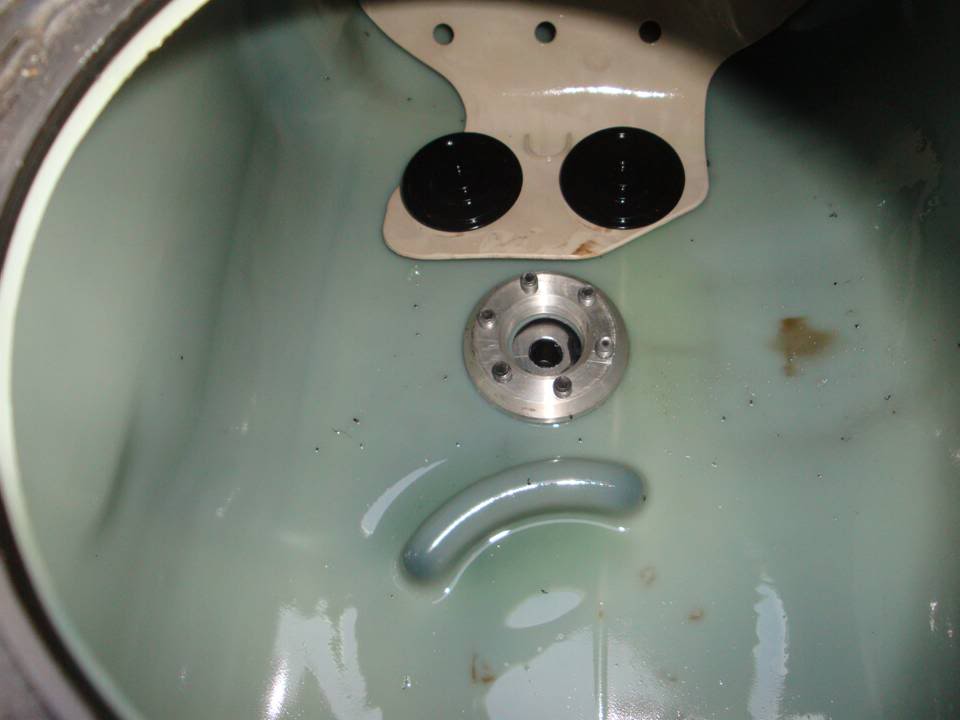
And the best part, NO MORE PICK UP TUBE.
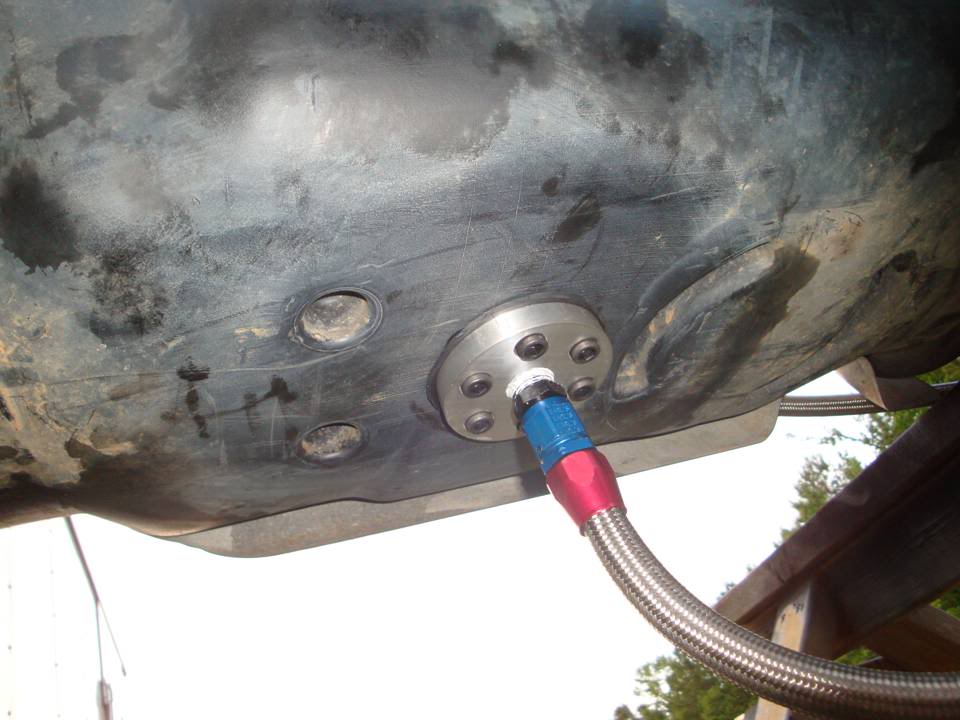
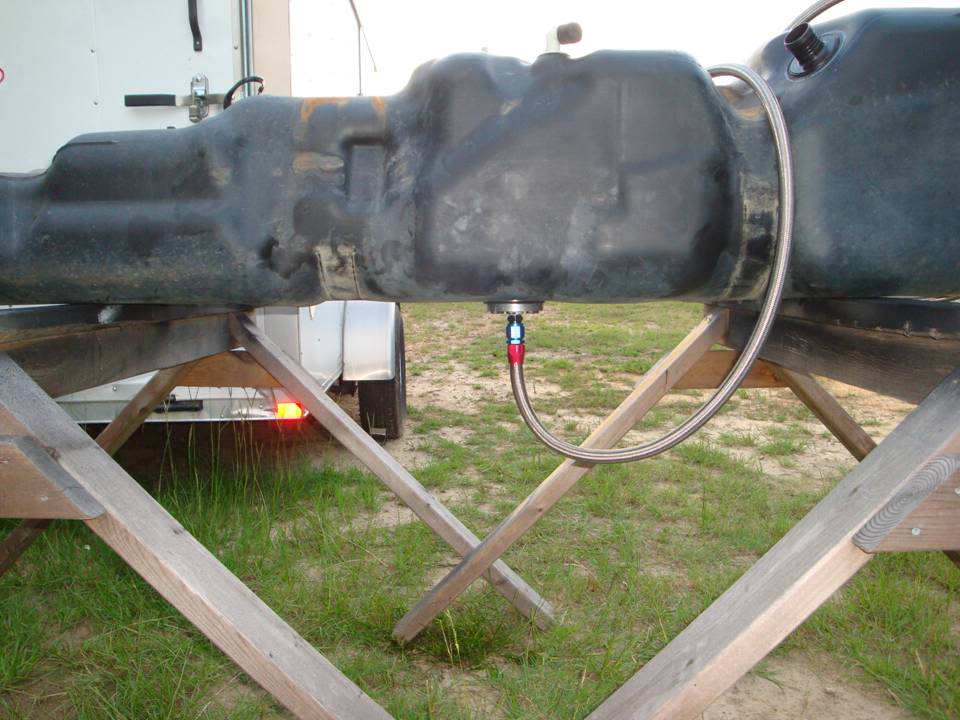
It's all bolted in, the tank is up on the saw horses with a few gallons of fuel in it to make sure there are no leaks. Tomorrow it'll get bolted back in and I can get the bed back on the truck.
Here's the outter flange.....
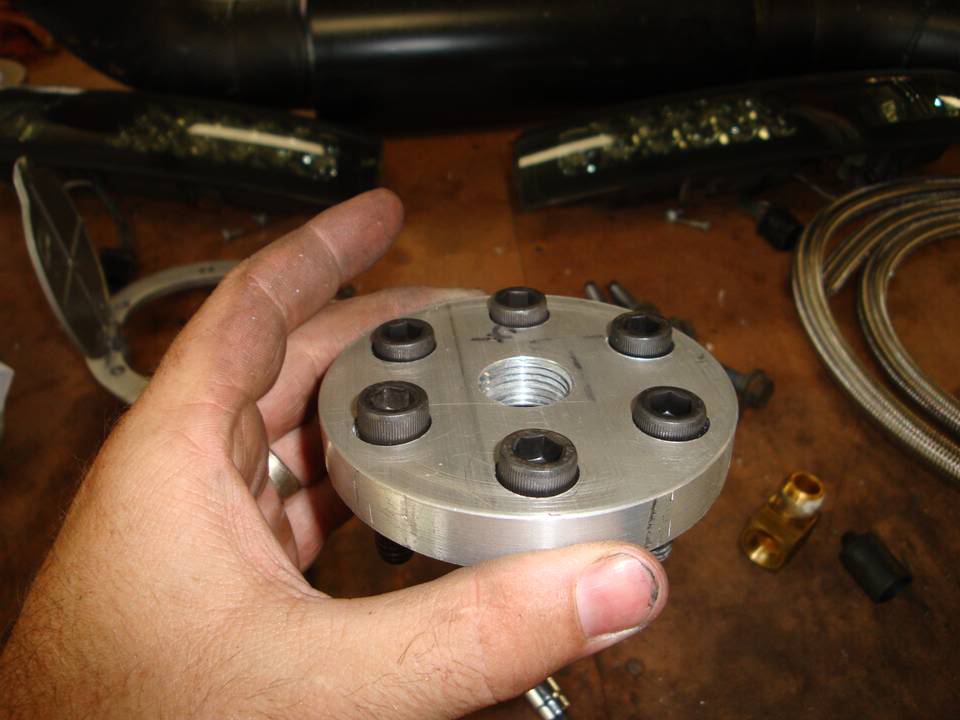
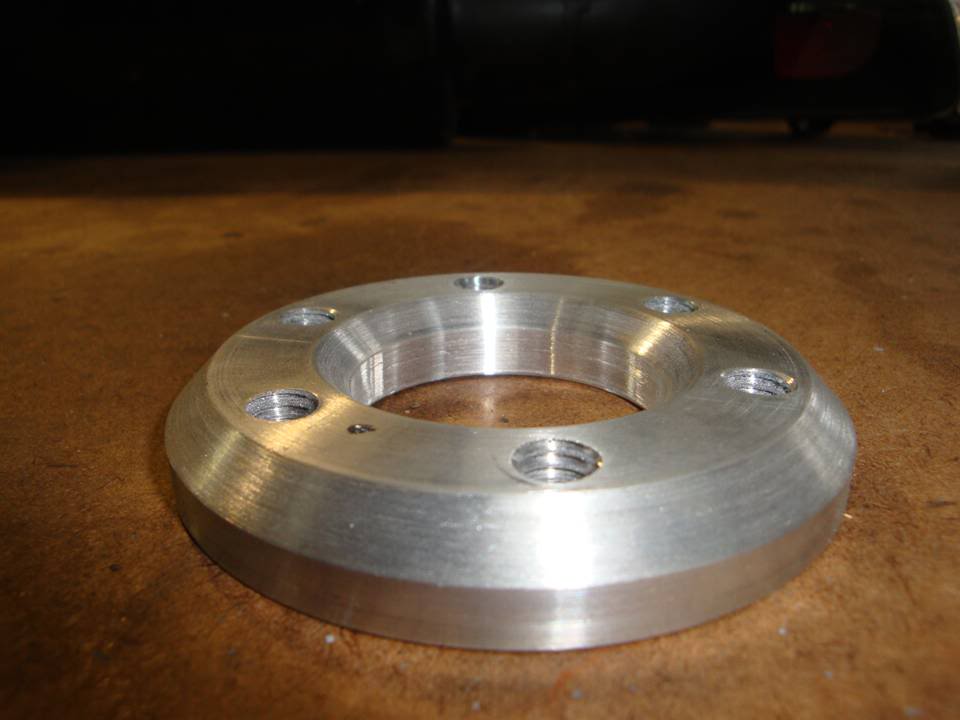
Here's the inner flange.....
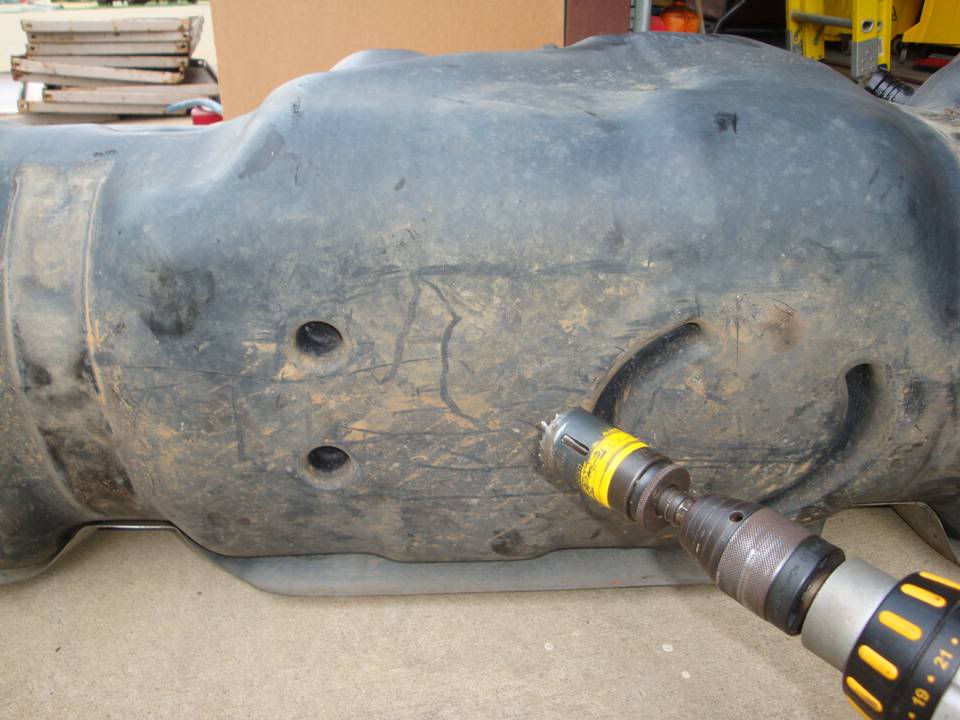
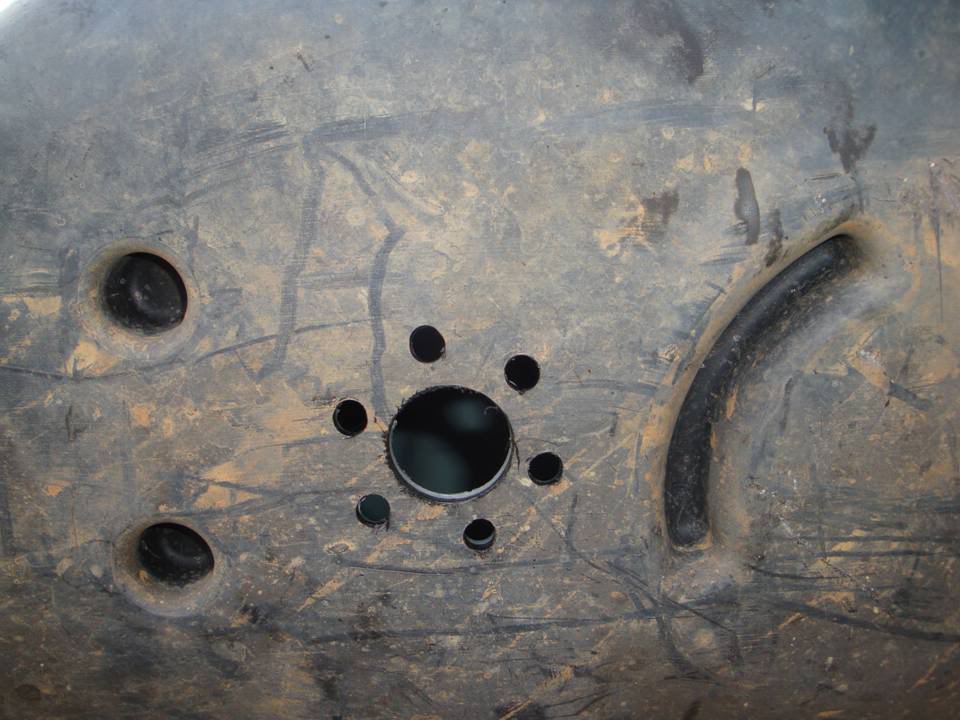
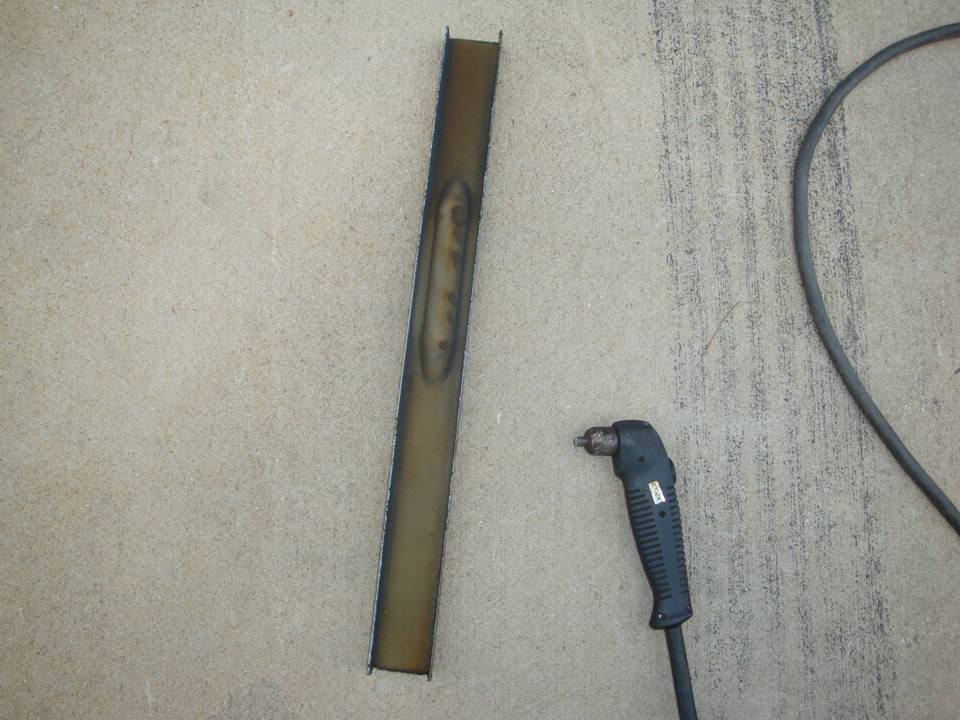
Drilling the bottom of the tank.....
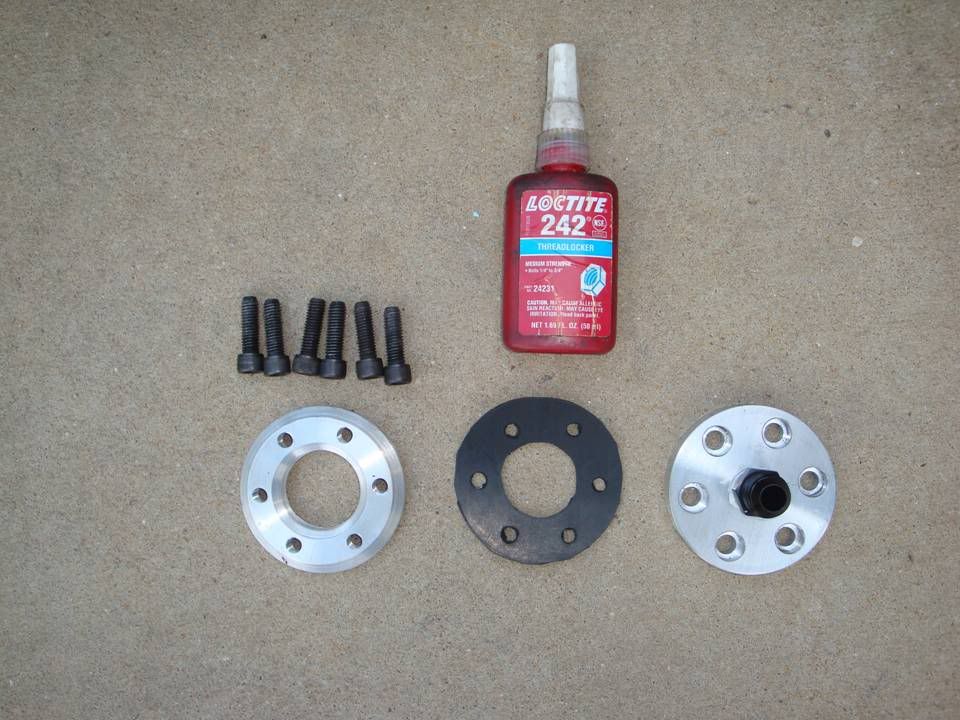
Sump parts.....
Installed.....
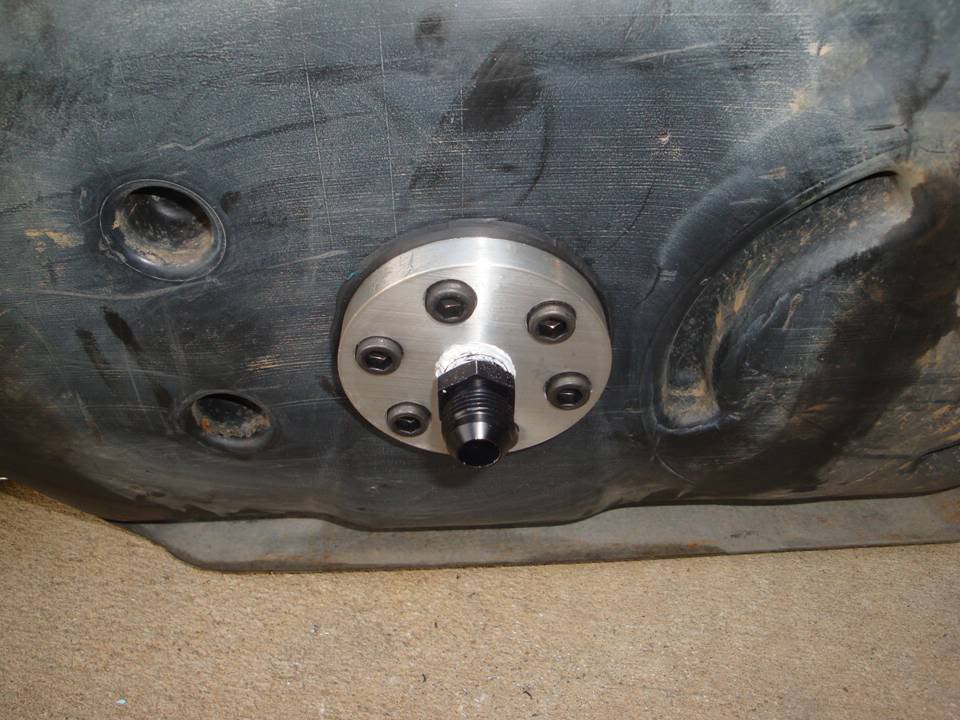
Leak testing it overnight. No, this is not the fitting that will be on it when it goes on the truck. I'll have a full flow 90* fitting going to the side toward the FASS.
He did a KICK AZZ job of the fuel sump for the tank. I'm REALLY happy with the way it came out.
We were able to get the flanges exactly how we had talked about them.
And the best part, NO MORE PICK UP TUBE.
It's all bolted in, the tank is up on the saw horses with a few gallons of fuel in it to make sure there are no leaks. Tomorrow it'll get bolted back in and I can get the bed back on the truck.
Here's the outter flange.....
Here's the inner flange.....
Drilling the bottom of the tank.....
Sump parts.....
Installed.....
Leak testing it overnight. No, this is not the fitting that will be on it when it goes on the truck. I'll have a full flow 90* fitting going to the side toward the FASS.
Thread Starter
|
All Star
Joined: Dec 2008
Posts: 863
Likes: 0
From: East Alabama
Well, here was today's fun.
Ran into a couple of snags today. Nothing that couldn't be fixed, but it just added some time to the process.
And, I have a good WHOOPS picture for ya.
So here's how today went down.....
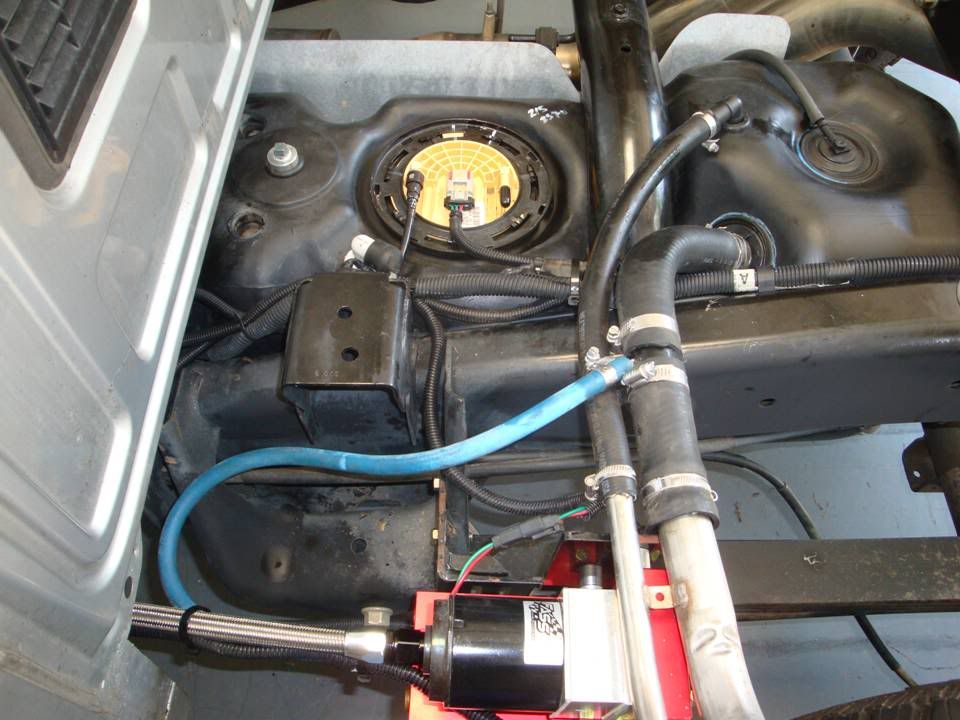
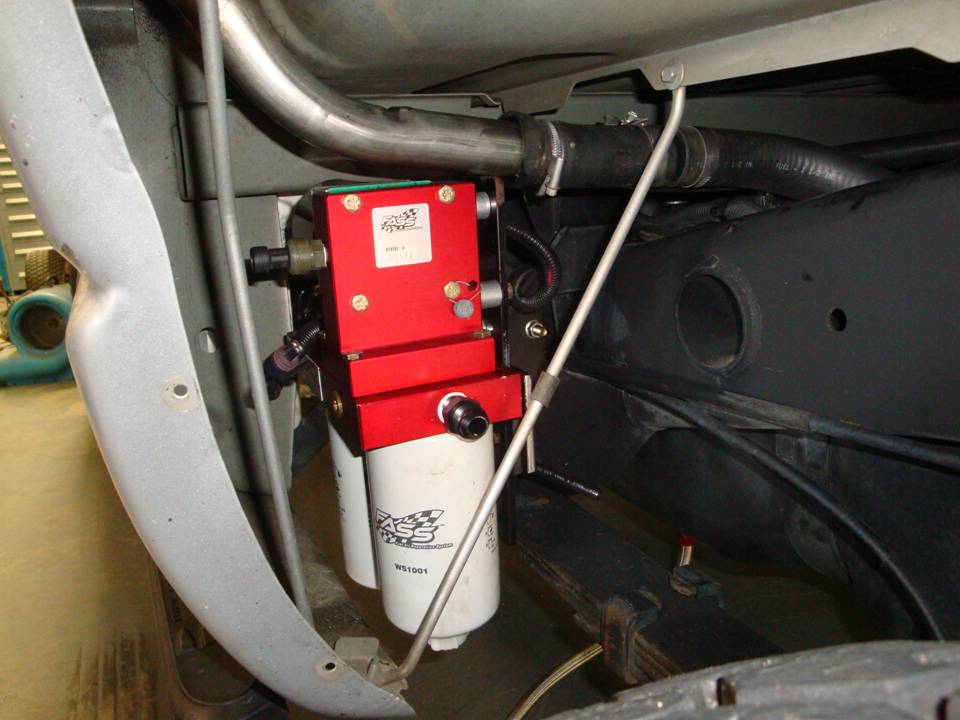
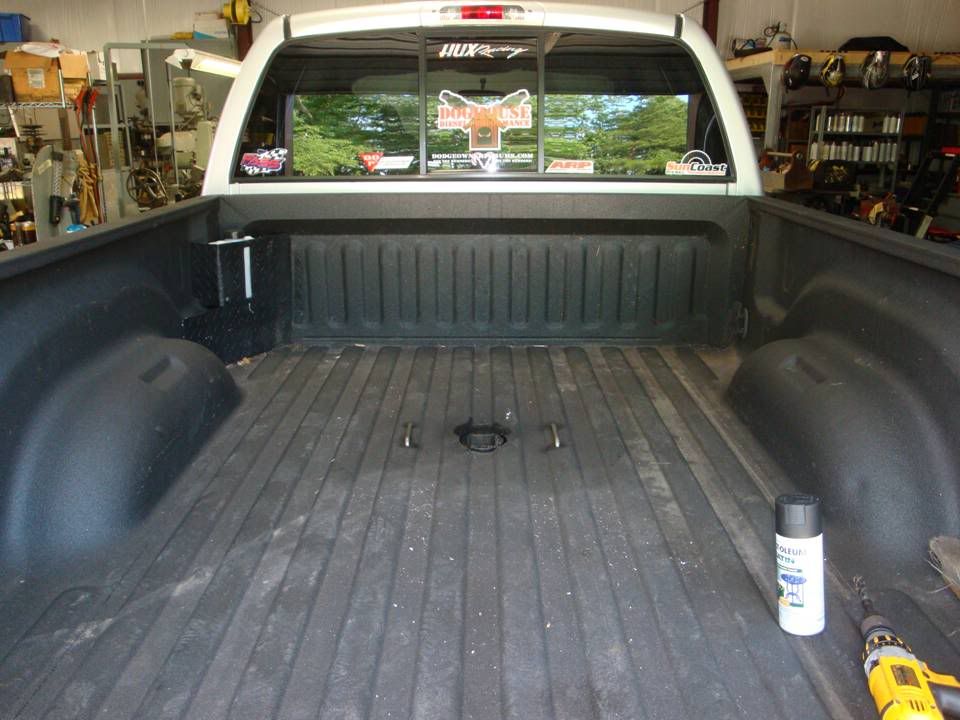
Got the tank back in....no leaks at the fuel sump, so I'm happy with it. Can't plumb the supply line to the FASS until I get a few more fittings. Didn't plan on needing that extra 90* hose end, so gotta wait for that to get here. Cleaned up all the fuel lines and wiring around the tank and FASS....removed the oem supply line totally.
Now, here is where we ran into the first snag. When we went to put the bed back on, one of the bed supports was right on top of the new battery box and the bed wouldn't seat all the way. So, the bed got introduced to Mr Plasma and that solved that problem.
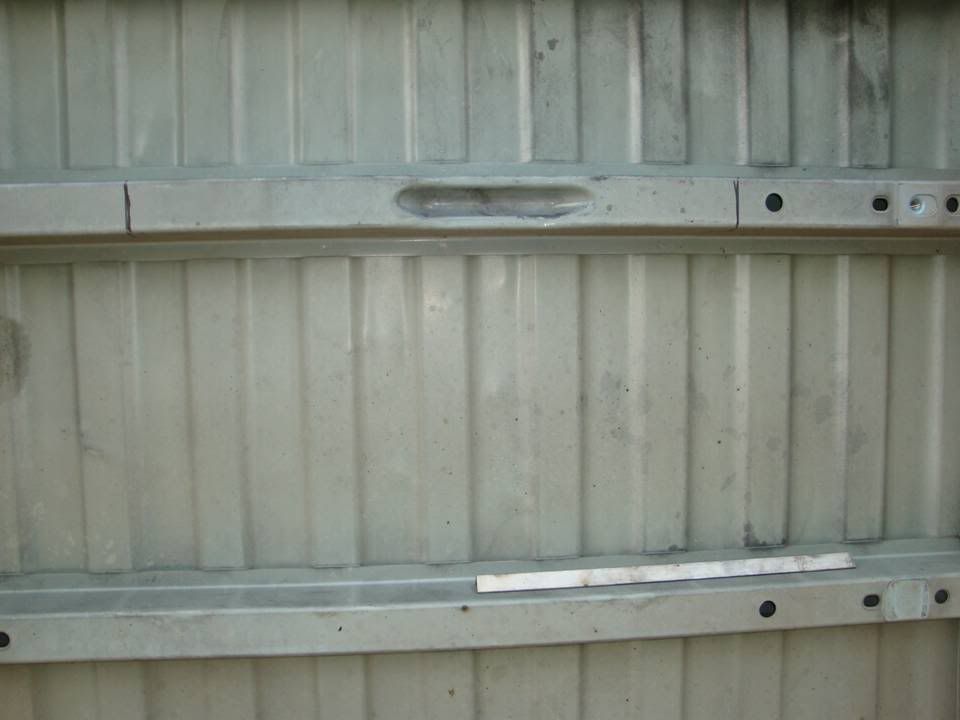

Now, here's the next snag we ran into today. I installed the GN hitch on the frame, cut the hole in the bed at 45.5" from the rear edge of the bed (like the instructions called for on the short bed) and when we went to put the bed on, it wasn't lined up with the hitch.....the hole was almost 2" too far forward.
Sooooo, had to do some cutting, welding, grinding and patching on the bed floor. No big deal, it'll get ground down and re-Linex'd and it won't even be visible.
So here's my WHOOPS for the day.....don't say I didn't share the bad along with the good.
The gap from the hole saw was too big for the tig, so had to bump it with the mig to fill it. No big deal, once it gets ground down and re-linex'd, you'll never know it's there.
Ran into a couple of snags today. Nothing that couldn't be fixed, but it just added some time to the process.
And, I have a good WHOOPS picture for ya.
So here's how today went down.....
Got the tank back in....no leaks at the fuel sump, so I'm happy with it. Can't plumb the supply line to the FASS until I get a few more fittings. Didn't plan on needing that extra 90* hose end, so gotta wait for that to get here. Cleaned up all the fuel lines and wiring around the tank and FASS....removed the oem supply line totally.
Now, here is where we ran into the first snag. When we went to put the bed back on, one of the bed supports was right on top of the new battery box and the bed wouldn't seat all the way. So, the bed got introduced to Mr Plasma and that solved that problem.
Now, here's the next snag we ran into today. I installed the GN hitch on the frame, cut the hole in the bed at 45.5" from the rear edge of the bed (like the instructions called for on the short bed) and when we went to put the bed on, it wasn't lined up with the hitch.....the hole was almost 2" too far forward.
Sooooo, had to do some cutting, welding, grinding and patching on the bed floor. No big deal, it'll get ground down and re-Linex'd and it won't even be visible.
So here's my WHOOPS for the day.....don't say I didn't share the bad along with the good.
The gap from the hole saw was too big for the tig, so had to bump it with the mig to fill it. No big deal, once it gets ground down and re-linex'd, you'll never know it's there.
Thread Starter
|
All Star
Joined: Dec 2008
Posts: 863
Likes: 0
From: East Alabama
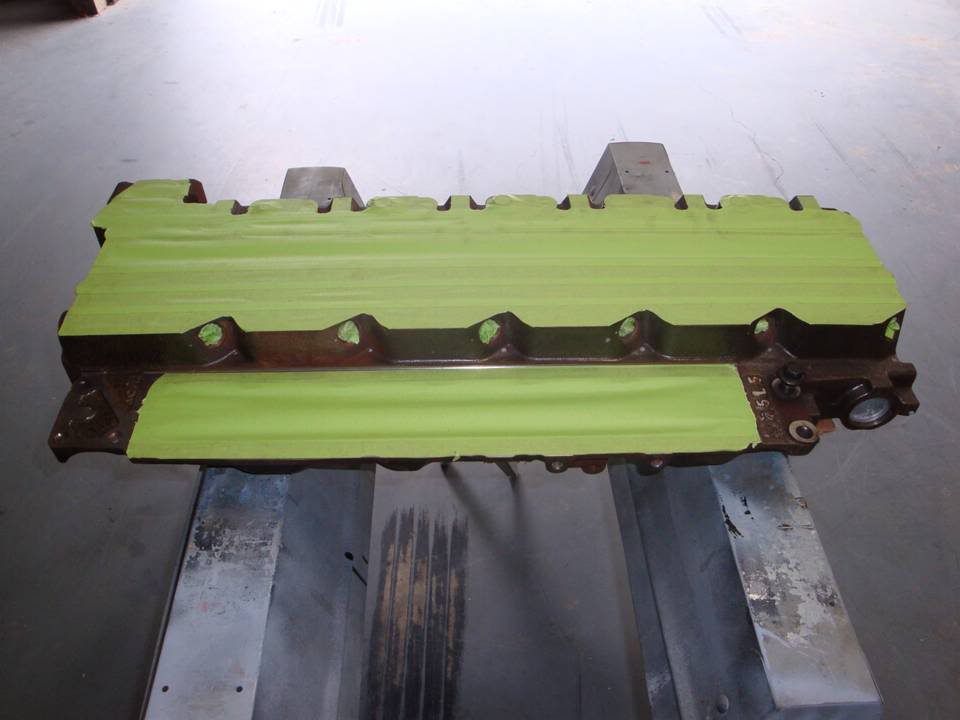
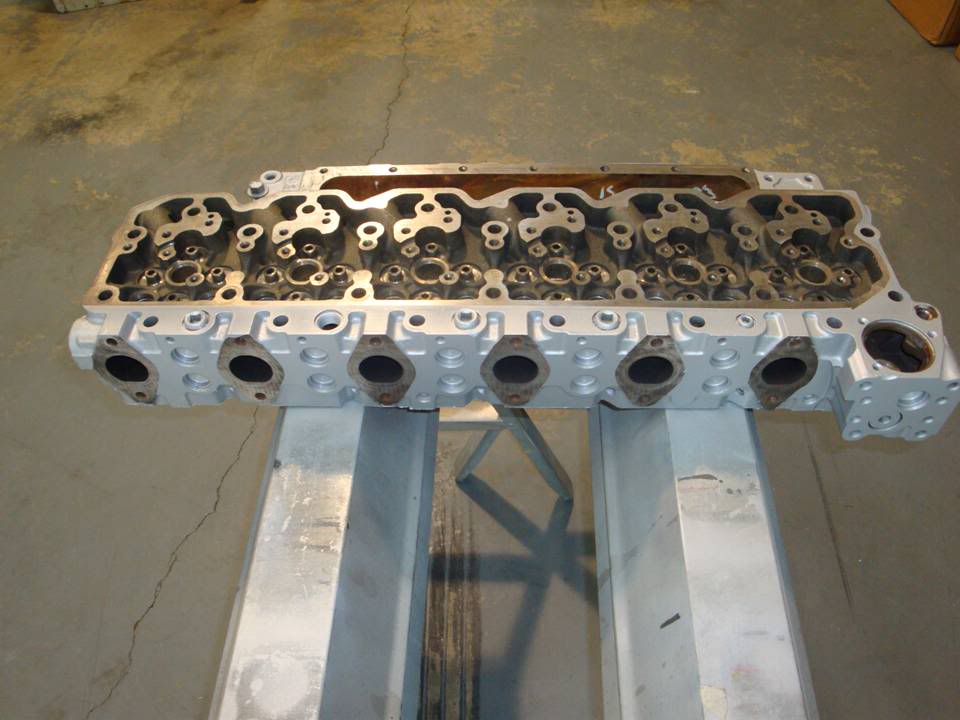
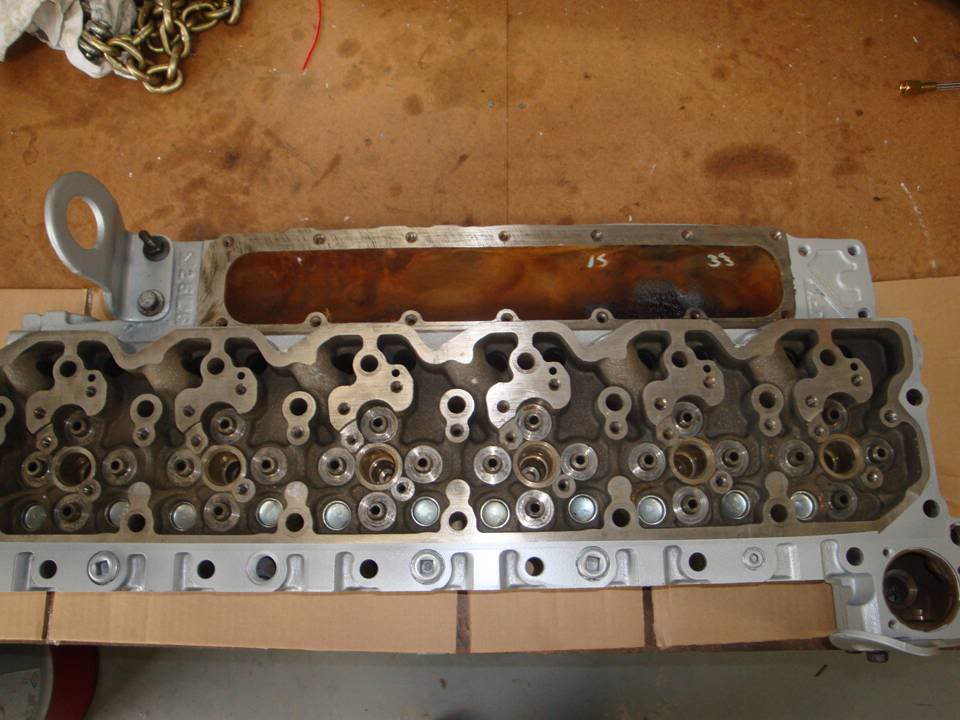
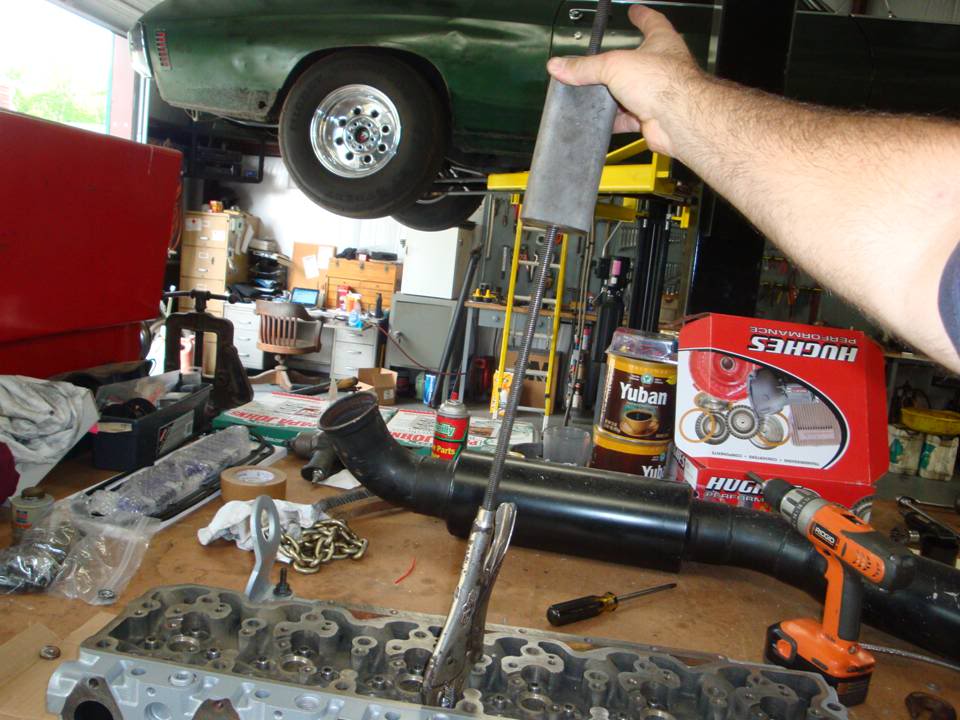
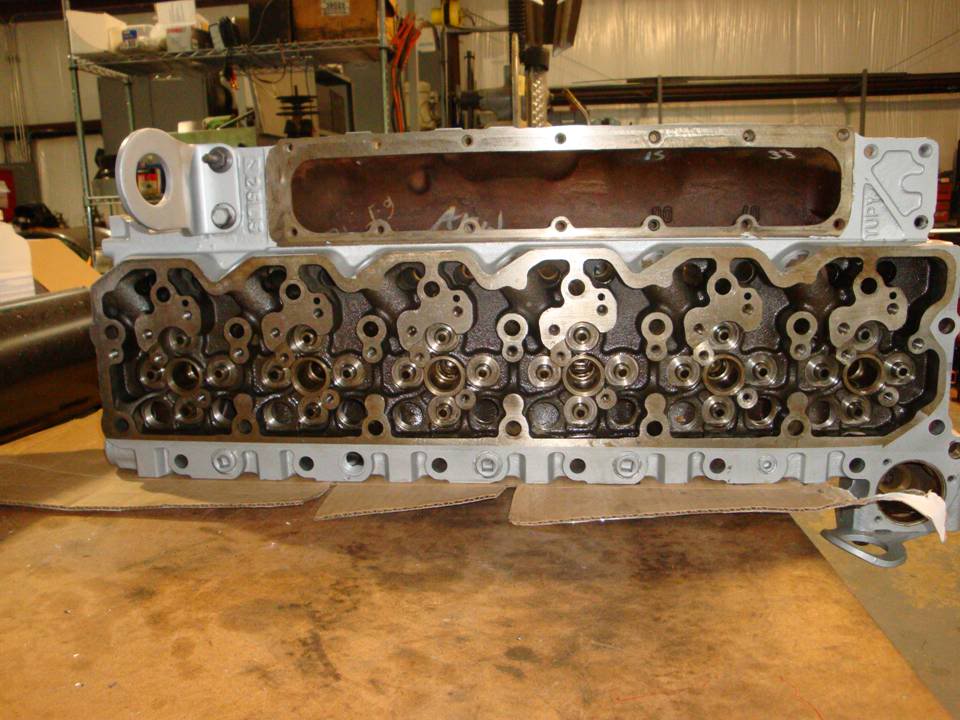
So I got started on the head today.
Got it all masked off, wire wheeled the rust and coatings off and got 'er painted.
Gonna give it a few days for the paint to dry good before I put the head back together.
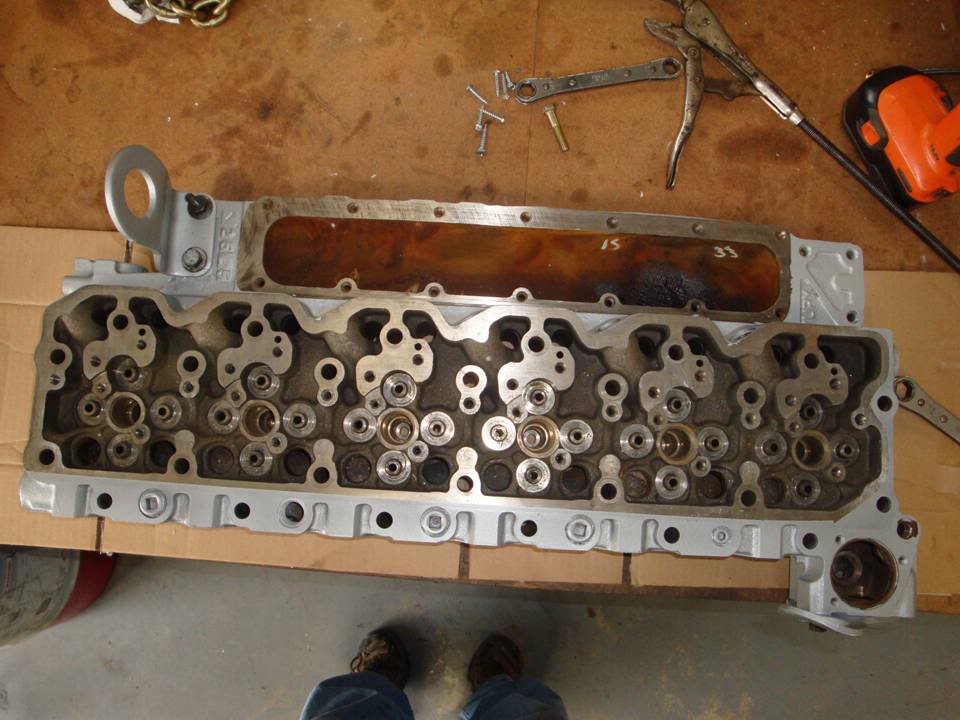
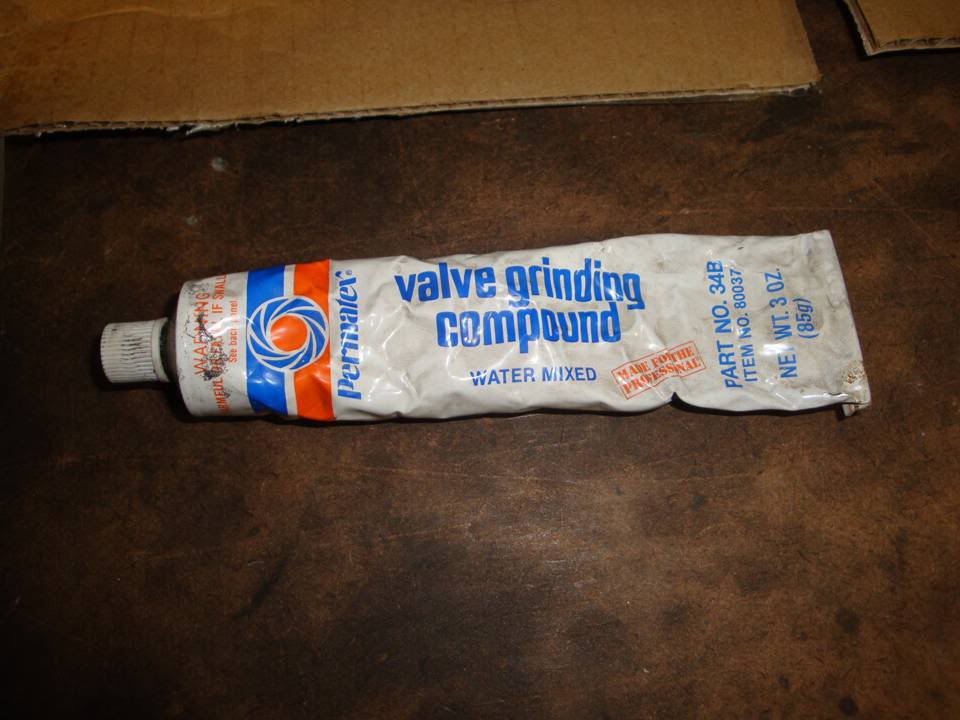
While I was waiting on the paint to dry a bit, I got started on the valves. Got those all cleaned up and ready to go.
Once the paint is dry, the valves will get lapped and the head will go back together.
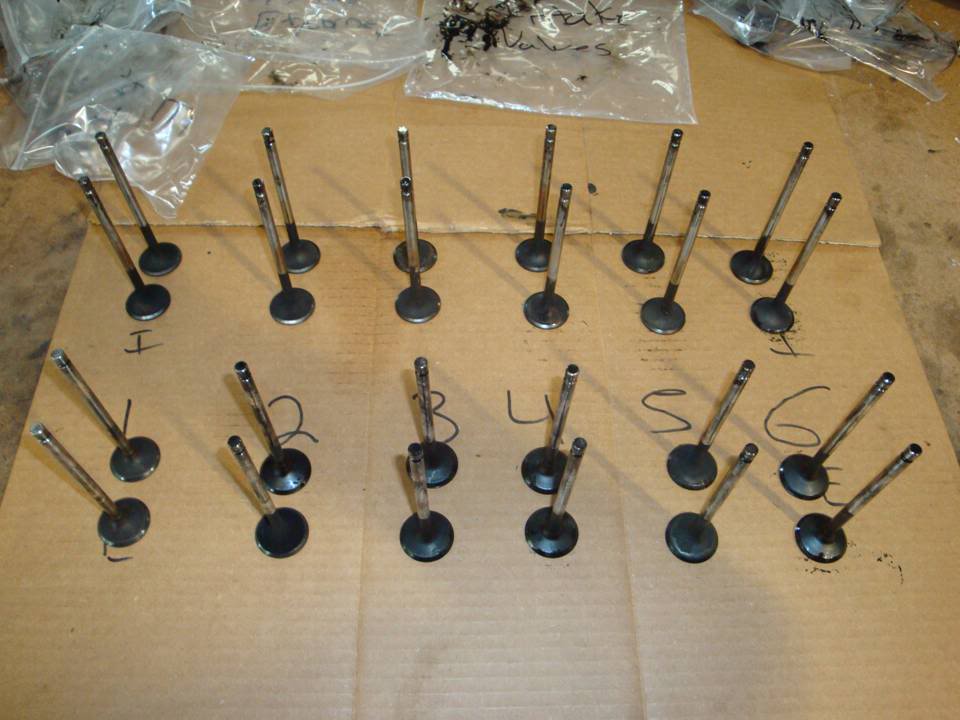
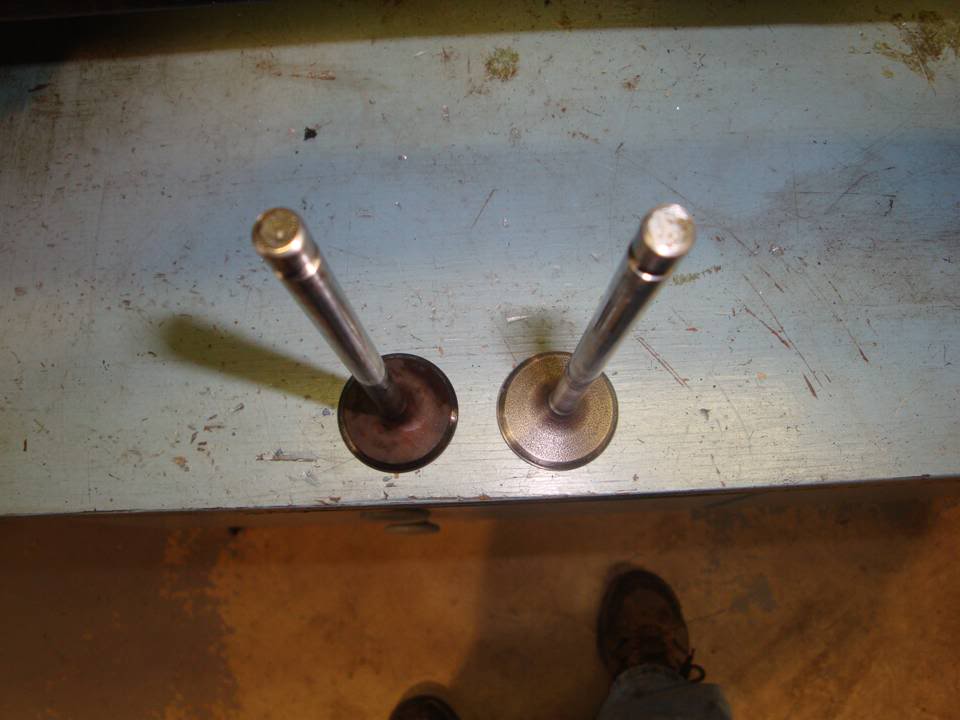

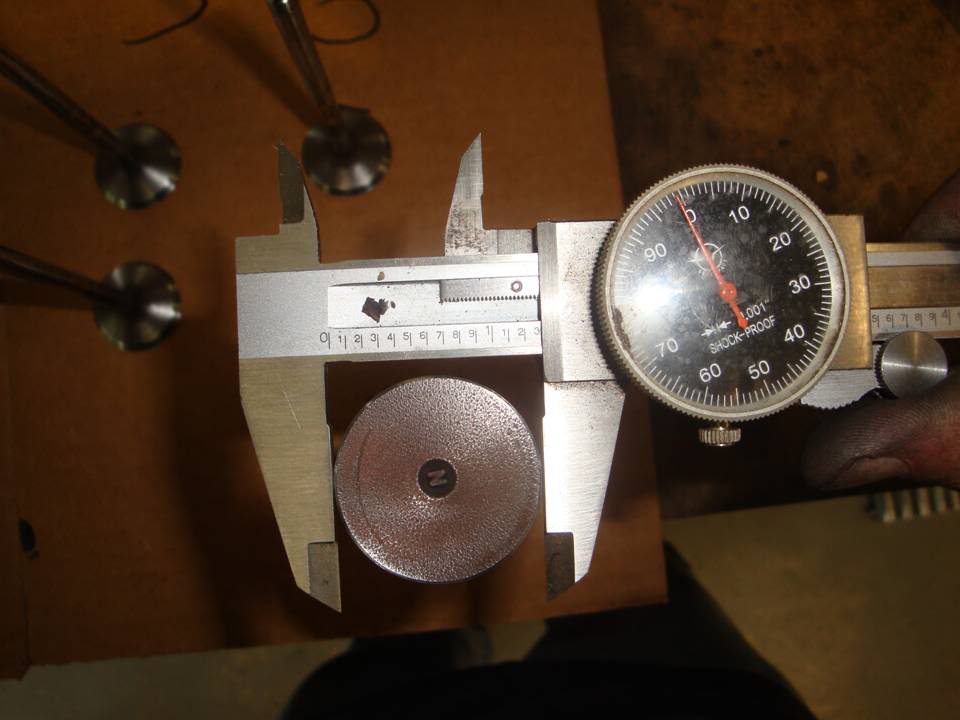
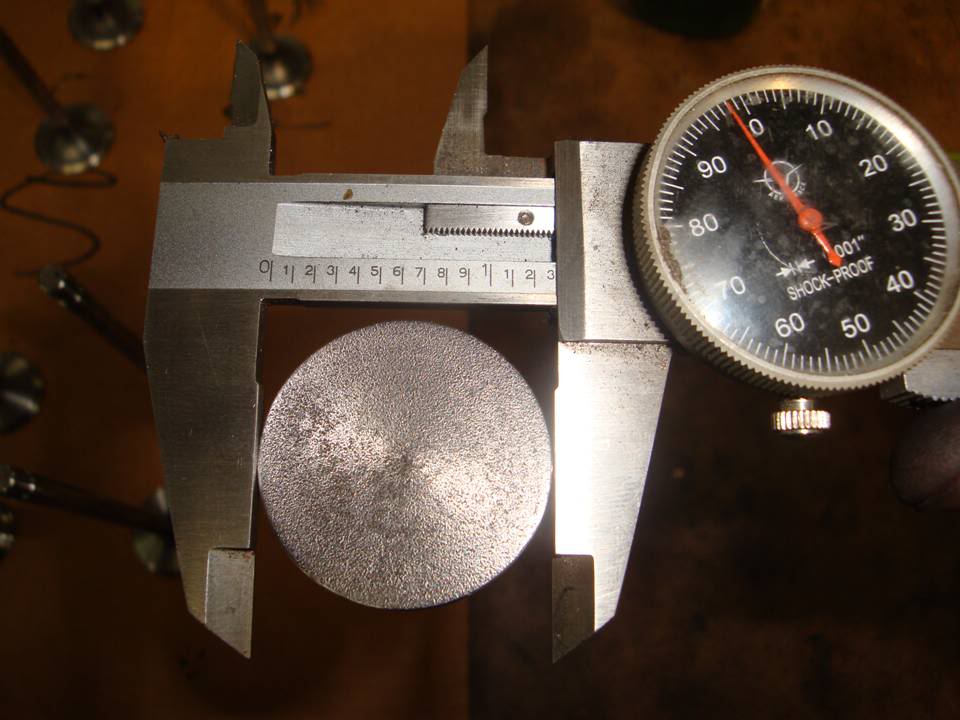
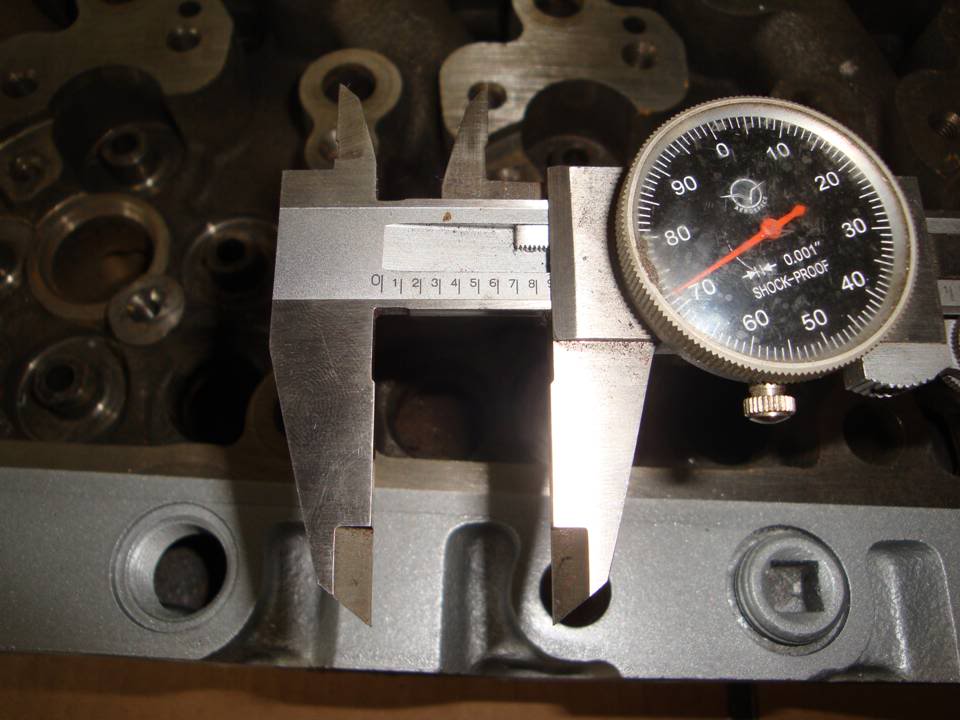
Someone asked for the size of the valves, so here they are.
Got it all masked off, wire wheeled the rust and coatings off and got 'er painted.
Gonna give it a few days for the paint to dry good before I put the head back together.
While I was waiting on the paint to dry a bit, I got started on the valves. Got those all cleaned up and ready to go.
Once the paint is dry, the valves will get lapped and the head will go back together.
Someone asked for the size of the valves, so here they are.
Thread Starter
|
All Star
Joined: Dec 2008
Posts: 863
Likes: 0
From: East Alabama
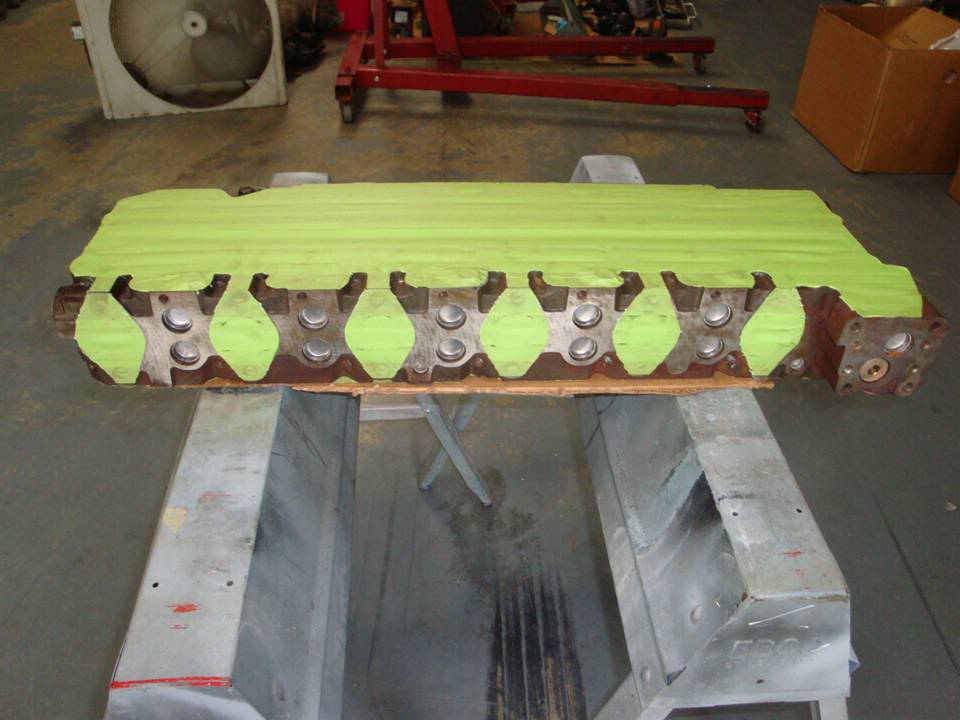
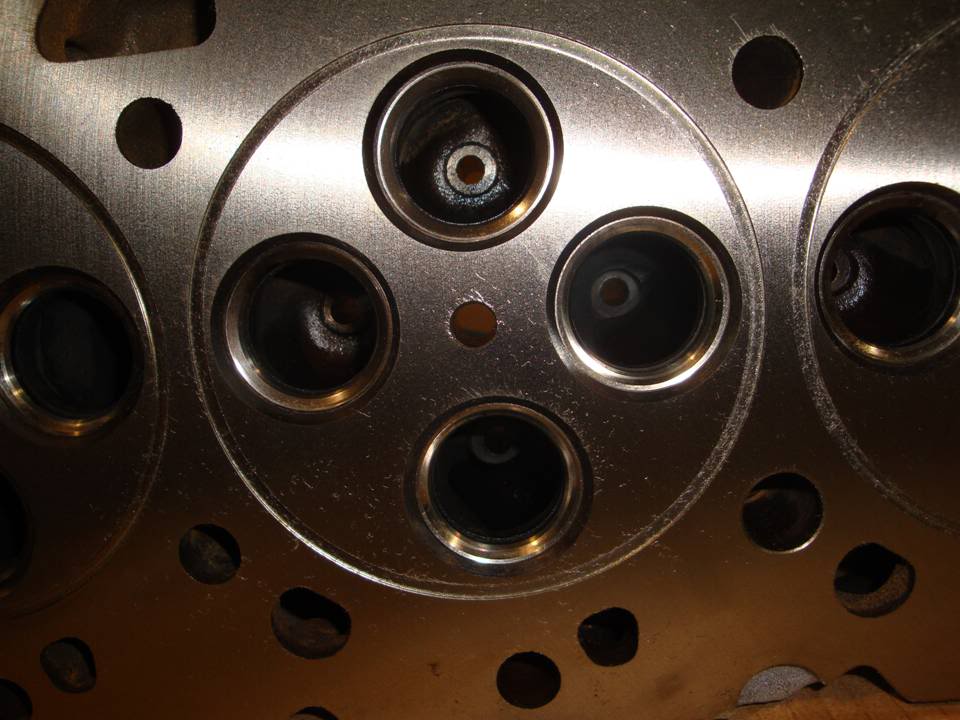
Well, no more issues with freeze plugs blowing under the valve cover.
Got half of them done tonight before I had to hit the house and take care of the dogs.
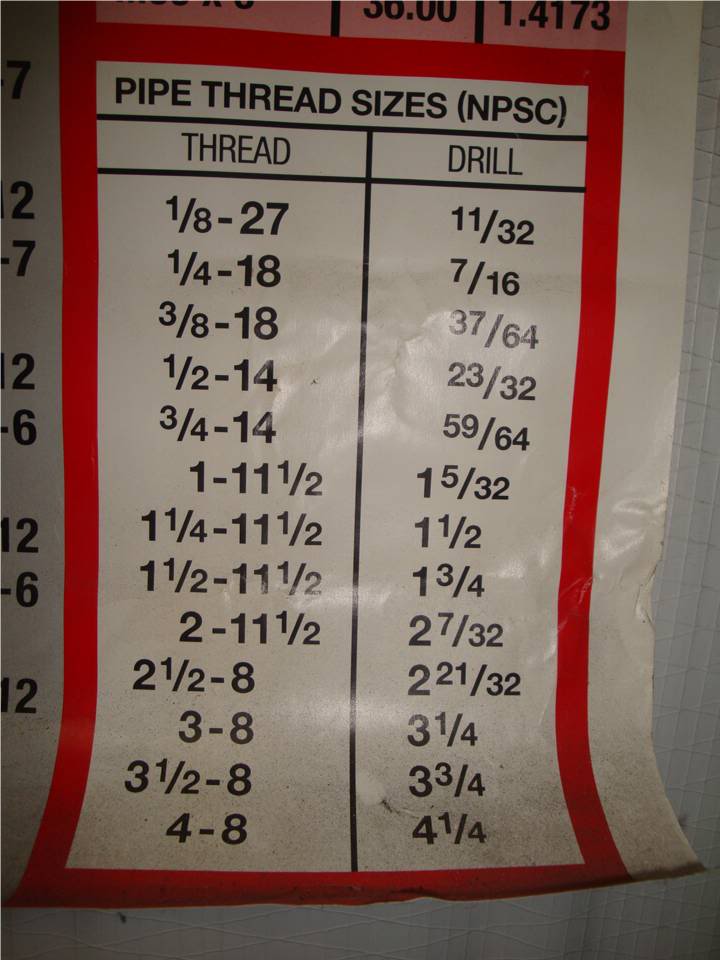
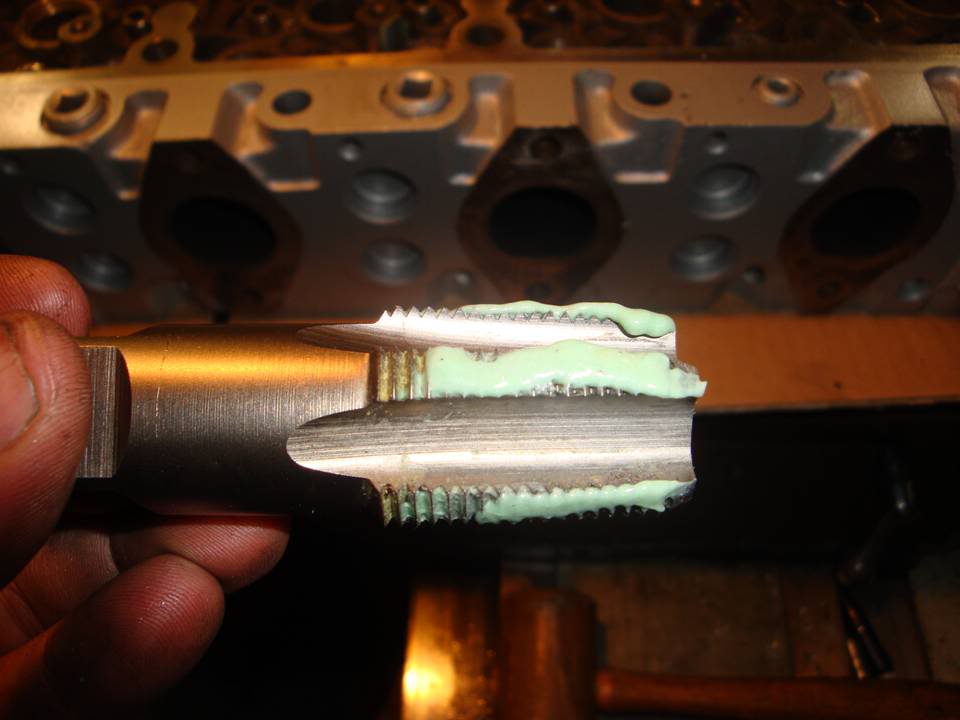
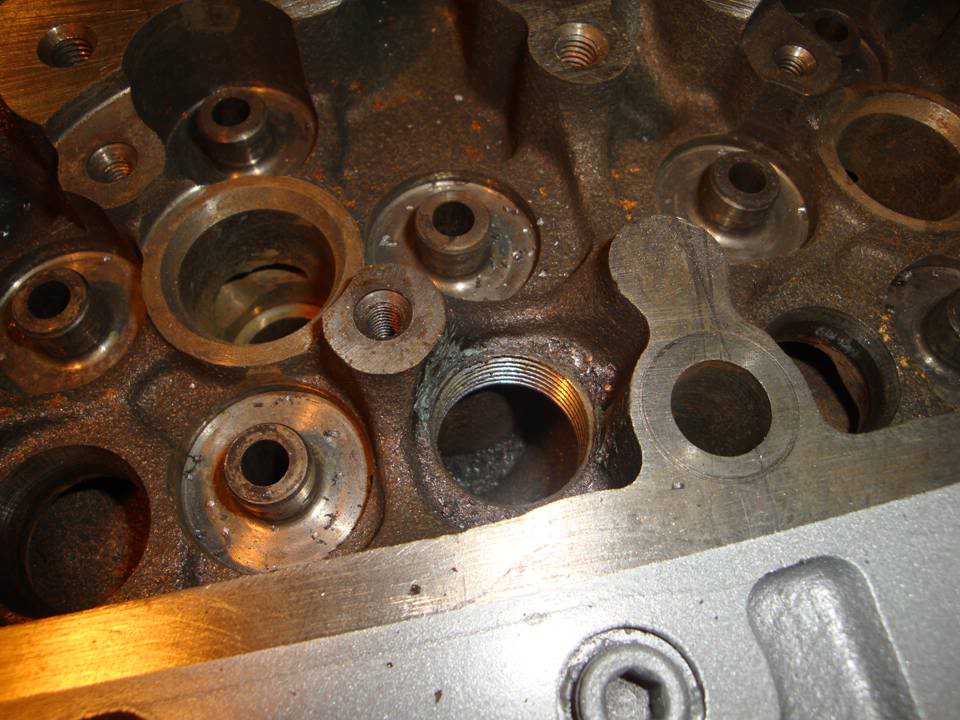
Here's the process of removing the factory freeze plugs and tapping them for 3/4 -14 pipe plugs.
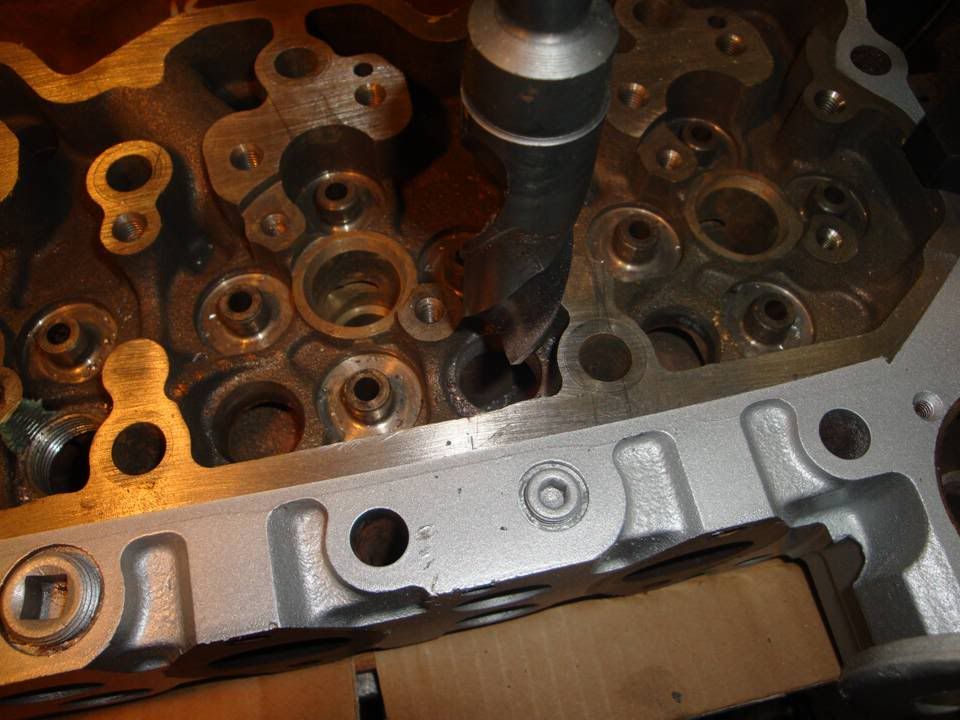
Removing the freeze plugs.....
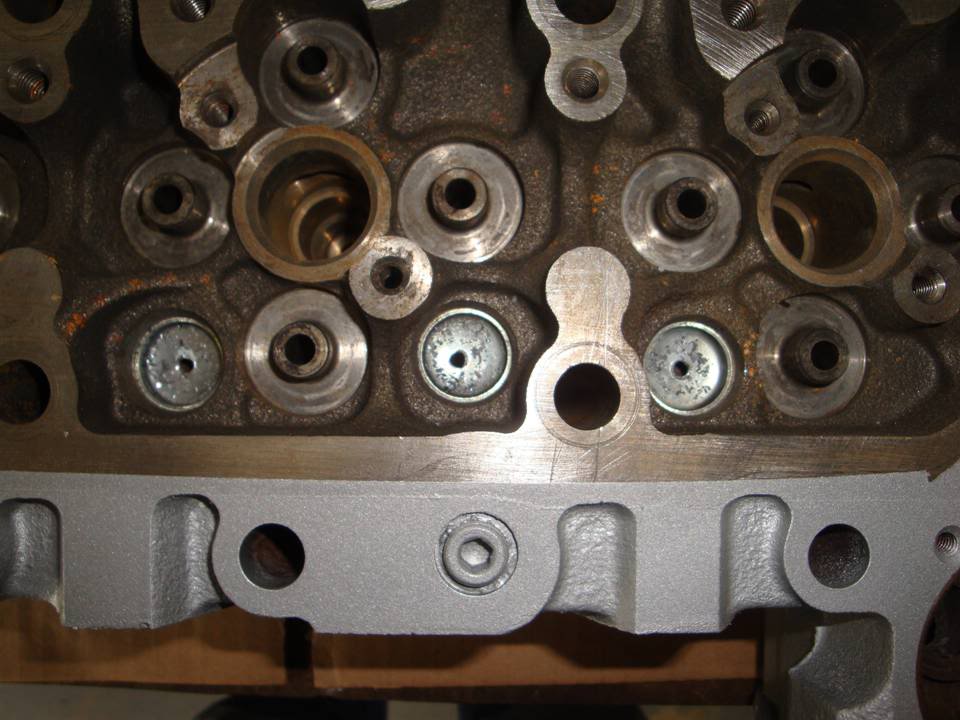
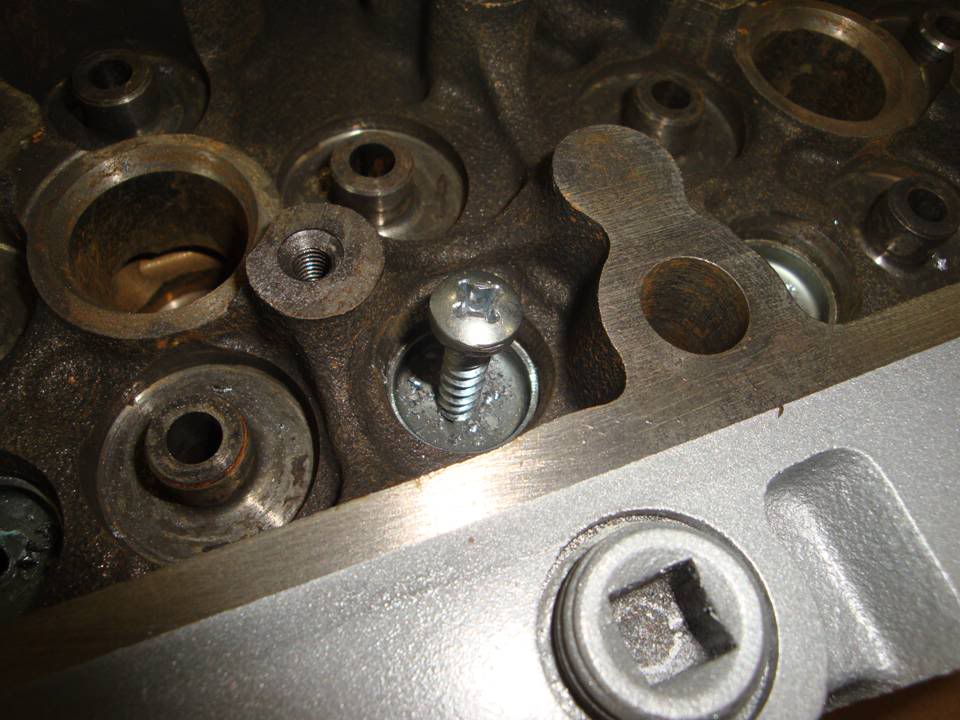
Checking the bore of for the correct drill and tap sizing. .872 brings it to roughly 7/8", so to fit it with a 3/4 - 14 pipe plug, we need to bore it out a bit.
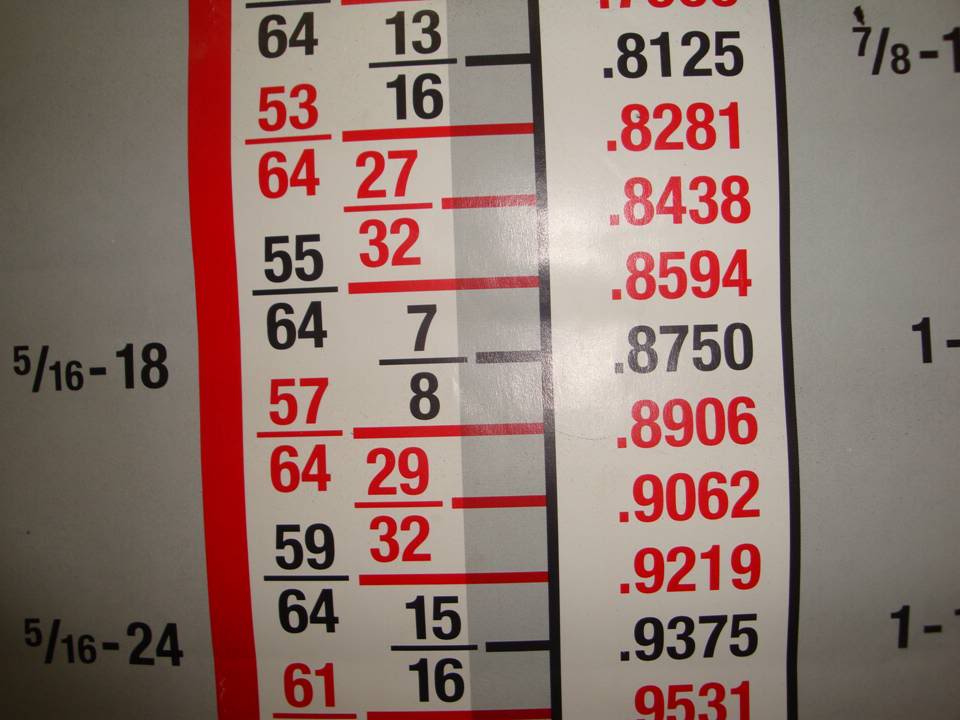
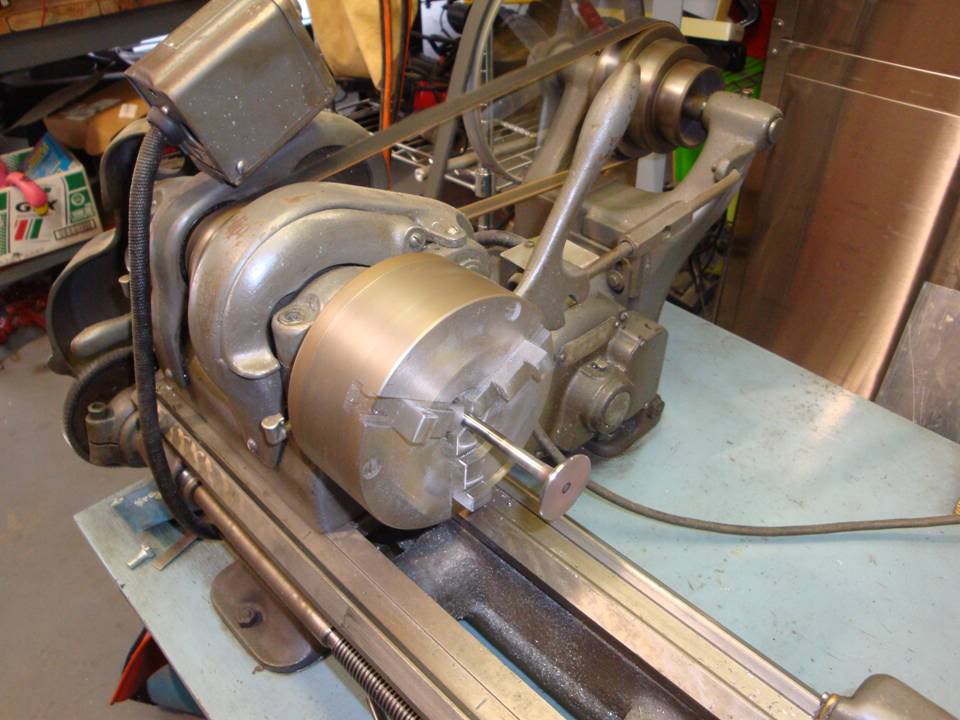
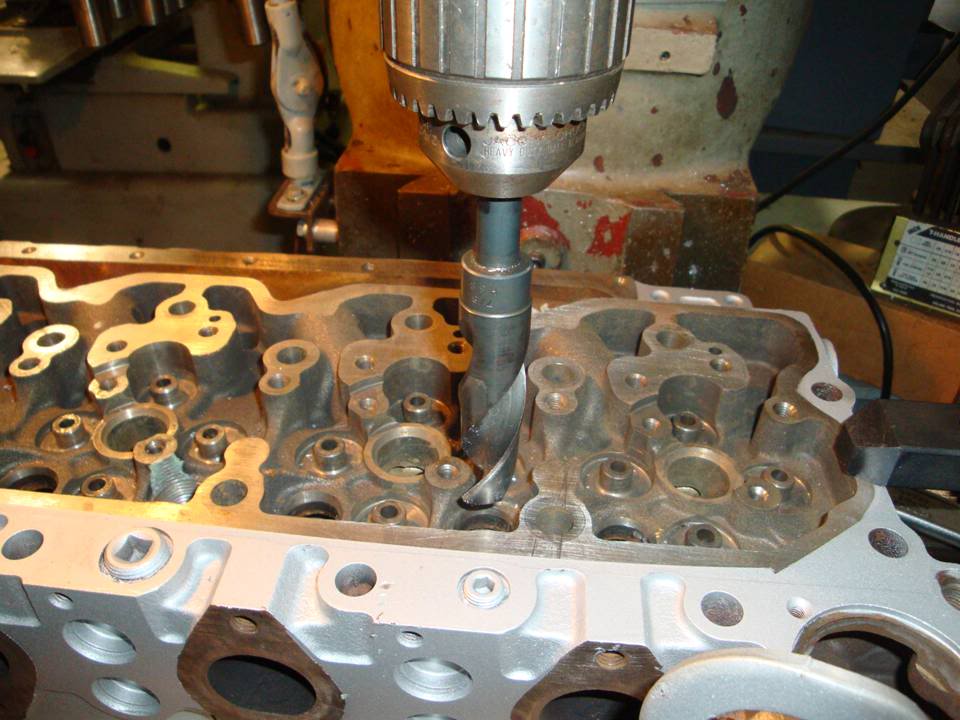
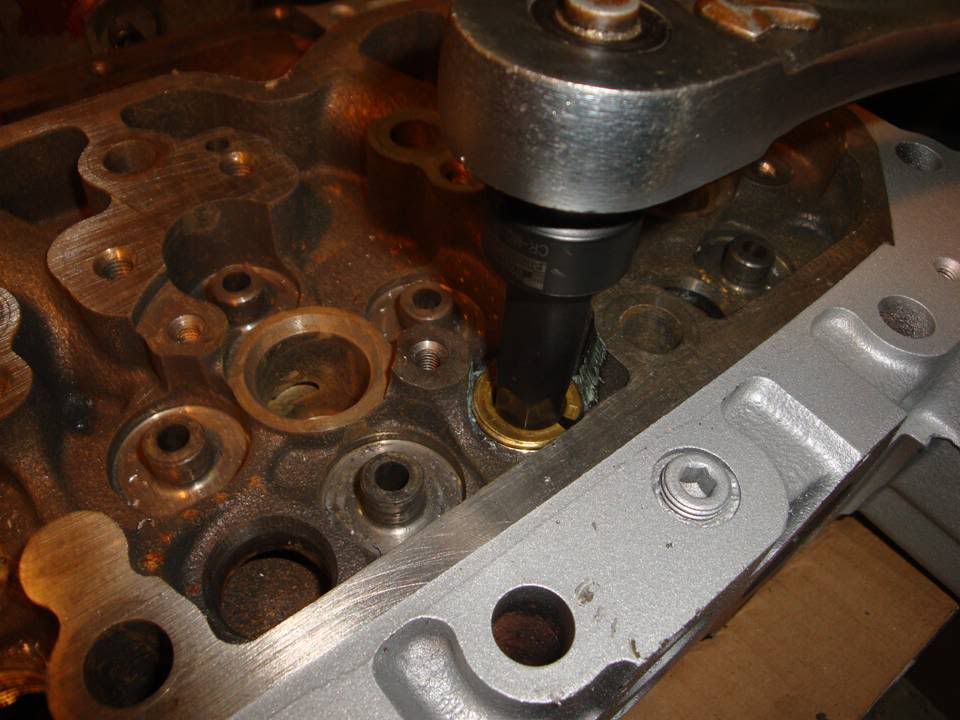
Once we have that established, time to move to the mill and set up fof the drill and tap.
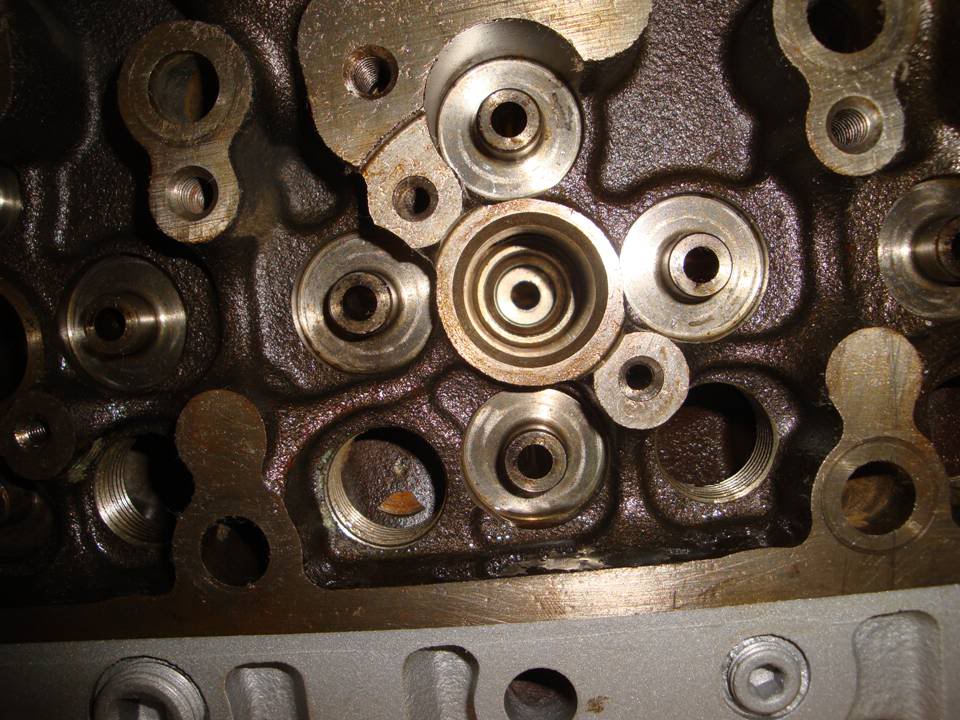
Start by centering on the original bore with a 7/8 bit. Once it's centered, swap in the 15/16 bit and bore the hole. Once that's done, swap to the tap center and begin your tap. Stop frequently to check your depth. Once you get the plug roughly flush, you're golden.


Got half of them done tonight before I had to hit the house and take care of the dogs.
Here's the process of removing the factory freeze plugs and tapping them for 3/4 -14 pipe plugs.
Removing the freeze plugs.....
Checking the bore of for the correct drill and tap sizing. .872 brings it to roughly 7/8", so to fit it with a 3/4 - 14 pipe plug, we need to bore it out a bit.
Once we have that established, time to move to the mill and set up fof the drill and tap.
Start by centering on the original bore with a 7/8 bit. Once it's centered, swap in the 15/16 bit and bore the hole. Once that's done, swap to the tap center and begin your tap. Stop frequently to check your depth. Once you get the plug roughly flush, you're golden.
Thread Starter
|
All Star
Joined: Dec 2008
Posts: 863
Likes: 0
From: East Alabama
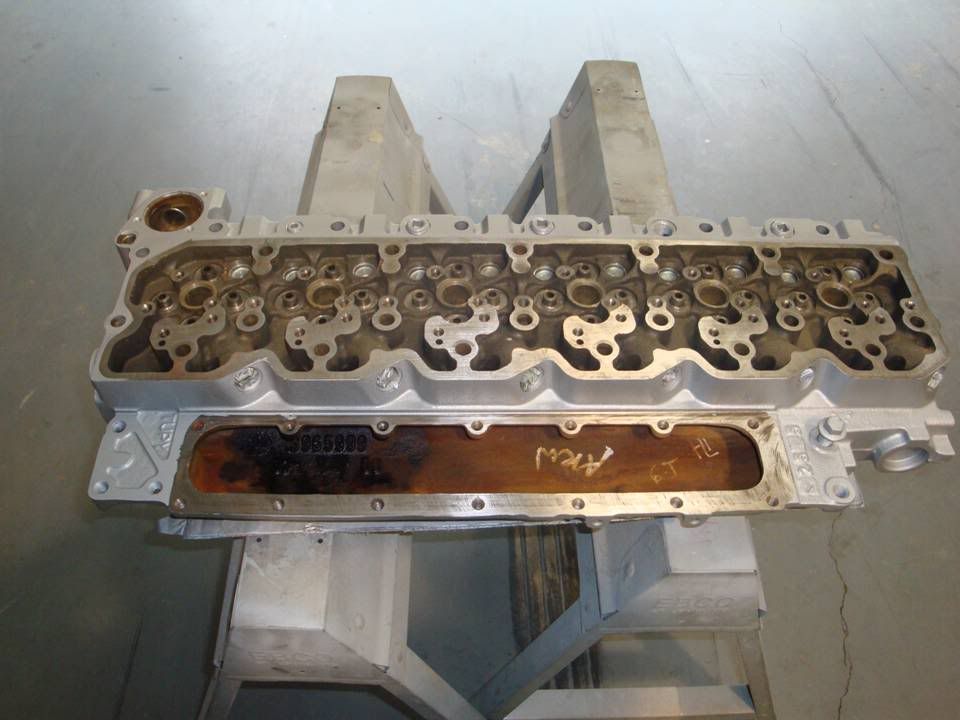
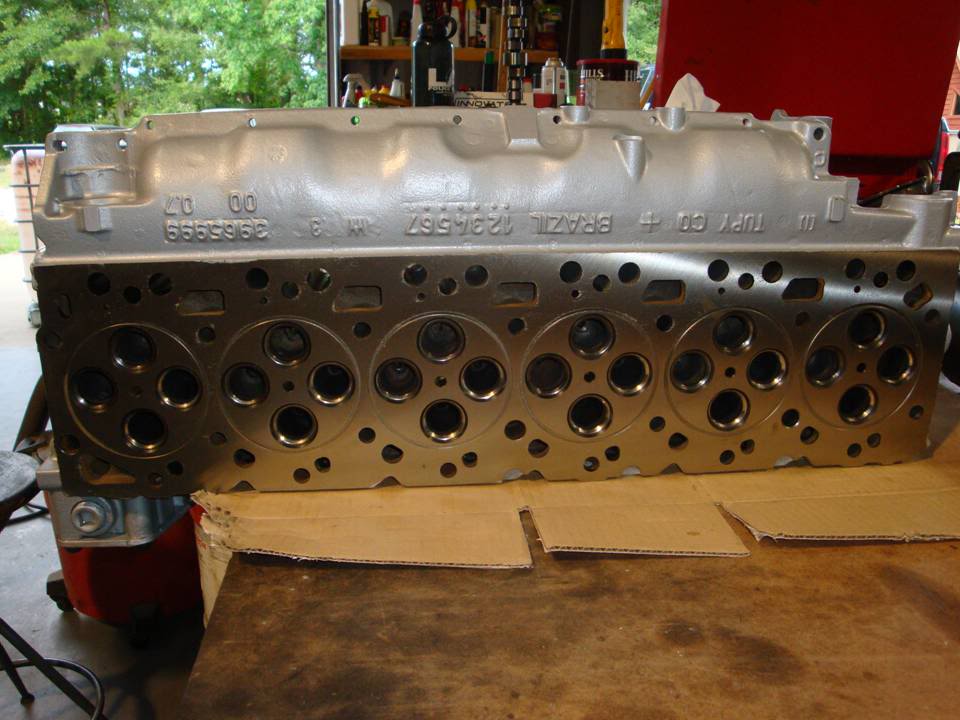
Got the head done this evening.
Was moving a little slow on it.....spent most of the day at the Optamologist getting 2 pieces of aluminum removed from my eye. Yeah, that was joy. Note to self, don't wipe your face on your sleeve when it's covered in aluminum shards.
Anyways, tomorrow the valves will get lapped and the head will be ready to go together.
Also, got a call from UPS today. My pistons are back here and I need to go over and give them the part numbers and the replacement cost so I can get my junk.
Thread Starter
|
All Star
Joined: Dec 2008
Posts: 863
Likes: 0
From: East Alabama
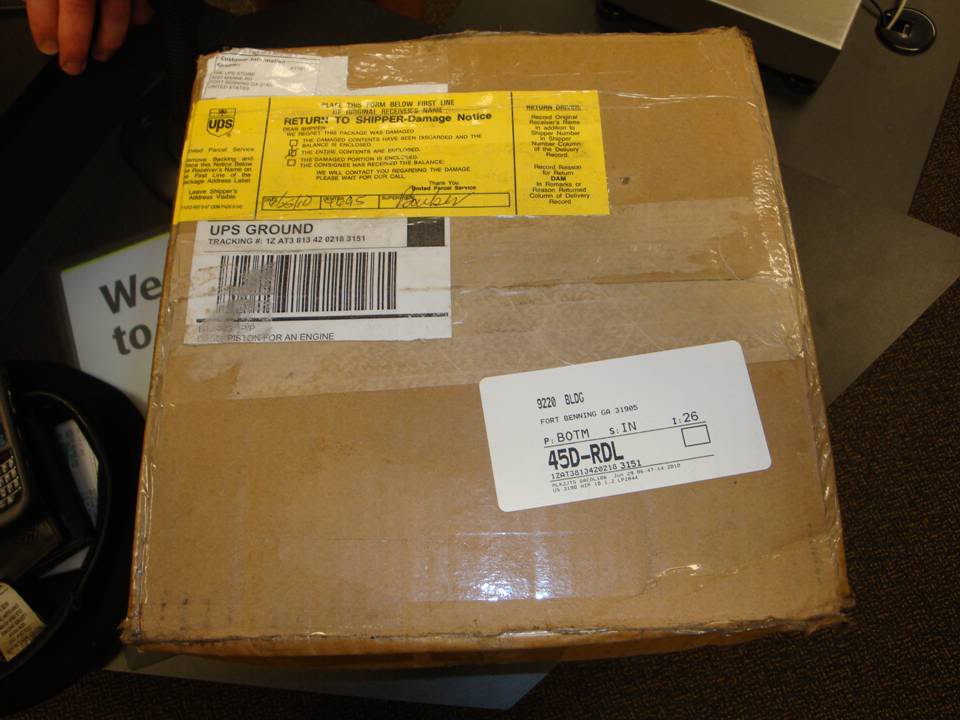
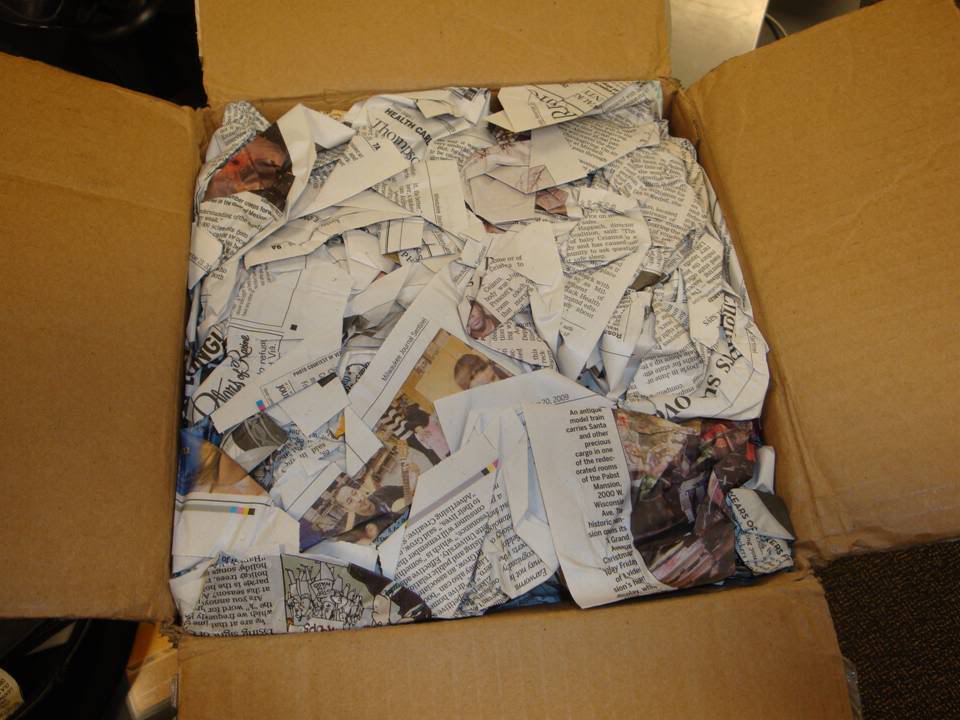
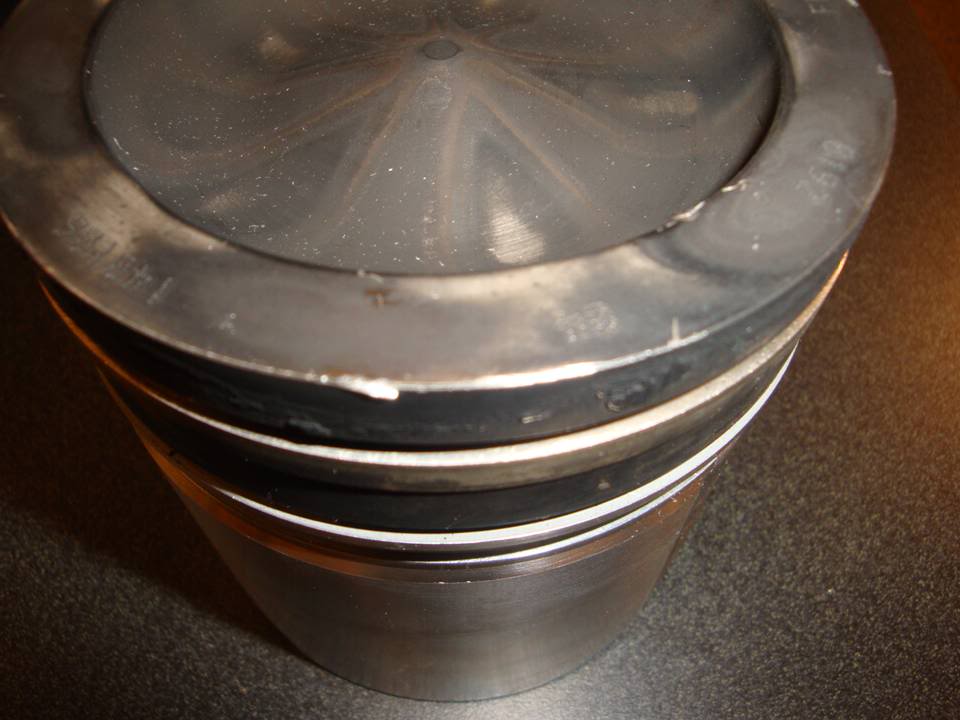
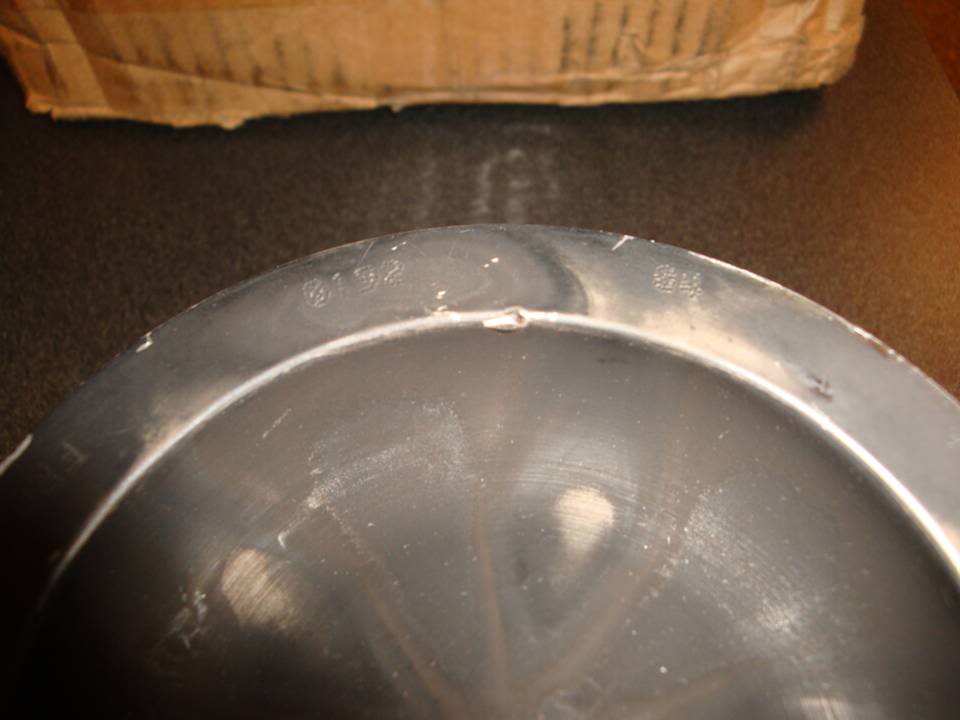
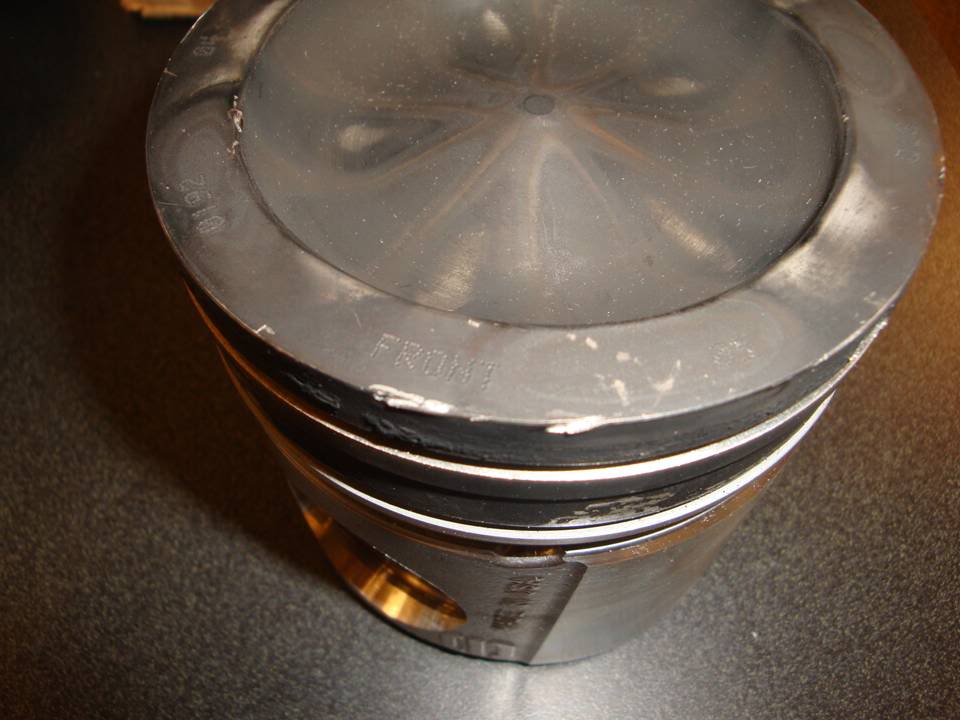
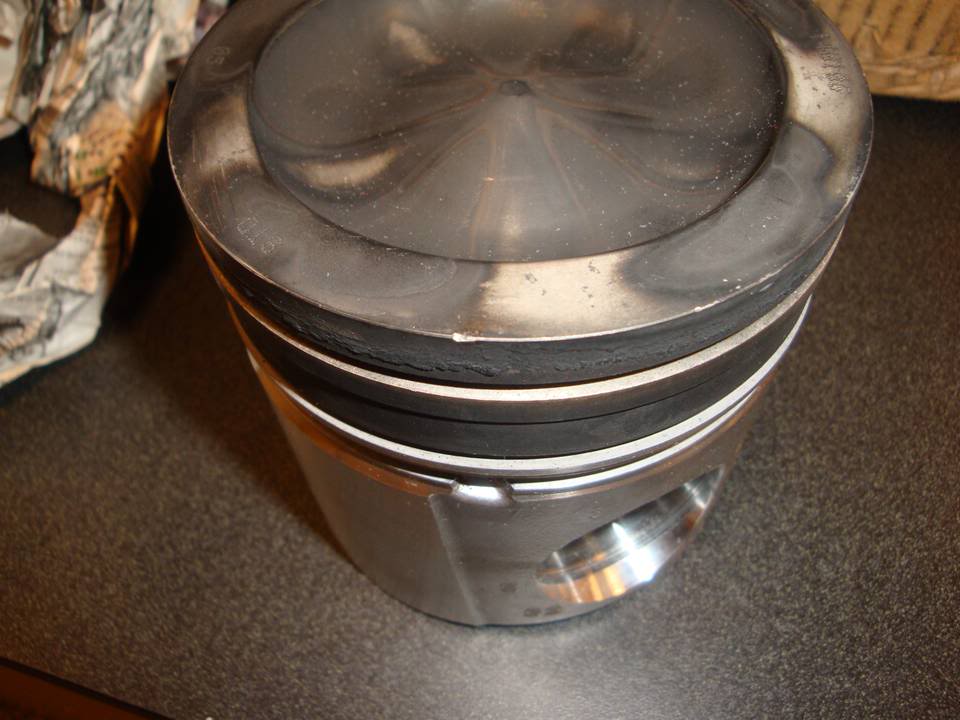
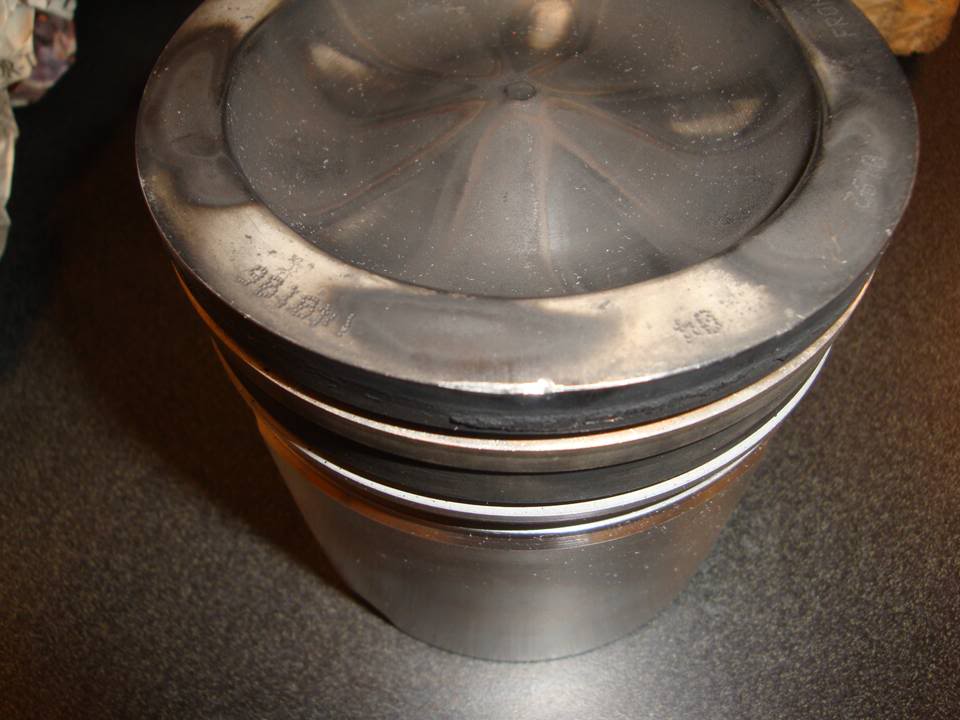
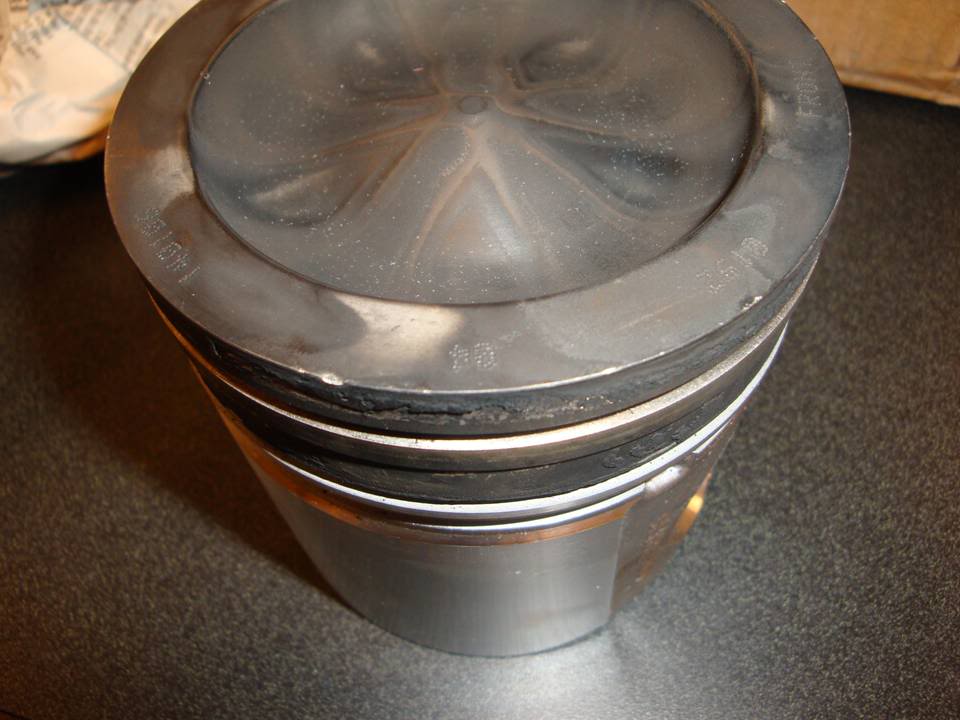
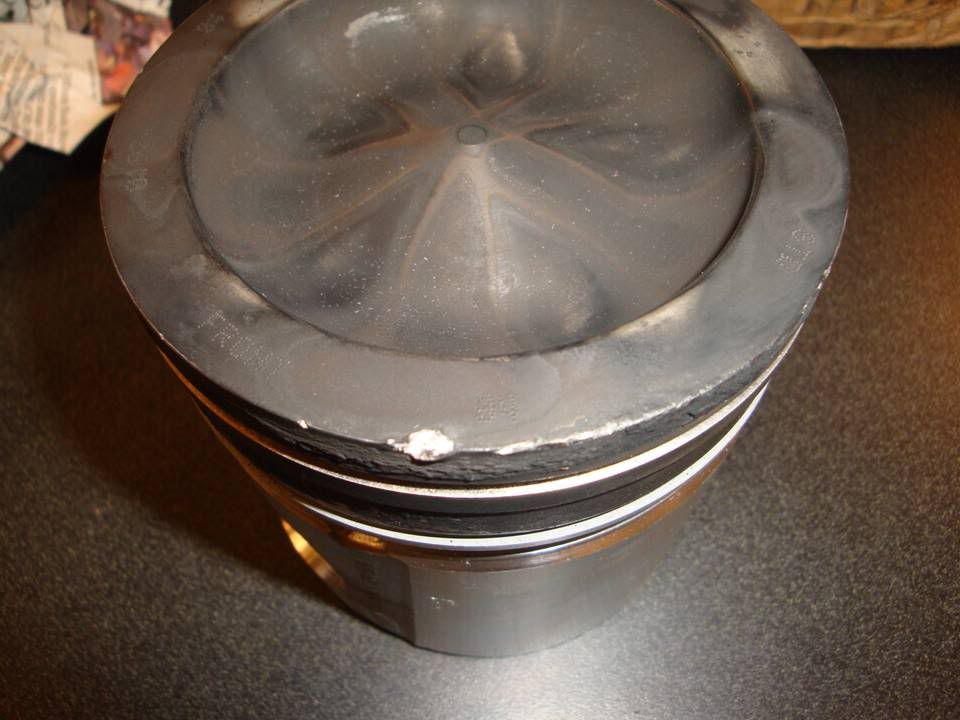
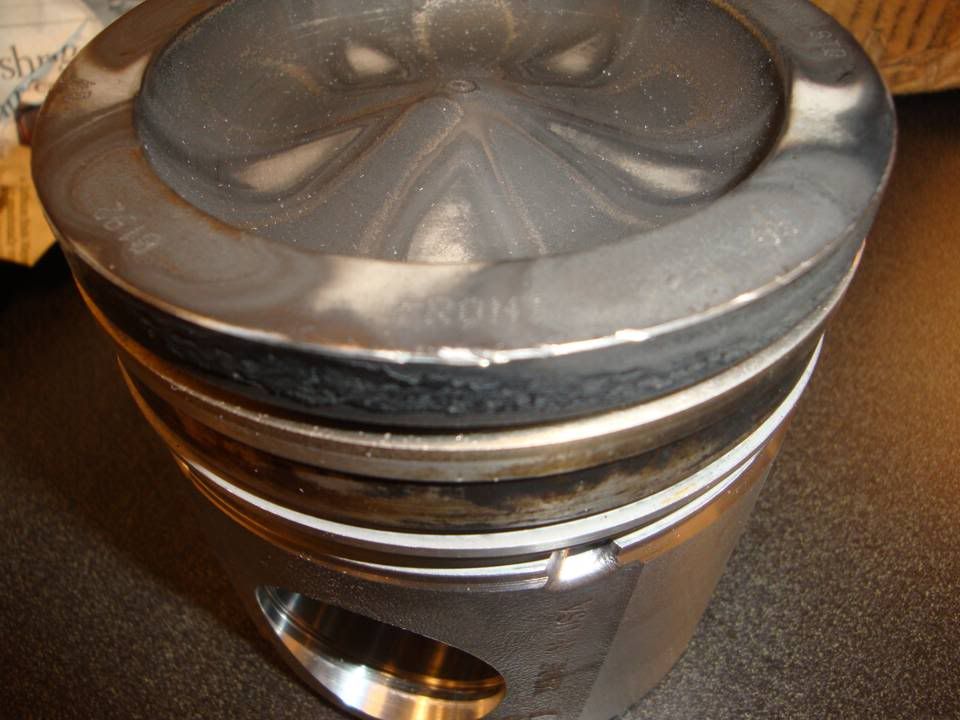
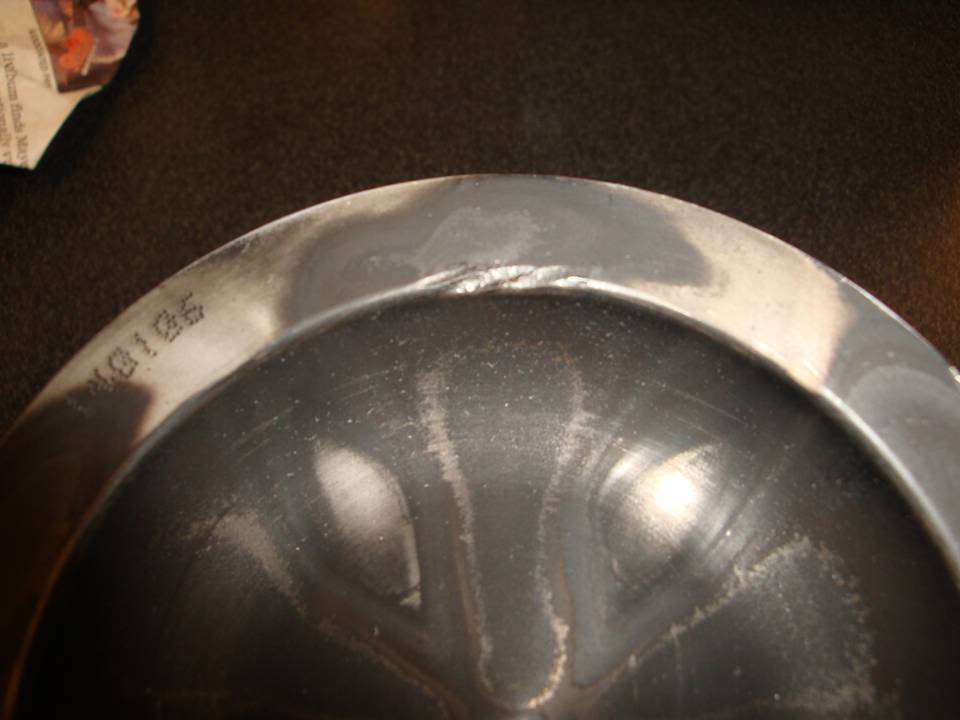
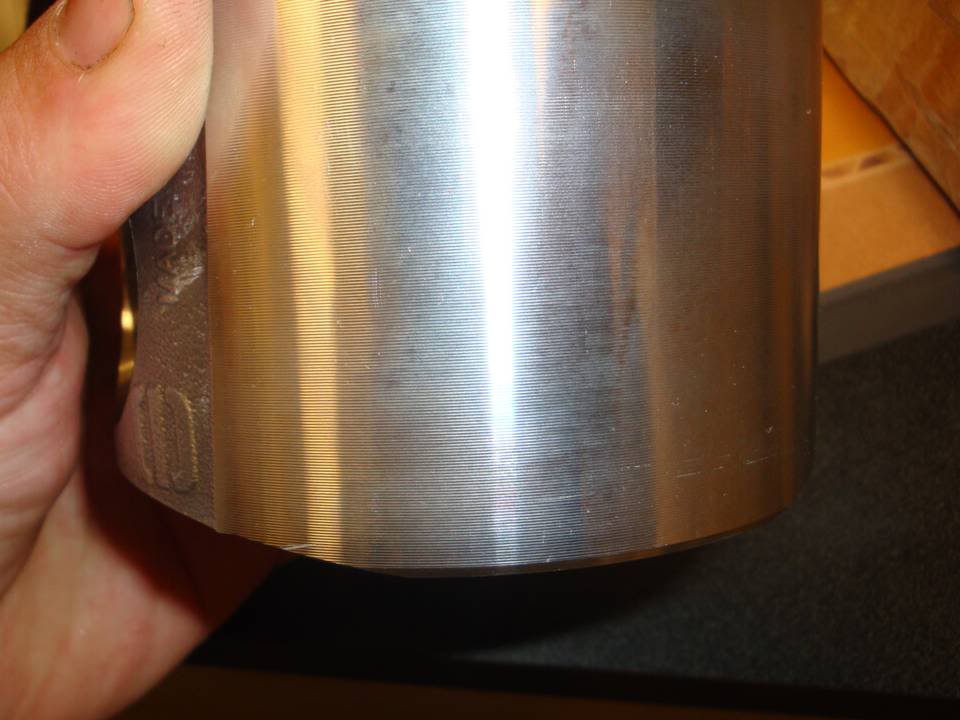
So, I got the pistons back from UPS and the claim is in.
Opened them up and took the photos for the claim right there at UPS.
Here is the condition they came back in.....gonna make some pretty cool paper weights.
Opened them up and took the photos for the claim right there at UPS.
Here is the condition they came back in.....gonna make some pretty cool paper weights.