


The Stealth BOMB'r is under the knife


Professional
Joined: Nov 2009
Posts: 129
Likes: 0
From: ontario, California
thats wat u get for goin with ups. lol, jk, i work for fedex. and id recommend it because we take care of our packages. lol, but thats pretty freakin amazing man. very clean. good job on all that. looking good.

Thread Starter
|
All Star
Joined: Dec 2008
Posts: 863
Likes: 0
From: East Alabama
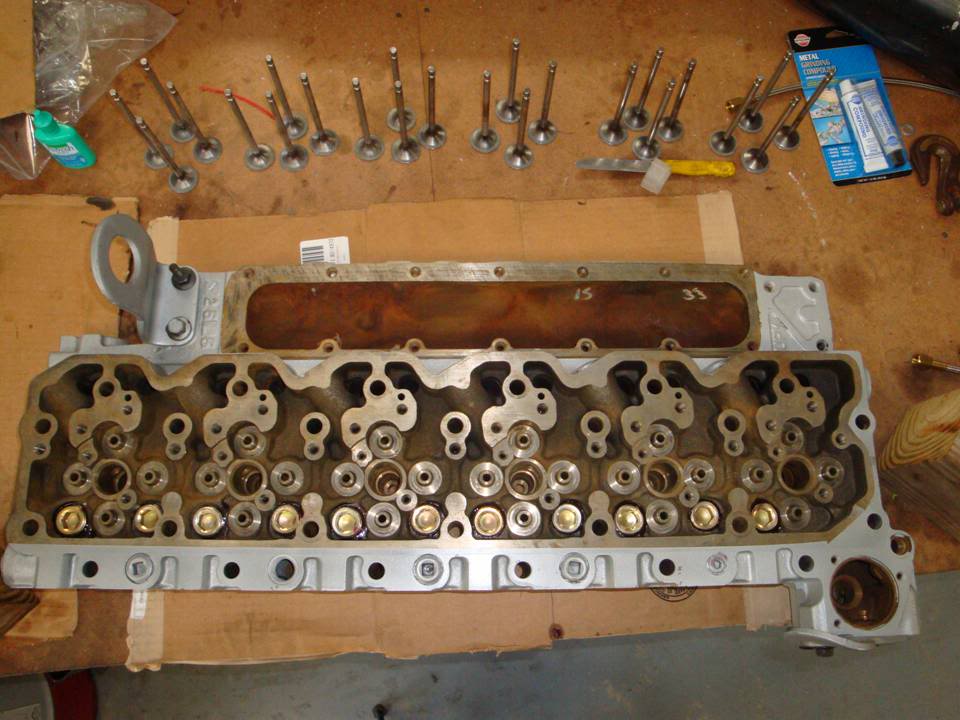
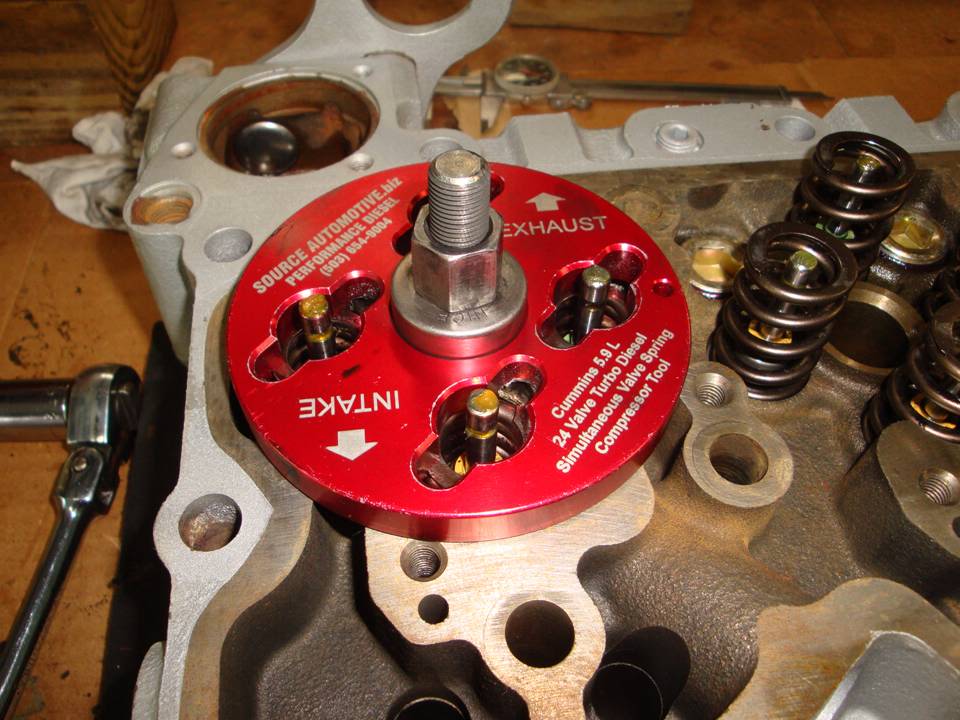
Got the valves all lapped today.
Gotta clean up the head tomorrow and then it'll go back together.
The valves came out MUCH better than what they were.
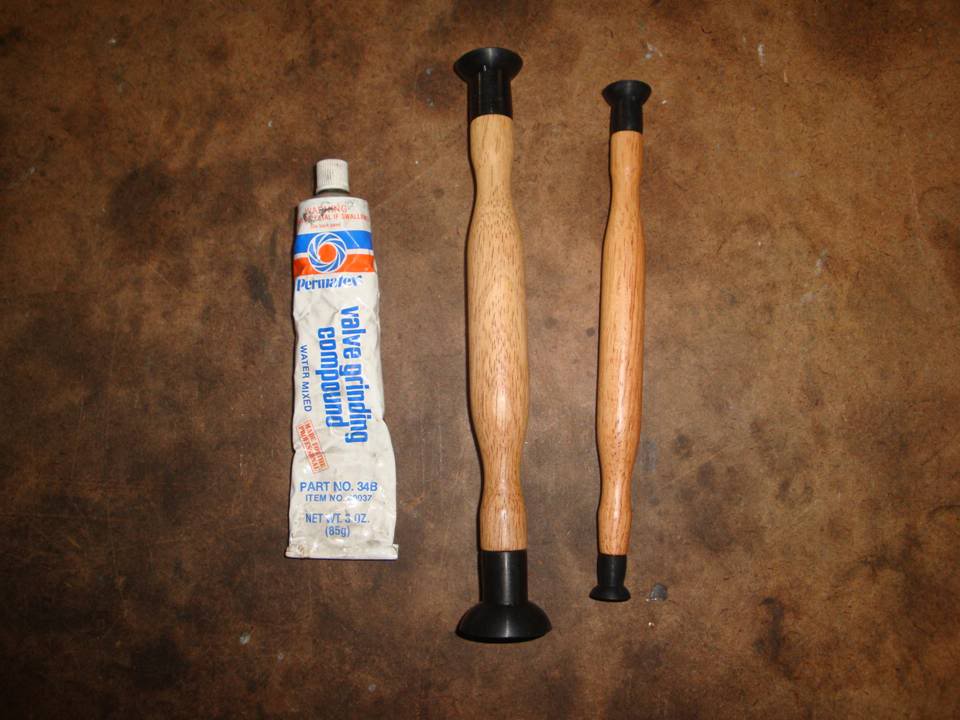
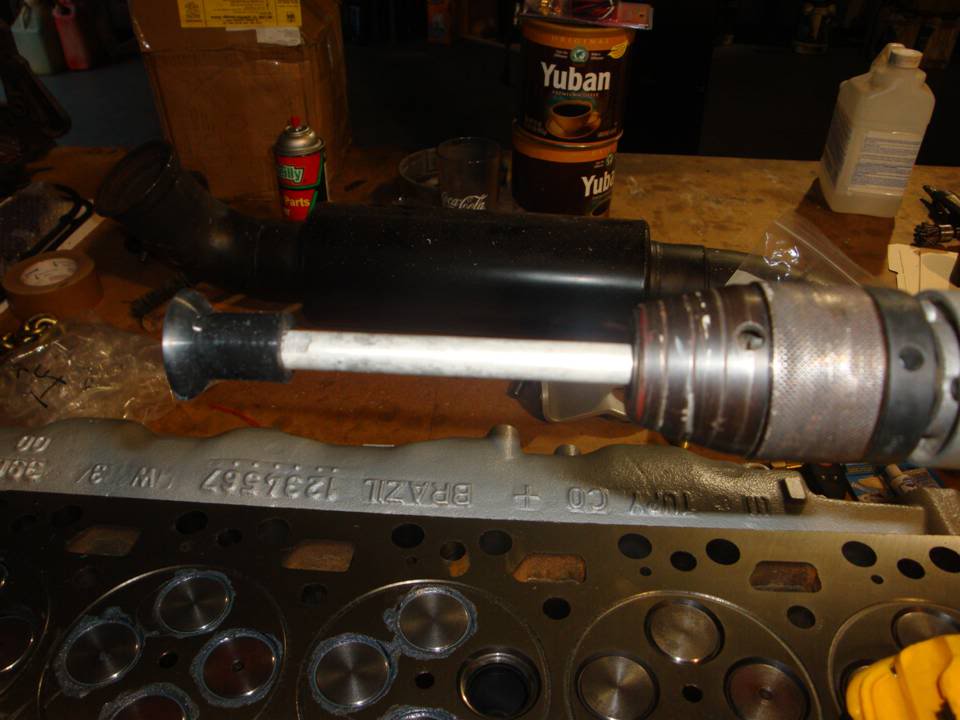
Some of the stuff you'll need.....
Before lapping.....

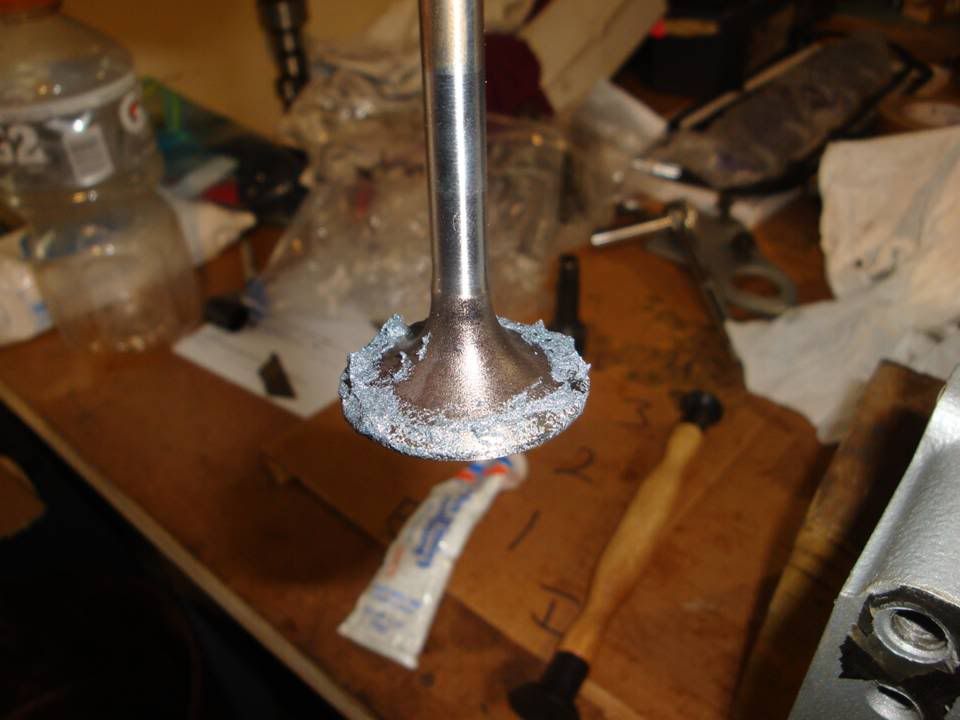
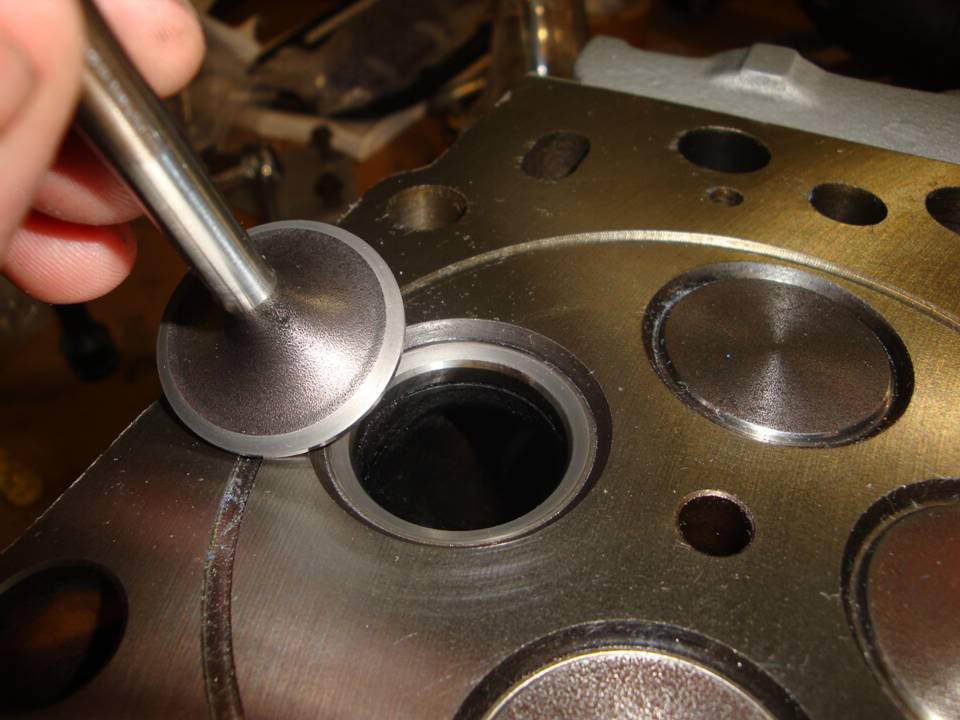
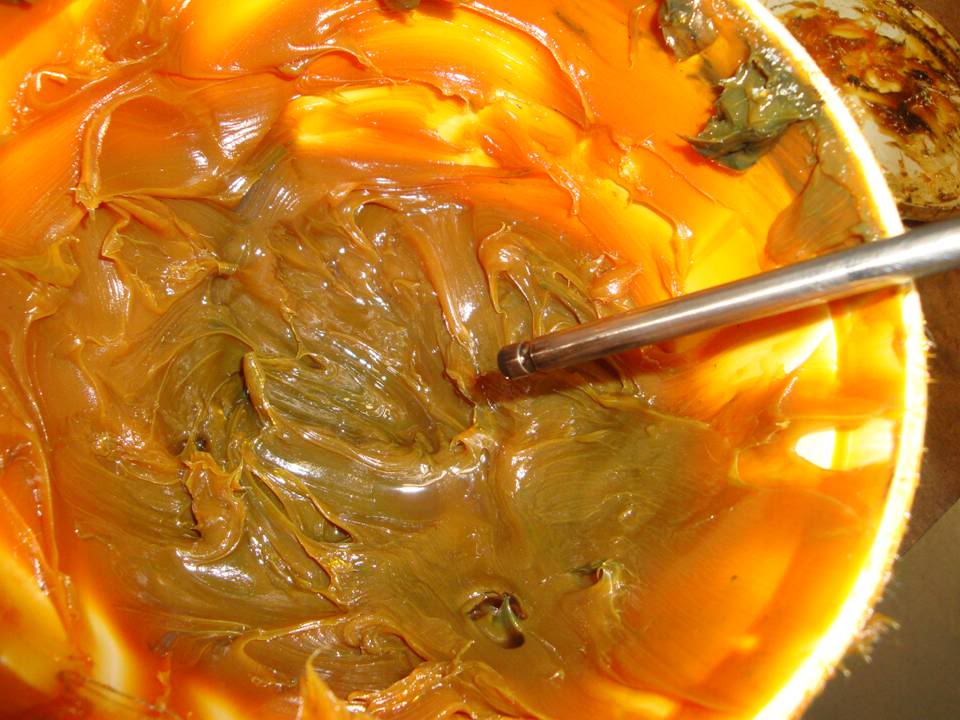
Liberal coating of valve grinding compound.....
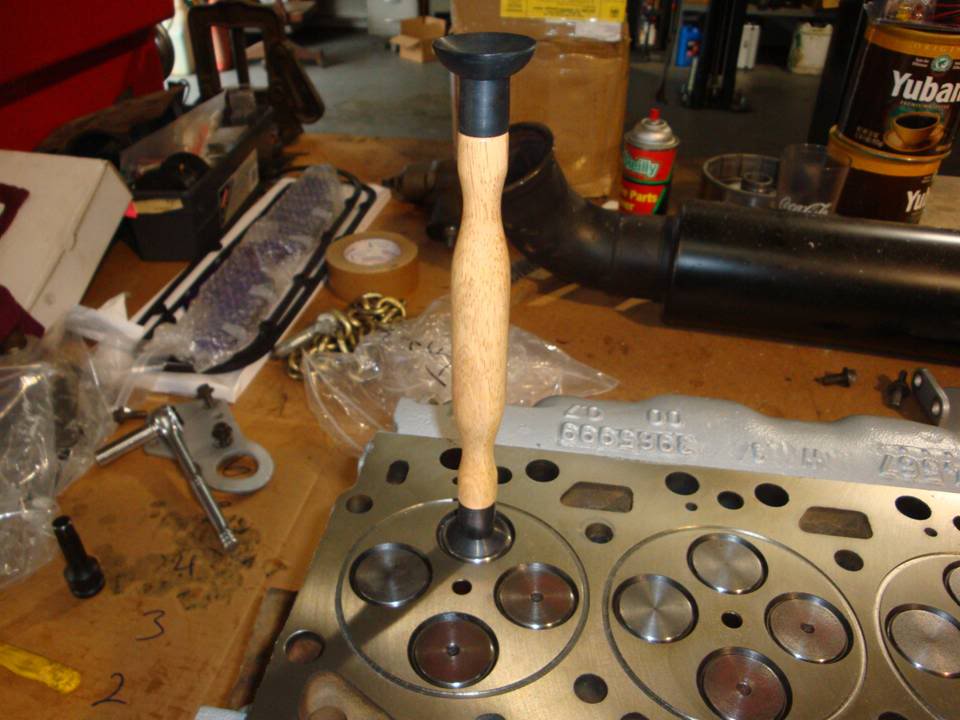
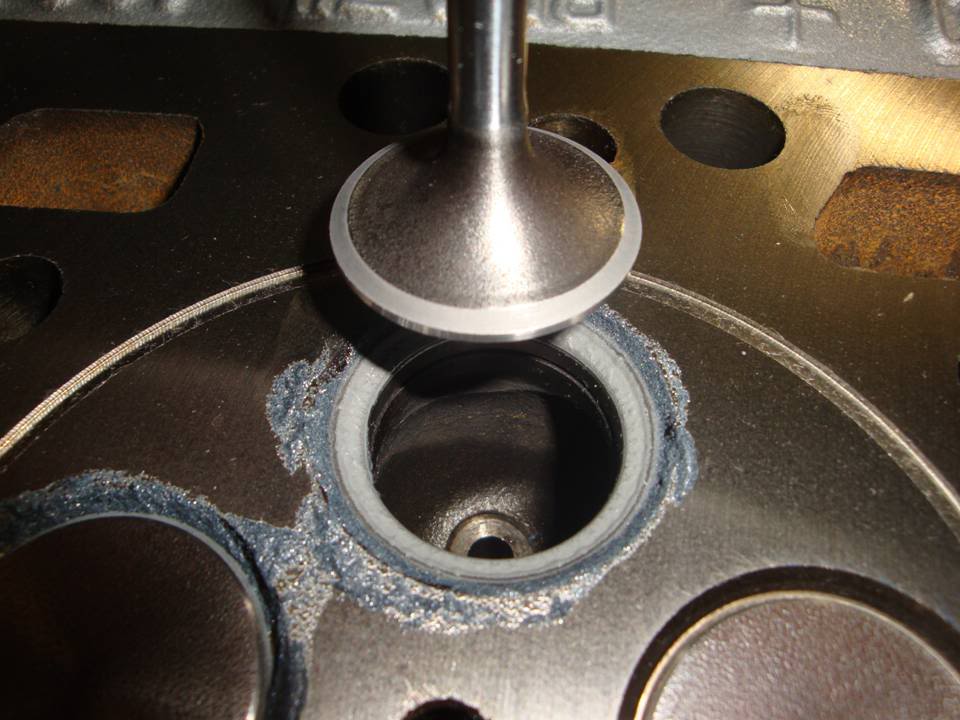
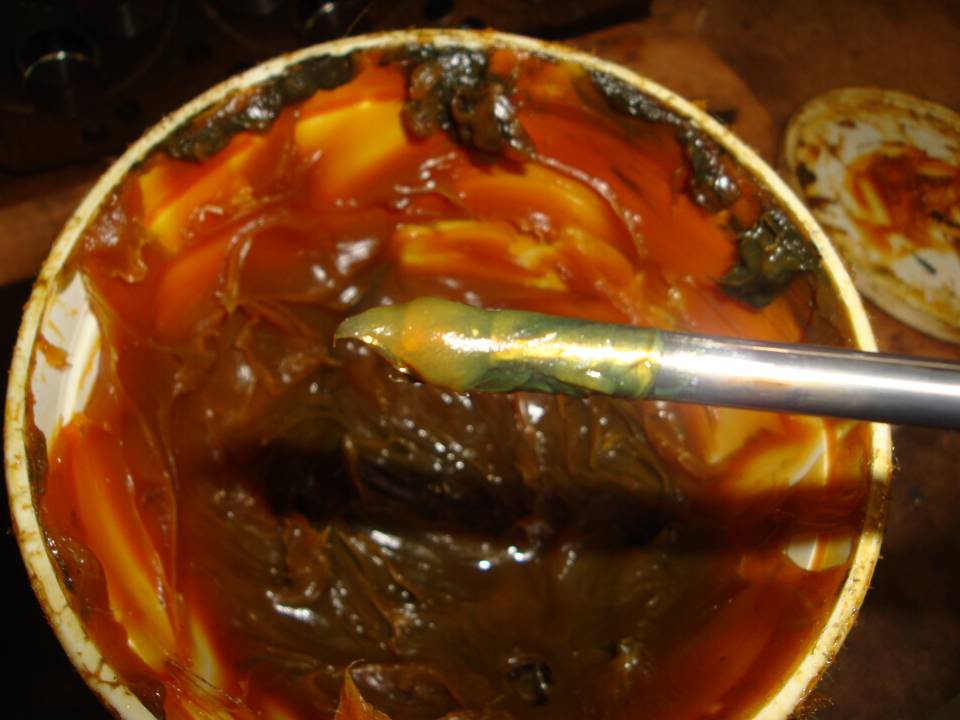
Lapped to each valve seat.....

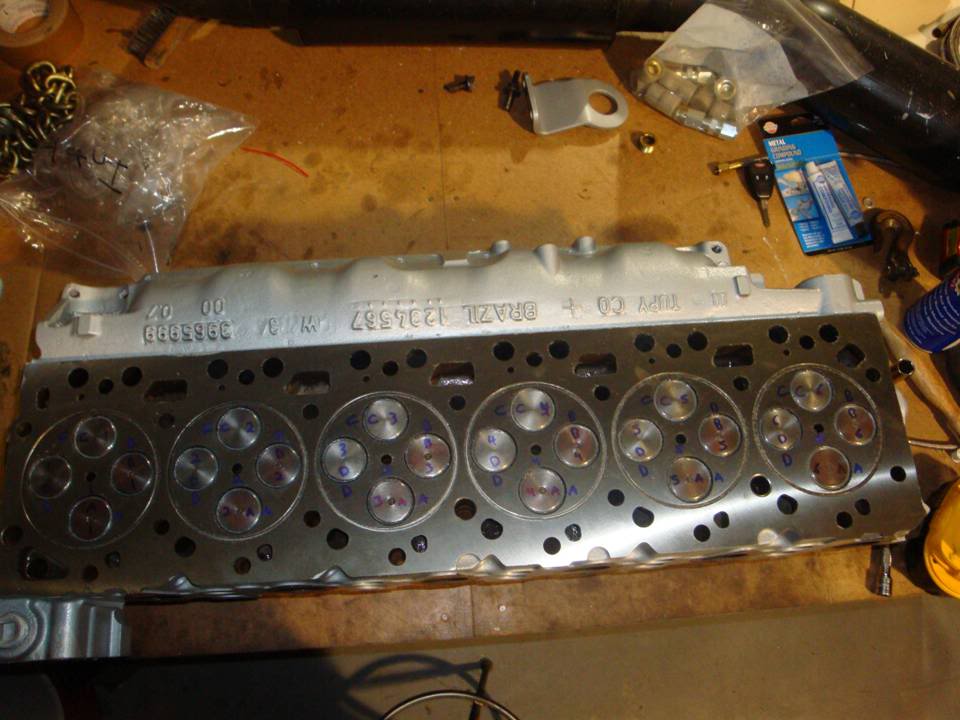
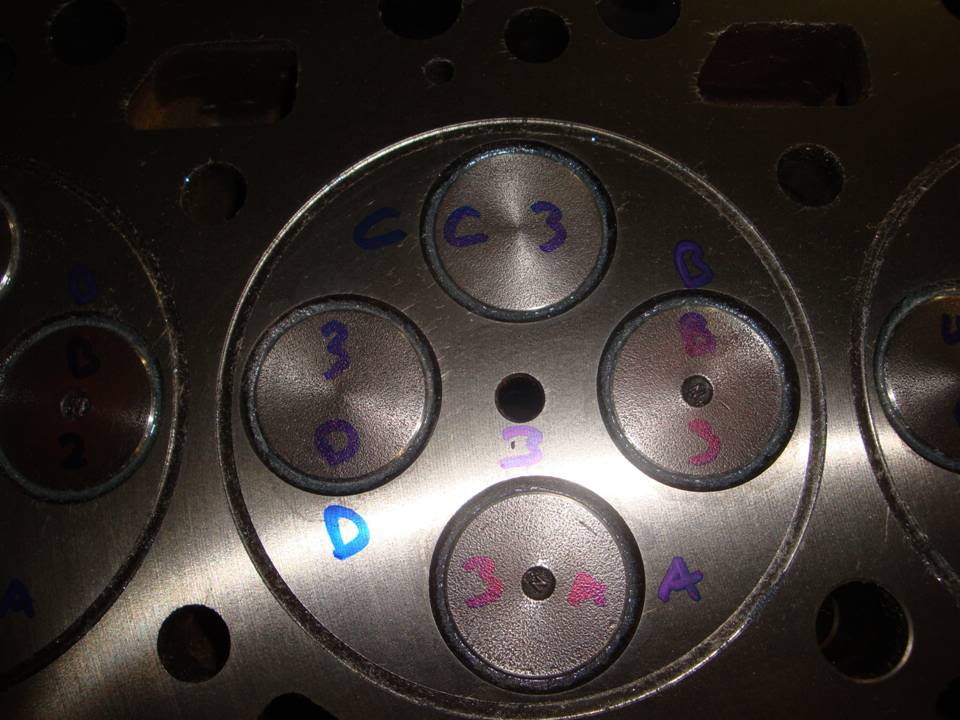
All valves done and marked for cleaning.
Gotta clean up the head tomorrow and then it'll go back together.
The valves came out MUCH better than what they were.
Some of the stuff you'll need.....
Before lapping.....
Liberal coating of valve grinding compound.....
Lapped to each valve seat.....
All valves done and marked for cleaning.
Thread Starter
|
All Star
Joined: Dec 2008
Posts: 863
Likes: 0
From: East Alabama
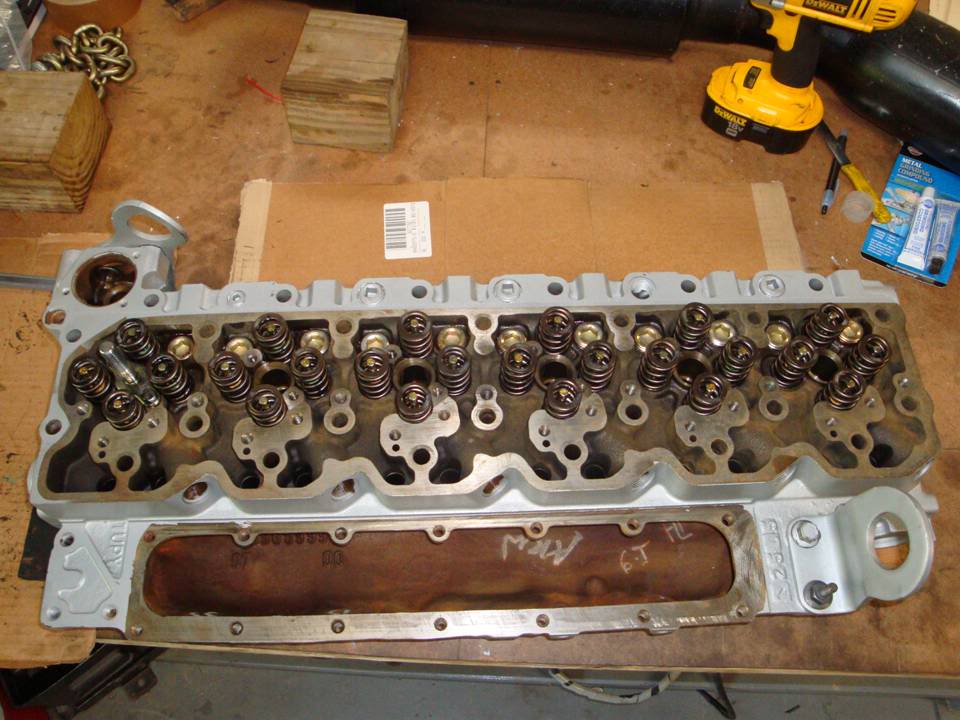
Okay, here's today's work.
Got the head all cleaned up, the new plugs are in, got the valves polished up a bit and got the head put back together.
New pipe plugs installed instead of the freeze plugs.....
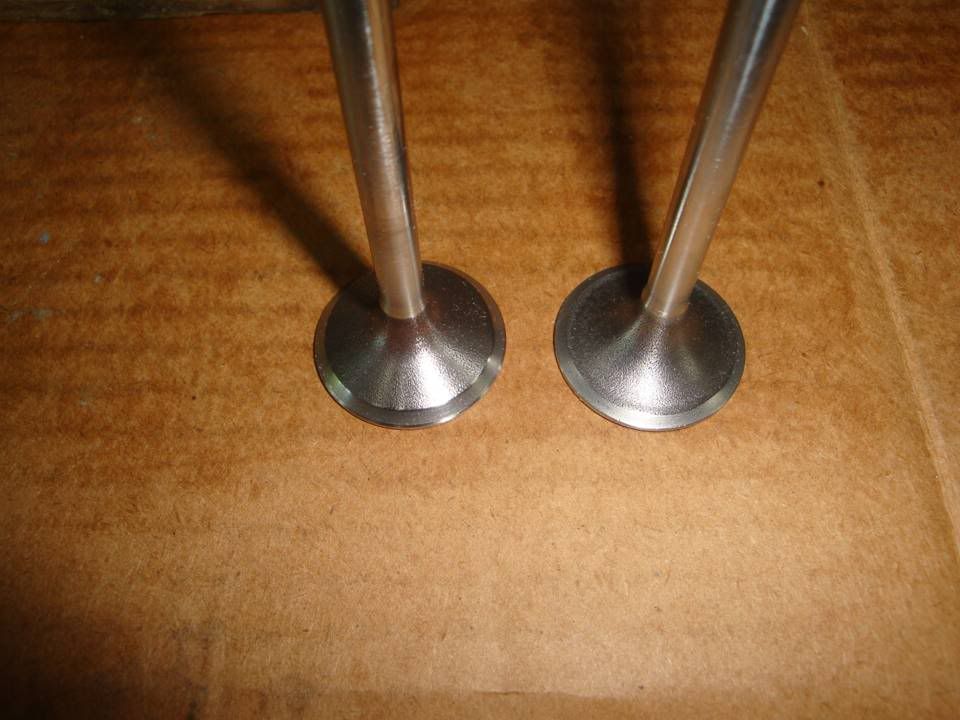
Intake and exhaust valves. The valves are the same size, but the design and seat angles are different.....

Grease the upper valve stem before inserting to lube the valve guides.....
Time to assemble the head. Yellow is your intake valves, green is the exhaust.....


Got the head all cleaned up, the new plugs are in, got the valves polished up a bit and got the head put back together.
New pipe plugs installed instead of the freeze plugs.....
Intake and exhaust valves. The valves are the same size, but the design and seat angles are different.....
Grease the upper valve stem before inserting to lube the valve guides.....
Time to assemble the head. Yellow is your intake valves, green is the exhaust.....
Thread Starter
|
All Star
Joined: Dec 2008
Posts: 863
Likes: 0
From: East Alabama
So, today was "Start Working on Sexying Things Up" Day.
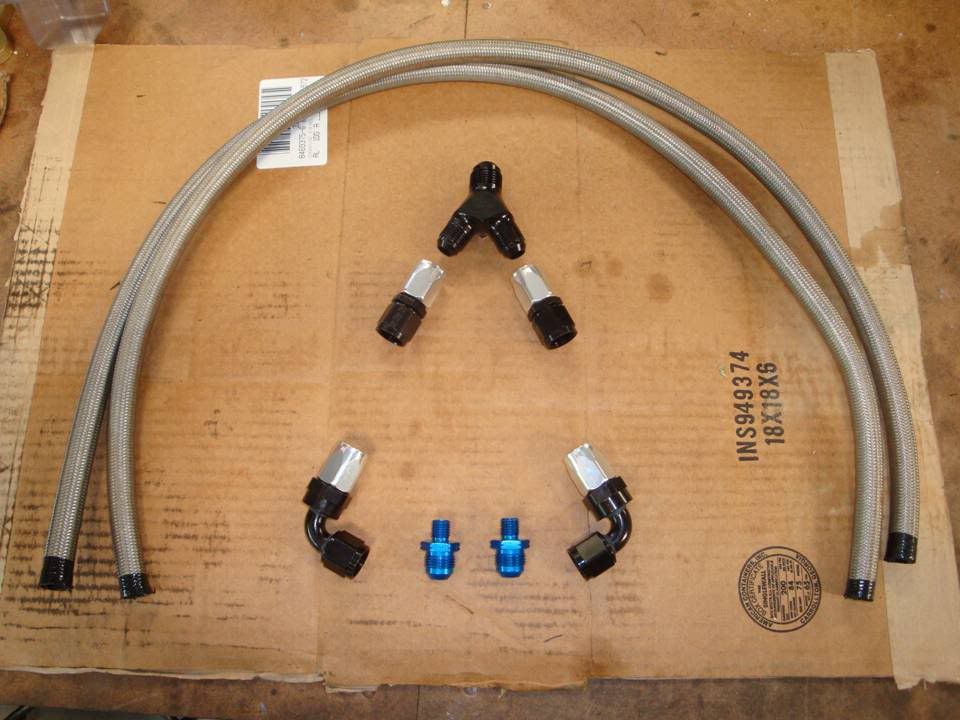
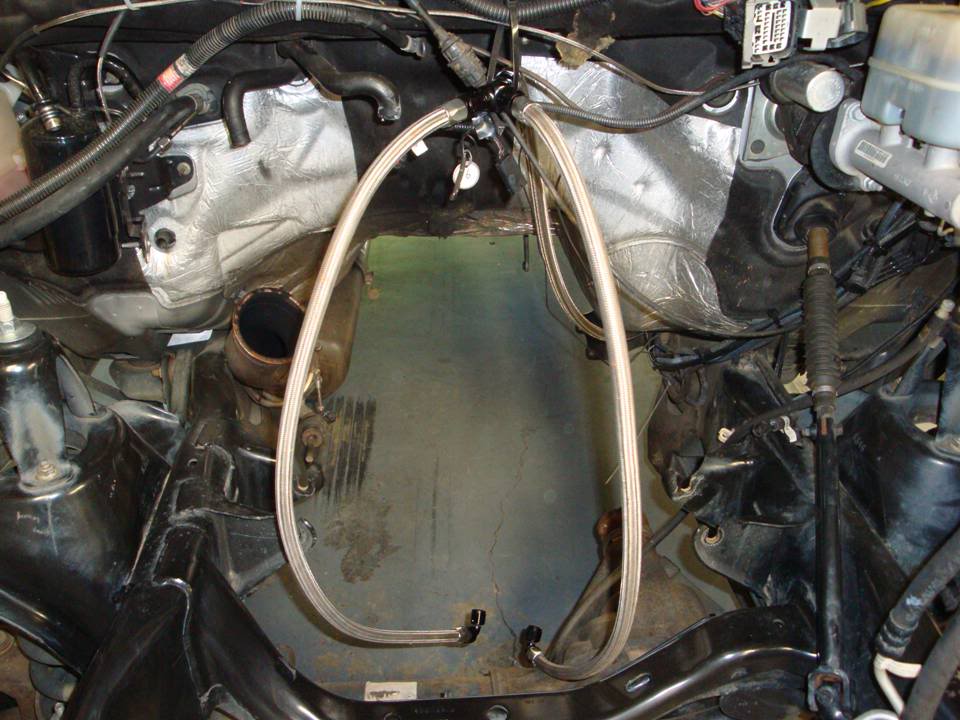
Got the fuel lines completed, for the most part. Will need to cut them to final length once I get the engine reassembled and can get the -8's to CP3's routed how I want them.
Once those were done, I started looking for all the ugly parts that I want cleaned up and painted or polished.
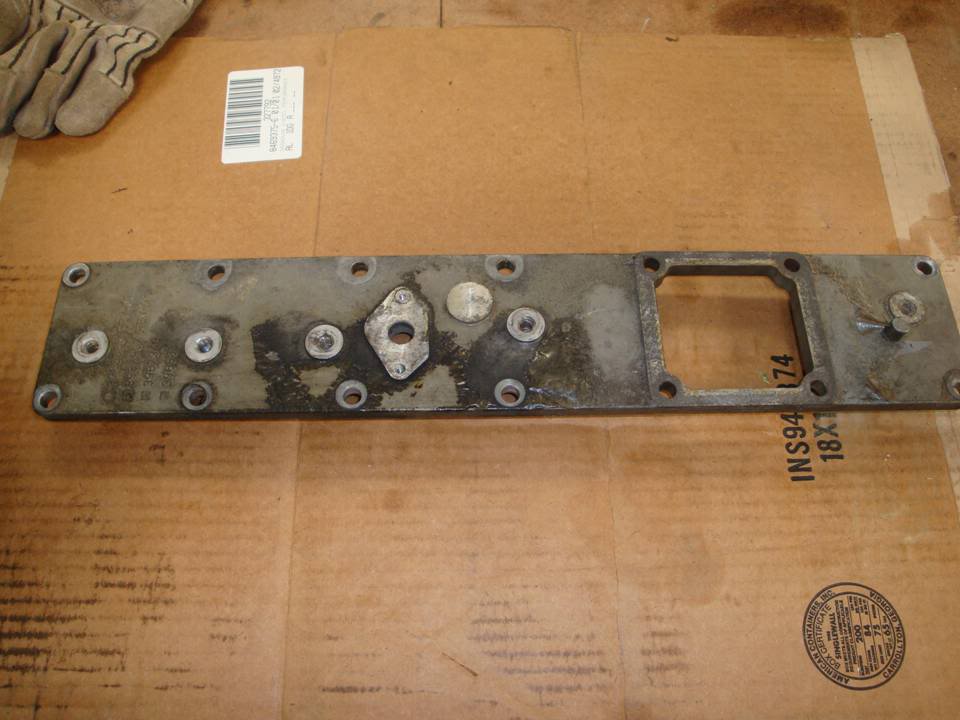
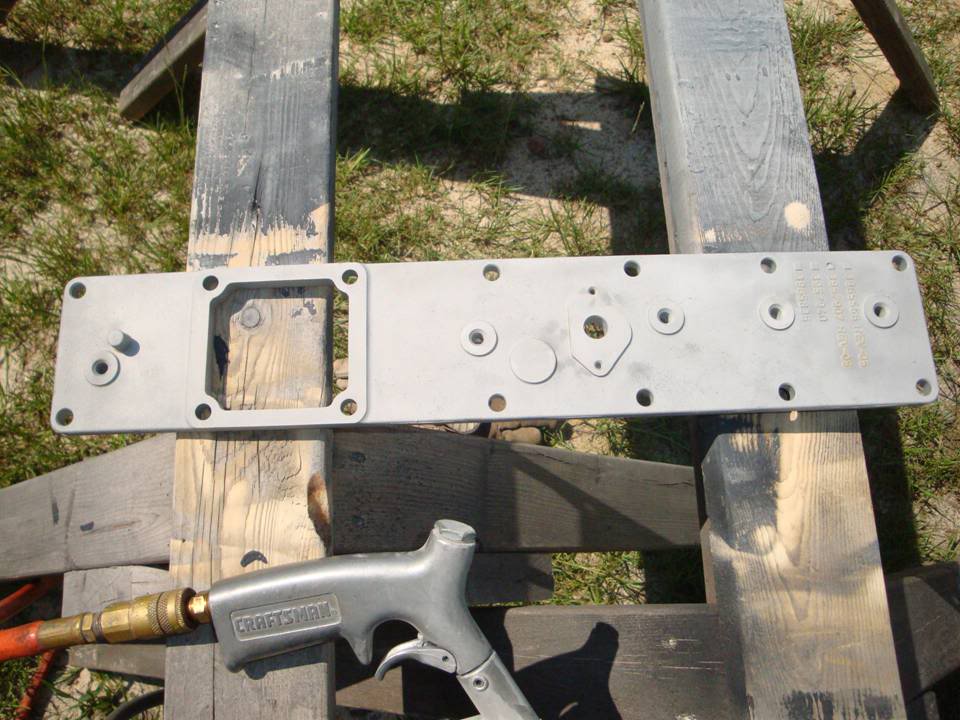
Started with the manifold cover. Blasted it and hit it with satin black.
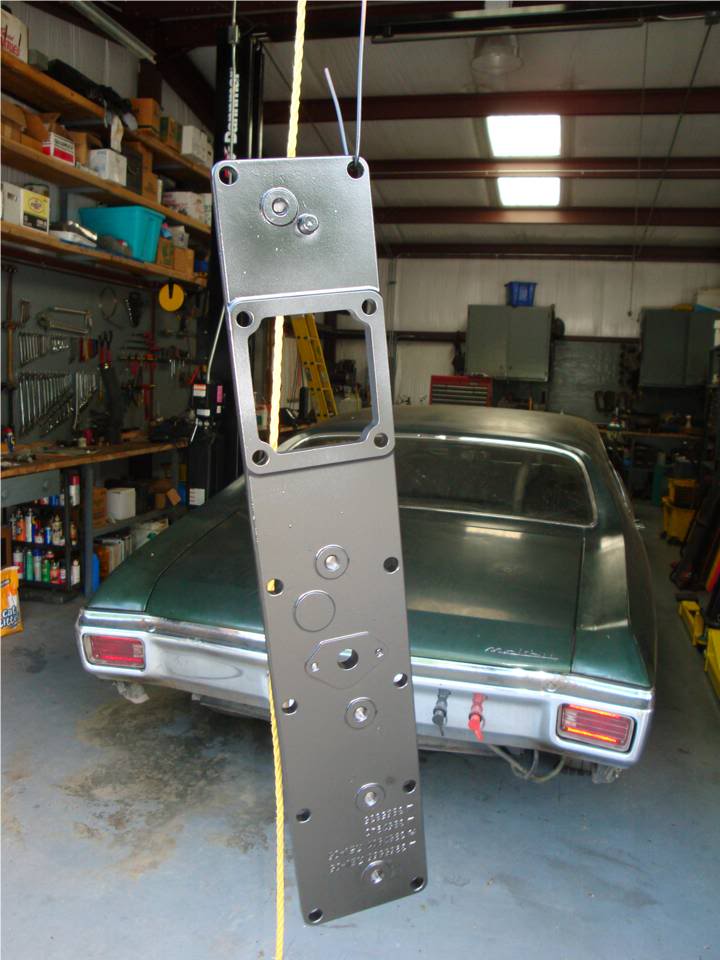
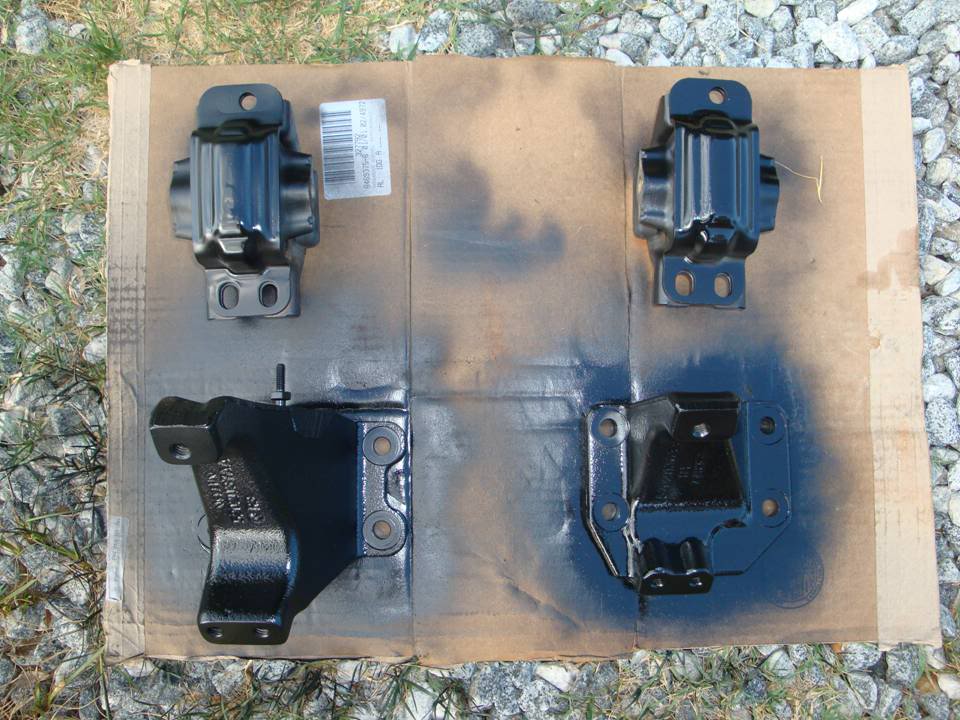
Next were the motor mounts. Those have been an eye sore for as long as I can remember. So, they got blasted and painted too.
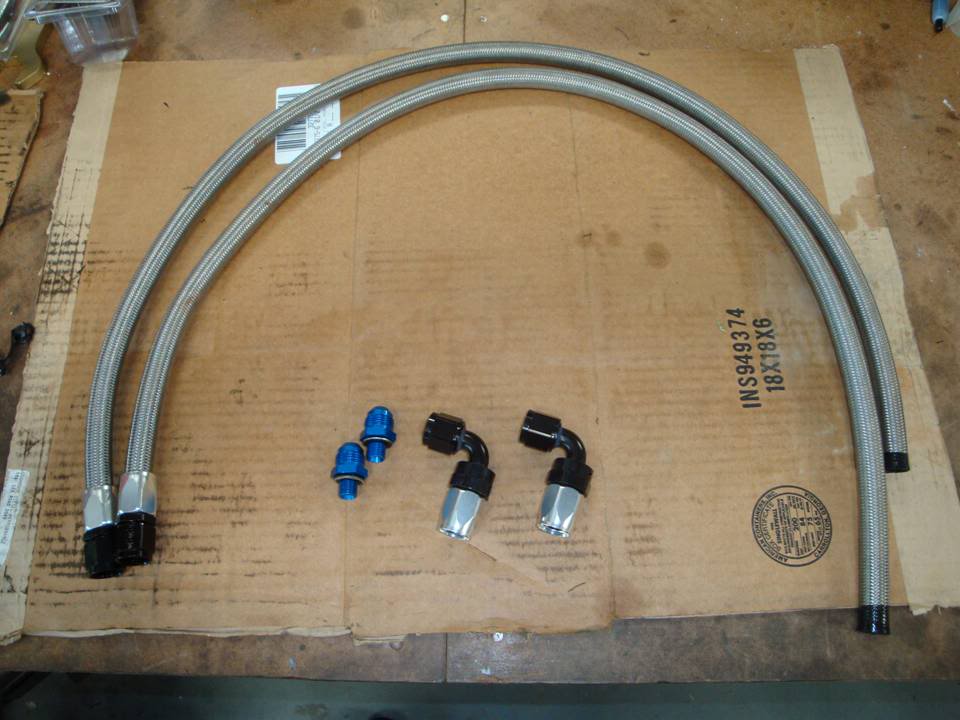
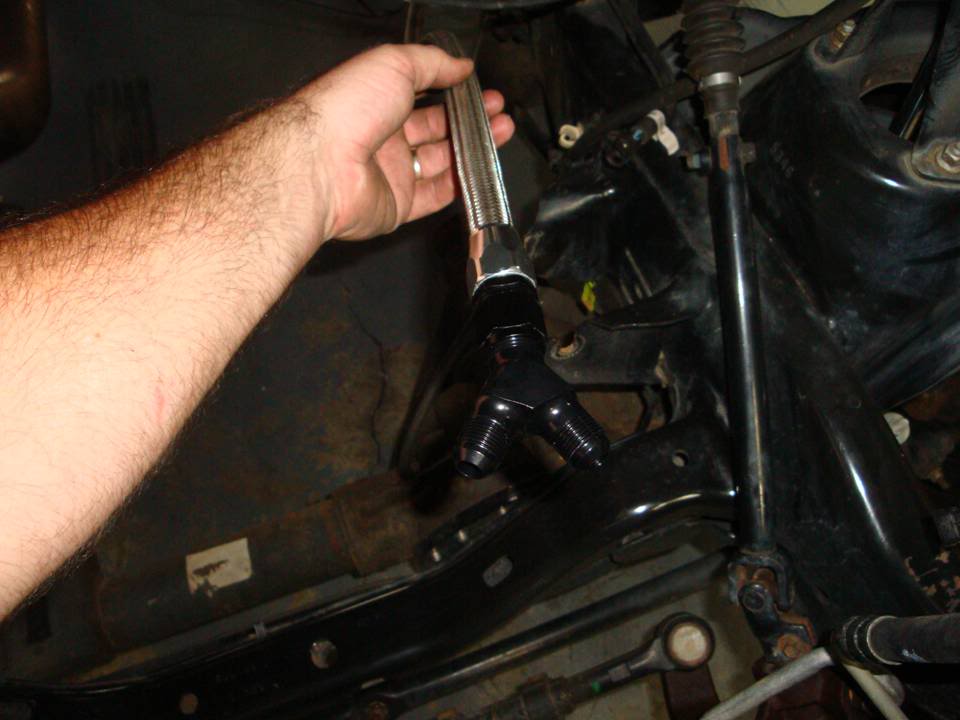
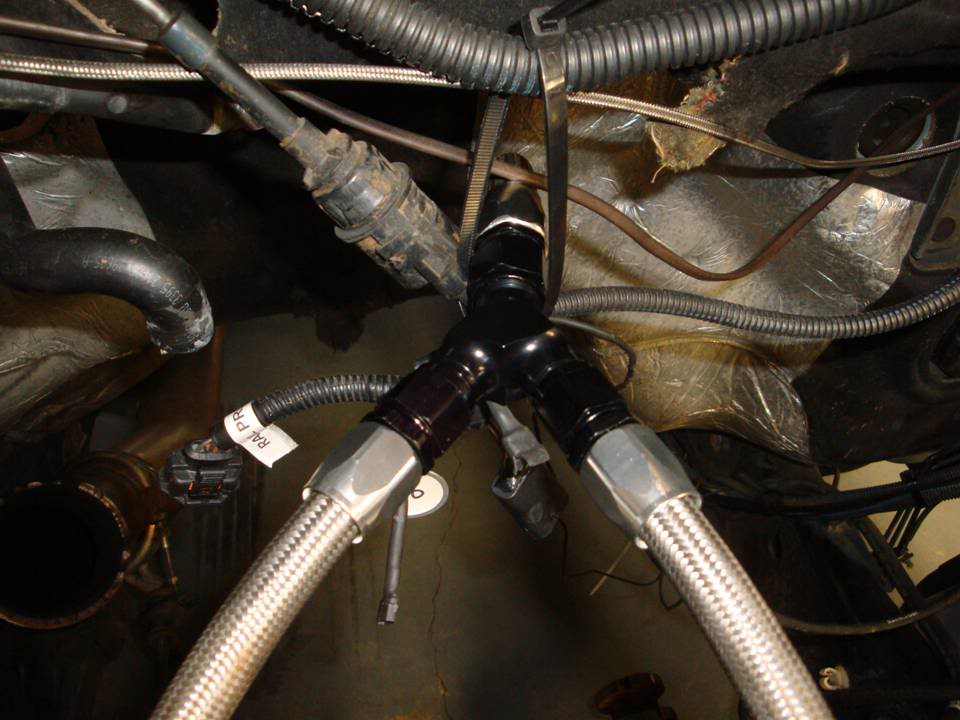
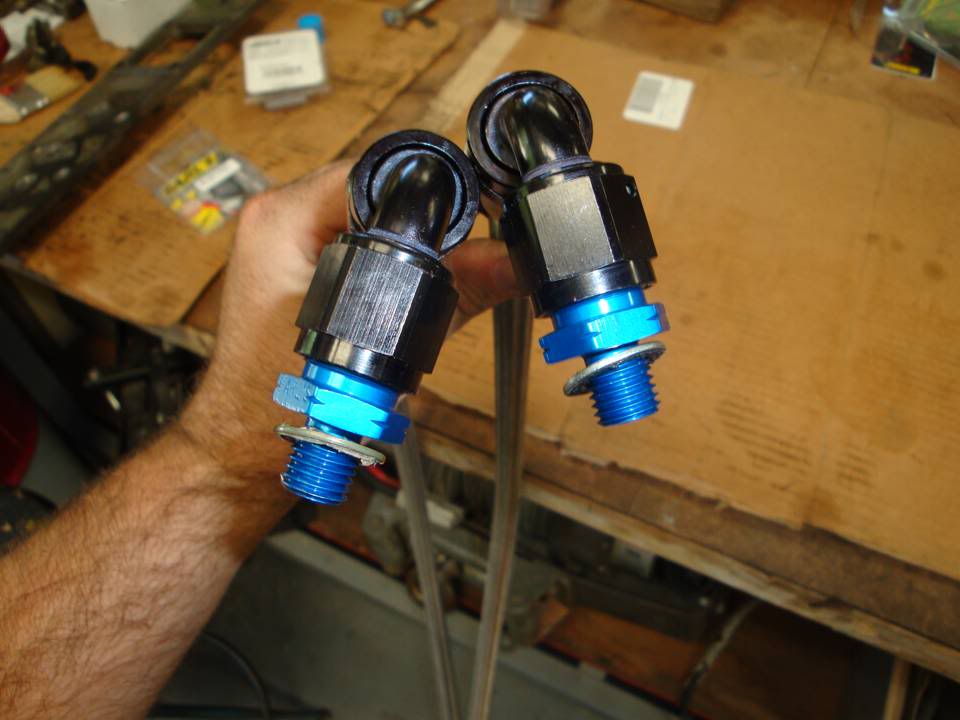
Here's the -10 fuel supply line to the FASS.....


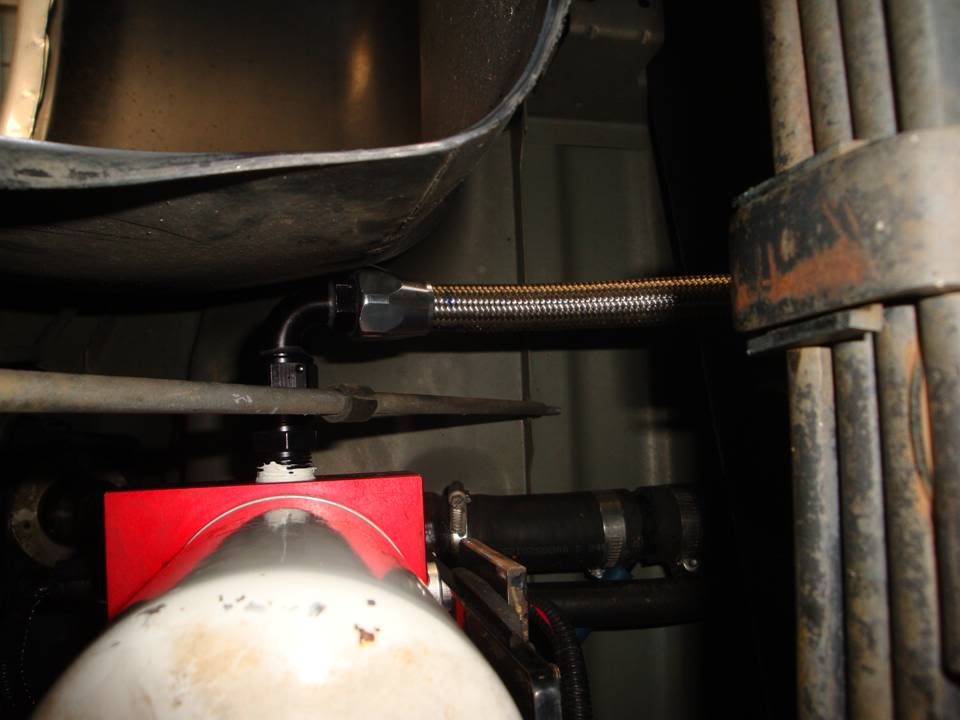
Here's where -10 ends and splits to -8's to the pumps. These are not yet cut to final length. the -10 will be shortened and the -8's will be cut to final length once the pumps are back on the motor.....
Now came the touching up the ugly parts.....


Got the fuel lines completed, for the most part. Will need to cut them to final length once I get the engine reassembled and can get the -8's to CP3's routed how I want them.
Once those were done, I started looking for all the ugly parts that I want cleaned up and painted or polished.
Started with the manifold cover. Blasted it and hit it with satin black.
Next were the motor mounts. Those have been an eye sore for as long as I can remember. So, they got blasted and painted too.
Here's the -10 fuel supply line to the FASS.....
Here's where -10 ends and splits to -8's to the pumps. These are not yet cut to final length. the -10 will be shortened and the -8's will be cut to final length once the pumps are back on the motor.....
Now came the touching up the ugly parts.....

Professional
Joined: May 2009
Posts: 205
Likes: 0
From: Upstate NY
very nice build u have here.I look forward to seeing the progress.One question for ya though,doesnt the fuel line under the tank worry ya about hitting something and breaking it off or bending it?Im sure its a very remote possibility of it happening,but what a mess if it did happen.
Thread Starter
|
All Star
Joined: Dec 2008
Posts: 863
Likes: 0
From: East Alabama
In parts, for this part of the build only.....I'm generalizing as I haven't actually added it up yet.
These are all approximate numbers.
Connecting rods, lower gasket kit and upper gasket kit (minus the head gasket).....$1200 - $1300.
Main Studs.....$300.
Head work.....$300 in shipping, $400 in machining, gasket and fire ring set $300, $100for the extra pipe tap and steel pipe plugs for the freeze plugs.
Fluidampr.....$450.
Flex-A-Lite Fans.....$500.
Stainless hoses and fittings for fuel system and trans.....$400.
Batteries, cables and connectors.....$500.
Piston coating.....$78 per piston.
Full rebuild kit to freshen trans.....$600.
Machine work to balance crank, rods, pistons and flex plate.....$600.
Labor......$55 hr x 6 hrs per day x 34 days.....$11,220 so far.
I know I'm forgetting stuff.
That's not including the approximately $25K in motor and trans parts + the hundreds of hours in previous labor before this stage of the truck.
Last edited by Coal Train; Jul 5, 2010 at 11:35 AM.