

2011 Mineral Gray Durango Crew V6

Thread Starter
|
Professional
Joined: Jul 2012
Posts: 146
Likes: 1
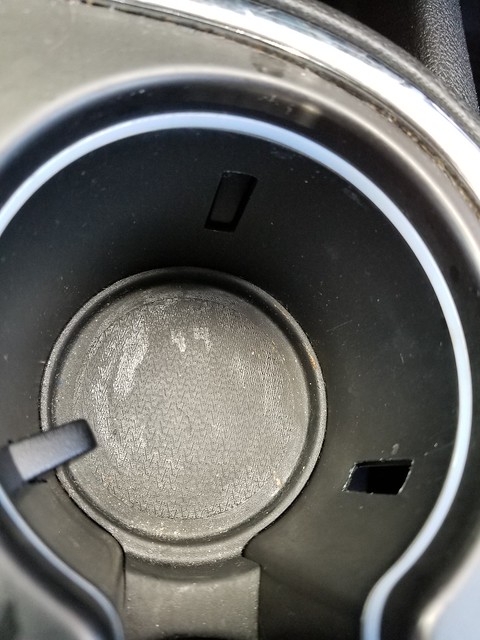
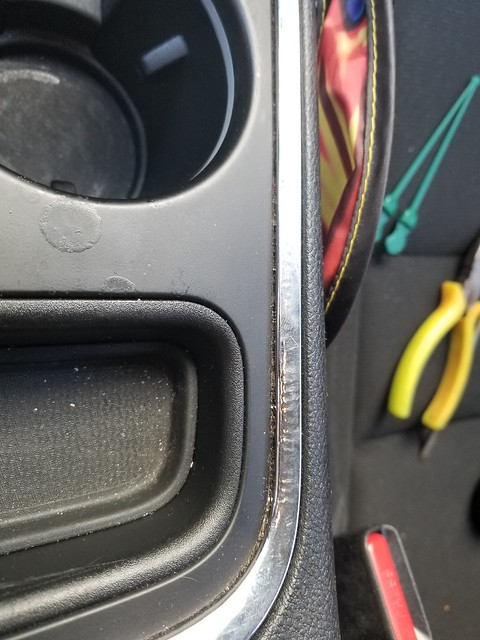
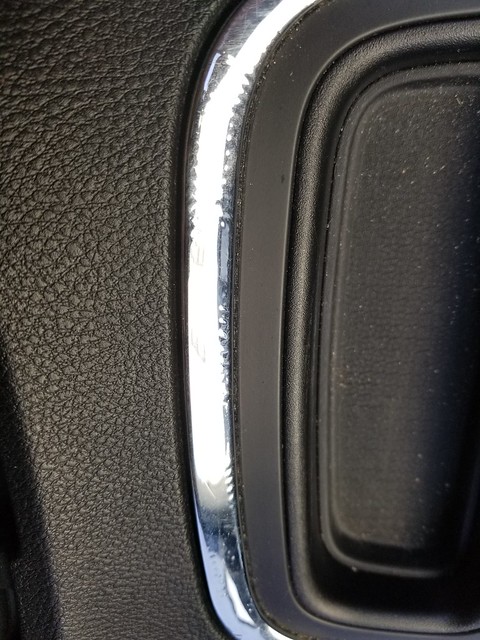
It was time to swap out the front console piece because I've had an aggravating broken forward cup holder. The three plastic pieces that help hold smaller items had two that are broken, one completely missing and the other that would just stay recessed. I'm pretty sure the cause was a Mountain Dew 20oz bottle, the shape of those are horrible and can get in a position where the plastic pieces won't let the bottle out. I came across a used center console piece which was cheaper than buying the ~$70 cup holder assembly. This also worked out as the chrome on the center surround was been separating from the plastic and has this rippled look. The new piece didn't have this issue, so it looks a bit nicer.
Here's the broken cup holder and the rippling chrome:
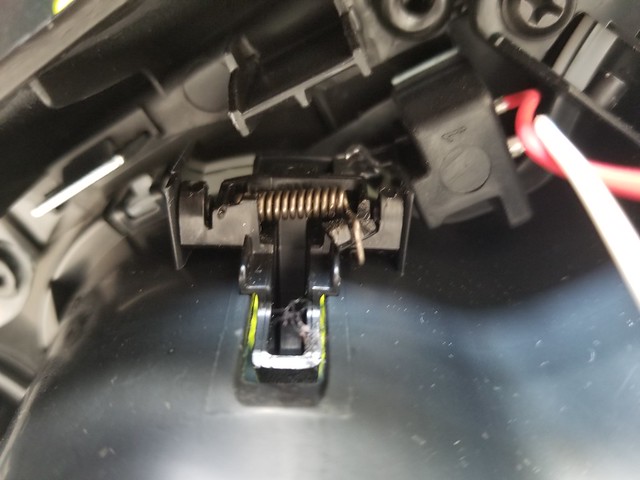
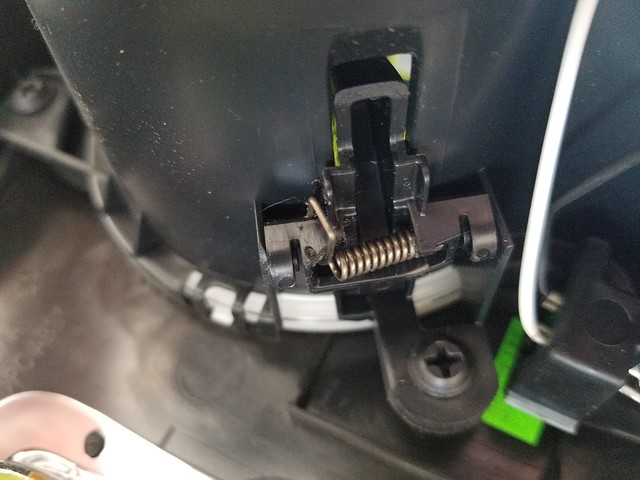
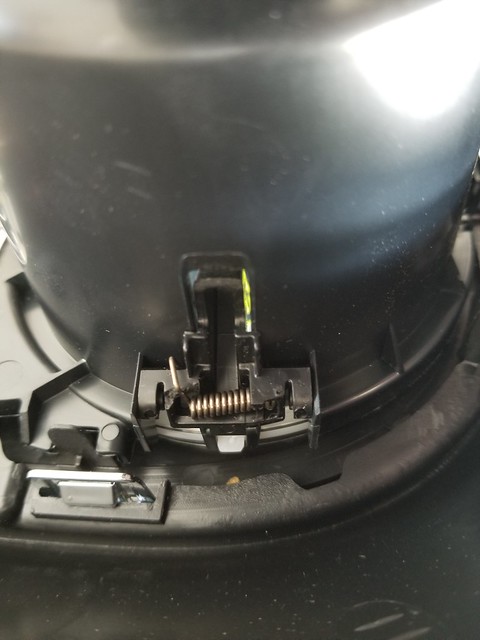
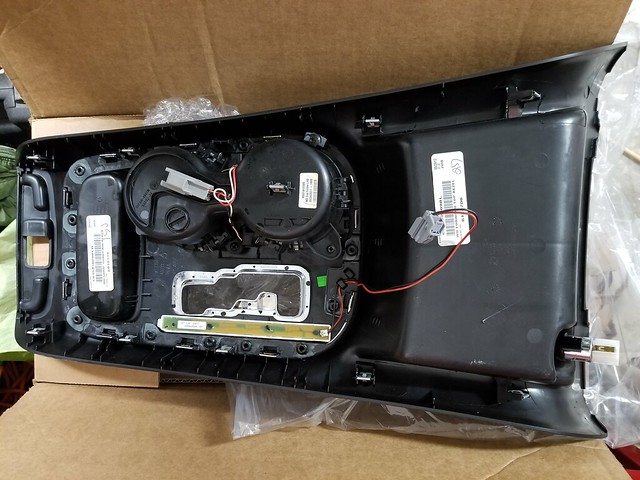
After pulling the old console out and looking at the plastic pieces and the springs, there was only one piece that was not damaged. Overall this design doesn't seem ideal and the plastic material is not suited since almost every single one was broken where the spring contacts it. First picture is the only good one, the rest are the braking/broken/missing ones:


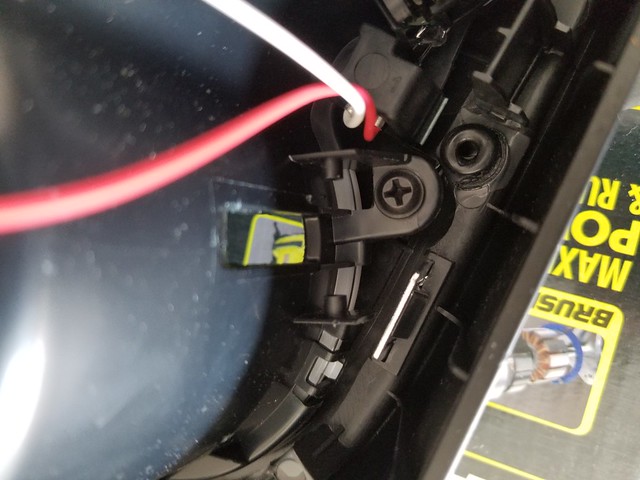
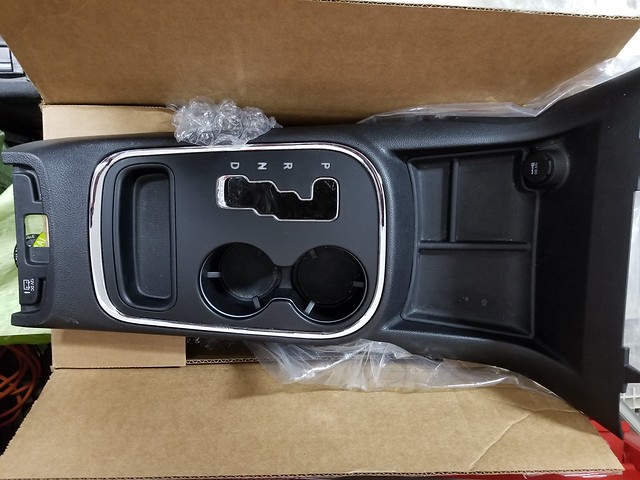
The used console I picked up is in great shape, the pieces and springs are all good. Here's what I picked up and installed:
Here's the broken cup holder and the rippling chrome:
After pulling the old console out and looking at the plastic pieces and the springs, there was only one piece that was not damaged. Overall this design doesn't seem ideal and the plastic material is not suited since almost every single one was broken where the spring contacts it. First picture is the only good one, the rest are the braking/broken/missing ones:
The used console I picked up is in great shape, the pieces and springs are all good. Here's what I picked up and installed:
Thread Starter
|
Professional
Joined: Jul 2012
Posts: 146
Likes: 1
Following up on the center console. The first time night hit I found out that not all of the trim lighting worked on the console I put in. The cup holder lit up, but the front holder was extremely faint, and even the rear didn't seem as bright. So I had to pull the console out and start swapping over hardware.
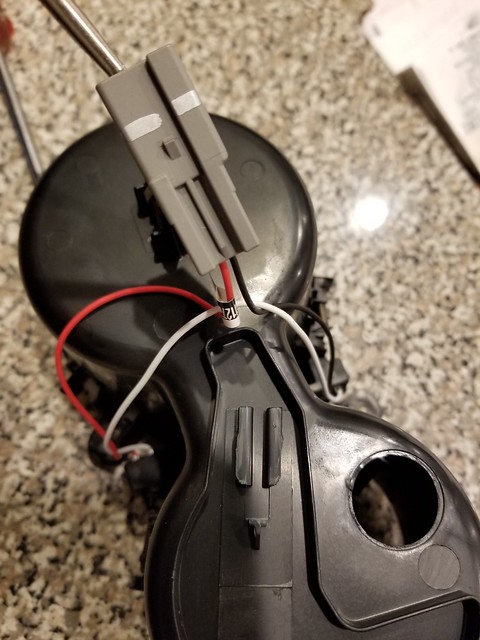
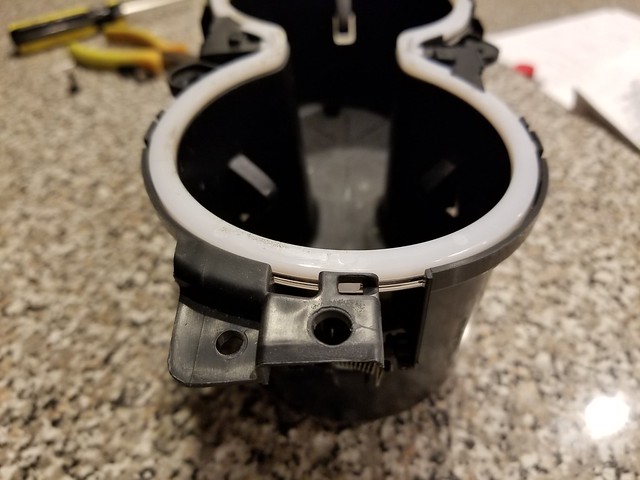
The cup holder is held on to the console by 4 screws, easy to take off. Once off the connector for the lights is on the bottom, it was easy to push back, then lift the opening up as you pull it to clear the holder and it comes off:
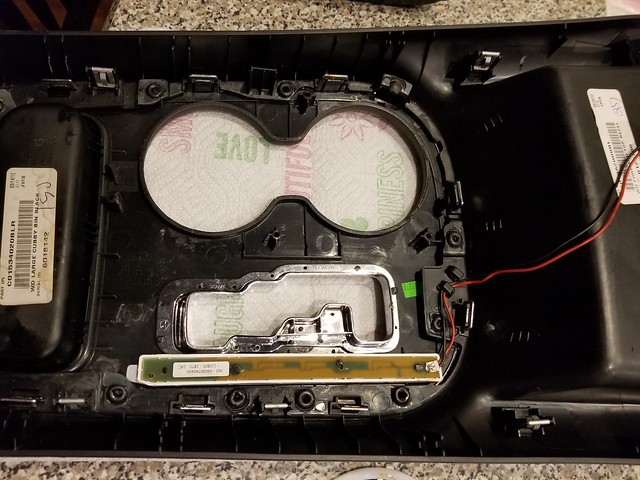
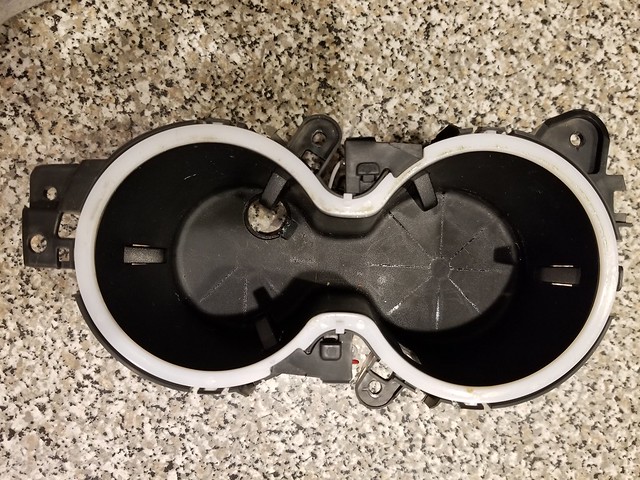
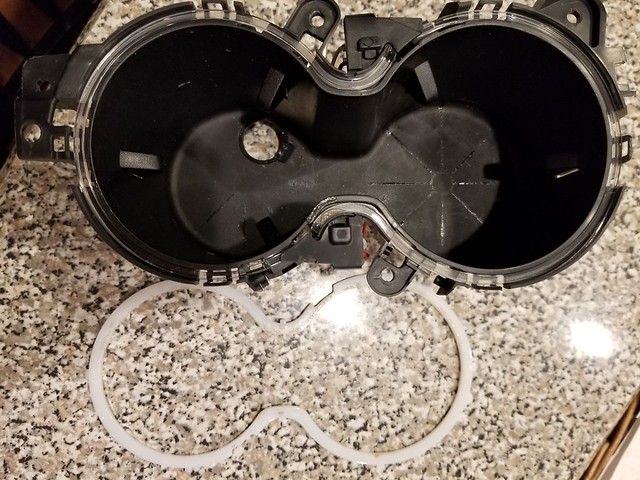
Next you need to take off the white plastic trim that shows the light. There are 6 retainers around the cup holder that hold this in place. It's easy to remove it from these by hand:

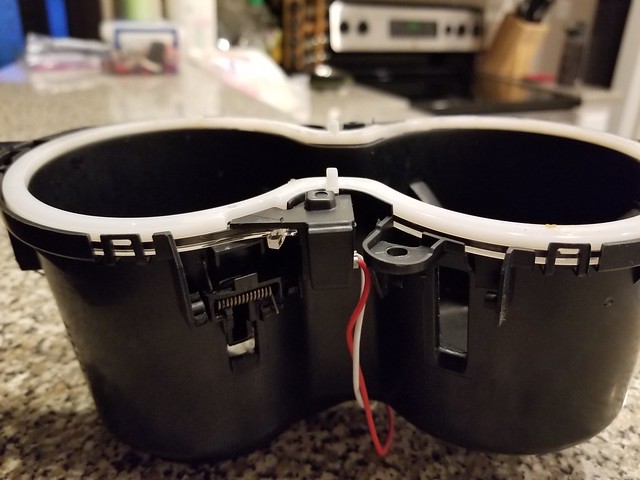
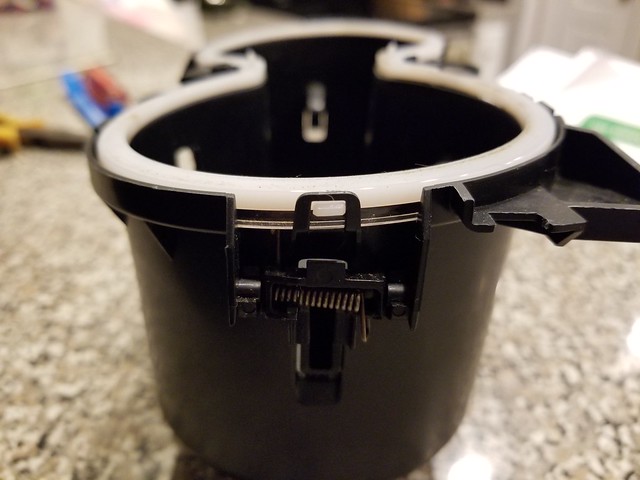
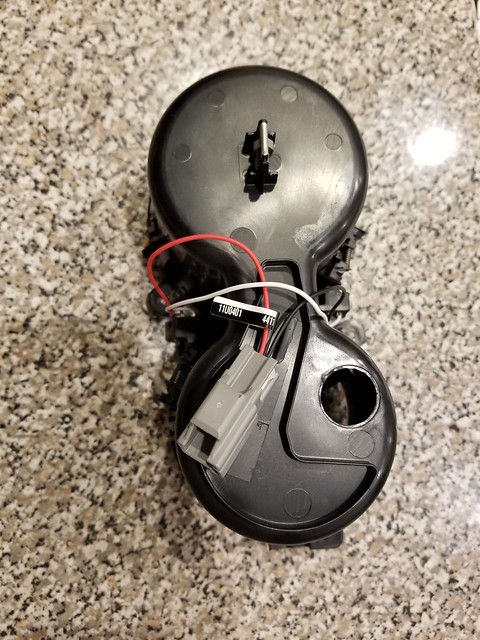
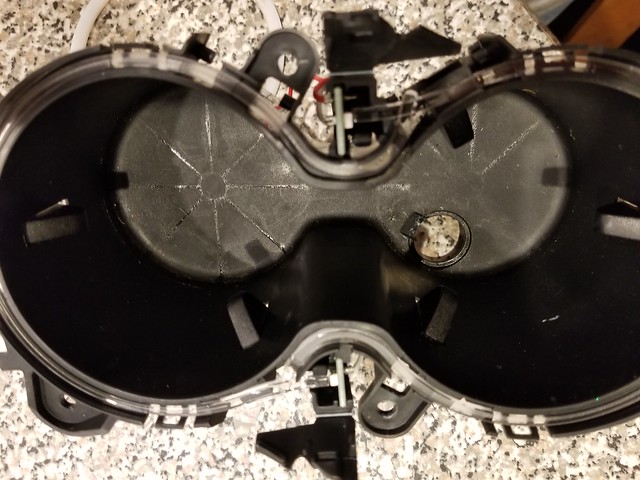
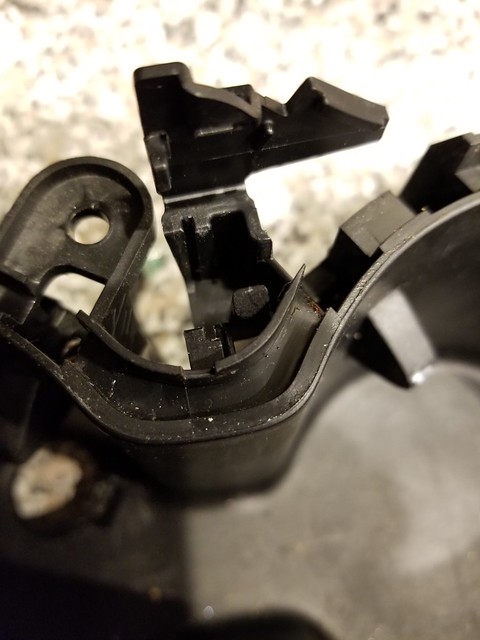
Once off, the next step is opening the covers that retain the LED boards and covers the actual clear plastic piece that carries the light. These are located in the center of the cup holder on each side. Just use a small screwdriver to push the tab in and they pop open. The clear plastic piece just sits int he channel and comes right out. The two LED boards lift up out of their mounting channel and then work the wiring through the side gap or fitting the board down between its location and the cup holder mount tab:


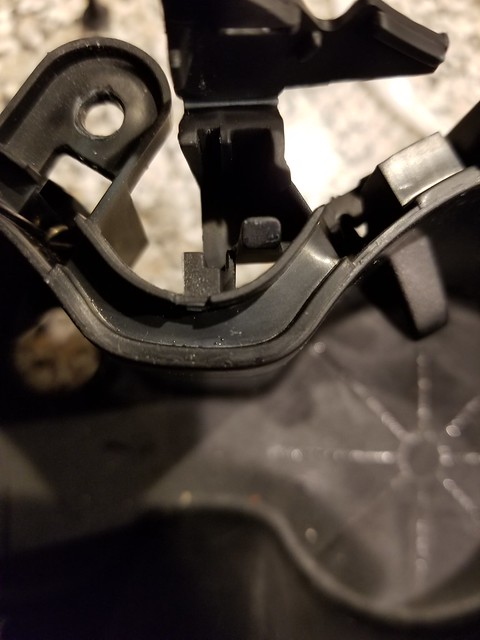
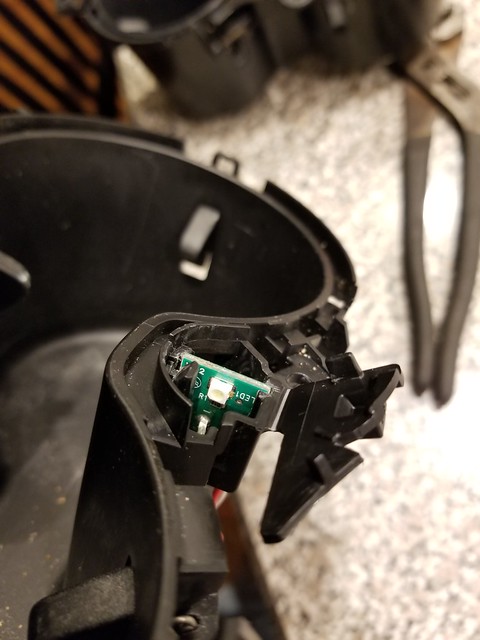
The only issue I did run into is that at some point the thickness of the LED board was changed. The one from mine was slightly thicker and the cup holder had a corresponding wider channel for it to mount in. The other cup holder had a thinner board and channel. So I had to work to get my good LEDs (on the thicker board) into the cup holder with the thinner channel. I used a screwdriver to wedge the opening a little bit wider and then once the board was started in the channel I used a channel lock pliers to very carefully work it all the way flush in the mount.
Cup holder with thicker mount channel:
Cup holder with thinner mount channel:
The used LED board:

My original thicker LED board installed:

The cup holder is held on to the console by 4 screws, easy to take off. Once off the connector for the lights is on the bottom, it was easy to push back, then lift the opening up as you pull it to clear the holder and it comes off:
Next you need to take off the white plastic trim that shows the light. There are 6 retainers around the cup holder that hold this in place. It's easy to remove it from these by hand:
Once off, the next step is opening the covers that retain the LED boards and covers the actual clear plastic piece that carries the light. These are located in the center of the cup holder on each side. Just use a small screwdriver to push the tab in and they pop open. The clear plastic piece just sits int he channel and comes right out. The two LED boards lift up out of their mounting channel and then work the wiring through the side gap or fitting the board down between its location and the cup holder mount tab:
The only issue I did run into is that at some point the thickness of the LED board was changed. The one from mine was slightly thicker and the cup holder had a corresponding wider channel for it to mount in. The other cup holder had a thinner board and channel. So I had to work to get my good LEDs (on the thicker board) into the cup holder with the thinner channel. I used a screwdriver to wedge the opening a little bit wider and then once the board was started in the channel I used a channel lock pliers to very carefully work it all the way flush in the mount.
Cup holder with thicker mount channel:
Cup holder with thinner mount channel:
The used LED board:
My original thicker LED board installed: