99 3500 Cargo van rear brakes
#1
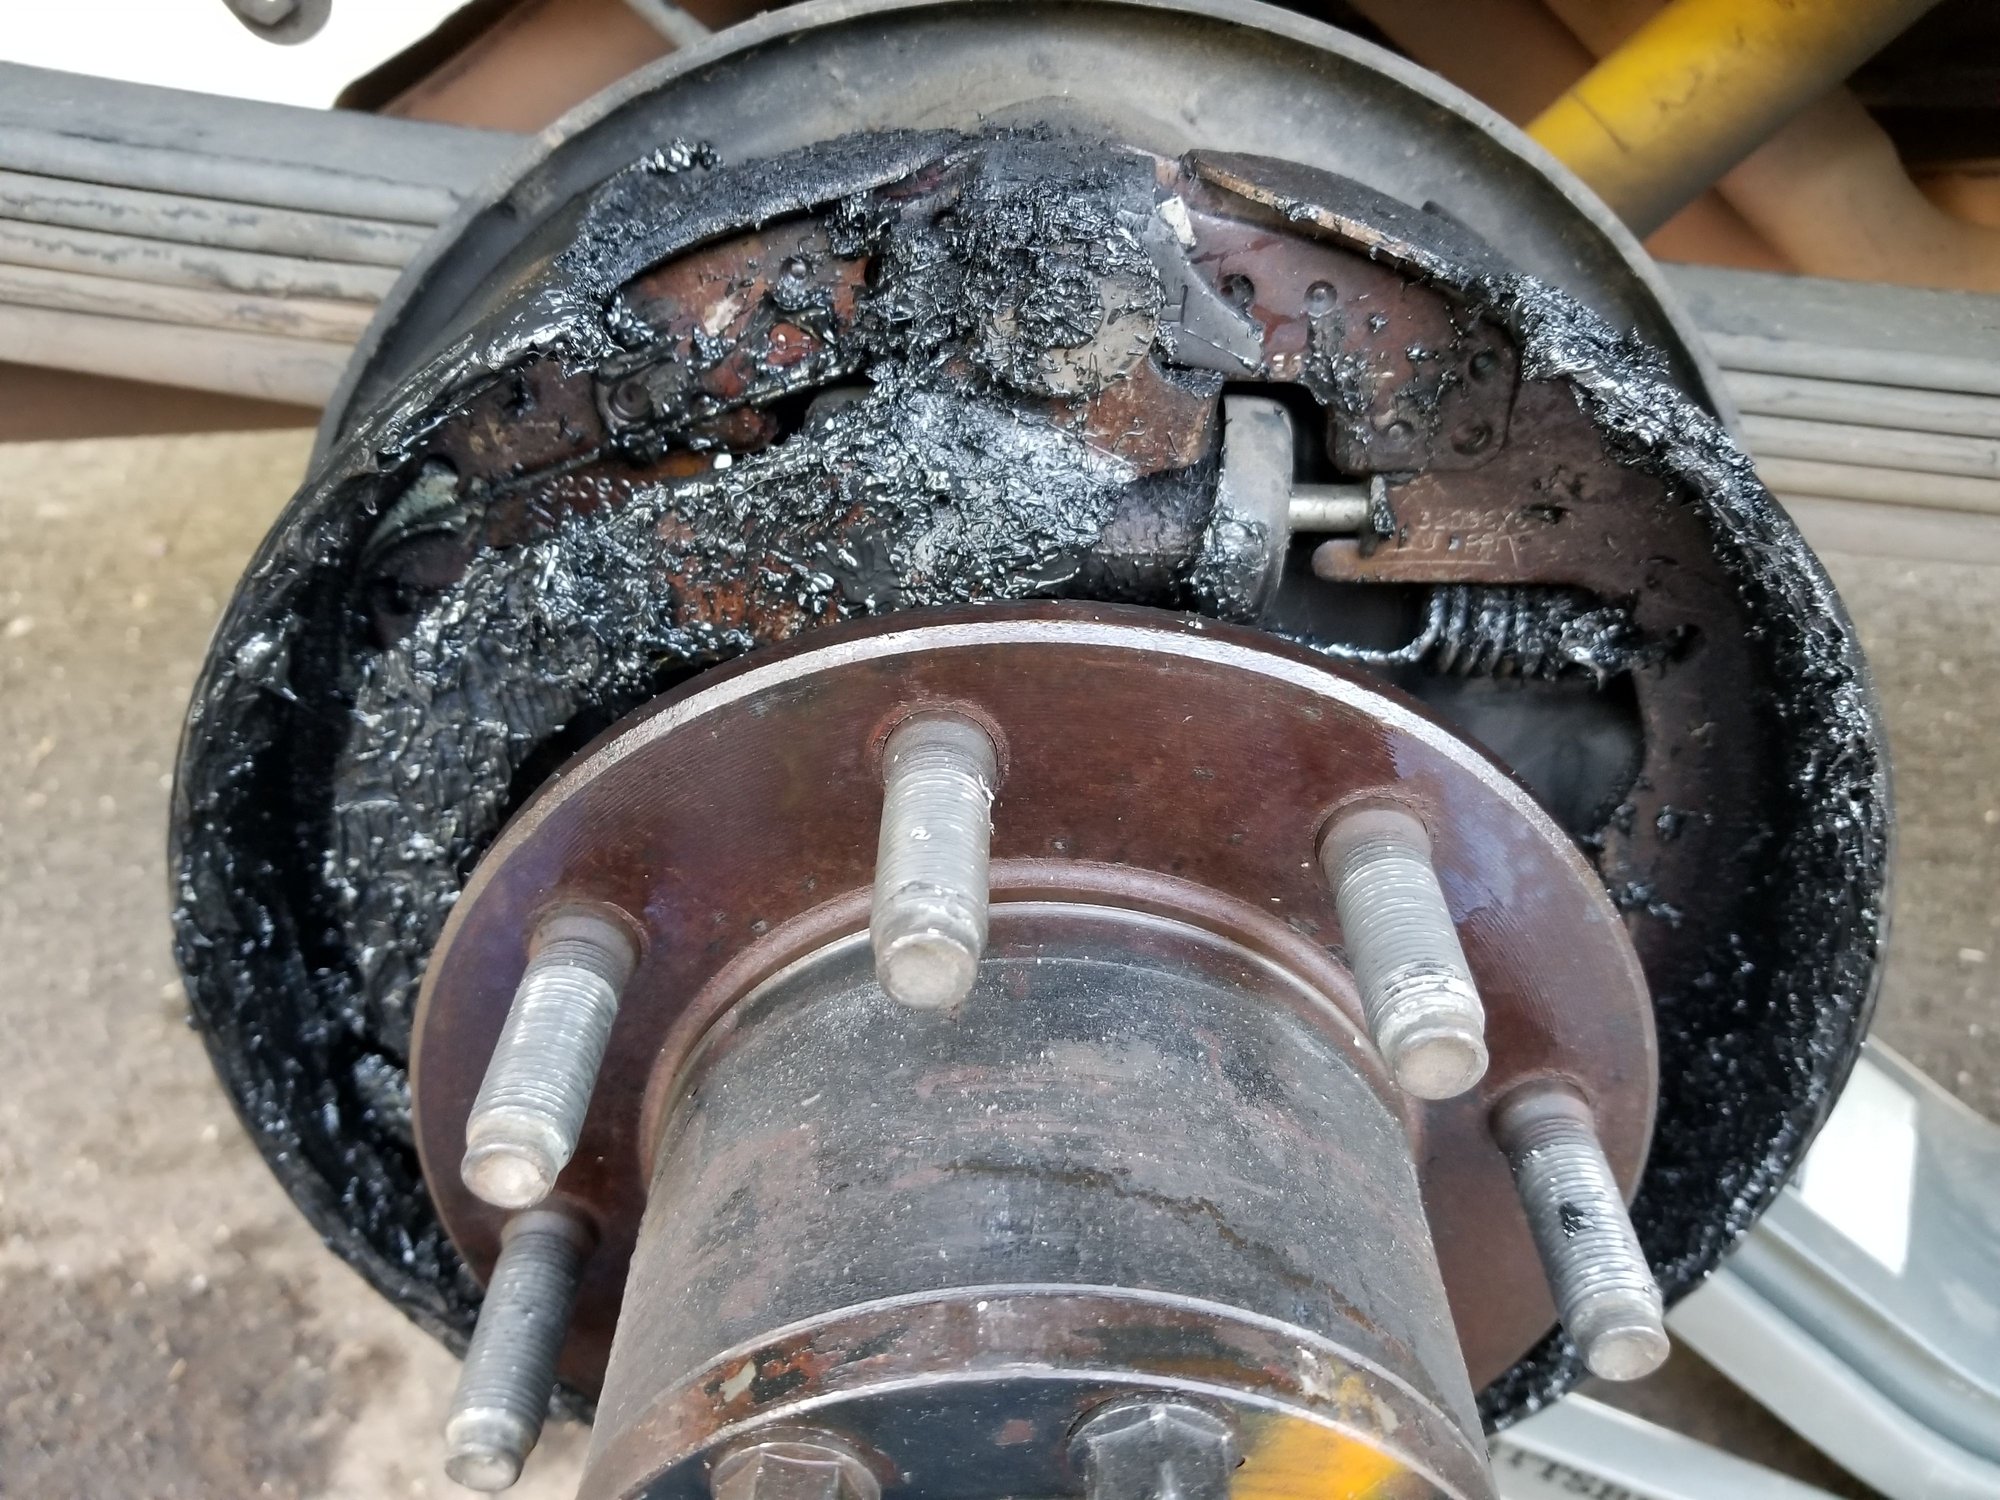

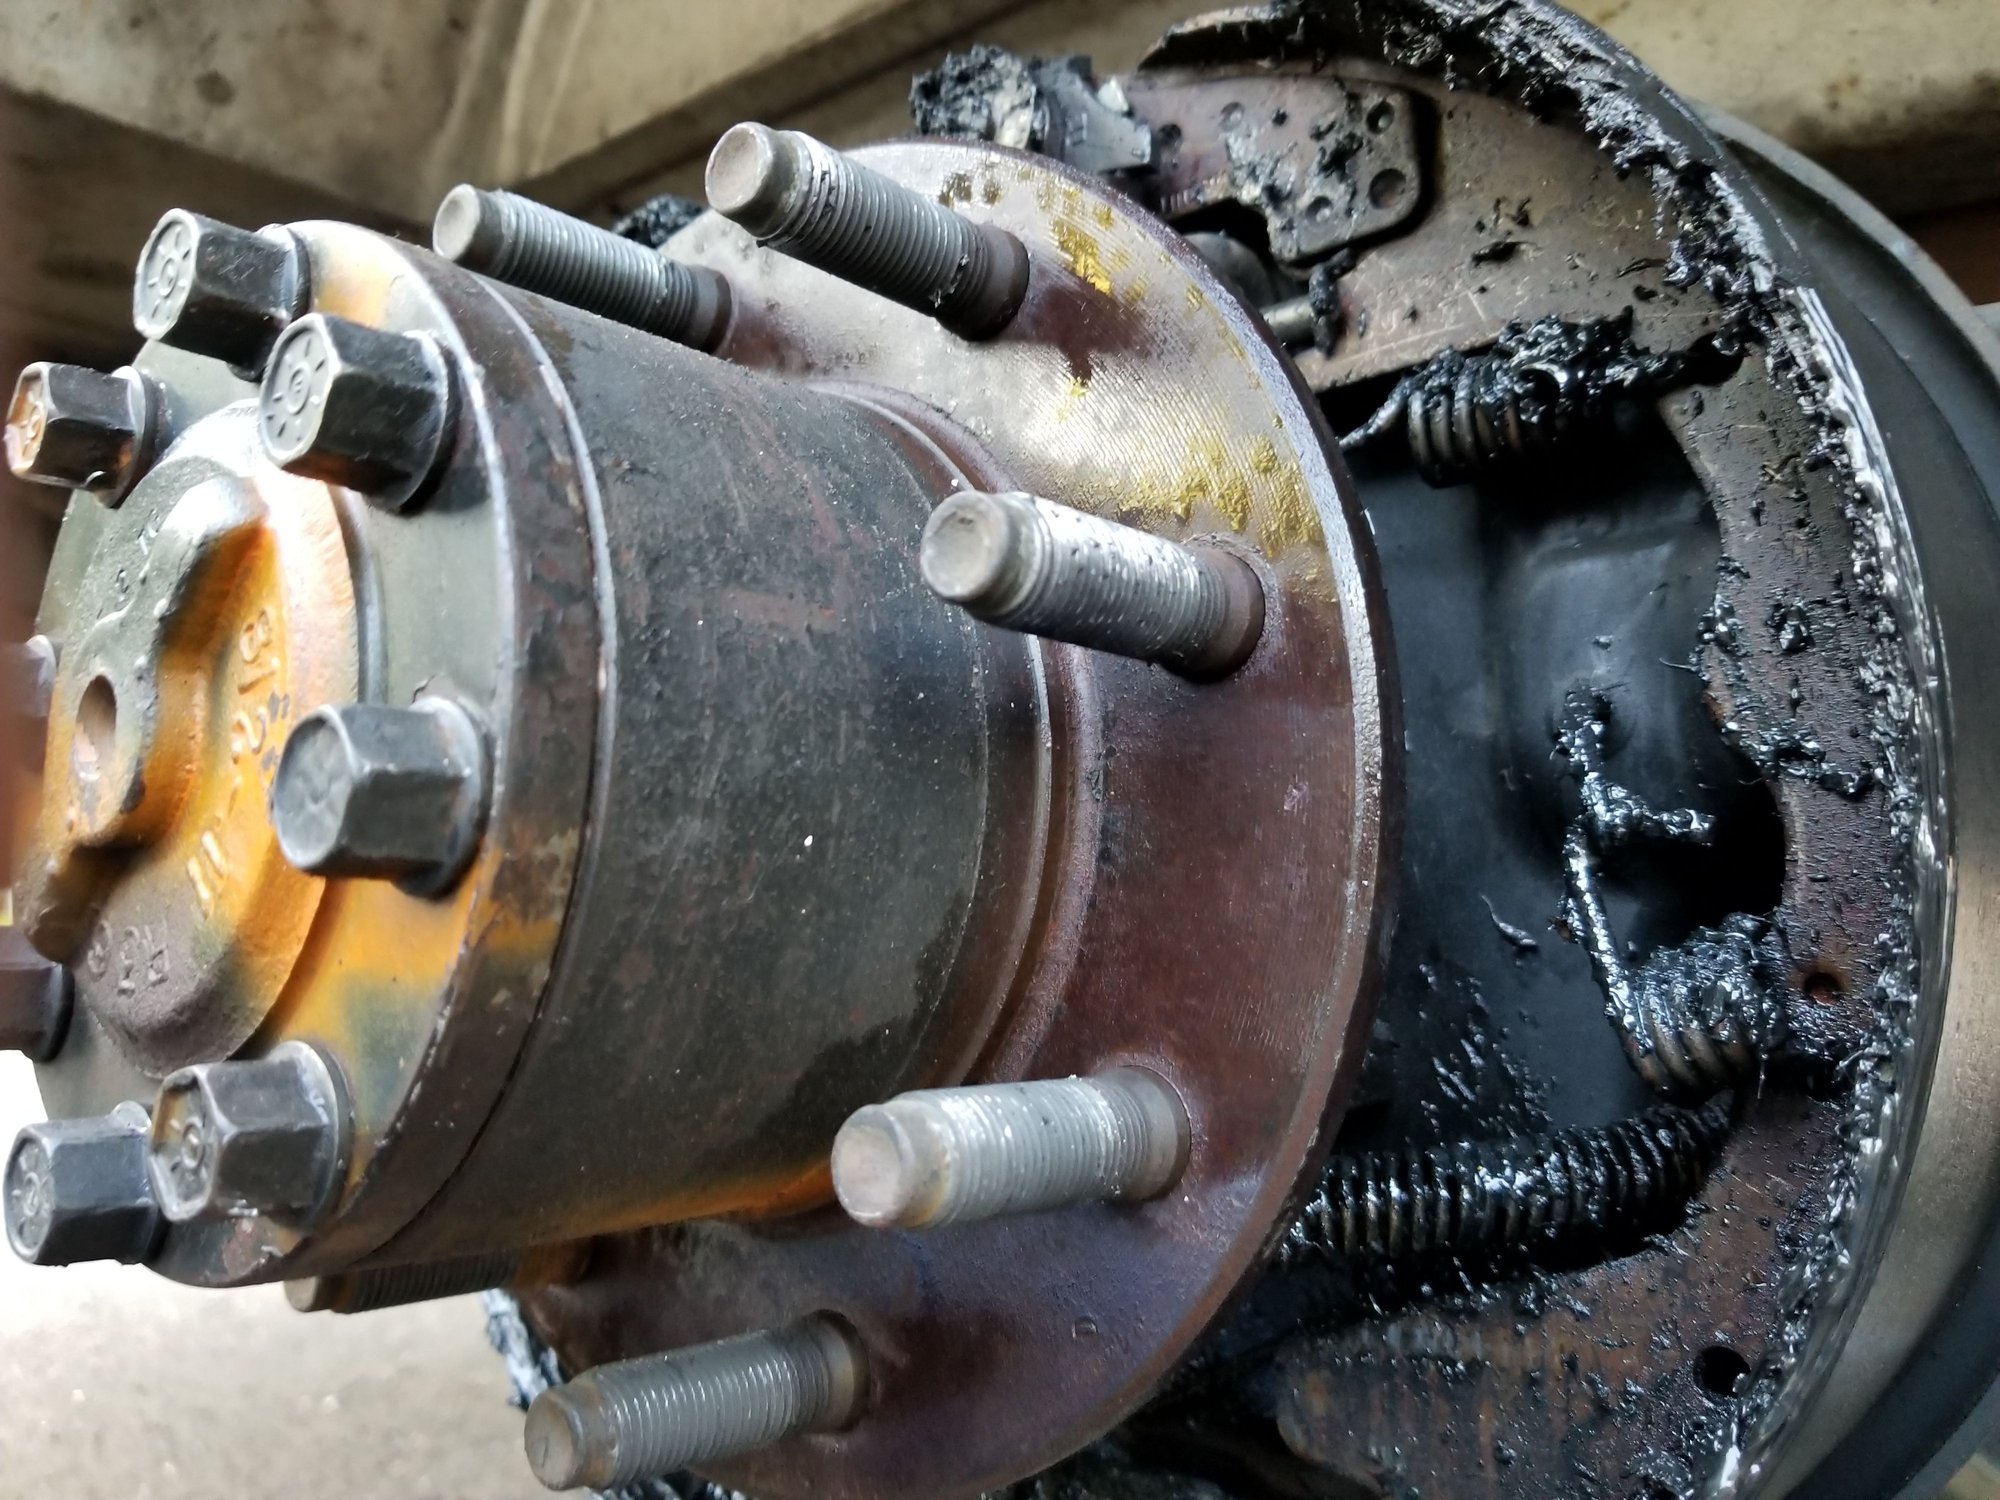
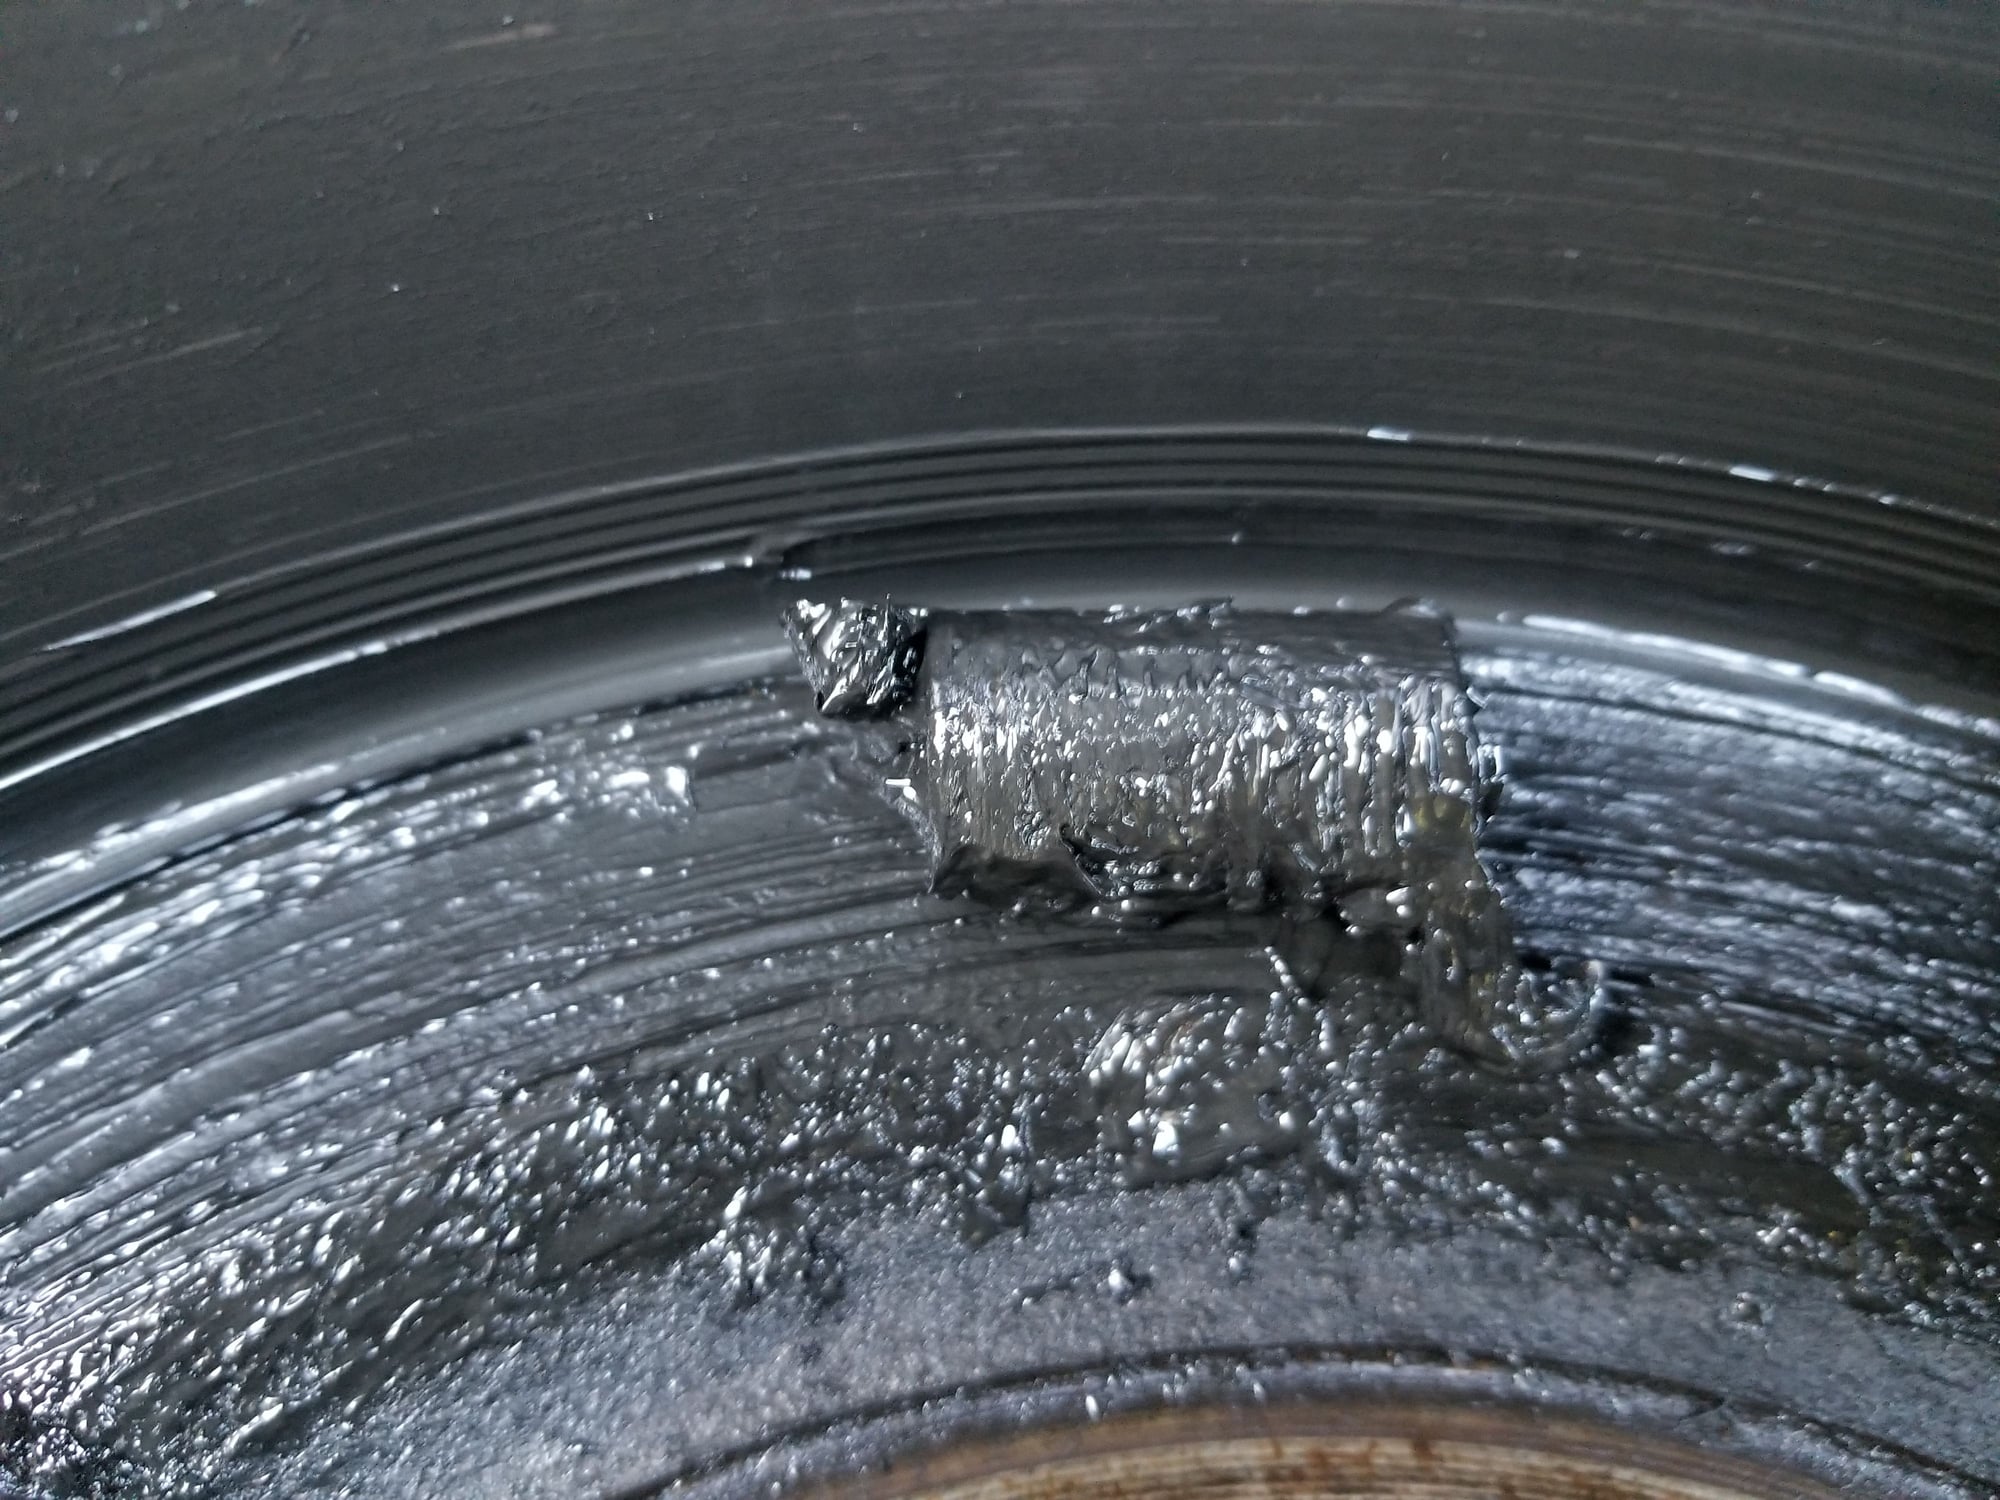

I rotated my tires this past sunday having felt guilty for not doing so for quite some time..... These photos are of my driversside rear drum and though I've known for some time that things were not quite right (brakes felt like they were skidding sometimes) I never took the time to check it out. Never have had any experience with the rear drum brakes, so asking for help and suggestions from you guys on what parts to order and some advice/ how-to's from your experience so I can do the job
What I see is dark colored grease splattered all over inside the hub (like in the photos), brake shoes are nearly paper thin and grease boot is busted on the cylinder and one broken spring whose name I do not know but will be looking into this. Hub seal has no leak but I have no clue as to where all this grease is coming from other than the cylinder???
I'm hoping for some clear help from real guys here if willing to and use the youtube if necessary for backup if need be as I've never fiddled with this part of the brakes yet.
I'm working out of this van every day and haven't had any major issues to speak of other than occasional feeling of a slip n slide coming to a stop on a turn. This hasn't seemed to affect things too much on my daily route yet so driving it as usual but taking it easy.
Thanks for any input
#3
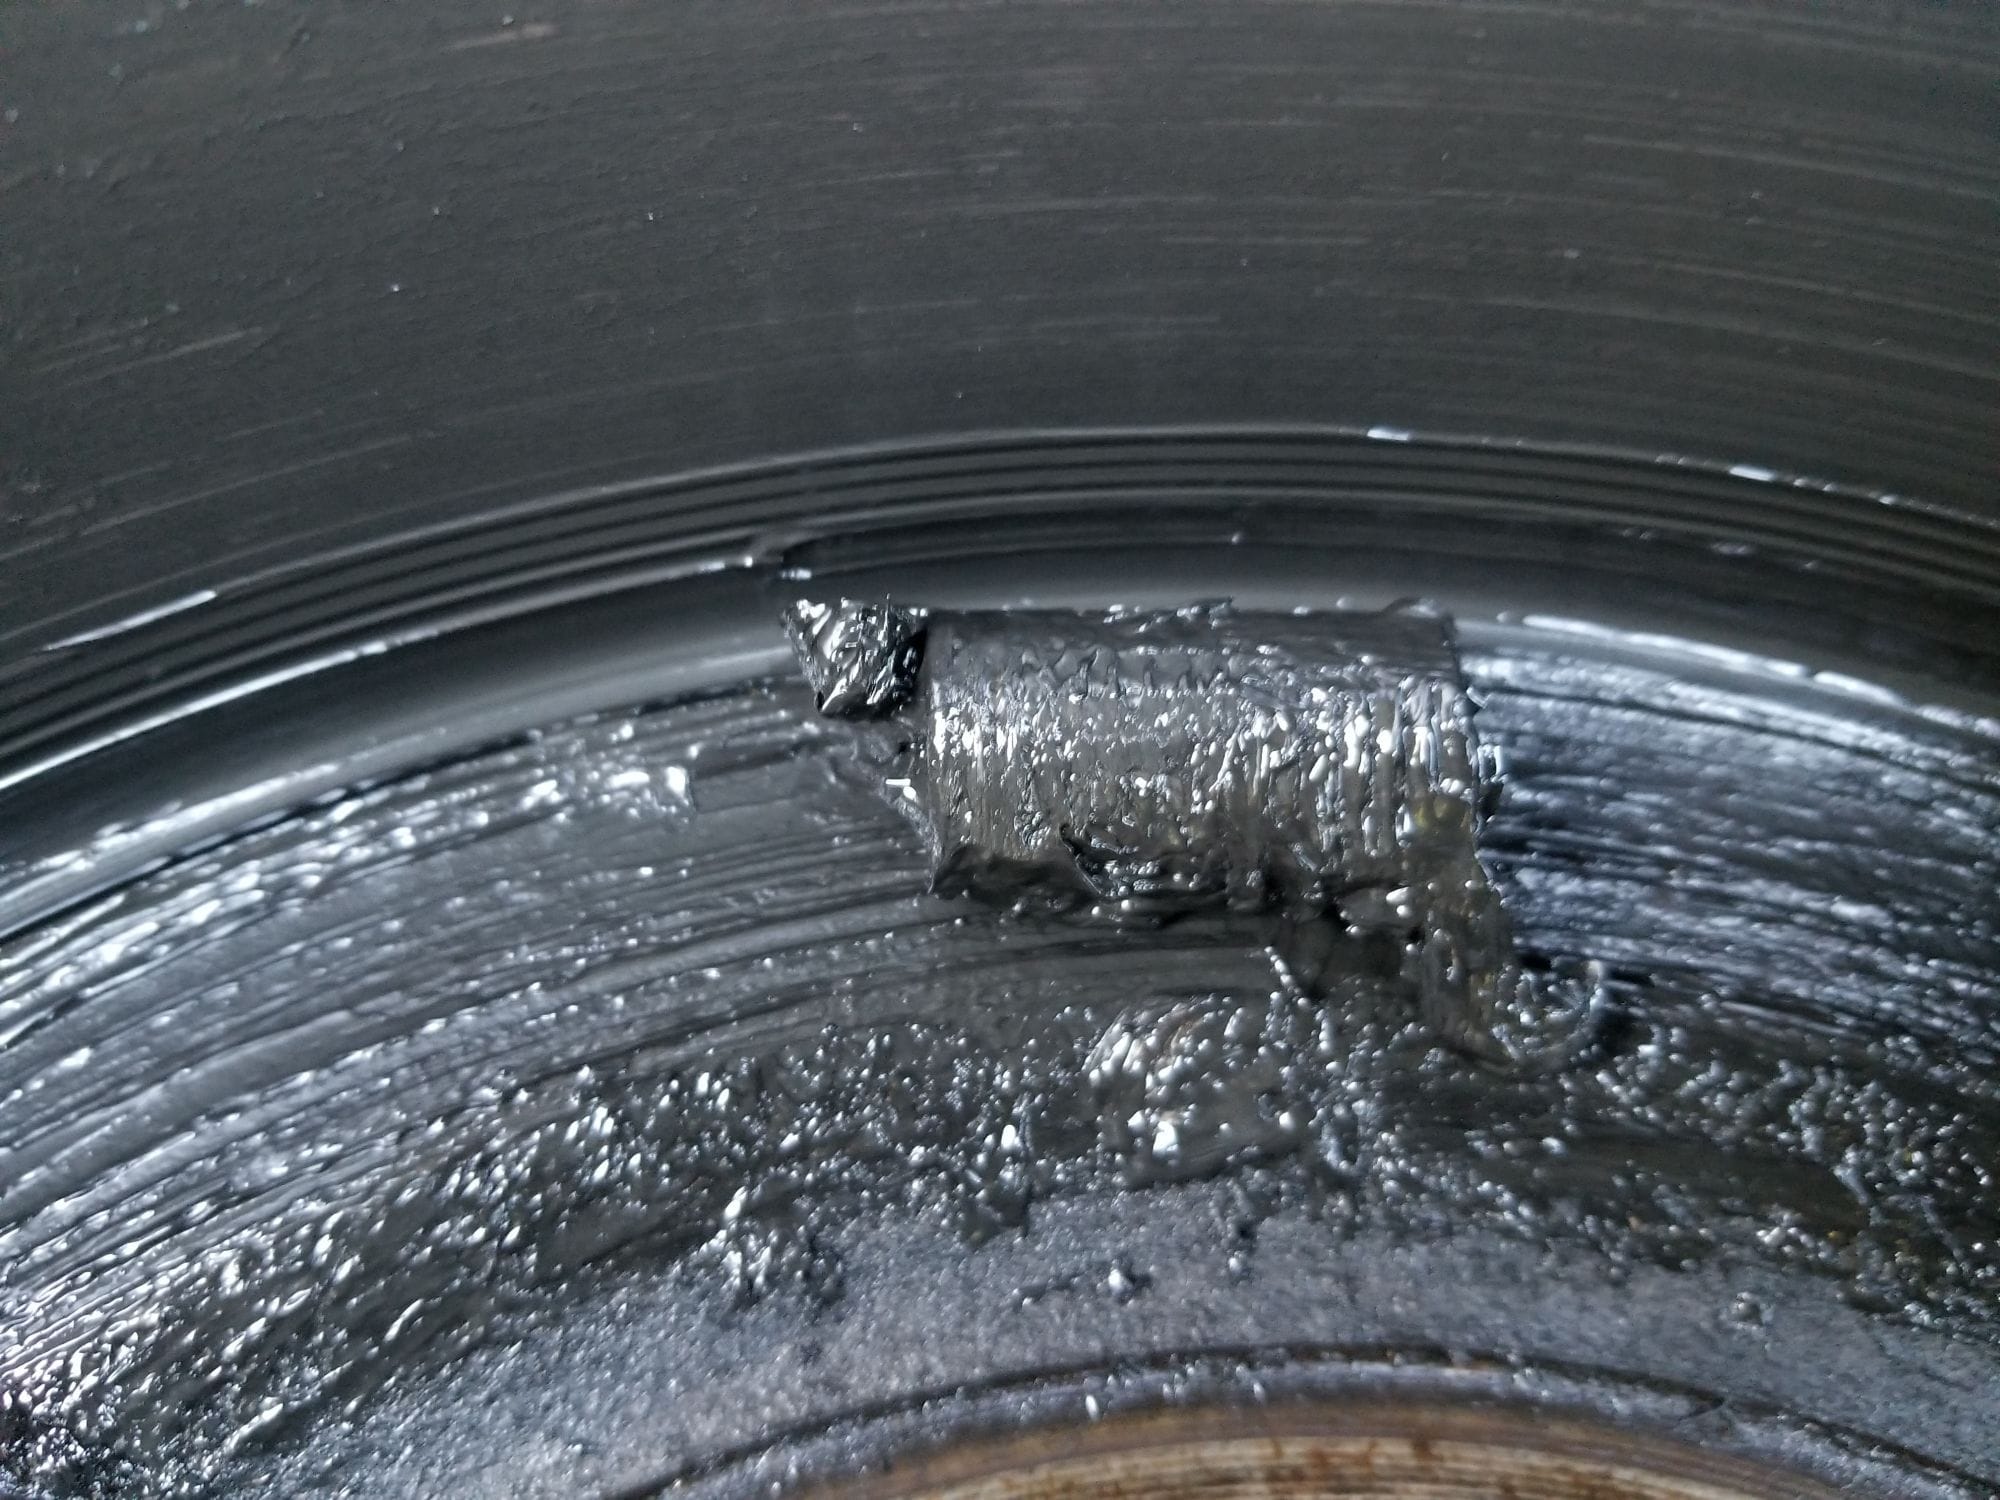
That looks an awful lot like a bearing?
New shoes, new hardware kits, several cans of brake cleaner, and evidently, at least one wheel cylinder..... (since the boot is popped) And some PB Blaster.......
Go after the bleeder valve, and brake line on the wheel cylinder you want to replace with a wire brush, clean it off VERY well. Apply PB blaster liberally.
You will need to buy/borrow/rent a brake spring tool...... might be able to make do with some vice-grips, but, the tool makes life a LOT easier......
Checking out some vids on drum brakes would be a GREAT idea. Its basically just a jigsaw puzzle, and the parts need to be in the right places......
#4
I should'a backed off on that pic, it's of the broken spring laying in the drum when I pulled it off. Tell you what that grease was some sticky stuff tried washing it off my hands and arms with dawn dw soap but mostly just smeared it! had some diesel in a can so poured on a rag and that cut the grease pretty well!
Meant to say thanks for the replies guys, will update soon as I get it all figured out
Meant to say thanks for the replies guys, will update soon as I get it all figured out
Last edited by JFloors; 09-26-2017 at 11:31 AM.
#5
#6
Well... got this brake/sludge in the rear drum assembly problem sorted out today. My friend and boss who I had helped out with his 2000 3500 van no start problem not long ago offered to show me how to go about replacing axle seals and the rear brake assembly on this 99 3500 van today, was good thing he was able to show me and much appreciated I 'd have been lost....
I had a passenger side hub seal and the wheel cylinder leaking. The bearings looked good so the main focus was clean them up, replace the cylinders, shoes and springs and clean up the bad drum and assembly.
Parts I bought and prayed would do the job for both sides are the spring pack for both drum brakes, 2 seals, 2 brake cylinders, couple bottles of 80-90w gear oil ( but only used better part of only one), a lil bit of dot 3 to bleed braks when finished and lots of rags and some gas to clean parts. I already had the new shoes sitting in storage.
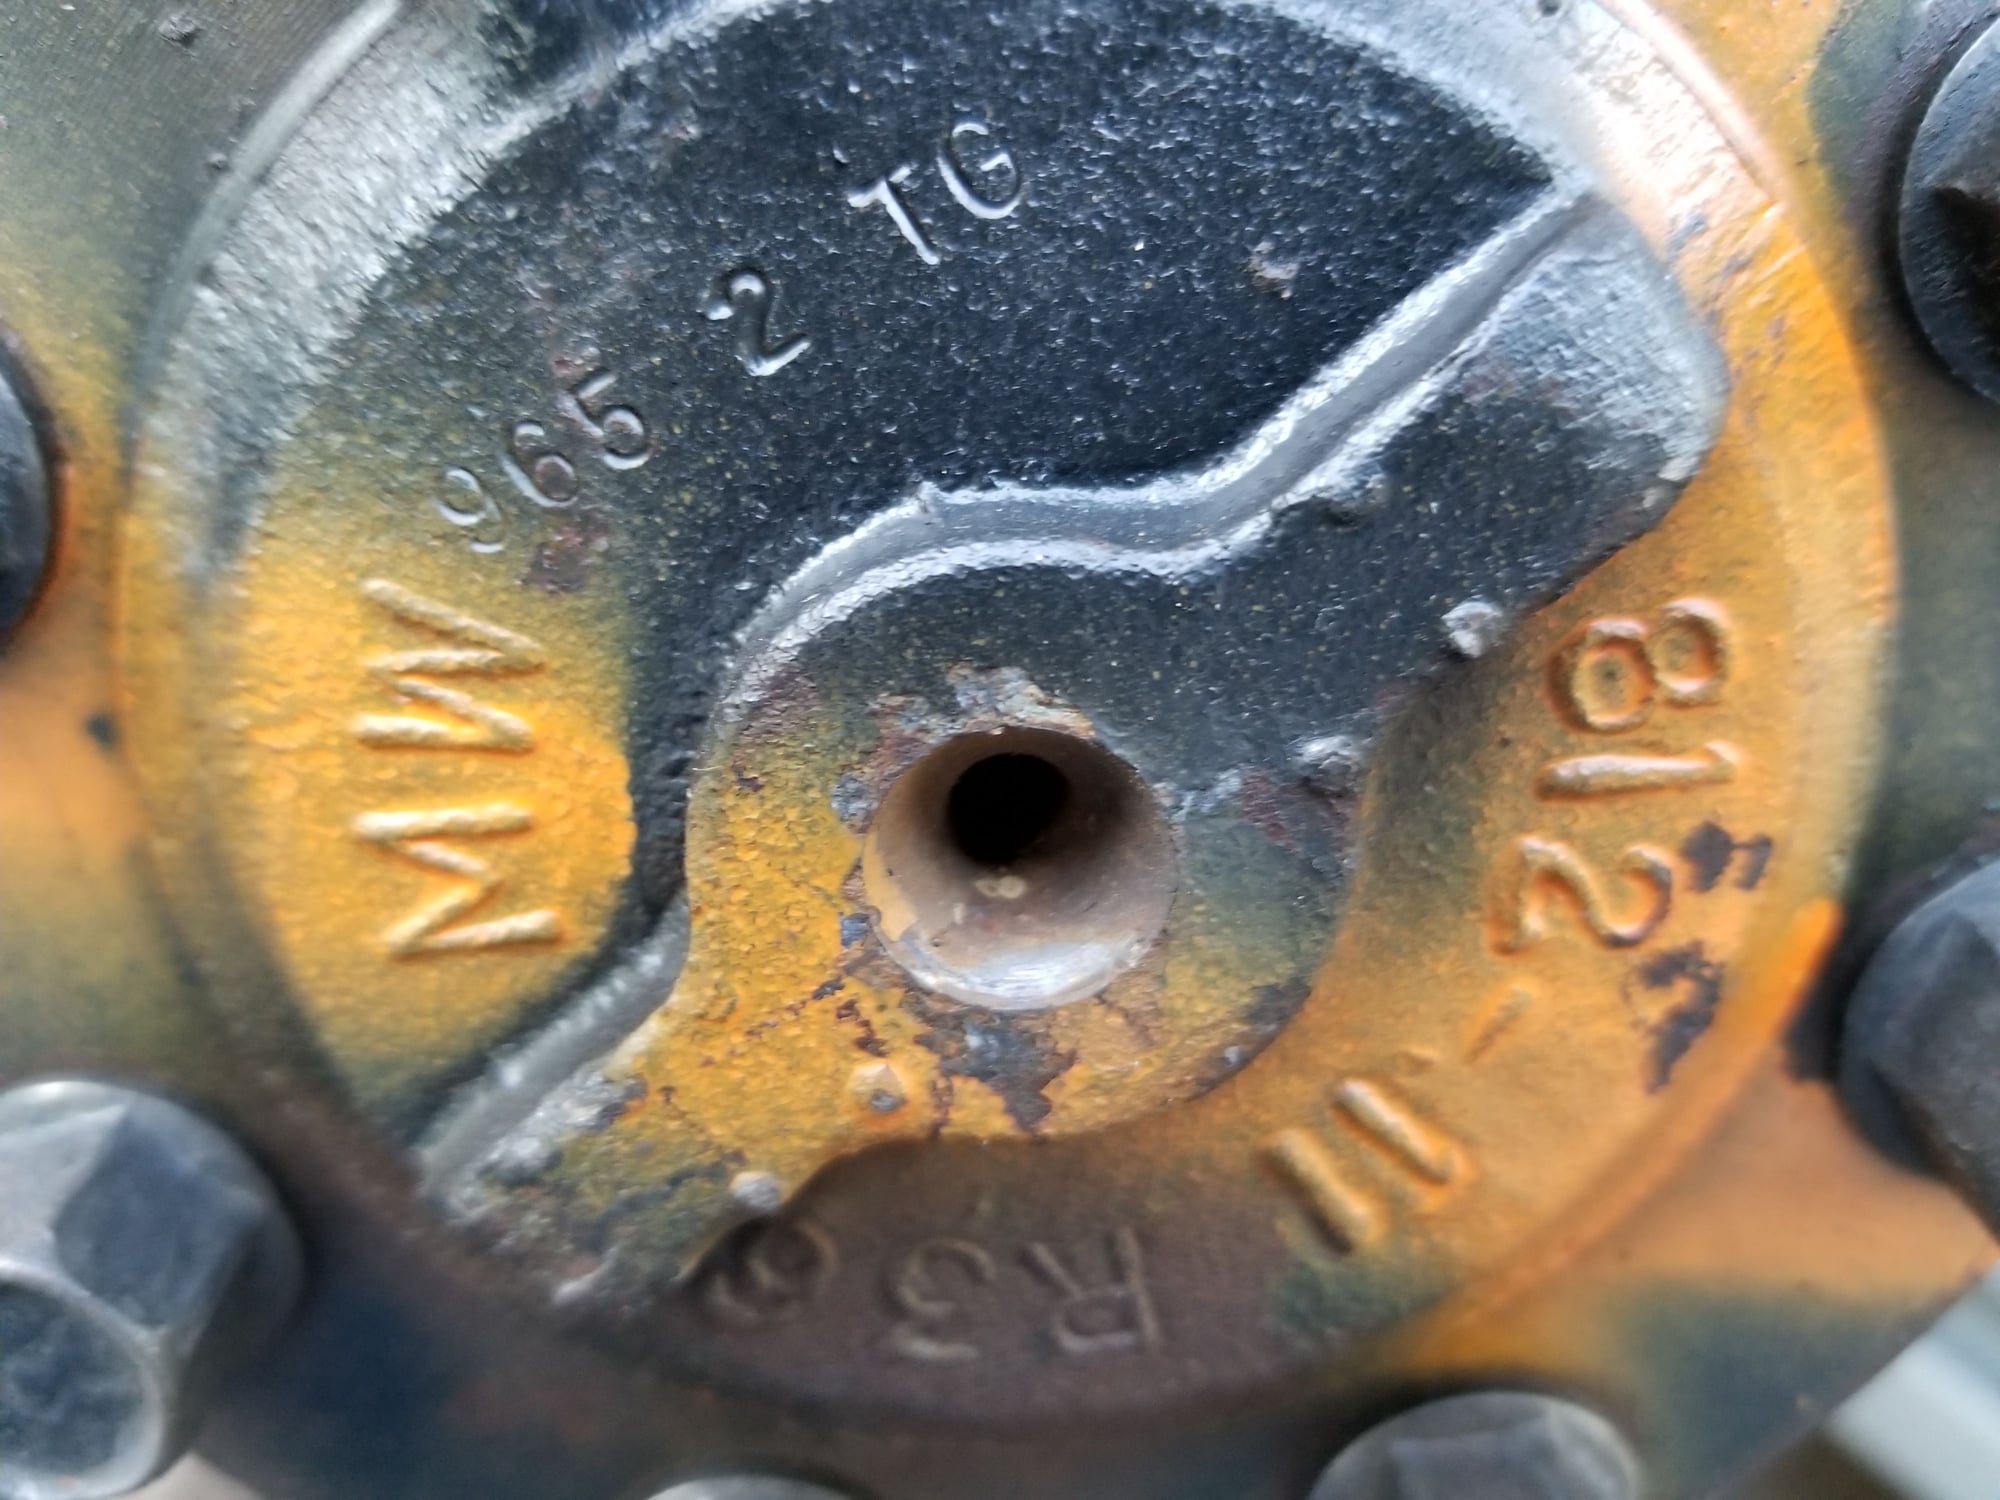
The one tool I'd recommend getting ahead of time (beg, borrow, steal!) is the axle nut socket or appropriate tool, regular large 2 9/16 or so socket will not fit between the space from the hub to the nut to seat bearings, has to be a very slim walled socket or pay close attention to the exposed threads, tightness of the nut, and the key marks on the lock nut so you don't over or under tighten the hub nut when reinstalling new bearings or existing like we did.Boss had a special adjustable tool for this type of application, that worked perfectly I'm sure it can be done other ways but better n easier having the right tool eh?
The passenger side is what my pics show, if I said otherwise my apologies. The driver side was no leak and dry but brakes out of adjustment (supposed to be self adjusting. hmm?) and needed attention too, must say it was much nicer and quicker doing this side after cleaning up and figuring out the bad side first!
Last edited by JFloors; 10-01-2017 at 12:02 AM.
#7
.........The one tool I'd recommend getting ahead of time (beg, borrow, steal!) is the axle nut socket or appropriate tool, regular large 2 9/16 or so socket will not fit between the space from the hub to the nut to seat bearings, has to be a very slim walled socket or pay close attention to the exposed threads, tightness of the nut, and the key marks on the lock nut so you don't over or under tighten the hub nut when reinstalling new bearings or existing like we did.Boss had a special adjustable tool for this type of application, that worked perfectly I'm sure it can be done other ways but better n easier having the right tool eh?......
Last edited by tjkoko; 10-01-2017 at 02:03 AM.
Trending Topics
#8
find searching there was one thread that referred to the nut being this 2 9/16 also. If you can find the actual specs, the hats off to you tjkoko
Was up to my elbows in grease trying to get my work rig back to work today so no pics, but will pull apart again in a few days to check and snap a couple pics if you're really interested
Oh... the broken spring was the return spring that mounts on the lower end and across from the primary and secondary brake shoe, was really interesting learning today how this all works!
Last edited by JFloors; 10-01-2017 at 04:38 AM.
#9
.....What very little info I could find searching there was one thread that referred to the nut being this 2 9/16 also. If you can find the actual specs, the hats off to you tjkoko. Was up to my elbows in grease trying to get my work rig back to work today so no pics, but will pull apart again in a few days to check and snap a couple pics if you're really interested


