When you click on links to various merchants on this site and make a purchase, this can result in this site earning a commission. Affiliate programs and affiliations include, but are not limited to, the eBay Partner Network.
Damn! That sucks. I thought mine was an anomaly. Interesting though, the only noise I could perceive was the throwout bearing whirring. It had the stalling issue but I don't recall any accompanying noises. Even more odd was that the clutch worked fine and the transmission went into all gears without protest.
I'm hoping that the stalling issue was either the throwout bearing or the melted egr transducer...if its not either of those then I know what my next project will be..well, mini project.
Small update. Fluid Film'd the chassis today (pics and explanation soon) which means that the frame is completely prepped for the cab! Haven't welded in the floor yet because there is snow on the ground and I figure snow is water and water is wet and wet is bad for welding. . thankfully the floor is screwed in though so I'm comfortable dropping the cab back on and welding it in at my convenience.
Ugh, I keep forgetting my camera so I've got no new pictures now. I am driving the truck now!!! Lots to update on and I promise I will. But for those who didn't see the thread I made, here's what I did to my door!
Backed up with it open...genius me.
I had a line on a supposedly good one for $100 at a junkyard. Explicitly told the guy on the phone I wanted a door with no rot, and that I didn't care about minor dings or paint chips or even surface rust. Guy said, no no it's a solid door. So I drove the 40 minutes out there. They bring me to the truck and from 50 feet I'm like jeez...that's ugly...paint fading, peeling, some surface rust. But like I said, I didn't care about that. When I got closer I noticed the rust on the bottom. I opened the door, looked at the underside and poked my finger right through the bottom of the door. Thing was rotted to ****.
****in junkyards. I did get a new flasher relay which the guy gave me for nothing so that almost payed for my gas. lol.
Still no more pictures (got 20 inches+ of snow on the ground and I don't think my Subaru can quite handle that). So sorry, but they're coming, I promise.
Just wanted to do a small update that I bought some Monstaliner. As with the frame, I want to preserve the cab as much as possible. This entails taking the plugs out of the rockers and spraying Fluid Film inside, spraying the underside of the cab in Fluid Film, priming the sections of the floor that have surface rust with Chassis Saver from Magnet Paints, and using Monstaliner, also from Magnet Paints, over top of the primer. For those who don't know, Monstaliner is an popular roll-on bedliner among the Jeep crowd. You can learn more here. http://www.monstaliner.com/
It looks something like this (not my image):
As far as I'm concerned, the bed, fenders and hood can rot away (okay, I don't actually want them to). I want to preserve the frame and the cab as much as possible.
edit: I've also decided to do a flatbed before I paint the truck, partly because I don't want to deal with the rust underneath the fender flares on the bed and partly because a flatbed would be very useful for me. Looks like I could spend maybe $250 on surplus steel ($1.00/lb at a local place) for the framing and rear bumper, then maybe $100 more on pressure treated wood for the deck and sides, $50 on paint, say $50 on fasteners and such, another $50 for miscellaneous supplies, another $100 for taillights and have it done for right around the $600 mark.
Also, I'm thinking about bedlining the whole exterior of the truck. The consensus over the internet seems to be that bedliner paint jobs are ugly as sin...but hell, I like them so I very well may go that route. Maybe even two-tone bedliner. Judge me all you want.
I've been driving the truck for the past couple weeks with only a few minor hiccups! Anyways I'll start with the fluid film because I've been seriously slacking with updates.
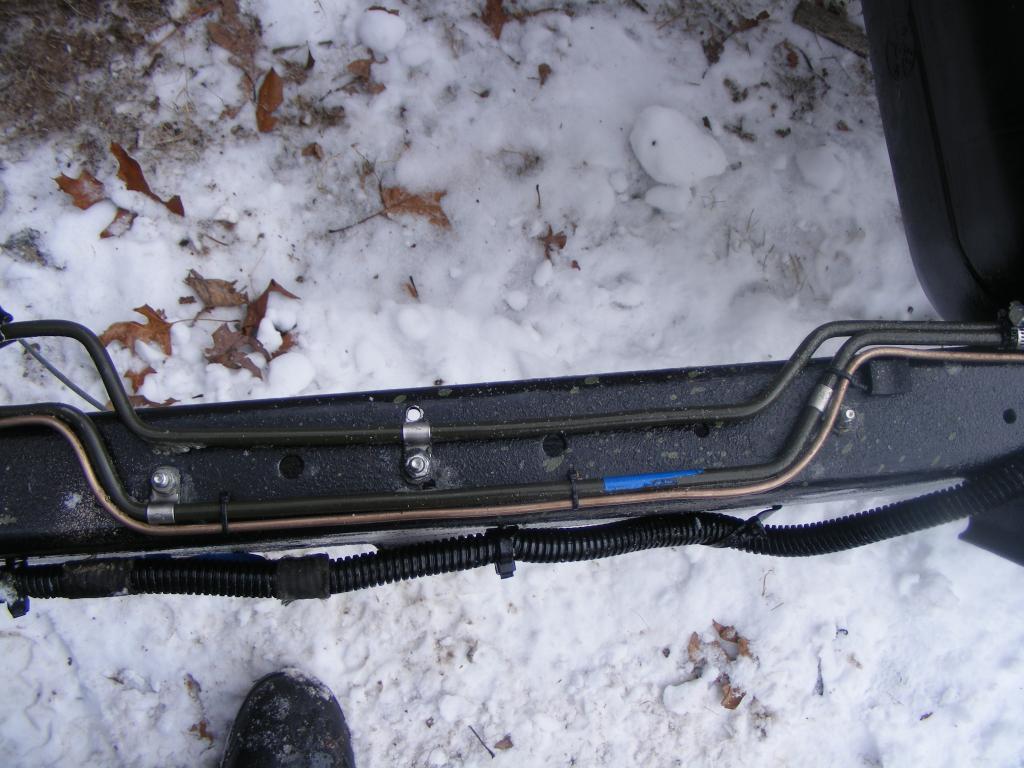
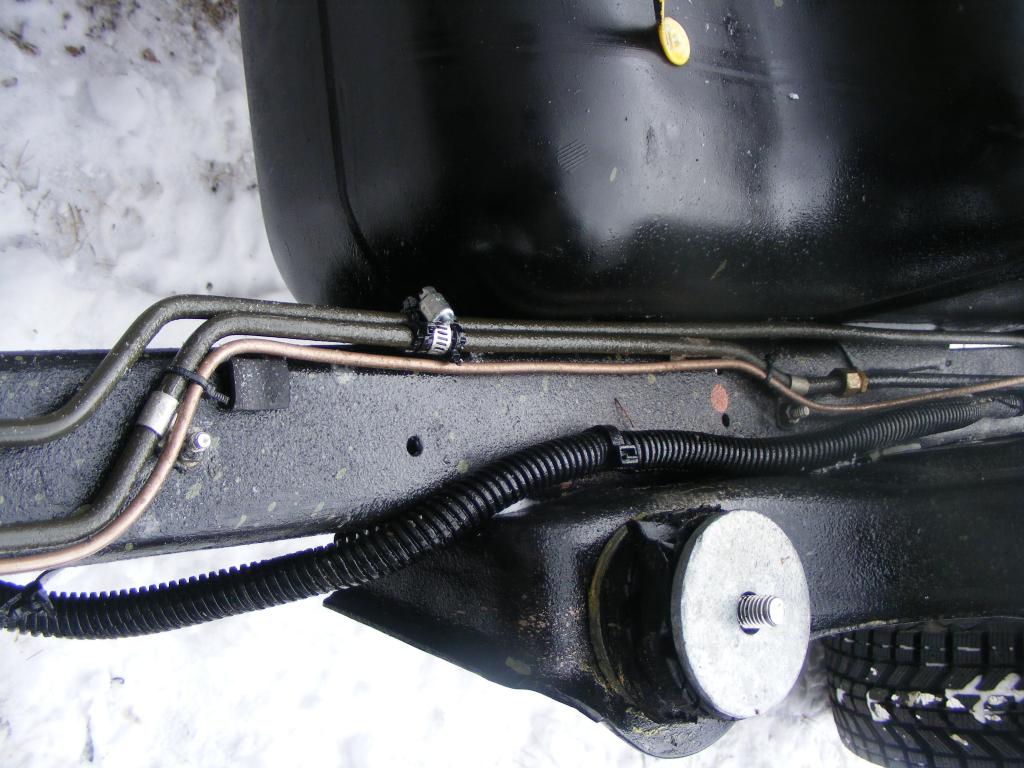
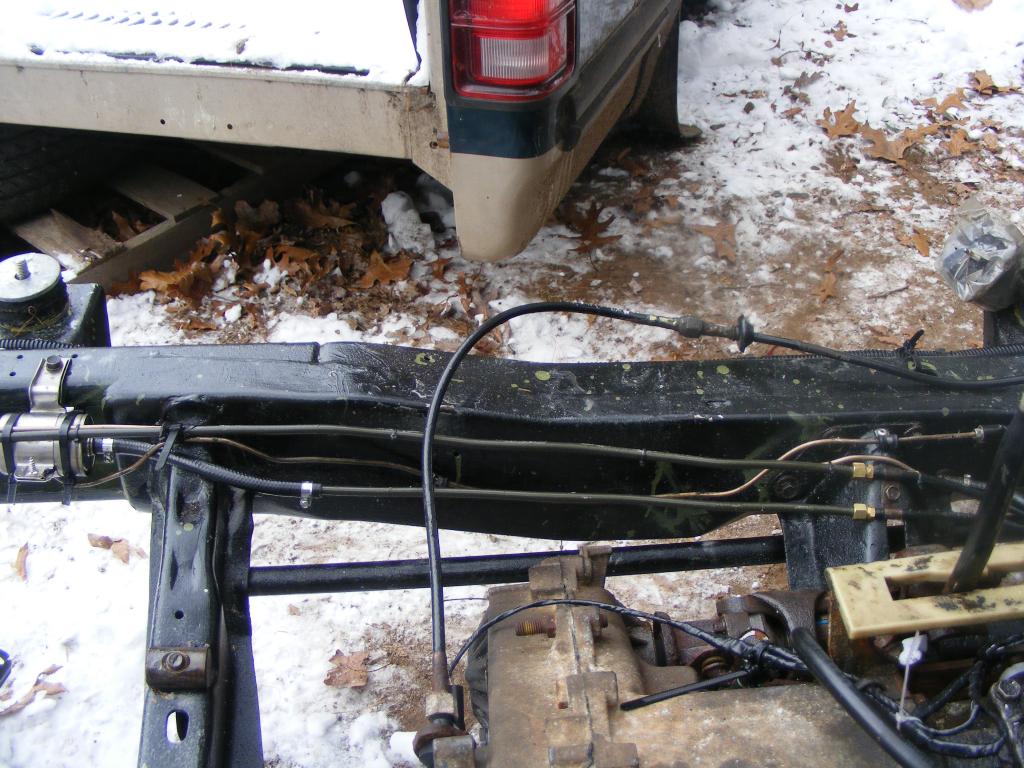
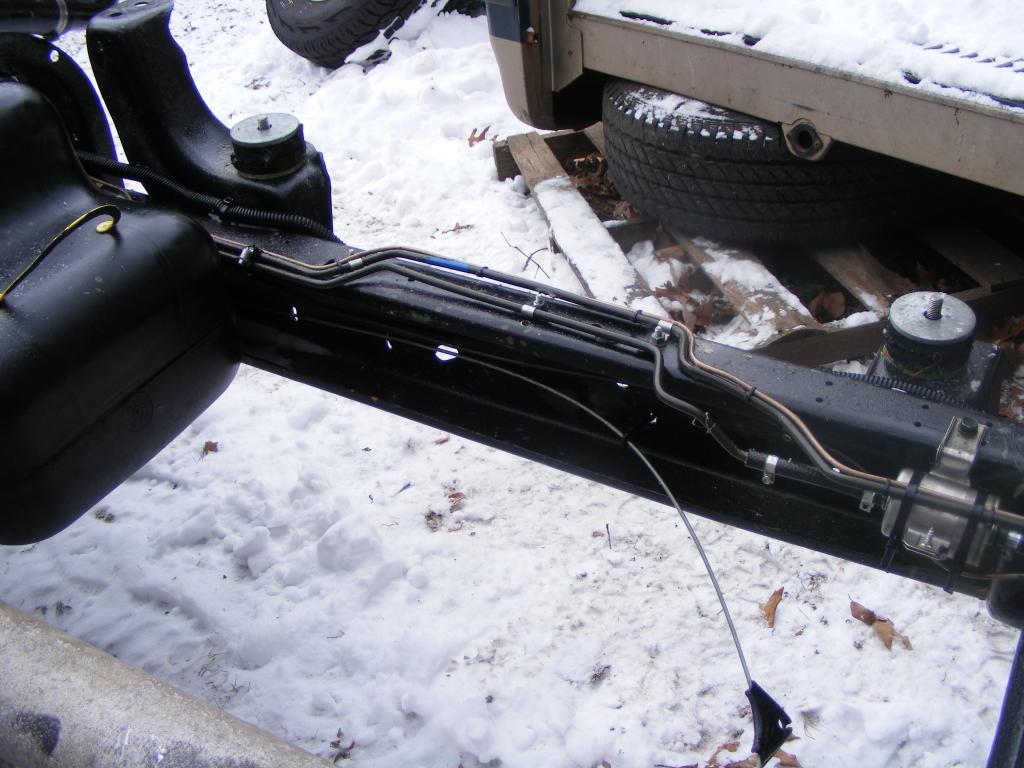
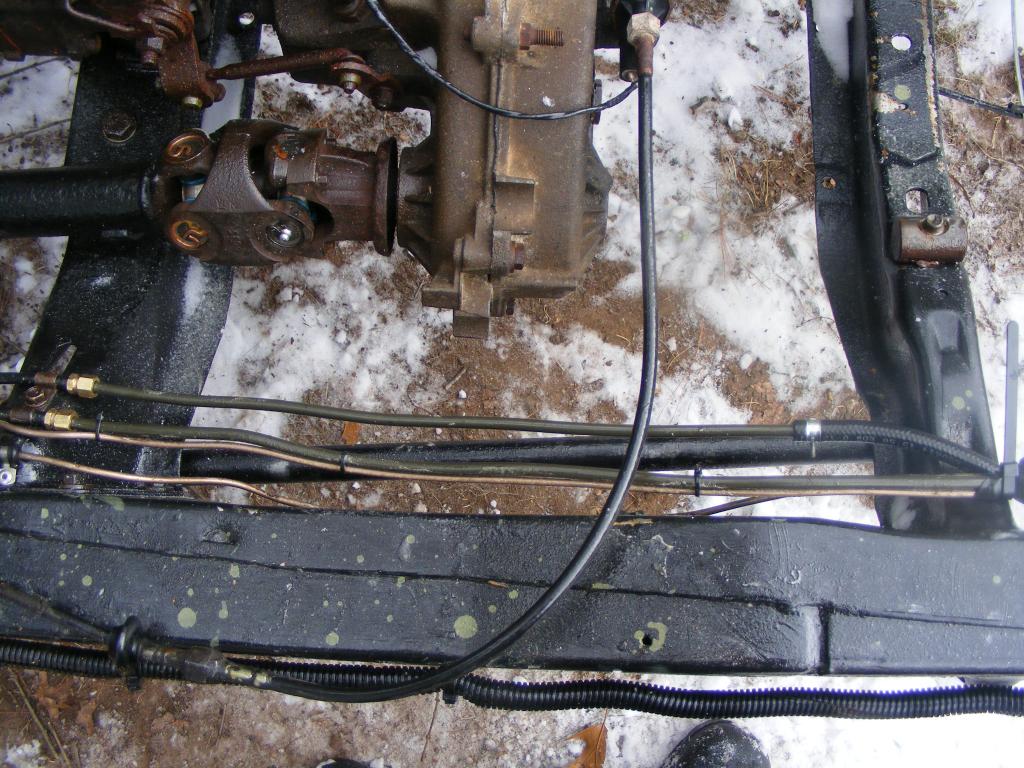
I sprayed the entire chassis with fluid film. Stuff works great! I bought the whole kit from Kellsport Products here: http://www.kellsportproducts.com/ The kit includes a cheap undercoating spray gun (that works fine!), a gallon of fluid film, an 11 oz. spray can, a spray can nozzle attachment for spraying inside boxed frames/rockers/etc, a brush-in-a-bottle thing, and some undercoating hole plugs. $89.50 for all that, and a good deal. I already bought a second gallon because I know I'll use it.
I use about 3/4 of a gallon on the chassis, and that provided PLENTY of coverage. I used my little Makita 110V compressor, and while the small tank means frequent refills, it provided plenty of CFM to do the job with very little downtime waiting for the compressor. I think I set the regulator at 70 PSI and it was plenty.
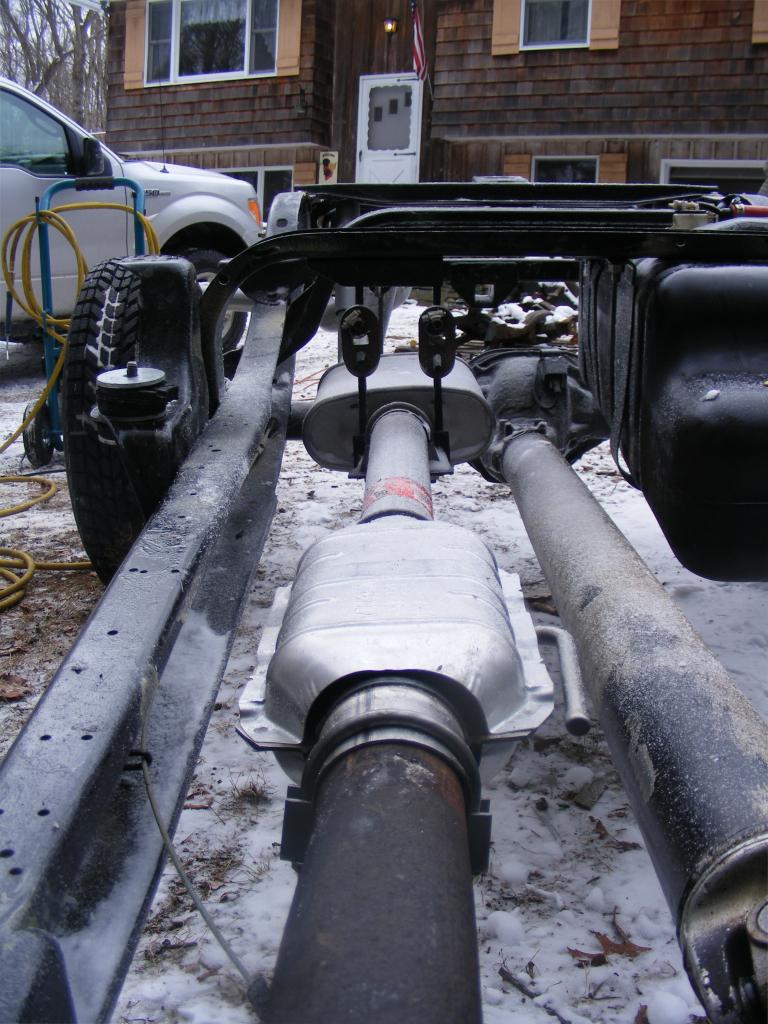
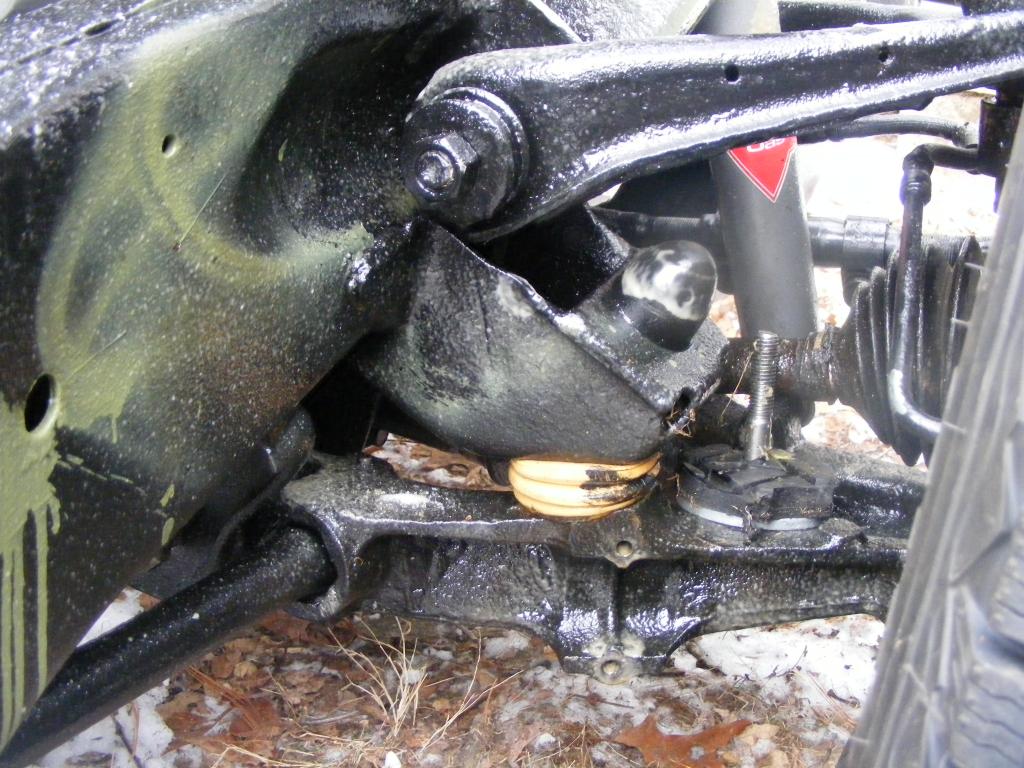
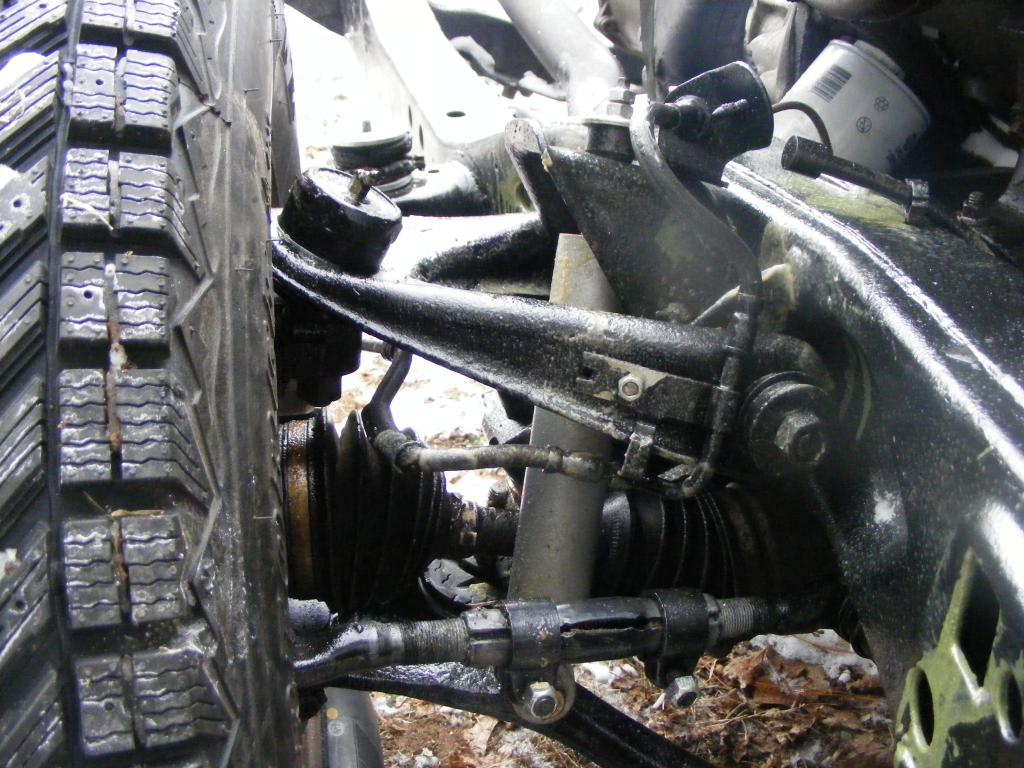
Here are some pictures. You can also see my finished fuel line setup here.
I didn't intentionally spray any on the exhaust but plenty got on it...It will smoke a bit when the exhaust heats up but the smoke and smell goes away within the first day.
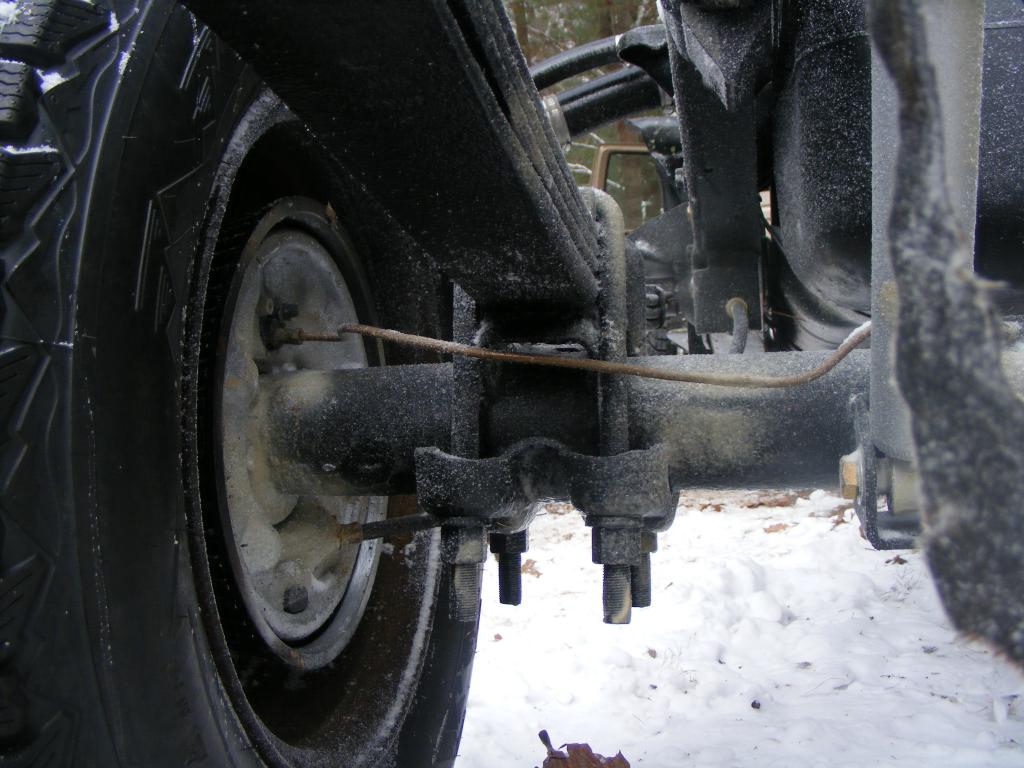
Torsion bar cranked all the way out on this picture, that's why the LCA is hitting the bumpstop.
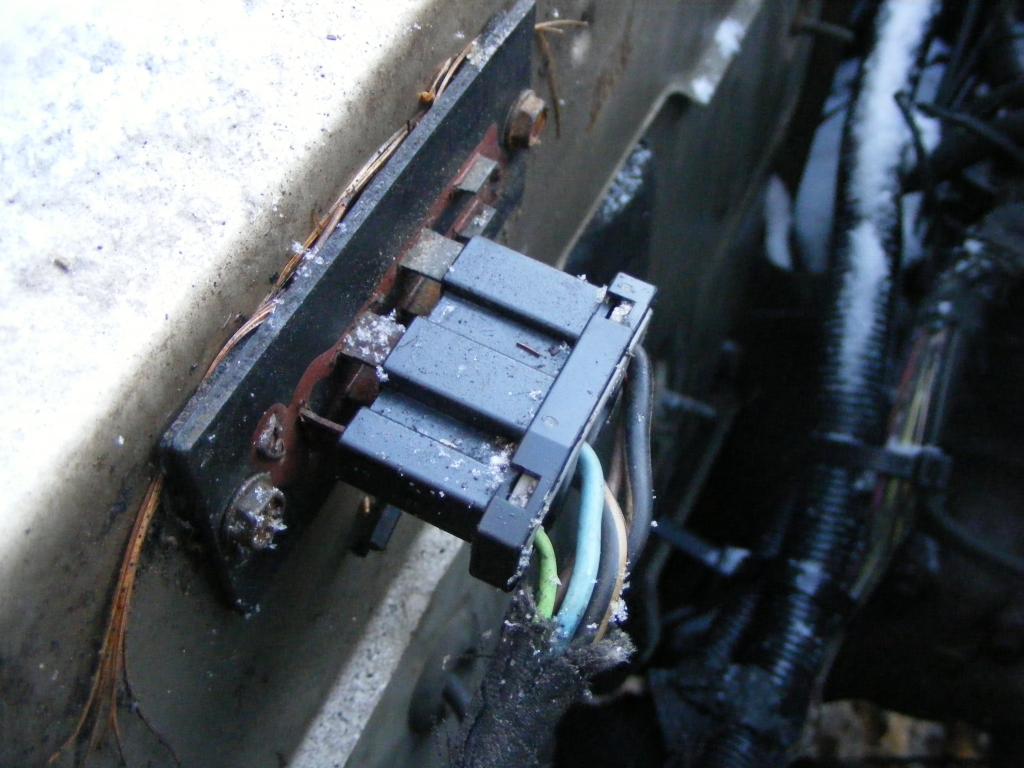
There is still quite a lot of work to be done...mostly interior work and such and eventually some body work. I will be updating my previous posts, particularly the one about the driver's floor pan because I have not completed that yet. As far as the minor hiccups go, first of all my wiper motor didn't work when I put everything back together. I thought it was a bad ground strap, but it was not. I replaced the motor AND ran a dedicated ground to the firewall. All is well now. I'll post pictures. Second, the blower motor didn't work. That was caused by rusty blower motor resistor terminals. I unplugged the resistor plug and plugged it back in and now the blower works on Low and Hi, but no speeds in between. I know I need to replace the resistor block but I just haven't got around to it. I did buy one though...a whole $7 at Autozone. This little bugger is a VERY common failure point on these trucks. If your blower motor doesn't work, this is the first thing you should check. From this picture you can kind of see the corroded terminals.
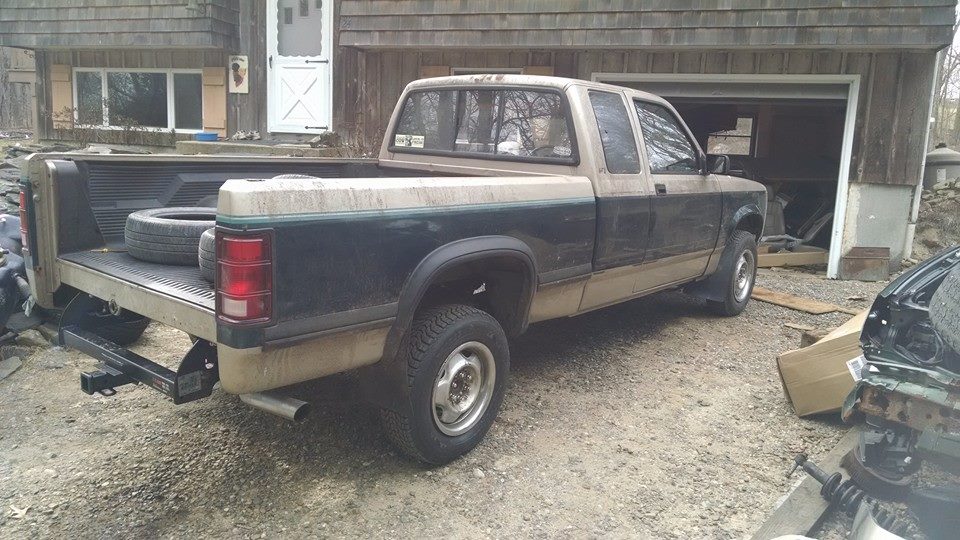
She's a truck again.
And I already have another project on the way. I'm mostly a Subaru owner...this one will be my fourth Subaru. It's a 1992 Legacy Touring Wagon, all-wheel-drive, with a 2.2L turbo and a 5-speed manual transmission. I'll be posting progress on this car on the appropriate Subaru forum. edit: car was not as expected...the pictures were old. Body had dings, some large dents and rust, and there's no way the motor was rebuilt recently as was described as a bunch of bolts were corroded to hell and figuratively "sprouting." Still had a hard time turning it down when he dropped the price a grand, but the damn thing needed too much work. However, I did pick up another daily driver. A 2006 Accord V6 6-speed manual sedan. Nice car, I'll be keeping it as clean as possible, but no mods planned.
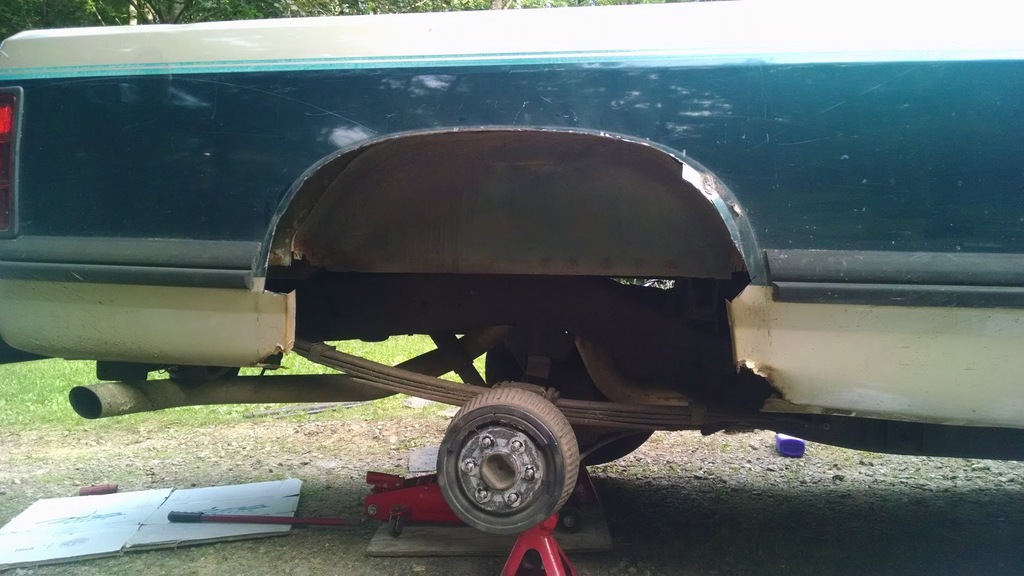
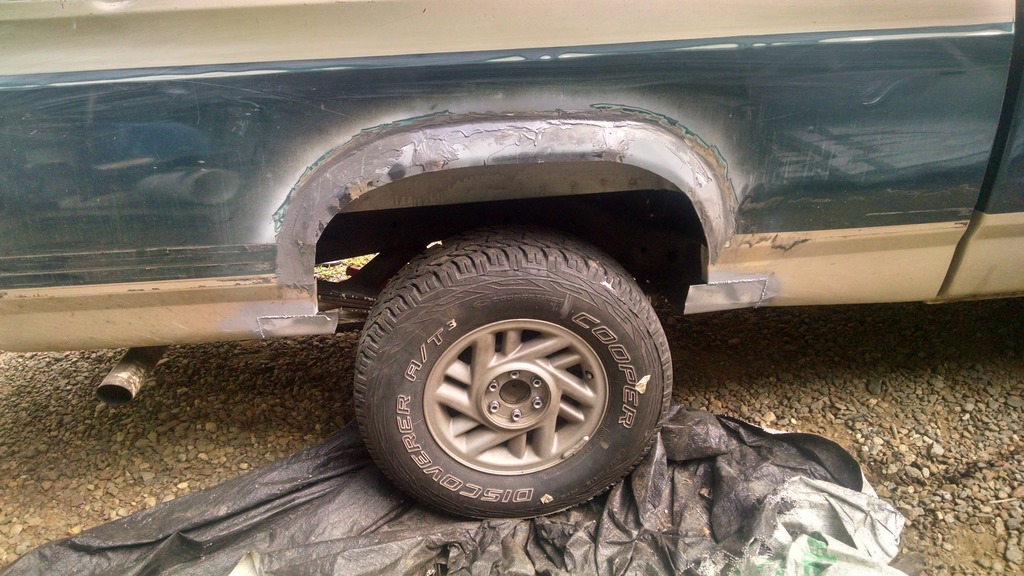
Alright ya'll, I'm finally back with some updates. Previously I mentioned how I was going to flatbed the truck because I didn't want to deal with the rust on the bed wheel arches. Well, I ended up just dealing with the rust on the wheel arches. It is my first foray into bodywork and I have very little experience with welding thin steel. The idea was not to get it perfect. Not even close to perfect, just get rid of the rust and make something generally resembling the original arch. I had low standards for this and I met them.
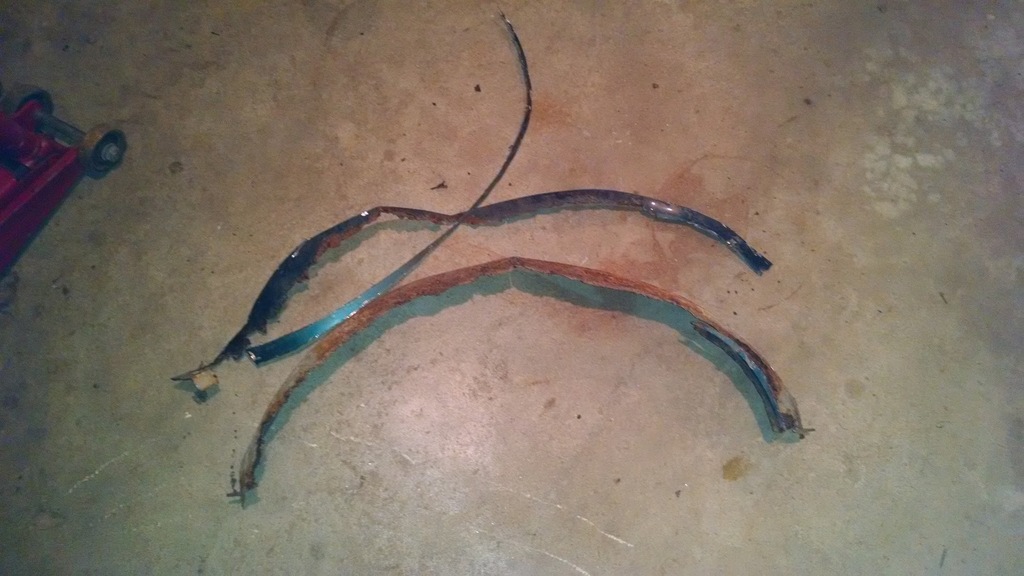
I cut out all the rusty metal, which was basically the entire flared arch and the inner fender that meets it. This is the passenger's side. The driver's side needed a less intensive repair but still required cutting the entire inner fender out and part of the outer. The passenger side was partially created using a cut up front right fender from a '97+ Dakota, but the driver's side was completely done with sheet metal patches (pics to come).
Gotta trim those patches on the edges, haha.
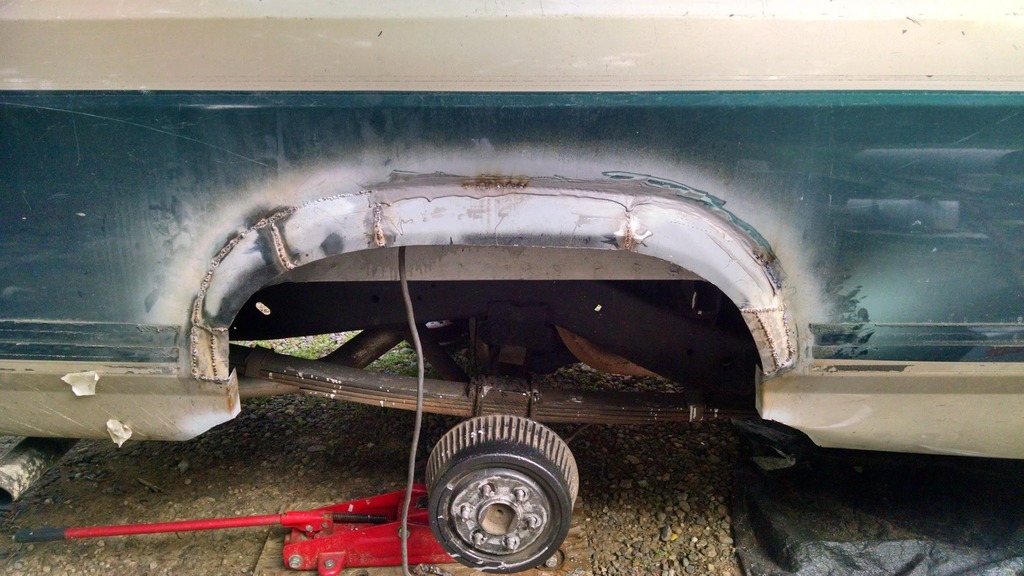
Matches the front good nuff...
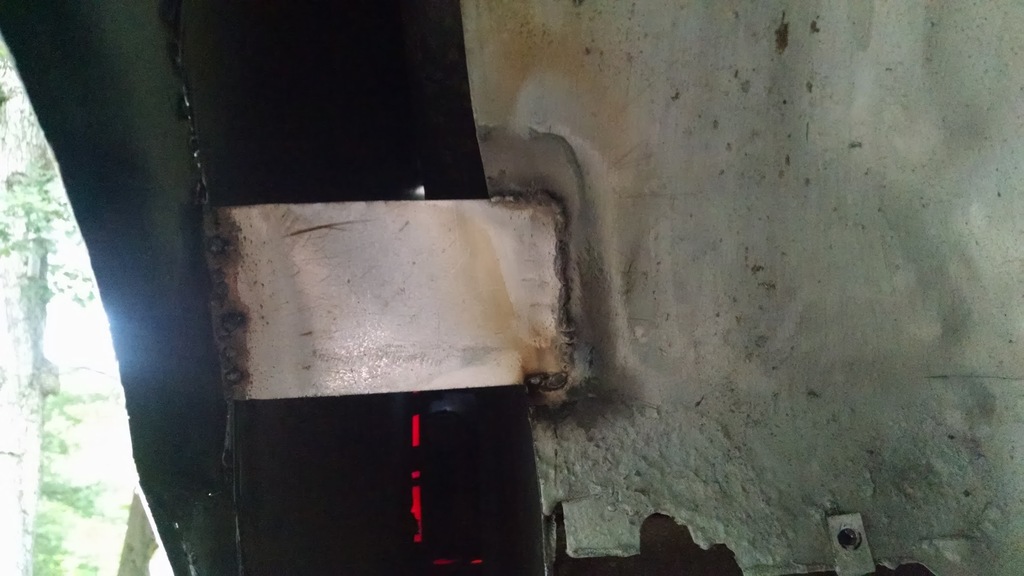
This is how I added rigidity back into the bedside. Just three of these pieces of sheet metal welded in along the wheelwell. It's very solid. A lot more dirt and **** is gonna get up and inside the bedsides but I'll be diligent in keeping them clean and fluid film'd. I'm not willing to put the time into trying to replicate the part that no one will ever see.
Killed a few of these 4 1/2" cutting discs.
Paint coming soon, here's a teaser...
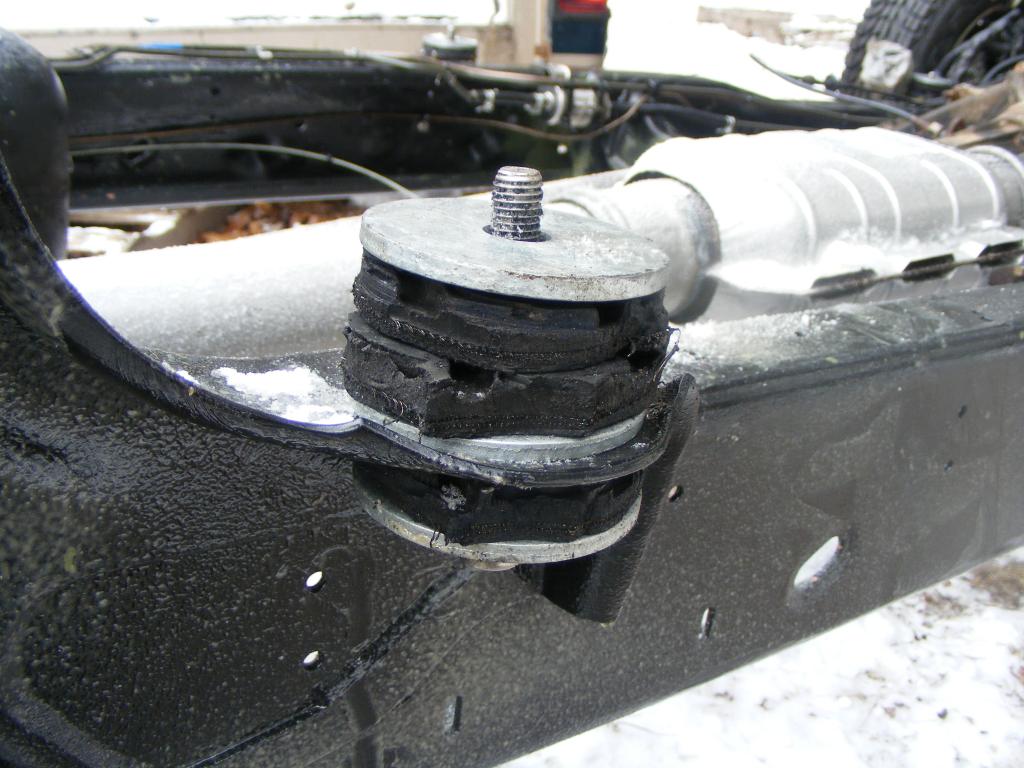
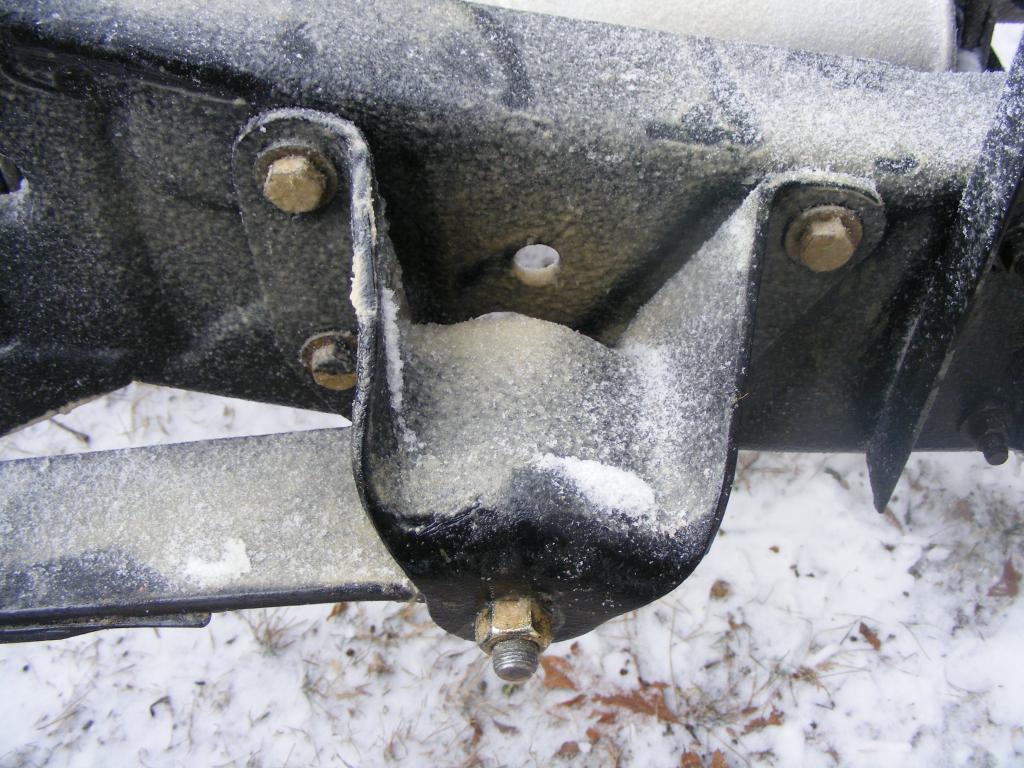
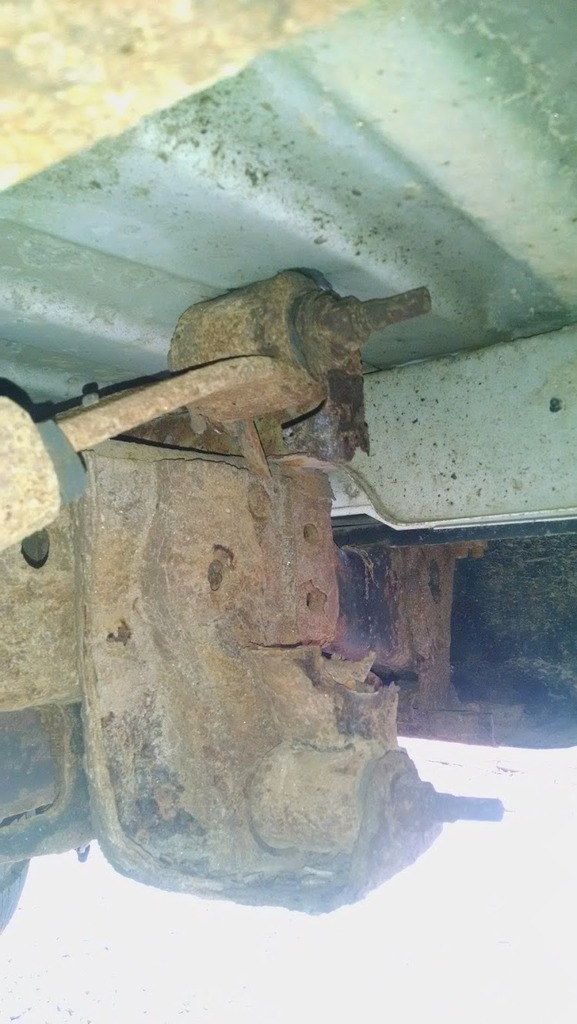
And more fun products of rust. '02 Chevy leaf shackle snapped and sent the leaf into the bottom of the bed. The whole rear frame needs reinforcing.... Eff U 2000s GM.
On a lighter note, my engine hoist was occupied by some wrens. Guess it's tellin me I need to get the V8 swap started already!
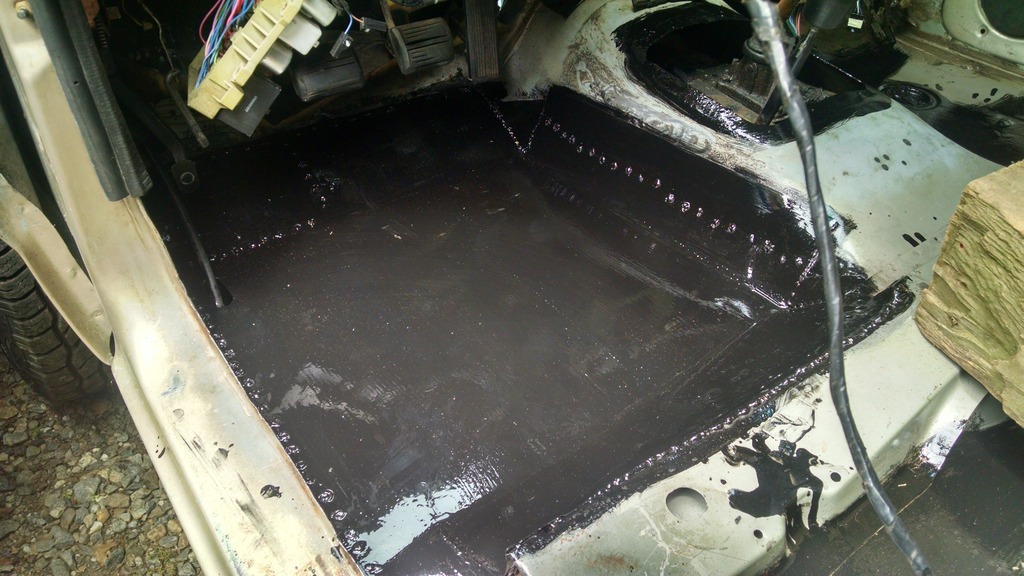
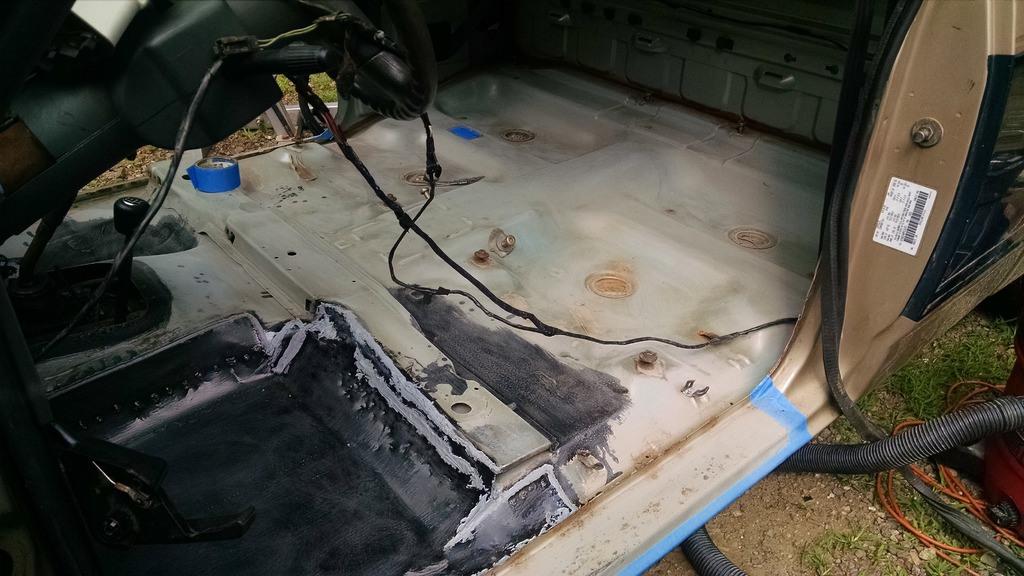
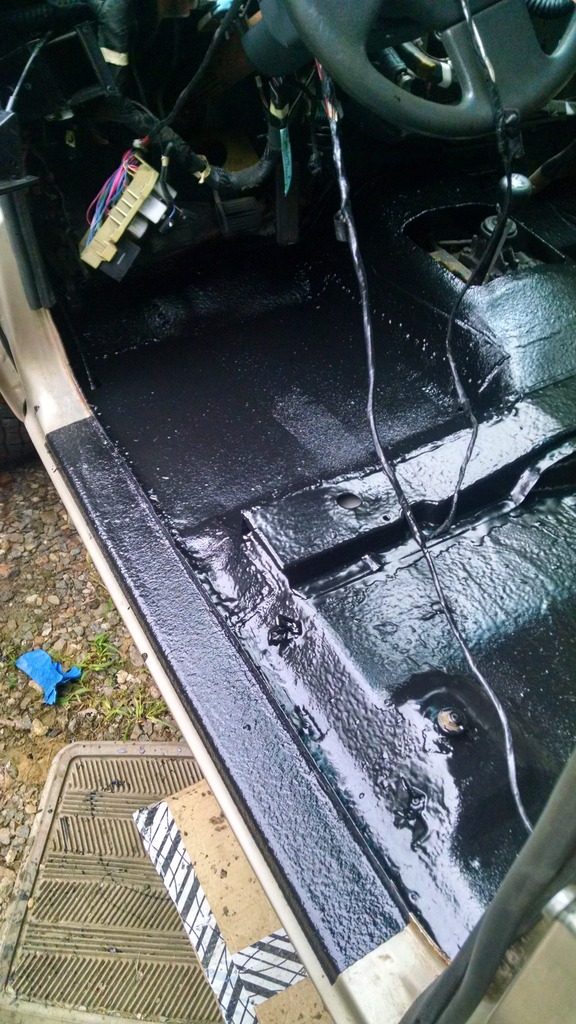
Another WAY overdue update on the cab. This work was done last year. I replaced the floor with my superior sheet metal fabrication and welding skills The new sheet metal was scuffed up real well and painted with Chassis Saver (same as POR-15) top and bottom. The whole interior of the cab was scuffed up and bedlined with Monstaliner. Fairly pleased with how it came out and it's held up FANTASTIC. I highly recommend Monstaliner.


 . thankfully the floor is screwed in though so I'm comfortable dropping the cab back on and welding it in at my convenience.


 The consensus over the internet seems to be that bedliner paint jobs are ugly as sin...but hell, I like them so I very well may go that route. Maybe even two-tone bedliner.


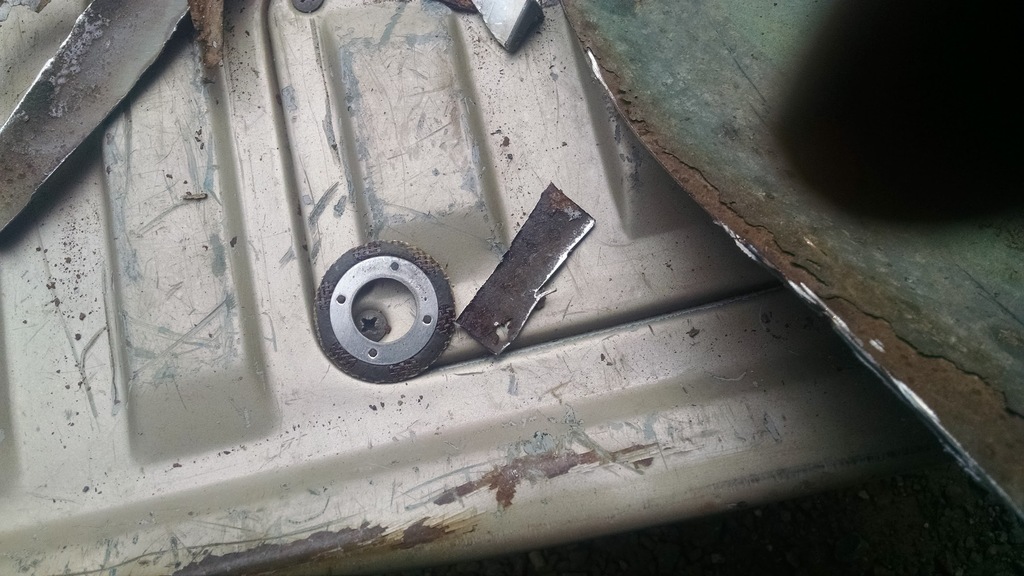


 The new sheet metal was scuffed up real well and painted with Chassis Saver (same as POR-15) top and bottom. The whole interior of the cab was scuffed up and bedlined with Monstaliner. Fairly pleased with how it came out and it's held up FANTASTIC. I highly recommend Monstaliner.