


Lower Balljoint removal-4X4's


Thread Starter
|
Amateur
Joined: Sep 2010
Posts: 48
Likes: 0
From: Tulsa,OK
Decided to take the Durango to tow the jet ski's to Beaver Lake in AR about 2 1/2 hours away. Had to make it road worthy/safe.
First thing I did was jack up the front wheels and pull the tires. I then removed the Cotter pin and loosened the 24 mm balljoint nut. Then remove the pin and nut cover on stub axle nut. Stub axle is 32mm and it took my 220lb with ease. Took a little standing and jumping to get it broke loose with a 24" breaker bar. To keep the hub from spinning place a big flat head or tire iron in the brake disc so it hits the caliper rest of the knuckle.
Remove upper, if your truck has had the recall done it will be easy, 3 15mm bolts.
Slide out of way and slip axle out and rotate assembly out of way toward front, if yours was peened in like mine you will see a 1/4" lip around it, I took a grinder and grinded it off so I could see the seam all the way around. However SOME are installed using a snap ring, if so your life will be much easier go buy a lotto ticket. Took the 32mm hammer and torch to it and it came out with a little kinetic motivation.
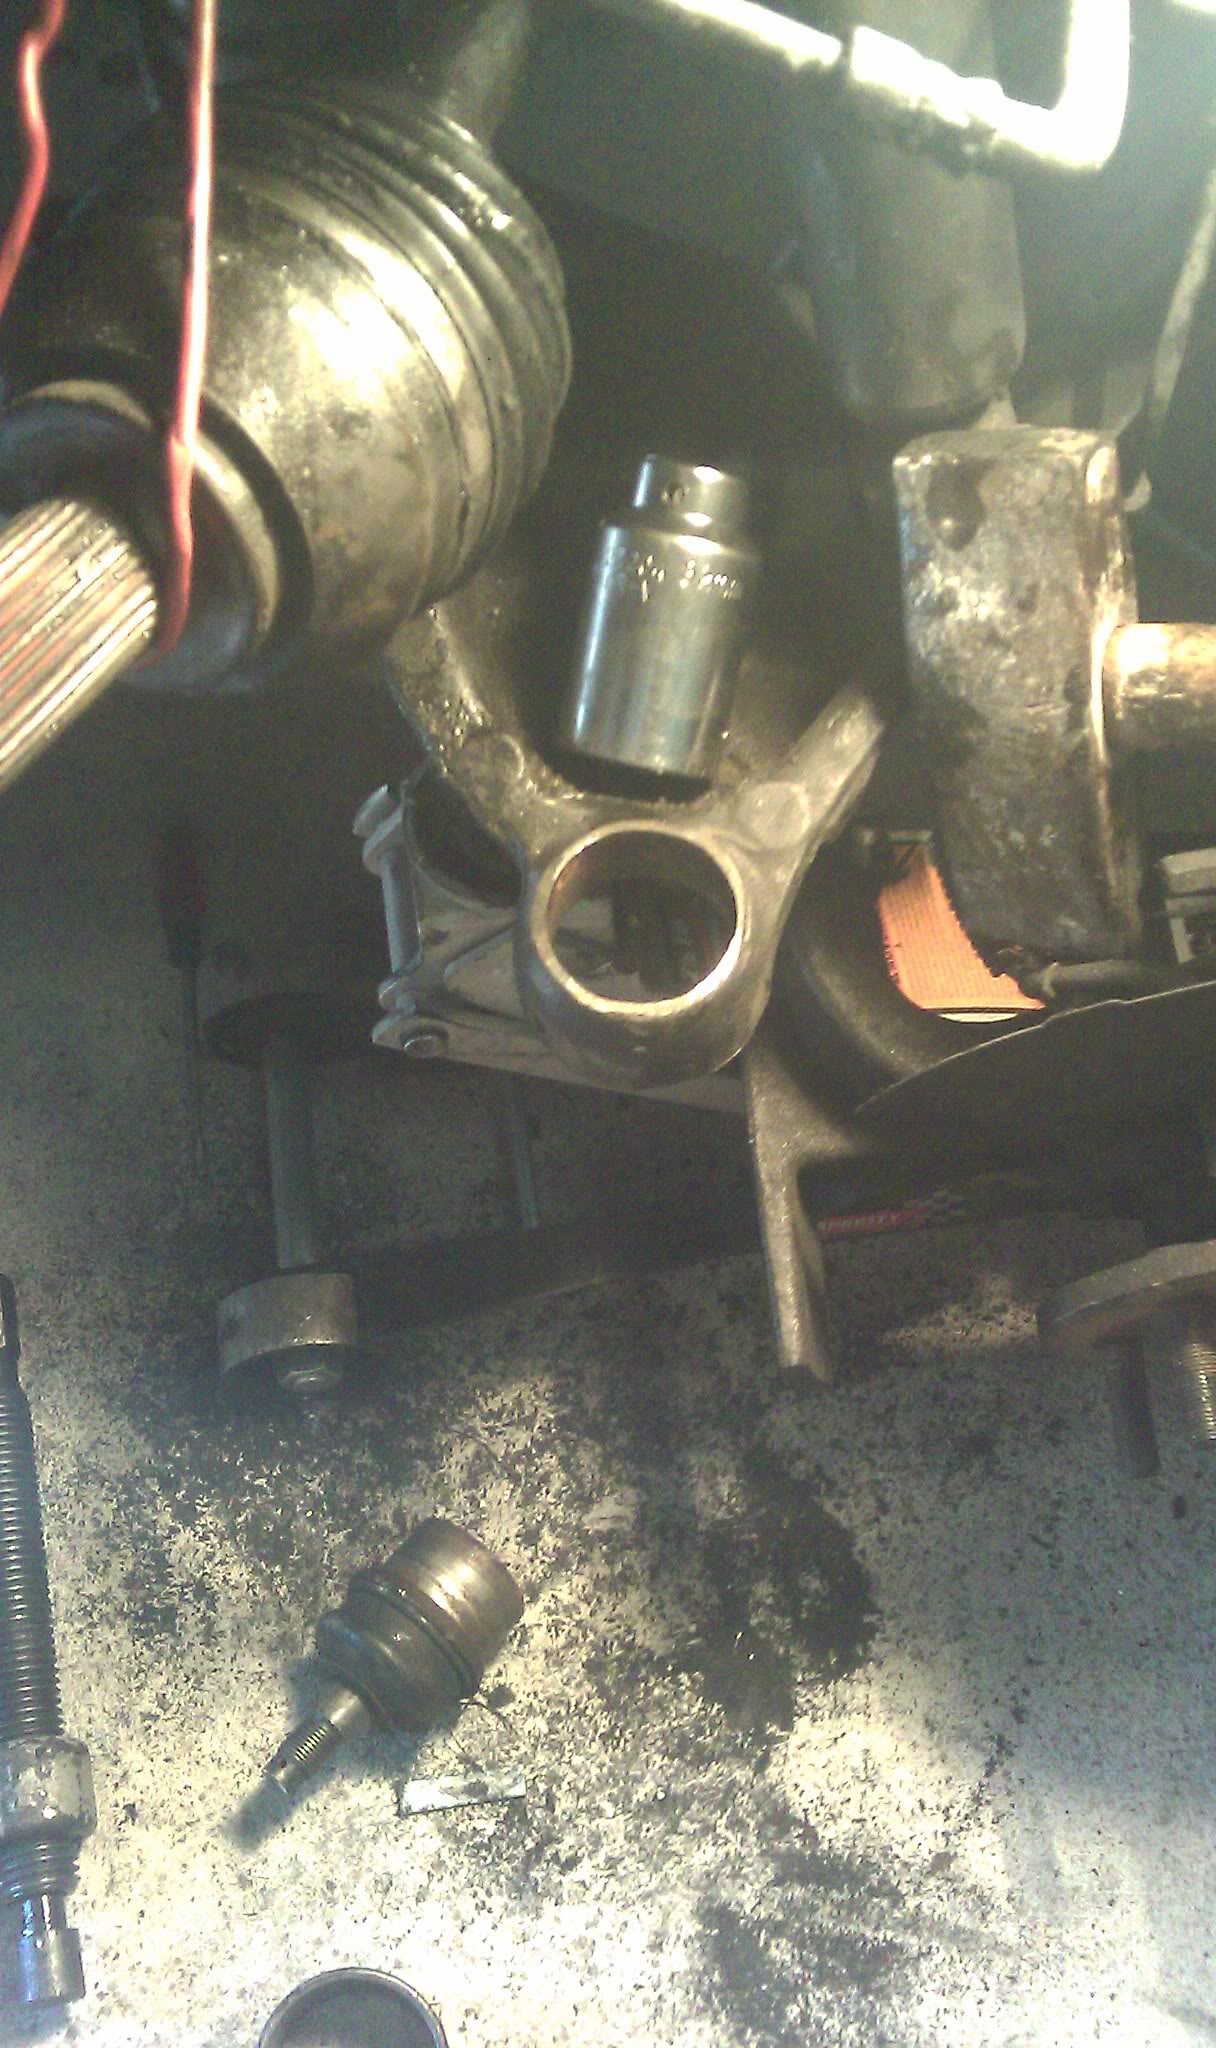
Re-installation is reverse of removal. LOLZ
Edit: Be sure you grind off enough material to clear the snap ring. Measure the thickness of the balljoint and the control arm, grind accordingly.
First thing I did was jack up the front wheels and pull the tires. I then removed the Cotter pin and loosened the 24 mm balljoint nut. Then remove the pin and nut cover on stub axle nut. Stub axle is 32mm and it took my 220lb with ease. Took a little standing and jumping to get it broke loose with a 24" breaker bar. To keep the hub from spinning place a big flat head or tire iron in the brake disc so it hits the caliper rest of the knuckle.
Remove upper, if your truck has had the recall done it will be easy, 3 15mm bolts.
Slide out of way and slip axle out and rotate assembly out of way toward front, if yours was peened in like mine you will see a 1/4" lip around it, I took a grinder and grinded it off so I could see the seam all the way around. However SOME are installed using a snap ring, if so your life will be much easier go buy a lotto ticket. Took the 32mm hammer and torch to it and it came out with a little kinetic motivation.
Re-installation is reverse of removal. LOLZ
Edit: Be sure you grind off enough material to clear the snap ring. Measure the thickness of the balljoint and the control arm, grind accordingly.
Last edited by swiss; Jul 13, 2011 at 08:51 PM.