When you click on links to various merchants on this site and make a purchase, this can result in this site earning a commission. Affiliate programs and affiliations include, but are not limited to, the eBay Partner Network.
Looks good. I've been thinking about getting one of those digital ones that can switch what it's displaying on the fly.
There are some nice looking digital ones out there. Maybe its me but, i have never had one last to long before the sending unit crapped out or the gauge itself. That's why i have stayed with the mechanical gauges.
I am seriously considering doing a custom gauge cluster with Autometer's Mopar series.....
Last edited by Old_School; Jun 15, 2013 at 02:04 AM.
Awesome write up! I think I might do this sometime also. Working on getting mine back up to par first, but adding this to the list.
How do the hard lines STAY in the tee? I know usually they have the rounded end on them, what did you do?
Awesome write up! I think I might do this sometime also. Working on getting mine back up to par first, but adding this to the list.
How do the hard lines STAY in the tee? I know usually they have the rounded end on them, what did you do?
Thanks!
You use compression fittings to join the hard lines to the tee. there is a ring in them that compresses to the hard line was you tighten the fitting. i'll get a pic of how it goes together
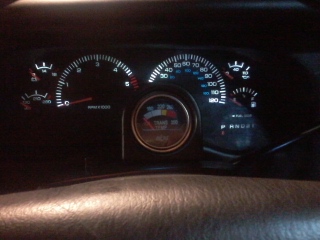
So i thought i would update things a little bit. I decided to didn't like the location or the look of the first gauge so i decided to go to the B&M kit. So far i like it a bit better than the first one... here are some install pics...
It looks like it matches the steering column really well.
That's part of the reason i went with it... If there was not a B&M logo on the gauge it would look very close to OEM. Only thing i have to get over is the fact that it covers up the "ABS" and the "Check Gauges" warning lights. It also covers up the first 10-15 MPH of the speedometer but i don't really care about the lower half of the speedometer and if i get a "Check Gauges" light its usually followed by a chime from the CTM so ill know something isnt right.