


new guy... just picked up a 2000 r/t - part 2

Thread Starter
|
Registered User
Joined: Apr 2014
Posts: 17
Likes: 0
From: Central PA
since my original post got locked thanks to childish bickering...
https://dodgeforum.com/forum/1st-gen...-2000-r-t.html
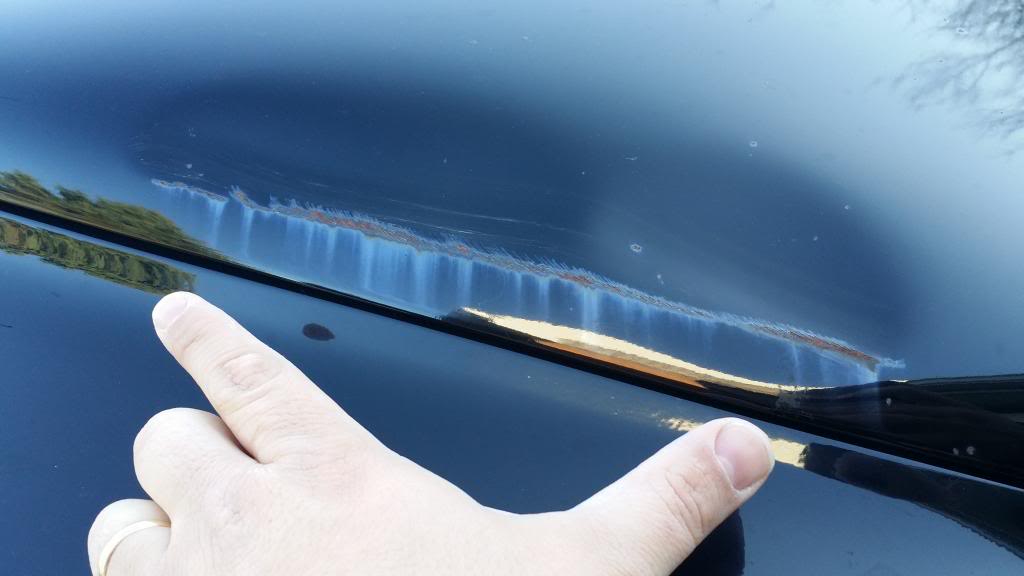
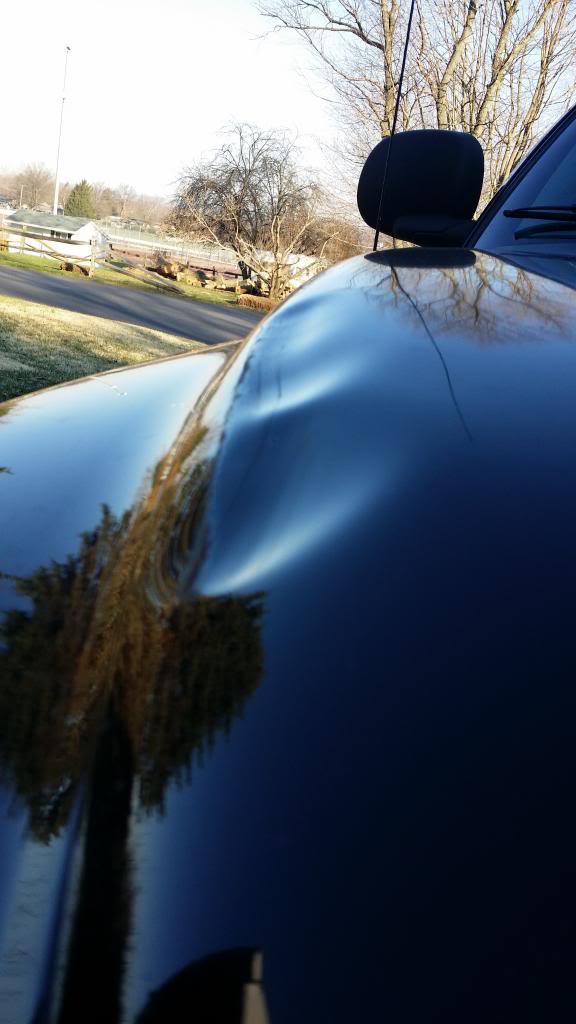
I ended up recruiting the wife to go along to the yard, and pull a new hood. I think it was harder getting the grille off... than actually replacing the hood. the old hood had a really odd dent / crease along the passenger side, but no damage to the fender. weird.
Before
During - haha. at least you can see the CAI
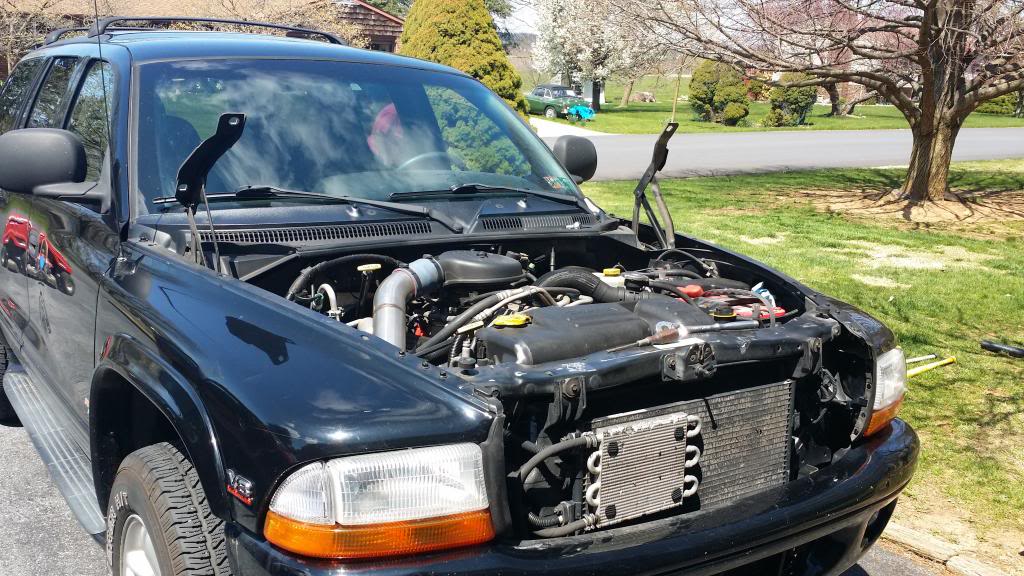
After
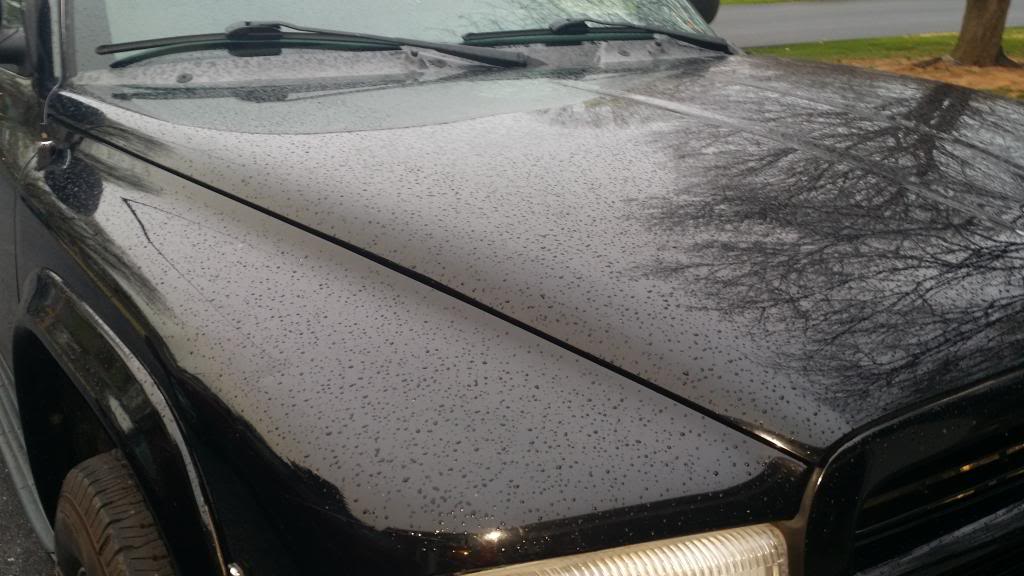
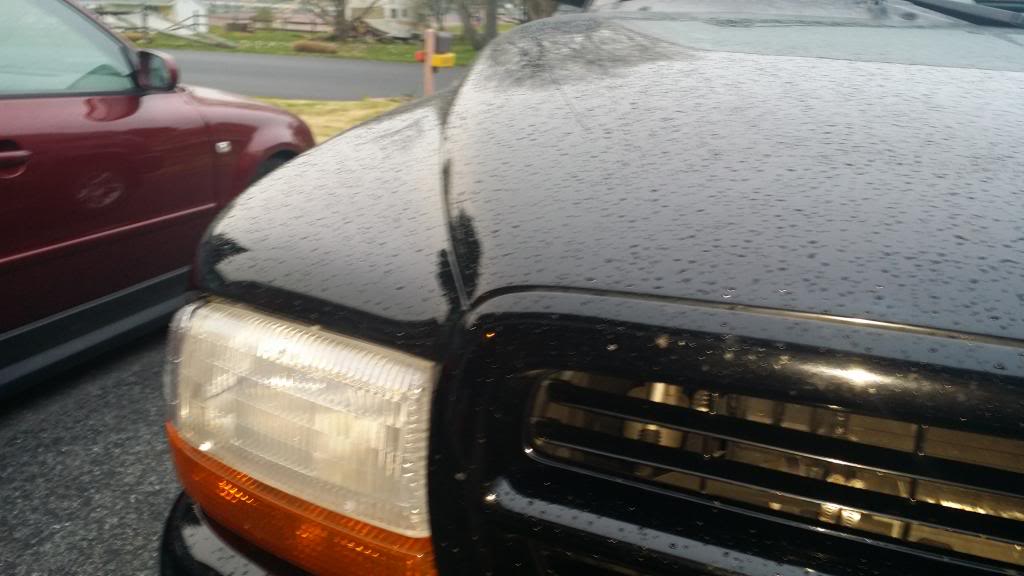
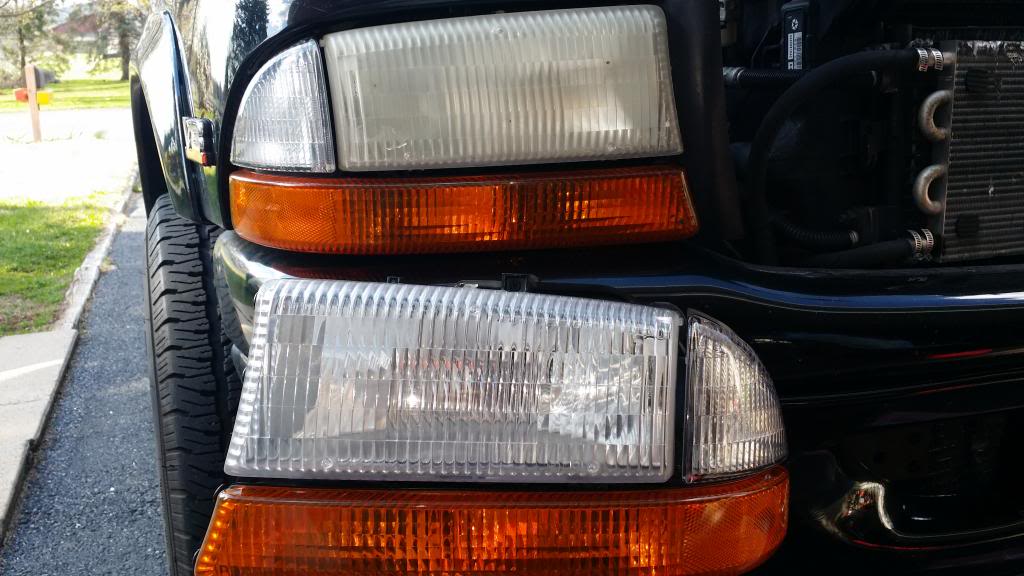
when doing the hood... I figured I would also sand and buff the headlights - made a HUGE difference in actual light output, and took all of 15 minutes.
and of course... because of the front bumper being dented and pushed back slightly, I couldn't get to the screws to remove the assembly. So I just did the passenger side, while it was still installed.
a new bumper is on "the list" of things to do at one point.
I've noticed that I have a vaccum leak (I thought it was a radio issue actually - just a constant hiss), that sounds like it is coming from the cowl area, it goes away upon acceleration.... it affects the a/c, but not the cruise control? interesting.
https://dodgeforum.com/forum/1st-gen...-2000-r-t.html
I ended up recruiting the wife to go along to the yard, and pull a new hood. I think it was harder getting the grille off... than actually replacing the hood. the old hood had a really odd dent / crease along the passenger side, but no damage to the fender. weird.
Before
During - haha. at least you can see the CAI
After
when doing the hood... I figured I would also sand and buff the headlights - made a HUGE difference in actual light output, and took all of 15 minutes.
and of course... because of the front bumper being dented and pushed back slightly, I couldn't get to the screws to remove the assembly. So I just did the passenger side, while it was still installed.
a new bumper is on "the list" of things to do at one point.
I've noticed that I have a vaccum leak (I thought it was a radio issue actually - just a constant hiss), that sounds like it is coming from the cowl area, it goes away upon acceleration.... it affects the a/c, but not the cruise control? interesting.

Thread Starter
|
Registered User
Joined: Apr 2014
Posts: 17
Likes: 0
From: Central PA
it's definitely more noticeable with the hood up, and being outside. I just haven't poked around enough to see where at.
all new lights are on "the list"... I do like the look of the clear headlights and clear corners.
I'm also finding how hard it is to track down an ashtray in a junkyard. hahaha. and I dont even smoke, but I need a place for my change. it's that, and the rear hatch struts that are gone on EVERY single one of these that I've come across.
How did you get the headlights that clear.. i have tried wet sanding with multiple grits of sand paper and buffing with maguire's and still dont come out that clear...
Last edited by Old_School; May 7, 2014 at 01:51 PM.
Thread Starter
|
Registered User
Joined: Apr 2014
Posts: 17
Likes: 0
From: Central PA
as far as the struts go... I'm cheap. plus I was there to get the hood, so I figured I'd look. if I spend $2 and they last a year... I'm happy. ha!
really nothing crazy... 400 / 800 / 2000 wet sandpaper and sand the heck out of them with each grit. let it dry. then I came back with a buffer with a foam pad, and some meguiars polish (81 or 83? I forget). and VIOLA.
if you're ever up my way on a weekend... I'd gladly hit them for ya! working 2 jobs my evenings have disappeared.
Hall Of Fame


Joined: Jun 2005
Posts: 14,228
Likes: 19
From: Riverton, UT
I just ended up just replacing mine after all the tooth paste buffings, looks sooooo much better and I can see with a new set of Sylvania Silverstar Ultras.
That dent in one pic looks like someone sat on it, I can even see the crack....LOL....Looks a heck of a lot better....As for the cowl vacuum issue, do you have the new interior or the old vacuum style one? The old one is vacuum and new is electronic. If the selector is making selections going from defrost to panel it is a vacuum issue. There are 2 check valves on the system, one at the brake booster and one under the dash.
That dent in one pic looks like someone sat on it, I can even see the crack....LOL....Looks a heck of a lot better....As for the cowl vacuum issue, do you have the new interior or the old vacuum style one? The old one is vacuum and new is electronic. If the selector is making selections going from defrost to panel it is a vacuum issue. There are 2 check valves on the system, one at the brake booster and one under the dash.
Trending Topics
as far as the struts go... I'm cheap. plus I was there to get the hood, so I figured I'd look. if I spend $2 and they last a year... I'm happy. ha!
really nothing crazy... 400 / 800 / 2000 wet sandpaper and sand the heck out of them with each grit. let it dry. then I came back with a buffer with a foam pad, and some meguiars polish (81 or 83? I forget). and VIOLA.
if you're ever up my way on a weekend... I'd gladly hit them for ya! working 2 jobs my evenings have disappeared.
really nothing crazy... 400 / 800 / 2000 wet sandpaper and sand the heck out of them with each grit. let it dry. then I came back with a buffer with a foam pad, and some meguiars polish (81 or 83? I forget). and VIOLA.
if you're ever up my way on a weekend... I'd gladly hit them for ya! working 2 jobs my evenings have disappeared.
This may help you on the Vacuum leak....

If you need any help and you up my way let me know.

Thread Starter
|
Registered User
Joined: Apr 2014
Posts: 17
Likes: 0
From: Central PA
just had a really odd thing happen... not sure what was going on.
driving to work (it's under a 4 mile commute) this morning... I get a "check gauges" light on the dash light up, and the temp gauge is moving up (not creeping, it's moving pretty quick) past the 210 or whatever the number is, and climbing. I drive the last 400' to work (I'm that close). it goes the entire way to the hottest mark, and as im turning into the parking lot, the "check gauges" light goes off, and the needle drops back down to where it normally should be. it sat there and idled fine, and at the temp that it should be.
it didn't smell hot inside or outside. no smell of coolant leaking anywhere. I didn't see anything dripping anywhere (that I could tell anyhow).
thoughts??

