

full drag neon ***tube chassis***


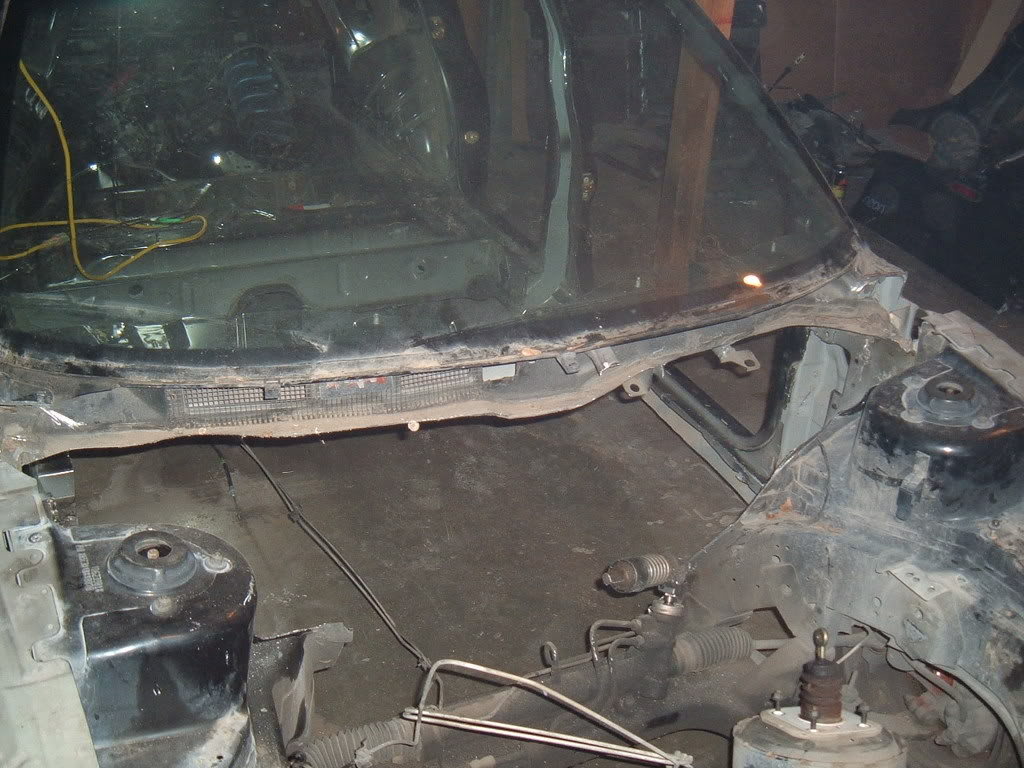
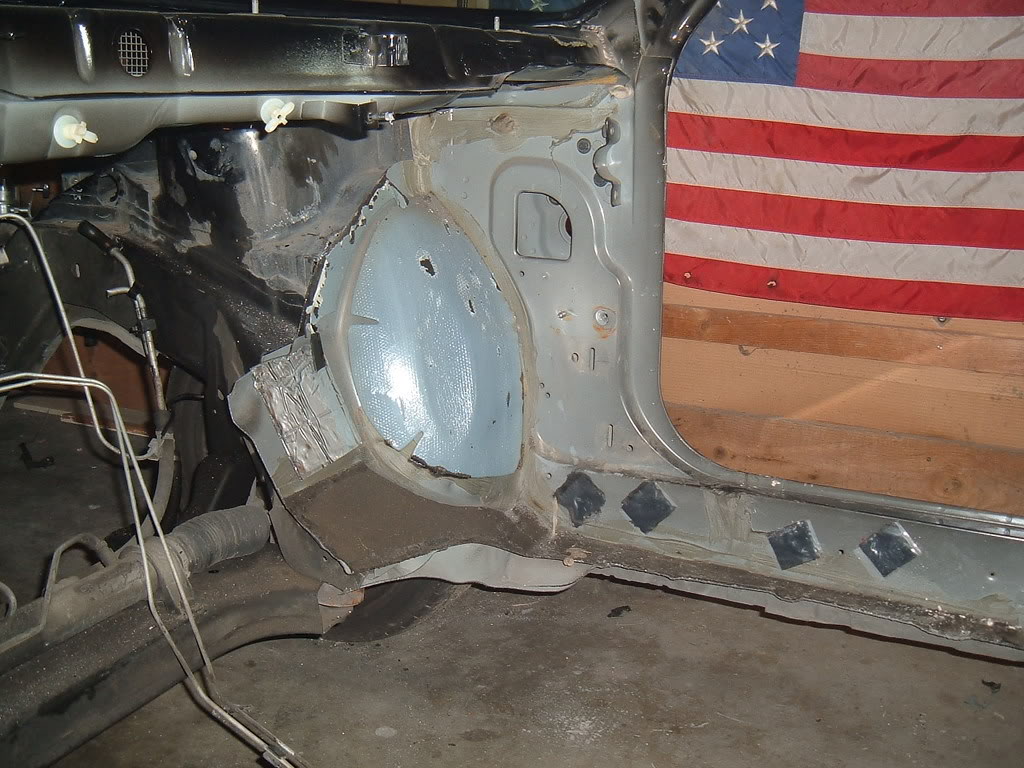
this pic is to show just how far i have cut the firewall. it is all i need to cut on the drivers side and above until i get the basic 4 point in with the main floor hoop.
this shot is showing the interior side of the firewall and how much i have cut out on the drivers side.
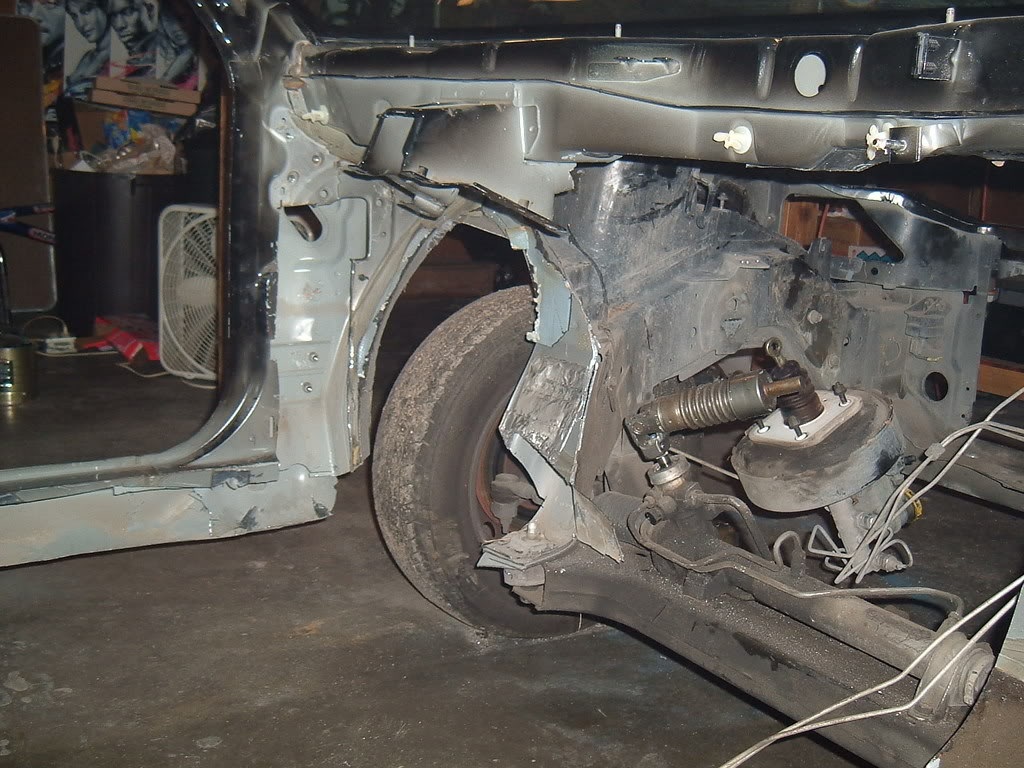
a little closer shot of what is going on in here.
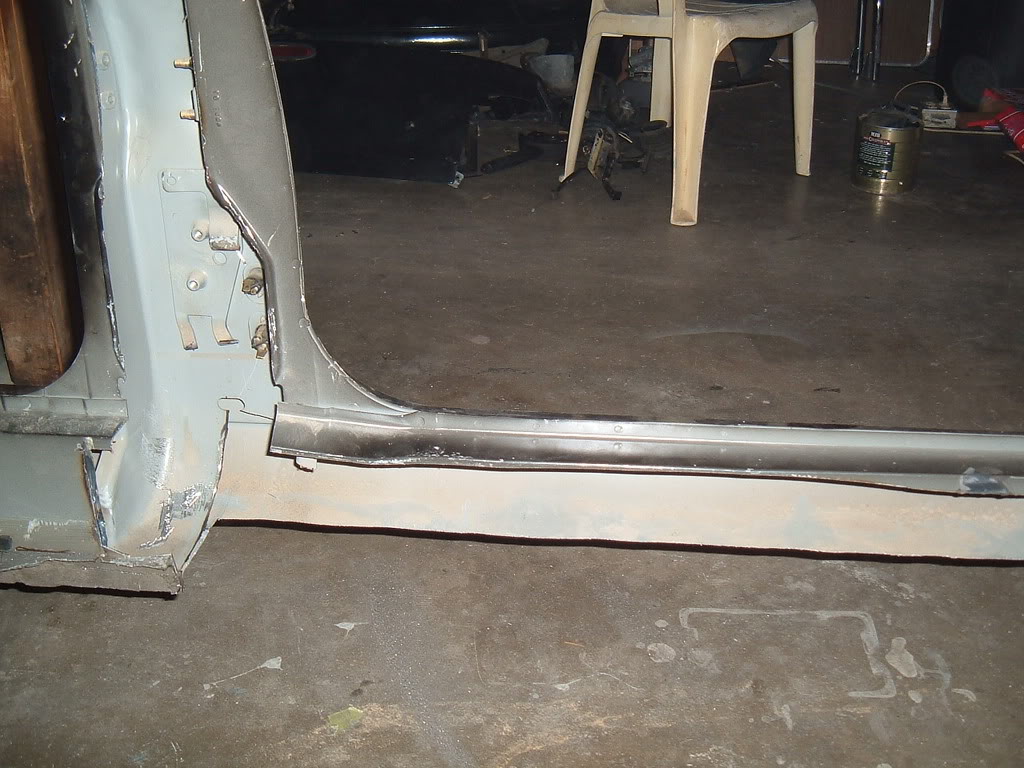
main floor hoop is inside the rocker panel and a 90* turn to the passenger side with a 1/4" steel plate for the bottom subframe bolt to mount to will be made as well and welde to the new frame. the void going verticle is for the upper door hoop connecting at the main hoop and then connecting at this junction down below.
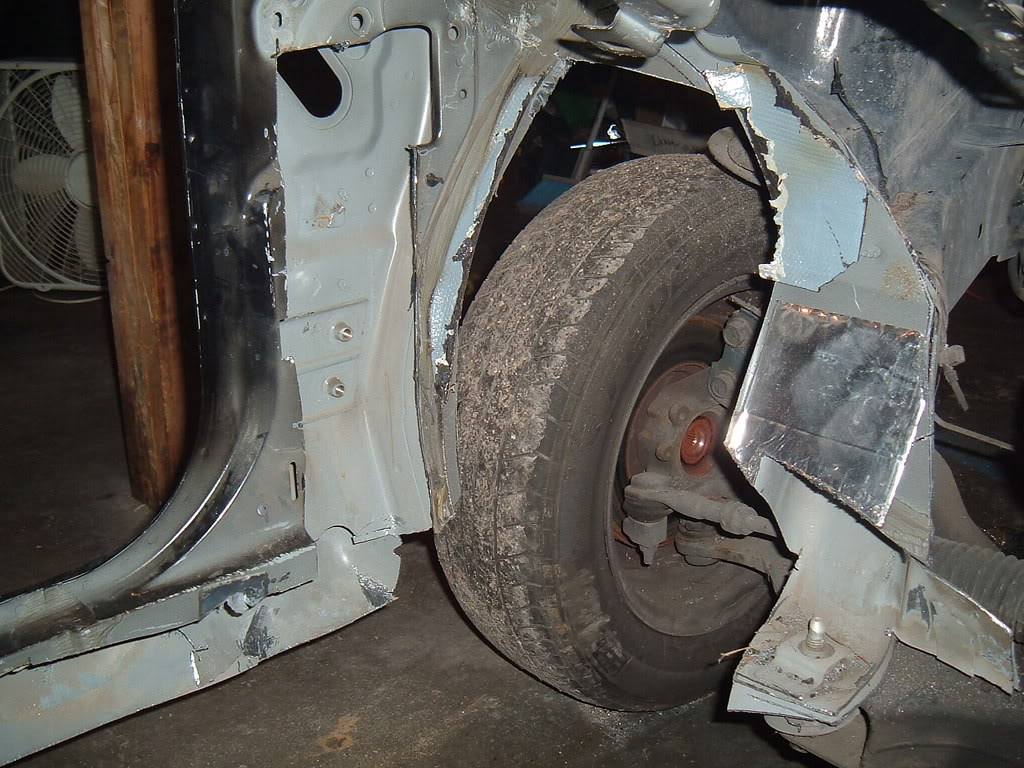
couple shots of the drivers rocker panel from the interior side showing the nice void, perfect for a 1.625" tube.
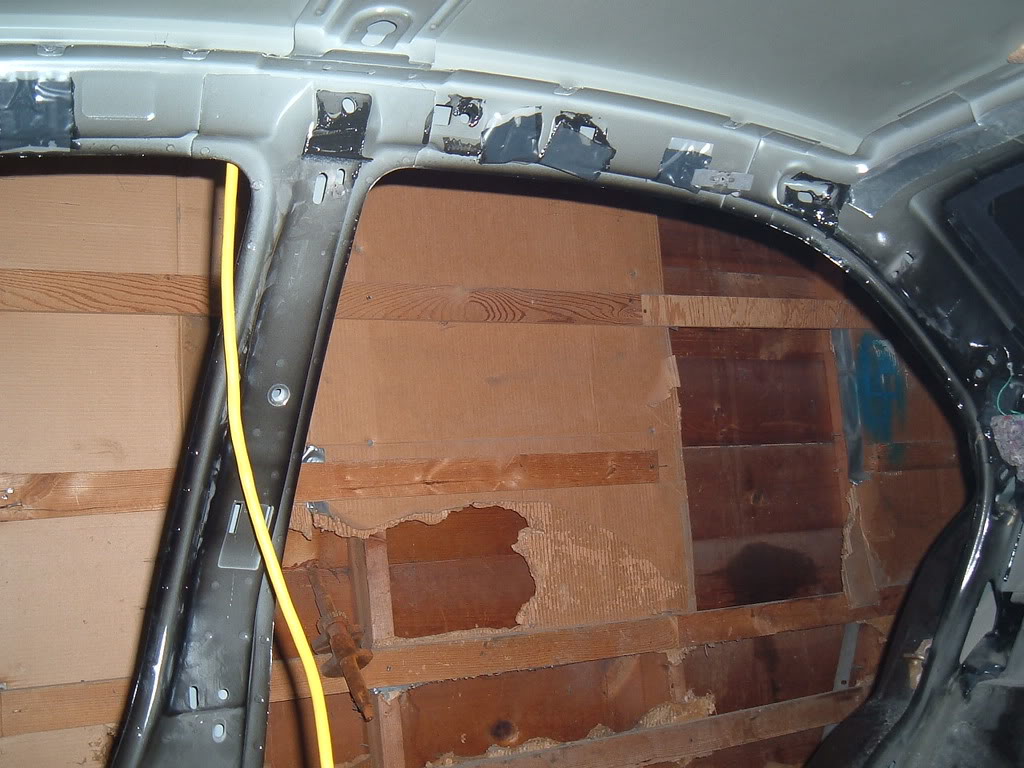
this shot is of the B pillar void, (in between the two doors), and the void of the rocker panel area. this is the junction where the main hoop and the floor hoop connect as well as a horizontal tube going from left to right connection both ends of the main hoop and floor.
next is the b pillar again going vert. the main hoop will follow the body line here, but inside the b pillar void until closer to the top.
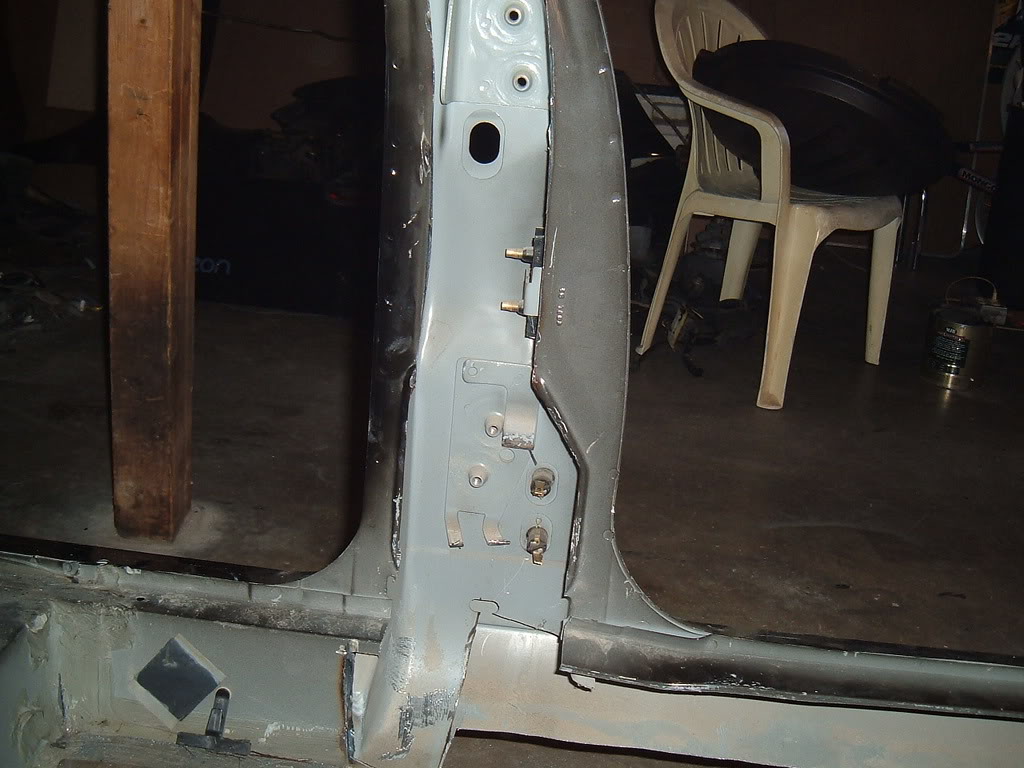
at the top, it will bend to the passenger side comming out of the pillar void.

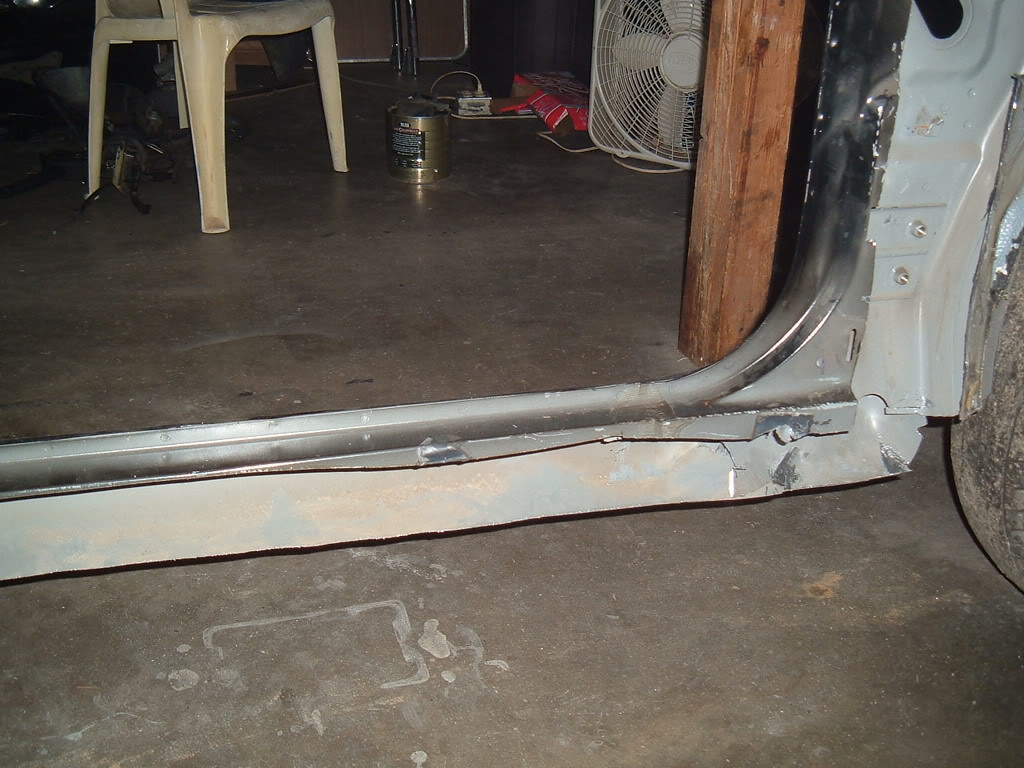
shots of the outside of the rocker panel now trimmed.
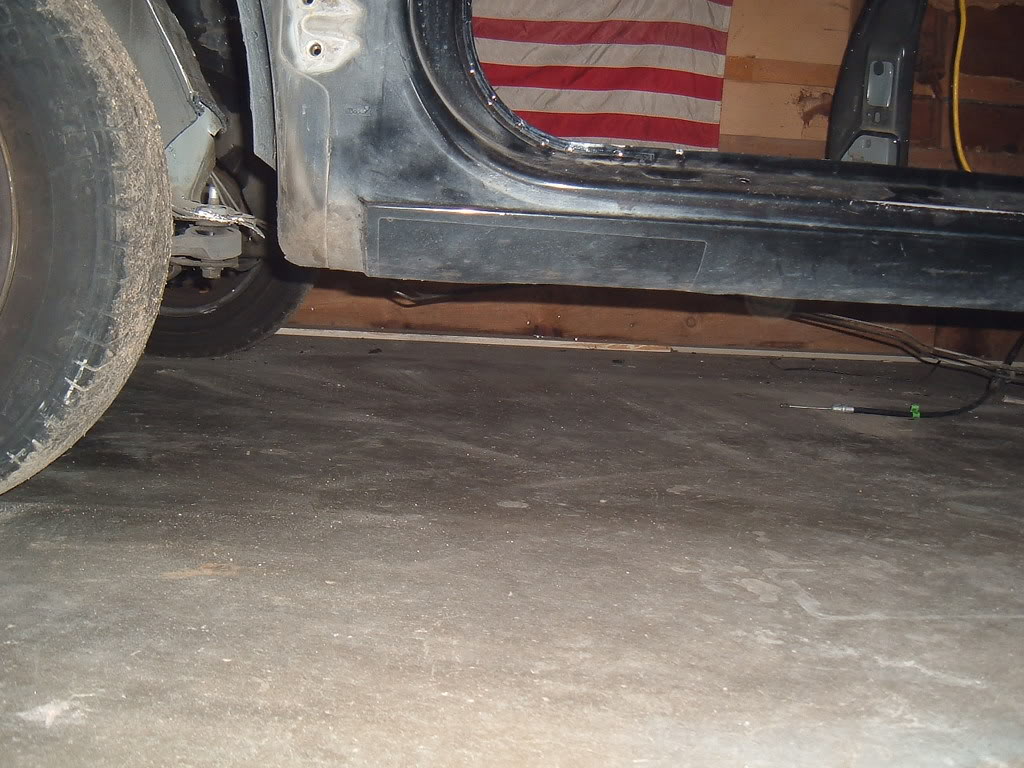
notice to the rear here the 1/5" spot weld lip is gone, but you can see it where i stopped because it is for the rear passenger area, and i am not there yet.
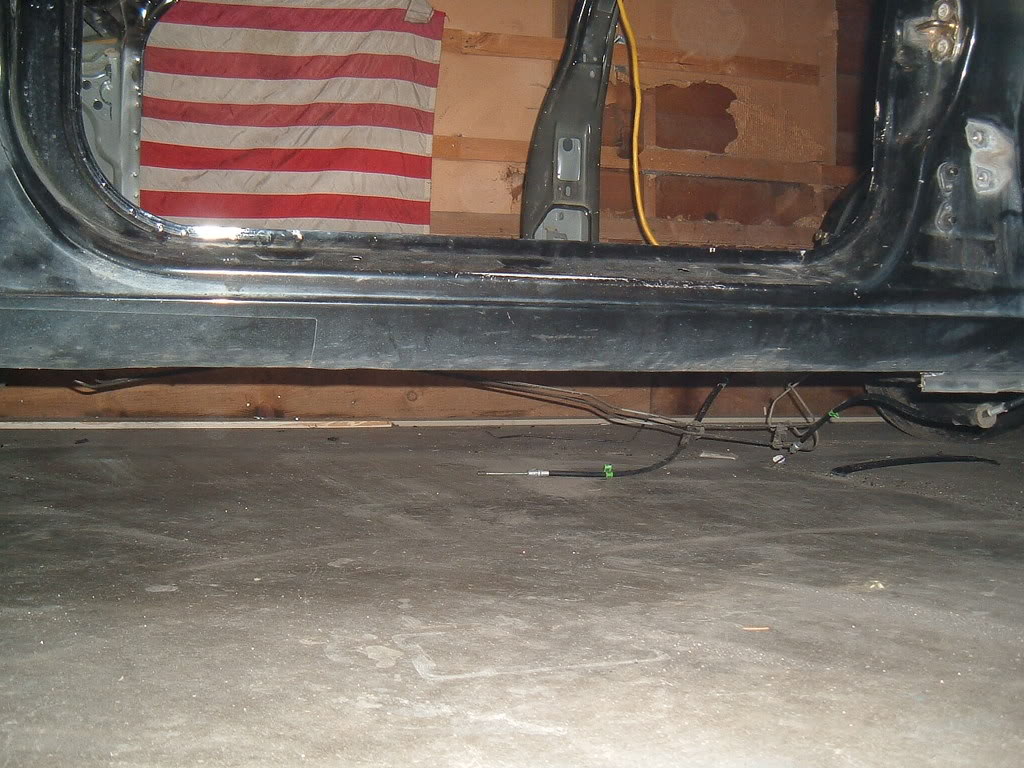
comparison shots of passenger side that i have not finished yet.

this is where i stopped cutting the floor. basicly under the rear seat area. trailing arms are there along with the fact that it is keeping the front half from sagging at all.
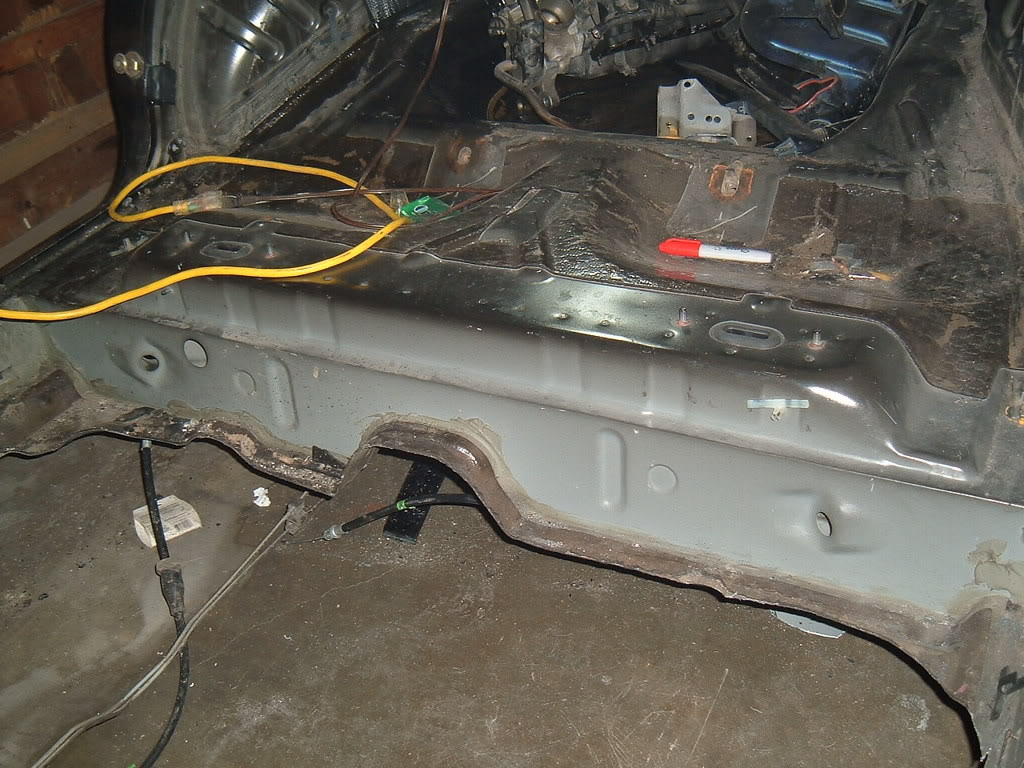
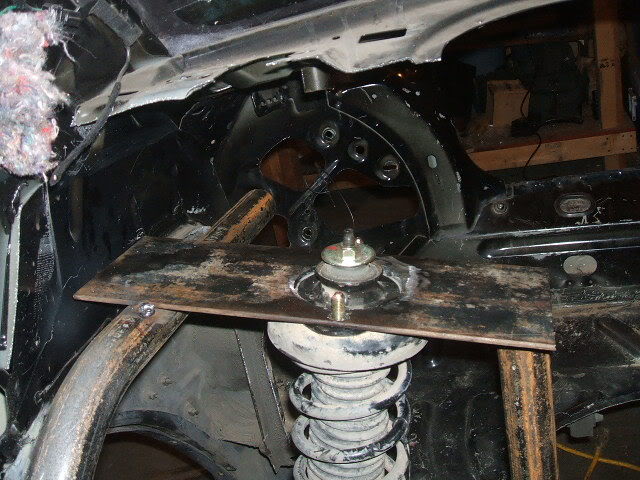
just a shot of the hood hinge platform where the bolts mount cut out in anticipation of getting the front stock frame gone. not going to cut any further until i get the main 4 point in.

the way this is all going to work is like this...
i am sure you all know how a truck cab mounts on a frame right? i am doing the same basic thing here. making a frame with a few 1/4" steel platforms weled to it, along with platforms welded to the body in corisponding places. a hole drilled in the plates and a nice sized bolt with nut and washers will be installed. there will be 6 of these, 3 on the rh, 3 on the lh to hold the main body to the new frame. going to try and make it to where i can unbolt the 6 bolts, along with a few other small items like fenders, ect ect, and pull the entire body off the chassis for upgrades during the winter months in years to come.
anyways, keep on tuning in.
this shot is showing the interior side of the firewall and how much i have cut out on the drivers side.
a little closer shot of what is going on in here.
main floor hoop is inside the rocker panel and a 90* turn to the passenger side with a 1/4" steel plate for the bottom subframe bolt to mount to will be made as well and welde to the new frame. the void going verticle is for the upper door hoop connecting at the main hoop and then connecting at this junction down below.
couple shots of the drivers rocker panel from the interior side showing the nice void, perfect for a 1.625" tube.
this shot is of the B pillar void, (in between the two doors), and the void of the rocker panel area. this is the junction where the main hoop and the floor hoop connect as well as a horizontal tube going from left to right connection both ends of the main hoop and floor.
next is the b pillar again going vert. the main hoop will follow the body line here, but inside the b pillar void until closer to the top.
at the top, it will bend to the passenger side comming out of the pillar void.
shots of the outside of the rocker panel now trimmed.
notice to the rear here the 1/5" spot weld lip is gone, but you can see it where i stopped because it is for the rear passenger area, and i am not there yet.
comparison shots of passenger side that i have not finished yet.
this is where i stopped cutting the floor. basicly under the rear seat area. trailing arms are there along with the fact that it is keeping the front half from sagging at all.
just a shot of the hood hinge platform where the bolts mount cut out in anticipation of getting the front stock frame gone. not going to cut any further until i get the main 4 point in.
the way this is all going to work is like this...
i am sure you all know how a truck cab mounts on a frame right? i am doing the same basic thing here. making a frame with a few 1/4" steel platforms weled to it, along with platforms welded to the body in corisponding places. a hole drilled in the plates and a nice sized bolt with nut and washers will be installed. there will be 6 of these, 3 on the rh, 3 on the lh to hold the main body to the new frame. going to try and make it to where i can unbolt the 6 bolts, along with a few other small items like fenders, ect ect, and pull the entire body off the chassis for upgrades during the winter months in years to come.
anyways, keep on tuning in.
got my new tubing bender yesterday. does 180* bends. now, i can really start into this awd talon swap/ full tube chassis neon.

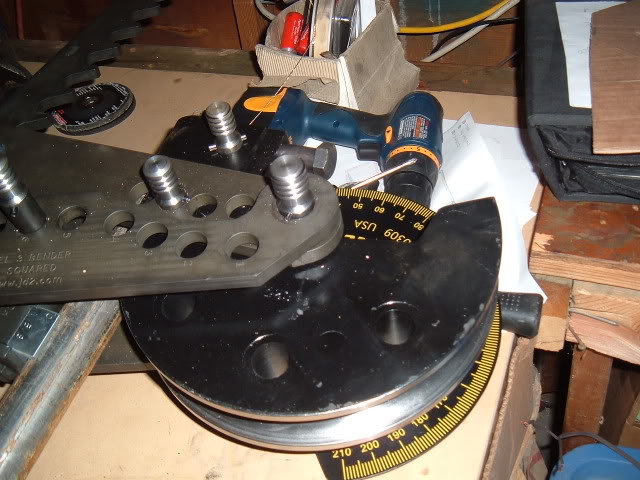
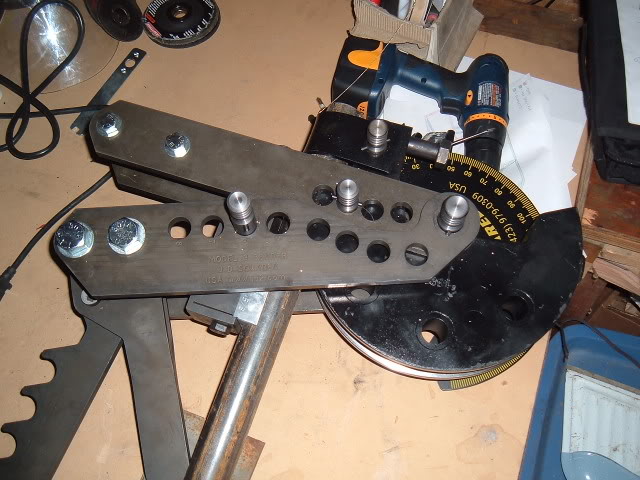
ps: might want to subscribe to this one fella's!
ps: might want to subscribe to this one fella's!
well, i have not been updating on this site leately, but here.....
http://www.dsmtuners.com/forums/newb...e-chassis.html
http://www.dsmtuners.com/forums/newb...e-chassis.html


Record Breaker
Joined: Apr 2007
Posts: 1,885
Likes: 0
From:
I wasent trying to say it in a negitive way... I just think its freaking crazy.... and not crazy in a bad way... I read everything... and I'll be honest with you I was on the same boat as most the guys on the org, with the whole front end saging but you did a damn good job, and its getting freaking crazy... The only question I have is how are you going to line up the front struts so they mount at the correct angle??? or are you just basing it off the neon angle???
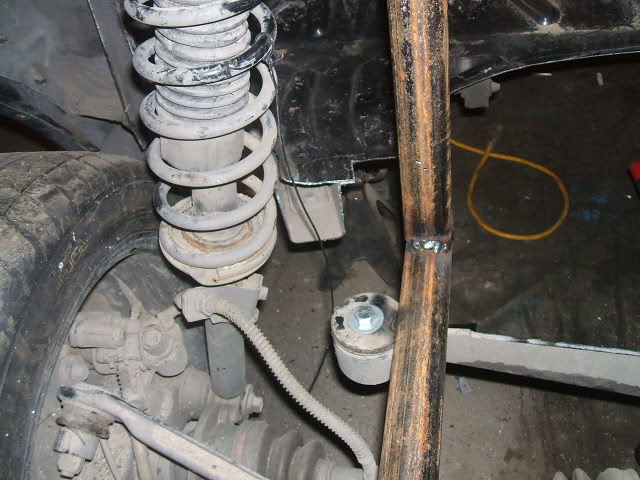
everything was the same as far as dementions go with the talon stuff. i installed the rack and pinion, then the strut and it alogned with the strut tower of the neon perfectly, so i just made a new strut tower and put it in the exact same spot. what you have to realize is that everything on the talon is almost identical to the neon. measure twice, cut once.
btw, i knew what you meant haha, i never once took it a negative way.[:-]
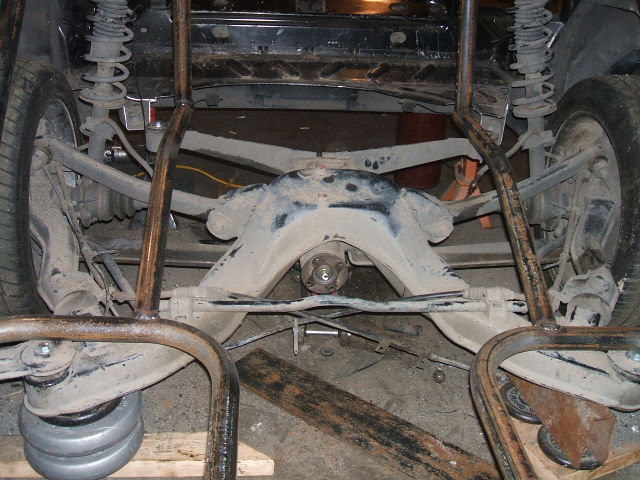
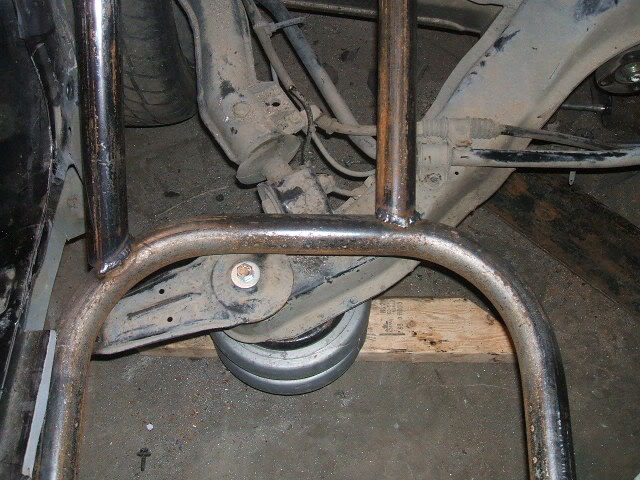
the harest part is going to be the rearend, but that will almost be like installing the rack and pinion subframe.
btw, i knew what you meant haha, i never once took it a negative way.[:-]
the harest part is going to be the rearend, but that will almost be like installing the rack and pinion subframe.

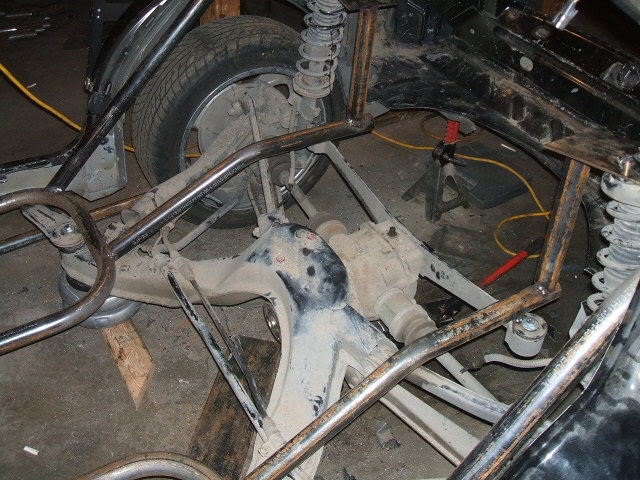
going to go ahead and bump this up. since last seen, i have the talon rearend installed, buying some more tubing to finish the chassis up, and re-doing the floor with 2x2x.058 square tubing instead of the 1.625 round. this will allow a better design of the floor along with better mounting possibilities of the seat and aluminum flooring, ect.


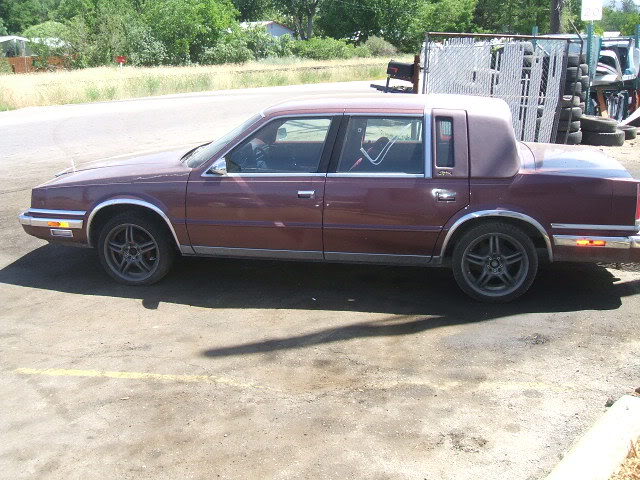
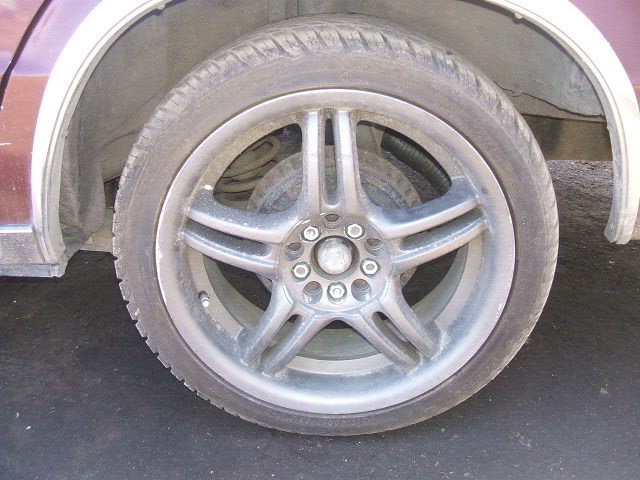
well, we got this hooptie in a month or so ago, has some "nice" 17 inch alloys on it, so these will be my new wheels for the taleon. i am thinking of having a local guy powder coat them a satin black, or painting them myself, one of the two. should turn out decent with the black car, or i might even go with a bronze.
more updates to come once i start in on it again (about a week)