

Check out my Restoration build

Thread Starter
|
Professional
Joined: Apr 2014
Posts: 141
Likes: 0

Thread Starter
|
Professional
Joined: Apr 2014
Posts: 141
Likes: 0
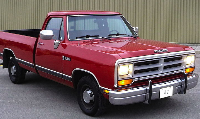
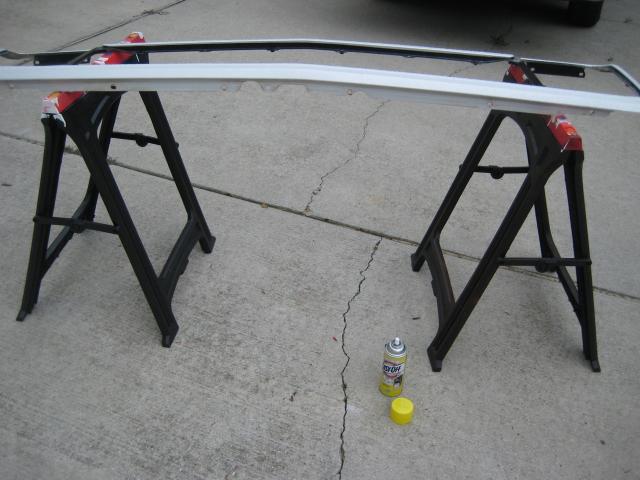
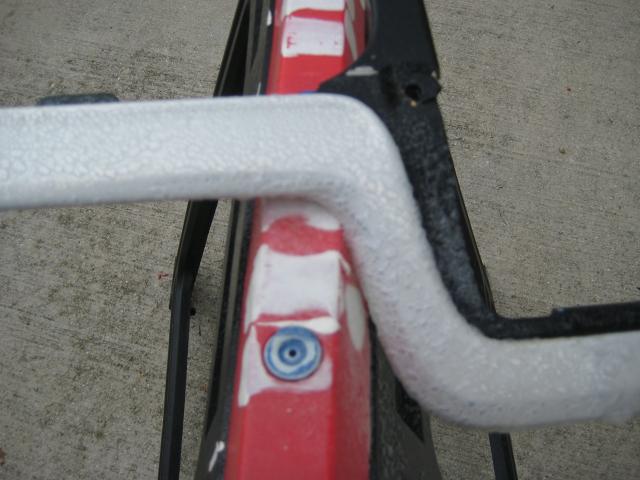
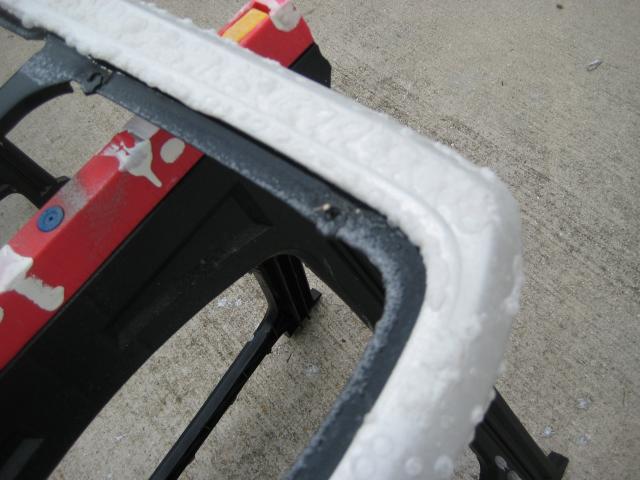
Started a new project this weekend. The grille surround on this truck was in great shape but the anodizing has started to yellow and the aluminum underneath could stand a polish. So after some tooling around the net I decided to give the old Easy Off oven cleaner a try. This seemed to be the most popular method for removing the anodizing. So after applying it and letting stand for about 10 minutes I wiped it off and wasn't real positive about what I was looking at. I grabbed some aluminum polish and gave it a few quick rubs and sure enough the rag was turning black whereas before it wouldn't. So now I know I at least got through most of the anodizing. However, it took a few more applications to get all of it off. When i was finished I had white aluminum( oxidized) so i think the mission was accomplished. So step one is complete. next up buffing and polishing. the photos are during, and the last two is the after shot.

Professional
Joined: Jun 2012
Posts: 164
Likes: 0
wow... thanks for the link from the other thread, my exhaust starts diffrently than yours because i used full length headers... but as i said before no pics no way. i am slowly fixing up my truck... but its no where near as nice as yours, awesome work... just awesome
Thread Starter
|
Professional
Joined: Apr 2014
Posts: 141
Likes: 0
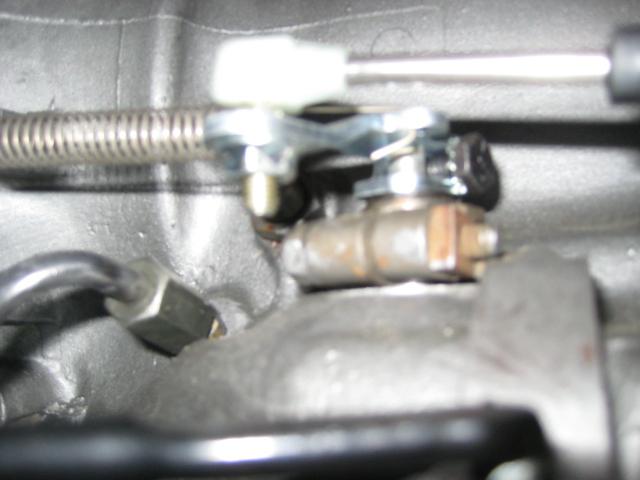
So after searching and talking to people on forums I came up with a great solution to swap in the new Edelbrock 4 barrel carb. I went with BPE's sytem of throttle cable and kickdown cable kit. Its great and has everything you need. heres the link http://www.bpeusa.com/BPEtkdc.asp. And here is the link to the instructions http://www.bpeusa.com/BPEtkdcInstructionsNEW.asp


Last edited by emnestor; Sep 24, 2014 at 10:38 AM.
Thread Starter
|
Professional
Joined: Apr 2014
Posts: 141
Likes: 0
So After breaking in the motor I have been driving my truck and working out the kinks. Little things here and there. This weekend I dove into a new project.
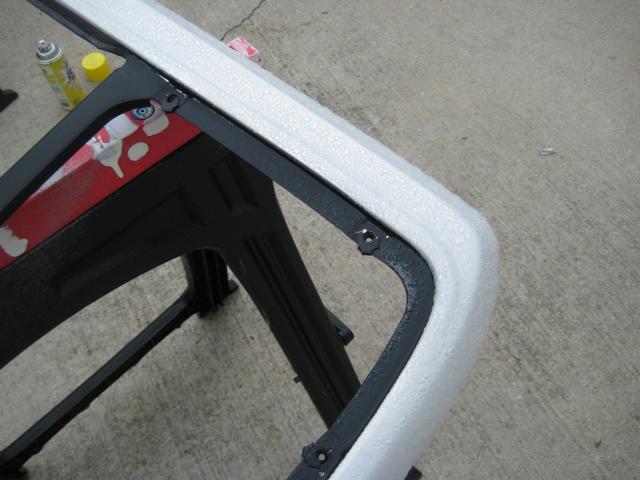
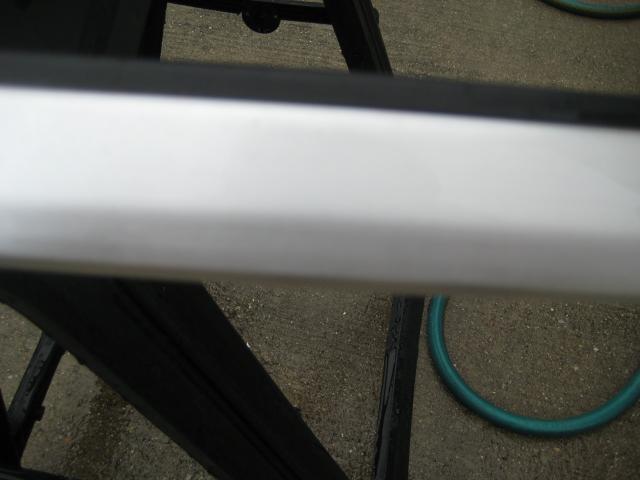
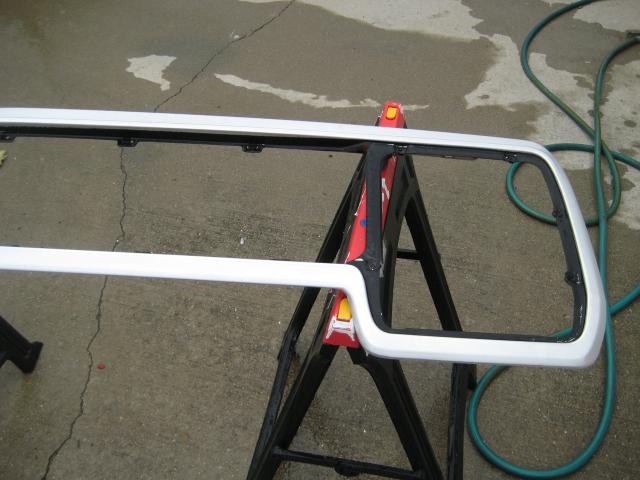
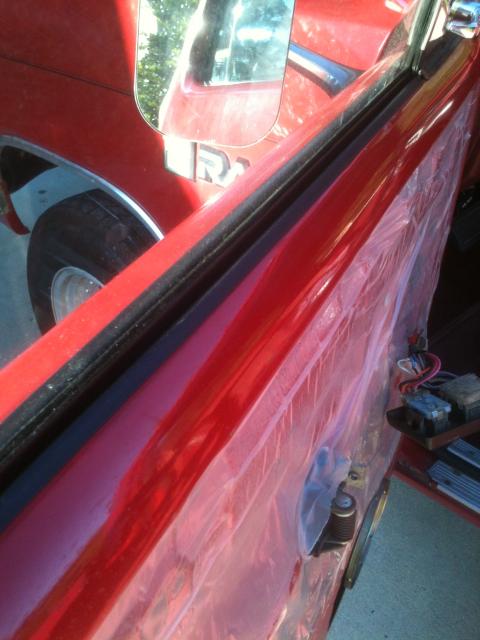
Spent the weekend doing some serious grunt work. I found a kit for my truck from steele rubber to replace the weather stripping, window channels and whiskers on both doors. ( Whiskers is the part that squeejee your window as they go up and down).
It was a day and half�s work due to the condition of the old rubber and having to remove the glass, plus you have to drill out several factory pop rivets to remove the window stop inside the door. All of the rubber was dried hard as a rock and allowed my windows to slap around really bad. It also let water pour in. Its tedious work and my finger tips are raw, but it turned out really nice. I was really impressed with steeles product. I was expecting it to look nothing like the originals and would have to be trimmed everywhere, but it was spot on. It was exactly like the original and fit perfectly. I also replaced the plastic to seal the door up.


RUBBER2.jpeg?t=1414420258
RUBBER4.jpeg?t=1414420367
RUBBER3.jpg?t=1414420339
RUBBER6.jpeg?t=1414420389
RUBBER5.jpeg?t=1414420451
Spent the weekend doing some serious grunt work. I found a kit for my truck from steele rubber to replace the weather stripping, window channels and whiskers on both doors. ( Whiskers is the part that squeejee your window as they go up and down).
It was a day and half�s work due to the condition of the old rubber and having to remove the glass, plus you have to drill out several factory pop rivets to remove the window stop inside the door. All of the rubber was dried hard as a rock and allowed my windows to slap around really bad. It also let water pour in. Its tedious work and my finger tips are raw, but it turned out really nice. I was really impressed with steeles product. I was expecting it to look nothing like the originals and would have to be trimmed everywhere, but it was spot on. It was exactly like the original and fit perfectly. I also replaced the plastic to seal the door up.
RUBBER2.jpeg?t=1414420258
RUBBER4.jpeg?t=1414420367
RUBBER3.jpg?t=1414420339
RUBBER6.jpeg?t=1414420389
RUBBER5.jpeg?t=1414420451


