

Back at workin on the Indy(warning/novel/lots of big pics)


Thread Starter
|
Record Breaker
Joined: Nov 2005
Posts: 1,827
Likes: 3
From: Ontario Canada
Not sure if this is the right place for this thread but Im sure it will get moved if its in the wrong place 
Late last Aug while upgrading/updating my front brakes/suspension on the Indy my old compressor died.(only 5.5cfm).
For what Ive been doing it was way too small & already rebuilt it once, so I wanted something bigger.
Unfortunately everything in my house also started breaking after that with biggest items the house/garage gutters (had leak in basement) as well as the furnace/ac.
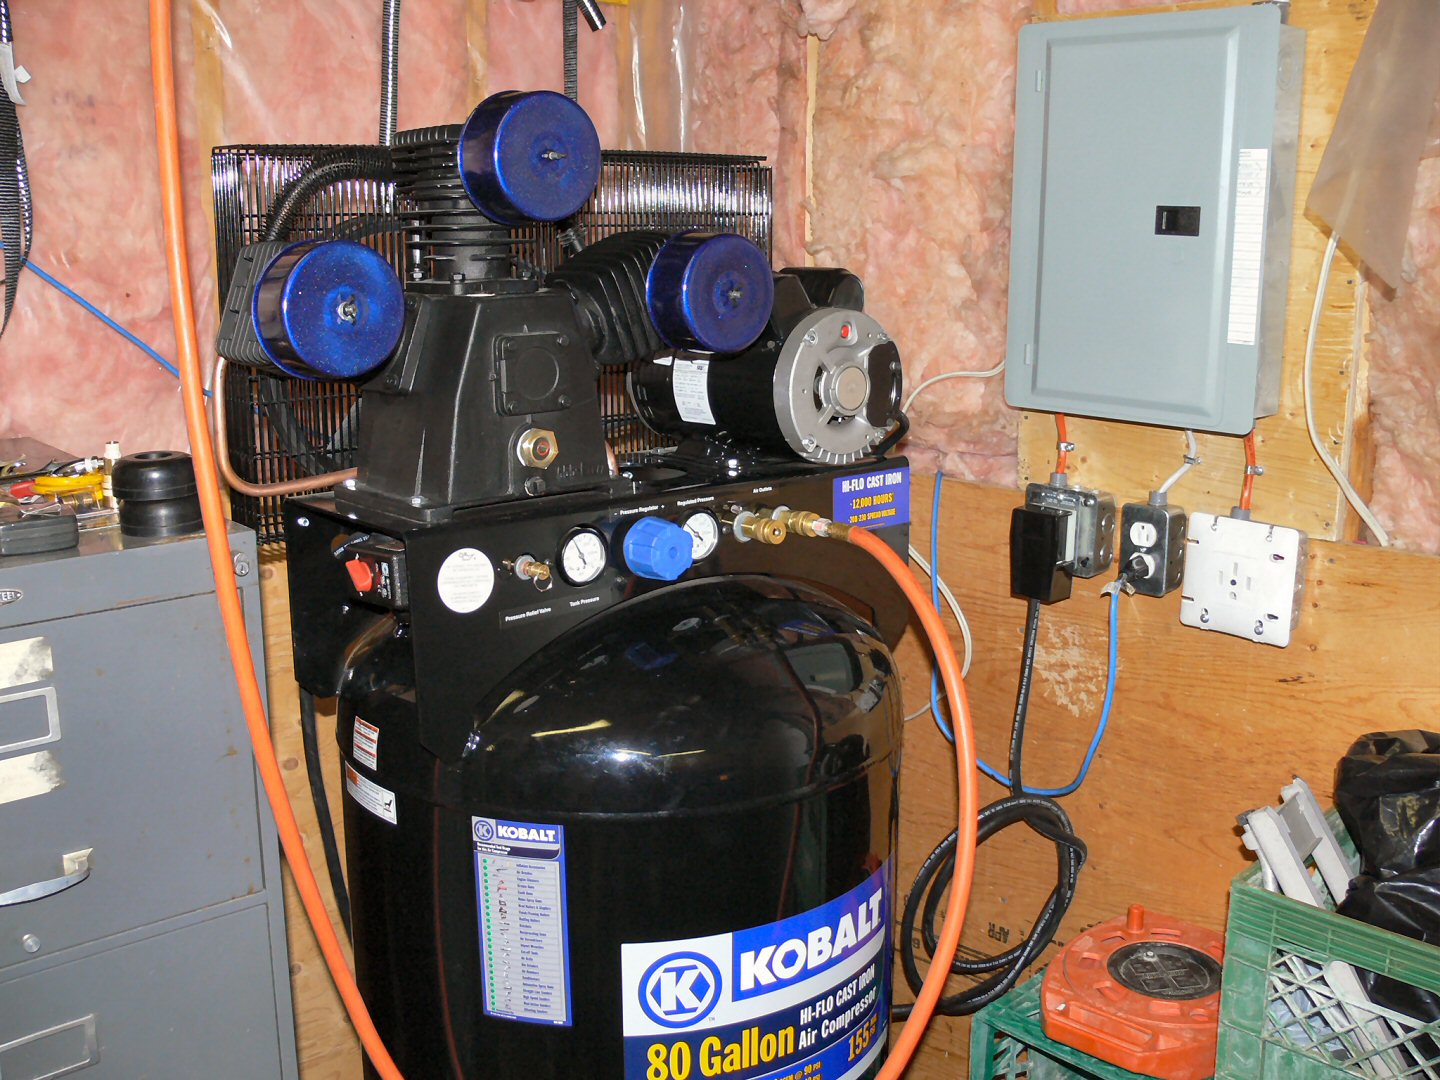
Finally got caught up again, so 2nd last Friday had 2 electricians wire my house up for 200amp breakers.(32man hrs)
Also got 60amp service out to the garage & now have 2-120 & 2-240 circuits out there(will add more later)
After running garage with ext. chords & powerbars the last 11yrs finally real power.
Week before the wiring upgrade I picked up an 80gal 14cfm compressor from Lowes.
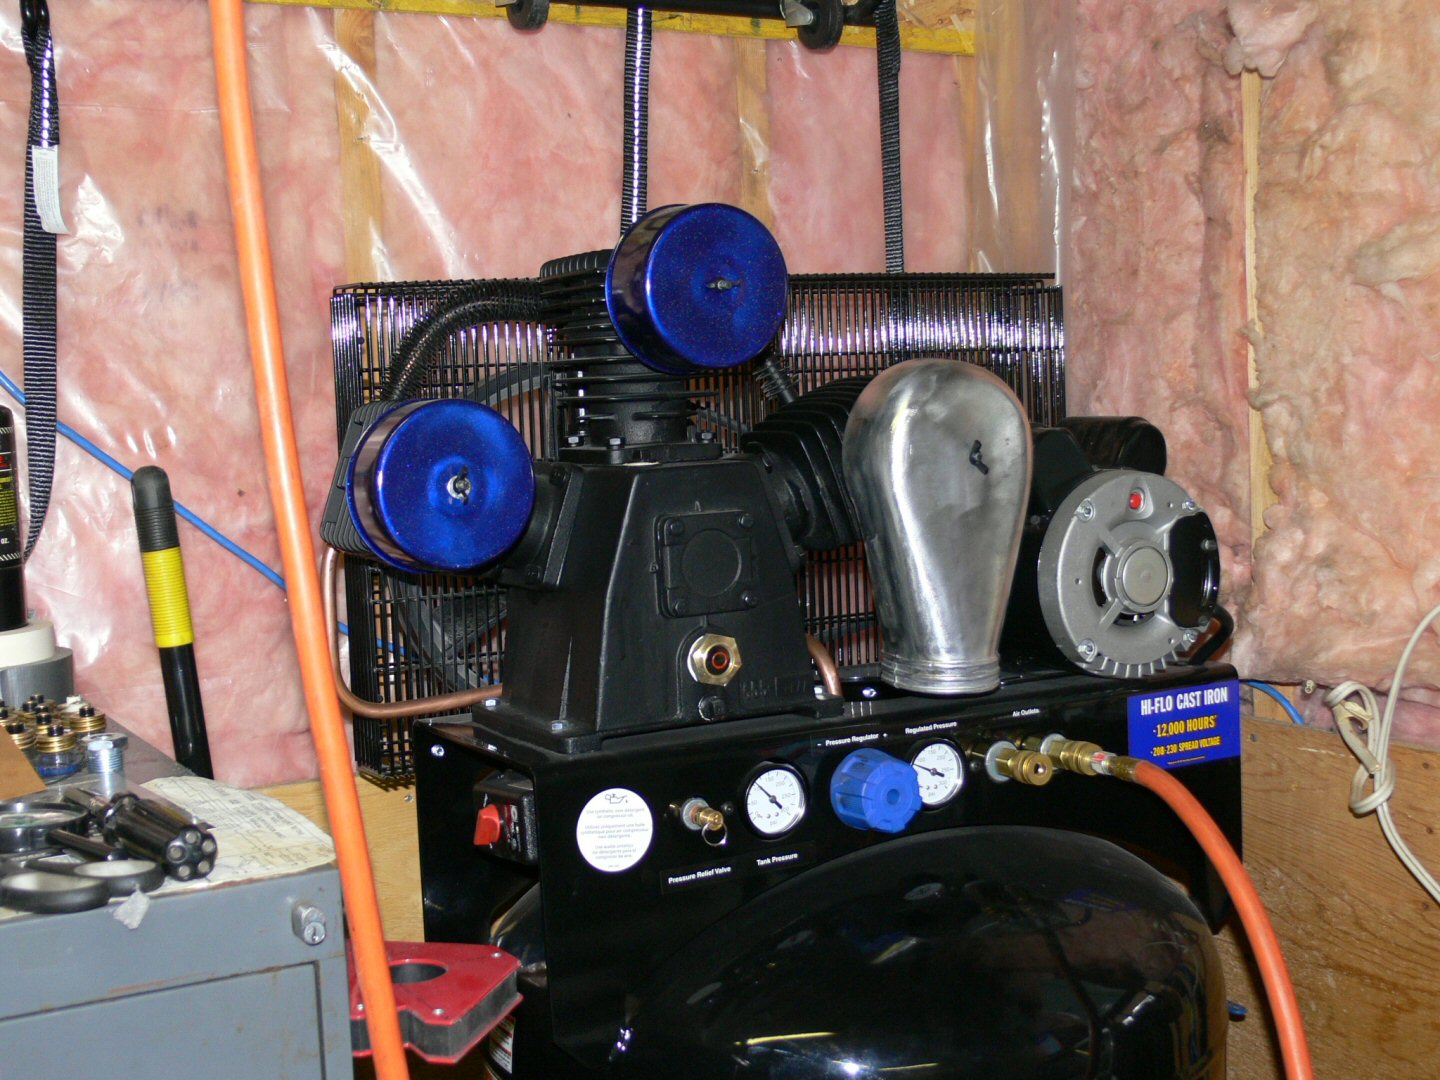
I noticed that the 3 compressor filters paint was a bit dinged up.
Being who I am, can�t leave anything untouched/stock so pulled the covers one at a time & bead blasted them & wire wheeled them
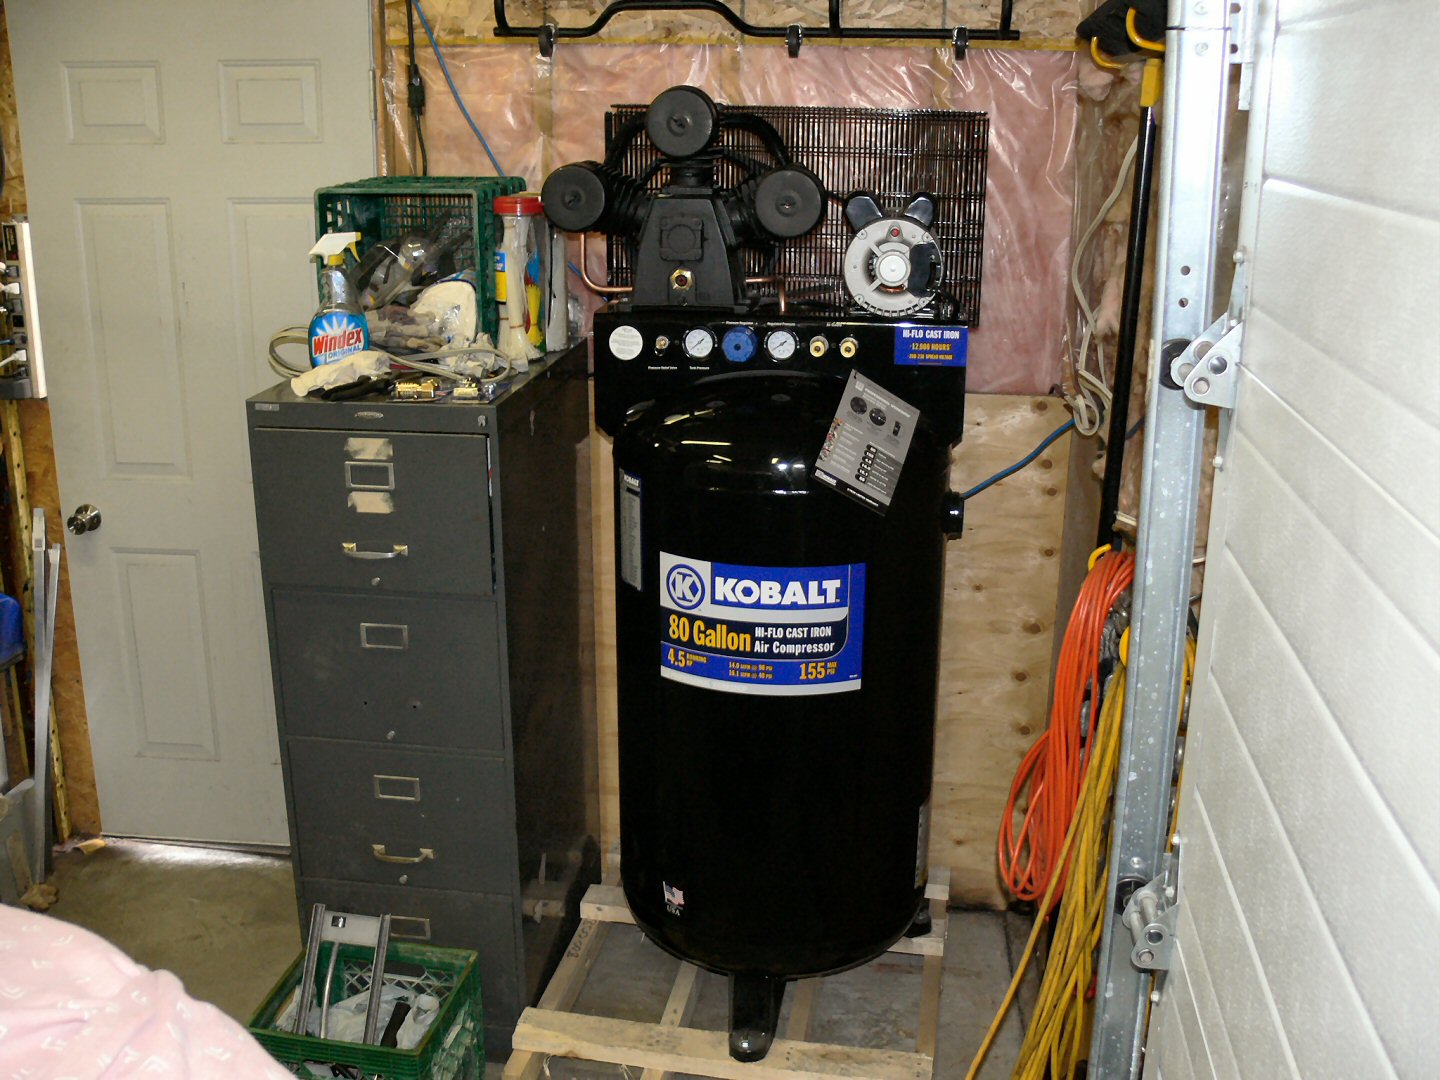
They all got a coating of my custom Indy mix of powders. Figured I needed a bit of practise to get back in the swing of things before pwdrcting more Indy parts.
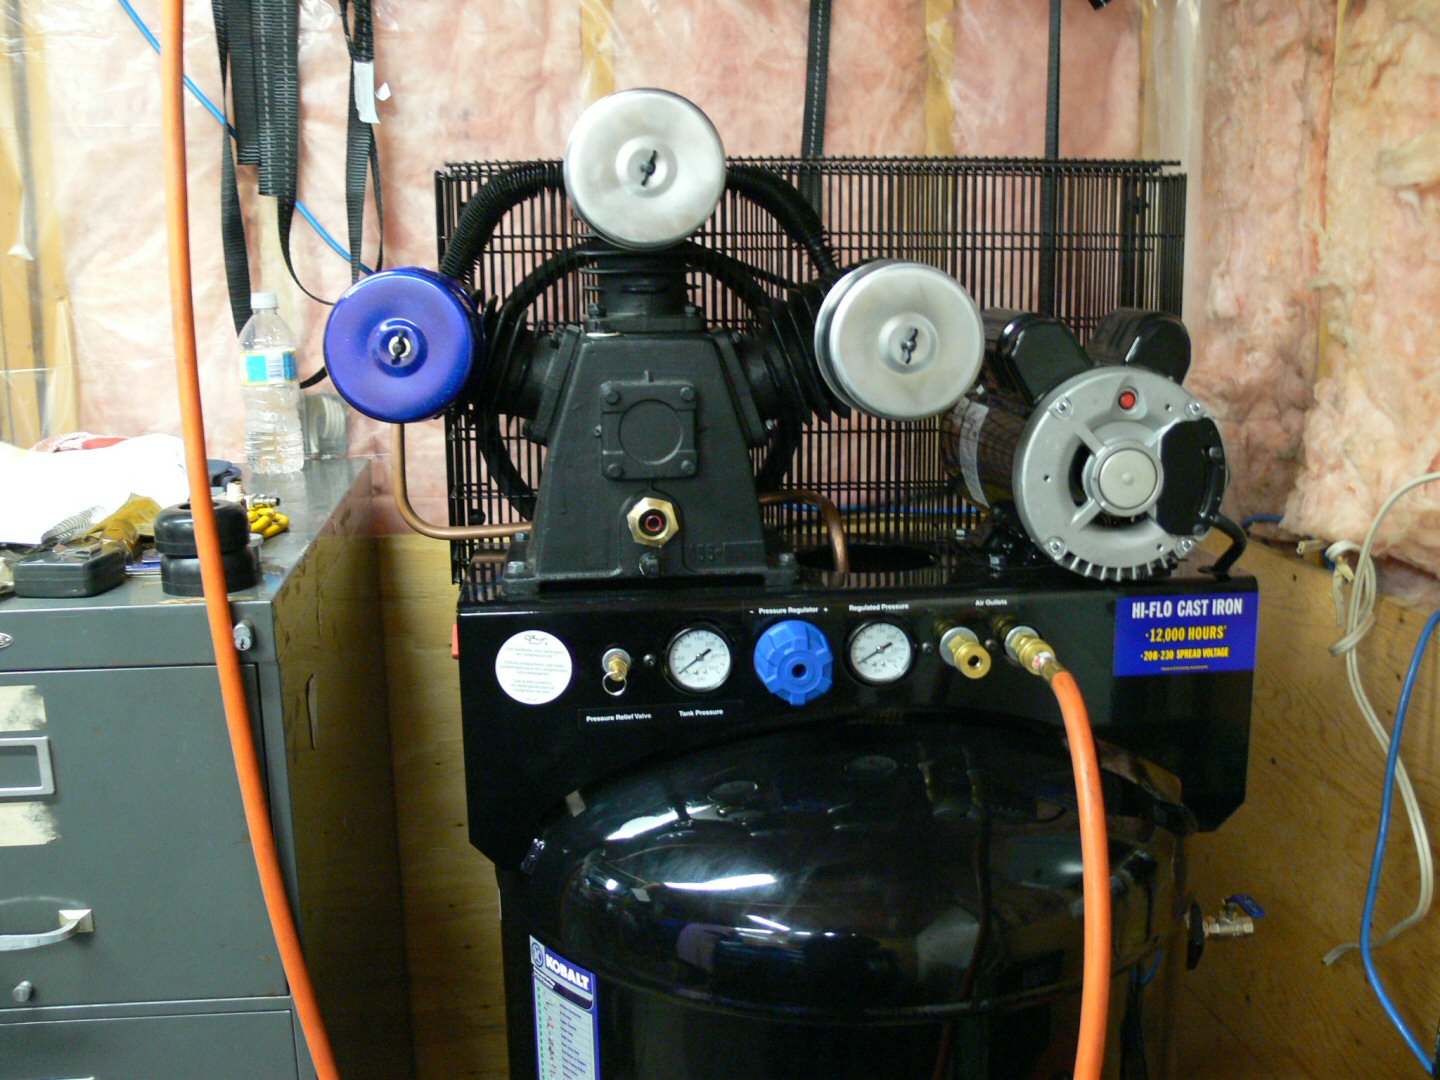
While one filter cover was off needed something to use so filter would still work, Procharger TB hat did the trick, seemed logical methinks LOL.
Late last Aug while upgrading/updating my front brakes/suspension on the Indy my old compressor died.(only 5.5cfm).
For what Ive been doing it was way too small & already rebuilt it once, so I wanted something bigger.
Unfortunately everything in my house also started breaking after that with biggest items the house/garage gutters (had leak in basement) as well as the furnace/ac.
Finally got caught up again, so 2nd last Friday had 2 electricians wire my house up for 200amp breakers.(32man hrs)
Also got 60amp service out to the garage & now have 2-120 & 2-240 circuits out there(will add more later)
After running garage with ext. chords & powerbars the last 11yrs finally real power.
Week before the wiring upgrade I picked up an 80gal 14cfm compressor from Lowes.
I noticed that the 3 compressor filters paint was a bit dinged up.
Being who I am, can�t leave anything untouched/stock so pulled the covers one at a time & bead blasted them & wire wheeled them
They all got a coating of my custom Indy mix of powders. Figured I needed a bit of practise to get back in the swing of things before pwdrcting more Indy parts.
While one filter cover was off needed something to use so filter would still work, Procharger TB hat did the trick, seemed logical methinks LOL.
Thread Starter
|
Record Breaker
Joined: Nov 2005
Posts: 1,827
Likes: 3
From: Ontario Canada
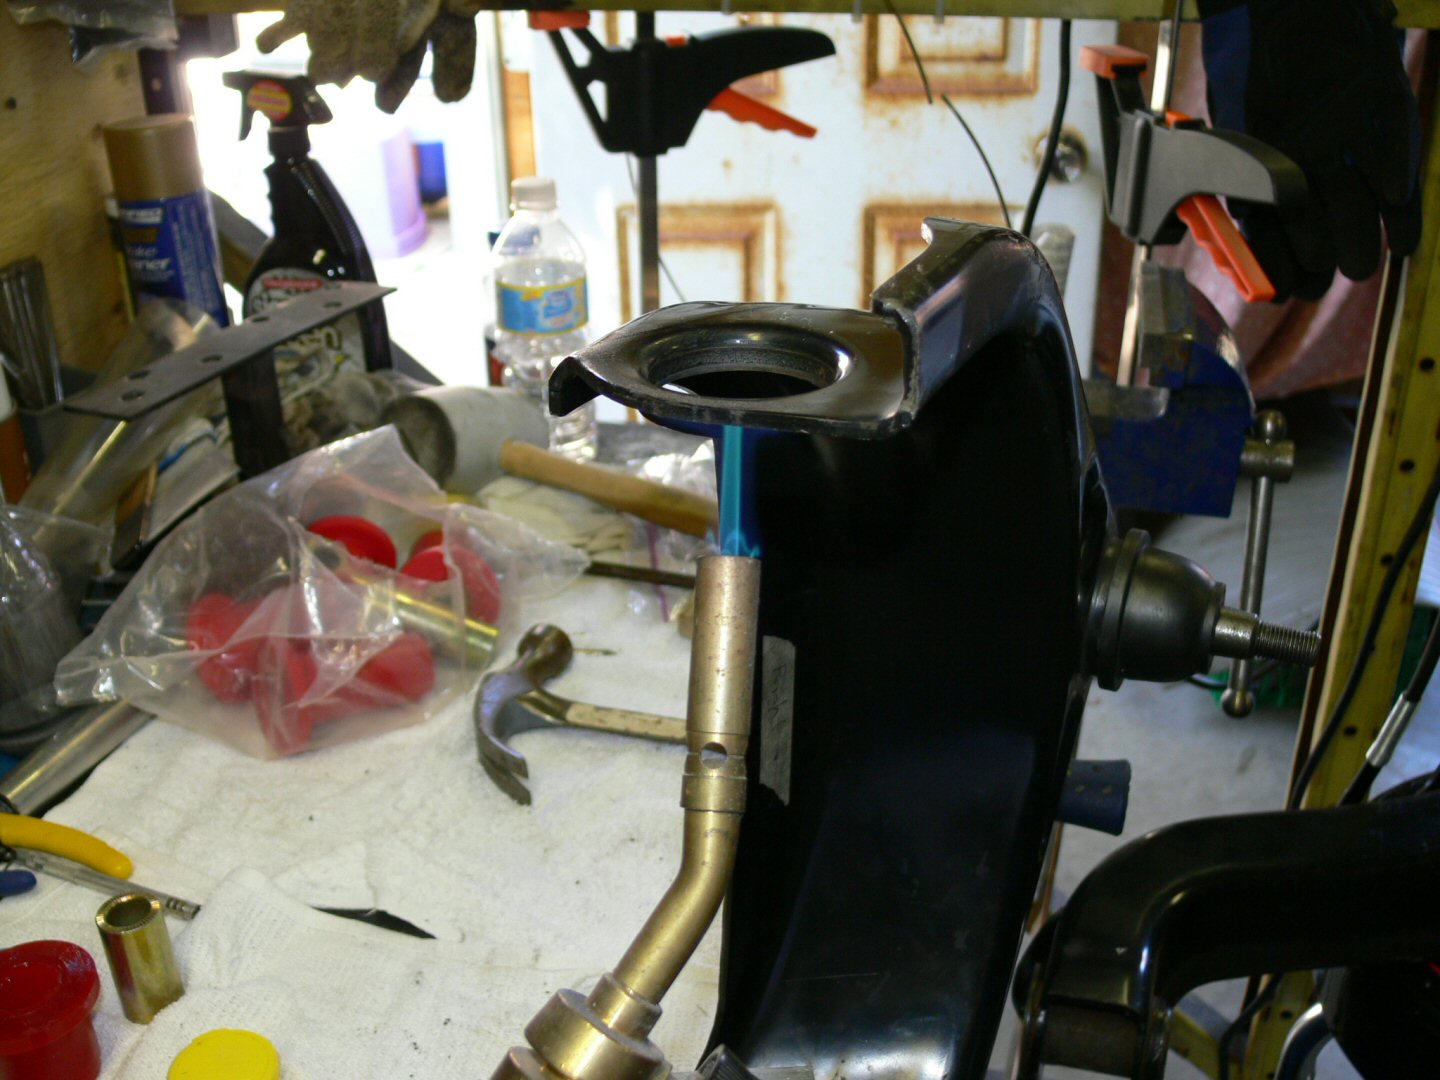
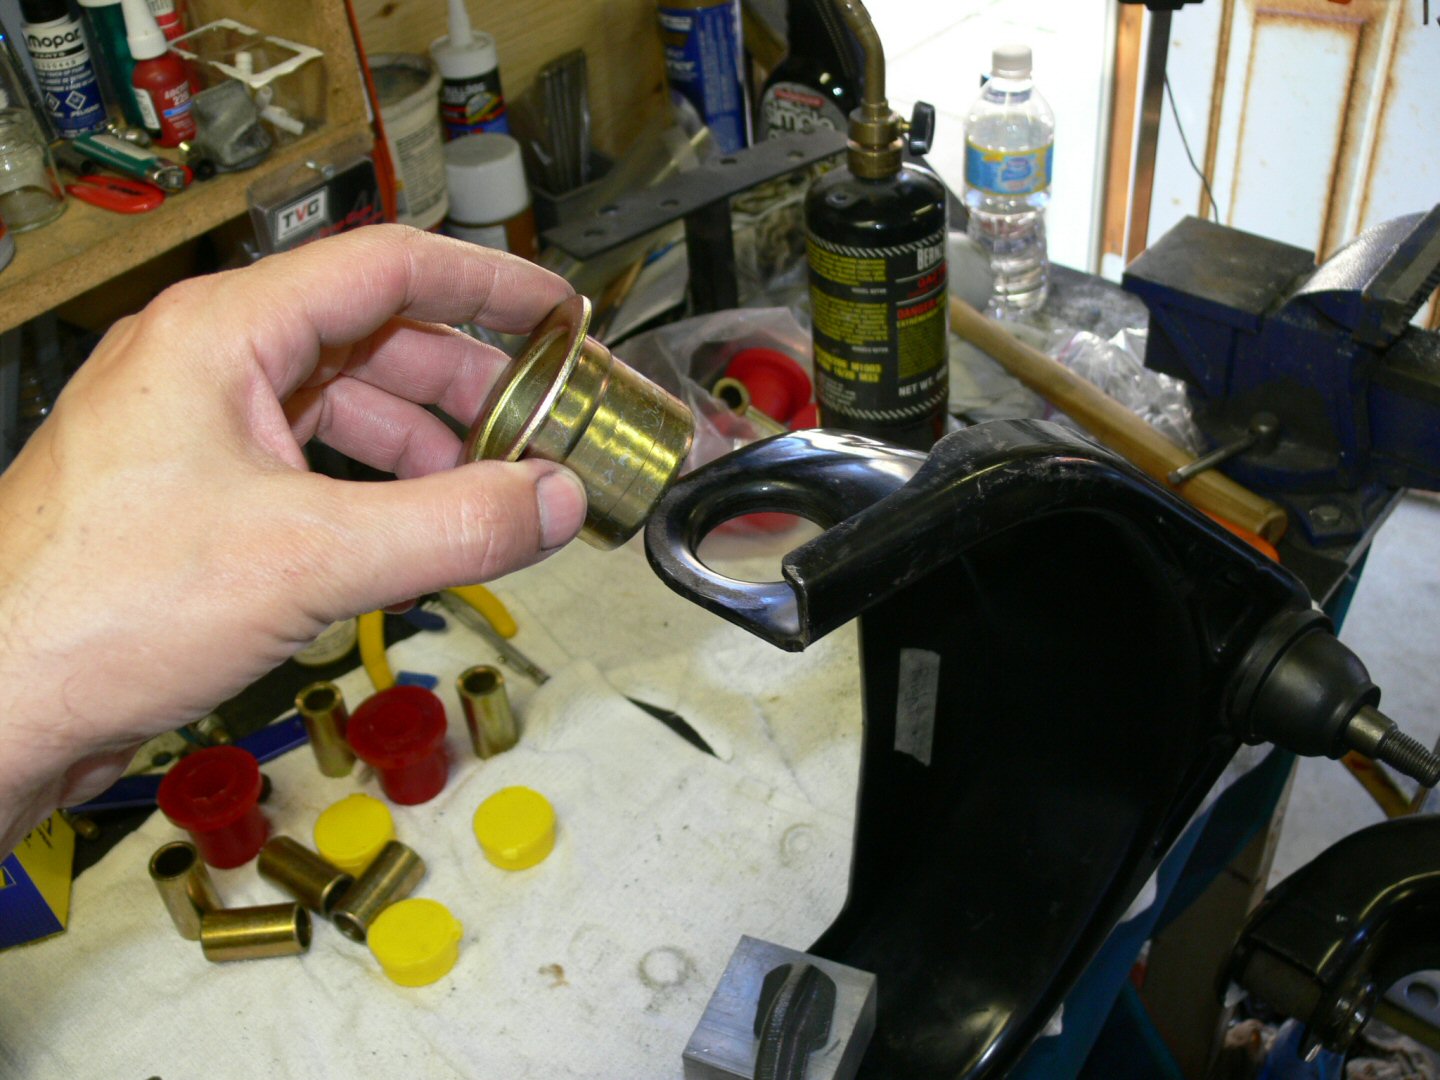
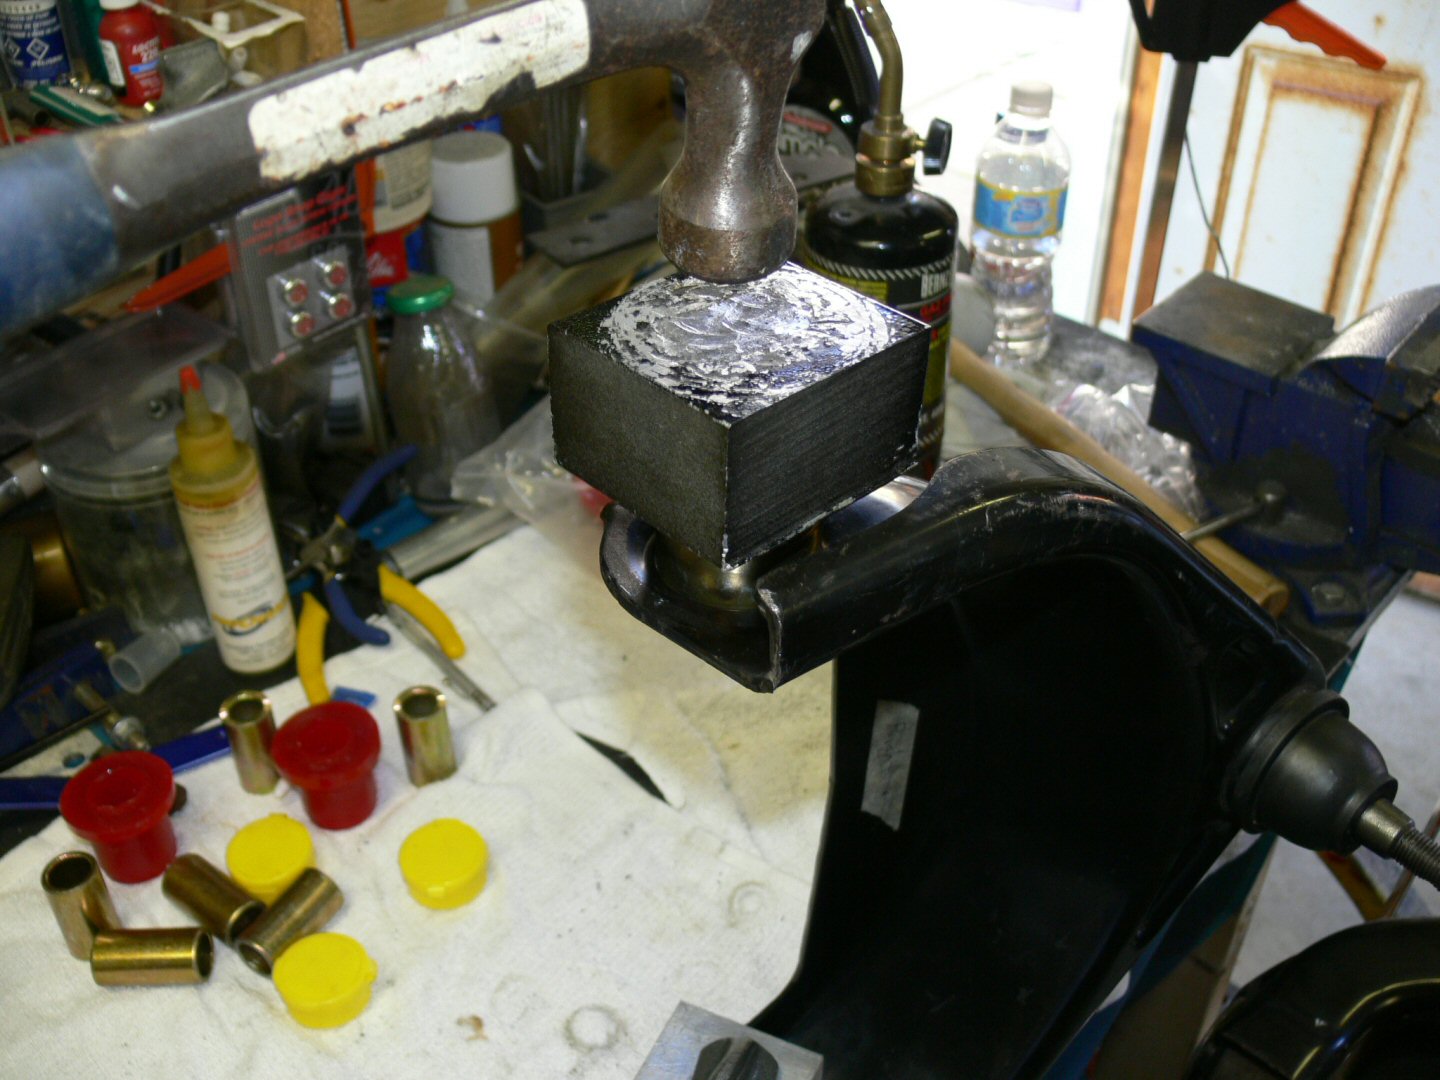
So I finally have the Energy Suspension poly bushings in all the arms.
Was going to pwdrct the arms as well but they dont look too bad. Besides the lower never would of fit in the oven without having to build a hood/extension for it & didnt feel like yanking out the new Moog bjoints either.
Oh, a buddy dropped off his old kitchen stove 2yrs ago, sat beside my garage under a tarp.
Spent a while testing it & cleaning it as best I could (Indy too close to do good job) & yanked the elements & fuses I didn�t need.
Worked great, can finally do larger pieces.
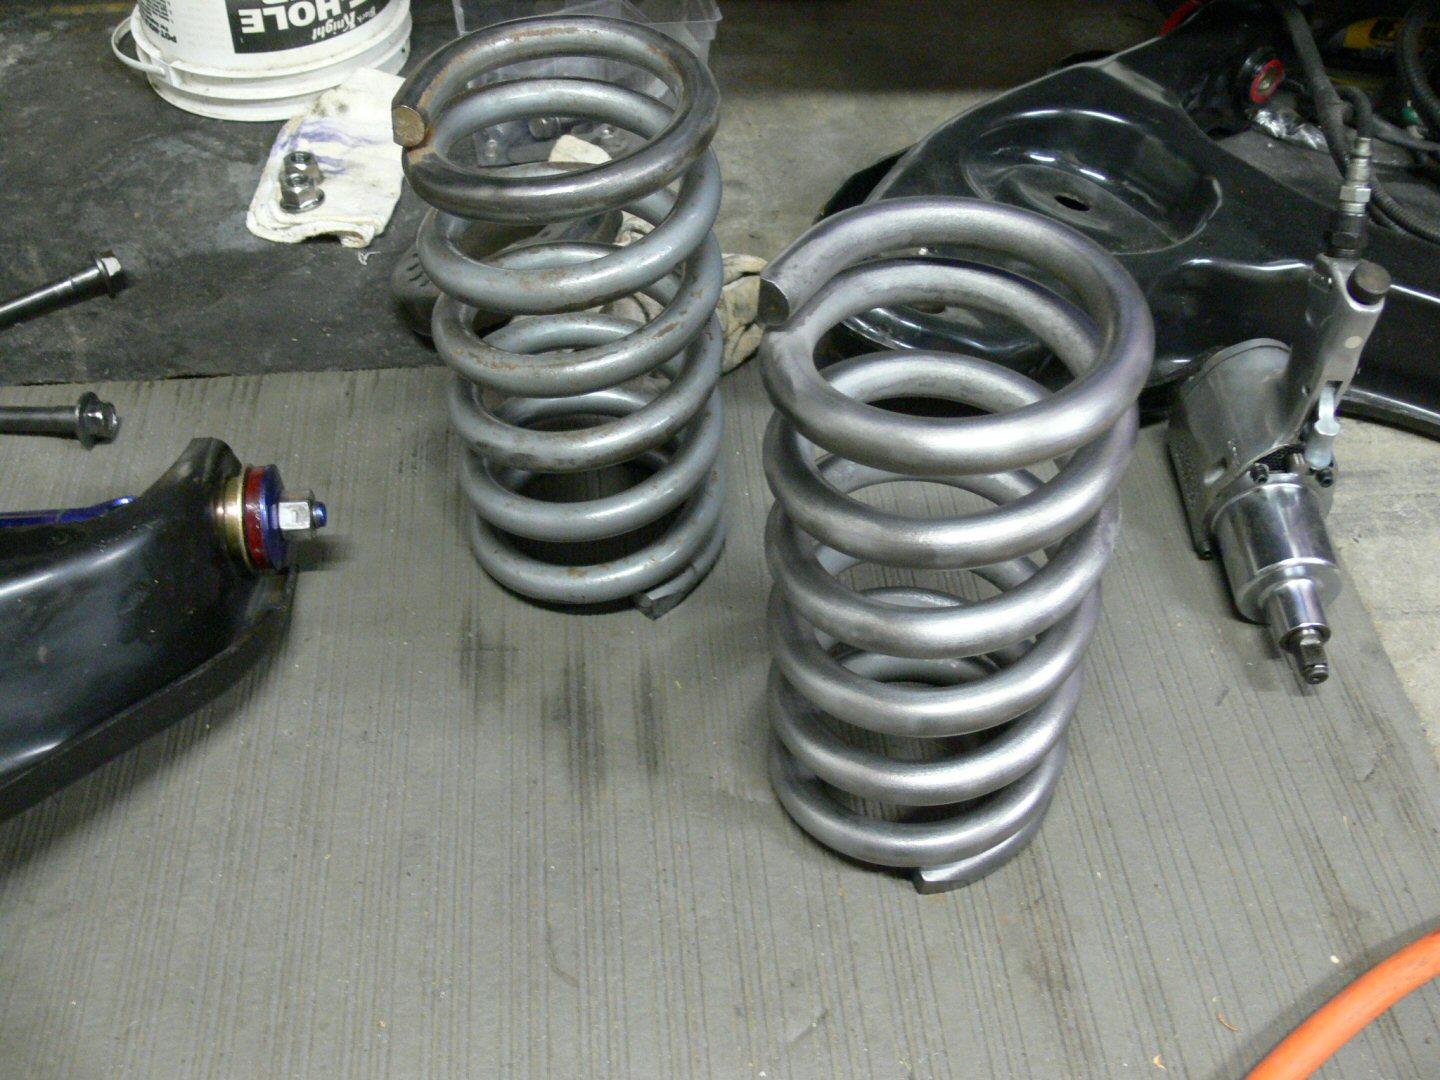
Belltech drop springs not looking too good (see left one) so stripped, blasted, wire wheeled them & coated them with single stage reflective chrome powder. Took around 8hrs to strip, blast & wire wheel them.
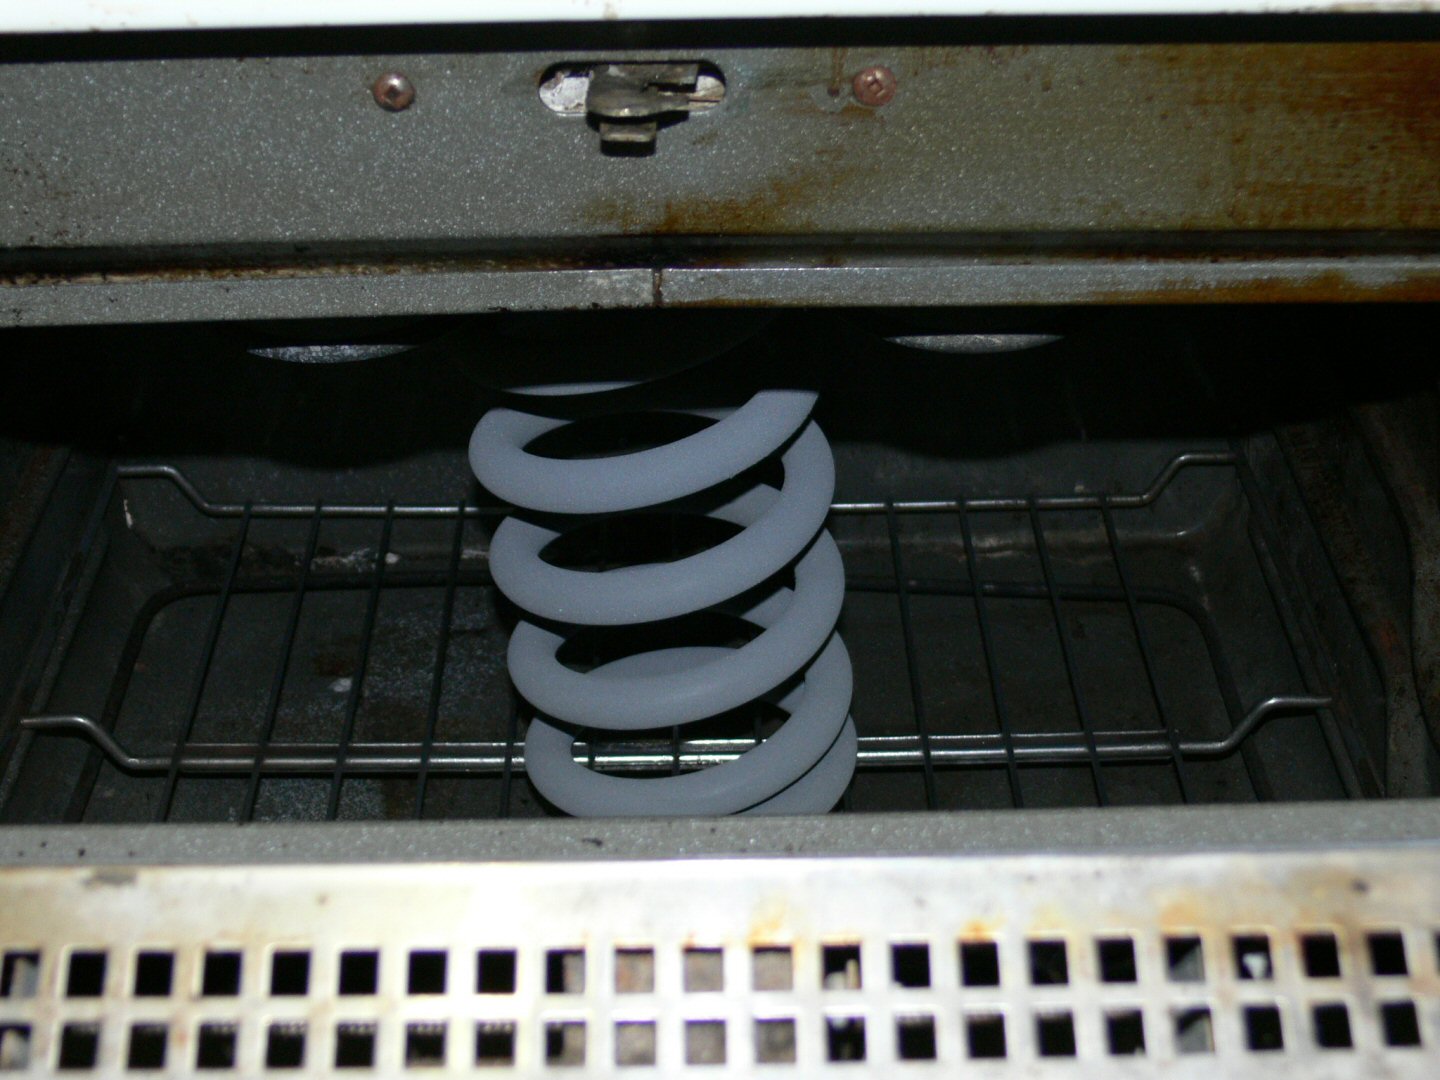
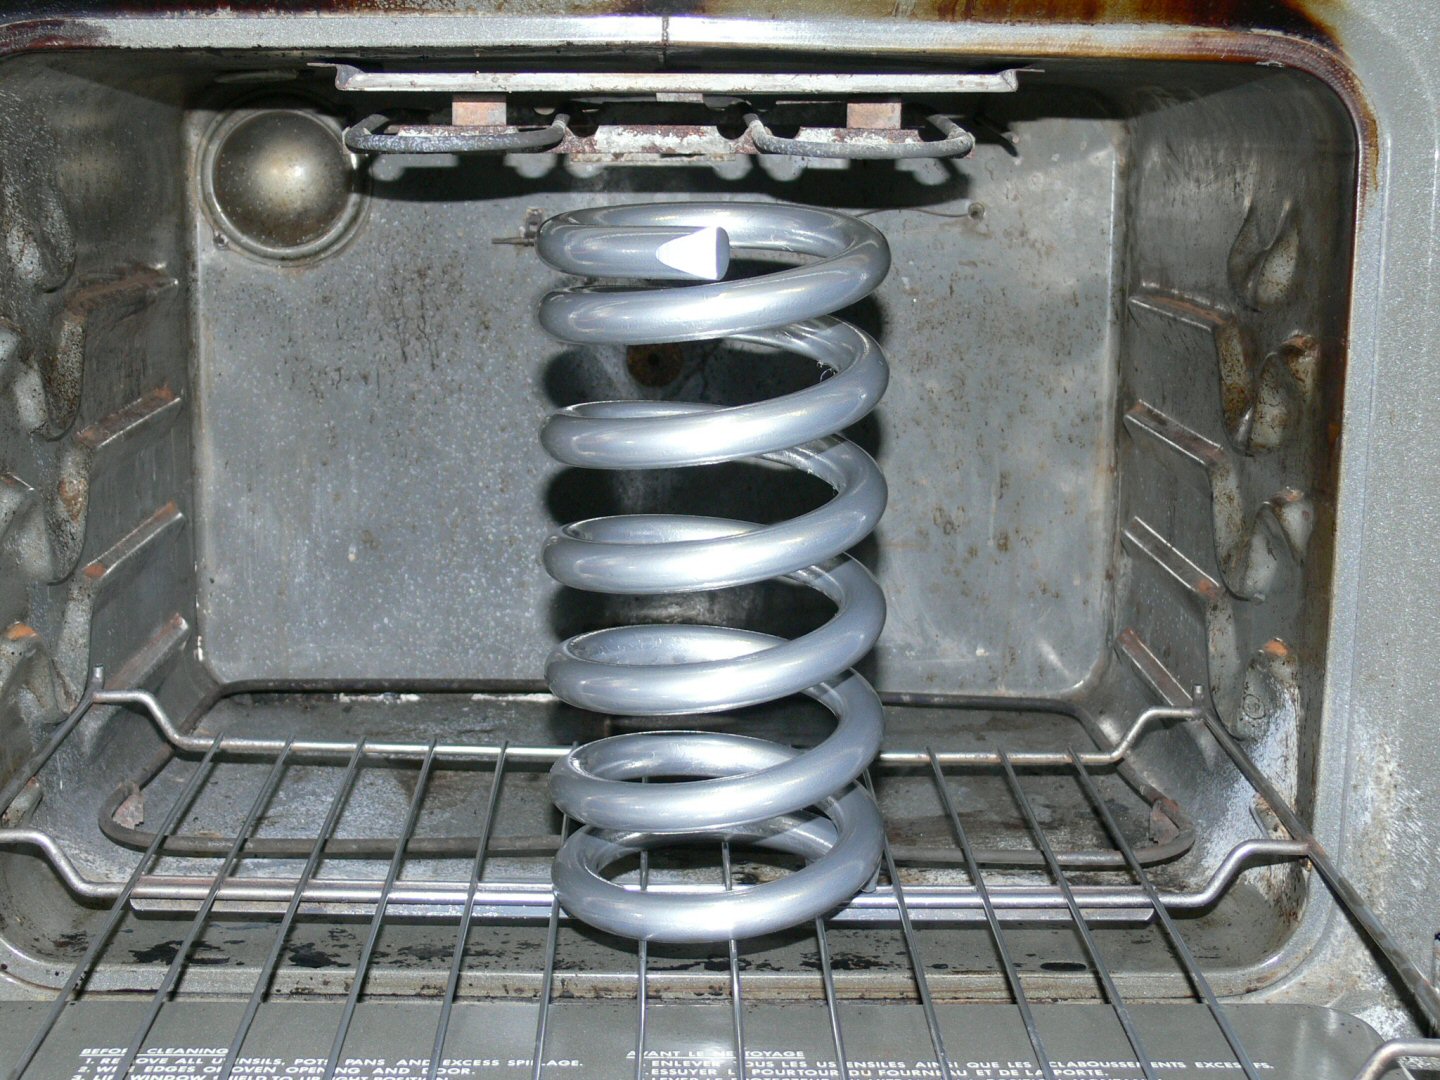
If your wondering, powder coating you need clean bare metal. Static charge is added to the part(helps attract pwdr) then you spray on the powder coat. Then into the oven.
Took about 25min for the powder to start flowing (turn to liquid), 52min total cure time in the oven with over 2hrs cool down time. (per spring)
Very happy with how they turned out.
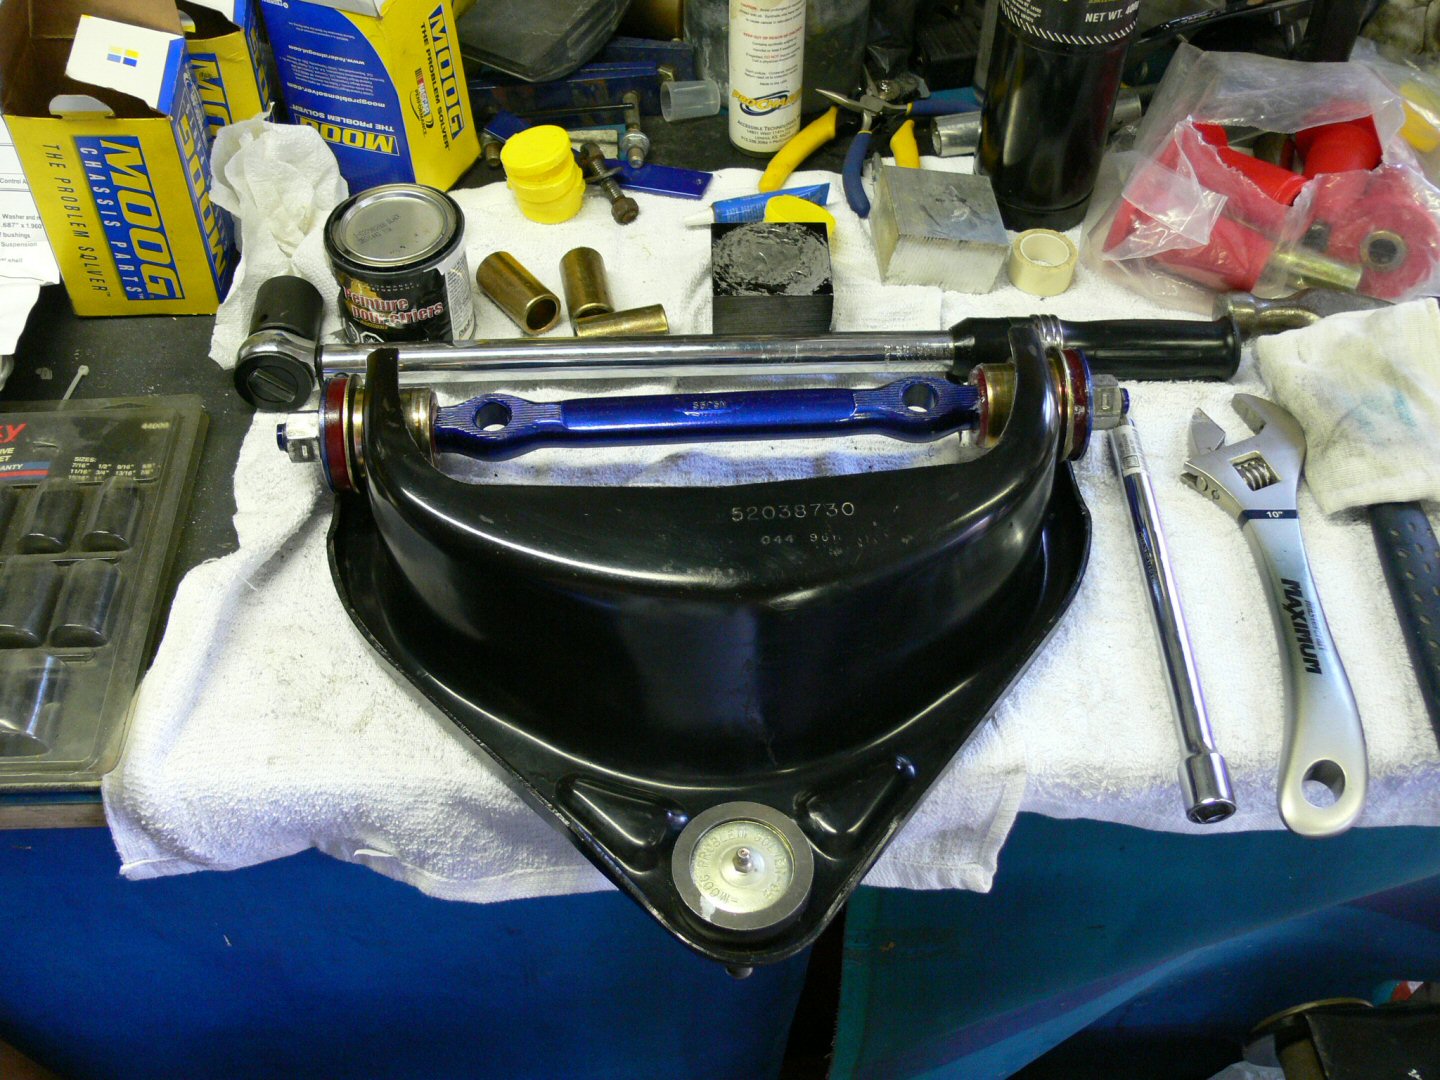
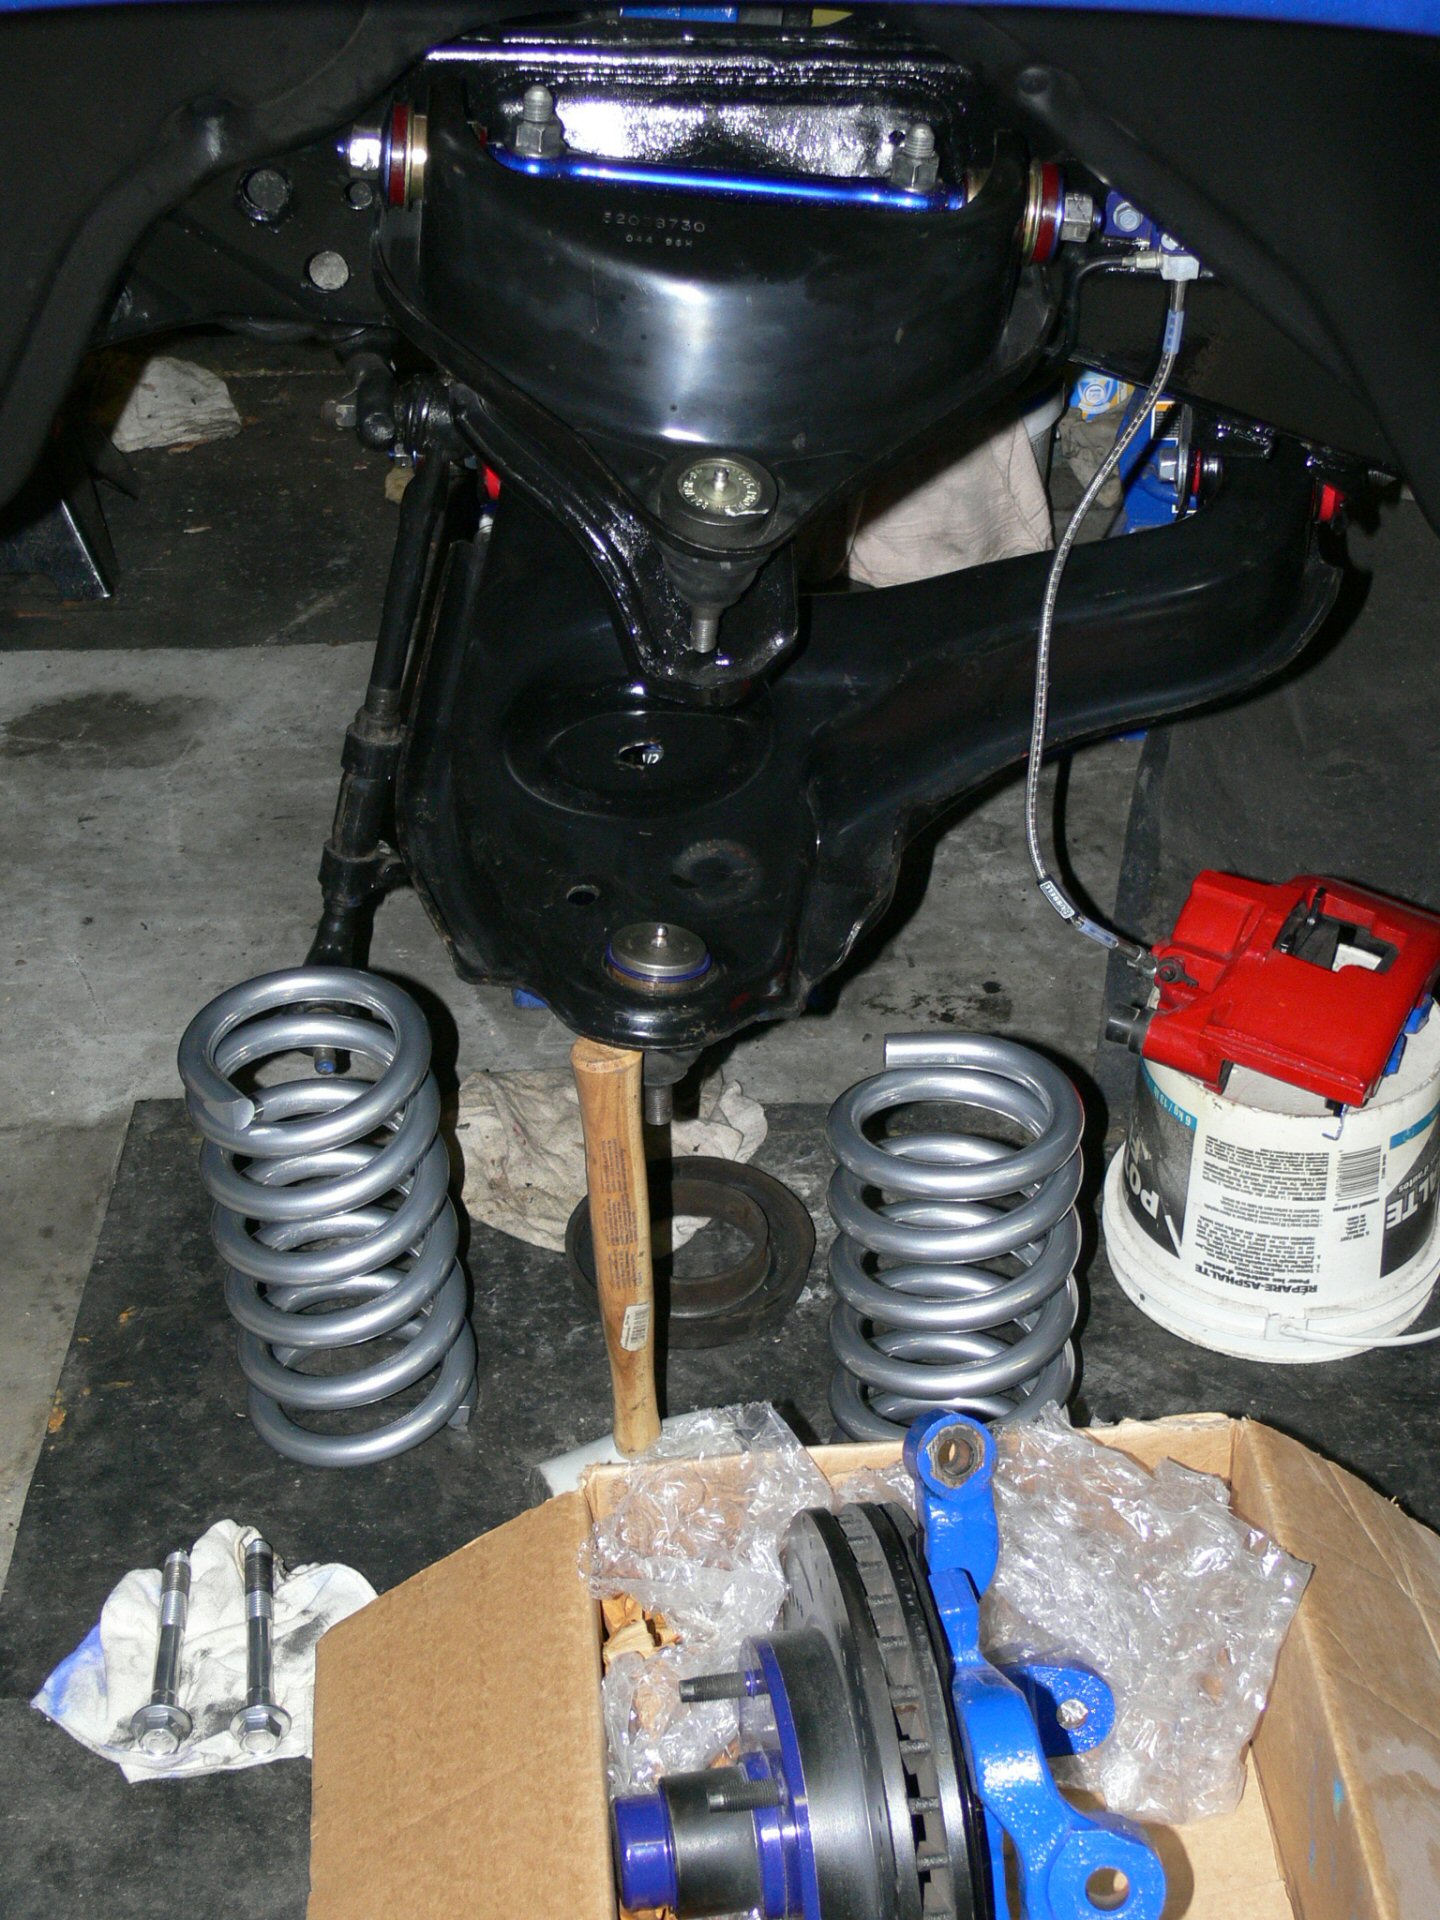
Got the upper, lower arms now installed (chrome coating on lower arm bolts also)
Looking at the spindles they are already bugging me lol
Used Duplicolor caliper paint on them few years back.
After I got the suspension off last summer(before compressor died) I redid them so they were completely covered.(quite a few coats)
Not as far off color wise as in this pic (reflects flash a lot) but may as well get her done or Ill regret it later lol.
Have about 2.5hrs into 12hrs I estimate its going to take to strip them bare, blast them then prep & coat them both.
Considering how hot & humid it is outside, Im pleased with what Ive got done this week so far. Hope to have the spindles finished in 2days. Will post some more pics when I get them back together. Dont want to take pics while stripping & blasting cause its so messy & dont want to wreck my camera (real dusty/foggy from blasting)
Was going to pwdrct the arms as well but they dont look too bad. Besides the lower never would of fit in the oven without having to build a hood/extension for it & didnt feel like yanking out the new Moog bjoints either.
Oh, a buddy dropped off his old kitchen stove 2yrs ago, sat beside my garage under a tarp.
Spent a while testing it & cleaning it as best I could (Indy too close to do good job) & yanked the elements & fuses I didn�t need.
Worked great, can finally do larger pieces.
Belltech drop springs not looking too good (see left one) so stripped, blasted, wire wheeled them & coated them with single stage reflective chrome powder. Took around 8hrs to strip, blast & wire wheel them.
If your wondering, powder coating you need clean bare metal. Static charge is added to the part(helps attract pwdr) then you spray on the powder coat. Then into the oven.
Took about 25min for the powder to start flowing (turn to liquid), 52min total cure time in the oven with over 2hrs cool down time. (per spring)
Very happy with how they turned out.
Got the upper, lower arms now installed (chrome coating on lower arm bolts also)
Looking at the spindles they are already bugging me lol
Used Duplicolor caliper paint on them few years back.
After I got the suspension off last summer(before compressor died) I redid them so they were completely covered.(quite a few coats)
Not as far off color wise as in this pic (reflects flash a lot) but may as well get her done or Ill regret it later lol.
Have about 2.5hrs into 12hrs I estimate its going to take to strip them bare, blast them then prep & coat them both.
Considering how hot & humid it is outside, Im pleased with what Ive got done this week so far. Hope to have the spindles finished in 2days. Will post some more pics when I get them back together. Dont want to take pics while stripping & blasting cause its so messy & dont want to wreck my camera (real dusty/foggy from blasting)


Thread Starter
|
Record Breaker
Joined: Nov 2005
Posts: 1,827
Likes: 3
From: Ontario Canada
Thanks guys, real happy to be back at it.
Missed working on her but other priorities just kept popping up.
Another hour or so of blasting & the first spindle will be ready to move onto sanding & wire wheel.
Oh, have to change the media in the cabinet, its gone to dust.(glassbead)

Missed working on her but other priorities just kept popping up.
Another hour or so of blasting & the first spindle will be ready to move onto sanding & wire wheel.
Oh, have to change the media in the cabinet, its gone to dust.(glassbead)
Champion
Joined: Jul 2008
Posts: 3,430
Likes: 2
From: NW Arkansas
 how well should the powdercoat handle the coils?
Trending Topics
Thread Starter
|
Record Breaker
Joined: Nov 2005
Posts: 1,827
Likes: 3
From: Ontario Canada
Thanks Unregistered 
Dak, yeah Im lovin the filter covers too
BTW the specks you see are similar to metal flake (called stardust)
Coil springs came pwdrctd from Belltech (crap grey)
I did leave a small patch of the original grey on the drivers side where the part # is. Dont want it getting on pass. side by mistake (will lean)
Cant see it cause its not facing the camera.
No reason why it wont last as long unless I didnt cure it long enough.
lord0fsal3m, dont hold your breathe watching your pm box