

Water pump and efan install.
#1
 05-25-2012, 11:32 PM


Join Date: Dec 2008
Posts: 1,585
Likes: 0
Received 0 Likes
on
0 Posts
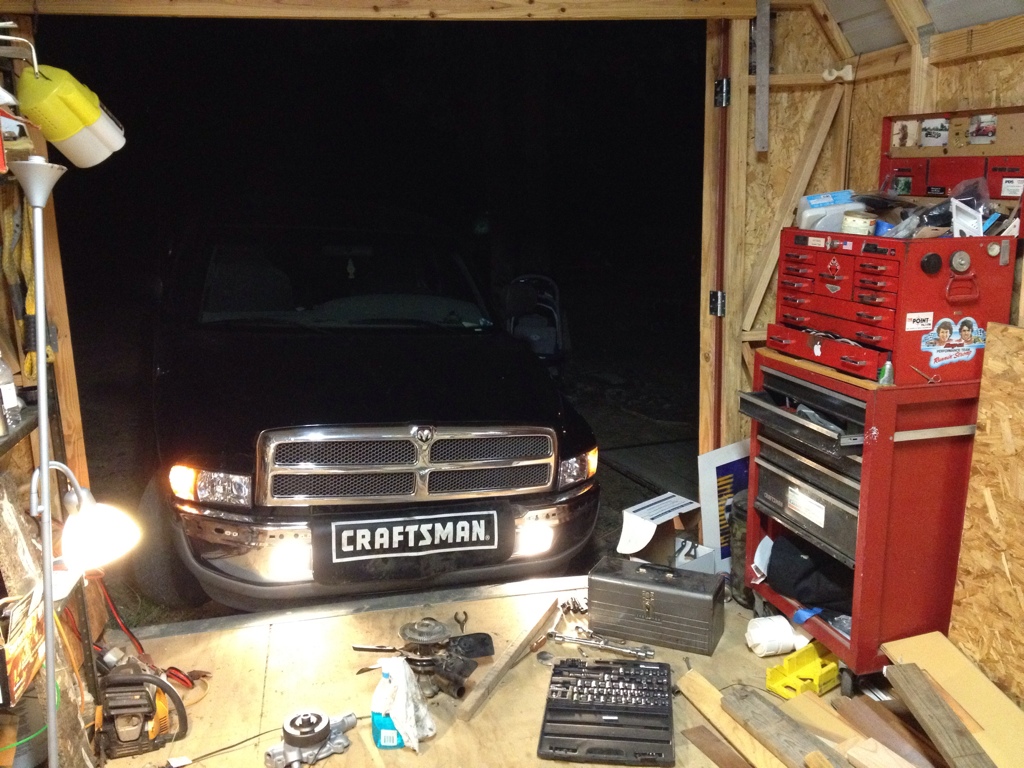
So I decided to tear into it tonight. I also decided to take some pictures and do a small right up.
Removal of water pump was pretty straight forward.
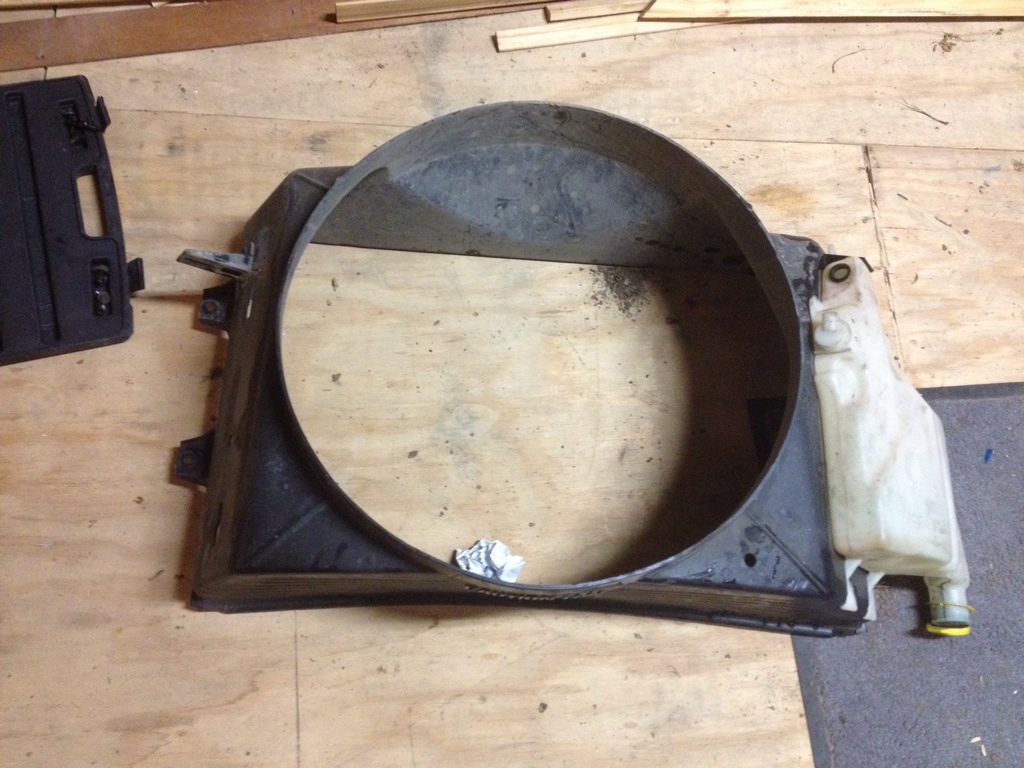
First I unbolted the fan from the clutch so i could have room to get the shroud off. Easily done with a wrench. Then take off coolant overflow and windshield washer tank (just slides right up and off). Then remove the four bolts holding the shroud on.
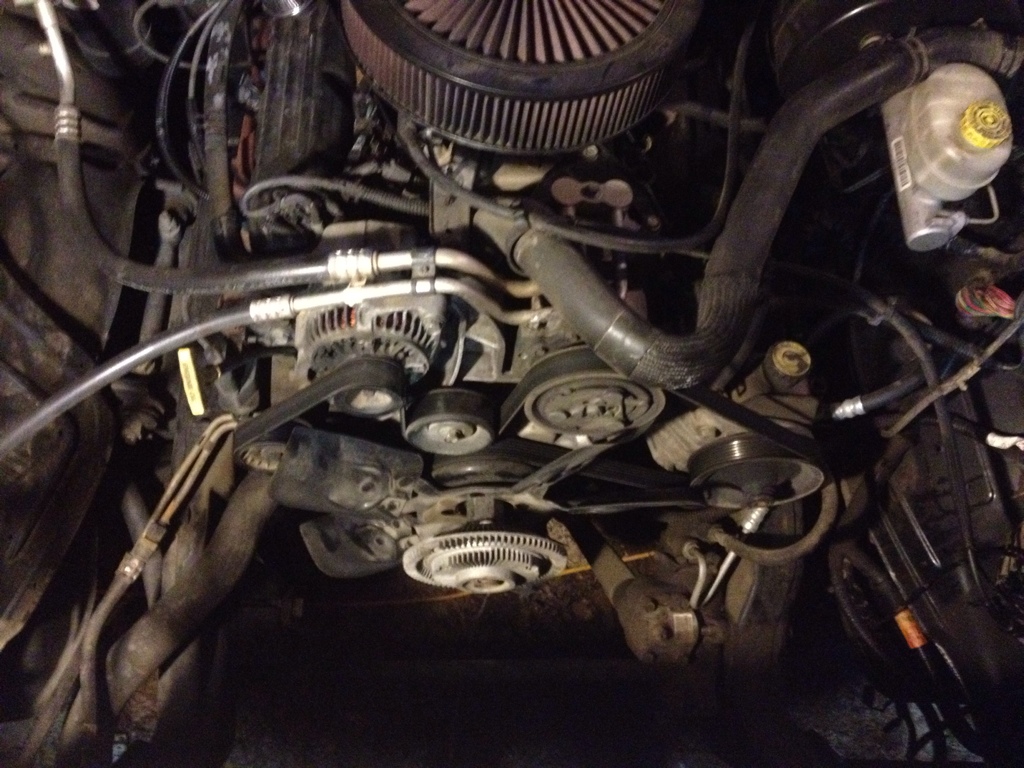
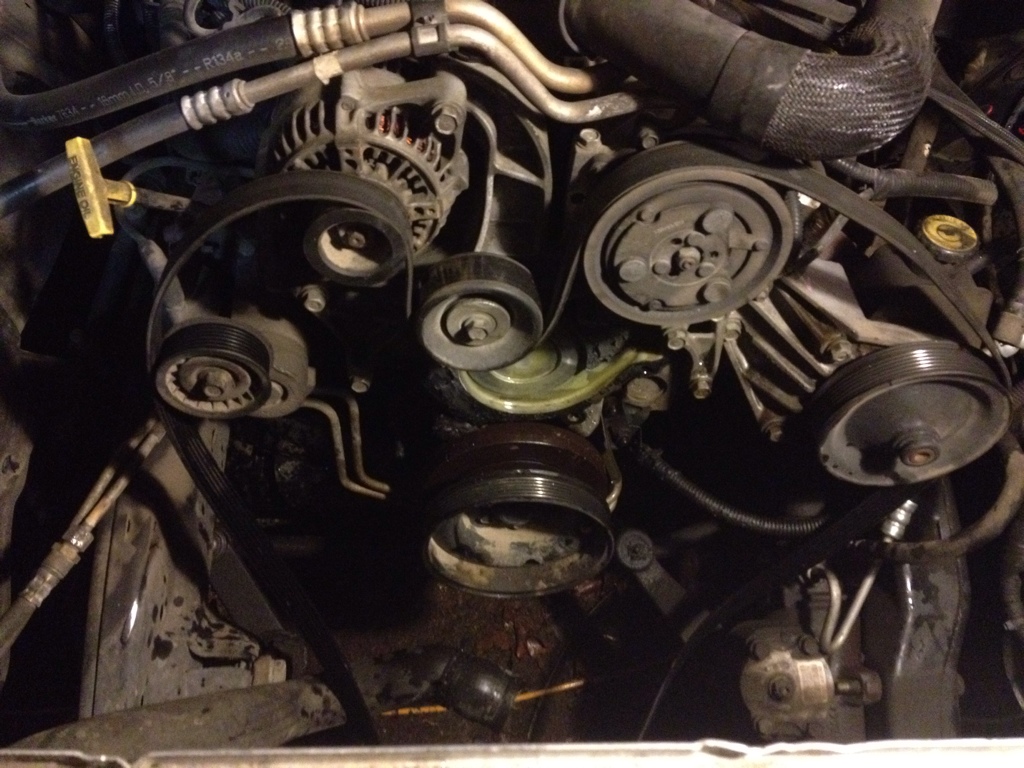
Then I removed the radiator hoses and the heater hose and tube. Then just remove all the water pump bolts. I believe there were 7. The one right above the pulley is a little tricky but with the right extension and angle I was able to get it out. Once I had all the bolts removed, I gave it a couple of whacks with a 2x4 to knock it loose and it came right out.
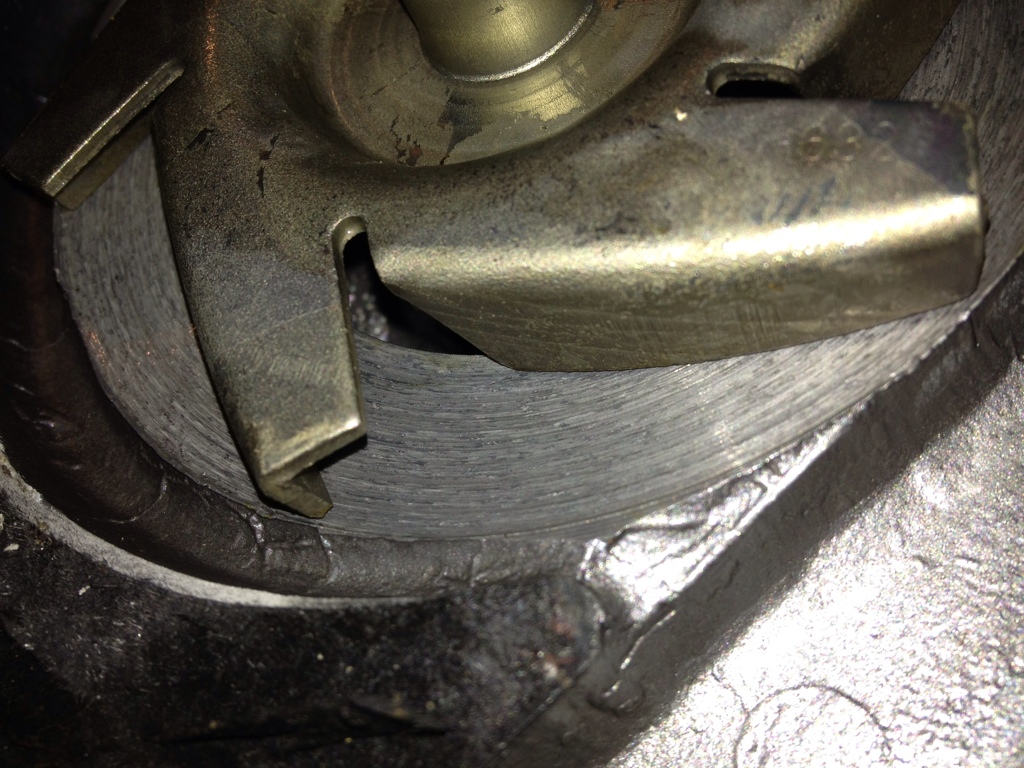
This is what the old pump looked like. Notice that the bearing was soooo bad that the blades were eating into the pump housing.
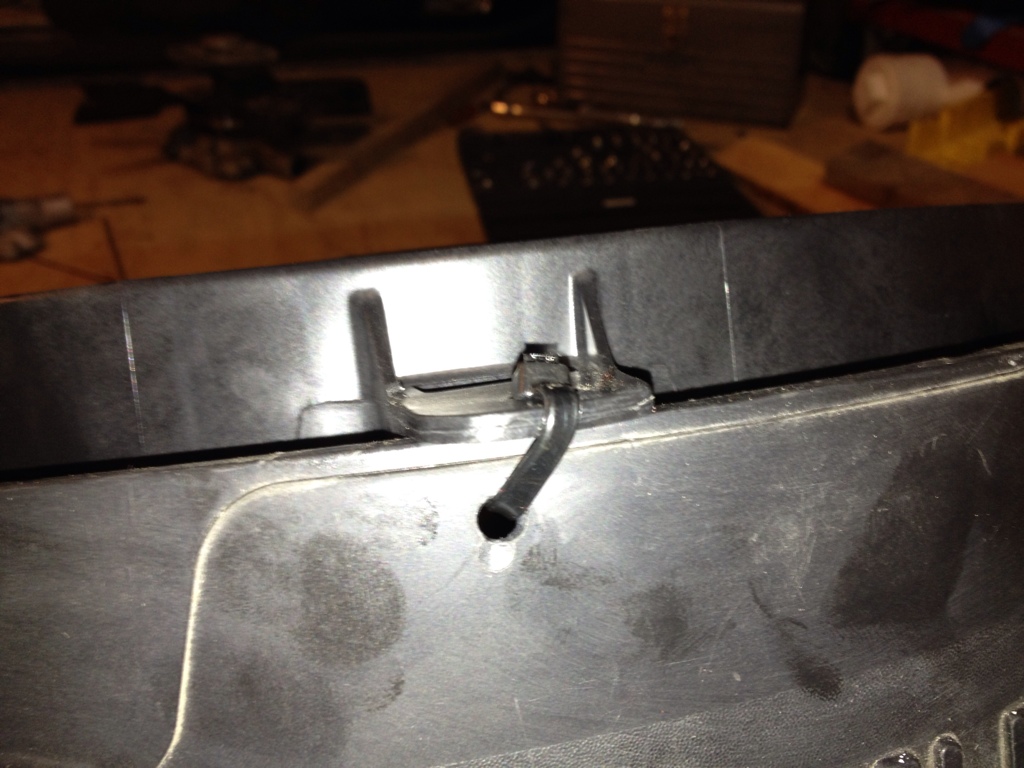
Then with a scraper of some sort remove the old gasket material while being careful to not scar the mating surface. I ended taking some sandpaper to it to get it as clean as i could.
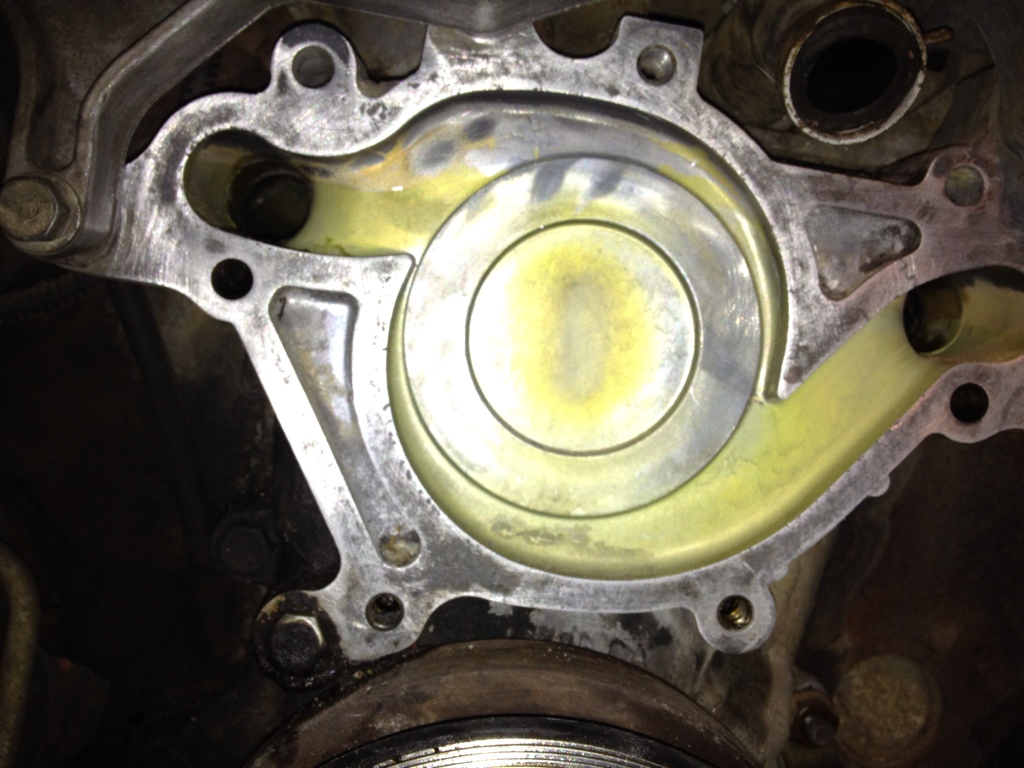
This is as far as I have gotten right now. I will be finishing it and the efan install in the morning. Should I use some RTV with the gasket? If so, what kind? Also does that mating surface look clean enough? I scrubbed and scrapped it for 30 min or so. Does anyone know any tricks for getting that upper hose back on? Its awfully darn short and hard to get to.
Removal of water pump was pretty straight forward.
First I unbolted the fan from the clutch so i could have room to get the shroud off. Easily done with a wrench. Then take off coolant overflow and windshield washer tank (just slides right up and off). Then remove the four bolts holding the shroud on.
Then I removed the radiator hoses and the heater hose and tube. Then just remove all the water pump bolts. I believe there were 7. The one right above the pulley is a little tricky but with the right extension and angle I was able to get it out. Once I had all the bolts removed, I gave it a couple of whacks with a 2x4 to knock it loose and it came right out.
This is what the old pump looked like. Notice that the bearing was soooo bad that the blades were eating into the pump housing.
Then with a scraper of some sort remove the old gasket material while being careful to not scar the mating surface. I ended taking some sandpaper to it to get it as clean as i could.
This is as far as I have gotten right now. I will be finishing it and the efan install in the morning. Should I use some RTV with the gasket? If so, what kind? Also does that mating surface look clean enough? I scrubbed and scrapped it for 30 min or so. Does anyone know any tricks for getting that upper hose back on? Its awfully darn short and hard to get to.
#3
05-25-2012, 11:42 PM
Join Date: Dec 2008
Posts: 1,585
Likes: 0
Received 0 Likes
on
0 Posts
#4
05-26-2012, 12:18 AM
#5
05-26-2012, 12:30 AM
Join Date: Dec 2008
Posts: 1,585
Likes: 0
Received 0 Likes
on
0 Posts
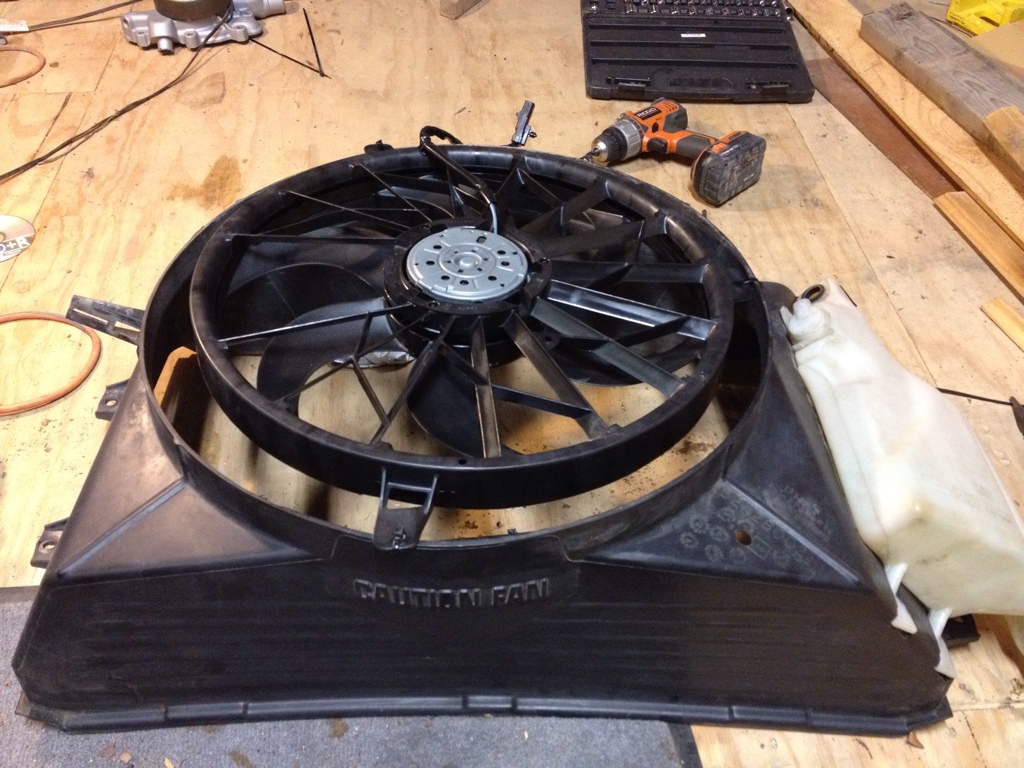
I went back out and did a little more work. Mounted the fan to the shroud with a couple of zipties. Positioned the fan where I wanted it, marked where the three holes needed to be, and drilled them out. Then just pulled the zipties good and tight. I was a little concerned with this method at first but once i got it on there and the zip ties tight all my concerns dissappeared. Its as solid as a rock.
#6
05-26-2012, 12:35 AM
Different approach. Others I have seen had fan attached to radiator. The two tanks mounting is why I was thinking of cutting part of it back to just past where you cut.
If there was a place here that I couldget aluminum welded, I woudl have gotten them to fab the shroud. I used the TCP kit which places fan at radiator but has wings that hold the tanks.
I think if you check the tie wraps periodically in the beginning to make sure they are holding tight you should be good!
#7
05-26-2012, 12:37 AM
Grand Champion
I mounted mine (same fan) with the tabs inside the shroud. It is at a bit of an angle, but it still works. I think that with the fan being so close to the motor it is actually reducing flow, since the air has nowhere to go... I really would like a better shroud, but I haven't had any overheating issues with it the way it is.
Trending Topics
#8
05-26-2012, 12:41 AM
I mounted mine (same fan) with the tabs inside the shroud. It is at a bit of an angle, but it still works. I think that with the fan being so close to the motor it is actually reducing flow, since the air has nowhere to go... I really would like a better shroud, but I haven't had any overheating issues with it the way it is.
Mine sits an inch off the rad with no shroud, when it's running it will suck up a bath towel and hold it to the grill.
#9
05-26-2012, 12:45 AM
So we need about 400 cfm OR a bath towel to effectively cool a Magnum engine?
Now you know I am going to have to take...er sneak... one of the wife's towels out to the garage in the moning and.....
#10
05-26-2012, 12:48 AM
Grand Champion
I would love to see what your brackets look like, I might try this myself. Could you either PM a few pics or put them here? Also, how is your controller set up? (On/off temps, thermostat temp) Thanks!