

The Camo Beast as it Evolves.

Champion
Joined: Sep 2011
Posts: 3,891
Likes: 8
From: NorCal
Just scratching the surface yo!! But it all matters.
I made an addendum to your list... 9a very importante
I made an addendum to your list... 9a very importante
But you ARE making progress, and that is a good thing. Of course, it never happens as quickly as you would like.  Better to do the job once, and do it right, than rush thru it, and have to do it again though.
Keep plugging away. You'll get there. (and then, you will come up with another list of things to do......)
Better to do the job once, and do it right, than rush thru it, and have to do it again though.Keep plugging away. You'll get there. (and then, you will come up with another list of things to do......)
Check List
1)Done--Install new track bar (to replace the bent one)
2) Done--Install steering gearbox brace
3) Done--Install the 3" body lift
4) Install the headers and remove the old exaust
5) Finish fabrication the traction bar and install it
6) Get the new exaust installed
7) Raise receiver hitch tube
8) Fabricate front bumper
8a) Add recovery points to front bumper
9)Done--Fabricate rear bumper
9a) Add recovery points to rear bumper
10)Done--Fabricate rock sliders for each side
11) Make tie down for spare tire in bed
Better?
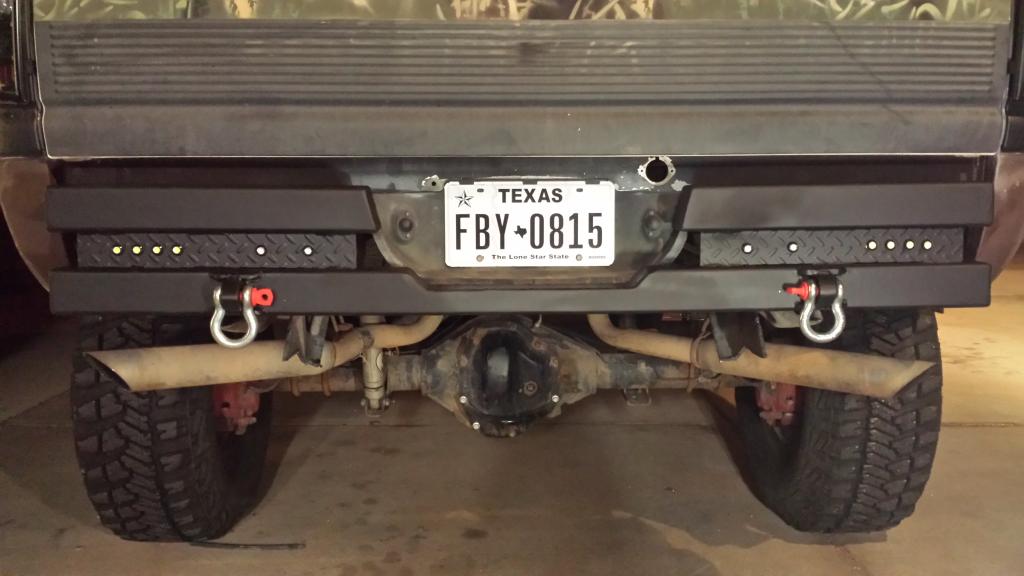
Made the recovery points and got project painted


Mounted the finished bumper with built in LEDs. 8 white backup and 4 red running
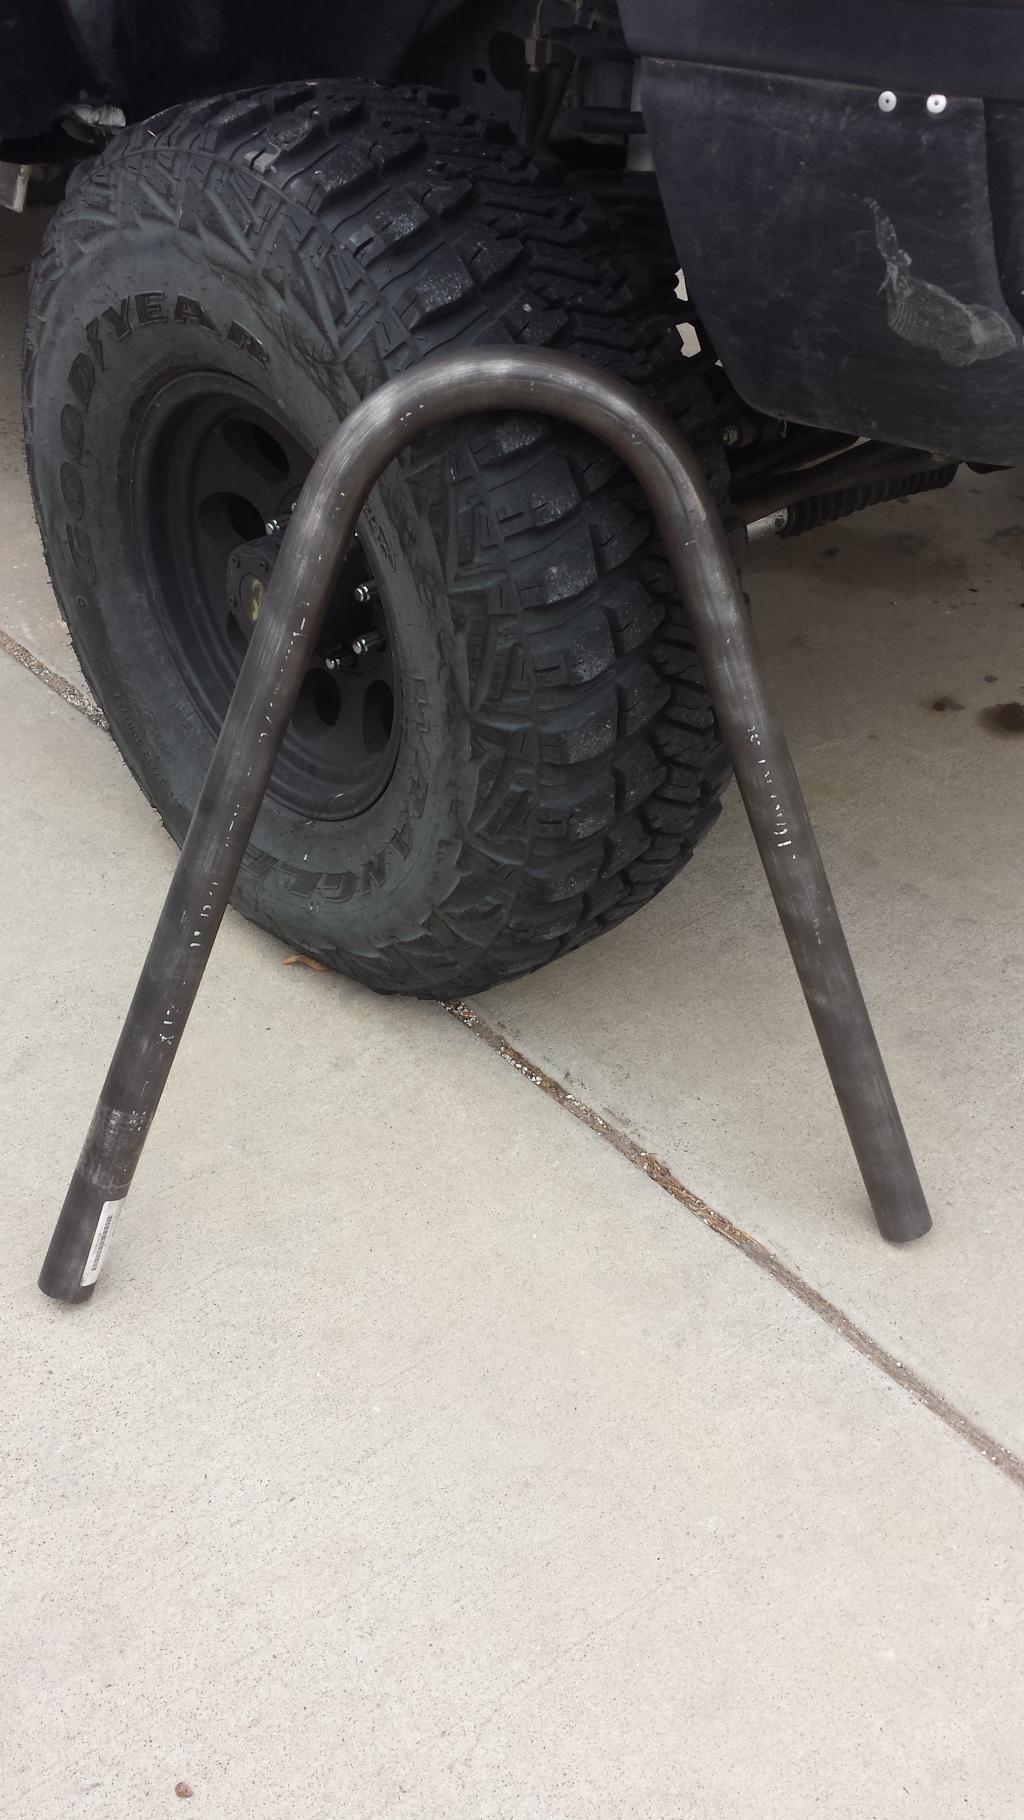
This is the bent 2" dom for the stinger for the front bumper


Mounted the finished bumper with built in LEDs. 8 white backup and 4 red running

This is the bent 2" dom for the stinger for the front bumper


That was not bent by me. It was bent by a company up in Las Cruces NM called Overkill Racing and Chassis http://www.overkillchassis.com/ .
A Friend knows the owner real well and took it and got it done for me. Check out their website, they are a up a commer in the market.
Thanks Ham, The lights are 4.5 watts each X 8. They are suppose to be super bright. I'll post a pic after I get them hooked up.
A Friend knows the owner real well and took it and got it done for me. Check out their website, they are a up a commer in the market.
Thanks Ham, The lights are 4.5 watts each X 8. They are suppose to be super bright. I'll post a pic after I get them hooked up.


Check list
1) Done--Install new track bar (to replace the bent one)
2) Done--Install steering gearbox brace
3) Done--Install the 3" body lift
4) Install the headers and remove the old exaust
5) Finish fabrication the traction bar and install it
6) Get the new exaust installed
7) Done--Raise receiver hitch tube
8) Fabricate front bumper
8a) Add recovery points to front bumper
9) Done--Fabricate rear bumper
9a) Done--Add recovery points to rear bumper
10) Done--Fabricate rock sliders for each side
11) Make tie down for spare tire in bed
Last edited by corbo1962; Jan 14, 2015 at 08:18 PM.
I was able to spend some time on the front bumper this weekend.

Got everything pulled off the front to see what I had to work with
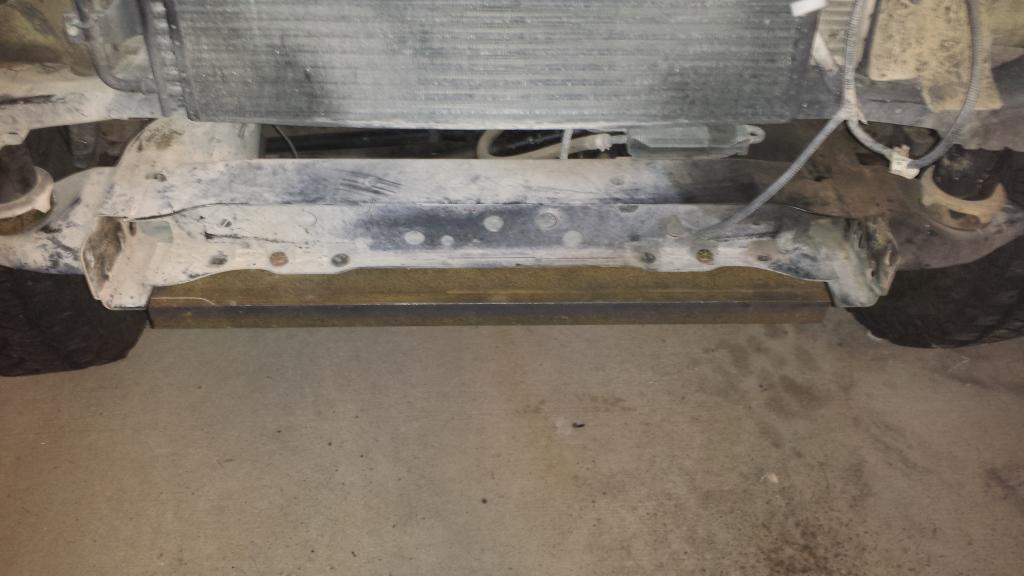
Cut a piece of 4"x1.5" channel and it is attached with six bolts to the cross brace. The rear two bolts on the winch will attach to this

Then with the same type of channel I made a box around and it has three bolts on each side attaching it to the frame. The front two winch bolts with attach to this.

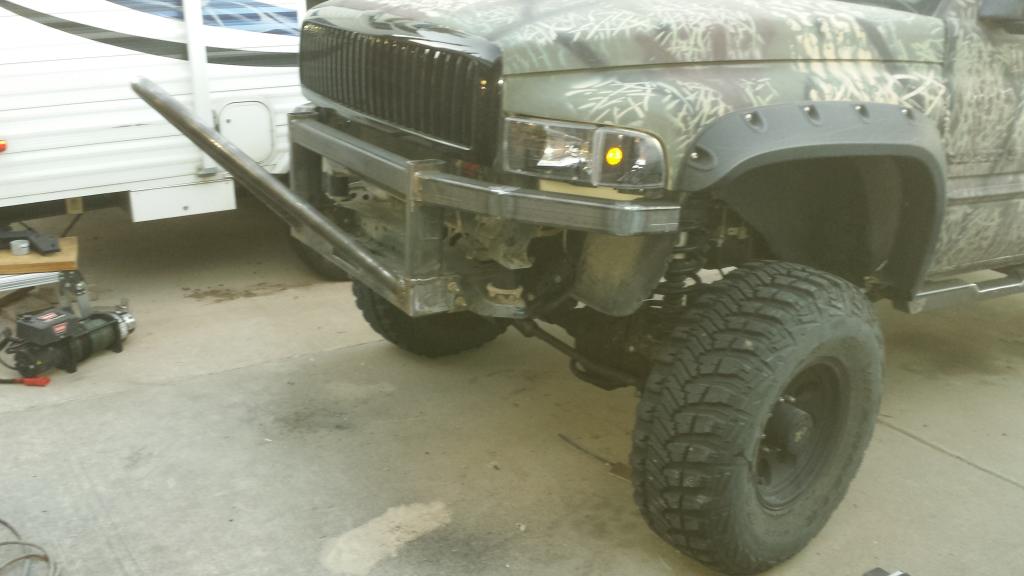
From there, I put some 2x4x 3/16 pieces up to attach to bumper pieces to. The bumper pieces are 3x3x 3/16. And got the stinger on. The ran out of time. Still need to reinforce the stinger, install the parallel pieces to the bumper, diamond plate in between the parallel tubes. And some bumper reinforcements on the side.