

The Camo Beast as it Evolves.

Thanks Wildman. No, I do have them tight by design. I only plan to use the step to get in and it works for that. Now that it is 3"s higher, I might be wanting to use them to dismount also. I have an idea on that, we'll see.


Thats a great idea! Thanks...
I'm going to work on the bumpers on Thursday, I have the whole day and Friday morning.
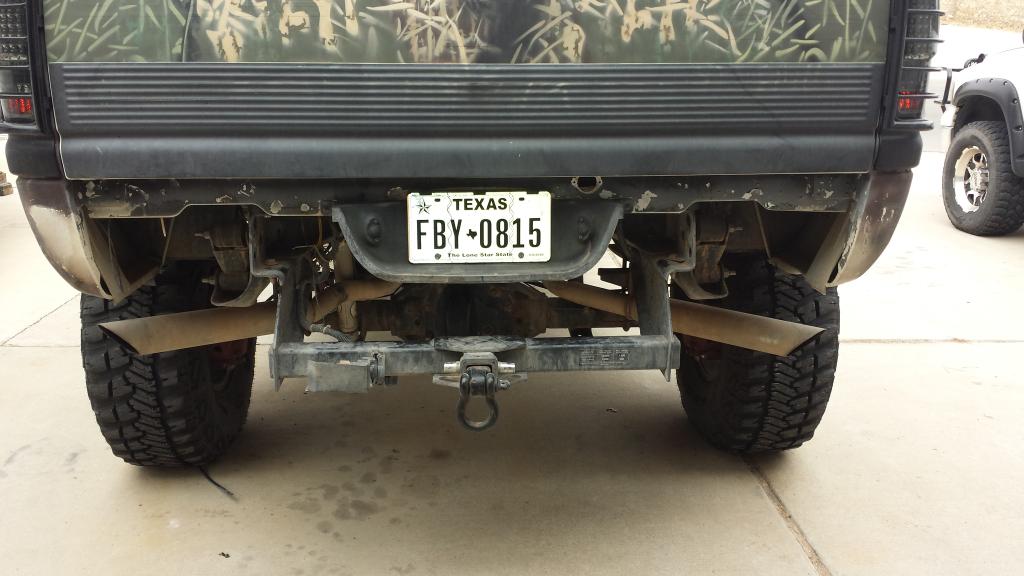
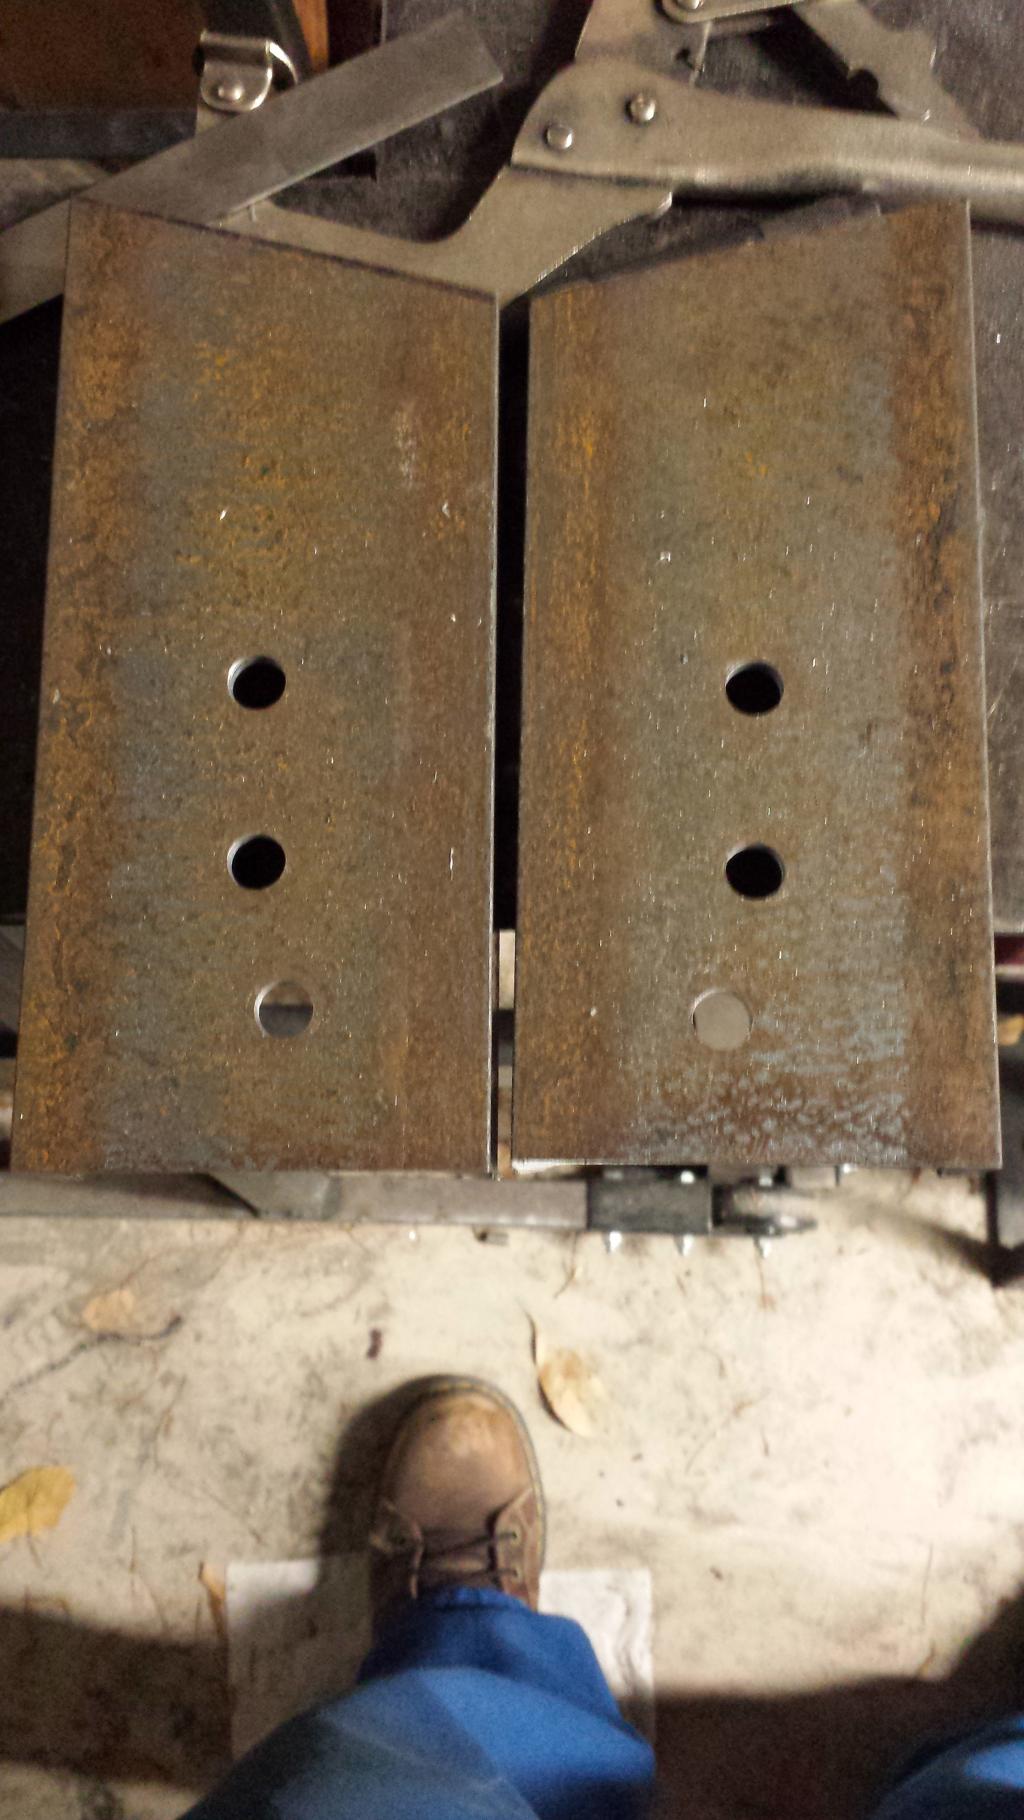
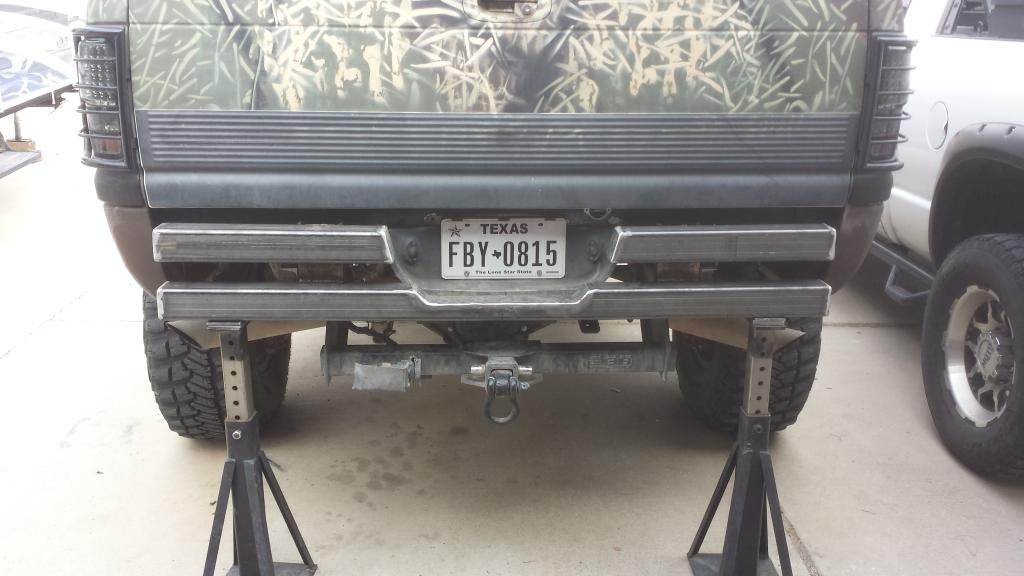
I decided to do the rear first. It started with taking off the old bumper
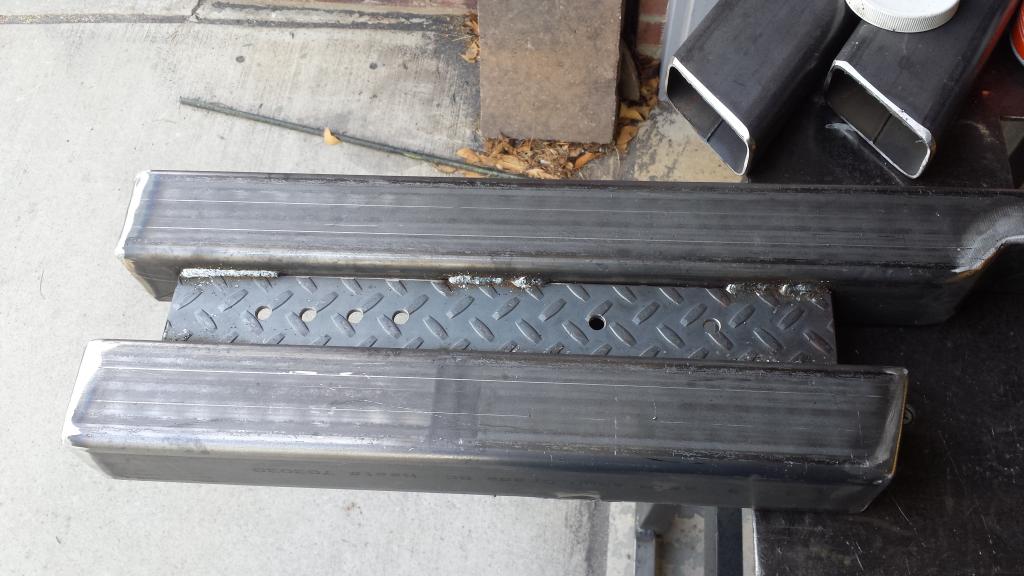
Then the bottom piece was cut for a step and a piece of diamond plate
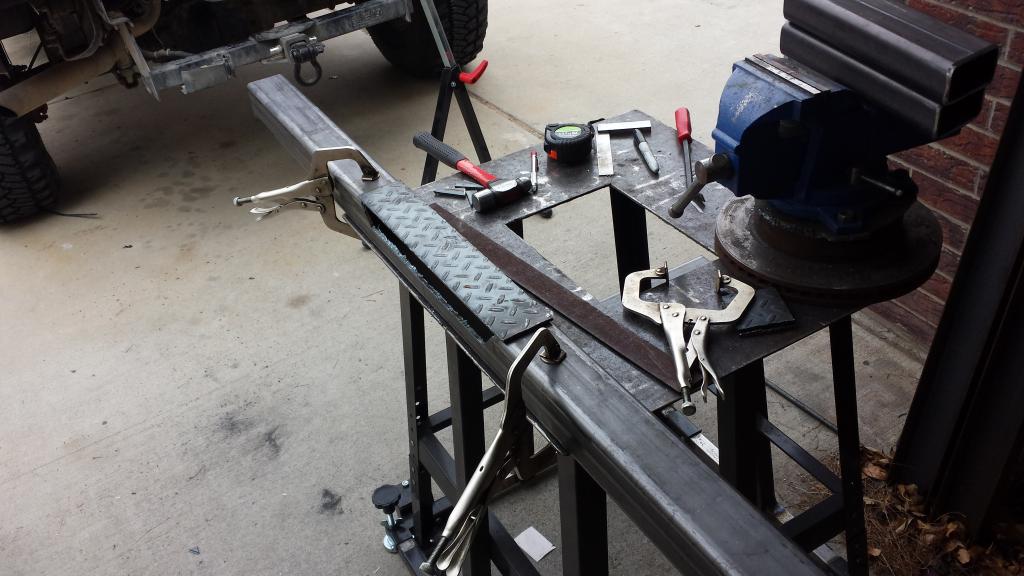
Then burned that in

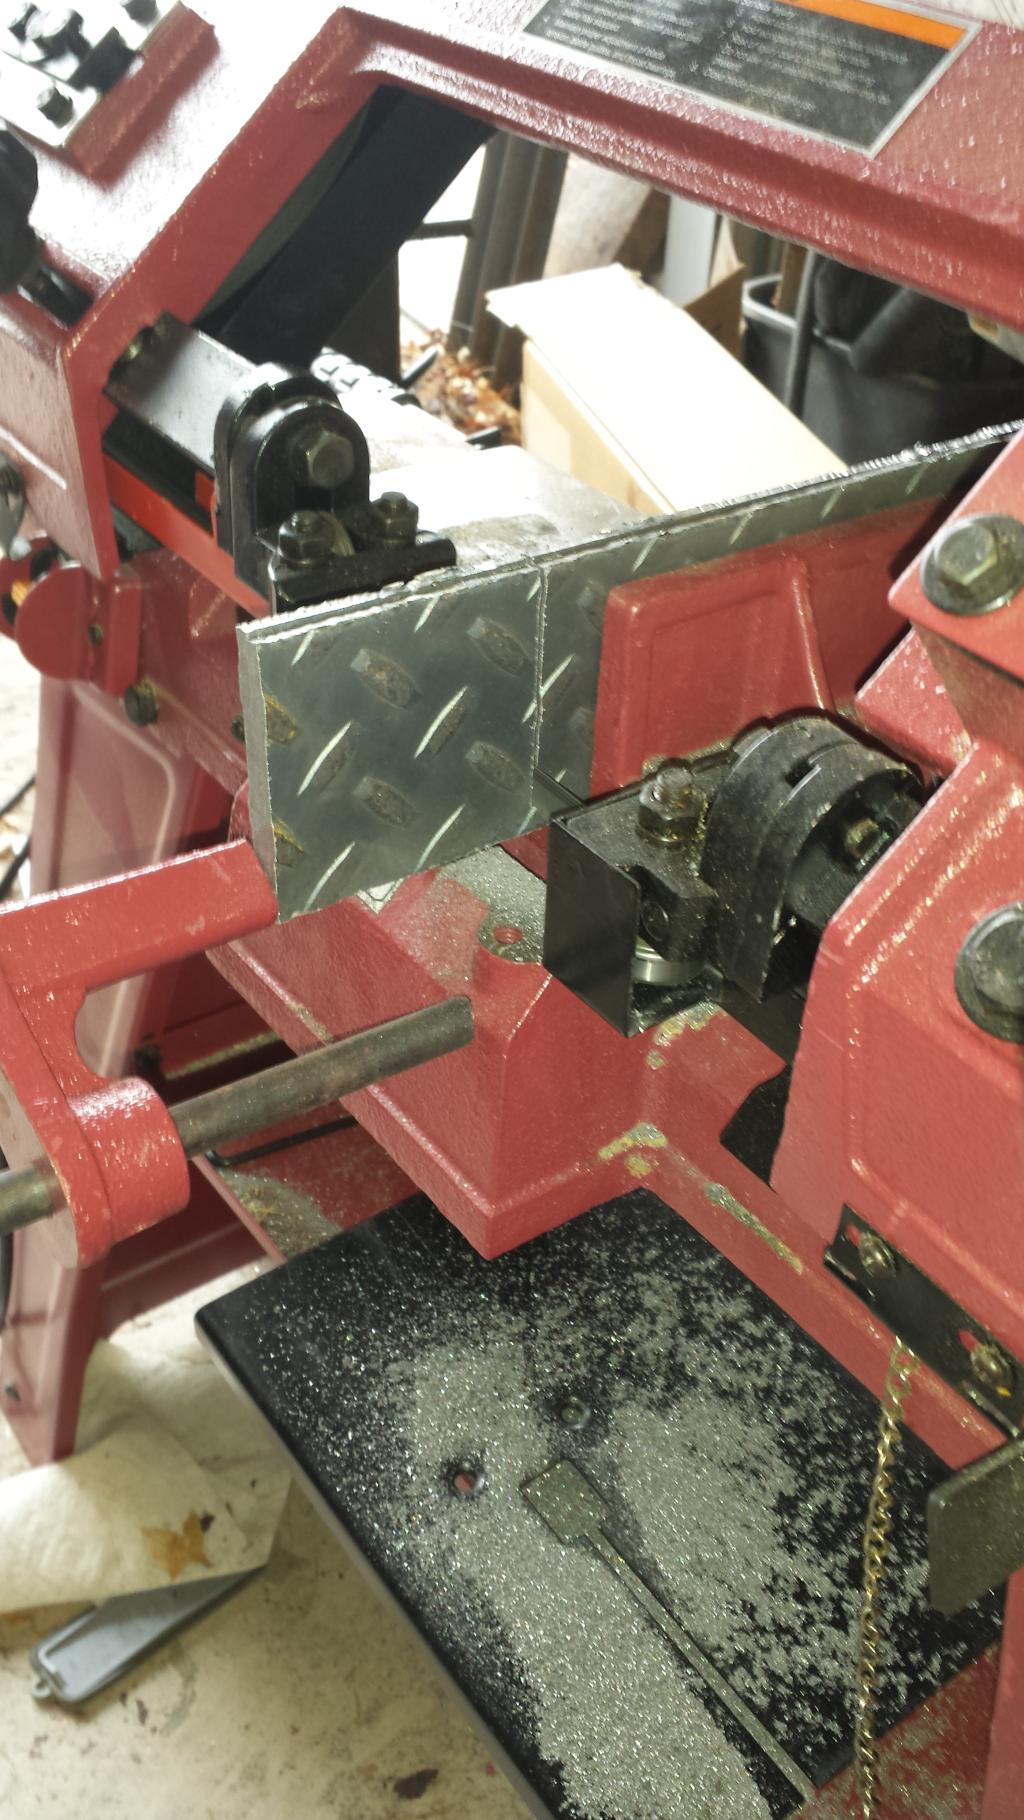
Had the band saw cutting the end caps
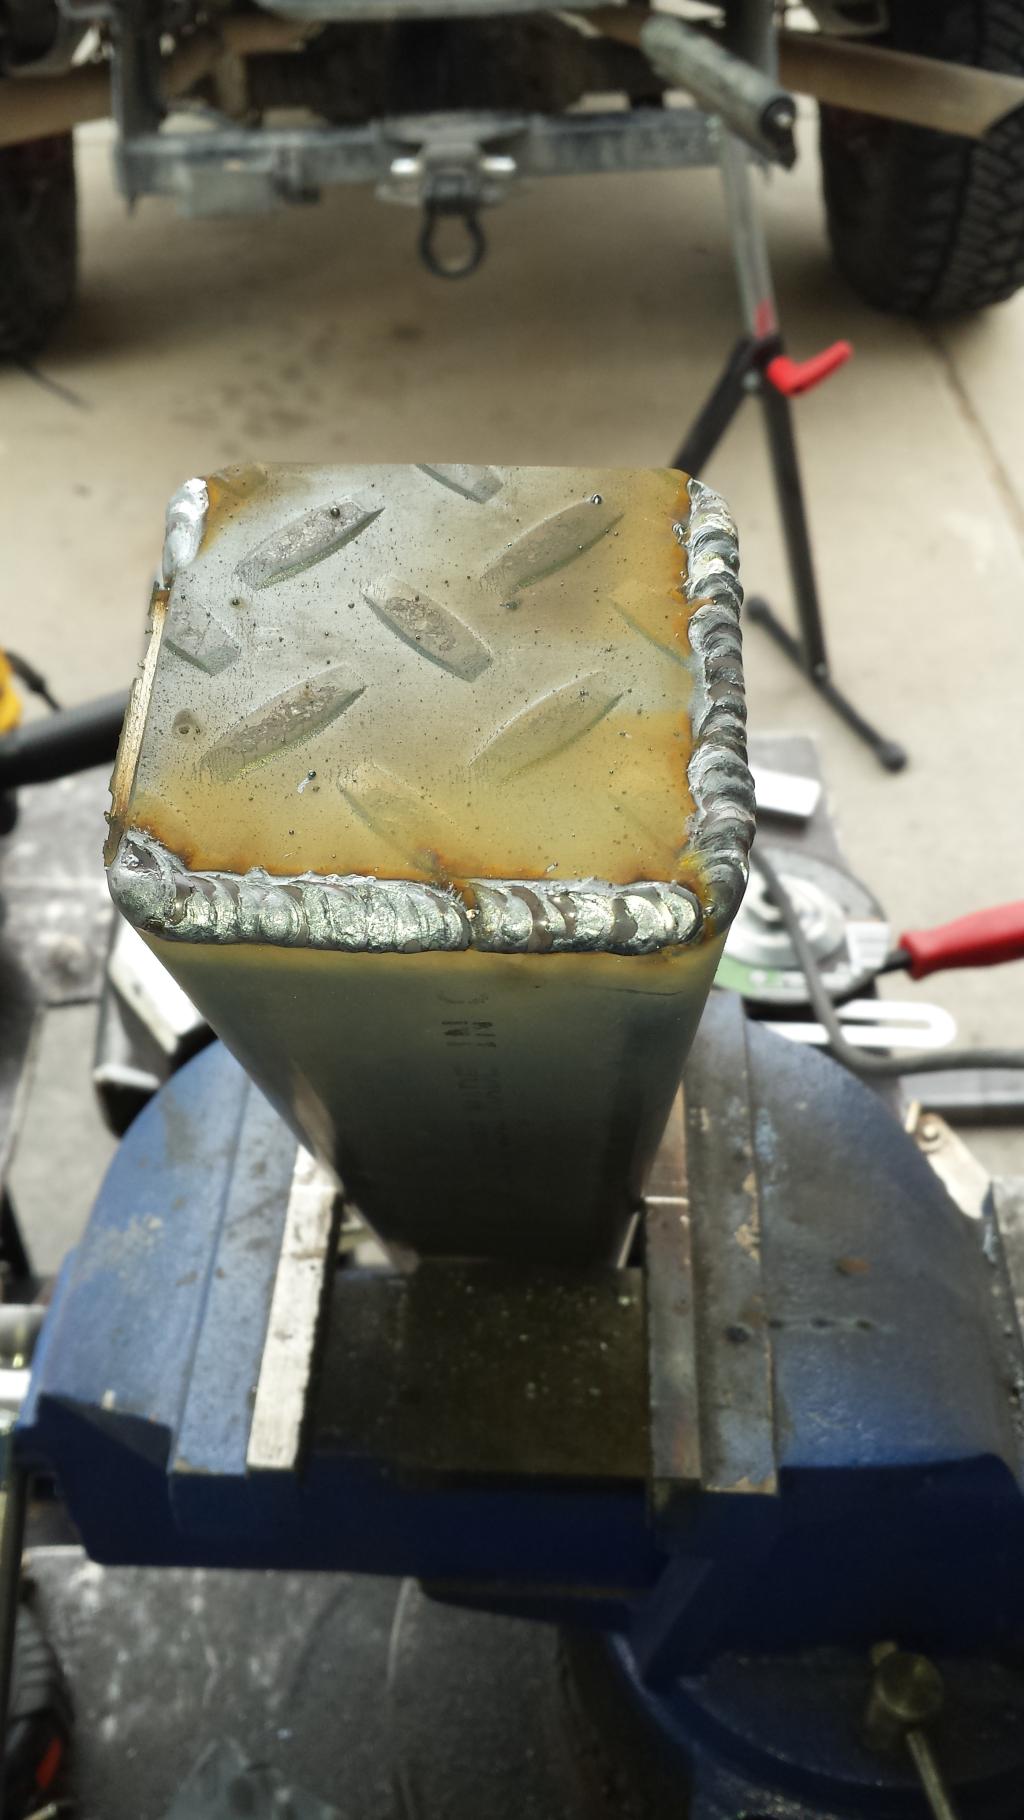
Welded them on
Set it up on the trailer hitch to check fit

Then made the frame mounts
Put the bumper up in place
Burned the mounts on the bumper and then ran out of time this morning. Working the next three nights. I'll get back to it on Monday. Couple things left and a paint job and it'll be done

Then the bottom piece was cut for a step and a piece of diamond plate

Then burned that in

Had the band saw cutting the end caps

Welded them on

Set it up on the trailer hitch to check fit

Then made the frame mounts

Put the bumper up in place

Burned the mounts on the bumper and then ran out of time this morning. Working the next three nights. I'll get back to it on Monday. Couple things left and a paint job and it'll be done

Thanks Wildman!
I was able to get out in the shop today before work. The only needs to be painted now.
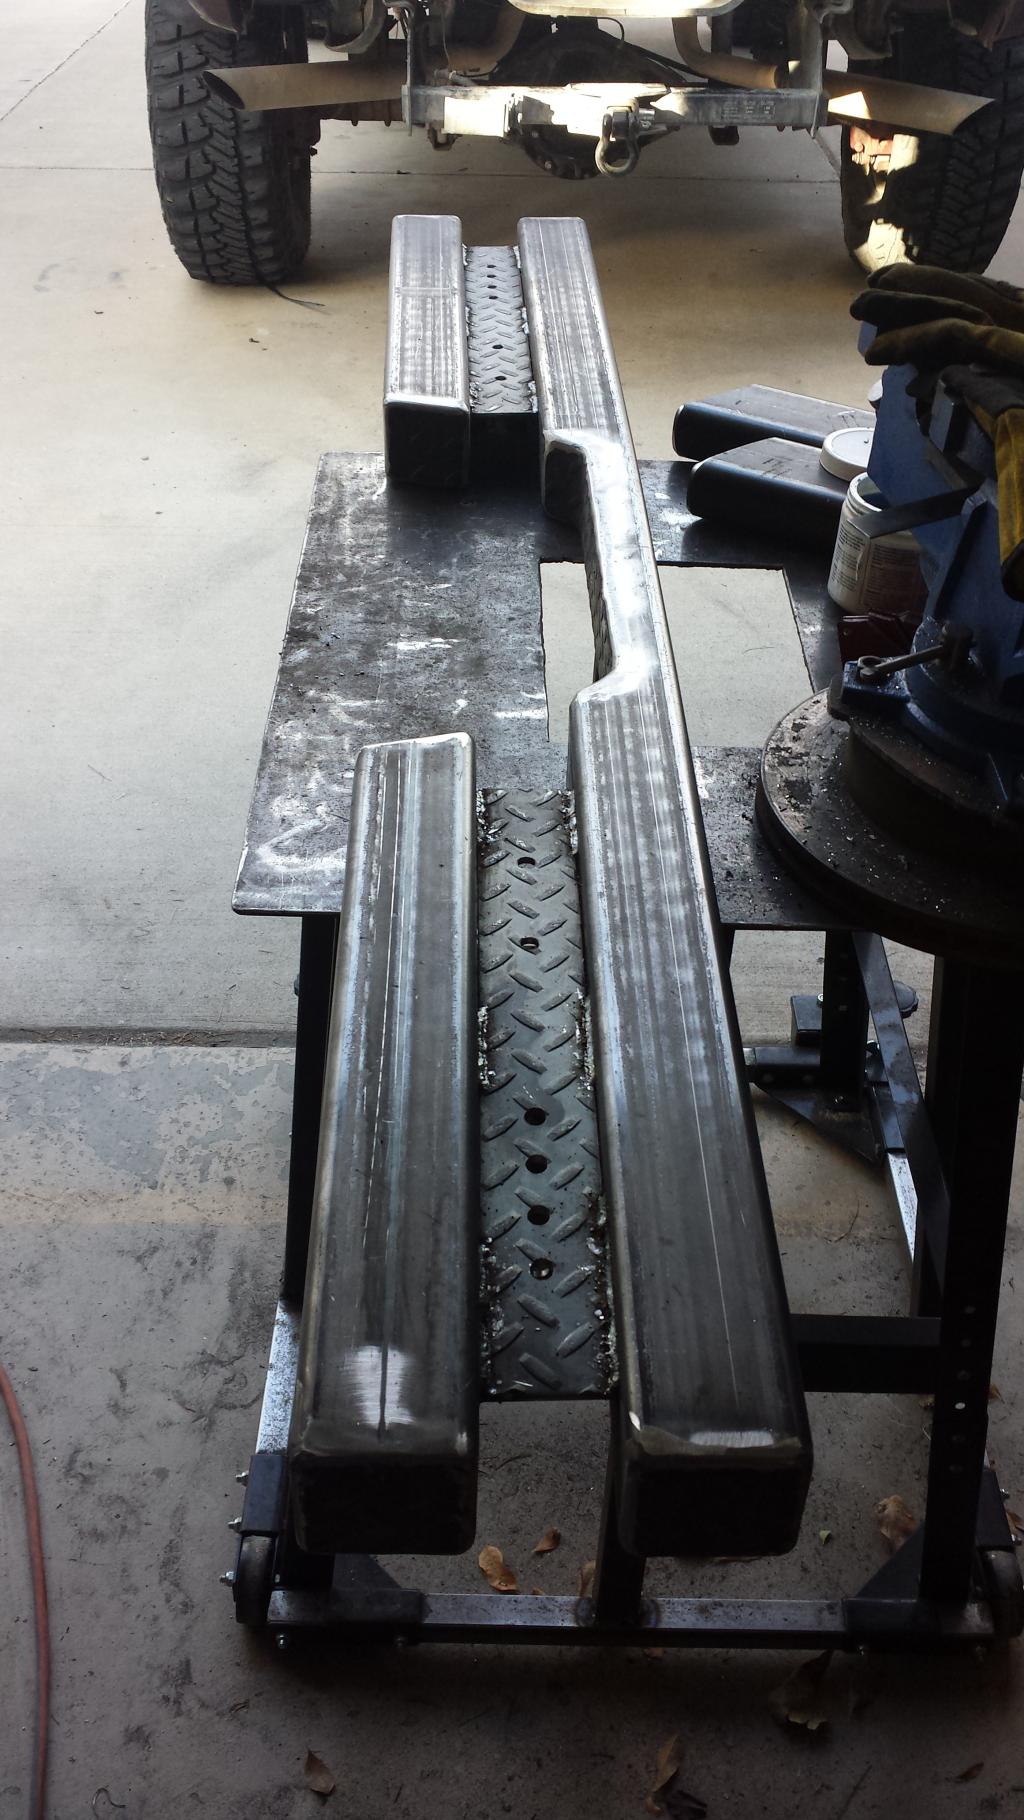
The two diamond plate inserts are done
I was able to get out in the shop today before work. The only needs to be painted now.


The two diamond plate inserts are done
Thanks Johnn123
Check List
1) Done--Install new track bar (to replace the bent one)
2) Done--Install steering gearbox brace
3) Done--Install the 3" body lift
4) Install the headers and remove the old exaust
5) Finish fabrication the traction bar and install it
6) Get the new exaust installed
7) Raise receiver hitch tube
8) Fabricate front bumper
9) Done--Fabricate rear bumper
10) Done--Fabricate rock sliders for each side
11) Make tie down for spare tire in bed
Making progress although it doesn't much feel like it.
Last edited by corbo1962; Jan 10, 2015 at 09:36 PM.
Administrator


Joined: Apr 2010
Posts: 87,467
Likes: 4,220
From: Clayton MI
But you ARE making progress, and that is a good thing. Of course, it never happens as quickly as you would like.  Better to do the job once, and do it right, than rush thru it, and have to do it again though.
Keep plugging away. You'll get there. (and then, you will come up with another list of things to do......)
Better to do the job once, and do it right, than rush thru it, and have to do it again though.Keep plugging away. You'll get there. (and then, you will come up with another list of things to do......)