


Headers Installed, Pics Inside!!


Thread Starter
|
Veteran
Joined: Apr 2007
Posts: 392
Likes: 0
From:
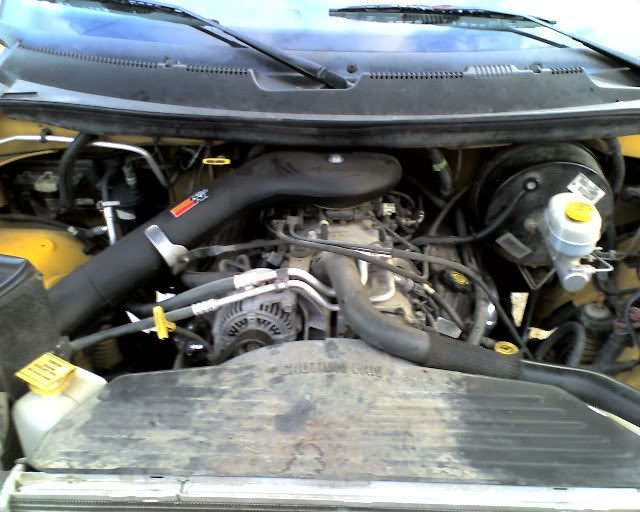
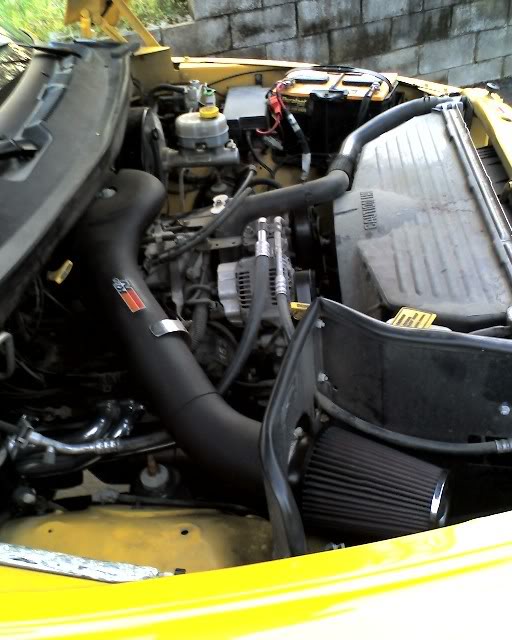
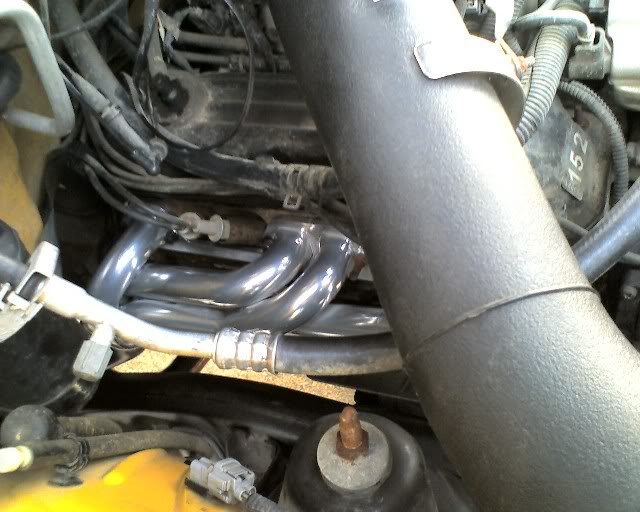
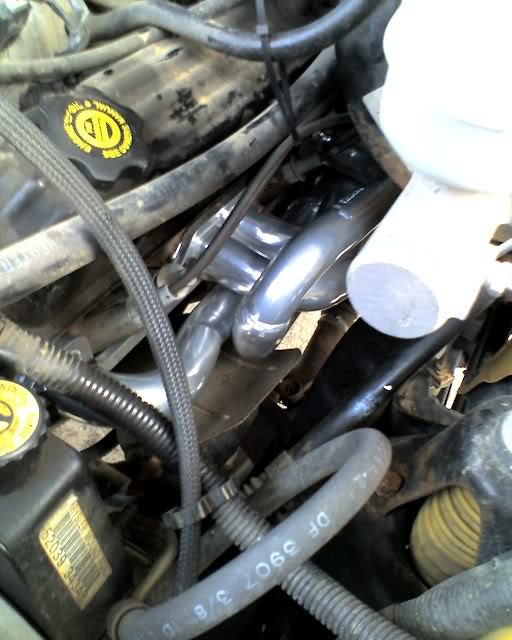
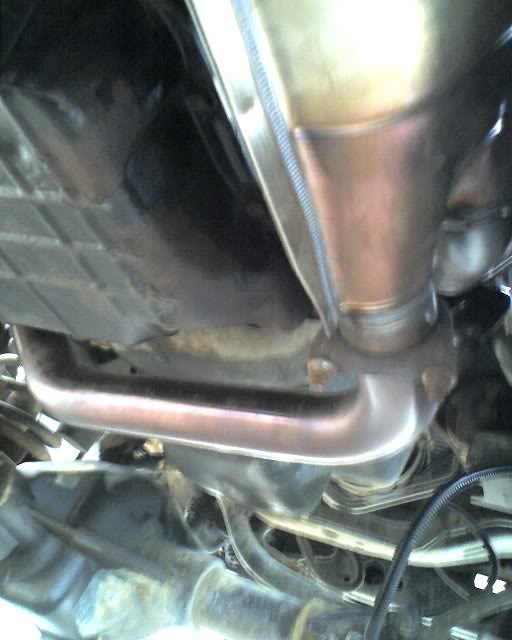
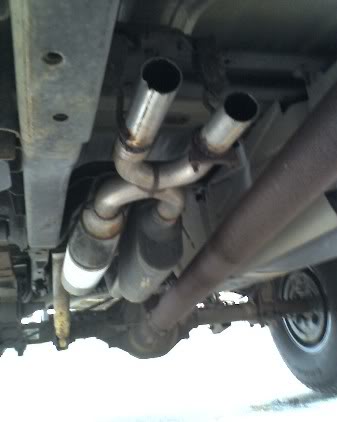
Well, I took my stock manifolds off last weekend, got rained out, and finally got the job done today. Everything went pretty well; some of the bolts are a little hard to reach, but I made out okay. All I have to say is PBBlaster is one of mynew best friends.Now,I justhave to get some piping welded up out the back and I'll be complete. As is I have ceramic coated Edelbrock Shorties into the Magnaflow Hi-flow Cat stock replacement setup with just straight pipe that ends just before the end of the cab. It's loud, deep, and sounds great to me. I'm going to get it y-ed out off of the converter and out the back to either my current 3.5" tips or maybe get some 4" tips; I haven't decided yet. The last guys welded my post cat O2 sim in, so I couldn't remove it from my old piping, soI have to pick one of those up this week some time, but other than that everything is good. I'd say it was a good learning experience and I'm pretty proud of myself for doing it.Here are some pics:
Stock Manifolds
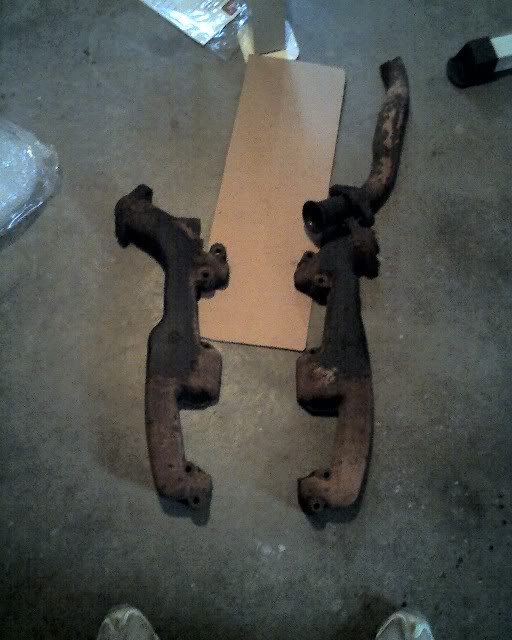
Passenger Side
Driver's Side
Cat Assembly
Super 44's plus the void where I had to cut out the pipe.
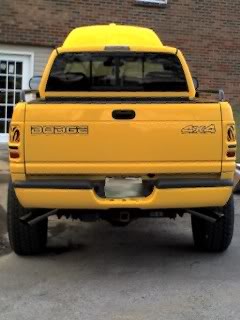
Just a shot of the back of the truck.
Stock Manifolds
Passenger Side
Driver's Side
Cat Assembly
Super 44's plus the void where I had to cut out the pipe.
Just a shot of the back of the truck.
Grand Champion
Joined: Nov 2004
Posts: 6,099
Likes: 6
From: Colorado
Looks very good. Like mine did when I first installed them. Make sure to check the tightness a couple times over the next few weeks, and then regularly about every 3-6 months, and you should never have any problems with them. Congrats.


Record Breaker
Joined: Nov 2005
Posts: 1,827
Likes: 3
From: Ontario Canada
Good job on the headers 
Is the pic angle deceiving or is that inside muff very close to the driveshaft and partially above it? If it is close, with a heavyload or trailer outback Id be nervous of contact with the driveshaft going over bumps.
Is the pic angle deceiving or is that inside muff very close to the driveshaft and partially above it? If it is close, with a heavyload or trailer outback Id be nervous of contact with the driveshaft going over bumps.

Captain
Joined: Feb 2008
Posts: 683
Likes: 0
From:
good looking intall, are those shorties still full length. I didn't know they made those. Also how much $$$$$
Trending Topics

Thread Starter
|
Veteran
Joined: Apr 2007
Posts: 392
Likes: 0
From:
ORIGINAL: Silver_Dodge
Looks very good. Like mine did when I first installed them. Make sure to check the tightness a couple times over the next few weeks, and then regularly about every 3-6 months, and you should never have any problems with them. Congrats.
Looks very good. Like mine did when I first installed them. Make sure to check the tightness a couple times over the next few weeks, and then regularly about every 3-6 months, and you should never have any problems with them. Congrats.
ORIGINAL: IndyRamMan
haha now im not the only one with mufflers like that! good job mate.
haha now im not the only one with mufflers like that! good job mate.
Thread Starter
|
Veteran
Joined: Apr 2007
Posts: 392
Likes: 0
From:
ORIGINAL: dodgeram07
looking good.... need to post video of the sound
looking good.... need to post video of the sound
ORIGINAL: lastrights
they look purdy, what kind, and diff in sound and performance????
they look purdy, what kind, and diff in sound and performance????