


 Aug 5, 2015, 07:39 PM
Last edit by: IB Advertising
See related guides and technical advice from our community experts:
Browse all: Exterior
- Dodge Ram 2nd Gen How to Replace Power Window Actuator
Step by step instructions for the do-it-yourself repairs.
Browse all: Exterior

99 ram 1500 window motor replacement


well, Ive looked in there, my hands are the size of an apes and I cant even see the motor from any hole. I been lookin in this forum and online all mornin and last night, no details to be found. I dont need my window breaking, or the spring bustin my hand up, so im just sizzlin on it all at the moment. I want the thing fixed  From what the chiltons says, the whole window has to come out...there isnt even a picture. Th haynes says the whole system has to be replaced, and is not servicable by me ...so ya see...im gettin miffed ):^( ha ha
still searchin
From what the chiltons says, the whole window has to come out...there isnt even a picture. Th haynes says the whole system has to be replaced, and is not servicable by me ...so ya see...im gettin miffed ):^( ha hastill searchin
Grand Champion
Joined: Aug 2009
Posts: 5,971
Likes: 45
From: MAINE
I have my door panaling off right now and im looking at the window motor through the hole where the speaker is right now...with window up its right there...im literally looking at mine right now

Champion
Joined: Sep 2011
Posts: 3,891
Likes: 8
From: NorCal
I was quoted labor of $128 to do this job.
Got my window regulator from Rock Auto.
Pretty much what folks said here is correct. Here are more pictures.
1. Carefully pry the clips out. I use a forked flat head driver. It's long enough to get on the shaft of the clips and carefully work it out.
2. You'll have to pull the screw (1) up by the power window ****, if you have one. Remove the screws from the handle bucket (2).
3. Be mindful of the door lock. It comes through it's hole. Once you have panel disconnected, you can reach to unplug the power window ****. Also, you pop the power lock switch panel out. There is a prong on front and back. Use screw driver to properly free them front to back and thread entire panel through door panel. Do not attempt to unplug harness.
4. Move panel off and over door latch.
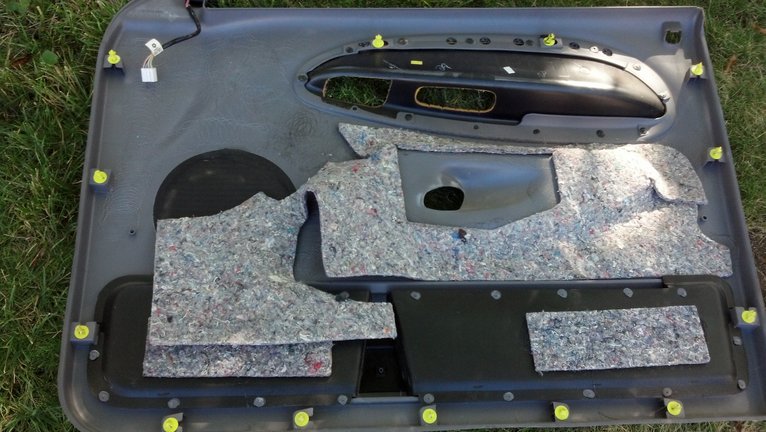
5. Upon removal.
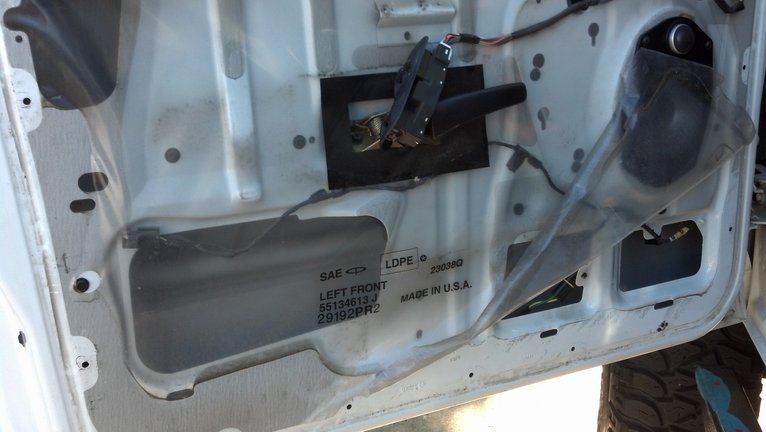
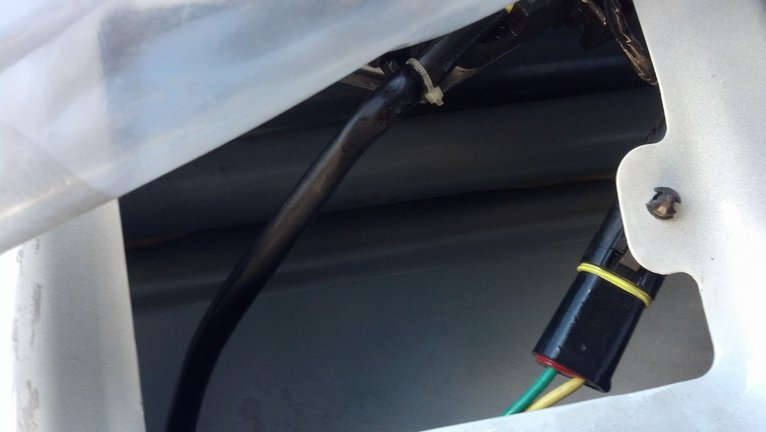
6. Peel the water dam very carefully. You'll notice the extent of how much I peeled up in order to access both bottom cutouts.
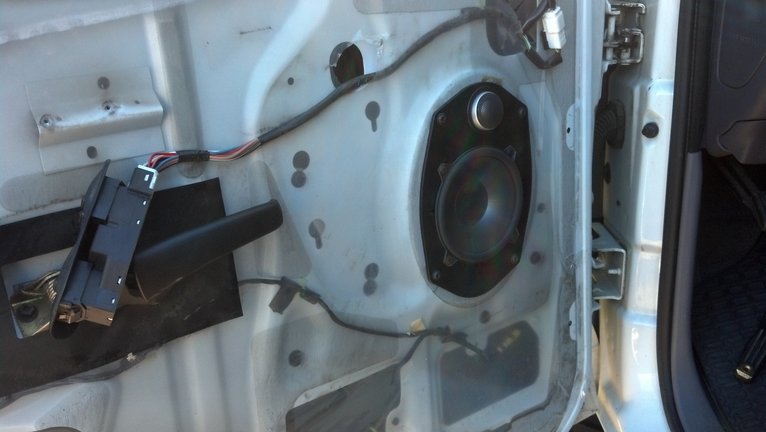
I loosened the 2 black screws (10mm) by sliding ratchet b/t water dam and nut. Just a few threads.
7. Then the 3 screws on the window regulator, which are standard size socket, not 10mm. Right hand to right cutout and left had in left.
8. Here is removed regulator. To remove you just rotate it counter-clockwise so that the gear housing drops out.
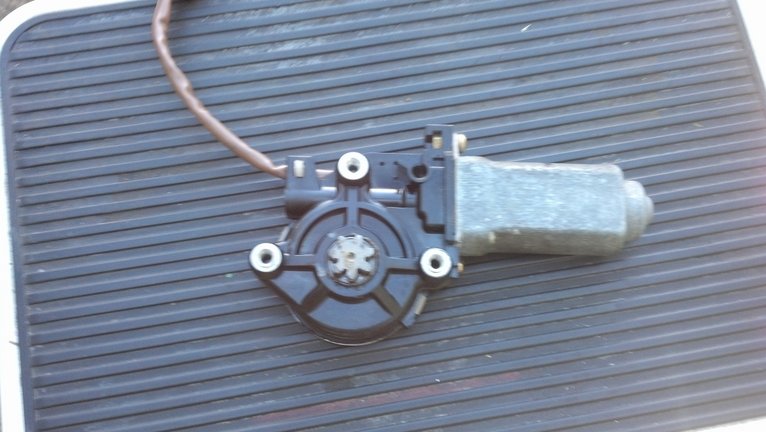
My new one had no threads in the receiving bosses. I used the 3 screws to tap them very carefully.
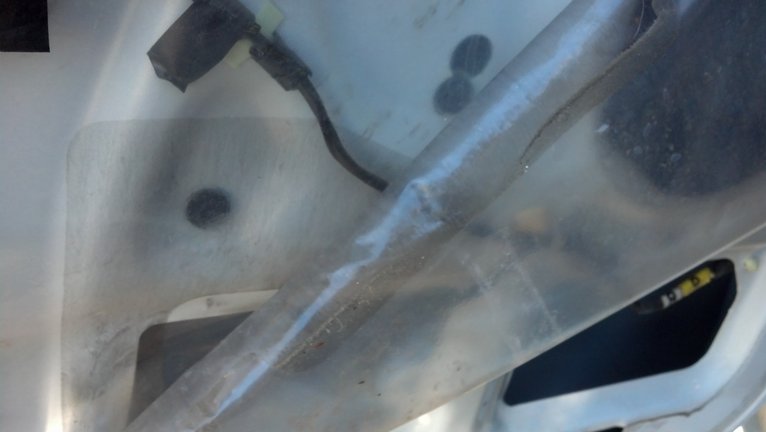
All good now. The water dam did stick back, but I only had packing tape (very sticky) to overlay. Would be better to have some spray or brush on adhesive.
Get R dun.
Sidenote -- I got ripped off by Best Buy when speakers were installed. I had provided them my speakers and dynomat. I was curious if they had installed the dynomat. Well, voila....no dynomat. I still have the receipt and see what can be done.
Got my window regulator from Rock Auto.
Pretty much what folks said here is correct. Here are more pictures.
1. Carefully pry the clips out. I use a forked flat head driver. It's long enough to get on the shaft of the clips and carefully work it out.
2. You'll have to pull the screw (1) up by the power window ****, if you have one. Remove the screws from the handle bucket (2).
3. Be mindful of the door lock. It comes through it's hole. Once you have panel disconnected, you can reach to unplug the power window ****. Also, you pop the power lock switch panel out. There is a prong on front and back. Use screw driver to properly free them front to back and thread entire panel through door panel. Do not attempt to unplug harness.
4. Move panel off and over door latch.
5. Upon removal.
6. Peel the water dam very carefully. You'll notice the extent of how much I peeled up in order to access both bottom cutouts.
I loosened the 2 black screws (10mm) by sliding ratchet b/t water dam and nut. Just a few threads.
7. Then the 3 screws on the window regulator, which are standard size socket, not 10mm. Right hand to right cutout and left had in left.
8. Here is removed regulator. To remove you just rotate it counter-clockwise so that the gear housing drops out.
My new one had no threads in the receiving bosses. I used the 3 screws to tap them very carefully.
All good now. The water dam did stick back, but I only had packing tape (very sticky) to overlay. Would be better to have some spray or brush on adhesive.
Get R dun.
Sidenote -- I got ripped off by Best Buy when speakers were installed. I had provided them my speakers and dynomat. I was curious if they had installed the dynomat. Well, voila....no dynomat.