


Durango bumper on Ram


Thread Starter
|
Rookie
Joined: Jan 2011
Posts: 72
Likes: 0
From: upstate SC
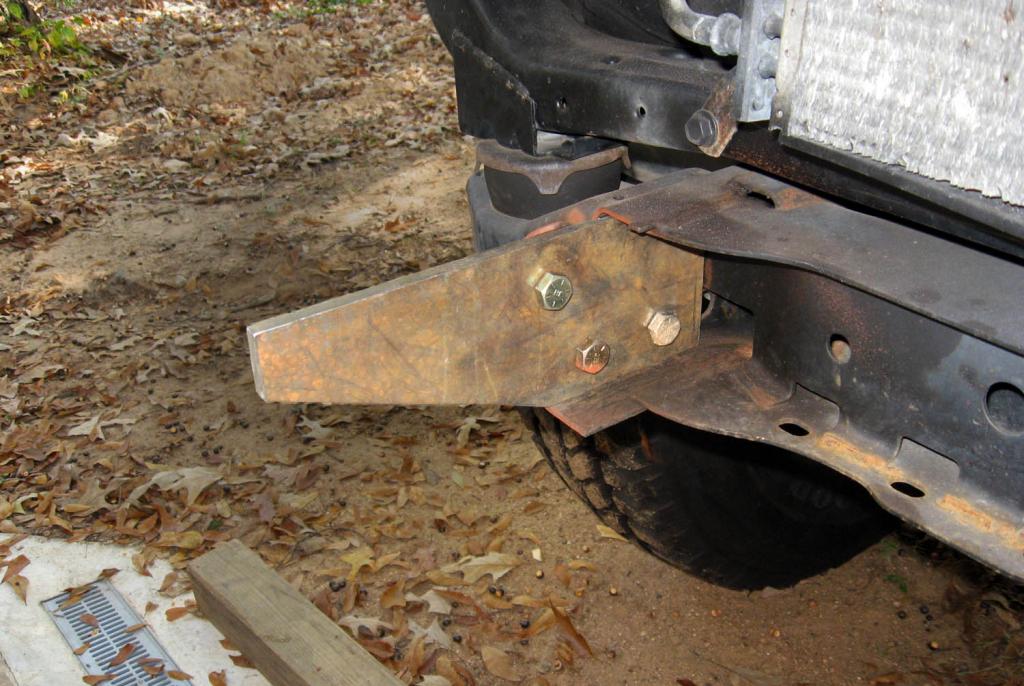
Got a good deal on a bumper off a friends Durango; have to 'slightly' mod it to fit my 2001 Ram. In the process will reinforce the bumper bracket on the frame.
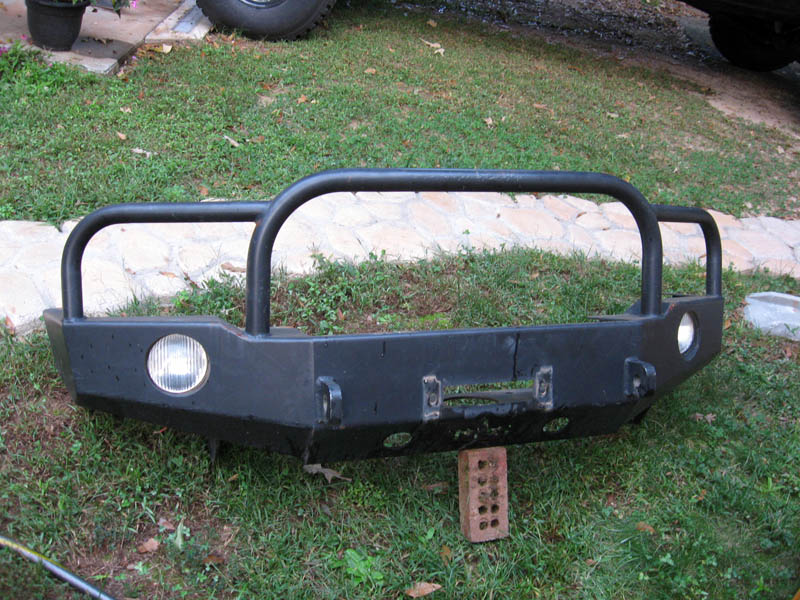
Here it is on his Durango...
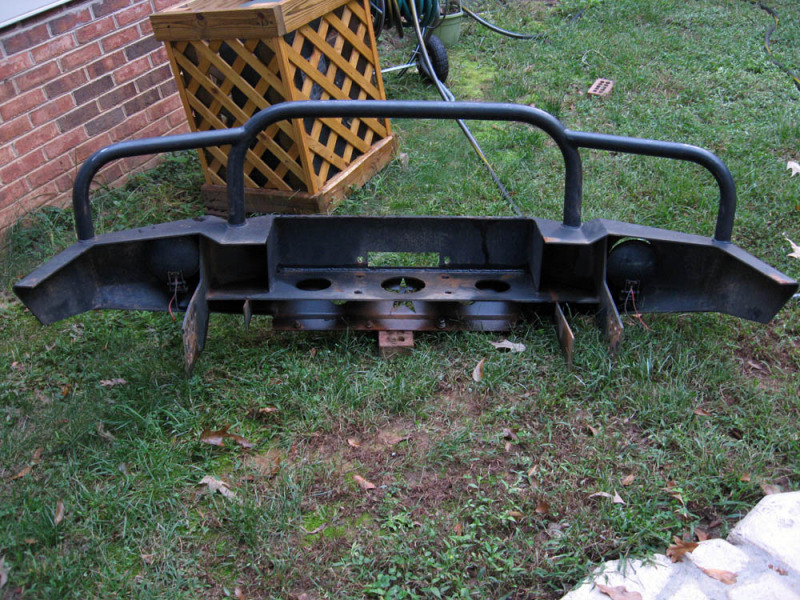
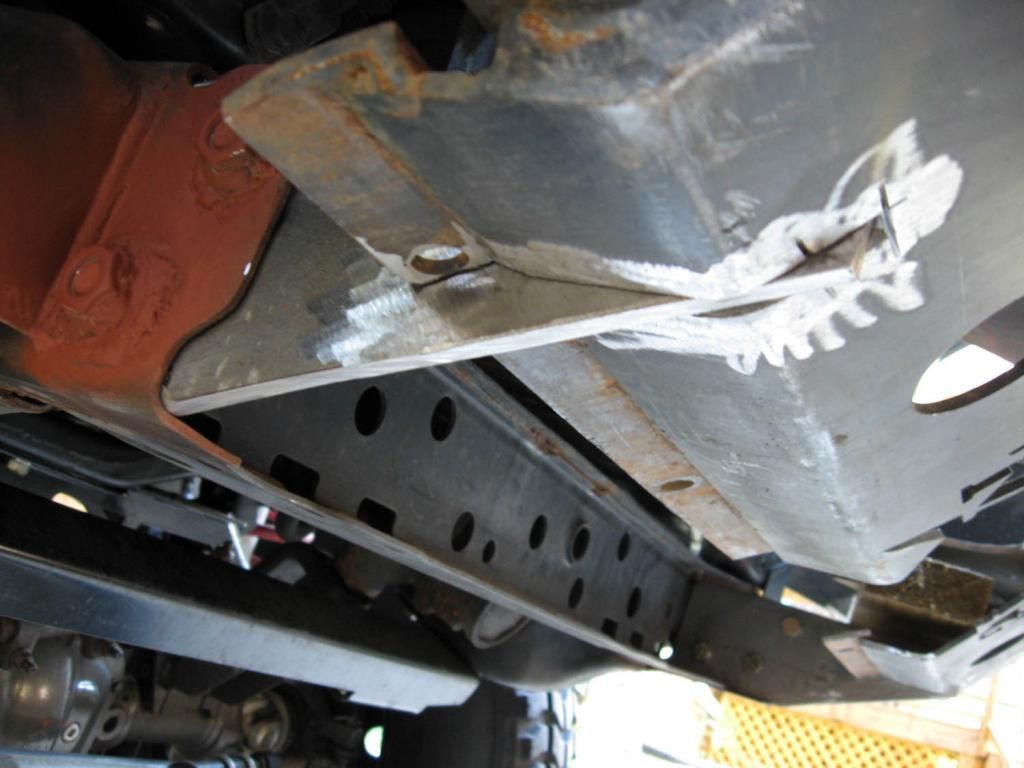
...and off the Durango. The Ram frame mount is much narrower than the Durango, so those are now cut off
its next location...
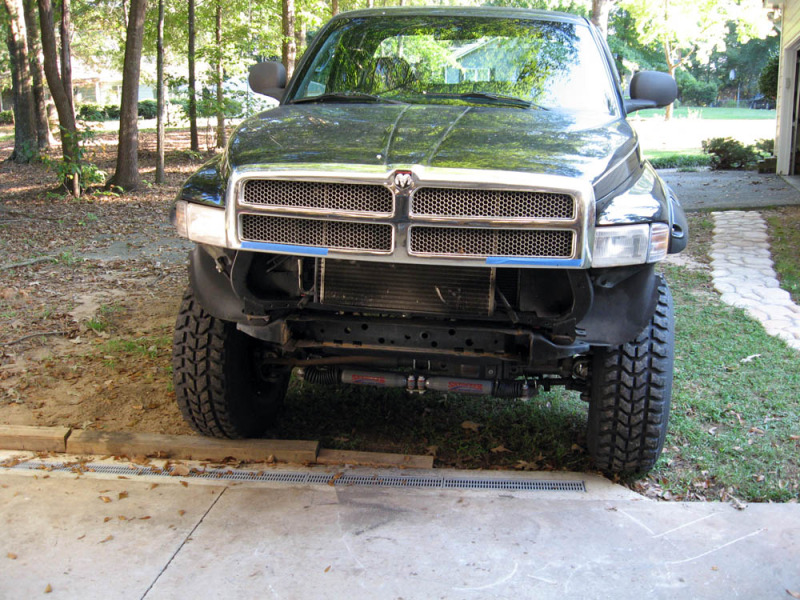
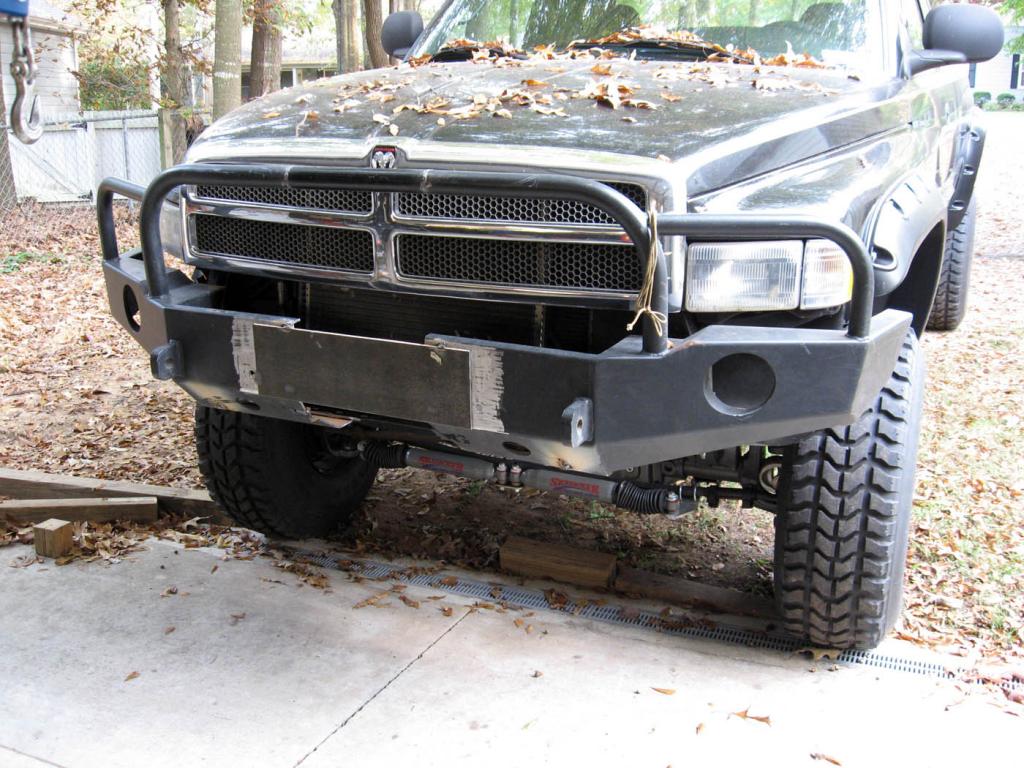
mocked it up on the truck to get measurements of width. Unsure whether I'll worry about fitting a winch to it later or just box it all in. Picked up some steel today but ran out of time to get welding on it this week. Total width will be even with the Bushwacker flares. Durango and Ram headlights are same width so I don't have too fool with the loop dimensions.
Here it is on his Durango...
...and off the Durango. The Ram frame mount is much narrower than the Durango, so those are now cut off
its next location...
mocked it up on the truck to get measurements of width. Unsure whether I'll worry about fitting a winch to it later or just box it all in. Picked up some steel today but ran out of time to get welding on it this week. Total width will be even with the Bushwacker flares. Durango and Ram headlights are same width so I don't have too fool with the loop dimensions.
Last edited by jeff351; Dec 7, 2012 at 07:54 PM.
Thread Starter
|
Rookie
Joined: Jan 2011
Posts: 72
Likes: 0
From: upstate SC
progress has been really slow duto less free time than usual as of lately.
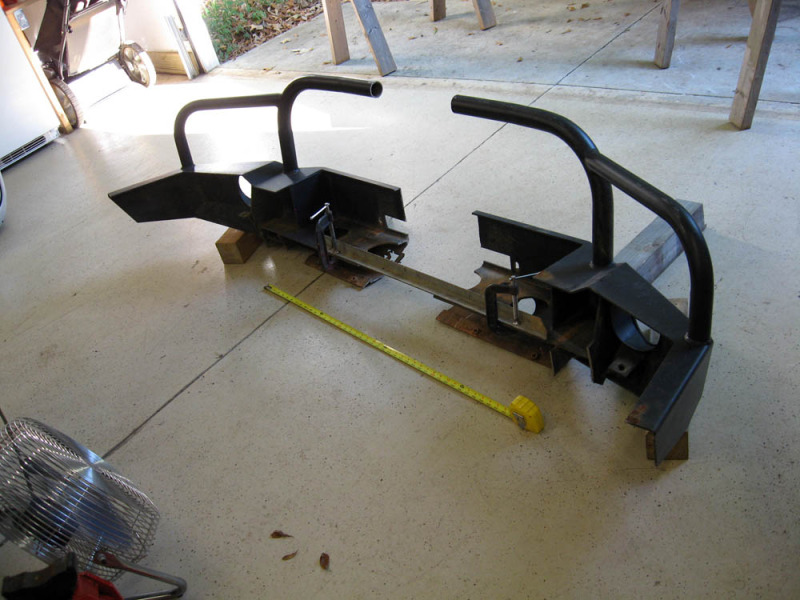
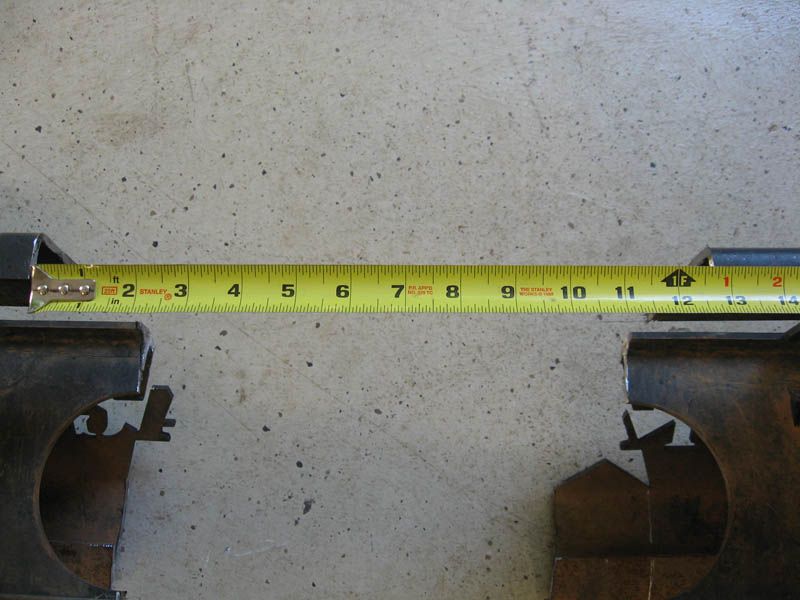
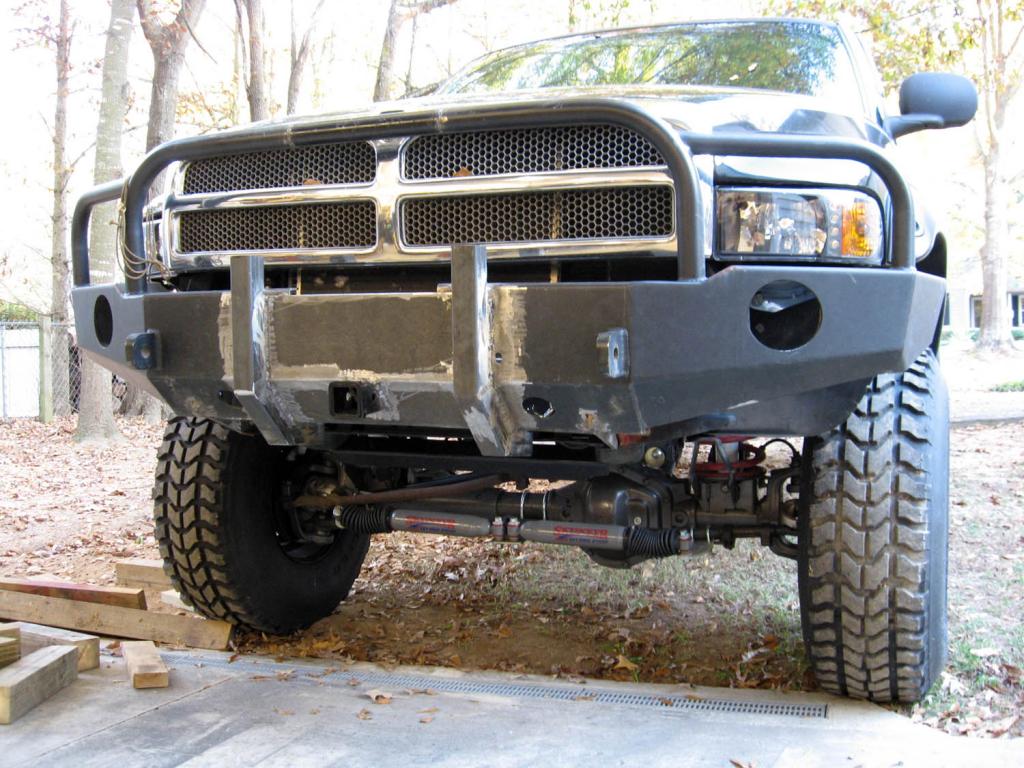
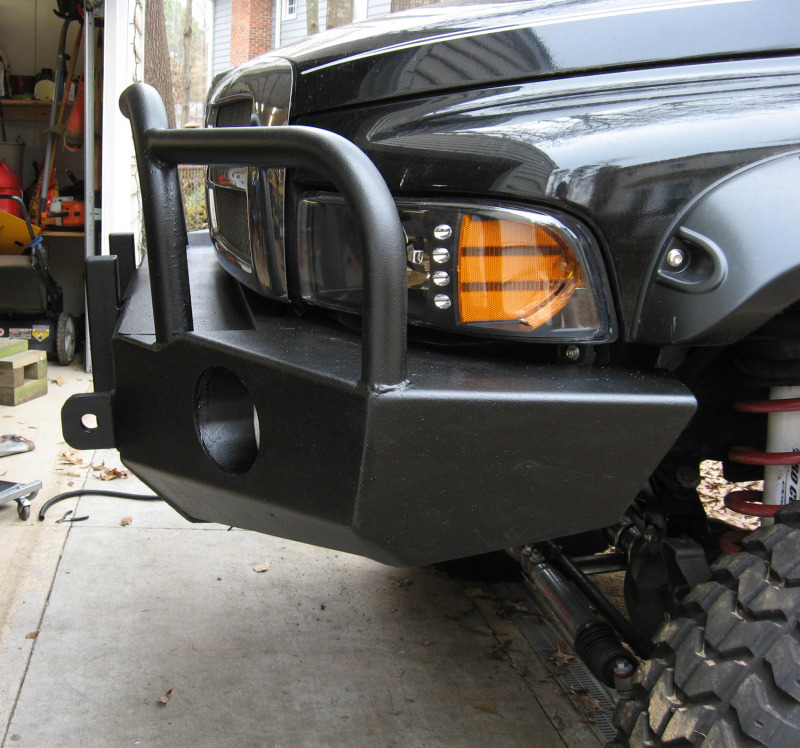
Widened it ~13 inches, made some bumper brackets out of 3/8" plate, got it mocked up and tacked it on today.
(the hoop isnt crooked, just looks that way in the photo)
Widened it ~13 inches, made some bumper brackets out of 3/8" plate, got it mocked up and tacked it on today.
(the hoop isnt crooked, just looks that way in the photo)
Last edited by jeff351; Oct 26, 2012 at 08:03 PM.
Thread Starter
|
Rookie
Joined: Jan 2011
Posts: 72
Likes: 0
From: upstate SC
yeah he kept that winch. I really don't see myself wheeling this thing hard enough to need one. But I probably will, get stuck, and then I will buy a winch.
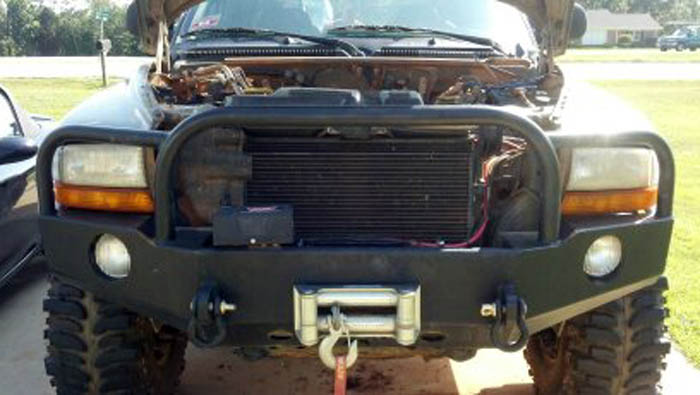
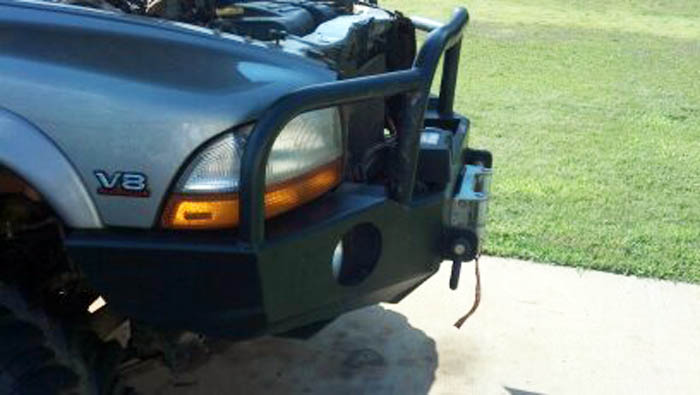
Spent better part of today finishing up on the major structural stuff, I can see the light at the end of the tunnel. Also installed a pair of HID headlights too.
Spent better part of today finishing up on the major structural stuff, I can see the light at the end of the tunnel. Also installed a pair of HID headlights too.
Trending Topics
Thread Starter
|
Rookie
Joined: Jan 2011
Posts: 72
Likes: 0
From: upstate SC
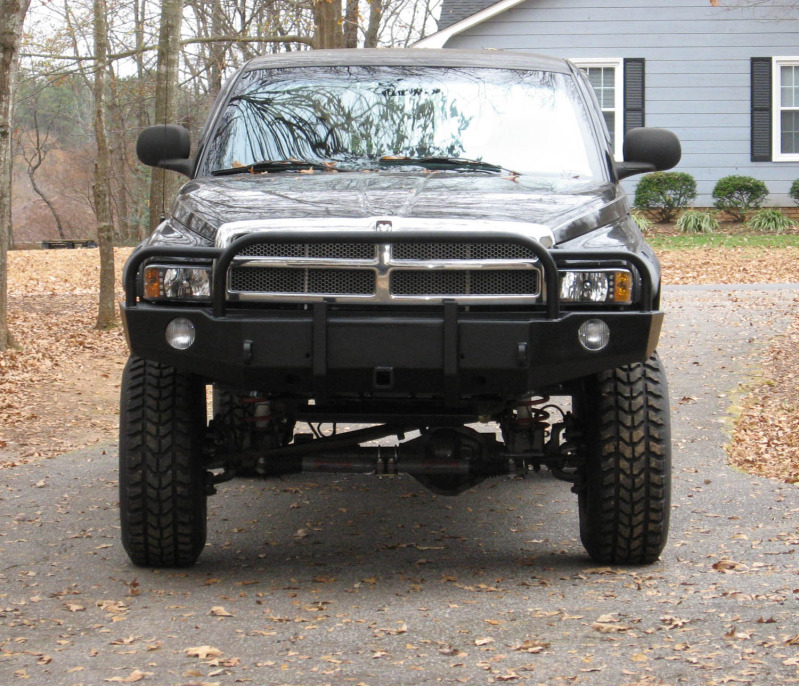
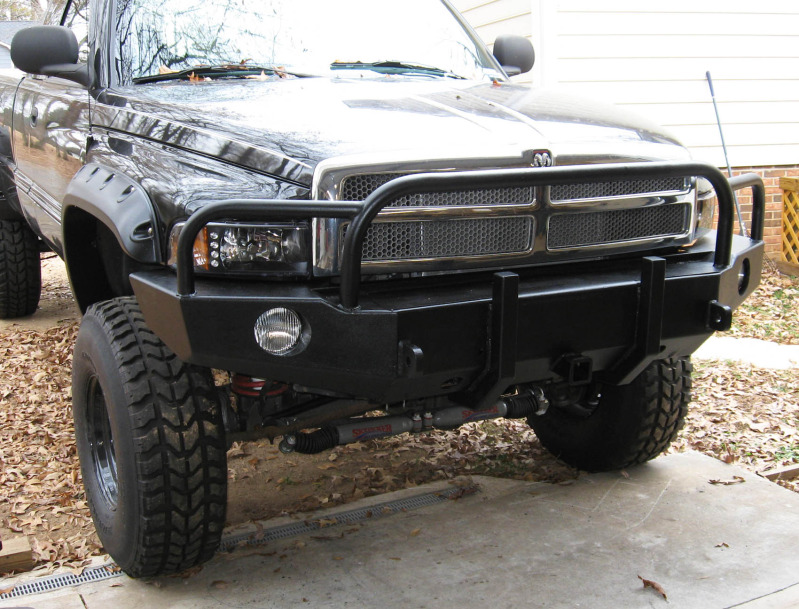
Finally got this project done this morning!
Quite a difference comparing before-and-after pictures
Initially I painted it with Duplicolor Bed Armor (aerosol) but the texture was just like 120-grit sandpaper which I didn't like. So I applied 3 coats of their regular Truck Bed Coating with a paint roller for a better finish.
FYI- those are 55w HID headlights. Crazy bright.
Then today UPS delivered a Dick Cepek long-arm kit
Last edited by jeff351; Dec 7, 2012 at 07:55 PM.
Record Breaker
Joined: Aug 2007
Posts: 2,283
Likes: 2
From: live oak, ca
Awesome job man!!!! Glad to see u spent the time and detail to make a filler plate under the grile, it really sets it off and gives a much cleaner look! As do the rest of the additions, I like it a lot! It's not the typical "DIY" bumper I usually see lol
On another note, you will love the DC long arms, I installed mine a year or so ago and what a difference! Rides soooo much better.... Where did u find a kit tho??? The woman wanted one, I searched high and low but everyone said no longer avaliable.... Ended up with a BDS kit, witch reminds me, I need to install it before she strangles me lol, so we'll see how that kit goes.....
On another note, you will love the DC long arms, I installed mine a year or so ago and what a difference! Rides soooo much better.... Where did u find a kit tho??? The woman wanted one, I searched high and low but everyone said no longer avaliable.... Ended up with a BDS kit, witch reminds me, I need to install it before she strangles me lol, so we'll see how that kit goes.....