


D44 front passenger axle seal

Well a buddy and I decided to tackle the axle ujoints on my truck last weekend and we only had enough time to finish the passenger side. Lets just say the ujoint was a goner, cant imagine the other side. Got it finished within a hour and a half, got home and parked the truck over night, and I now have the dreaded puddle under the axle housing. It is about a 5 inch diameter puddle. I won't be able to fix it for the next 2 weeks. Is it still okay to drive around as long as I'm adding fluid to it?
My question is where is this seal at, is it on the right hand side of the CAD? If so it should be pretty easy to replace that is once that hole other side comes a part again and pull the shaft out again? Once the new seal is in any tips on not tearing it again when putting shaft back? I took precaution and slid the shaft in the first time centered it in the housing, but that must not have been good enough.
I bought 2 hubs off of ebay, figured since I'll be in there again those will get replaced too.
I used the first article hoping i wouldn't have to use the 2nd one, to do the seal now.
http://www.pavementsucks.com/tech-article-5.html
http://www.pavementsucks.com/tech-article-3.html
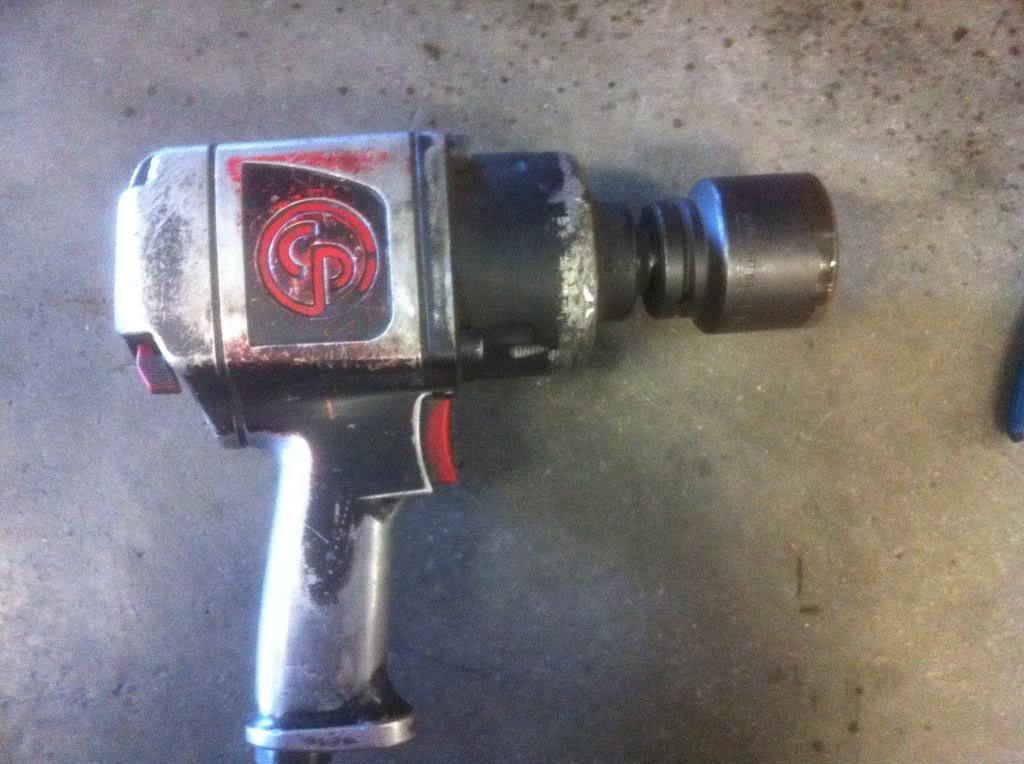
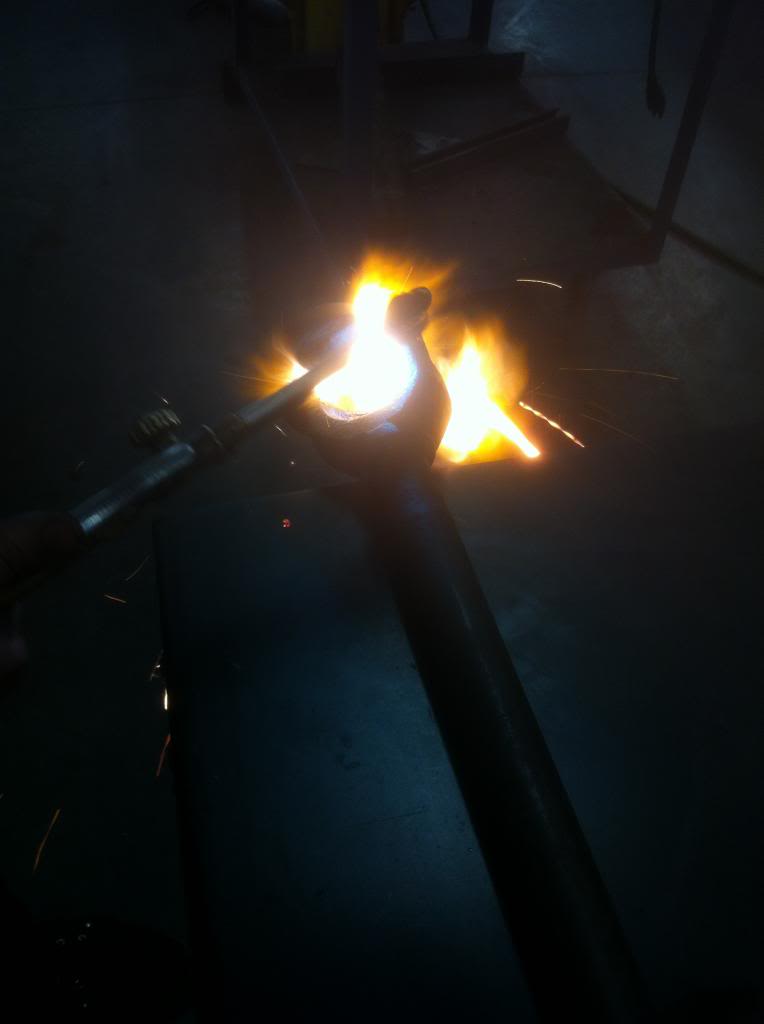
I got some pics of the job since everybody loves pics right?


My question is where is this seal at, is it on the right hand side of the CAD? If so it should be pretty easy to replace that is once that hole other side comes a part again and pull the shaft out again? Once the new seal is in any tips on not tearing it again when putting shaft back? I took precaution and slid the shaft in the first time centered it in the housing, but that must not have been good enough.
I bought 2 hubs off of ebay, figured since I'll be in there again those will get replaced too.
I used the first article hoping i wouldn't have to use the 2nd one, to do the seal now.
http://www.pavementsucks.com/tech-article-5.html
http://www.pavementsucks.com/tech-article-3.html
I got some pics of the job since everybody loves pics right?


Champion


Joined: Oct 2009
Posts: 4,717
Likes: 10
From: N/A
You just had the axle out of the diff this will let oil from the pumpkin leak into the diff tube. Put the opposite side up on a 2x4 for a day so the oil drains out of the tube. I would give it about a week before I jump the gun and start replacing seals. Yes top off the diff with oil to the proper level.
Hall Of Fame
Joined: Jul 2006
Posts: 12,204
Likes: 10
From: Gainesville, Ga.
+1, just top off the diff and give it a few days to drain.
even if it continues to leak, you can continue to drive it as long as you keep it near-full. i drove mine for a year with leaking seals. i also found out that if i kept it completely full it leaked fast. if i let it stay about 1-2 inches below the fill hole it leaked very very little.
even if it continues to leak, you can continue to drive it as long as you keep it near-full. i drove mine for a year with leaking seals. i also found out that if i kept it completely full it leaked fast. if i let it stay about 1-2 inches below the fill hole it leaked very very little.
Hall Of Fame
Joined: Jul 2006
Posts: 12,204
Likes: 10
From: Gainesville, Ga.
passenger side seal is in the passenger side of the cad opening. you have to pull it into place with a threaded rod seating tool, either home made or store bought.
the drivers side is conveniently located in the diff housing. so you get to pretty much dismantle the whole damn truck to replace that $5 seal, including removing the diff. i used sheriff's trick of pull the diff out with a come-along to get the stupid thing to release.
to protect the seals - lift the axle when inserting or removing and try not to drag it on the seal or bash it when pushing the axle in. and before inserting, lube the end of the axle.
Oh really? I had thought the caliper had to come off and then the bracket, that'll save some time. I'm really hoping that you guys are right about the giving it a week, but I did the trick with jacking the pass side higher then the driver side to keep oil inside of the cad opening, although maybe residual did weep out some how.
Although it was pretty funny when walking into napa today and trying to buy the seal. I'm like alright whats the killing and he is like $15. I take my debt card back from him and say hold on and I checked rock auto and see it for $7 shipped. I was like sorry for preventing a sale today, but i can wait a couple of days. I couldn't justify paying a additional $7 for seal. haha.
Although it was pretty funny when walking into napa today and trying to buy the seal. I'm like alright whats the killing and he is like $15. I take my debt card back from him and say hold on and I checked rock auto and see it for $7 shipped. I was like sorry for preventing a sale today, but i can wait a couple of days. I couldn't justify paying a additional $7 for seal. haha.
Hall Of Fame
Joined: Jul 2006
Posts: 12,204
Likes: 10
From: Gainesville, Ga.
tip #2 - if you buy seals, buy only National brand seals. nothing else.
Advance Auto has them locally.
Advance Auto has them locally.
Trending Topics
Hall Of Fame
Joined: Jul 2006
Posts: 12,204
Likes: 10
From: Gainesville, Ga.
tip#3 - don't remove the big nut from the stub axle. unbolt the 3 12-points bolts from the back side of the knuckle and remove inner axle, u-joint, outer axle, and hub bearing as one bolted together assembly.
Hall Of Fame
Joined: Jul 2006
Posts: 12,204
Likes: 10
From: Gainesville, Ga.
be very careful with your seal seating procedure. there is no room to drive it in with a seating tool and hammer. instead, you have to pull it in under pressure with a threaded rod.
if you seating tool doesn't EXACTLY fit the seal and remain square, it'll ruin the seal in a flash. i destroyed one before i got it right. ram360 destroyed about 3 or 4 before getting his right.
i used a custom cut washer. someone else used a harbor freight seal seating kit and slightly reduced the OD on one of the pieces out of the kit.