


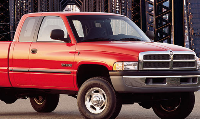
Caster/Camber Bushing Removal


Thread Starter
|
Hall Of Fame


Joined: Jun 2005
Posts: 14,228
Likes: 19
From: Riverton, UT
 Caster/Camber Bushing Removal
So I'm replacing my front rotors and pads in my 1999 2500 4X4 Ram Dana 60, 248 FBI and I'm finding that I've got to be missing something. I want to install a double rotating cam type design caster/camber bushing, part # Rabestos 612-2026. http://www.carquest.com/webapp/wcs/stores/servlet/product_Raybestos+Premium+Chassis__10151_-1_10651_246823_30996?acesApp=1
The reason for this is because I had one installed at shop a while ago on the top of the drivers side to get my camber in, and by doing so I ended up with cams out on the lower control arms. So to combat that issue and line up my front axle straight (doing an alignment correctly on this axle). The bushings are replaceable to get your caster/camber, and they are not supposed to touch the cams on the lower control arms, but shops will. After some searching I found this is correct info, but it was installed 3 years ago so and a long way away from me now.
Anyway, I have the hub off and the ball joints are good, so I figured I'd just replace the bushing, and here is my problem. I can't get that little POS off!!!!
What the hell do I have to do to remove just the bushing? Is there some "specialized secret" that my feeble brain just can't get, or do I have to remove the bottom ball joint nut and smack it off, then smack it from underneath with a punch?
For those of you who know, it is a bushing sitting between the knuckle and the ball joint mounting threads, so to use heat, well that’s just not going to work, at least from what I can see. Besides if heat does work what exactly am I supposed to heat up?
Thanks
The reason for this is because I had one installed at shop a while ago on the top of the drivers side to get my camber in, and by doing so I ended up with cams out on the lower control arms. So to combat that issue and line up my front axle straight (doing an alignment correctly on this axle). The bushings are replaceable to get your caster/camber, and they are not supposed to touch the cams on the lower control arms, but shops will. After some searching I found this is correct info, but it was installed 3 years ago so and a long way away from me now.
Anyway, I have the hub off and the ball joints are good, so I figured I'd just replace the bushing, and here is my problem. I can't get that little POS off!!!!
What the hell do I have to do to remove just the bushing? Is there some "specialized secret" that my feeble brain just can't get, or do I have to remove the bottom ball joint nut and smack it off, then smack it from underneath with a punch?
For those of you who know, it is a bushing sitting between the knuckle and the ball joint mounting threads, so to use heat, well that’s just not going to work, at least from what I can see. Besides if heat does work what exactly am I supposed to heat up?
Thanks
Thread Starter
|
Hall Of Fame
Joined: Jun 2005
Posts: 14,228
Likes: 19
From: Riverton, UT
Well I'm starting to think the tapered bolt in the bushing is excreting pressure into the bushing and that pressure is excreting into the knuckle so it is sandwiched between the bolt and the knuckle, if my analogy is correct.
So, simply loosen the lower ball joint nut a few threads and knock the knuckle off the bushings should relieve the pressure. Then knock the bushing out with an angled punch.
So, simply loosen the lower ball joint nut a few threads and knock the knuckle off the bushings should relieve the pressure. Then knock the bushing out with an angled punch.

Retired Moderator - RIP
Joined: May 2008
Posts: 18,729
Likes: 17
From: NH
Your link shows nothing(need pic or better link). But if want to be able to adjust camber and some what a little caster(done with control arms mainly) you'll need adjustable ball joints. Like MOOG problem solvers for instance. And on a side note, ever install those fogs?
Thread Starter
|
Hall Of Fame
Joined: Jun 2005
Posts: 14,228
Likes: 19
From: Riverton, UT
I respectfully disagree with you.
When you adjust camber you do not want to adjust the control arms, all that does is pull the front axle out of square. This is a very bad idea and this also leads to tails the front. You ALWAYS want to ensure the front end is square, then you measure from that square to the rear and install both rear sides at the same measurement. This is how you square it. Then you set caster, then camber, then finally toe.
I understand the service manual states you can do this but it goes against every thing in alignment theory. If you look in the parts manual you'll find the offset bushings the dealer used to align them. This is why they have different degree bushings in them. The idea of the Problem Solver offset Ball Joints is a decent one, however they only allow for one way adjustment with sacrifice of the other.
With this cam you can set both camber and caster to get it perfect at the same time because both sections are offset. You can also get a true 0 degree or up to 3/4 either way for a total of 1.5 degrees mobility, whatever you need. Anyway, I need to get off my butt and get out there and try to work on it before dark.
As for the fogs, are you talking about having them stay on with the brights? Because I gave up on it.....LOL
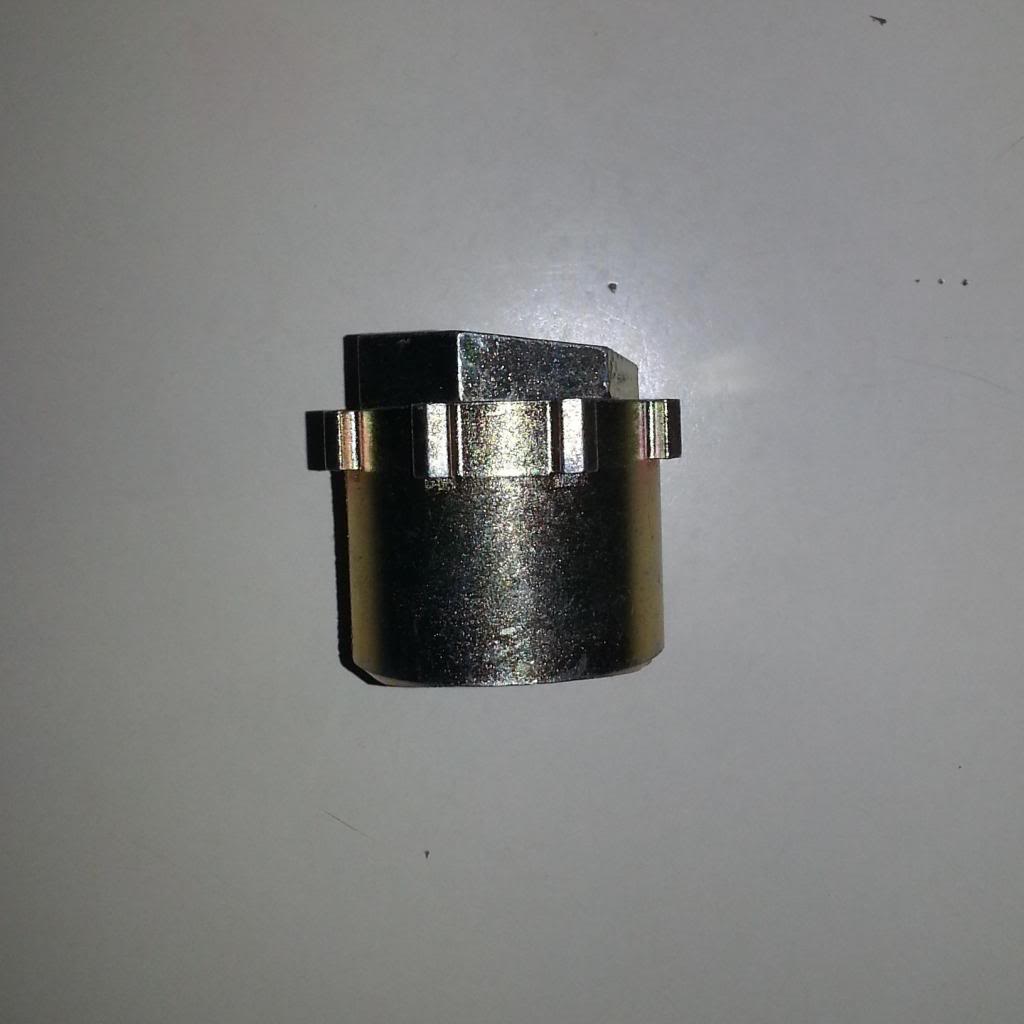
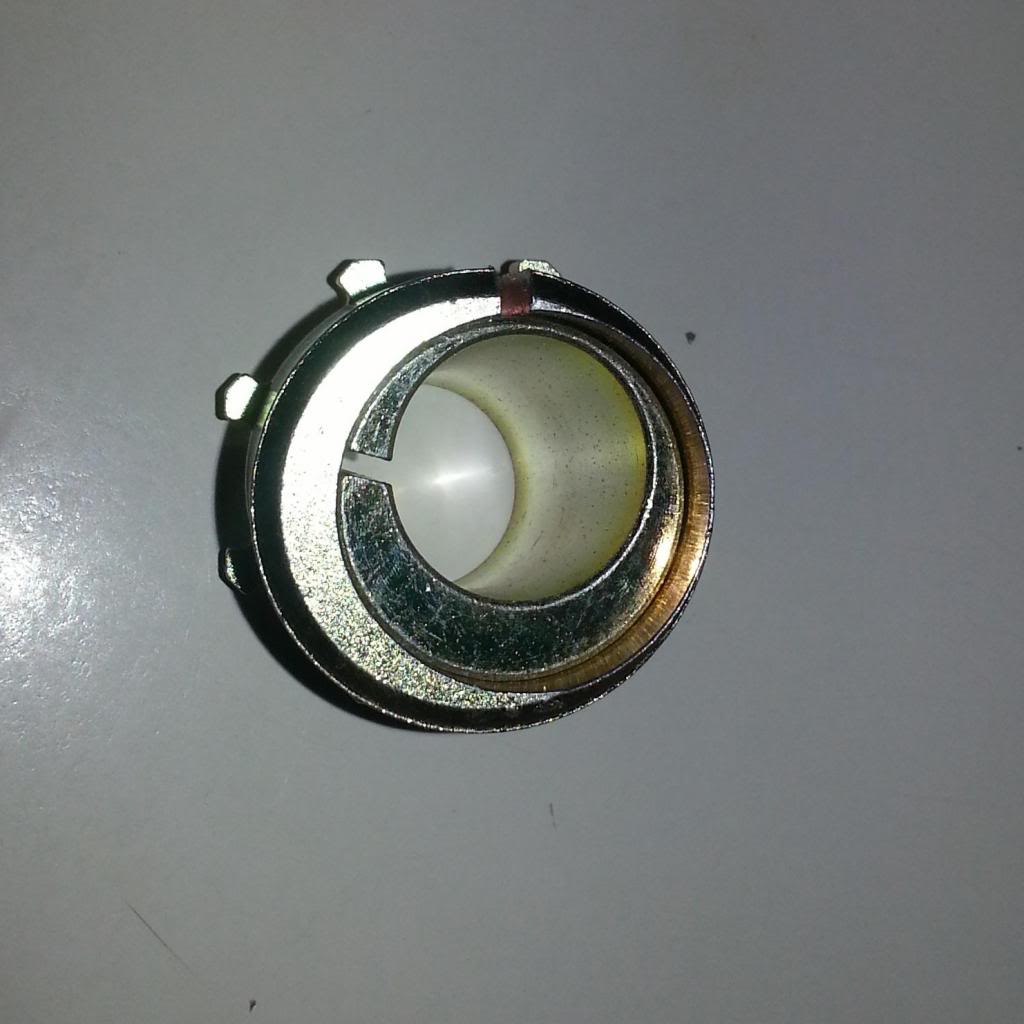
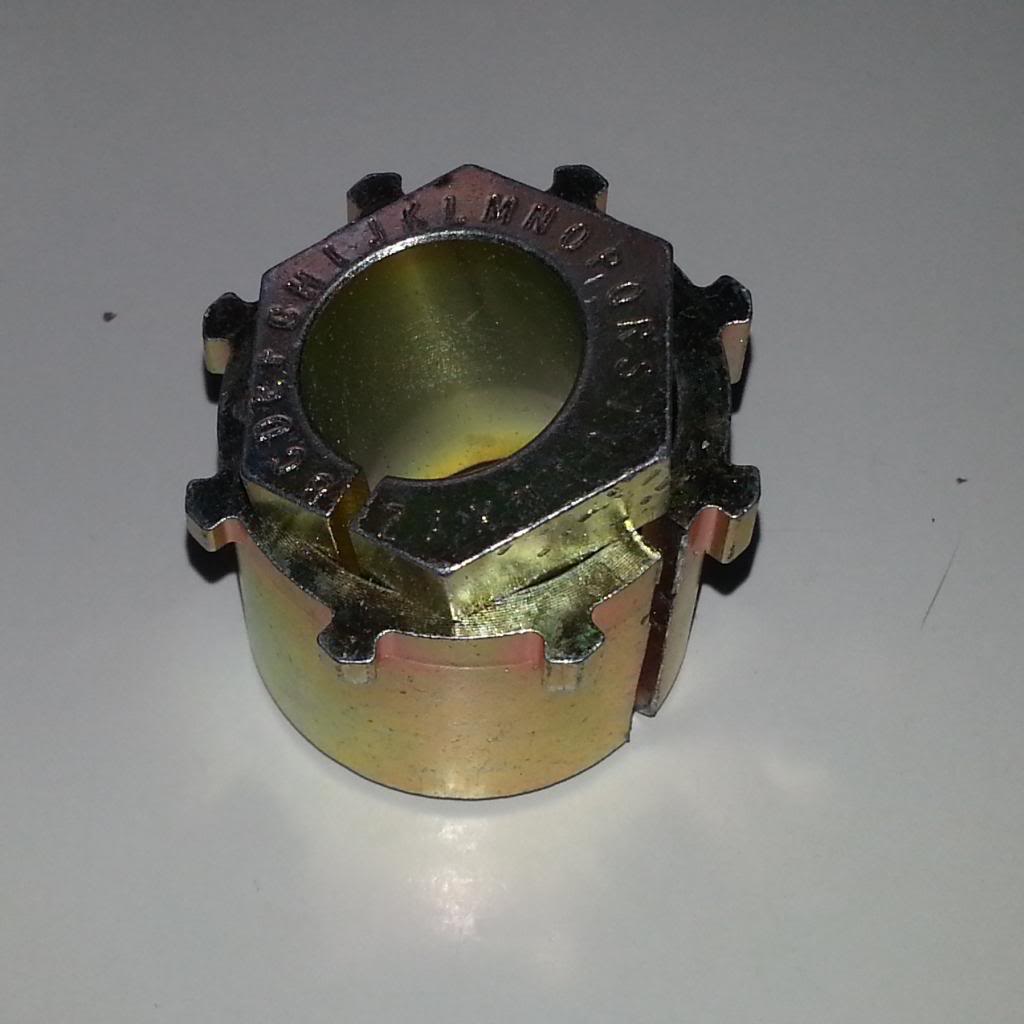
When you adjust camber you do not want to adjust the control arms, all that does is pull the front axle out of square. This is a very bad idea and this also leads to tails the front. You ALWAYS want to ensure the front end is square, then you measure from that square to the rear and install both rear sides at the same measurement. This is how you square it. Then you set caster, then camber, then finally toe.
I understand the service manual states you can do this but it goes against every thing in alignment theory. If you look in the parts manual you'll find the offset bushings the dealer used to align them. This is why they have different degree bushings in them. The idea of the Problem Solver offset Ball Joints is a decent one, however they only allow for one way adjustment with sacrifice of the other.
With this cam you can set both camber and caster to get it perfect at the same time because both sections are offset. You can also get a true 0 degree or up to 3/4 either way for a total of 1.5 degrees mobility, whatever you need. Anyway, I need to get off my butt and get out there and try to work on it before dark.
As for the fogs, are you talking about having them stay on with the brights? Because I gave up on it.....LOL


Champion


Joined: Sep 2012
Posts: 4,873
Likes: 435
From: Central VA
When I rebuilt my front end, I removed these bushings, coated the knuckle area where they are inserted with anti-seize and re-installed them. You might try using an air hammer with a punch to try to knock them out of the knuckle from the underside of the knuckle. Just make sure that the upper ball joint nut and washer has been removed first and spray some PB Blaster in that area too.
Trending Topics
Thread Starter
|
Hall Of Fame
Joined: Jun 2005
Posts: 14,228
Likes: 19
From: Riverton, UT
Update,
Well I was right. I loosened the lower ball joint a few threads and smacked the knuckle down and she loosened up. Then I just used an angled punch and drove out the old bushing. After getting it out I laughed because I really beat the living **** out of it.....
I cleaned it out a bit and you just install the new bushing as it just slides in where the old bushing cam out. You don't need to do anything else for it to fit in the knuckle.
Now you have to look at the bushing you take out because they have different degrees built into them and they mark it on the top. Mine was a 0 degree, so all you do is turn the bushing to the marking in the instructions which was "N" and place that letter in the center of the split of the outside ring. At this point you're cam is set at true 0 degrees. It doesn't matter which place at this point how you place it inside the knuckle, however it does say you should place the inner ring split to the flat surface of the knuckle, so seeing this I placed the inner split to the outside flange ridge which locks it in place. The outer split is facing the engine.
Before installation I used generous amounts of anti-seize and even used a tooth pick to push it up into the cam through the split and turned and turned until it was completely coated then some on the knuckle and outer cam. I then slid it back in and used a socket that fit the top outer nut but not the bottom to seat the cam. Buttoned it all back up, torqued and anti-seized everything.
Out with the old, in with the new:
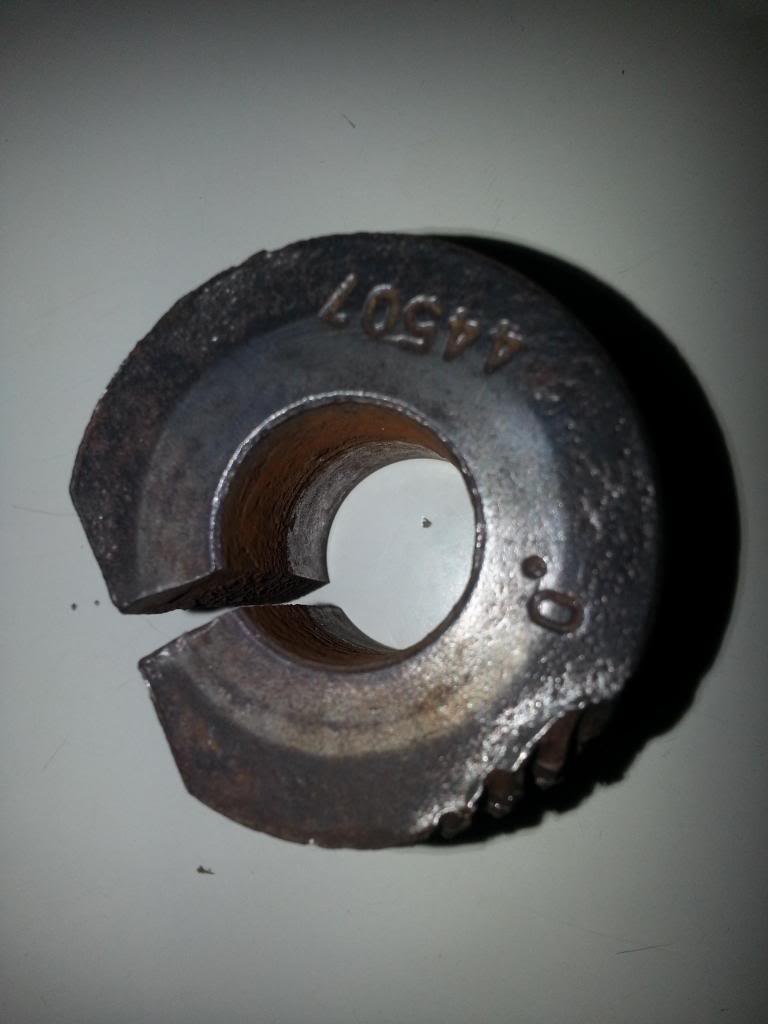
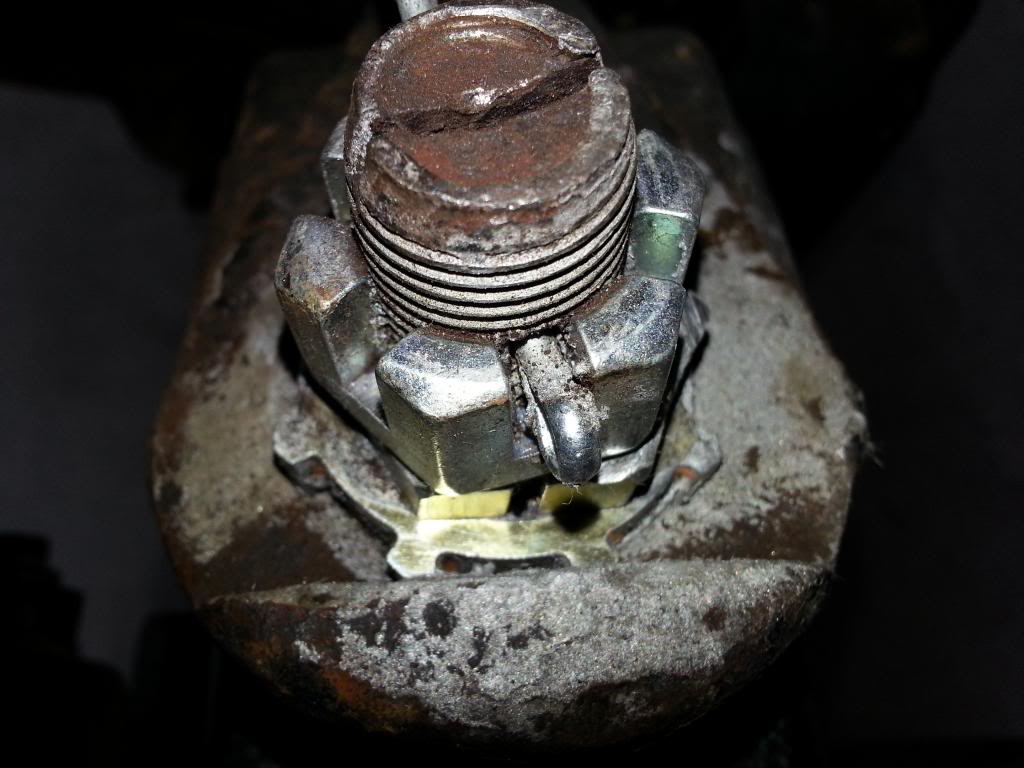
Well I was right. I loosened the lower ball joint a few threads and smacked the knuckle down and she loosened up. Then I just used an angled punch and drove out the old bushing. After getting it out I laughed because I really beat the living **** out of it.....
I cleaned it out a bit and you just install the new bushing as it just slides in where the old bushing cam out. You don't need to do anything else for it to fit in the knuckle.
Now you have to look at the bushing you take out because they have different degrees built into them and they mark it on the top. Mine was a 0 degree, so all you do is turn the bushing to the marking in the instructions which was "N" and place that letter in the center of the split of the outside ring. At this point you're cam is set at true 0 degrees. It doesn't matter which place at this point how you place it inside the knuckle, however it does say you should place the inner ring split to the flat surface of the knuckle, so seeing this I placed the inner split to the outside flange ridge which locks it in place. The outer split is facing the engine.
Before installation I used generous amounts of anti-seize and even used a tooth pick to push it up into the cam through the split and turned and turned until it was completely coated then some on the knuckle and outer cam. I then slid it back in and used a socket that fit the top outer nut but not the bottom to seat the cam. Buttoned it all back up, torqued and anti-seized everything.
Out with the old, in with the new:

