2nd Gen Ram Tech 1994-2001 Rams: This section is for TECHNICAL discussions only, that involve the 1994 through 2001 Rams. For any non-tech discussions, please direct your attention to the "General discussion/NON-tech" sub sections.

96 Ram 2wd Build/Restoration Thread.....Oh Yeah

Thread Tools
 
Search this Thread
 
  #41  
Old 04-26-2015, 09:35 PM
TiminSoCal's Avatar
TiminSoCal
TiminSoCal is offline
Rookie
Join Date: Feb 2013
Location: SoCal Desert
Posts: 70
Likes: 0
Received 1 Like on 1 Post
Default

Looks good! What brand did you use?
 
  #42  
Old 04-26-2015, 09:43 PM
HeyYou's Avatar
HeyYou
HeyYou is offline
Administrator
Dodge Forum Administrator
Join Date: Apr 2010
Location: Clayton MI
Posts: 82,493
Likes: 0
Received 3,383 Likes on 3,123 Posts
Default

That DOES look really nice. Gonna put some kind of cover on the bed??
 
  #43  
Old 04-26-2015, 09:48 PM
96rumblebee's Avatar
96rumblebee
96rumblebee is offline
Amateur
Thread Starter
Join Date: Apr 2014
Posts: 31
Likes: 0
Received 0 Likes on 0 Posts
Default

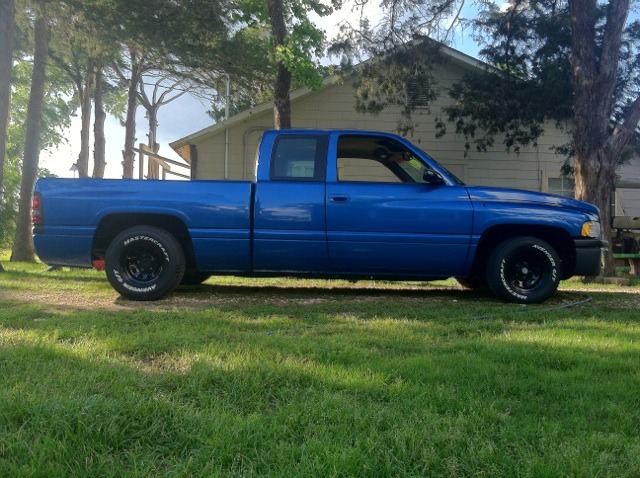
Herculiner, sprayed on not rolled.........No bed cover for this truck lol, and no tail gate either. Since day one i have planned on running a tail gate net instead. The bed liner will compliment it nicely.

This will be more of a weekend toy/show truck so there honestly really wont be anything hauled in the bed of this truck. I could have gone with a slightly better liner than Herculiner but for what i am wanting it for, it will work perfectly
 
  #44  
Old 05-02-2015, 09:52 PM
96rumblebee's Avatar
96rumblebee
96rumblebee is offline
Amateur
Thread Starter
Join Date: Apr 2014
Posts: 31
Likes: 0
Received 0 Likes on 0 Posts
Default

Decided to go ahead and coat the wheel well's, It's all about the small details 8-)

Name:  wheel%20well%201_zps3zaoylt4.jpg
Views: 348
Size:  131.2 KB

Name:  wheel%20well%202_zps0vhl86kk.jpg
Views: 338
Size:  211.9 KB

Name:  wheel%20well%203_zpsc0ag02l5.jpg
Views: 349
Size:  100.0 KB
 
  #45  
Old 05-02-2015, 09:55 PM
HeyYou's Avatar
HeyYou
HeyYou is offline
Administrator
Dodge Forum Administrator
Join Date: Apr 2010
Location: Clayton MI
Posts: 82,493
Likes: 0
Received 3,383 Likes on 3,123 Posts
Default

Wow, there's a major difference in appearance.... coat them with what?
 
  #46  
Old 05-02-2015, 11:50 PM
2damnyankee's Avatar
2damnyankee
2damnyankee is offline
Veteran
Join Date: Mar 2009
Location: S.C.
Posts: 345
Likes: 0
Received 0 Likes on 0 Posts
Default

That looks awesome, you do some fantastic work. paid a lot attention to detail I like that. Color match sanding is a pain in the butt, you could have saved a little time and gotten a couple of buddies over to help. Keep up the great work.
 
  #47  
Old 05-03-2015, 04:16 PM
alaskaguy's Avatar
alaskaguy
alaskaguy is offline
Rookie
Join Date: Apr 2014
Location: Fairbanks, Ak
Posts: 71
Likes: 0
Received 0 Likes on 0 Posts
Default

Curious what grits you used to sand prior or paint. Then what exactly did you do to get rid of the rough paint. I am new to painting but plan on doing something similar to my truck. Thanks!
 
  #48  
Old 05-03-2015, 10:24 PM
96rumblebee's Avatar
96rumblebee
96rumblebee is offline
Amateur
Thread Starter
Join Date: Apr 2014
Posts: 31
Likes: 0
Received 0 Likes on 0 Posts
Default

Prior to shooting the paint i wet sanded the primer with 600 grit......I had absolutely horrible orange peel after the paint, and i ended up having to start wet sanding with 400grit in some spot's, 500 in others and then moved up to 600/800/1000/1500/2000/3000. But i would not recommend it, i had to take ALOTTTT of clear coat off to get it smooth. Im sure i will be lucky to get 1-2 year's of good use out of this paint job before i have to get it repainted.
 
  #49  
Old 05-03-2015, 10:25 PM
96rumblebee's Avatar
96rumblebee
96rumblebee is offline
Amateur
Thread Starter
Join Date: Apr 2014
Posts: 31
Likes: 0
Received 0 Likes on 0 Posts
Default

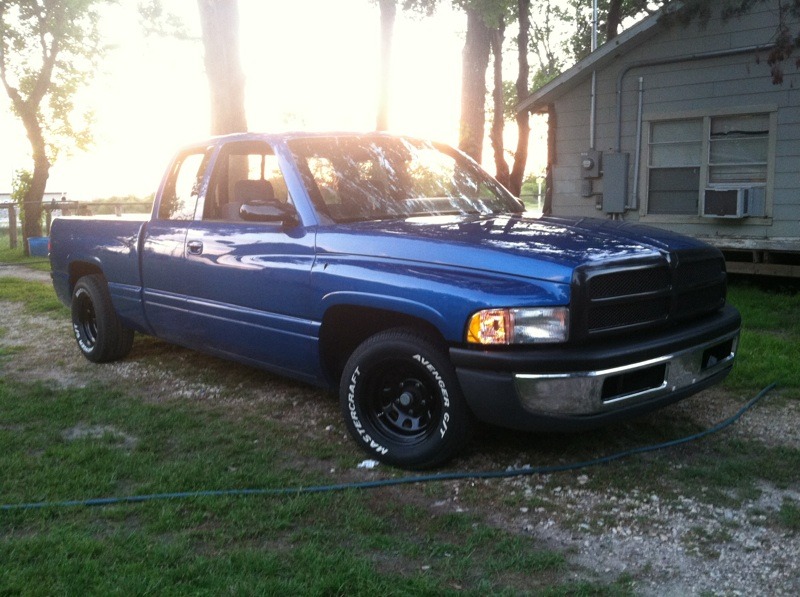
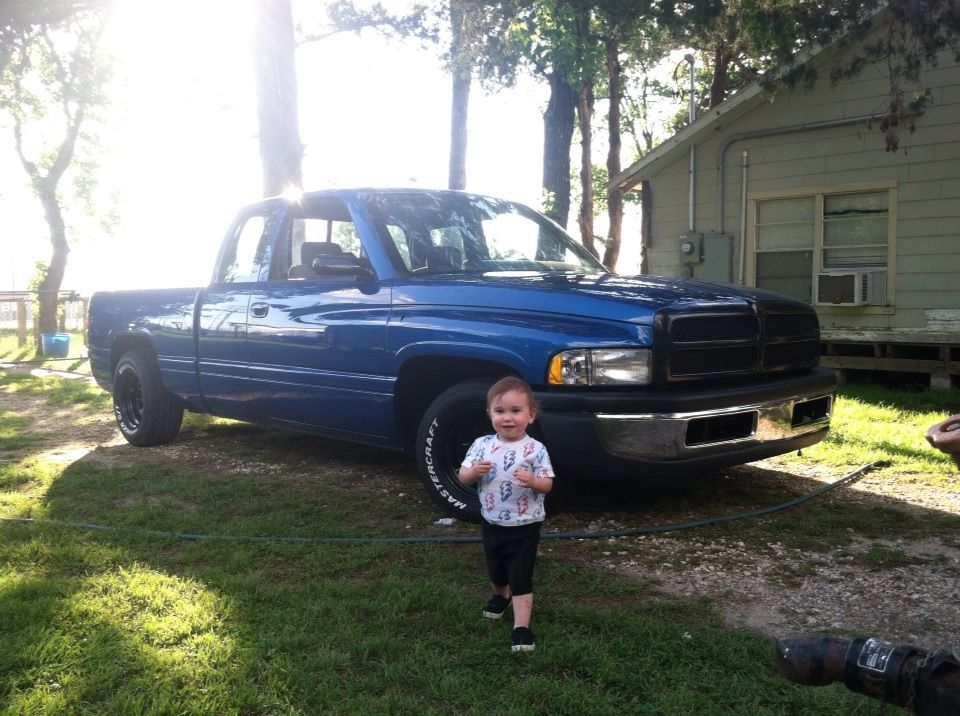
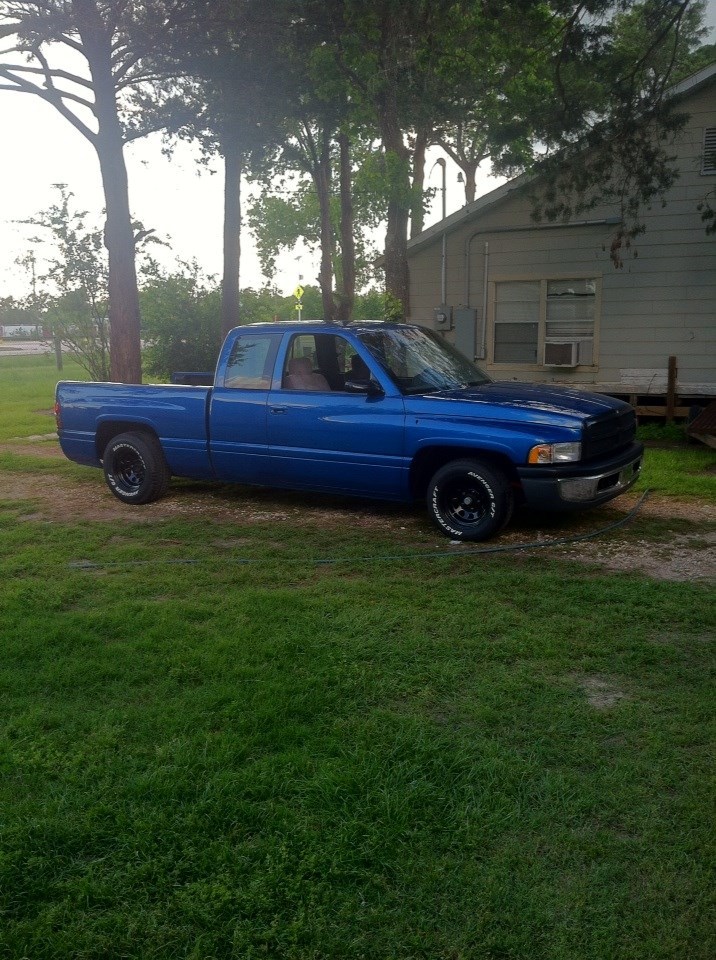
Well, getting closer and closer now to being finished! Still need to get the exhaust fabbed up, Windshield replaced, wiper motor and plastic cowl put back on, replace a few rubber door seals, swap out my front tires with taller/wider rubbers, work a few little bugs here and there and that's about it!! Pulled the truck out of the garage today and gave her a small bath, my lil boy came outside and wanted to snap some pictures with his future truck.

Haha also took another Idle video clip, open headers X_X


Name:  IMG_6396_zpsmjbnldve.jpg
Views: 370
Size:  146.7 KB
Name:  IMG_6380_zpsbro8wcon.jpg
Views: 354
Size:  125.8 KB
Name:  brents%20truck%202_zpsnfstoukp.jpg
Views: 367
Size:  142.2 KB
Name:  brents%20truck_zpsj4bi3eop.jpg
Views: 357
Size:  133.4 KB
Name:  brents%20truck%201_zpsgzo8smg4.jpg
Views: 351
Size:  229.3 KB


  #50  
Old 05-04-2015, 01:07 AM
alaskaguy's Avatar
alaskaguy
alaskaguy is offline
Rookie
Join Date: Apr 2014
Location: Fairbanks, Ak
Posts: 71
Likes: 0
Received 0 Likes on 0 Posts
Default

From the pictures, it looked like your paint wasn't too bad to begin with. My paint is very bad with patches of sun-fading that reached all the way to the bare metal of the hood/roof. Curious how hard it would be to get it smooth with the rest of the truck that is painted


Quick Reply: 96 Ram 2wd Build/Restoration Thread.....Oh Yeah


All times are GMT -4. The time now is 11:19 PM.