When you click on links to various merchants on this site and make a purchase, this can result in this site earning a commission. Affiliate programs and affiliations include, but are not limited to, the eBay Partner Network.
2nd Gen Ram Tech1994-2001 Rams: This section is for TECHNICAL discussions only, that involve the 1994 through 2001 Rams. For any non-tech discussions, please direct your attention to the "General discussion/NON-tech" sub sections.
Alright, back to posting more of what's been done.
I went with slightly larger than stock tires. Stock ORE size is 275/70/17 and I bought some 285/70/17s in C load range off a Jeep with basically no miles on them. I got a set of 5, which is great so I have a spare that is the same height (good if you have a sure grip in the back as I do).
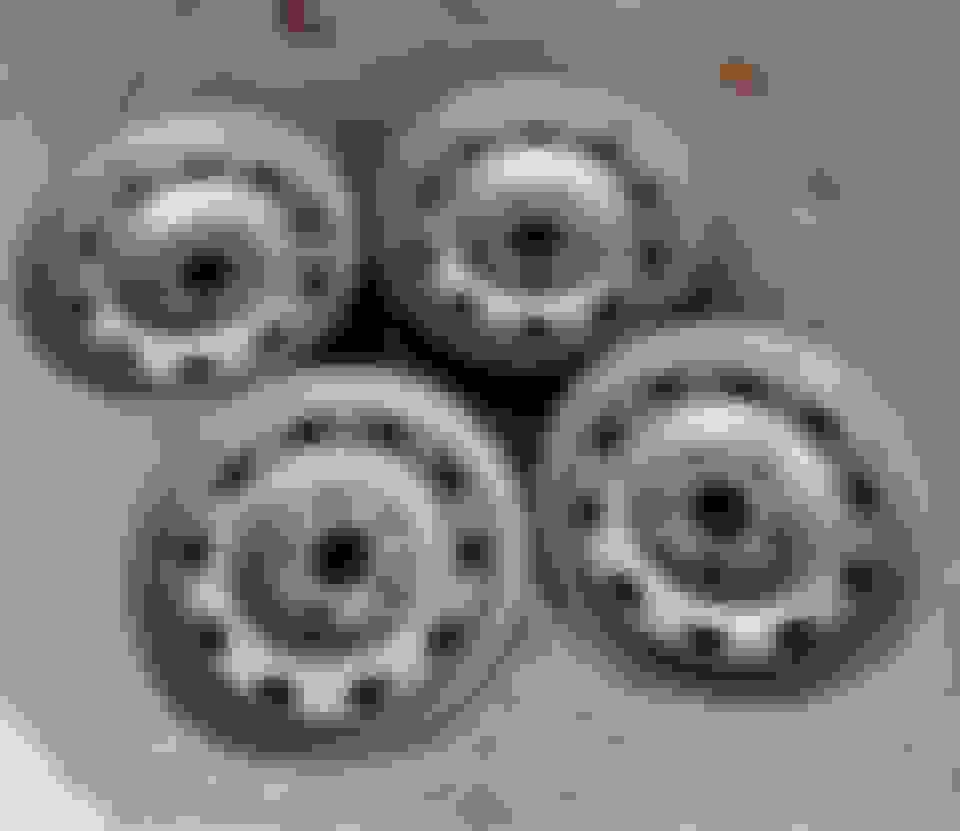
Well that presented an issue because the stock spare wheel is only 16 inches, so the tire won't fit. My solution was to find a spare 17 steelie from a 3rd gen ram and clean/paint it to match. Found a set locally for 70 bucks and snagged them (still have 3 I don't need in case anyone wants em haha). I don't have photos of it in the bronze color, just black epoxy primer, but it's the same bronze as the rest.
Test fit, man look how terrible that fender is.
The next problem is that the larger diameter tire doesn't fit in the stock spare location very well. It hit the exhaust, trailer hitch, and trailer hitch brackets. I considered running it at an angle like the picture below, but decided against it and some mild cutting on the hitch mixed with a good old heat and beat on the exhaust pipe made clearance for it to go in the factory location. Just a quick note here, but this 285/70 is quite literally the maximum tire that will fit between the frame rails. It's wedged in there.
I also started playing around with improving my garbage hot tank. I got the leak sealed up and added a bubbler system (a long extended blow gun clamped wide open with a regulator to drop the pressure down to 5-10psi). I filled it with some purple power and dish soap but it was still a fail.
Next up it's time to rip off that god awful fender. Outer and inner come off as one piece, then I drilled the spot welds out so I can transfer the good inner to the new outer.
Fender in primer and...ooooo, what is that, body color on the inside of the rear bumper?
More cancer fixes on the front axle while the fender is out of the way. Here's the passenger coil bucket and it's replacement. Nevermind the rockauto tape, this actually came from a guy on ebay that custom fabs them. Nice heavy duty plate.
Got the old cut out and primed/painted the axle spots I won't be able to get to after it's installed. Here's a photo of mock up with the spring installed (also sandblasted and painted). I'm going to burn it in in the next few days. It took a little bit of fab to fix it since it's not exactly the same shape as the OE bucket (square sides vs round) but I've got it where I like now.
Decided to also take this opportunity to replace the front control arm bushings. In fact, I'm trying to put all new rubber in this truck as I go along so it's nice and supple.
If you ever do this job and you have a 2000 or 2001 Ram, be sure to order the bushings made for a 3/4 ton or else you will get the wrong ones. Rock auto sent me bushings with sleeves that are too small for the bolts. In 2000 Mopar decided all the truck should get the same arms and hardware. Uppers are 14mm lowers 16mm on 00/01. I think the bushing OD is the same.
One other thing to note, I have been using this Krylon hardener with Rustoleum for chassis parts and I highly recommend it. Really speeds the drying time and makes a more durable finish. It's not as good at legit automotive 2k urethanes, but for this sorta thing it's cheap and good.
Last edited by Skeptic68W; 06-11-2024 at 06:26 PM.
Got some engine parts blasted and painted. You can see the oil pan, PS bracket, AC/ALT bracket, shock towers, pulleys, and the front timing cover. I didn't end up liking this Rustoleum Gloss Regal Red, it was too orange for me, so I blasted it off and decided the engine block and heads will be body color. I also took the power steering pump apart to clean it up and put some fresh paint on the reservoir.
That brings us up to the present day, and perhaps the second most exciting part behind the final paint job which is still a long way off. It's time for me to reveal the plans for the engine. I've already ordered most of the parts I will need, with only a few choices left to make.
This is my first from scratch engine build, so I've been deeply studying and researching for over a year on all the specifics. What I lack in experience I can make up for with a weapon's grade obsession with research, planning, and detail orientation.
This will not be a major powerhouse, as the intended use is not to go racing, but I do want it to be fairly potent and respectable for what it is. I am going to try and share some of what I've learned along the way as I've mapped out this build.
First and foremost when approaching a problem like this, it's best to throw out all generalities and oversimplifications. Examples of this include "dual planes are better for torque" or "you can't run more than X static compression on 87 octane". Implicit in these sorts of statements are dozens or hundreds of assumptions that might not apply to your situation. What you want to achieve is a real understanding of engines and how they work. If you were a Chevy guy, then you could go read a few forums, find a recipe to do X, Y, Z and make 450hp, open your wallet, and copy/paste...but you can't do that with Magnum engines. The number of guys building them is fairly small, and the number building for a daily driven truck application is basically...well...2 so far as I can tell. Me and Marty Fletcher haha.
You've heard it said a thousand times that performance is not about the parts, it's about the combination, and this is exceedingly true. You must start with a vision of what you really want from this engine, and then make your modification selections all in support of that goal, accepting the tradeoffs that come with it. For instance, would I like this engine to make a big impressive dyno number that I could flaunt around the internet? Sure...but in order to do that I'd have to sacrifice both my budget and the ability to use this thing as an actual truck. Horsepower is a mathematically derived valve of Torque x RPM / 5252, which means you have two paths to a high HP number. Either increase torque (largely a function of displacement and stroke) or spin it higher and support it with airflow. With a small block like this we're very limited in terms of displacement. 408 inches is common, slightly bigger is possible (for a much higher cost) but you're not getting to 800 inches with this foundation. That means your only alternative is RPM. High RPM engines make impressive numbers on dynos, but in a daily driven application they're miserable. Camshafts with durations high enough to feed an engine at 7000 necessarily cause reversion into the intake at low RPM killing idle vacuum and making the engine run like crap in the RPM ranges you actually use in normal driving. This results in poor performance, abysmal economy, and the requirement of a high stall torque converter which makes the whole driving experience far worse. No, high RPMs are for racers and influencers, not for this build.
A stock 5.9 Magnum is rated at 230hp and 325lb-ft net at the crank. If I had to put a guess on the numbers, I anticipate this engine will make something in the neighborhood of 350-380hp and 450-500lb-ft net at the crank. That's over 100hp and 150lb-ft increase from stock.
So if not a big number, what's the goal? Well I'll tell you. The goal is an engine with strong torque right off idle to get a heavy truck and the occasional trailer moving, and respectable power in the 2500-5000 rpm range for passing. More importantly, I want it to idle well with strong vacuum to run the brakes, it must be extremely responsive at part-throttle, it must provide a long service life (100,000+ miles) and it should be an overall fuss-free experience that could be driven by anyone with no special considerations...all while running on 87 octane fuel (91-93 when towing) and being economical to build.
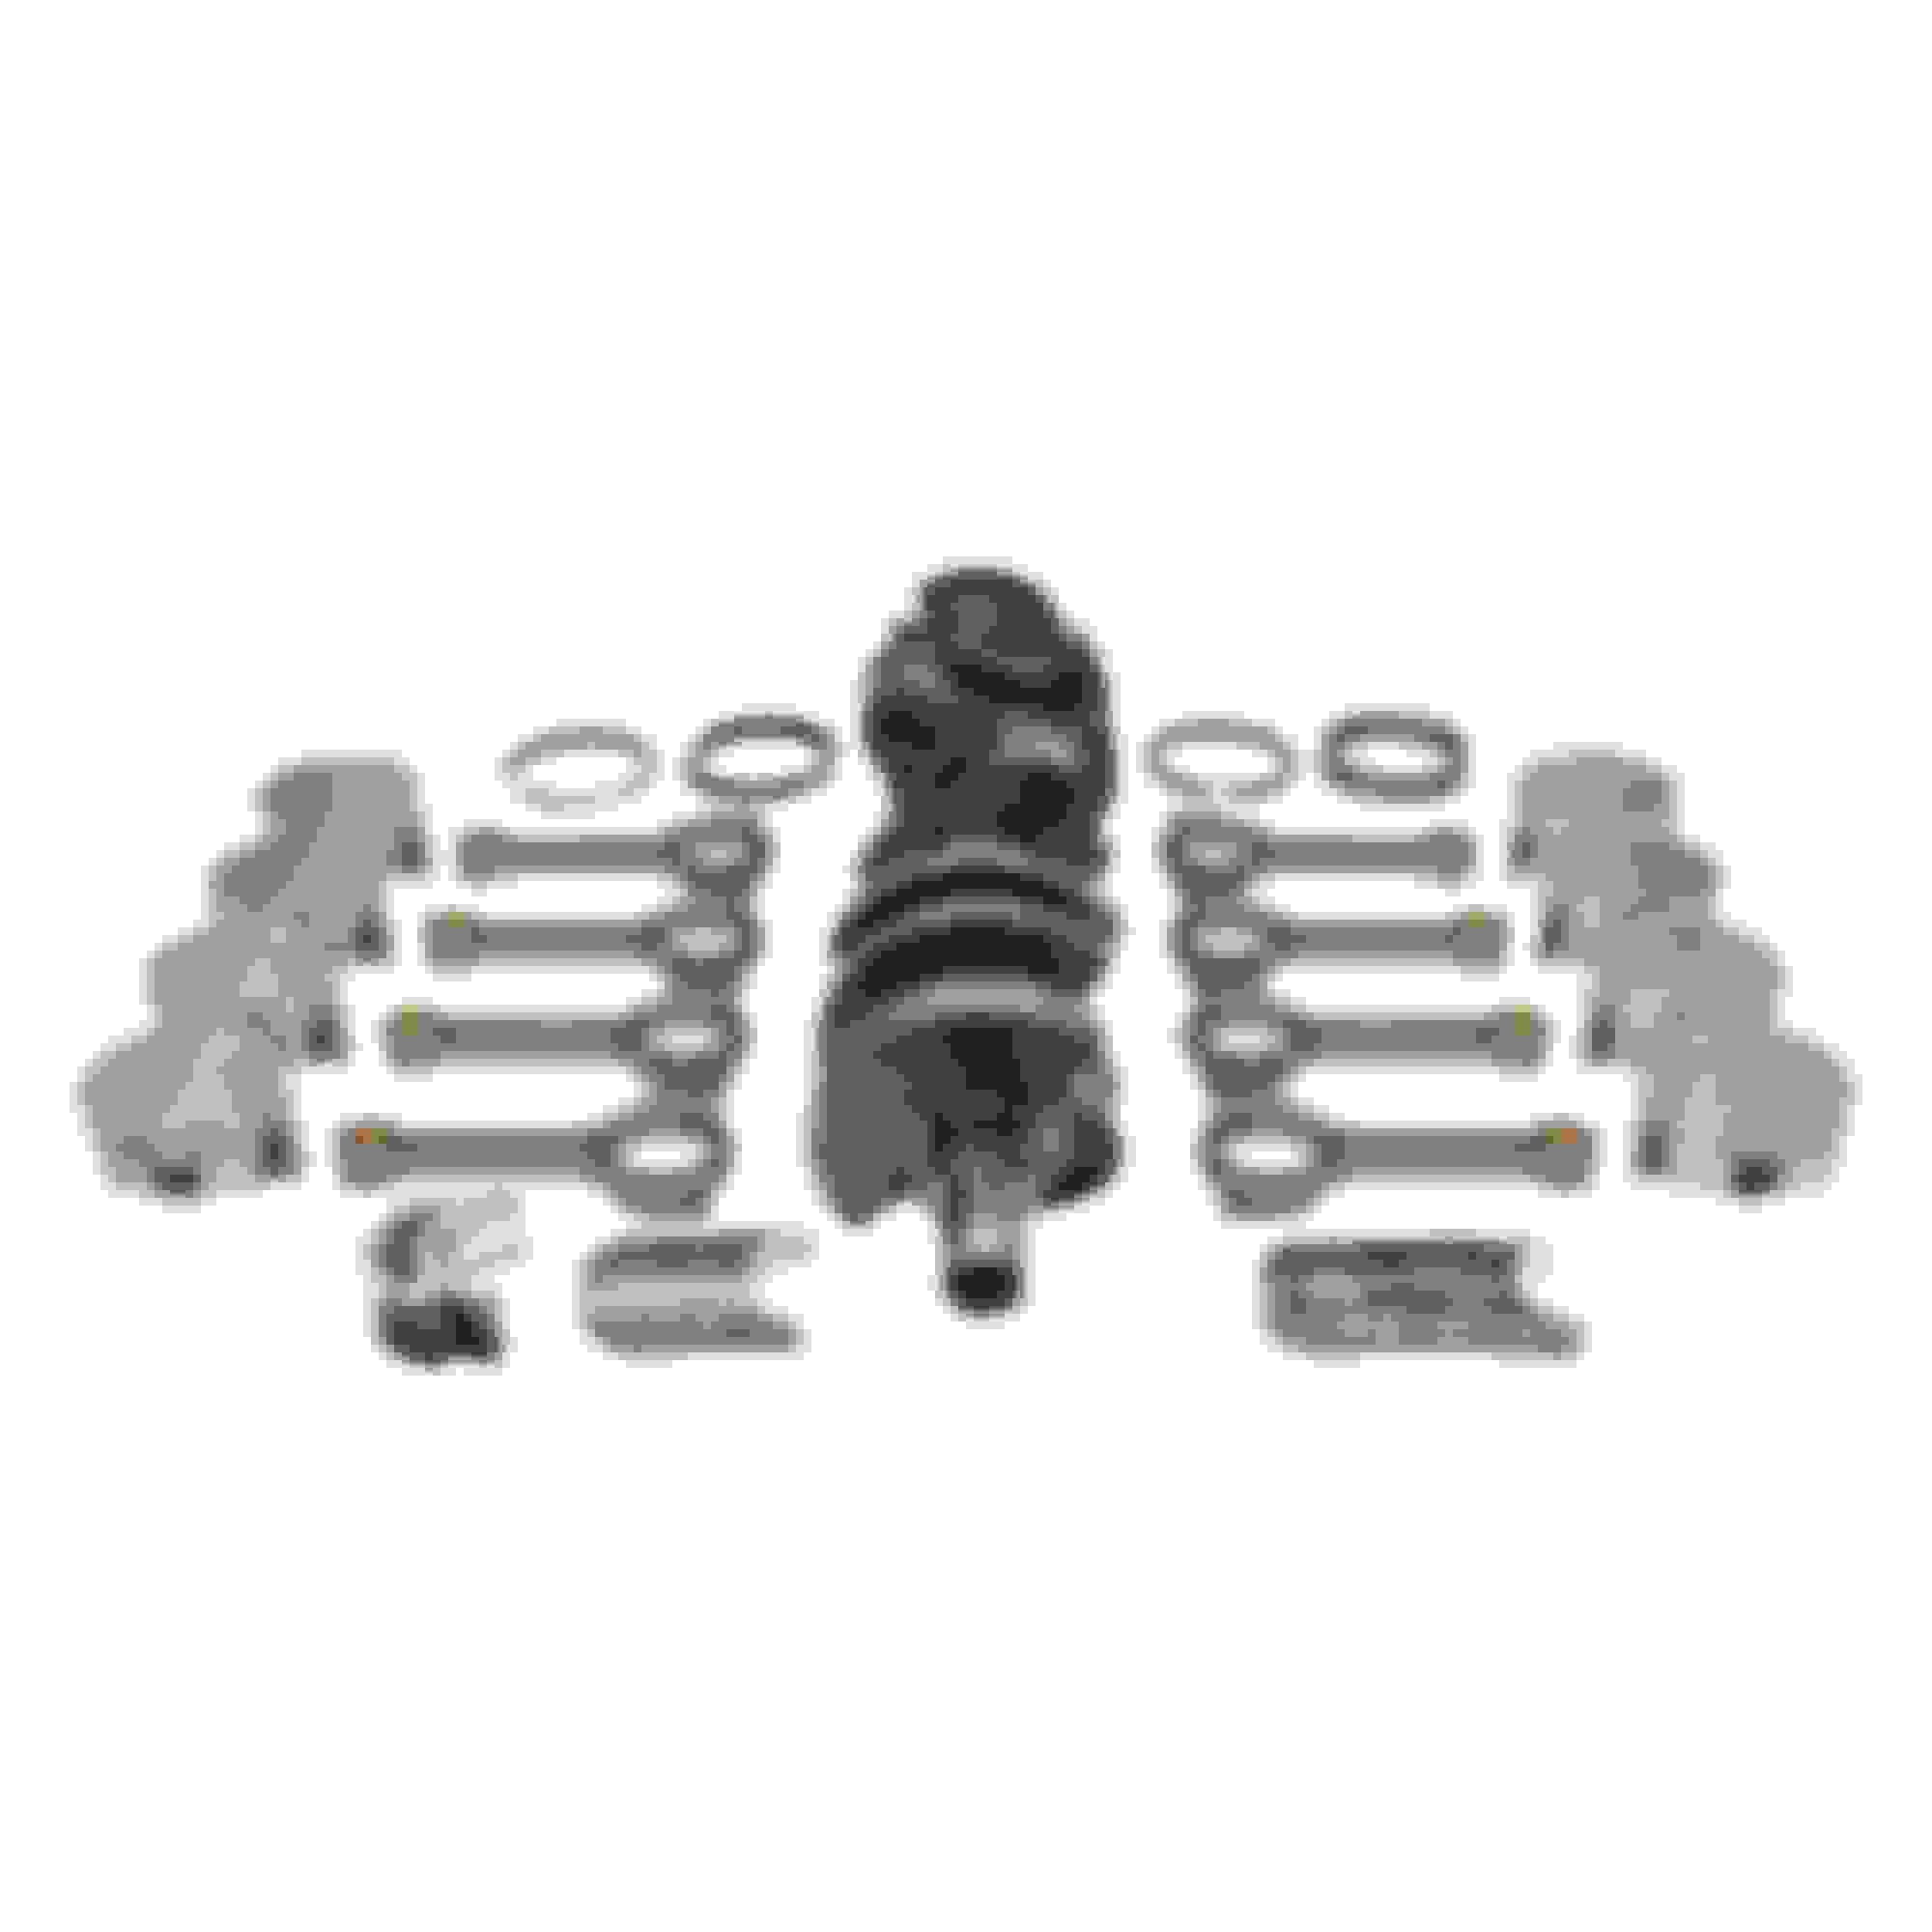
The block is going .020" over and getting a set of KB 416 pistons, a Scat 4" crank, and Scat forged rods. I was able to get a great deal on the balanced rotating assembly and it turned out to actually be cheaper to go this route than to have the stock bottom end reconditioned, so a 406 stroker it will be!
*the pistons I ordered are 25cc dishes, so disregard the flat tops in the photo, it's their stock image.
Last edited by Skeptic68W; 06-11-2024 at 07:24 PM.
While we're talking about the bottom end, let's get something out of the way. People all understand that adding a longer stroke crank increases torque, but rarely do you hear WHY. The answer to that question might surprise you. Take a look at this video from Uncle Tony:
Let's add some data to this. Engine masters did a test a in season 1 of a 360 and 408 with identical parts including the same camshaft. As you can see, that increase in stroke made a big increase in torque, and shifted the torque peak down. As far as peak numbers though, the 360 was essentially able to match it. This is because the upper RPM range becomes airflow limited. In other words, camshaft, head, intake manifold, and exhaust limited.
The longer stroke is giving the rod better leverage over the crank, which is the primary mechanism at play here. But there's another thing. In most cases when you increase the stroke of the engine you end up increasing the static and dynamic compression ratios which results in higher cylinder pressure. Keep that in mind because cylinder pressure is a critical component to think about when building an engine. It will absolutely make or break how your engine performs, and if you screw it up you're going to have a bad time. Cylinder pressure is a major contributor to how strong your engine is, particularly at low speed, but too much and you will detonate. If you ever wondered why diesel engines make so much torque so low, a huge part of it is crazy cylinder pressure. Because diesels don't have to worry about knock prevention (they literally run on knock) they can run crazy pressure. A 5.9 cummins makes nearly 500psi, multiples more than what we could ever hope to make on gasoline.
Let's first look at the static and dynamic compression, as well as cylinder pressure for a stock 5.9. The intake valve closing point can be found in the service manual, and in this instance is 62*. This valve event is also critical and something to bookmark in your mind.
You'll see that a stock magnum makes 7.43:1 dynamic compression and only 144psi of cranking pressure (this is theoretical, a gauge will show slightly different, last one I did showed 149psi). It also has a V/P of 124. V/P is a measure of how effectively an engine is translating it's displacement into cylinder pressure. The higher this value, the stronger you can expect the engine to run downstairs. It's not necessarily indicative of higher RPM performance.
AJ over on FABO provided this general reference range for V/P:
100 is so poor I wasn't even gonna include it, think slanty, not dissing slantys boys, don't get all riled up, it's just a comparison
120 or less sucks big time, think smogger 318, stay away from here
130 requires a hi-stall, then it will work
135 is a typical iron headed result, ho-hum
140 is where the fun starts, hard to get to, with anything smaller than a 360
145 is dynomite on the street
150 too much more than this is just tirespin bragging rights
160 IDK; that's stroker territory, I haven't run it, but I suspect it's extreme overkill for the street.Ok wait, I did run it, 164VP actually, my favorite combo; just killer! Totally overkill, and my next combo sacrificed sumadat for top end. Good trade.
5VP ratio increments, are like 5psi pressure increments; the increments don't look like much but make surprisingly big differences.
So we can see that the stock engine is barely over the "sucks big time" range for V/P, which I think we can all agree is fairly accurate. In an A-body it might be marginal with a converter, but in a heavy truck this low of a number is just pathetic and I think we all feel that.
Last edited by Skeptic68W; 06-11-2024 at 08:16 PM.
So what sort of numbers is my combination going to make you ask. Here you go:
You can see we've moved from "sucks big time" to "just killer".
How did we accomplish this? We did it by changing 2 things, the static compression and the intake closing angle.
Starting with the bottom end, we all know Magnums have a reputation for detonation. This is because they have 145-150psi of cranking pressure but are in the danger zone for quench (piston to head clearance). What is quench you ask? Ben Alameda has a great answer for you:
The ideal quench distance on an engine with a steel rod is .030" - 045" but as a result of the pistons being down in the hole and a thicker head gasket, the Magnum has roughly .097" quench. This means it has a high propensity for hot spots that cause detonation, and detonate they do.
With the pistons I've ordered, their quench pad will sit at zero deck.
With a .039" head gasket, that puts my total quench at .039", which will substantially reduce the tendency for this engine to detonate. It will also improve swirl and promote more even and efficient combustion.
These pistons are a 25cc dish. Calculated with zero deck clearance and that .039" gasket, that makes for 9.75:1 static compression. This is the first half of our equation in building strong cylinder pressure down low.
Last edited by Skeptic68W; 06-11-2024 at 08:17 PM.


 06-11-2024 | 06:11 PM